tk1608
Sr Member
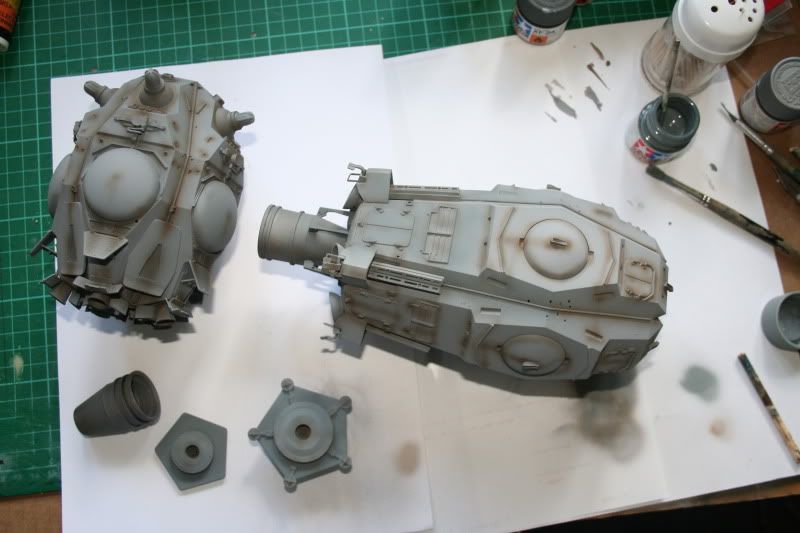
Hey Guys
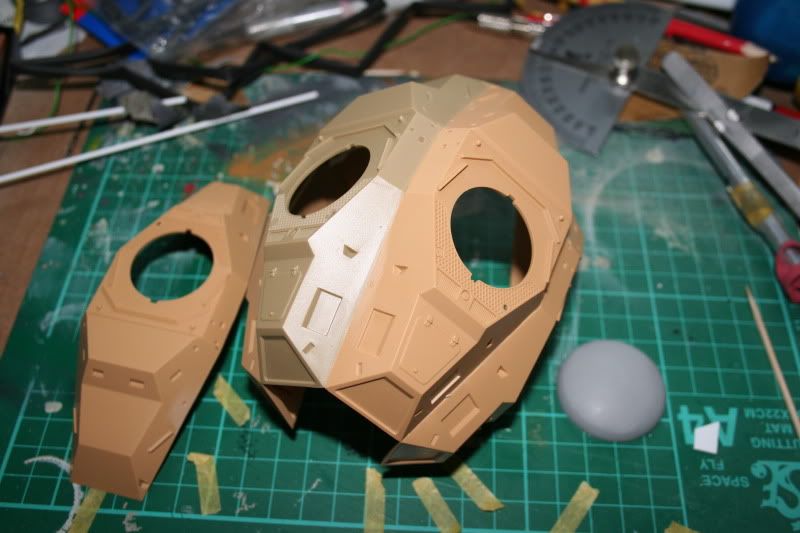
I decided after seeing all the fantastic pod builds on here, and seeing Lee's pods in the flesh, that I had to have some too, so...
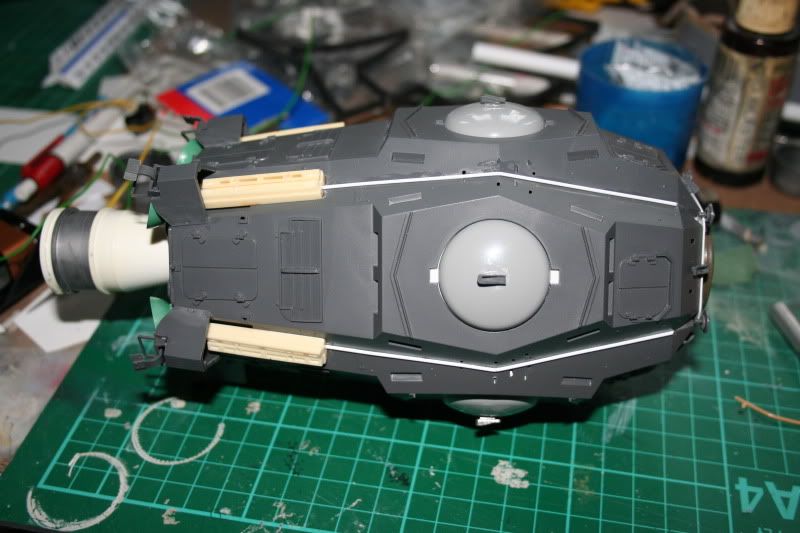
It seems quicker than it is because I've had the hull for this built up for a while..
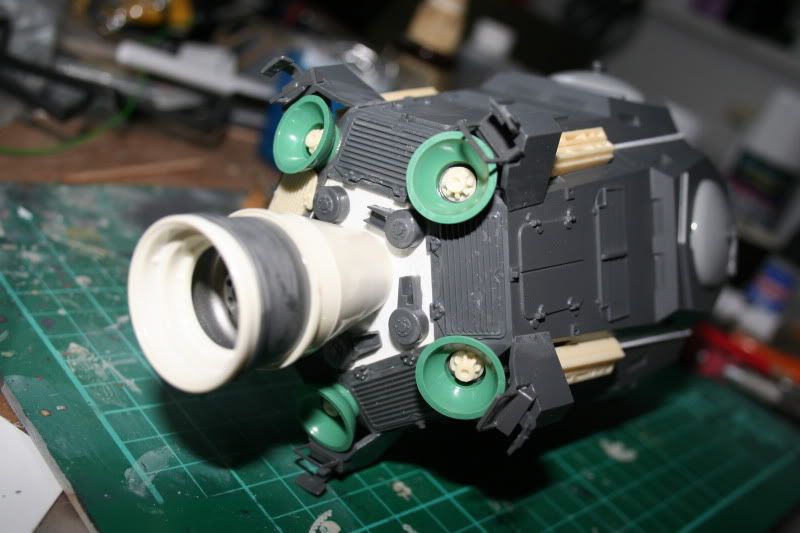
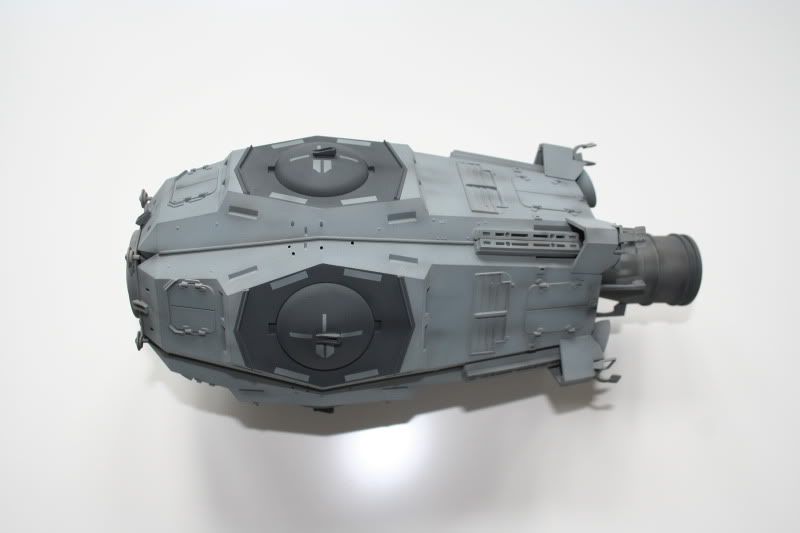
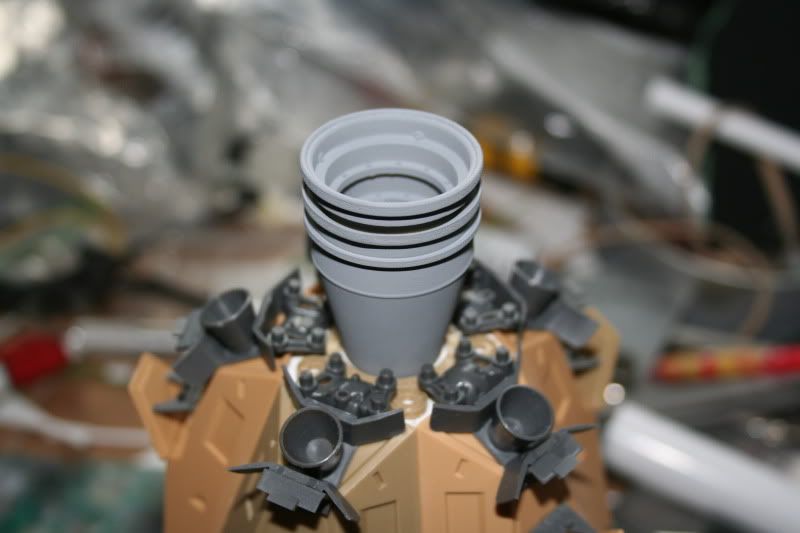
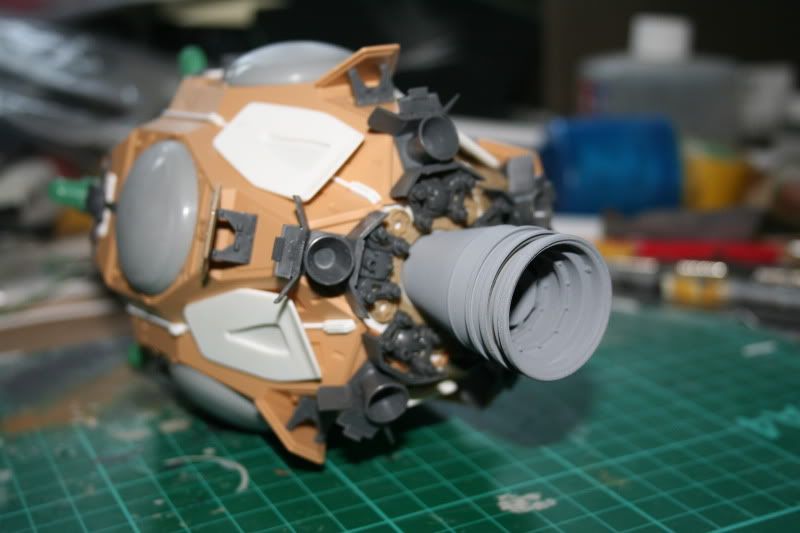
Nothing new here, You've seen it all before..not sure if the engine nozzle is 100% right, but I think it's close enough..
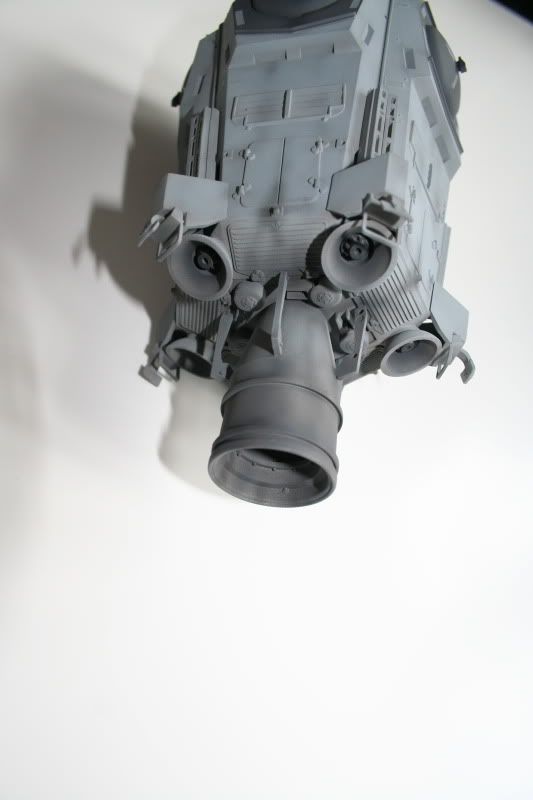
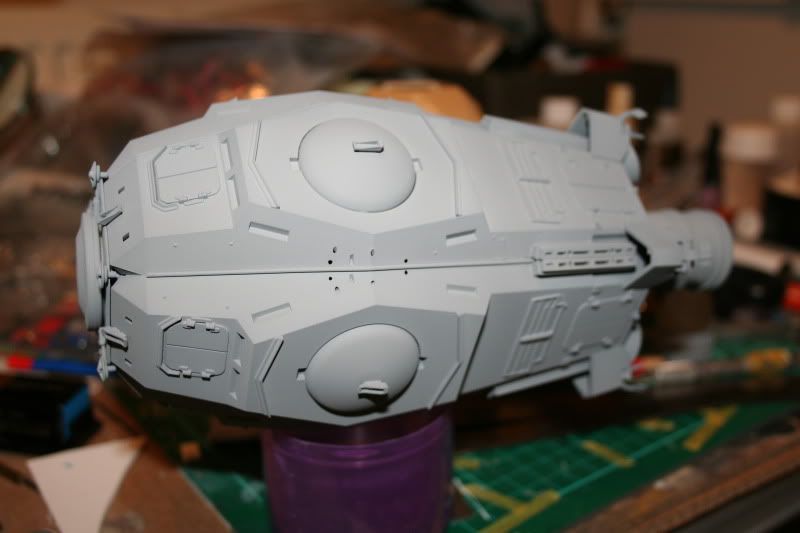
I made this front bit so I can take it in and out. I'm gonna put a blue LED inside for the engine, and this removable front part will allow me to switch it on and give access to the battery..
I wanted it self contained so I can fly it round the room...:behave
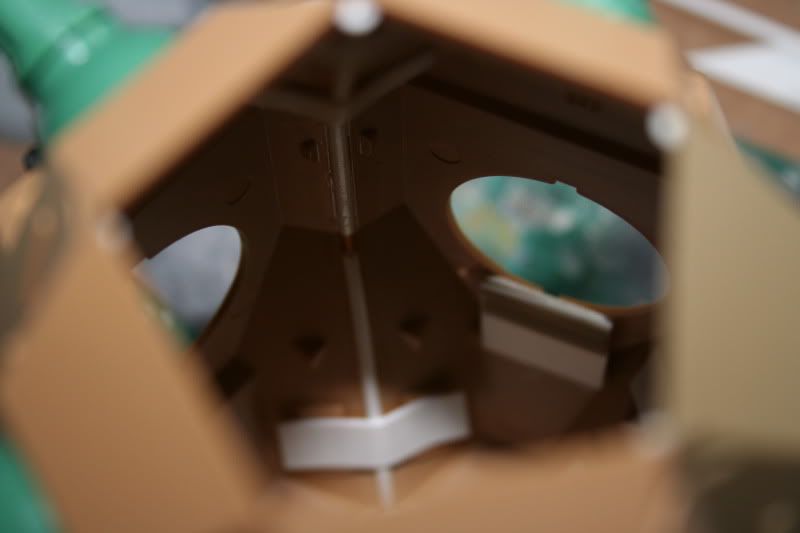
It just pushes in like this..
And the smaller one...
There you go..
Cheers
Phil
I decided after seeing all the fantastic pod builds on here, and seeing Lee's pods in the flesh, that I had to have some too, so...
It seems quicker than it is because I've had the hull for this built up for a while..
Nothing new here, You've seen it all before..not sure if the engine nozzle is 100% right, but I think it's close enough..
I made this front bit so I can take it in and out. I'm gonna put a blue LED inside for the engine, and this removable front part will allow me to switch it on and give access to the battery..
I wanted it self contained so I can fly it round the room...:behave
It just pushes in like this..
And the smaller one...
There you go..
Cheers
Phil
Last edited:
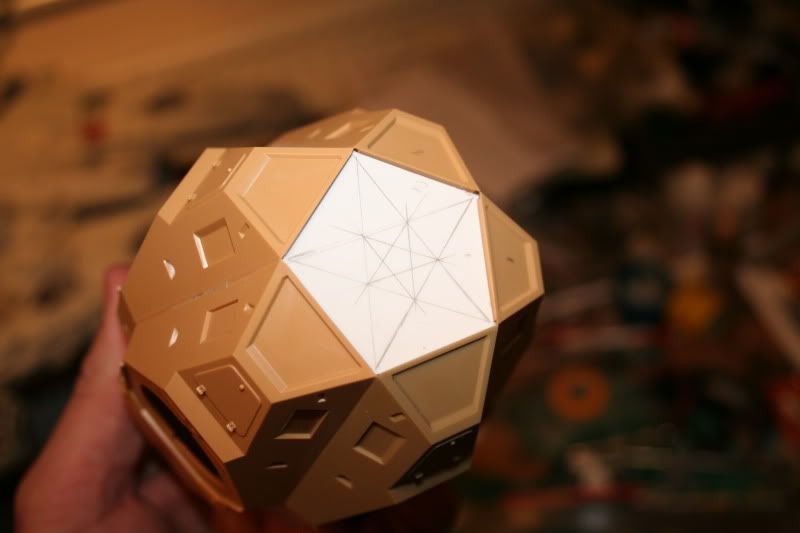
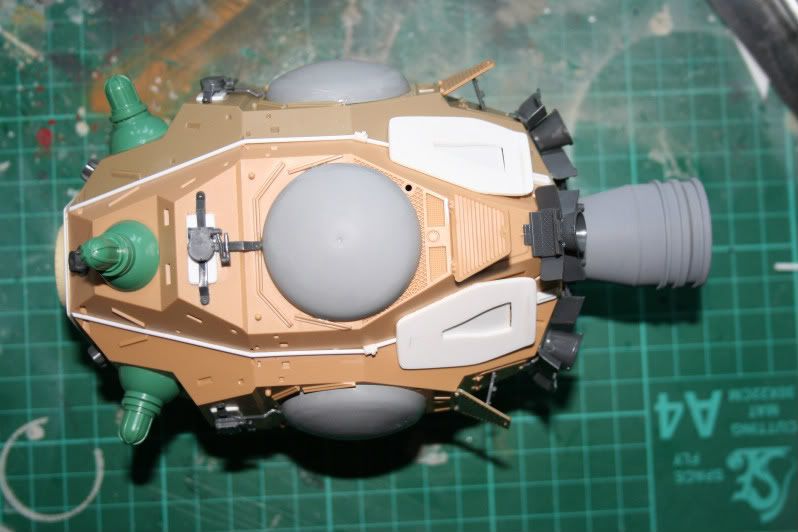
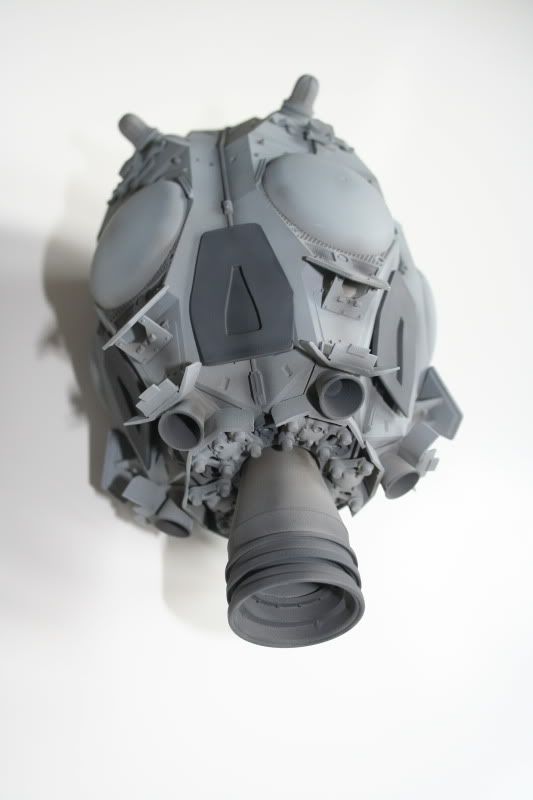
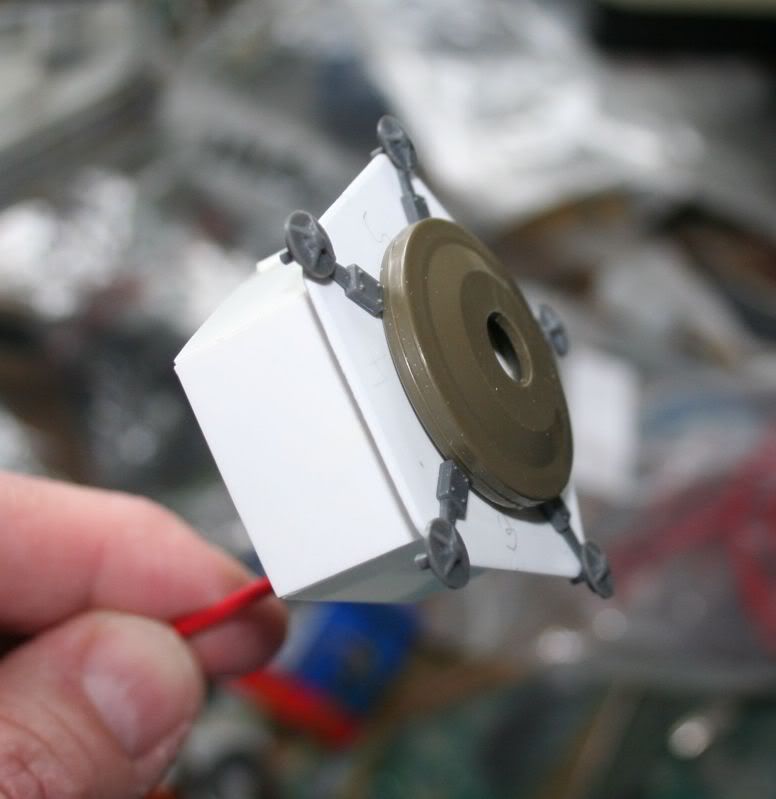
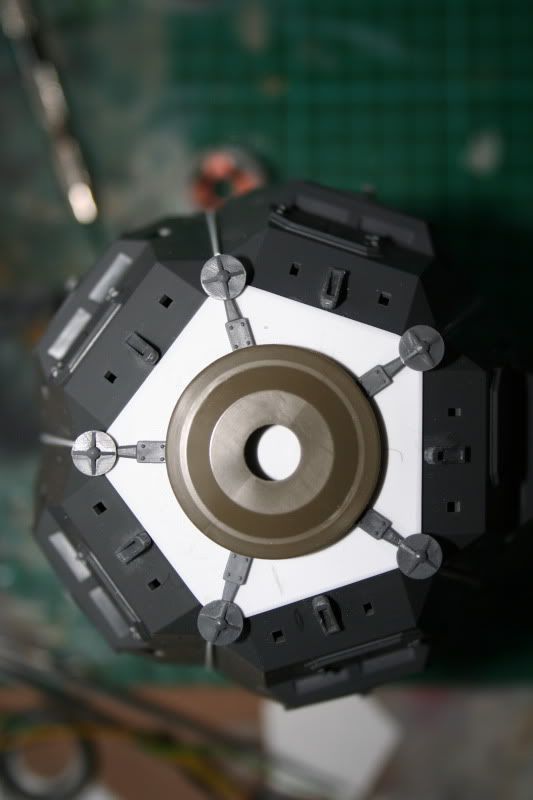
") I couldn't work out how to cast it being an odd shape. I think I need a two part mould to do it successfully, but that's beyond my basic casting skills. Anyhoo, I think it looks not too bad, and under paint it'll be good enough..
I couldn't work out how to cast it being an odd shape. I think I need a two part mould to do it successfully, but that's beyond my basic casting skills. Anyhoo, I think it looks not too bad, and under paint it'll be good enough..