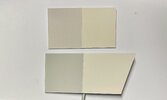
Something else that is important to understand about the geometry of this ship is that they built it to have a bit of forced perspective in the model, so that when they shot it coming towards the camera it looks really huge! So if you look at the middle trench from a side view of the ship its actually smaller at the back and larger at the front. My first thought was that the trench wall was just make taller in the front than the back, but its not, its a consistent 1" all the way down the side of the ship, the illusion comes from making the trench walls deeper in the back than the front, which allows the top and bottom hull sheets to hang over the edge further and create the tapering effect.
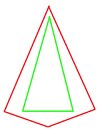
Here is an exaggerated sketch to show what I mean. The inner triangle is the side walls and the red is the top/bottom hull sheets.
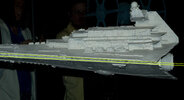
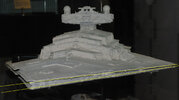
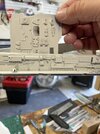
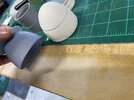
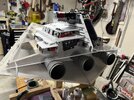
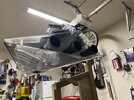
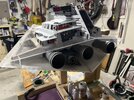
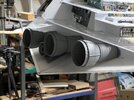
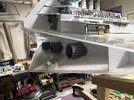
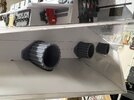
You can see the effect in the final model in these pics, the side shot makes it pretty clear, but even in the 3/4 front shot you can see the effect as the image was clearly taken with a longer lens (loosk to be somewhere around 75-100mmish which minimizes the amount of perspective you would normally see in a shorter 10-40mm lens. But you can clearly see how pronounced the perspective of the side trench is even with the rest of the ship relatively flattened out. by the long lens used to take this photo.
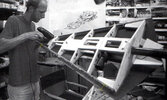
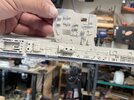
You can kind of see it in the bulid pic from ILM if you know what you are looking for, it's not a huge amount either, i'll measure mine later and post back here the actual difference.