You are using an out of date browser. It may not display this or other websites correctly.
You should upgrade or use an alternative browser.
You should upgrade or use an alternative browser.
3phase Red Jammer
- Thread starter 3phase
- Start date

Its great to see a few more of these being built!!! Really like the new gun array!!!
To save you a huge amount of time and trouble, when it comes to the piping try to get hold of some plastruct (EMA ) plastic covered wire , or get some thin wire and thread that through hollow plastic tubing, which you will have to heat. The plastic covered wire is best and will bend easily to take the shapes.
To save you a huge amount of time and trouble, when it comes to the piping try to get hold of some plastruct (EMA ) plastic covered wire , or get some thin wire and thread that through hollow plastic tubing, which you will have to heat. The plastic covered wire is best and will bend easily to take the shapes.
3phase
Sr Member
Its great to see a few more of these being built!!! Really like the new gun array!!!
To save you a huge amount of time and trouble, when it comes to the piping try to get hold of some plastruct (EMA ) plastic covered wire , or get some thin wire and thread that through hollow plastic tubing, which you will have to heat. The plastic covered wire is best and will bend easily to take the shapes.
Mate huge amount of trouble has already been done. I know that the original was probably done like you say but I wanted to do them a bit different. I made them from welding wire as they were already similar to the colour I wanted and I also have added natural rust to them from them just being out in the weather. I have to admit I will never do them like this again as a lot of work as I have to cut them a mill or 2 longer then grind each end back so its a nice fit and the end is flat as the snips leave a point on the wire.

There were two sizes I think, 0 .8mm and 1.6mm and they were the butyrate covered ones. For the thicker more acutely angled tubes I ended up inserting them into the hollow plastic ones and then carefully heating them, that way they didn't collapse or melt and were easier to bend than having solid brass inside. I used a combination of solid brass, the butyrate covered wires, hollow plastic tubes and a lot of snapped and melted bits before getting them all done. The most fiddling and time consuming part of the build by far. I was told much later that you can get similar covered wire in various sizes in hobby shops for decorations and flower arrangements but as that was well after the event I never bothered checked up on that .
3phase
Sr Member
Does anybody have that template for the pipework? I can't find it on Jason's original instructions.
Thanks.
I'm positive I have it somewhere. cant find it at work but might be on my home computer.
EvanW
Well-Known Member
Found the pipes for you Lazyeagle.
3phase. Would you be able to show a shot or 2 on how you mounted your guns? Just picked a set up and want to mount them on my Jammer.
View attachment pipes.pdf
Here are Jason's "Stripes" template also that he provided back in the day for any interested.
View attachment stripes.pdf
3phase. Would you be able to show a shot or 2 on how you mounted your guns? Just picked a set up and want to mount them on my Jammer.
View attachment pipes.pdf
Here are Jason's "Stripes" template also that he provided back in the day for any interested.
View attachment stripes.pdf
3phase
Sr Member
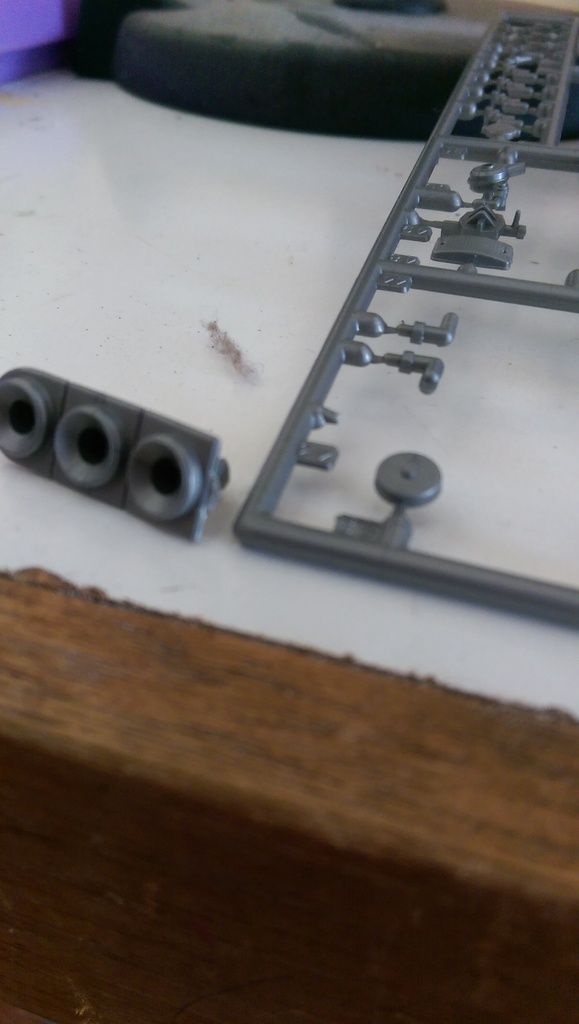
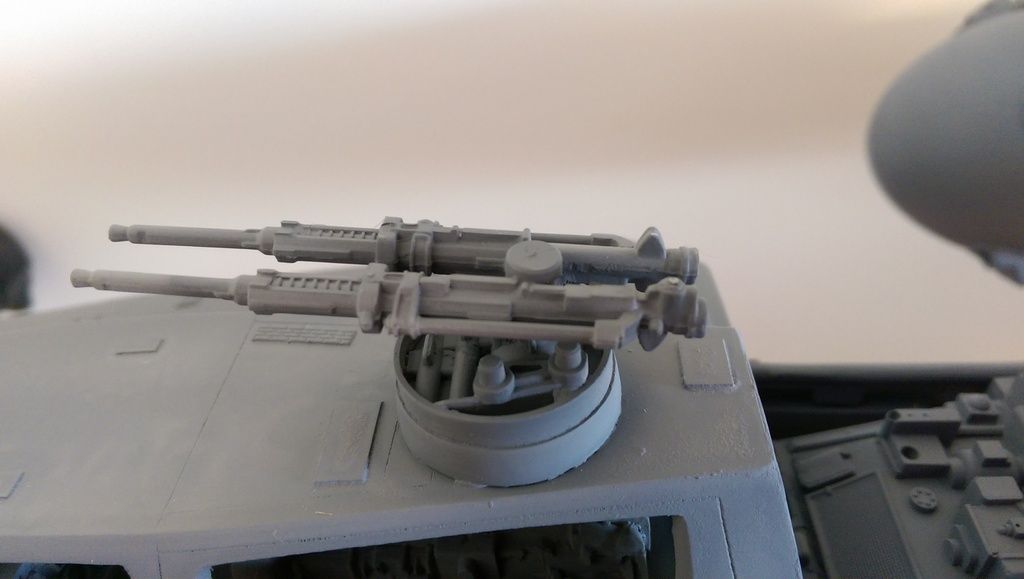
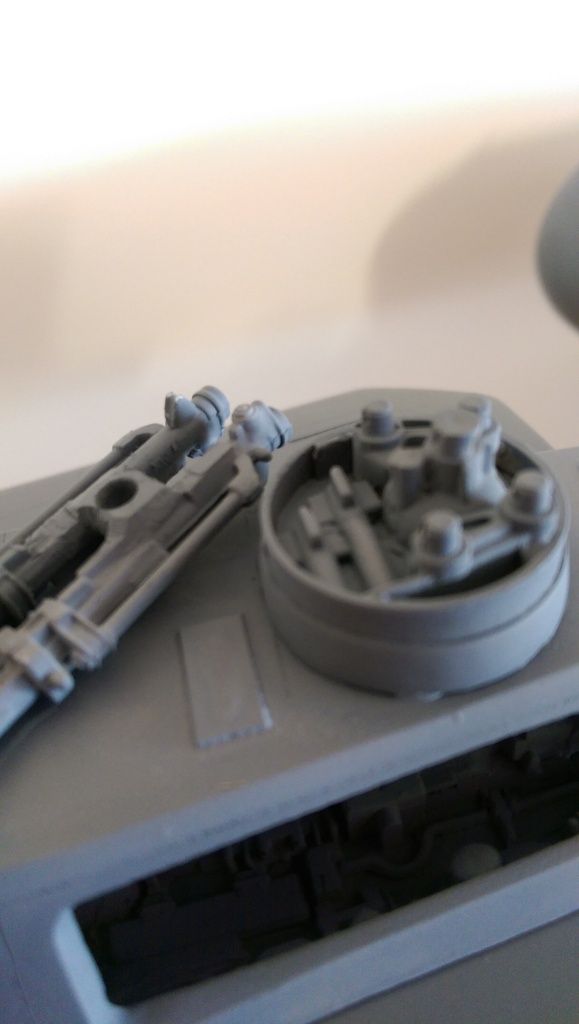
3phase. Would you be able to show a shot or 2 on how you mounted your guns? Just picked a set up and want to mount them on my jammer.
]
Ok what I have is not cannon as I can not see to well with the pic I have of the original guns. I presume they were glued strait on. Also I wanted to be able to swap out between the 2 guns so can have the model look as it is today. So I could swap the guns I found a (part on the left) that fitted almost perfectly over what is on the jammer roof. I modified it and put a cap on it (part to the right) just to finish the look of.
Similar threads
- Replies
- 51
- Views
- 5,726
- Replies
- 7
- Views
- 1,282
- Replies
- 1
- Views
- 656