You are using an out of date browser. It may not display this or other websites correctly.
You should upgrade or use an alternative browser.
You should upgrade or use an alternative browser.
3d Printing a Mark VI Iron Man
- Thread starter Samohtep
- Start date
Yes, there is a reason they had 3 leds per resistor most LED arrays will have one resistor for 3 leds. If you are adding more leds into the array then you should pick up some more resistors.
Samohtep
Member
Okay, so right now I have 1 between the positive terminal and the row of LEDs, should the new resistors be added between the 3rd and 4th LEDs in a string of 5 or 6? Or do I rewire so I only have groups of 3 LEDs?
Sorry for the dumb questions, my only other experience with circuits was a lesson in 4th grade!
Sorry for the dumb questions, my only other experience with circuits was a lesson in 4th grade!
Okay, so right now I have 1 between the positive terminal and the row of LEDs, should the new resistors be added between the 3rd and 4th LEDs in a string of 5 or 6? Or do I rewire so I only have groups of 3 LEDs?
Sorry for the dumb questions, my only other experience with circuits was a lesson in 4th grade!
No worries man, there really aren't any dumb questions... if you are just learning this stuff you are bound to have questions and might make a mistake here and there. The LEDs on your circuit should be separated into groups of threes with a resistor if front of each group. See the attached picture.
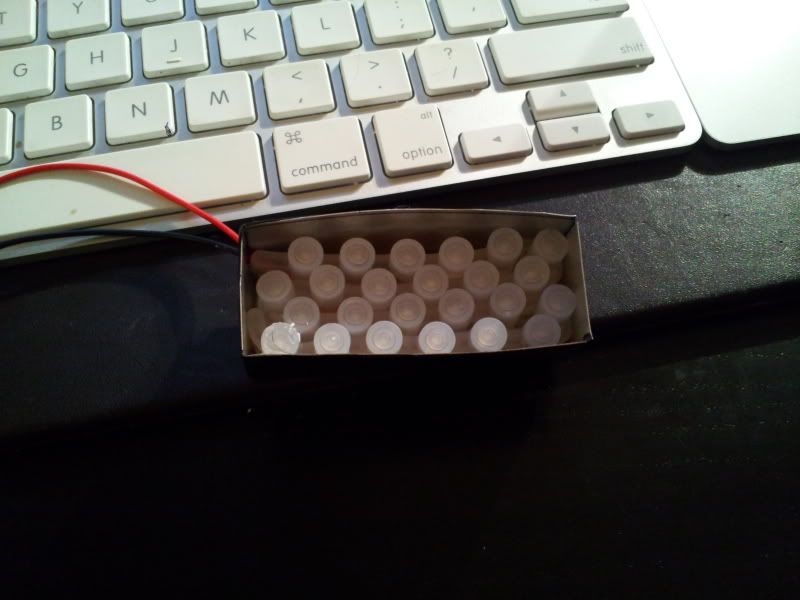
To solve the light leak issue, I made simple boxes out of thin aluminum to contain the LEDs. It also helped reflect the light to make them a bit brighter
pRoJectEarth7
Well-Known Member
Samohtep
Member
I was apparently so tired last night that I forgot to finish my thought. What i was trying to say was that I still have some light leaking because the boxes I built weren't sealed shut yet. What I ended up doing is build a box like MCL's in this thread: http://www.therpf.com/f24/iron-man-helmets-real-poke-eye-111787/
This was jut a test fit to see how they would work in place. Pretty happy with the result for now, so I'm going to use these, but it's going to take a while for me to complete the suit so plenty of time to revise later.
This was jut a test fit to see how they would work in place. Pretty happy with the result for now, so I'm going to use these, but it's going to take a while for me to complete the suit so plenty of time to revise later.
Samohtep
Member
Small update, I got the first coat of sunburst on the mask, a bit too pebbly for my liking, but it's been a super busy week. I'll probably do a light sand and recoat, I'll have to try out some wet sanding, never done that before. Do I need to wait for the paint to completely dry before wet sanding or is dry to the touch better?
SuperheroDIY
Well-Known Member
That's beautiful!
")
eatelephants
New Member
This is beautiful
Samohtep
Member
Haha, thanks all! The helmet has come out looking great. There are a few areas that I'm not entirely happy with, but that's always part if every project I work on!
I'm at a stand still with the rest of the suit right now. The machine that is supposed to be producing this is backed up at the moment. I attached the ear pucks last night and when they have fully dried, I'm going to take a bunch of pictures and send a big thanks to the guys that produced the basic pieces.
I wish I could afford the initial investment to buy a professional 3d printer. I'm sure that I could drum up some business on the forum, and maybe contract to do some of the overflow orders from work. It all makes perfect sense in my head! Why can't reality function as I want it too?!
Similar threads
- Replies
- 43
- Views
- 3,153
- Replies
- 2
- Views
- 546
- Replies
- 1
- Views
- 456
- Replies
- 2
- Views
- 777
- Replies
- 5
- Views
- 666