blipper
Sr Member
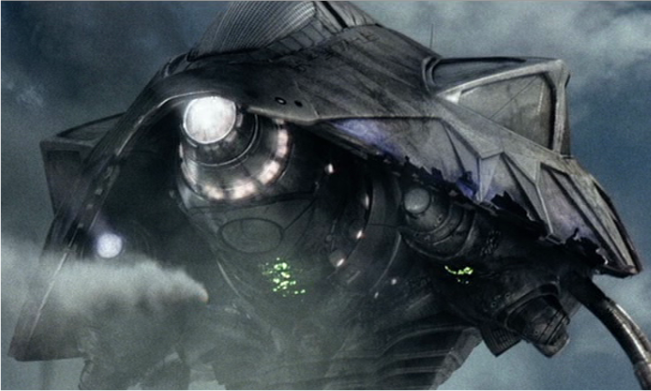
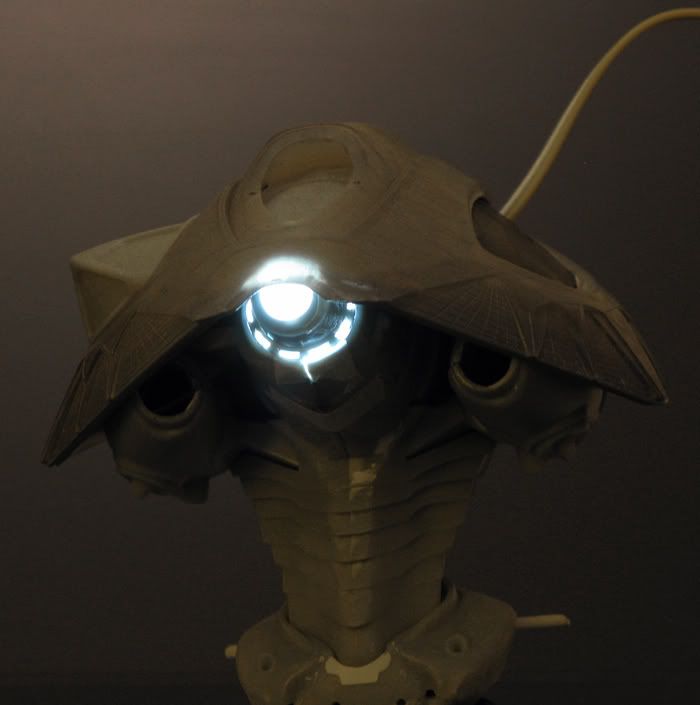
The film might have been quite the disappointment (though there were some strong moments) but I did love the way the tripods were handled - in design, motion and presence.
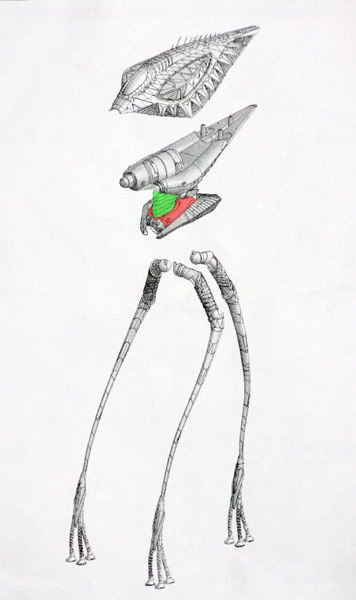
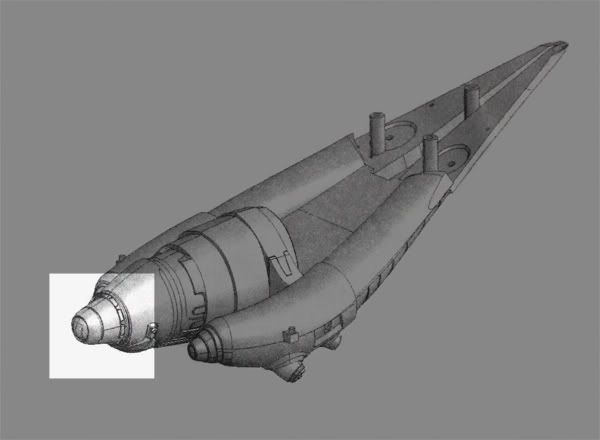
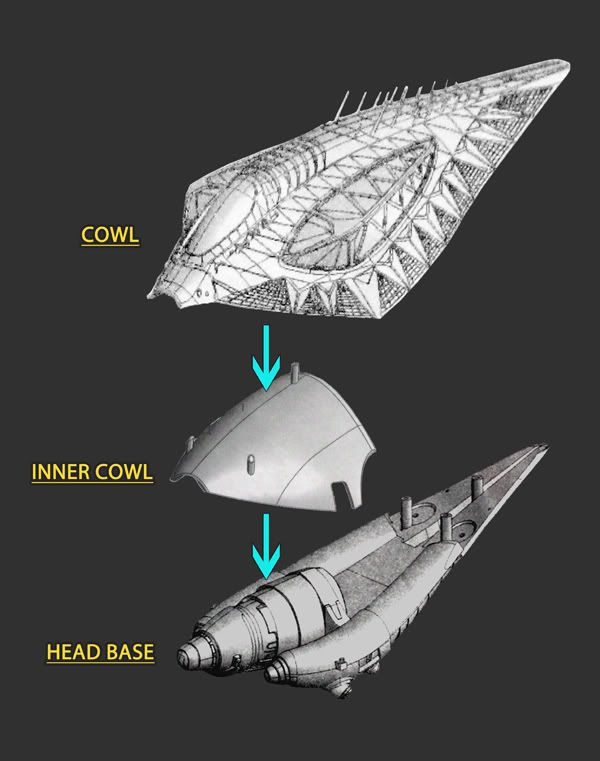
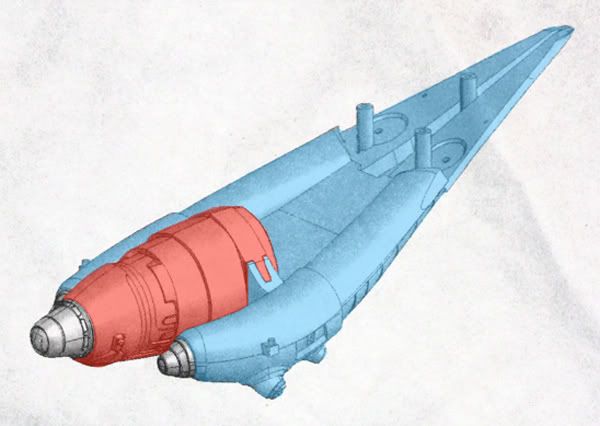
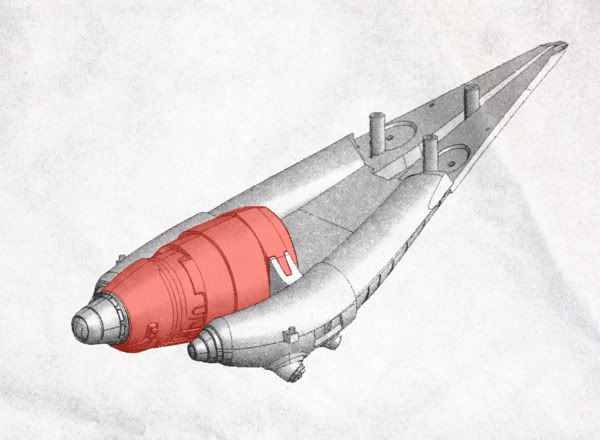
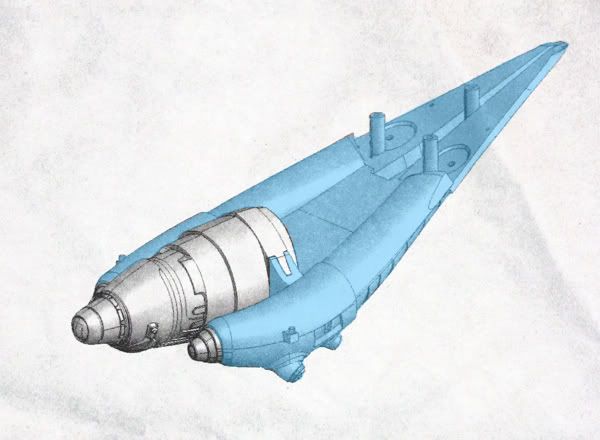
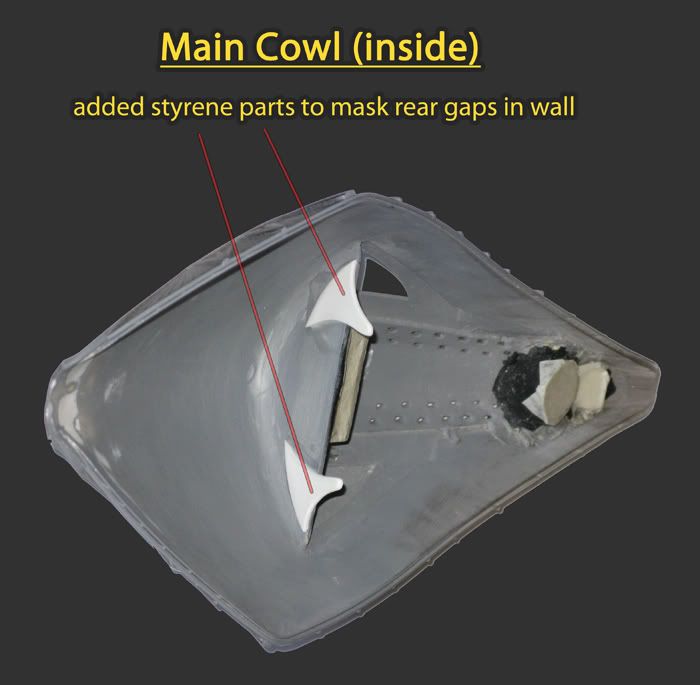
I'll accompany the area I worked on with a diagram from the instructions to illustrate the particular section. The diagram features the model in a mostly assembled state but it gets the info across.
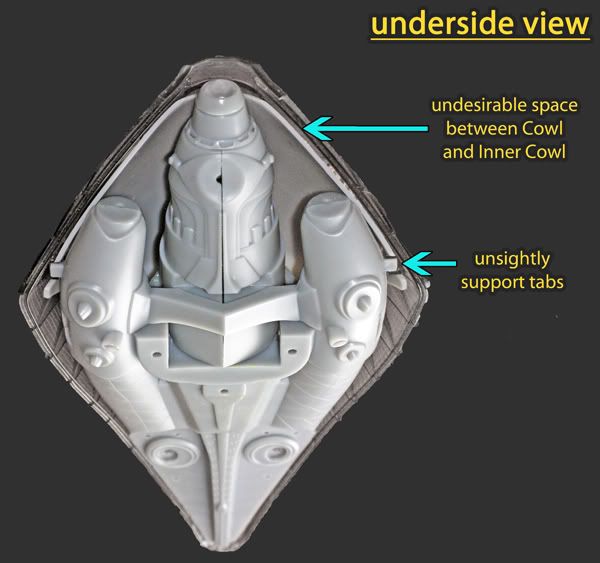
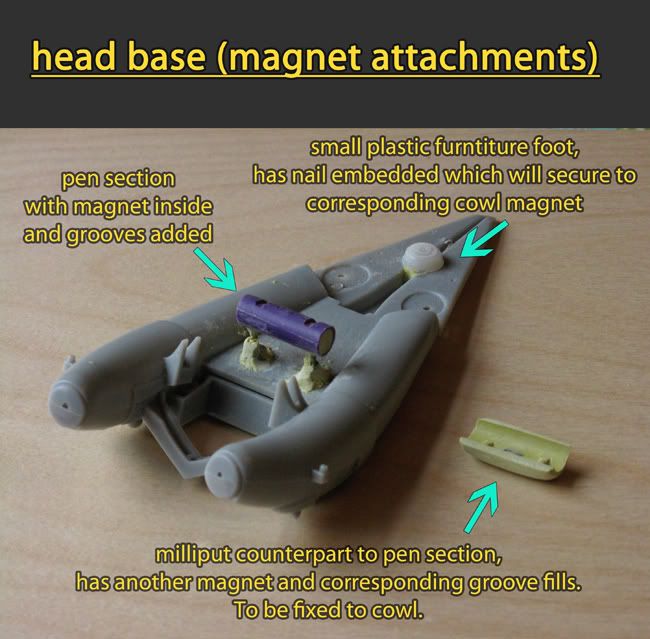
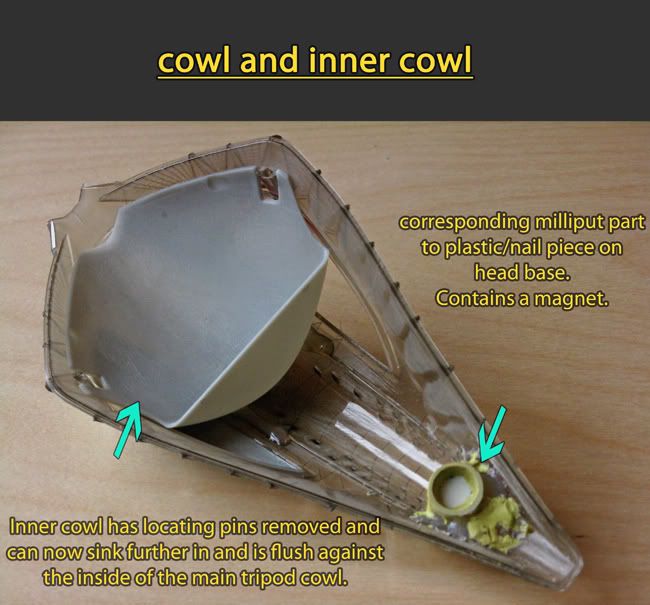
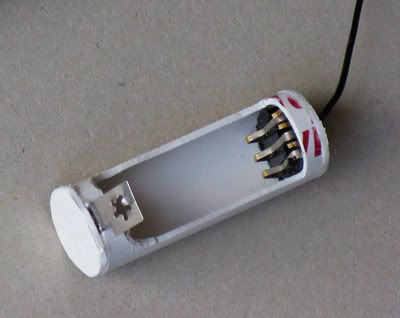
First thing was the idea that I wanted to be able to assemble/disassemble the model where possible, for ease of painting purposes as well as any future storage.
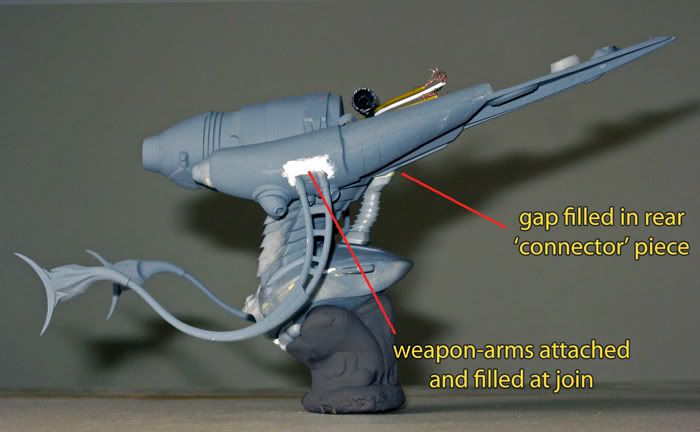
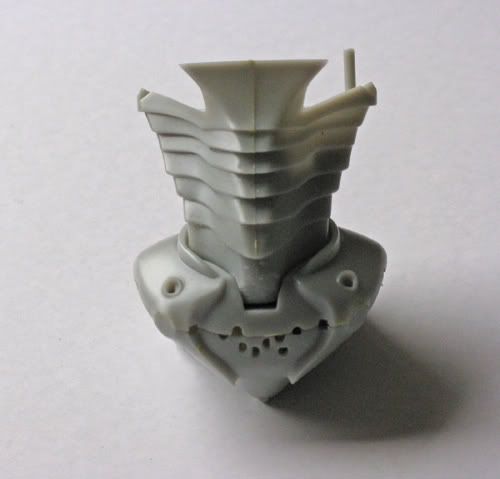
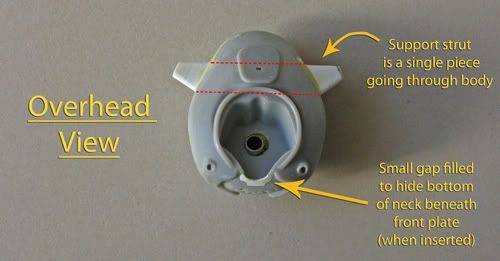
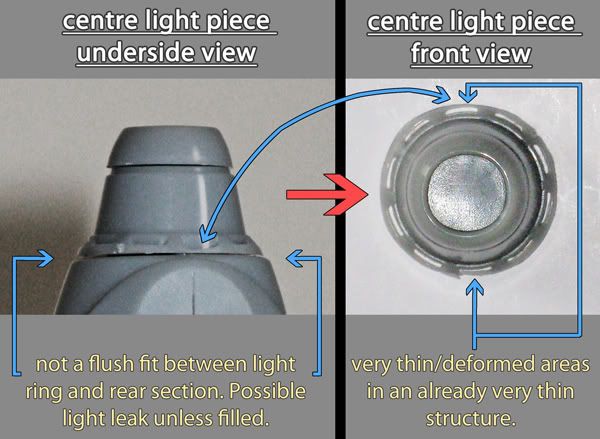
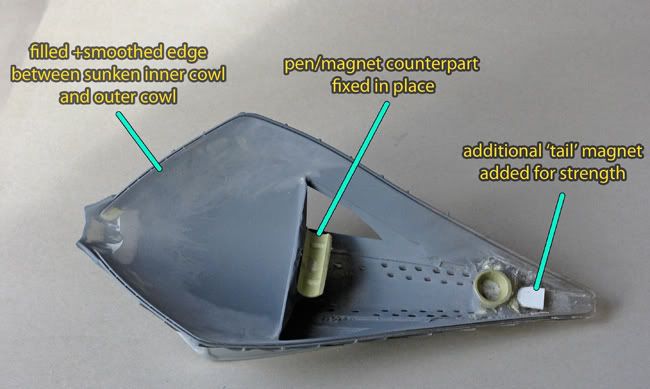
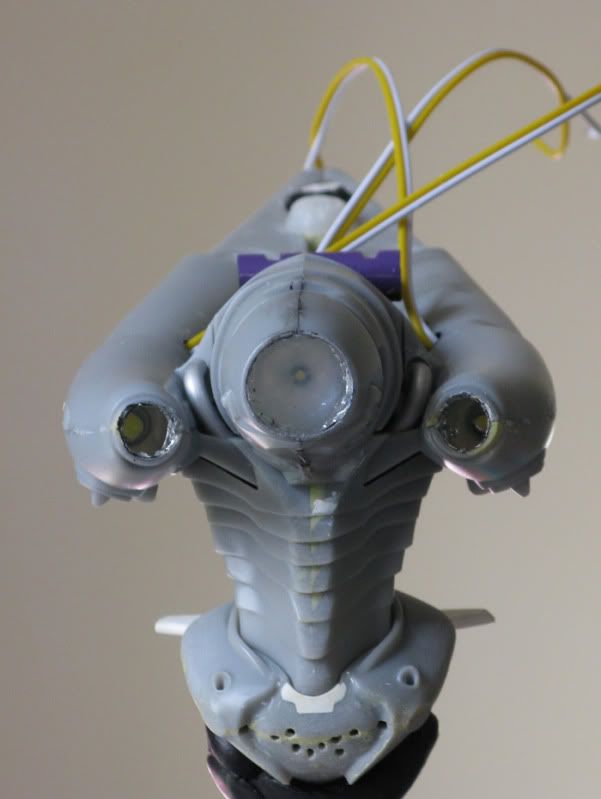
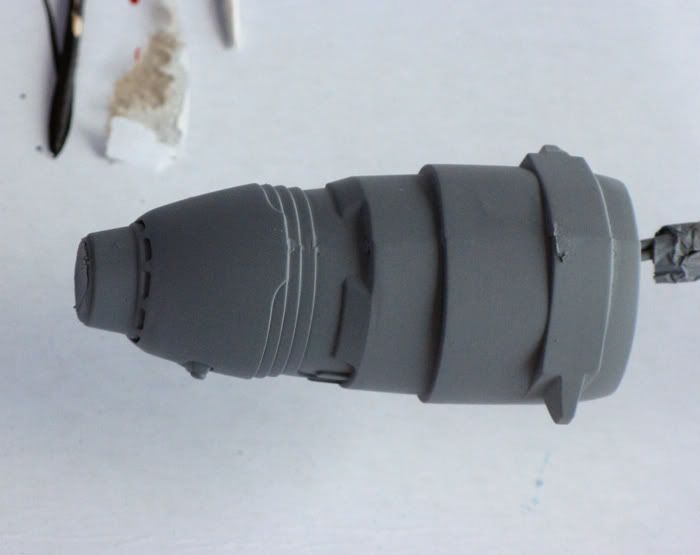
1 - NECK + BODY CONNECTION
One immediate place seemed to be the neck and body, so using a couple of brass tubes, one which fit snugly in the other I went ahead.
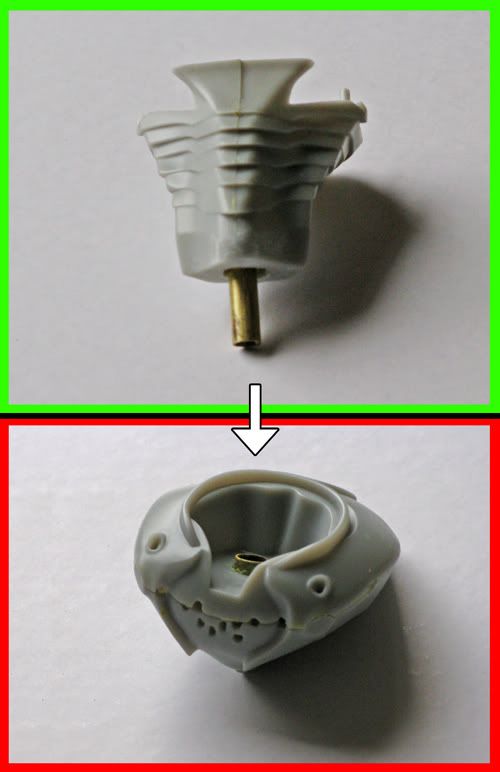
You might notice a pin on the right side at the top is lacking a twin on the other side - must have snapped off at some point but it's not a big deal and is more of a guide pin than a support.
I've also shaved the bottom front of the neck of a little material as when the body 'tentacle ring shield' is eventually attached to the body front it would have prevented the neck and body from being easily assembled and disassembled. You won't notice this on the final model though as the shaved area is out of view behind a section of the shield piece and an area on the body to be filled.
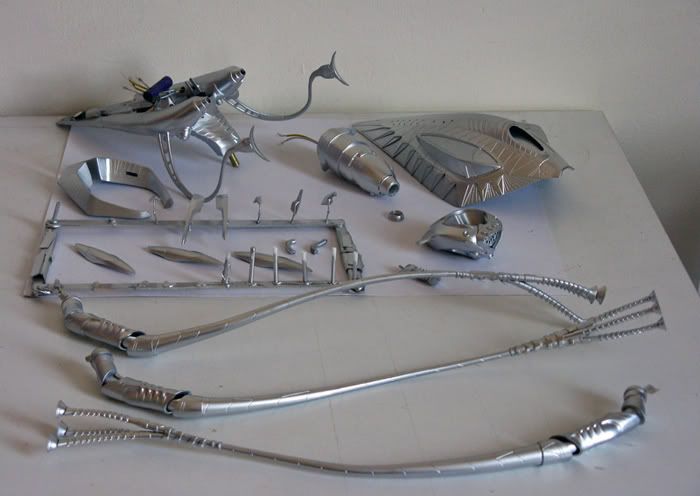
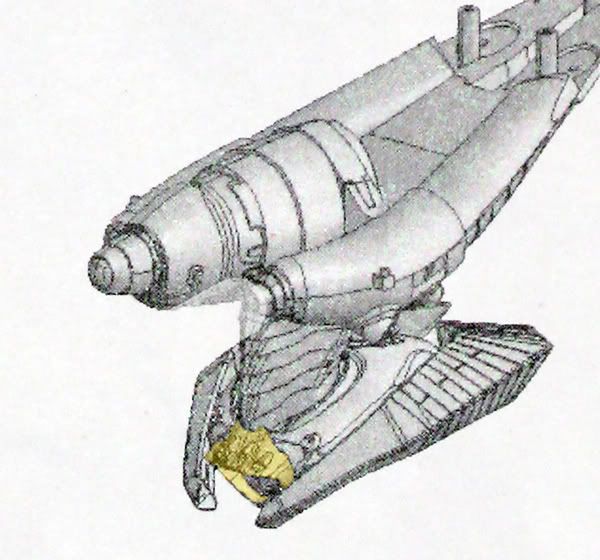
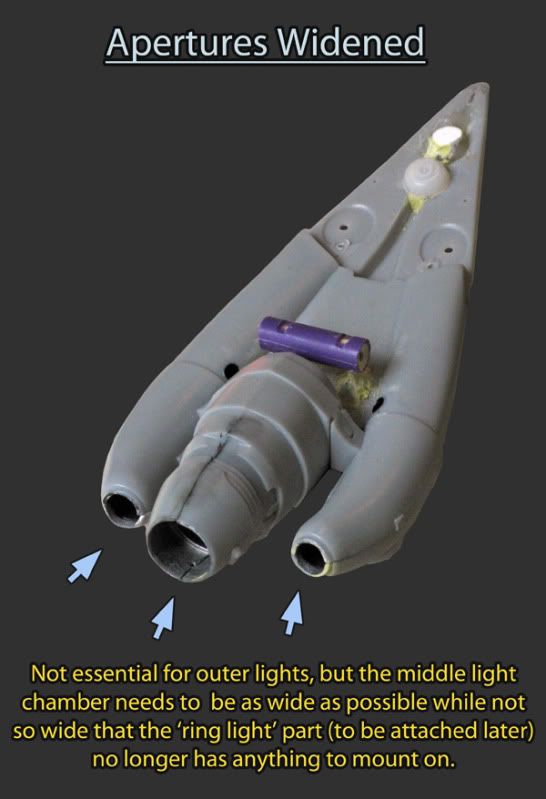
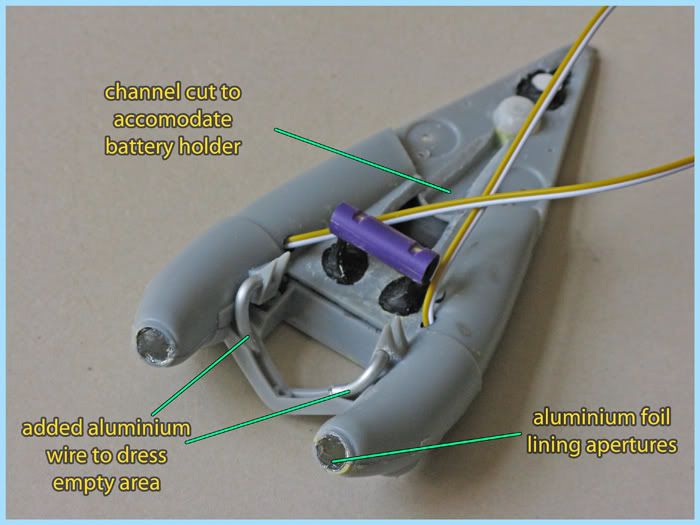
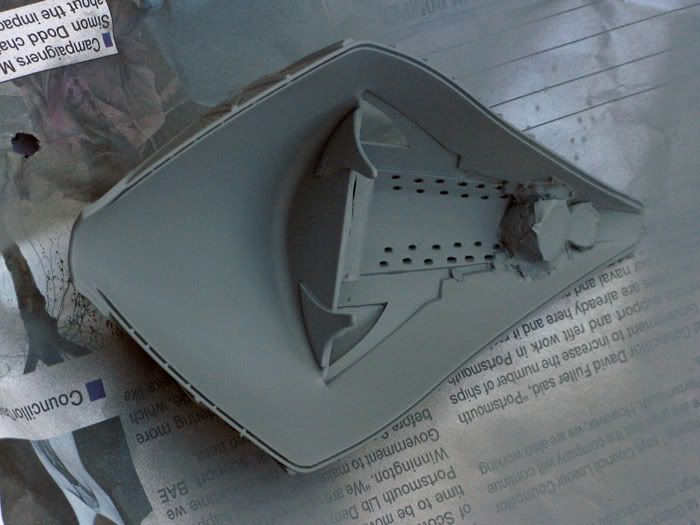
2 - BODY + APPENDAGES
Next is the body and side appendages (not sure what they're supposed to be)
You are meant to use the pins to slot the appendages into the body but the alignment is very poor. It is possible to get them in but they are under a lot of stress and seem pretty fragile and I could imagine something happening at some point which could cause them to fly off.
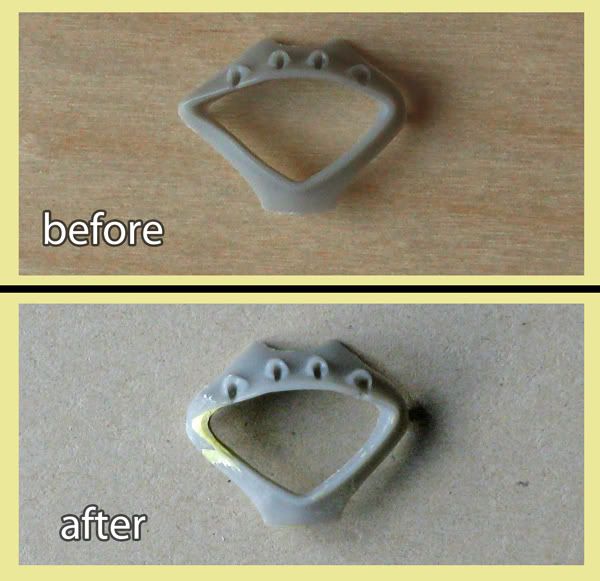
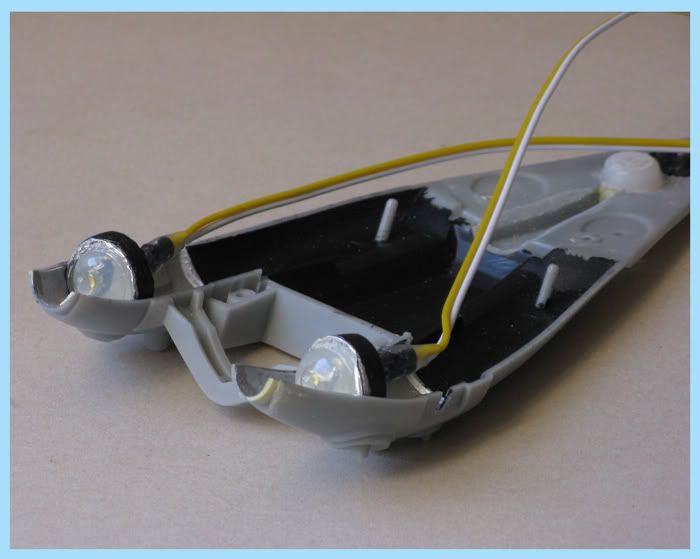
Here's one appendage side with it's original pins, or should I say 'pin' - yep one pin died in the process of test fitting.
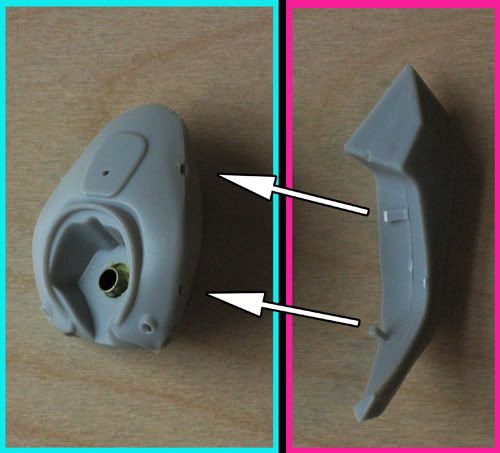
So I opted for a more secure fix and created a single strut support. Also a little milliput filling here and there.

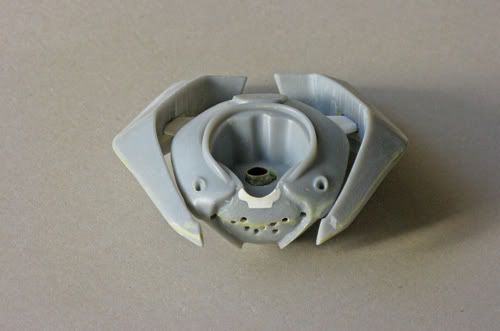
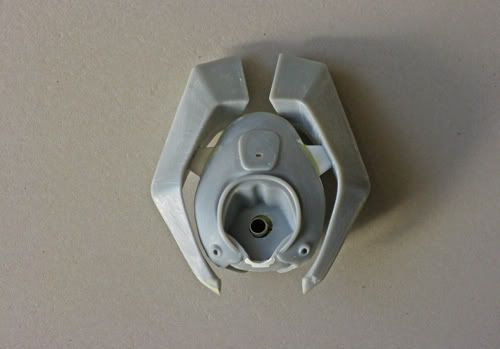
These appendages can now slot on or off which will be handy.
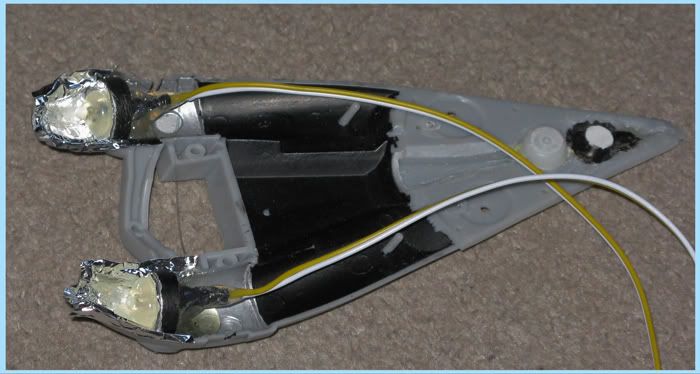
I must confess though that in my excitement at receiving this at Christmas, knowing I wouldn't be able to work on it for a while, I felt I had to glue something, anything together and feeling the appendage pieces (comprised of two halves for each piece) were a safe bet I super-glued them. When it came to actually working on those areas and modifying to a strut support I realised it was a mistake as I really wanted access inside each appendage piece. I managed to separate the joined pieces but it did create some damage - so excuse any random filler you see on each appendage necessary to get them back to spec.
I'll accompany the area I worked on with a diagram from the instructions to illustrate the particular section. The diagram features the model in a mostly assembled state but it gets the info across.
First thing was the idea that I wanted to be able to assemble/disassemble the model where possible, for ease of painting purposes as well as any future storage.
1 - NECK + BODY CONNECTION
One immediate place seemed to be the neck and body, so using a couple of brass tubes, one which fit snugly in the other I went ahead.
You might notice a pin on the right side at the top is lacking a twin on the other side - must have snapped off at some point but it's not a big deal and is more of a guide pin than a support.
I've also shaved the bottom front of the neck of a little material as when the body 'tentacle ring shield' is eventually attached to the body front it would have prevented the neck and body from being easily assembled and disassembled. You won't notice this on the final model though as the shaved area is out of view behind a section of the shield piece and an area on the body to be filled.
2 - BODY + APPENDAGES
Next is the body and side appendages (not sure what they're supposed to be)
You are meant to use the pins to slot the appendages into the body but the alignment is very poor. It is possible to get them in but they are under a lot of stress and seem pretty fragile and I could imagine something happening at some point which could cause them to fly off.
Here's one appendage side with it's original pins, or should I say 'pin' - yep one pin died in the process of test fitting.
So I opted for a more secure fix and created a single strut support. Also a little milliput filling here and there.
These appendages can now slot on or off which will be handy.
I must confess though that in my excitement at receiving this at Christmas, knowing I wouldn't be able to work on it for a while, I felt I had to glue something, anything together and feeling the appendage pieces (comprised of two halves for each piece) were a safe bet I super-glued them. When it came to actually working on those areas and modifying to a strut support I realised it was a mistake as I really wanted access inside each appendage piece. I managed to separate the joined pieces but it did create some damage - so excuse any random filler you see on each appendage necessary to get them back to spec.
Last edited:

")