1/72nd Finemolds Millennium Falcon (Major Modifications and Electronics)

Archive&Future

Sr Member
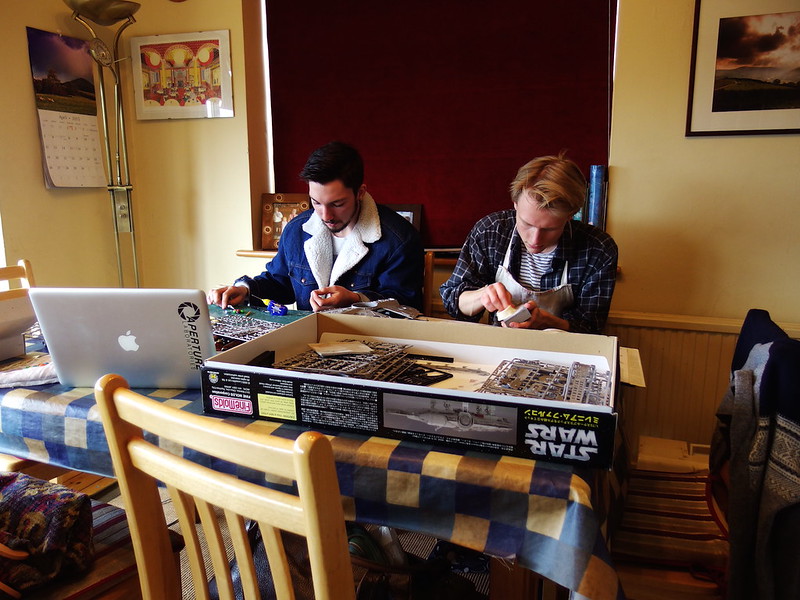
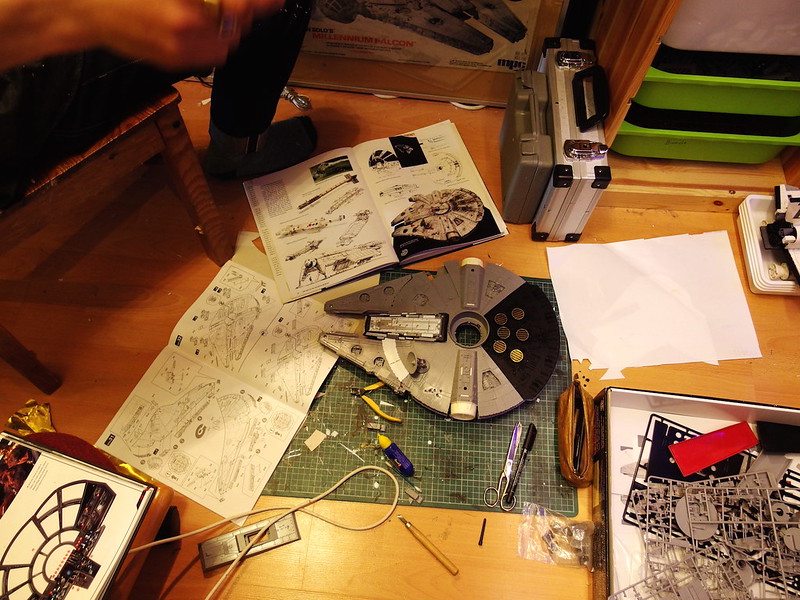
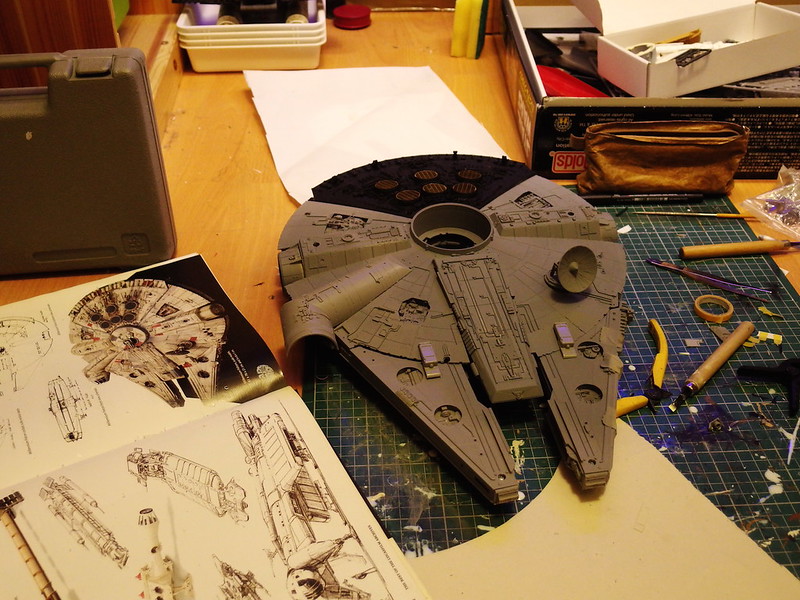
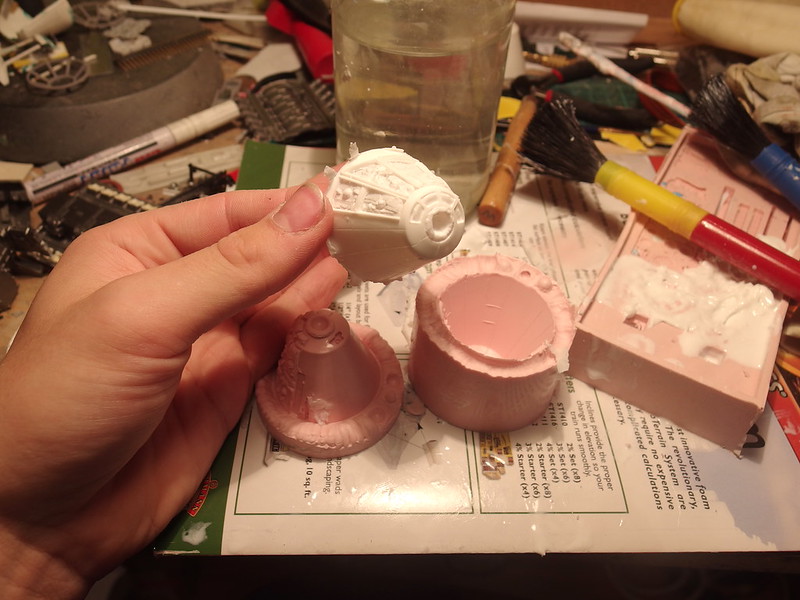
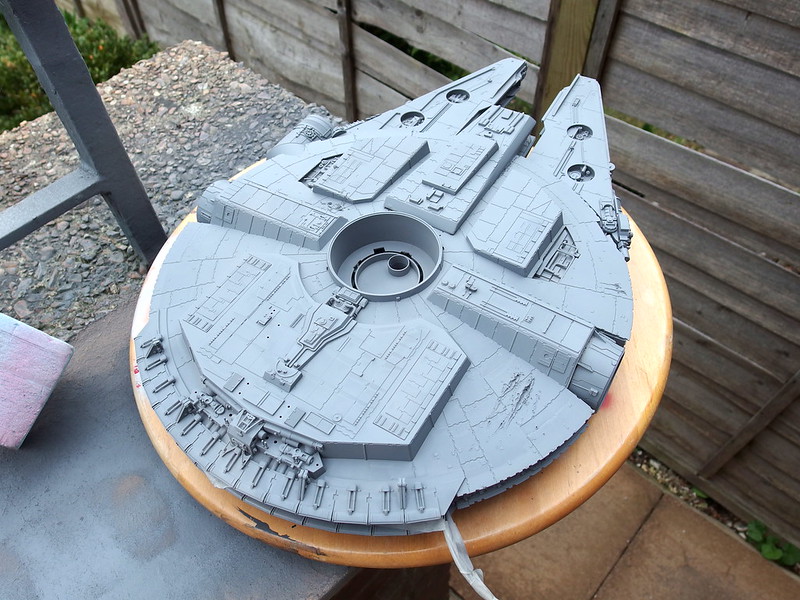
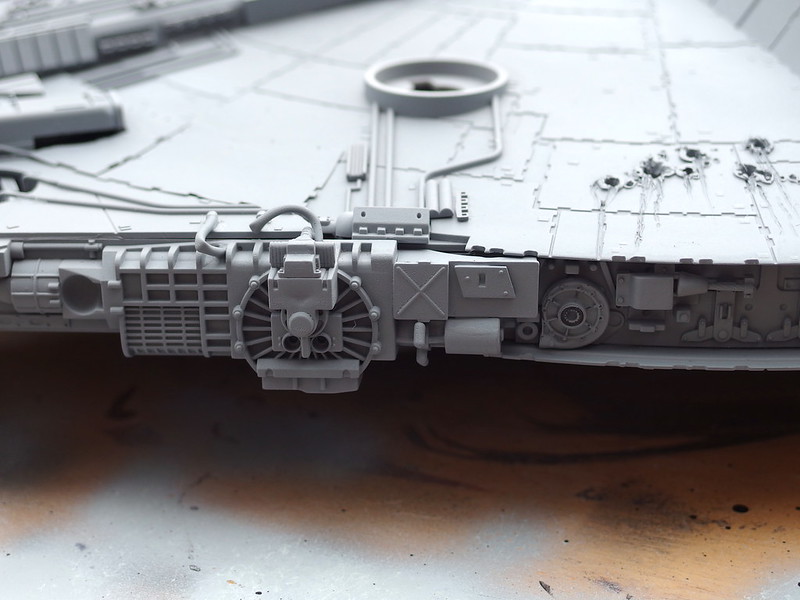
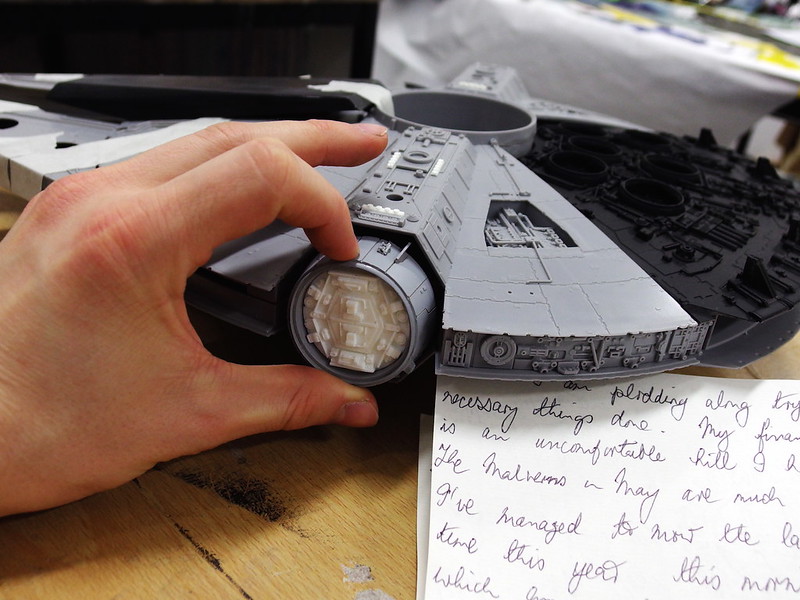
It's been a little while since I kept you all updated, I've been so busy with the kits and college, but I'm ready to start showing a commission I'm working on for an excellent client.


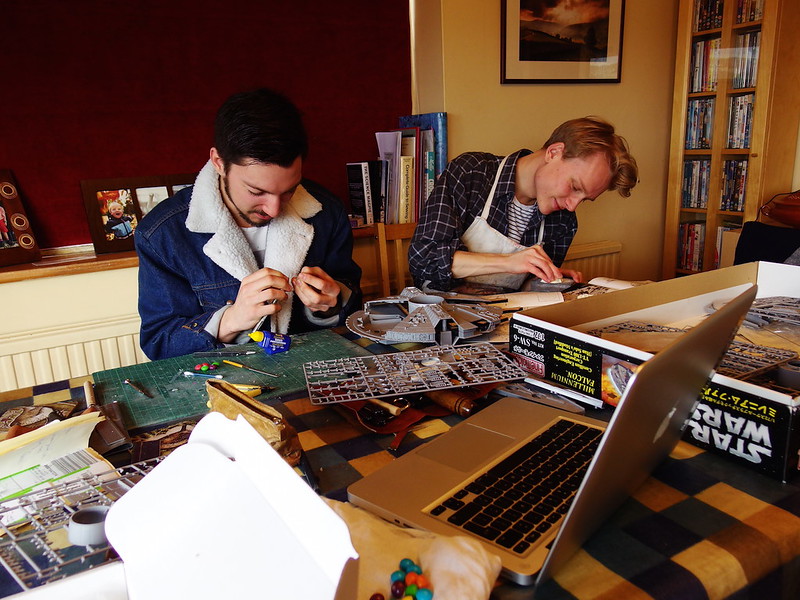
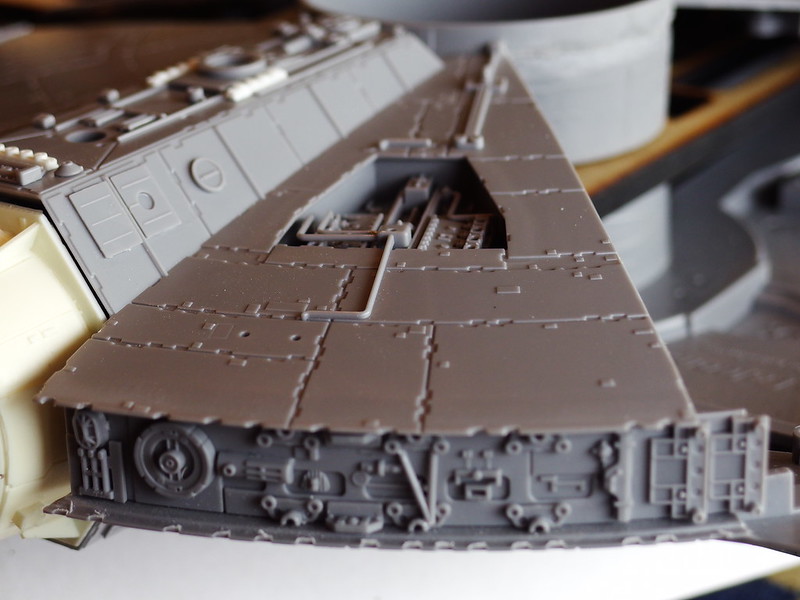
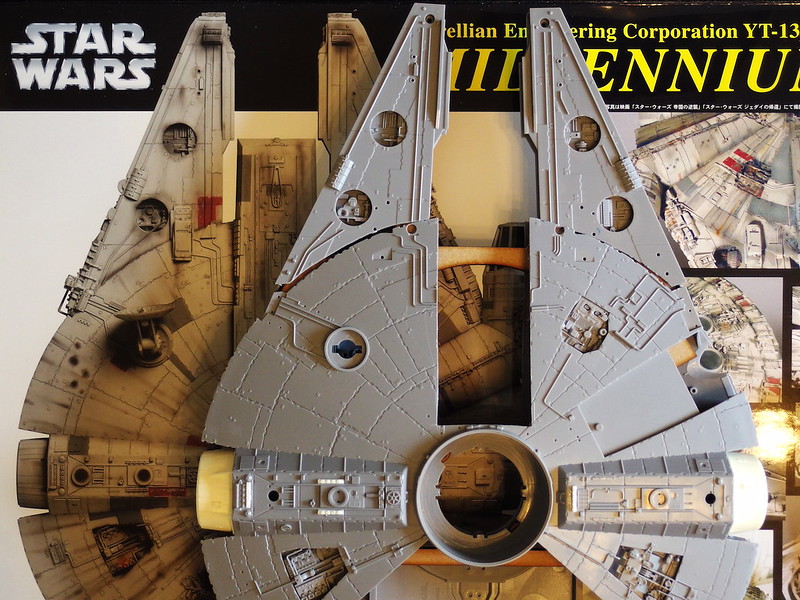
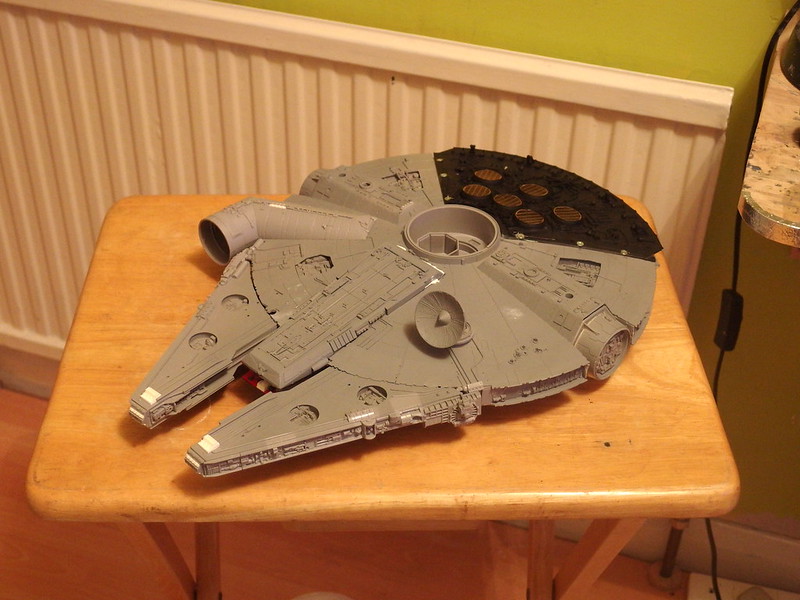
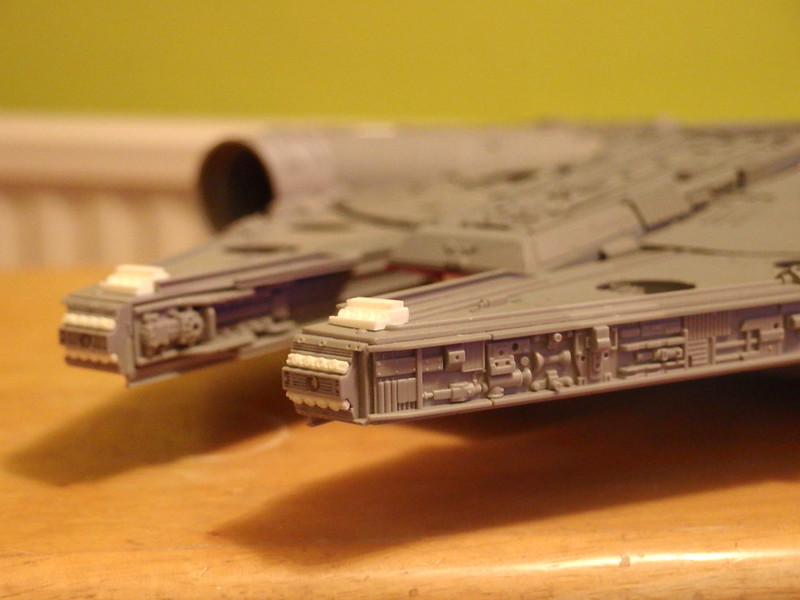
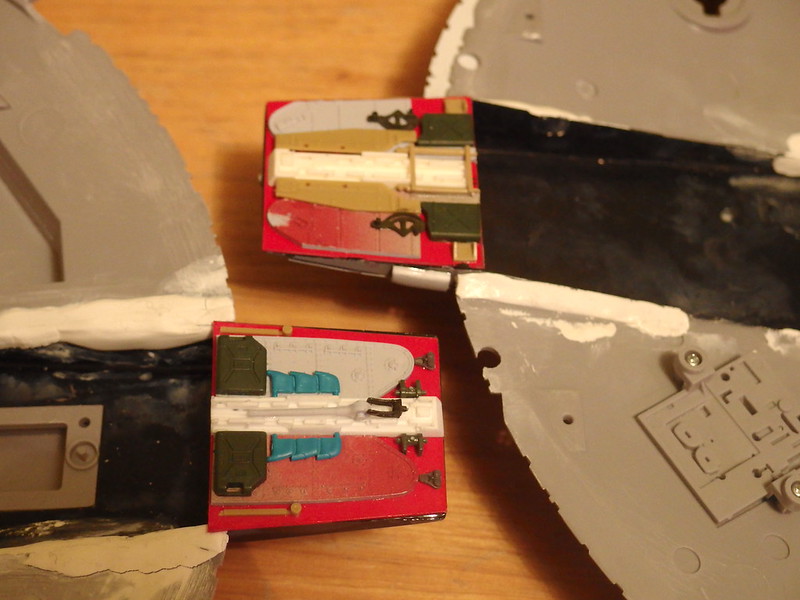
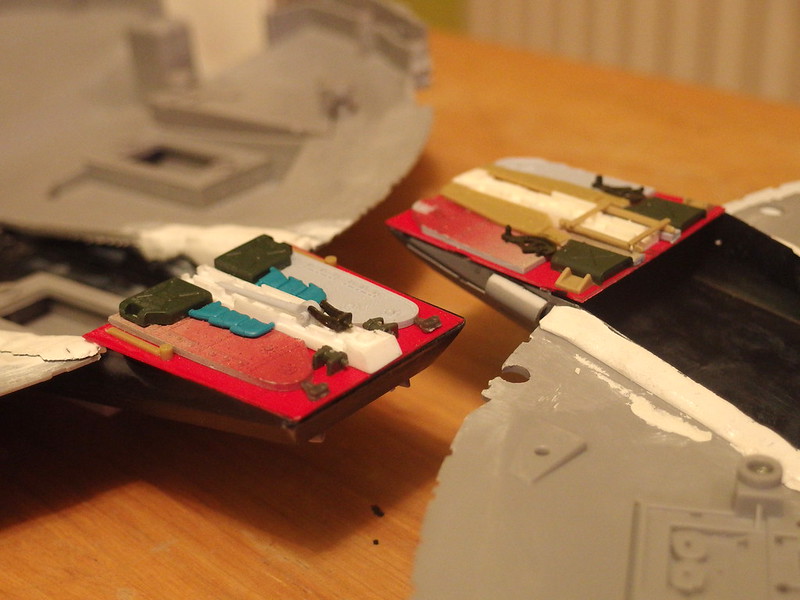
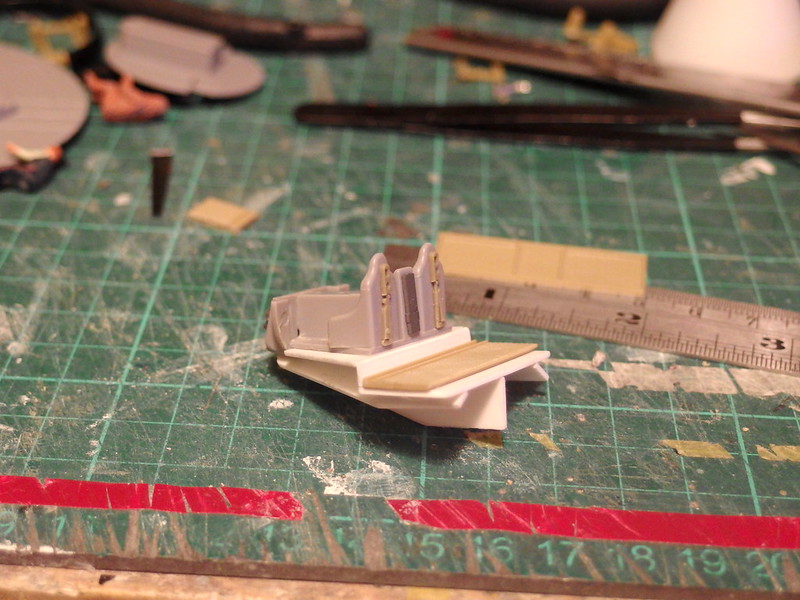
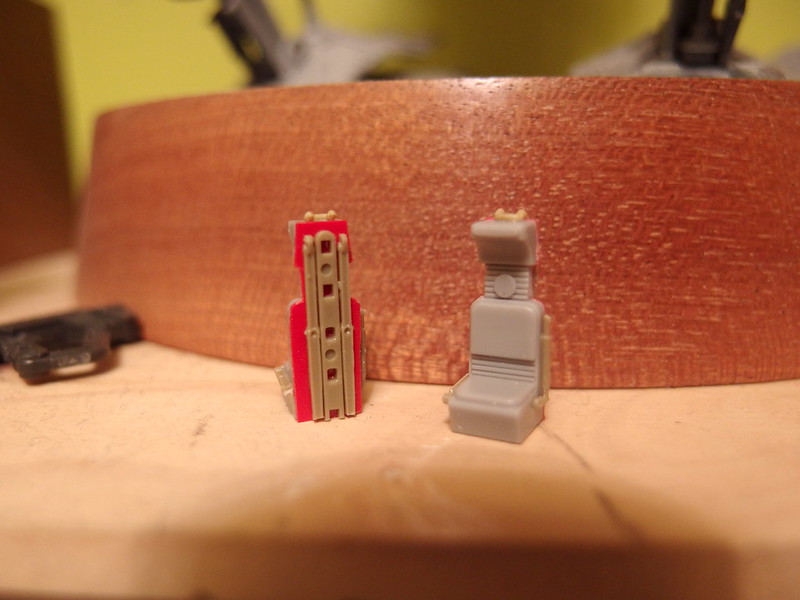
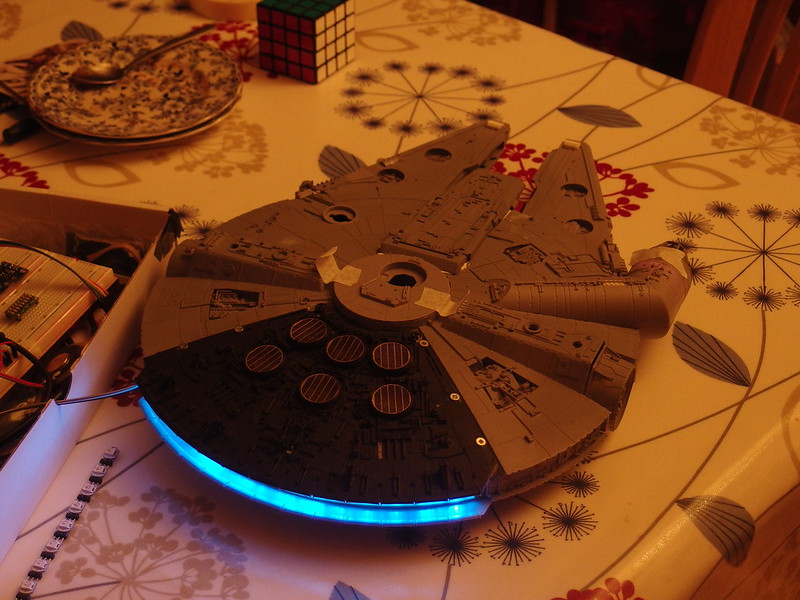
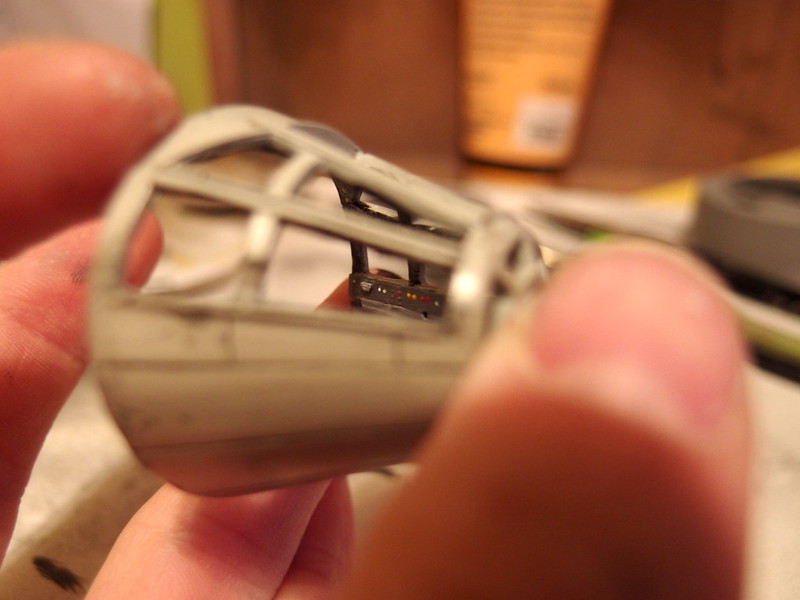
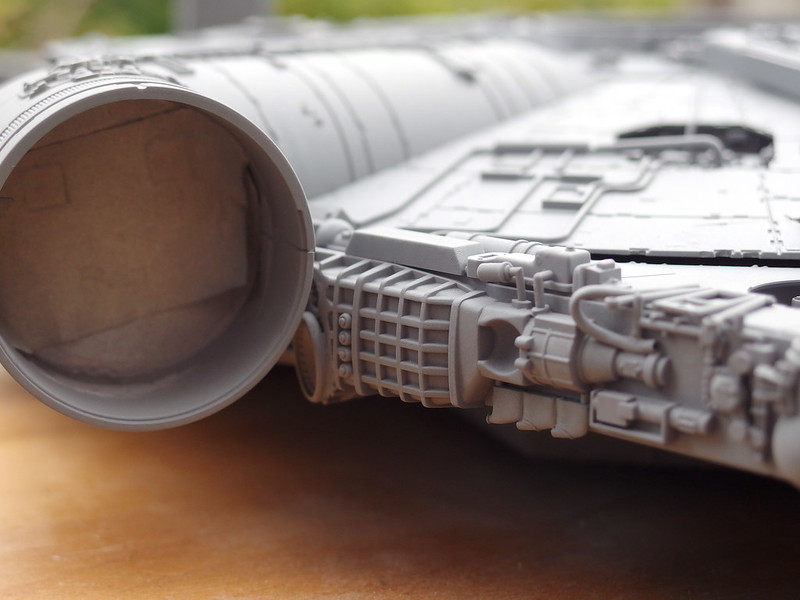
This is the 1/72nd Finemolds Millennium Falcon which is a really incredible kit (900 parts!!) but we decided to correct as much as possible and accurize it to the filming model. So far John and I have created a new jawbox, and today I laser-cut a specially designed MDF frame structure for the correct mandibles to be set into (I forgot to take any photos of it oh dear)


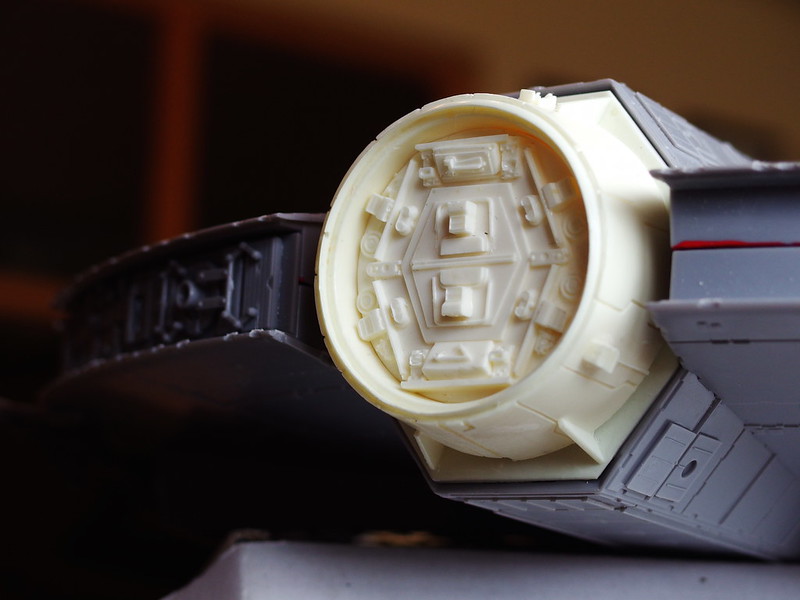
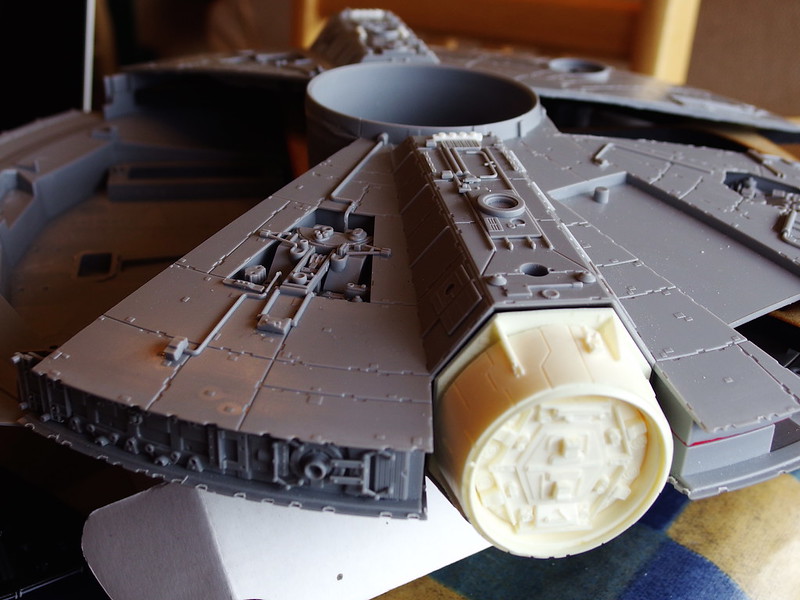
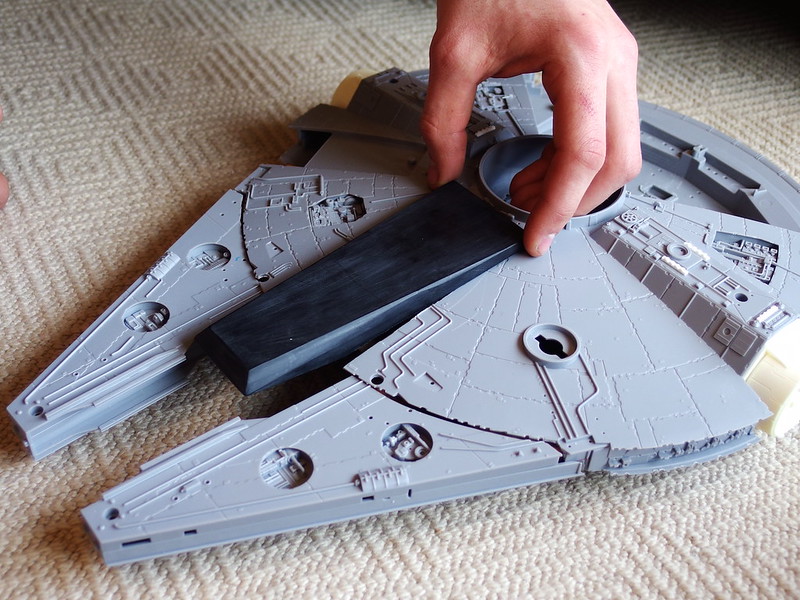
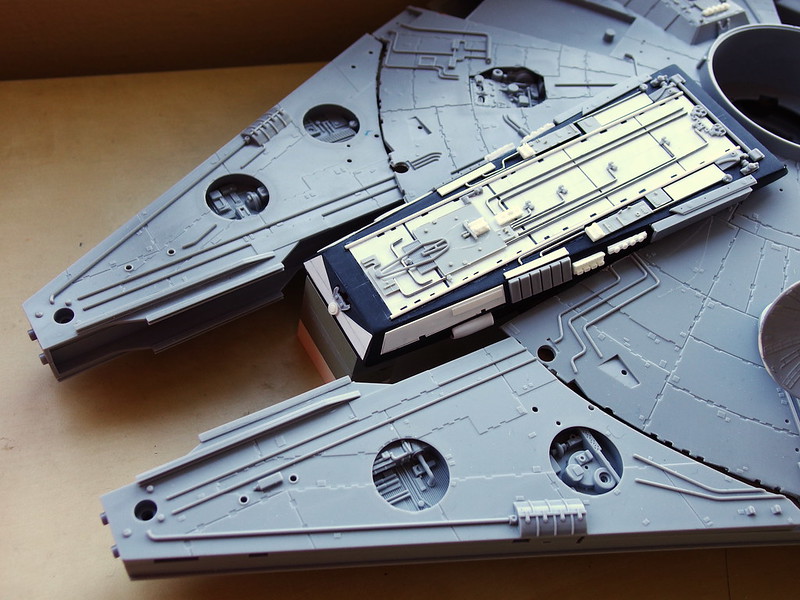
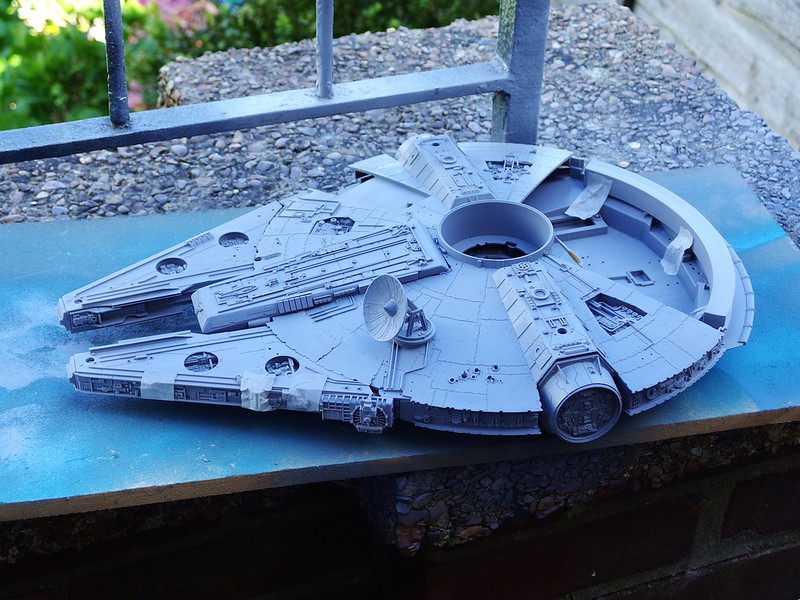
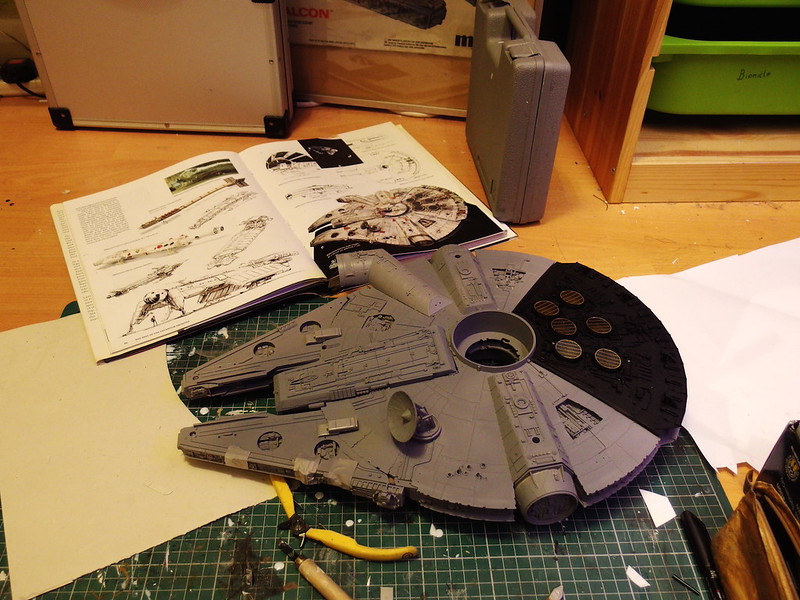
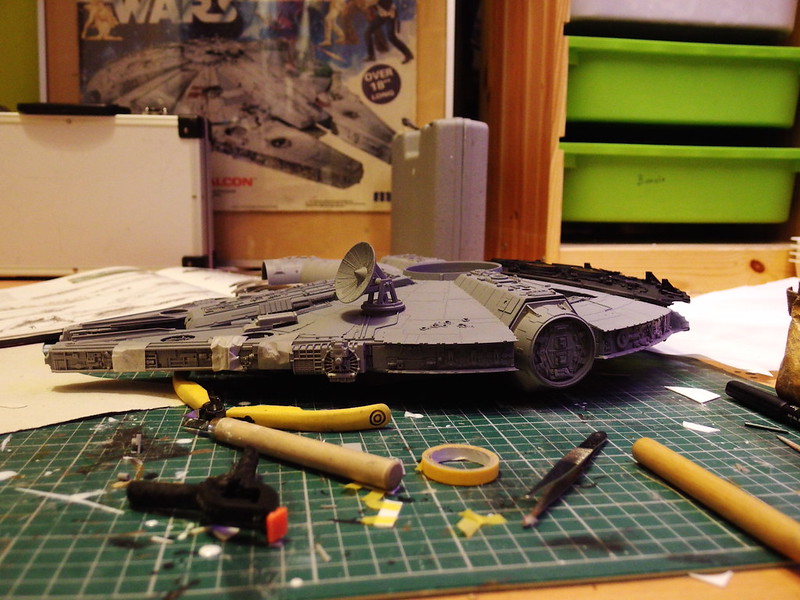
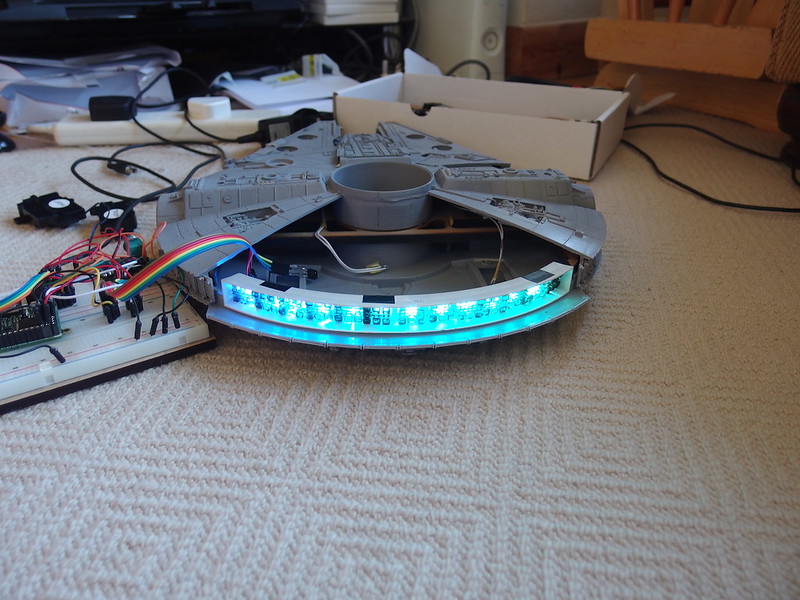
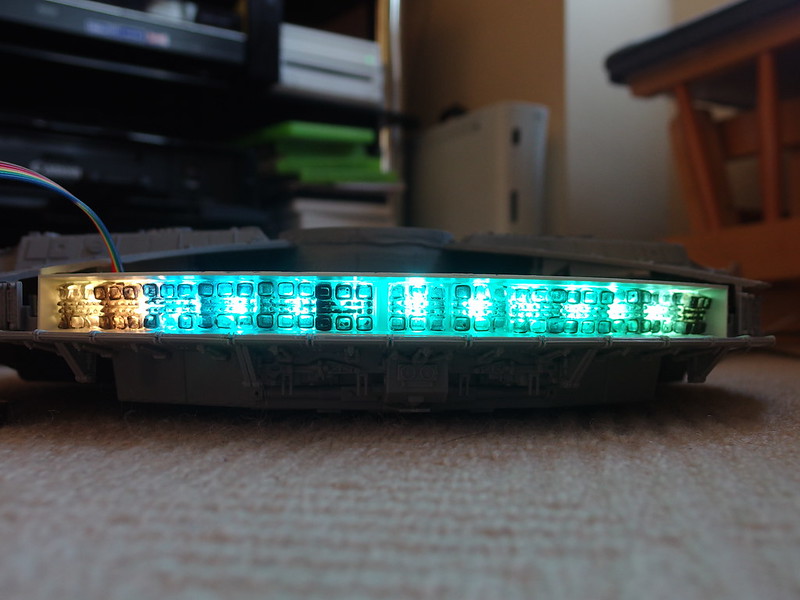
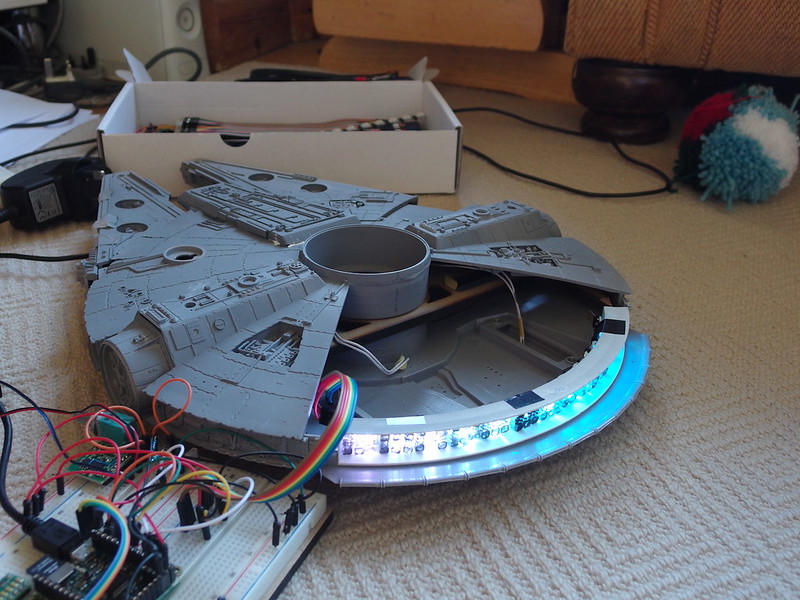
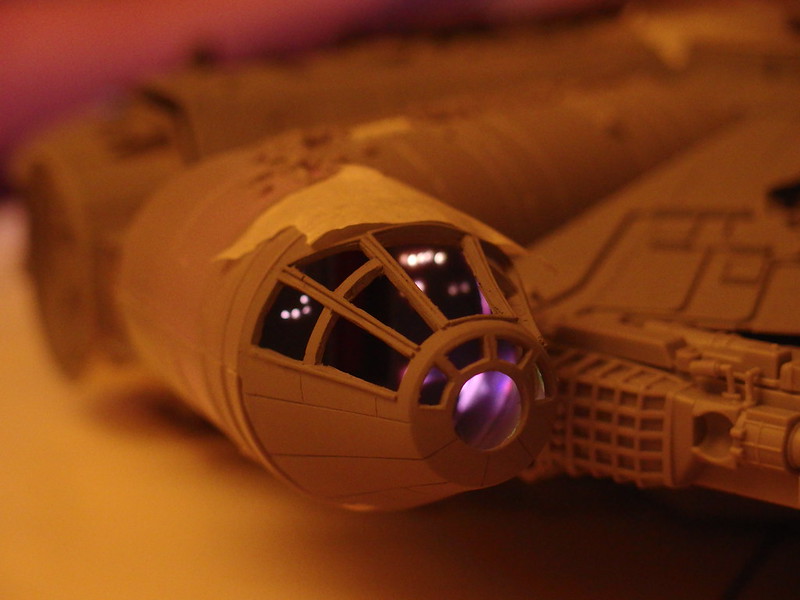
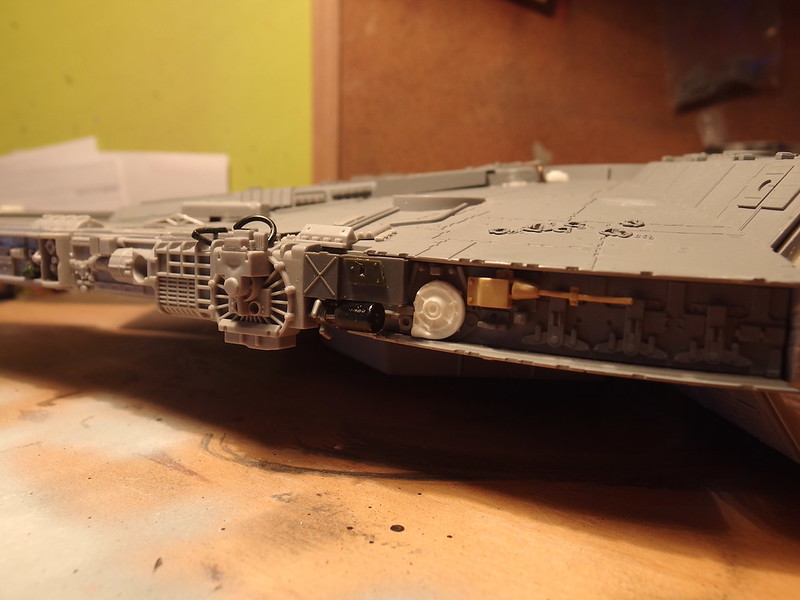
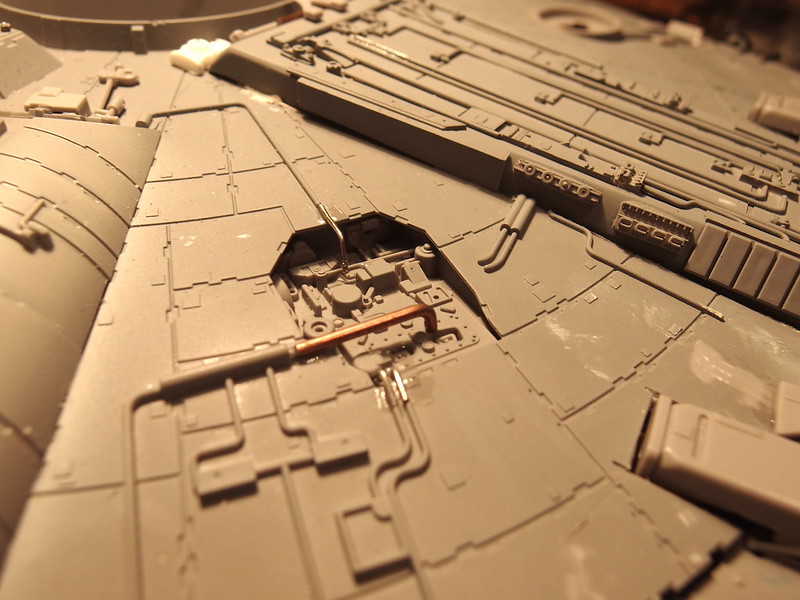
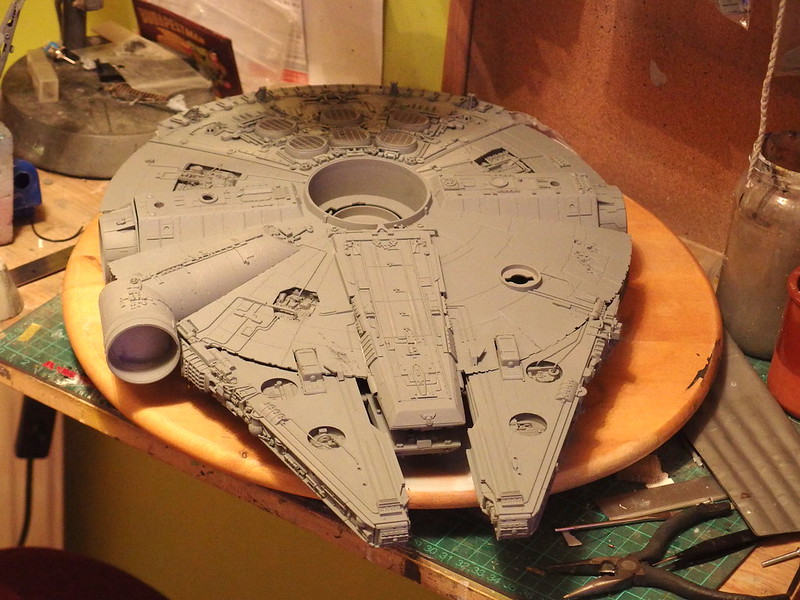
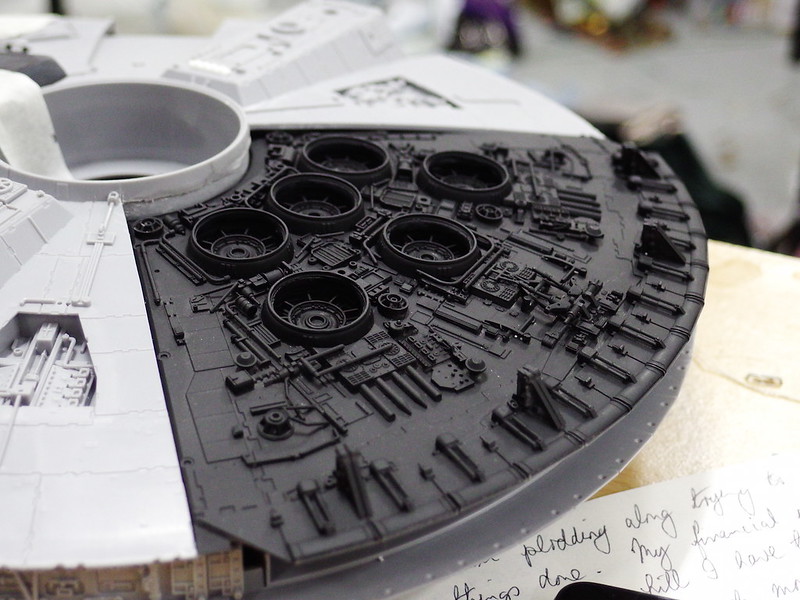
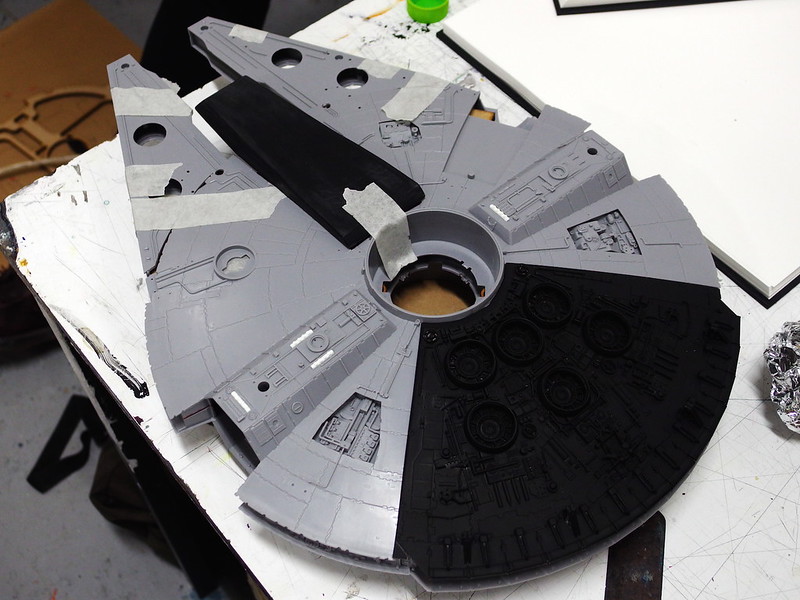
The rear engine deck has been cut out, and will be re-attached with a magnetic frame so that all the electronics can be easily accessed


HH,...have you looked at Rockvoices mods,....shortening the mandibles,....also filming model didn't have open grills & fans....still.....cool looking though
http://www.therpf.com/f11/1-72-fm-falcon-modified-match-32-studio-model-233336/?highlight=rockvoice

J

Mm yeah I know the 32" had solid grilles, but the customer wanted it to look detailed with the photo etch I've done for the MPC. Originally we were looking into motorizing the fans but with the amount of stuff that's going to be jammed underneath the engine deck it wasn't really feasible. Thankfully the guy it's going to isn't really really picky about details and has almost no knowledge of the filming models, I could easily have just done this kit OOB and he would have been over the moon but he's a big fan of both SW and my work so I knew it was best to make it as accurate as possible.....

I saw Rockvoice's one a couple of weeks ago it's stunning! My laser cut frame for the mandibles gives them both the toe-in and the correct length, it's just hard to see with the new jawbox being made of black plastic
 
That looks great !!! Nice job indeed !!!.......I don't know if I am going to ever do mine , still consider on selling it......too many parts ...LOL
 
Three hours of pretty solid work on this particular commission today, thankfully I had John round to help me and drink lots of coffee.


As you can see I'm using a few of my own resin upgrade parts, although they're designed for the MPC kit they fit nicely onto the Finemolds kit, it just requires a little bit of modification to get them fitting snug.


Soon enough I'll need to start fitting electronics, should be a laff


Here you can see the toe-in, but I have a nagging feeling that I should tuck the mandibles into the hull a little more...


I spent two and a half hours scratch building the corrected jawbox.


The black styrene base was vacuum formed over an oak buck John made for me, and then all the detailing was done this afternoon....I used as many of the Finemolds' kit parts as I could, but there was still a great deal of wire and styrene work.


Either way, it looks nice I think, probably nicer than it will in primer haha


Today has very much been a Falcon kind of day, getting back to work on both the Finemolds commission build, and my own MPC.


Although I don't have any photos, John and I spent several hours building a new cockpit interior to fit our accurate vac-formed cockpit.


Other than that, I started adding 0.25mm styrene lip plating to cover the discrepancy between the new mandible position and the hull; I also used a soldering iron to melt some nice blaster scoring into the plating, then smoothed it out a little with a scalpel and sandpaper


Got some more sidewalls in place too!


Well college is finally done with, I am a free man.....it's terrifying....meanwhile, I have managed to get back to work with Marc's Falcon, today I focused on the lower jawbox.
I used the second vacuum formed piece, detailed with styrene and with the landing gear box salvaged from the original part

17846241583_e5743952df_c.jpg


17846241583_e5743952df_c.jpg


18462629862_c80f0c2c11_c.jpg


17846238863_183d9ac1b8_c.jpg


18280722329_90d1c3e259_c.jpg
 
Last edited by a moderator:
Someone's looking good eh!?

Running tests from a Micropython board, just cycling through various colours. We're using RGB neopixels, very smart little things


All the electronics will be self contained, but it's mostly on breadboard at the moment
 
Click on this photo to watch a 10 second video of the modulating cockpit lights


So I moulded and casted an improved cockpit from my vac-formed master, cleaned it up, and hey, not bad!


All credit for the electronics and programming work goes to my dad, who is just roughing out the sequencing for the micropython system. He assures me the modulation and frequency can be made a lot smoother, but these tests are just to understand what we're trying to achieve


Last edited:
I'm calling this build finished. It's time to move onto installing the electronics and painting it properly. Once that's done, a beautiful wooden stand needs to be made and then shipped off to one lucky customer


This thread is more than 8 years old.

Your message may be considered spam for the following reasons:

  1. This thread hasn't been active in some time. A new post in this thread might not contribute constructively to this discussion after so long.
If you wish to reply despite these issues, check the box below before replying.
Be aware that malicious compliance may result in more severe penalties.
Back
Top