IzzyMel
Sr Member
I'm not sure if this is the correct place to post. Hope it is. I'm currently working on 1/6 X-wing Cockpit only to include R2 space. I posted the progress on a different site so, I'm sorry if you have seen this before. I try to give credit where credit is due. It is very hard to find reference material for the inner cockpit pictures(behind the seen pics or images that others have created to be as accurate as possible). I looked for pics throughout and used the ones that I thought were the best ones for this project of mine. If used your reference images and did not give you credit I apologize send me an e-mail and I'll be sure to mention it. That being said here are my posts:
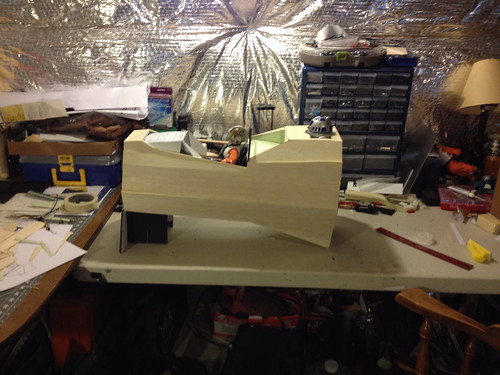
This is my 1st custom piece. I decided to build a custom 1/6 X-wing Cockpit section only. I don't have room for a full x-wing. I have the new Luke from Sideshow on order and I figured that I would need something to display him with. I used the x-wing PDF plans, that Oldman made, which I found on the RPF forums. Not sure who it was that Made the PDF's but I took the measurements and converted them to a 1/6 scale for my diorama. This is a 1st try to see how everything fits together.
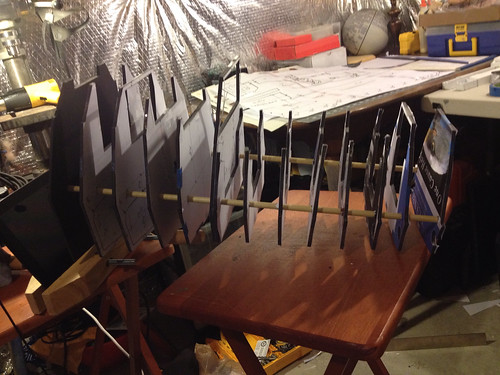
I printed the cross sections off and then taped and cut them out on Foam board;
 1/6 Scale xwing project by i_melendez45, on Flickr
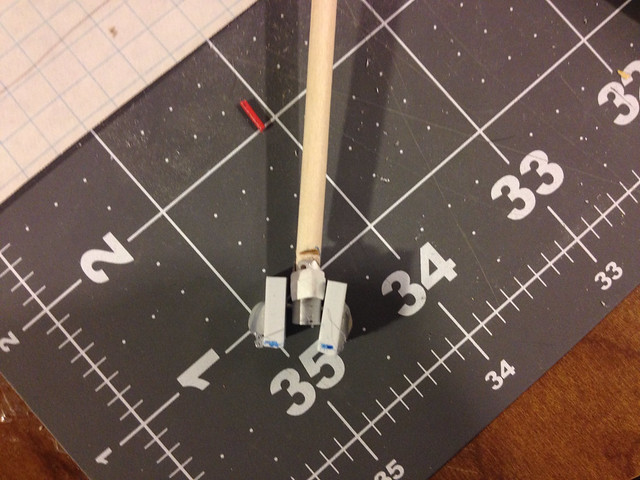
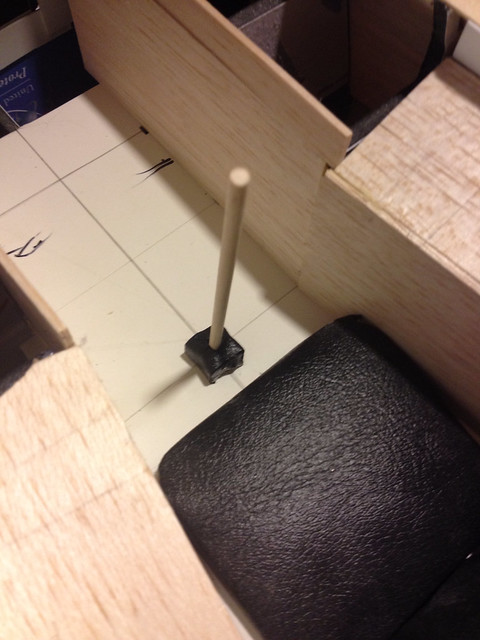
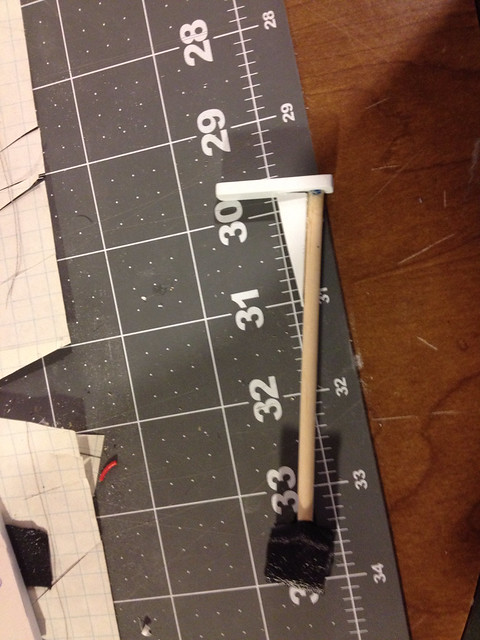
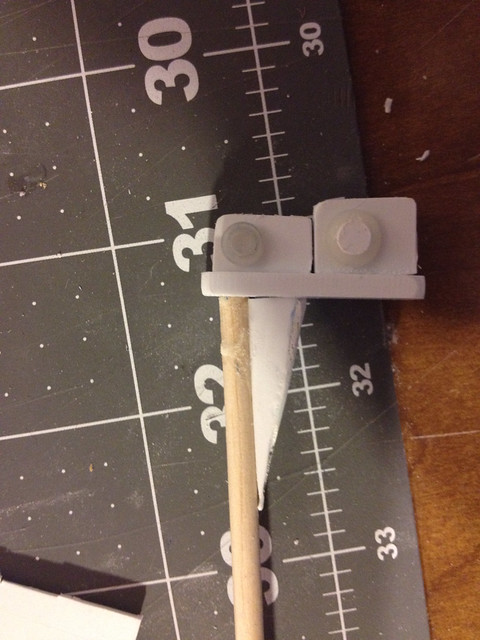
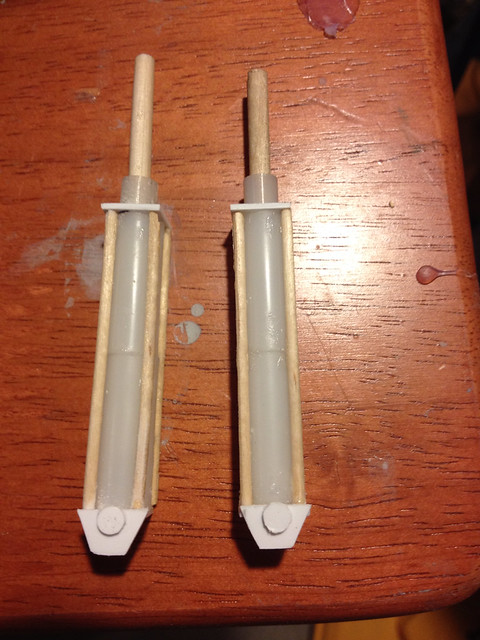
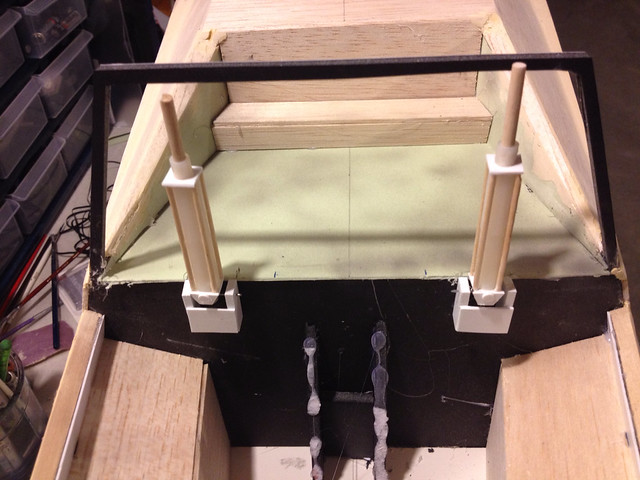
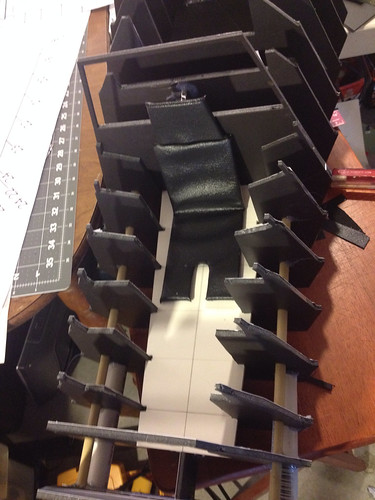
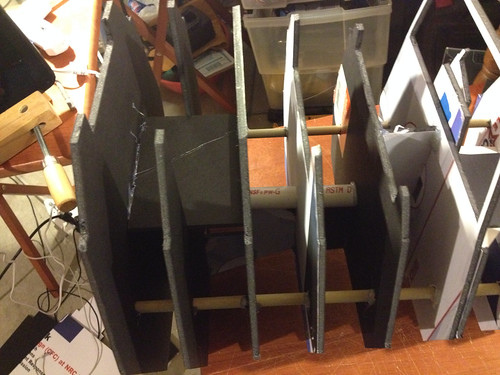
I bought two poplar wooden dowels to help space out the sections:
 1/6 Scale xwing project by i_melendez45, on Flickr
 1/6 Scale xwing project by i_melendez45, on Flickr
Image of the seat; (The seat is not canon. Had a hard time finding images of the seat. The cross section book has the an image but doesn't match the movie)
 1/6 xwing project by i_melendez45, on Flickr
I used a 1/2 pvc pipe to also help line up the sections;
 1/6 xwing project by i_melendez45, on Flickr
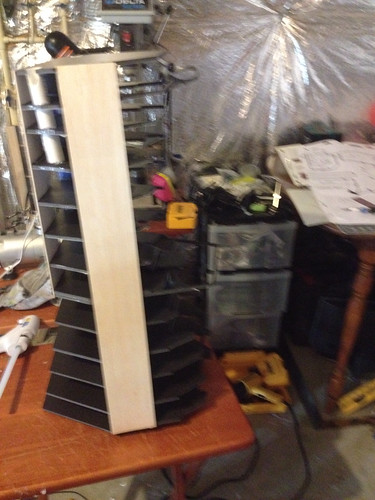
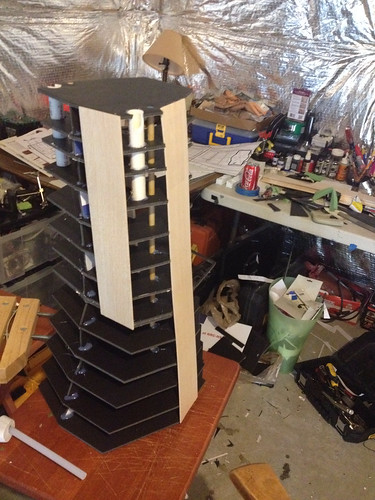
I secured the cross sections with hot glues
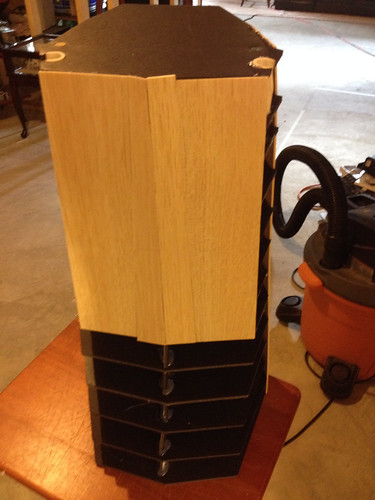
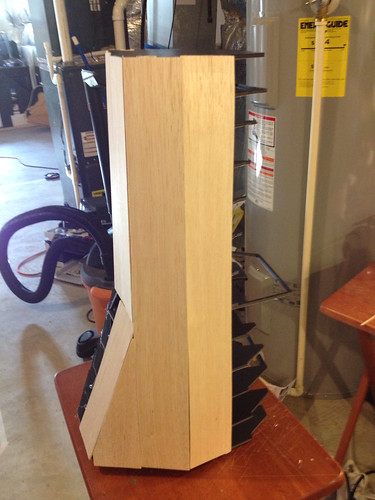
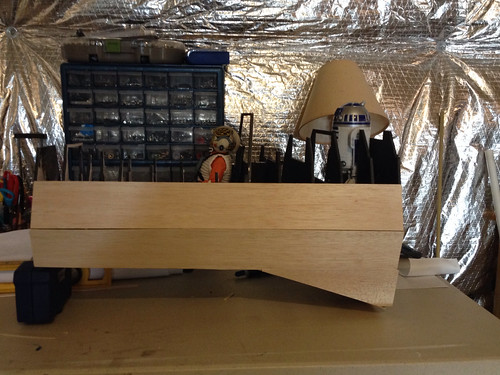
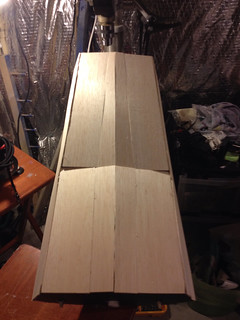
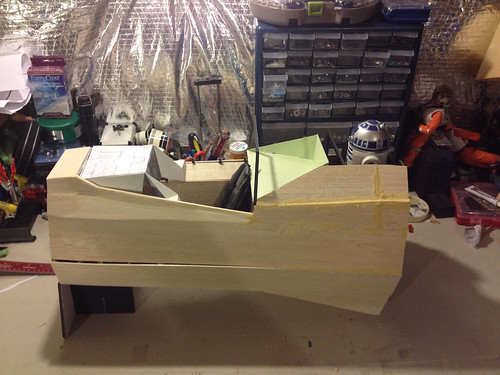
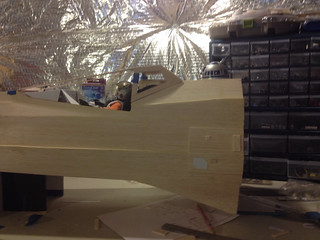
I'm using balsa wood to skin the frame of the cockpit.
 1/6 xwing project by i_melendez45, on Flickr
 1/6 xwing project by i_melendez45, on Flickr
 1/6 xwing project by i_melendez45, on Flickr
 1/6 xwing project by i_melendez45, on Flickr
 1/6 xwing project by i_melendez45, on Flickr
 1/6 xwing project by i_melendez45, on Flickr
More to follow
 Sorry about the mess in the background
- - - Updated - - -
Found this image on the web:
 xwing seat by i_melendez45, on Flickr
I think this is the closest seat to the one seen in the behind the scene shots of the X-wing cockpit.
- - - Updated - - -
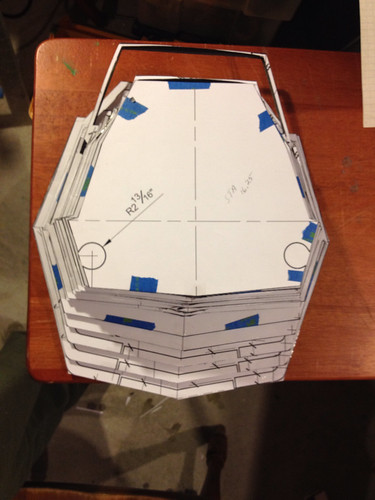
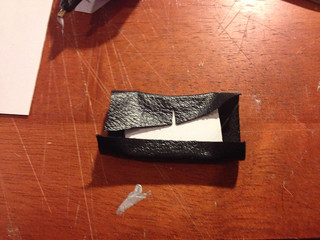
I cut out a pattern for the seat to see how it would look once in place.
 Xwing seat pattern by i_melendez45, on Flickr
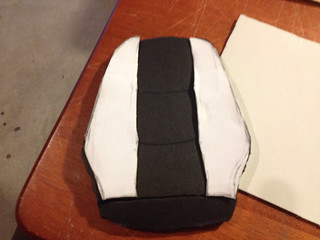
I think it will look good once I cover the pattern and fill the cushions.
 Xwing seat pattern by i_melendez45, on Flickr
- - - Updated - - -
Ton of pictures to come sorry for the overload
- - - Updated - - -
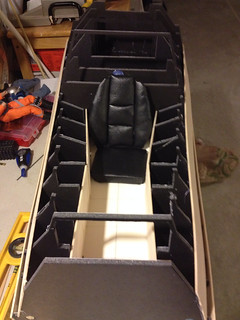
Did some more work on the seat, cockpit and outer area.
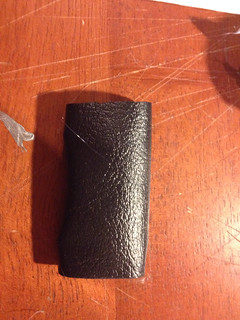
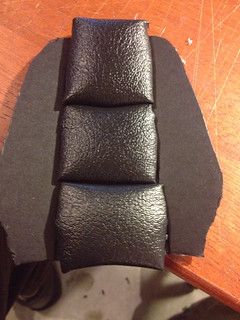
The seat I used come card stock, cushion material, and pleather to make the seat. I like this one better than the 1st one I tried;
 Xwing seat by i_melendez45, on Flickr
 Xwing seat by i_melendez45, on Flickr
 Xwing seat by i_melendez45, on Flickr
 Xwing seat by i_melendez45, on Flickr
 Xwing seat by i_melendez45, on Flickr
 Xwing progress by i_melendez45, on Flickr
Here is the bottom;
 Xwing progress by i_melendez45, on Flickr
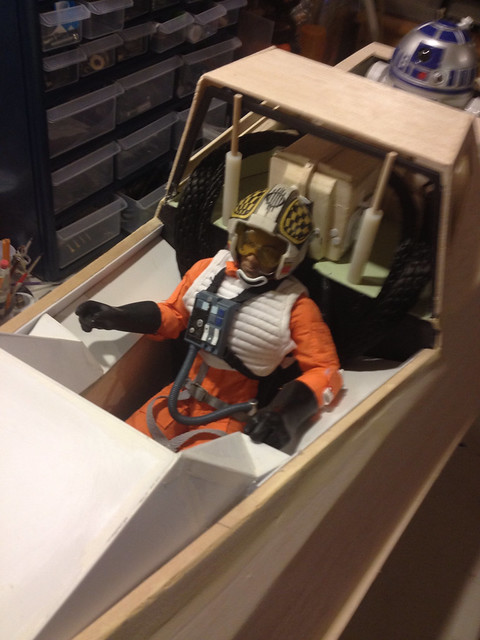
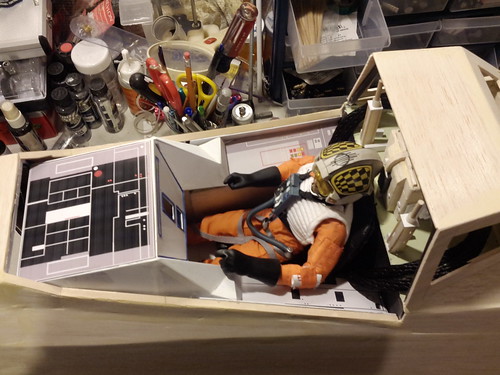
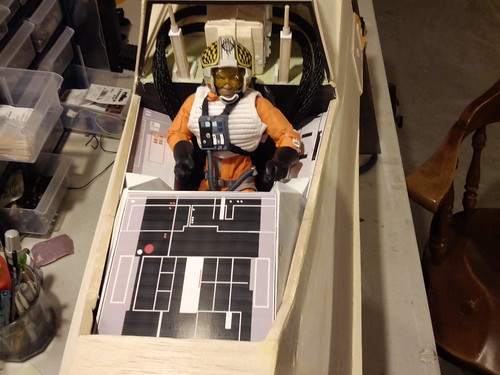
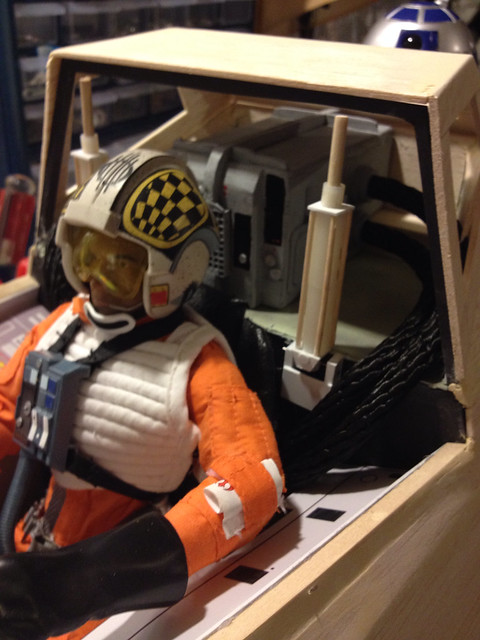
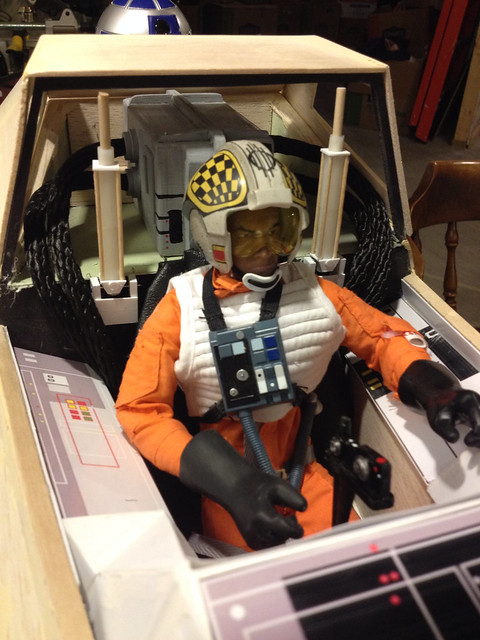
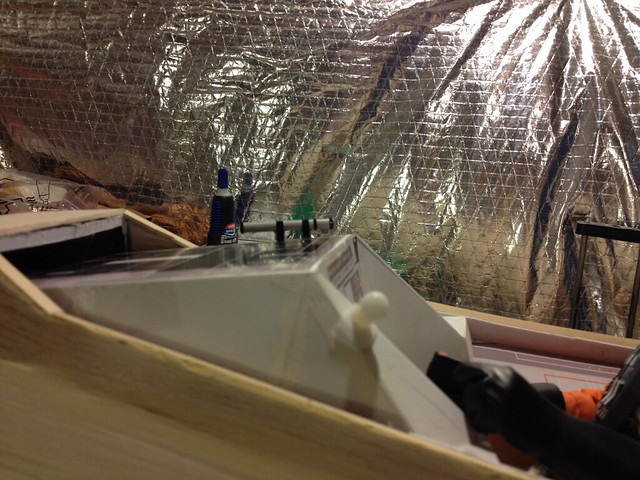
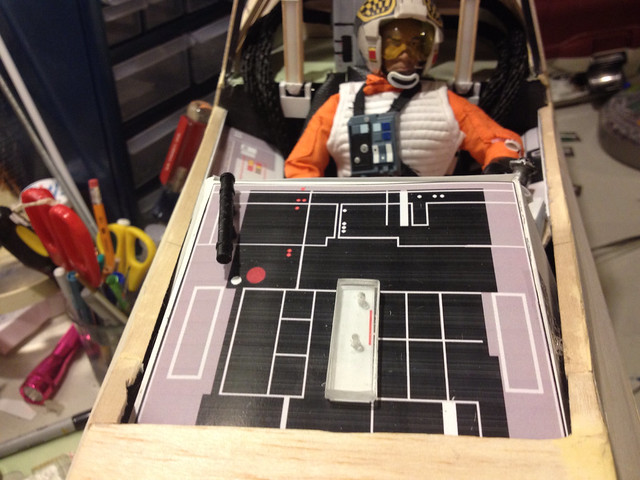
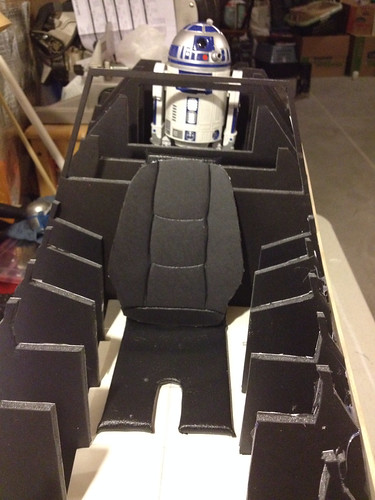
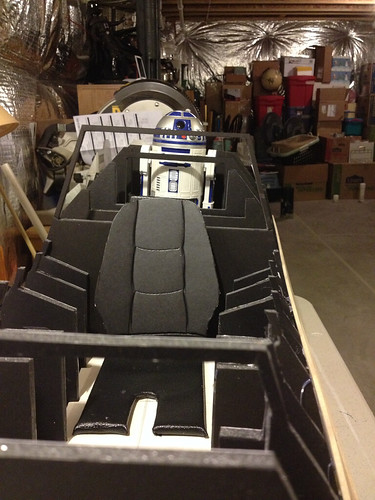
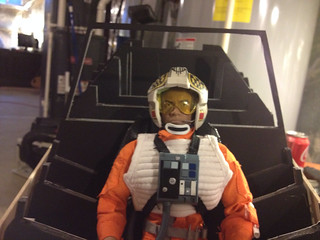
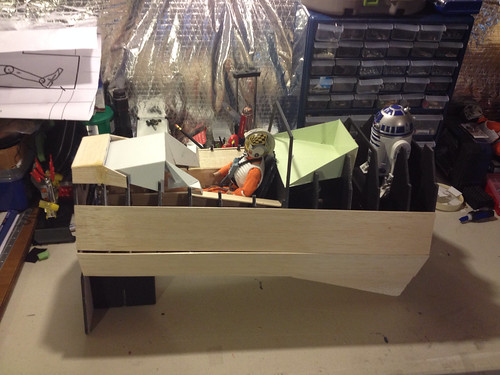
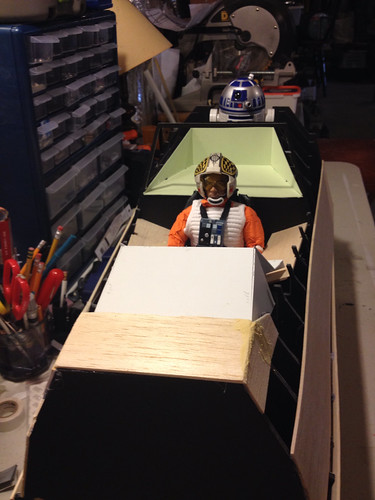
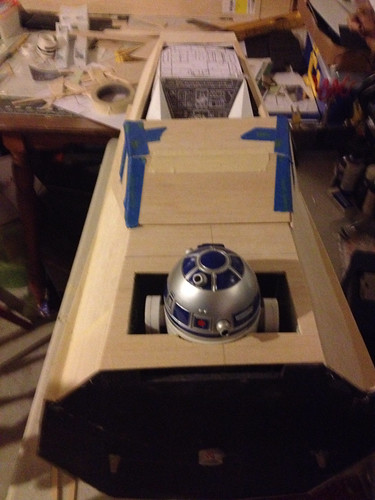
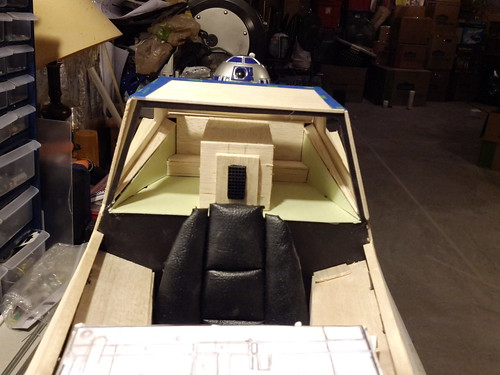
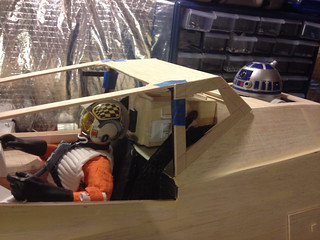
Start to work on the inner cockpit. The seat is sitting loose.
 Xwing progress by i_melendez45, on Flickr
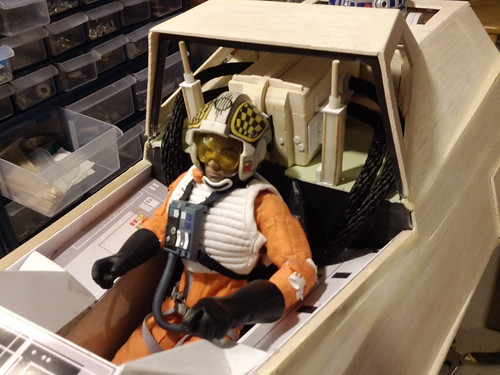
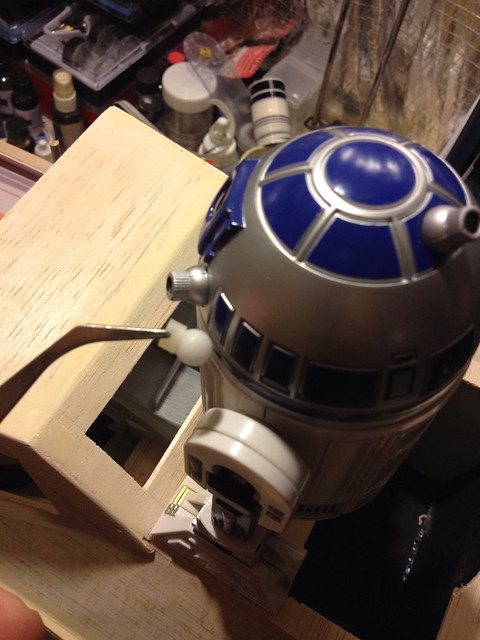
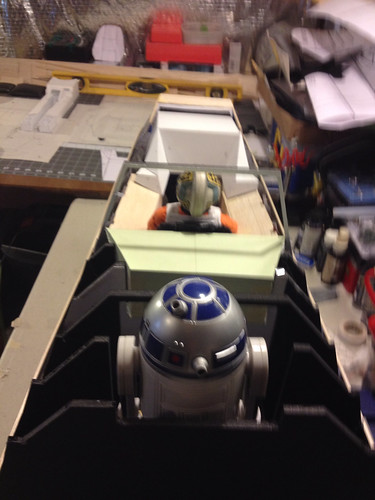
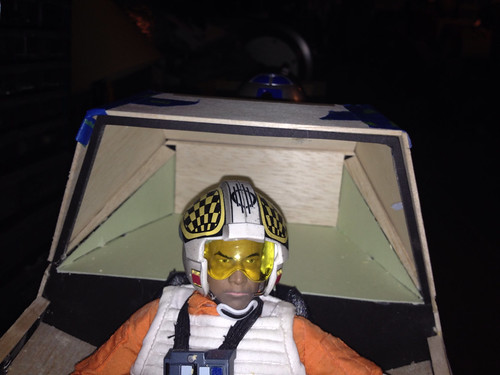
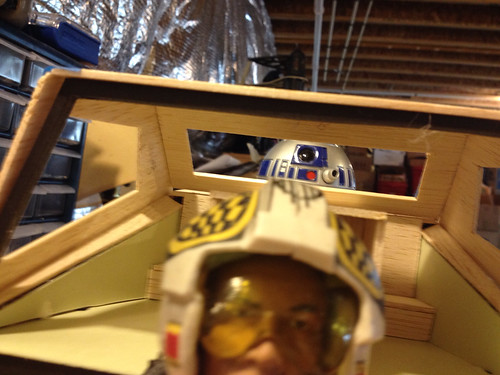
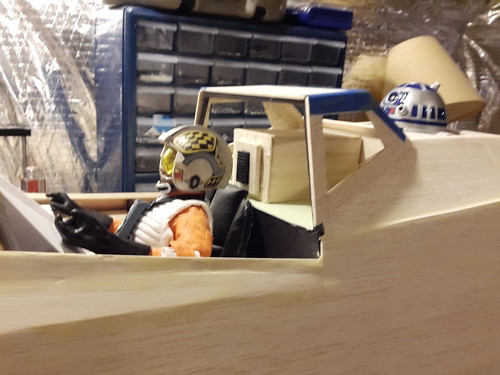
R2 and Pilot;
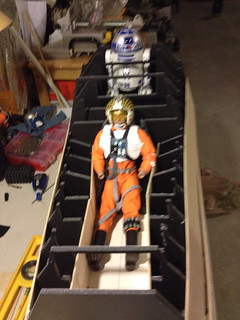 Xwing progress by i_melendez45, on Flickr
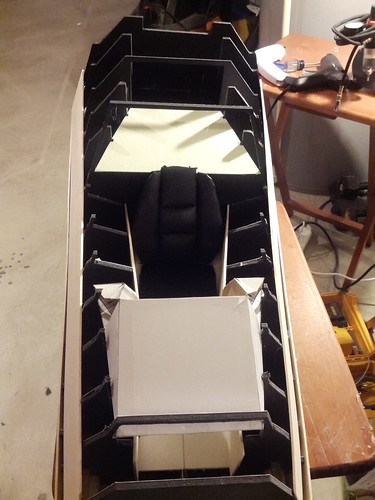
More of the cockpit;
 Xwing progress by i_melendez45, on Flickr
- - - Updated - - -
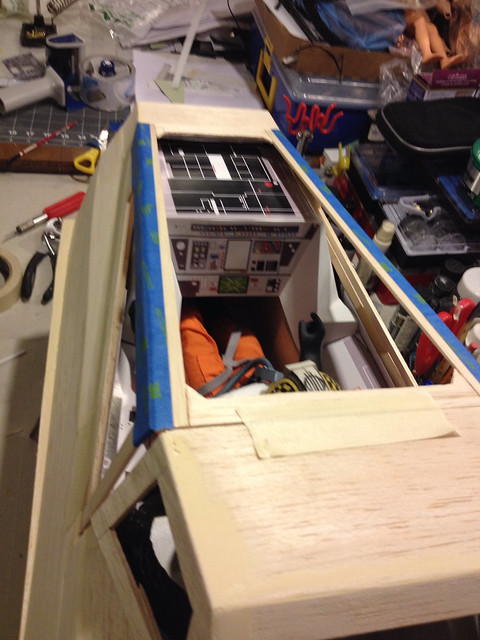
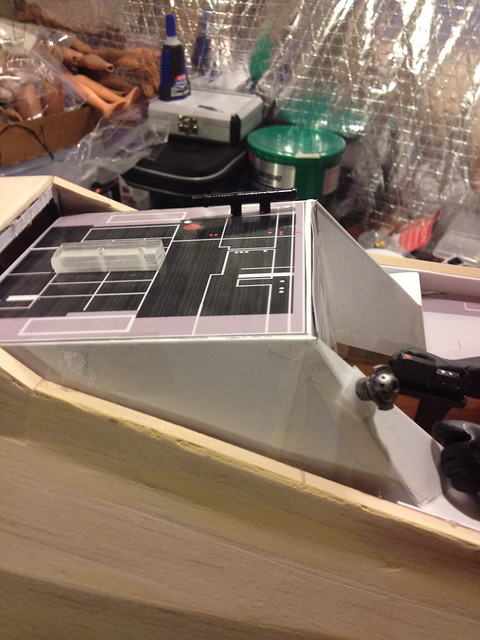
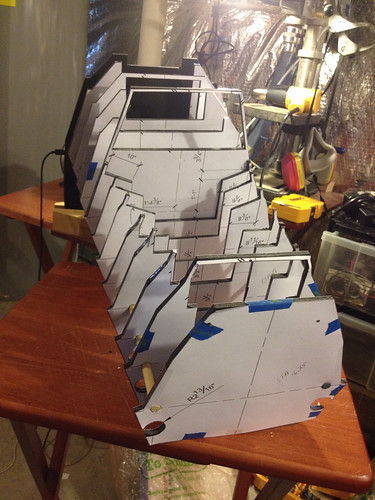
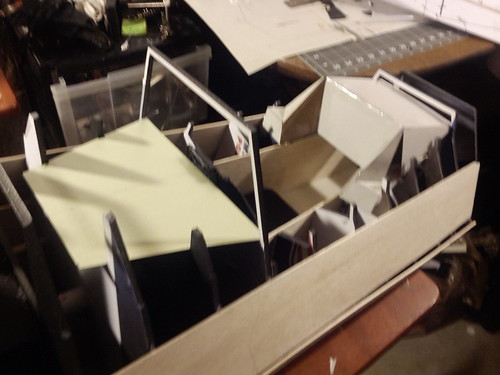
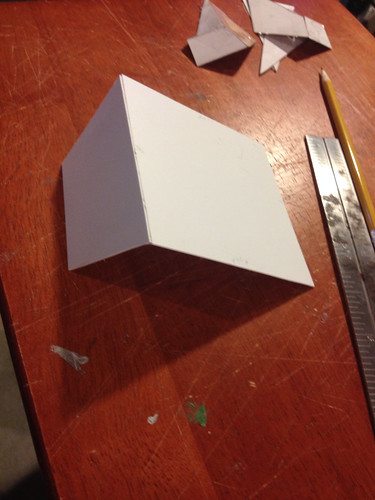
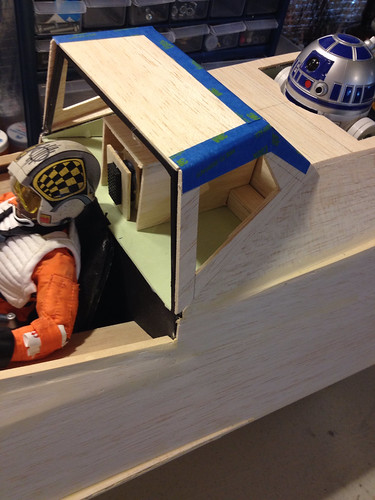
I built out the front part of the inner canopy from card stock to see how it would fit before I built it from balsa wood.
Front view:
 IMG_20150126_185902 by i_melendez45, on Flickr
Side view:
 IMG_20150126_185917 by i_melendez45, on Flickr
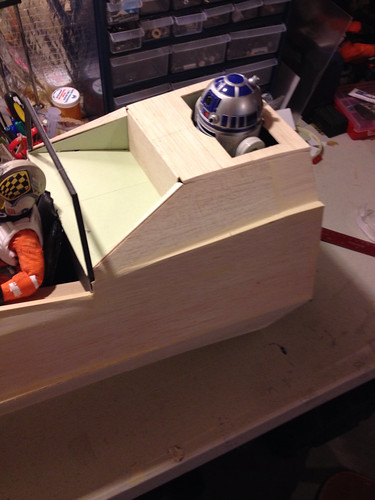
Rear View:
 IMG_20150126_185932 by i_melendez45, on Flickr
- - - Updated - - -
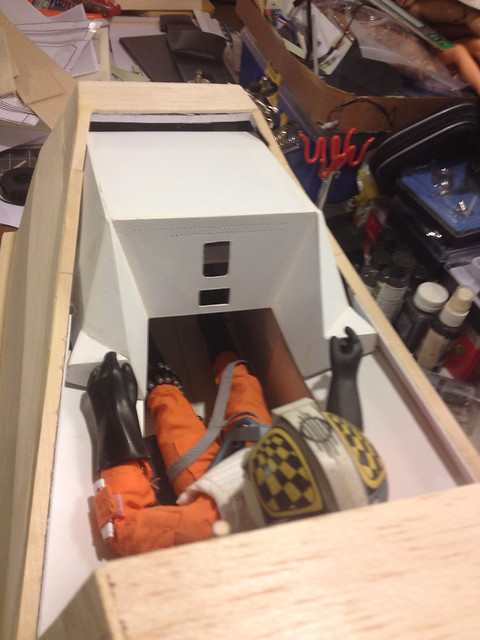
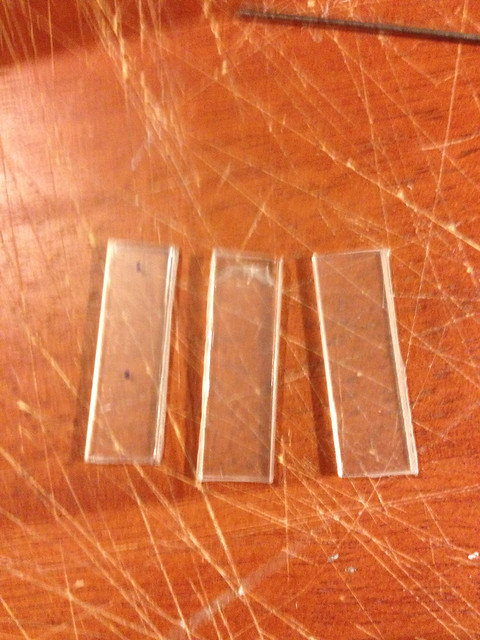
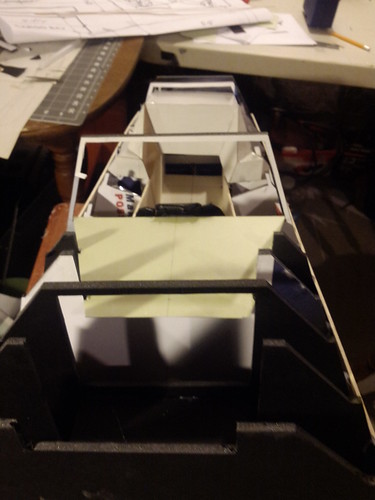
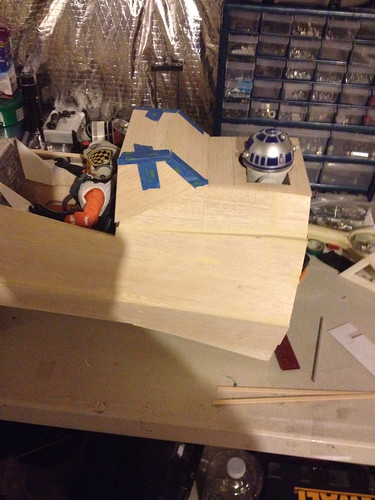
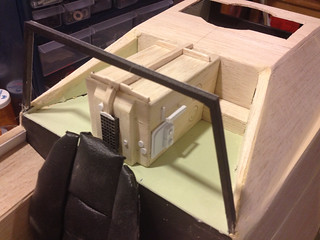
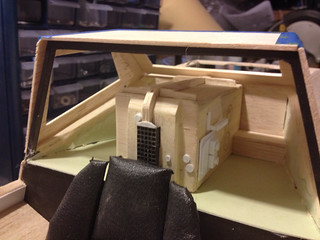
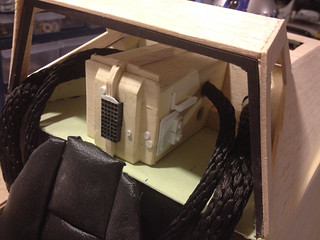
I started to build out the inner cockpit from styrene.
 Xwing progress by i_melendez45, on Flickr
 Xwing progress by i_melendez45, on Flickr
A little bit more progress today.
Side view:
 Xwing progress by i_melendez45, on Flickr
Back View:
 Xwing progress by i_melendez45, on Flickr
Front View:
 Xwing progress by i_melendez45, on Flickr
- - - Updated - - -
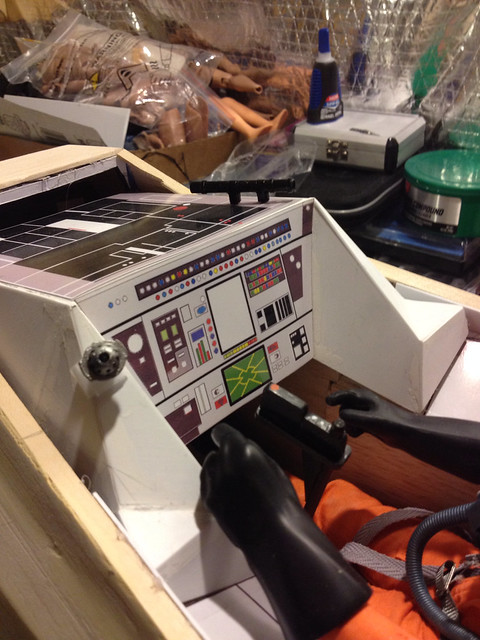
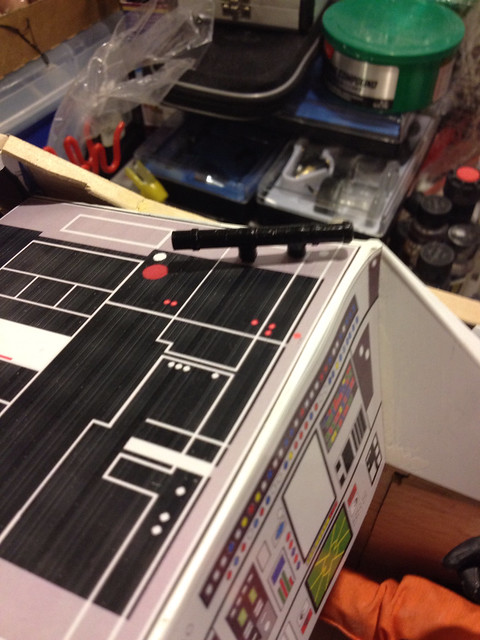
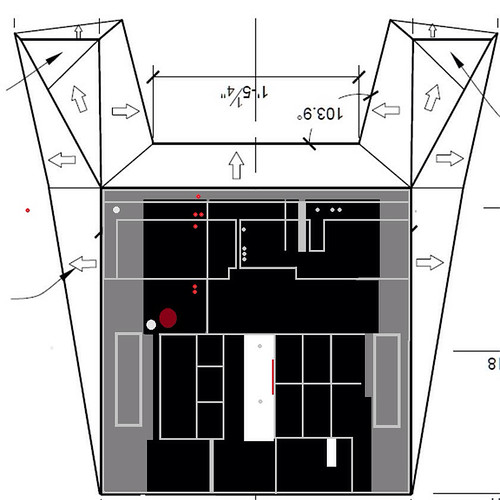
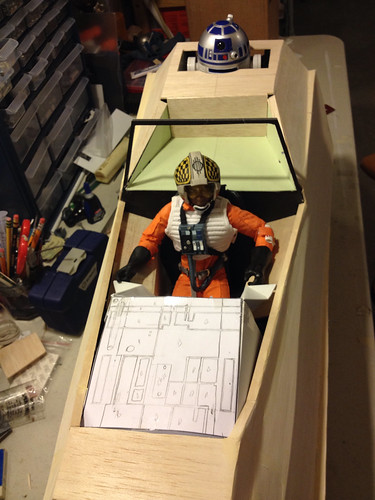
drawing the outlines on the inner cockpit, I used an image I found on the internet. If anyone has still pictures of the inner cockpit area or could point me in the right direction it would be much appreciated :
 IMG_20150130_160959 by i_melendez45, on Flickr
Need to sand this after it drys:
 IMG_20150130_160929 by i_melendez45, on Flickr
- - - Updated - - -
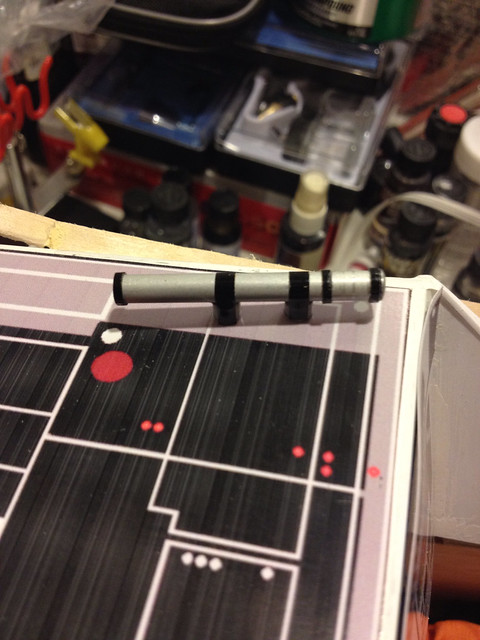
Little by little it's getting there.
 Xwing p1 by i_melendez45, on Flickr
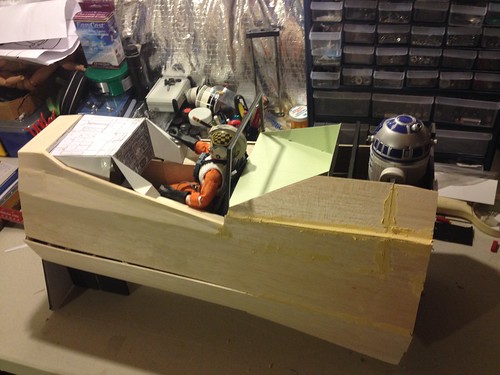 photo 2 by i_melendez45, on Flickr
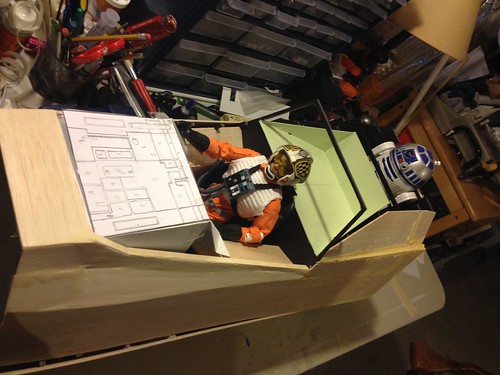 photo 3 by i_melendez45, on Flickr
Hope I'm not over doing it with my posts.
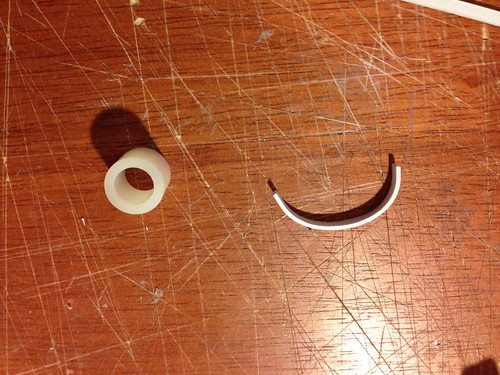
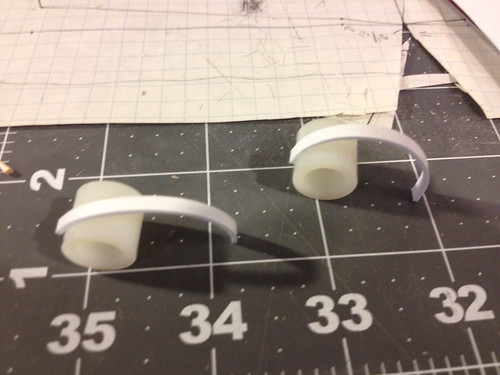
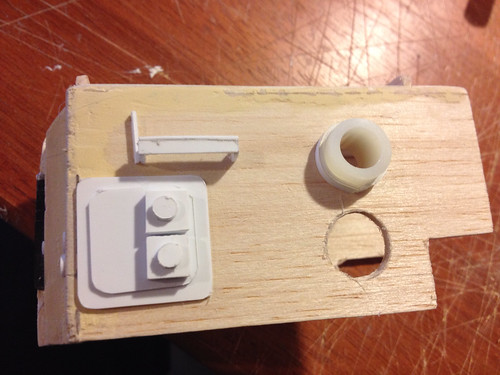
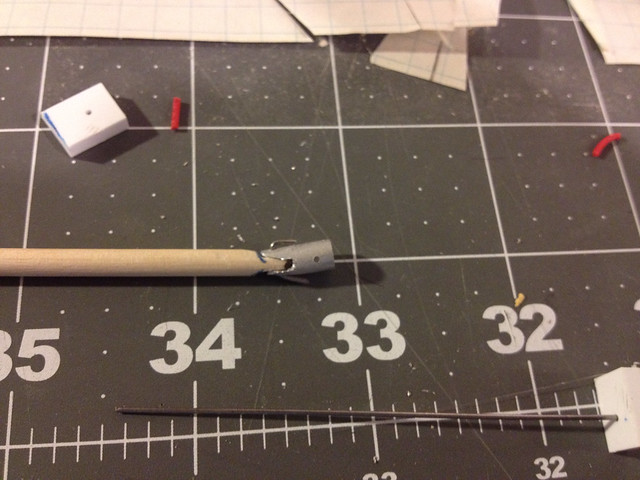
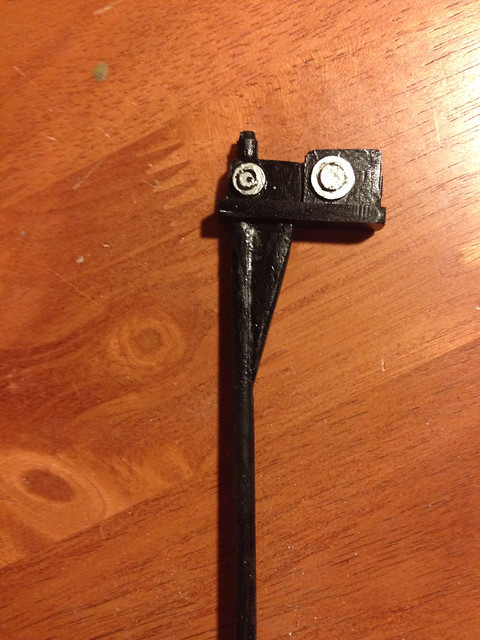
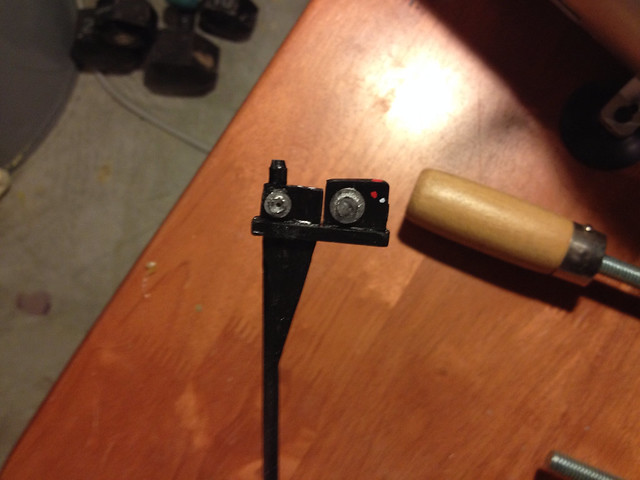
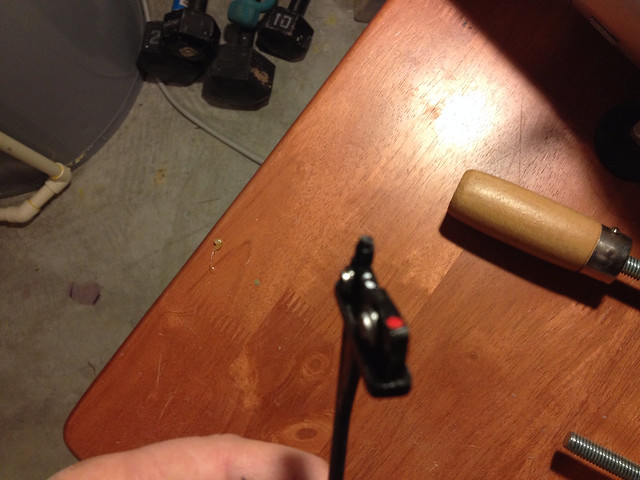
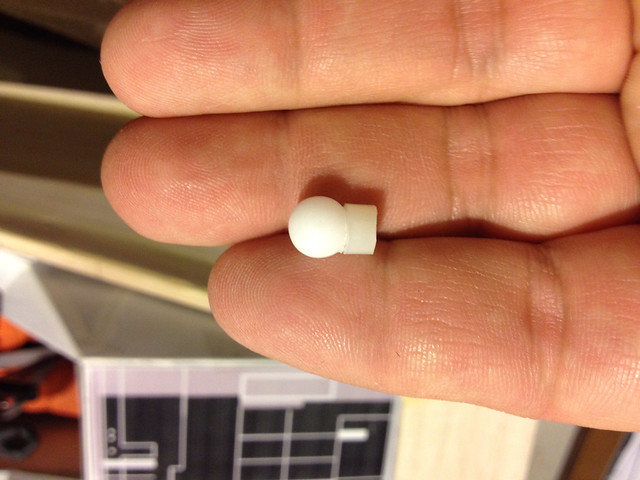
Sad face today. My 3d printed parts came in today that a freind of mine helped with. They are a little to small. Guess I'll have to make them myself...
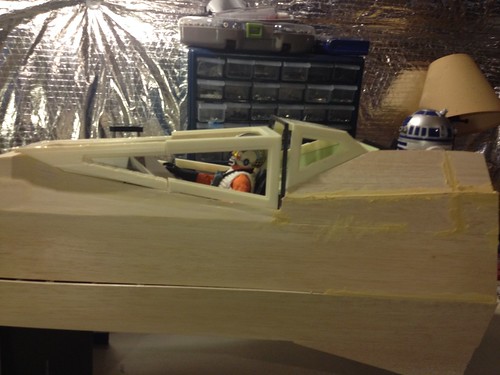 photo 4 by i_melendez45, on Flickr
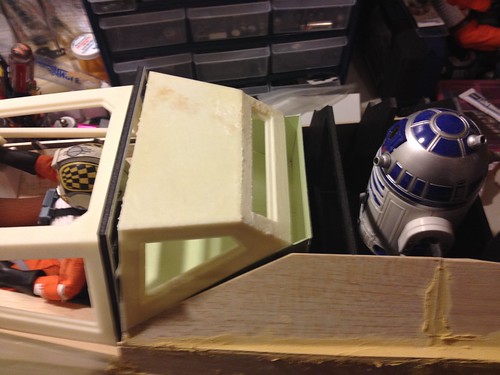 photo 5 by i_melendez45, on Flickr
Back to the drawing board...
- - - Updated - - -
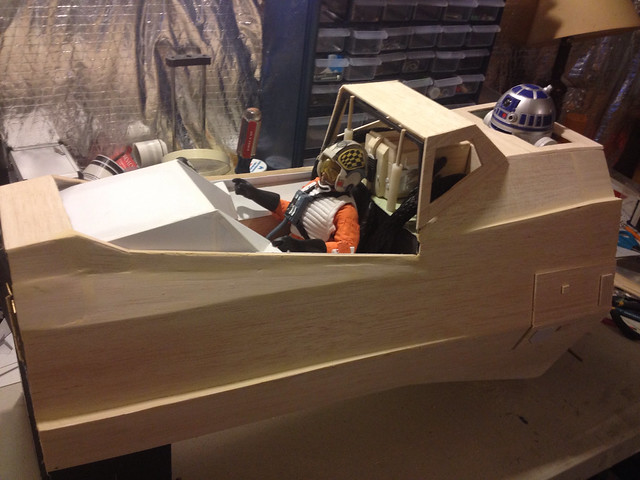
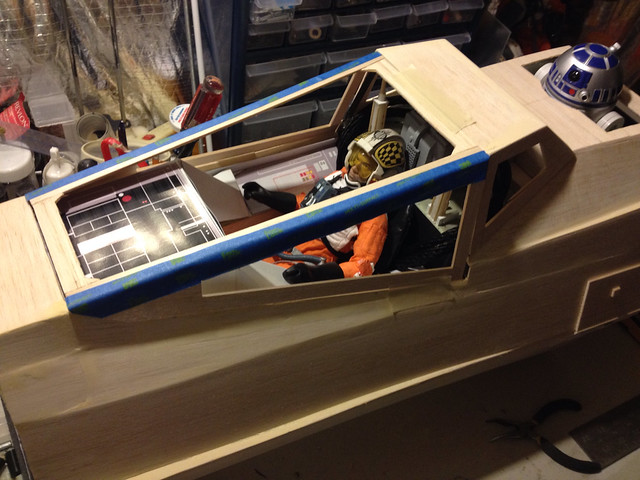
slowly coming together. Almost done with the outer sections:
 Moving along xwing by i_melendez45, on Flickr
 Moving along xwing by i_melendez45, on Flickr
 Moving along xwing by i_melendez45, on Flickr
Will start working on the back Canopy next.
- - - Updated - - -
I tape it together to test fit the rear canopy. Didn't cut the windows yet.
 Back canopy by i_melendez45, on Flickr
 Back canopy by i_melendez45, on Flickr
 Back canopy by i_melendez45, on Flickr
- - - Updated - - -
Here are some more updates on my X-wing:
 Back canopy by i_melendez45, on Flickr
 Back canopy by i_melendez45, on Flickr
 Back canopy by i_melendez45, on Flickr
 IMG_20150208_185237 by i_melendez45, on Flickr
 IMG_20150208_185207 by i_melendez45, on Flickr
 IMG_20150208_185218 by i_melendez45, on Flickr
- - - Updated - - -
Update:::::
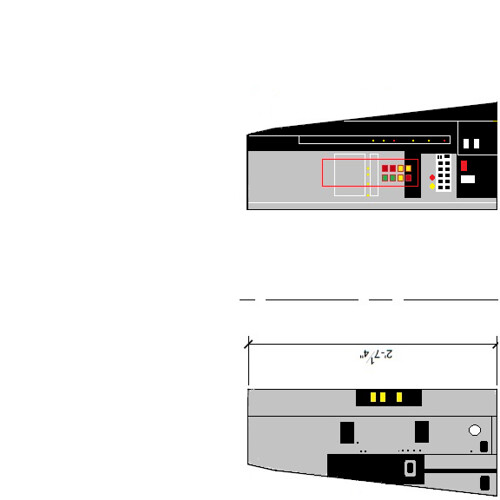
Did a little more work on the back canopy. (I got the back canopy image from someone off of this site working on a scratch build.) Adding some details to the vent. Still got a ways to go to where I want it to be.
 Progress by i_melendez45, on Flickr
 Progress by i_melendez45, on Flickr
 Progress by i_melendez45, on Flickr
 Still working by i_melendez45, on Flickr
Did some work on the side as well;
 Still working by i_melendez45, on Flickr
Back to work
This is my 1st custom piece. I decided to build a custom 1/6 X-wing Cockpit section only. I don't have room for a full x-wing. I have the new Luke from Sideshow on order and I figured that I would need something to display him with. I used the x-wing PDF plans, that Oldman made, which I found on the RPF forums. Not sure who it was that Made the PDF's but I took the measurements and converted them to a 1/6 scale for my diorama. This is a 1st try to see how everything fits together.
I printed the cross sections off and then taped and cut them out on Foam board;
1/6 Scale xwing project by i_melendez45, on FlickrI bought two poplar wooden dowels to help space out the sections:
1/6 Scale xwing project by i_melendez45, on Flickr1/6 Scale xwing project by i_melendez45, on FlickrImage of the seat; (The seat is not canon. Had a hard time finding images of the seat. The cross section book has the an image but doesn't match the movie)
1/6 xwing project by i_melendez45, on FlickrI used a 1/2 pvc pipe to also help line up the sections;
1/6 xwing project by i_melendez45, on FlickrI secured the cross sections with hot glues
I'm using balsa wood to skin the frame of the cockpit.
1/6 xwing project by i_melendez45, on Flickr1/6 xwing project by i_melendez45, on Flickr1/6 xwing project by i_melendez45, on Flickr1/6 xwing project by i_melendez45, on Flickr1/6 xwing project by i_melendez45, on Flickr1/6 xwing project by i_melendez45, on FlickrMore to follow
Sorry about the mess in the background- - - Updated - - -
Found this image on the web:
xwing seat by i_melendez45, on FlickrI think this is the closest seat to the one seen in the behind the scene shots of the X-wing cockpit.
- - - Updated - - -
I cut out a pattern for the seat to see how it would look once in place.
Xwing seat pattern by i_melendez45, on FlickrI think it will look good once I cover the pattern and fill the cushions.
Xwing seat pattern by i_melendez45, on Flickr- - - Updated - - -
Ton of pictures to come sorry for the overload
- - - Updated - - -
Did some more work on the seat, cockpit and outer area.
The seat I used come card stock, cushion material, and pleather to make the seat. I like this one better than the 1st one I tried;
Xwing seat by i_melendez45, on FlickrXwing seat by i_melendez45, on FlickrXwing seat by i_melendez45, on FlickrXwing seat by i_melendez45, on FlickrXwing seat by i_melendez45, on FlickrXwing progress by i_melendez45, on FlickrHere is the bottom;
Xwing progress by i_melendez45, on FlickrStart to work on the inner cockpit. The seat is sitting loose.
Xwing progress by i_melendez45, on FlickrR2 and Pilot;
Xwing progress by i_melendez45, on FlickrMore of the cockpit;
Xwing progress by i_melendez45, on Flickr- - - Updated - - -
I built out the front part of the inner canopy from card stock to see how it would fit before I built it from balsa wood.
Front view:
IMG_20150126_185902 by i_melendez45, on FlickrSide view:
IMG_20150126_185917 by i_melendez45, on FlickrRear View:
IMG_20150126_185932 by i_melendez45, on Flickr- - - Updated - - -
I started to build out the inner cockpit from styrene.
Xwing progress by i_melendez45, on FlickrXwing progress by i_melendez45, on FlickrA little bit more progress today.
Side view:
Xwing progress by i_melendez45, on FlickrBack View:
Xwing progress by i_melendez45, on FlickrFront View:
Xwing progress by i_melendez45, on Flickr- - - Updated - - -
drawing the outlines on the inner cockpit, I used an image I found on the internet. If anyone has still pictures of the inner cockpit area or could point me in the right direction it would be much appreciated
:IMG_20150130_160959 by i_melendez45, on FlickrNeed to sand this after it drys:
IMG_20150130_160929 by i_melendez45, on Flickr- - - Updated - - -
Little by little it's getting there.
Xwing p1 by i_melendez45, on Flickrphoto 2 by i_melendez45, on Flickrphoto 3 by i_melendez45, on FlickrHope I'm not over doing it with my posts.
Sad face today.
My 3d printed parts came in today that a freind of mine helped with. They are a little to small. Guess I'll have to make them myself...photo 4 by i_melendez45, on Flickrphoto 5 by i_melendez45, on FlickrBack to the drawing board...
- - - Updated - - -
slowly coming together. Almost done with the outer sections:
Moving along xwing by i_melendez45, on FlickrMoving along xwing by i_melendez45, on FlickrMoving along xwing by i_melendez45, on FlickrWill start working on the back Canopy next.
- - - Updated - - -
I tape it together to test fit the rear canopy. Didn't cut the windows yet.
Back canopy by i_melendez45, on FlickrBack canopy by i_melendez45, on FlickrBack canopy by i_melendez45, on Flickr- - - Updated - - -
Here are some more updates on my X-wing:
Back canopy by i_melendez45, on FlickrBack canopy by i_melendez45, on FlickrBack canopy by i_melendez45, on FlickrIMG_20150208_185237 by i_melendez45, on FlickrIMG_20150208_185207 by i_melendez45, on FlickrIMG_20150208_185218 by i_melendez45, on Flickr- - - Updated - - -
Update:::::
Did a little more work on the back canopy. (I got the back canopy image from someone off of this site working on a scratch build.) Adding some details to the vent. Still got a ways to go to where I want it to be.
Progress by i_melendez45, on FlickrProgress by i_melendez45, on FlickrProgress by i_melendez45, on FlickrStill working by i_melendez45, on FlickrDid some work on the side as well;
Still working by i_melendez45, on FlickrBack to work