Super work there, I also got me a 12" for X-Mass and its SOOOO HUGE, the discussion about the side panels are for sure valid and the edges are pretty "wobbly". Still have to finish two other projects before even thinking about starting this but gonna watch your progress with great interest
")
.
I couldn't stop my self so I took some pics and scanned this in
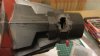
View attachment 574661
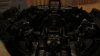
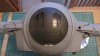
Ejection Seat from "TFA The Visual Dictionary"
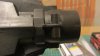
View attachment 574660
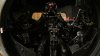
Flight Controls from "TFA The Visual Dictionary"
I know that you said you are not planning a "screen accurate build" but anyhow
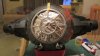
View attachment 574662
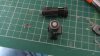
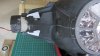
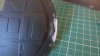
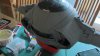
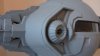
And I did a quick comparison to the Revel Snaptite Model I bought for my Classic Tie Fighter MOD...I needed the sound module.
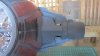
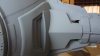
I think the Side Panels don't need to be hugely modified, its the "Pre-charged deuterium power cells" that are to wide.
View attachment 574666
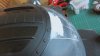
Did a quick and dirty Photoshop how it could look if you narrow the power cells down to a size similar to the Revell Tie...
Could sort a work or?
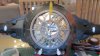
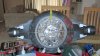
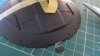
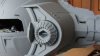
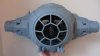
And here you can really see how Warped the Side panels are...
View attachment 574667
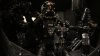
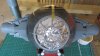
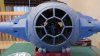
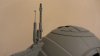
Here is also a pic from what i think is a real CGI Model from ILM (could be wrong but I think thats what it is)
and as you can see those Power-cells are for sure narrower then on the 12"