George Pal's Time Machine Build

DaveG

Master Member
RPF PREMIUM MEMBER
This is my build of Masterpiece Models' 1/6 scale Time Machine from George Pal's 1960 motion picture production of H.G. Wells' The Time Machine. The kit is quite large and should make a beautiful model. I'm going to build a static model, it won't light up and the dish won't be motorized.

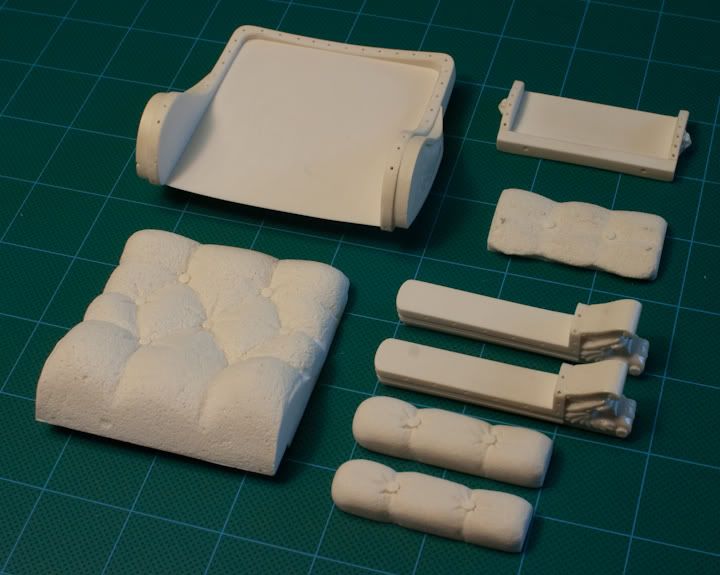
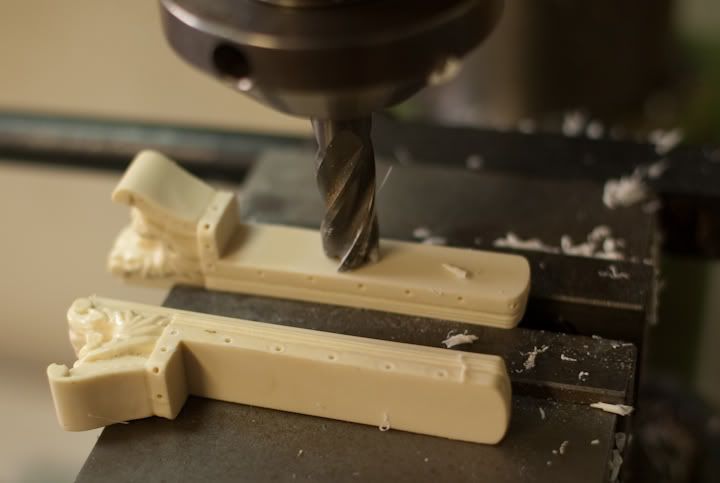
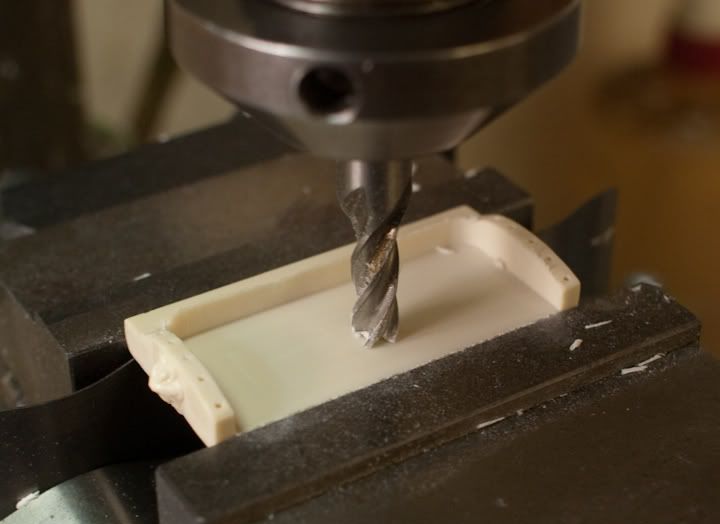
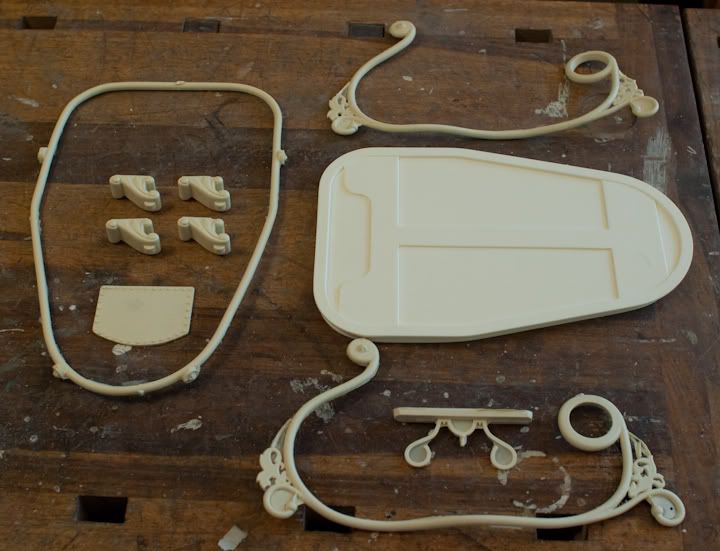
Here are the parts for the base and rails.

CRW_2912.jpg


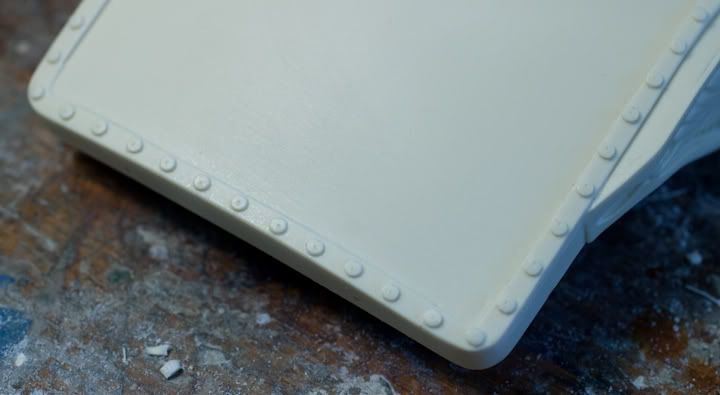
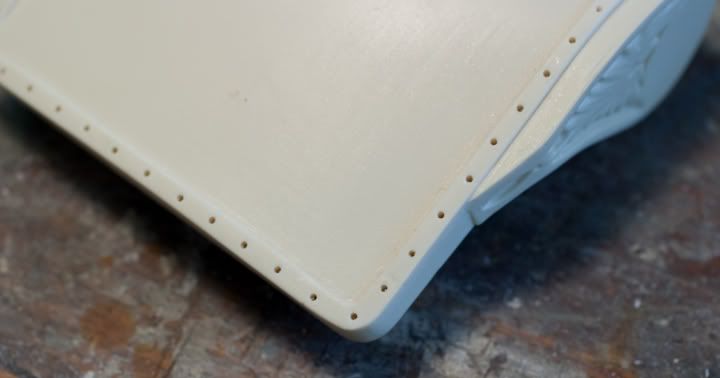
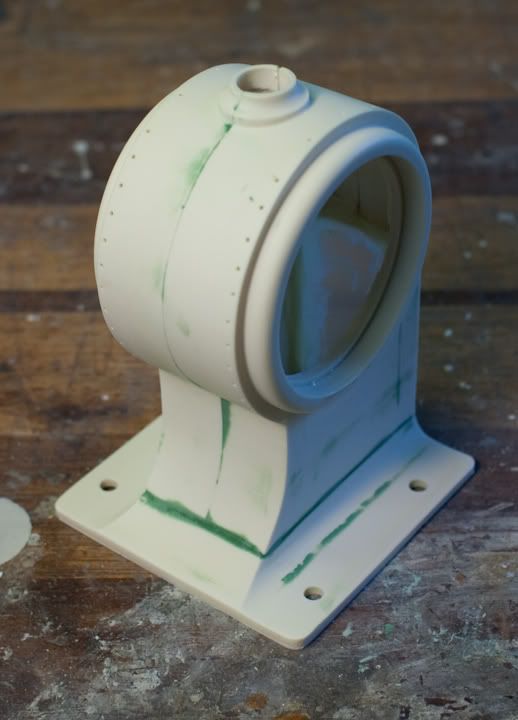
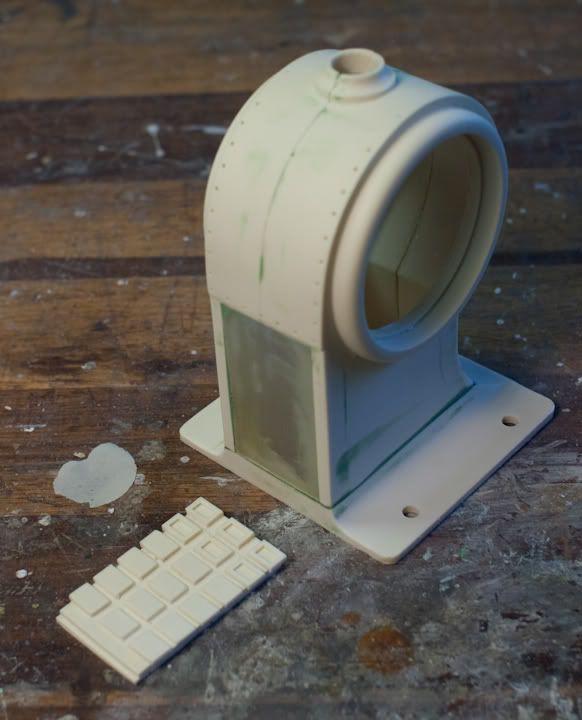
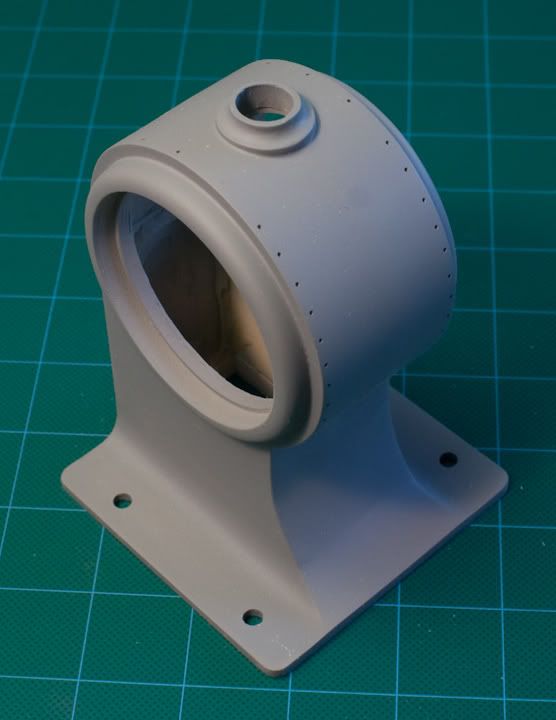
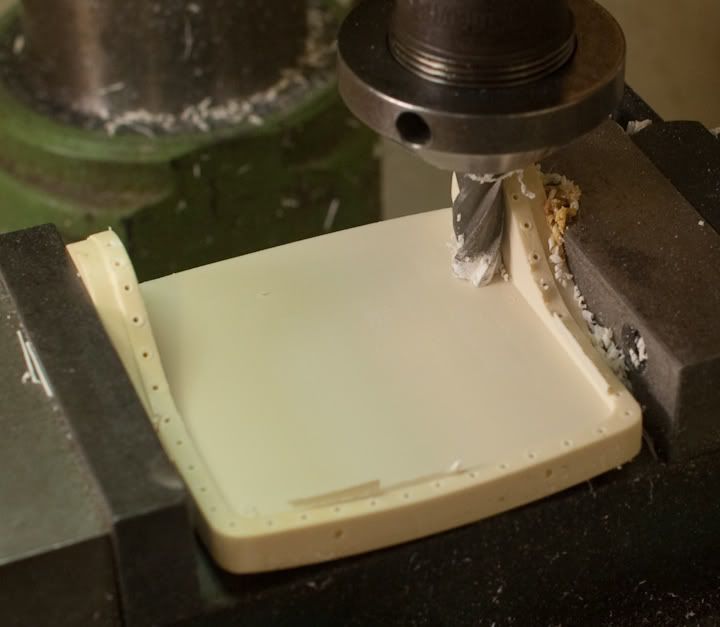
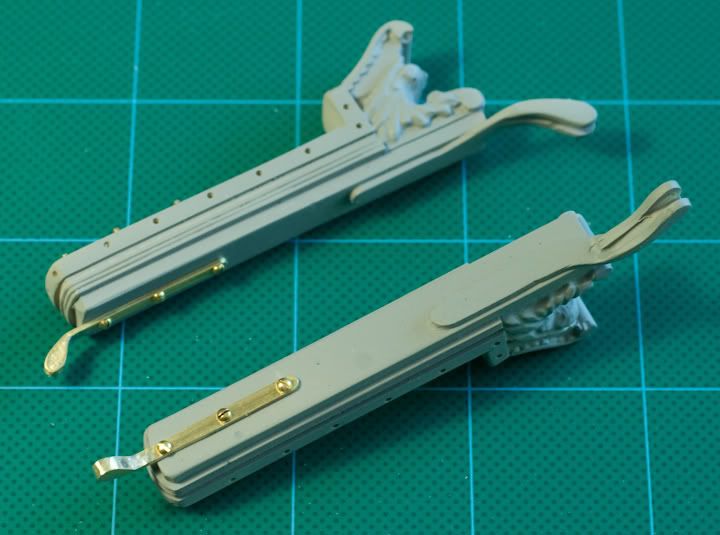
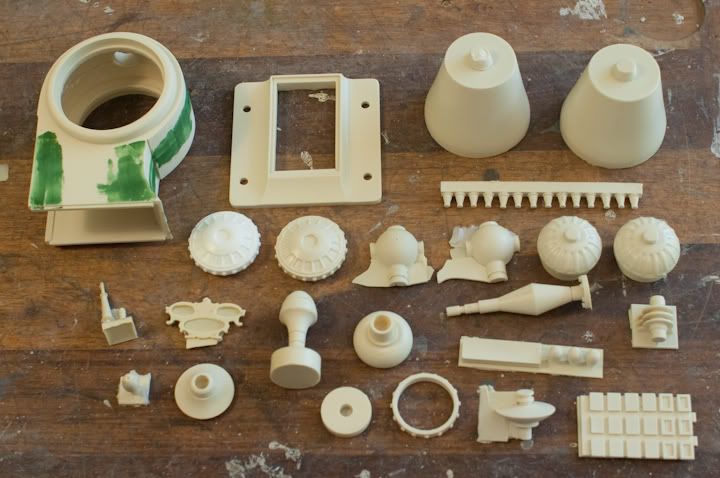
The parts for the time machine mechanism. the two halves of the time machine base have already been glued together and the seam puttied.

CRW_2913.jpg


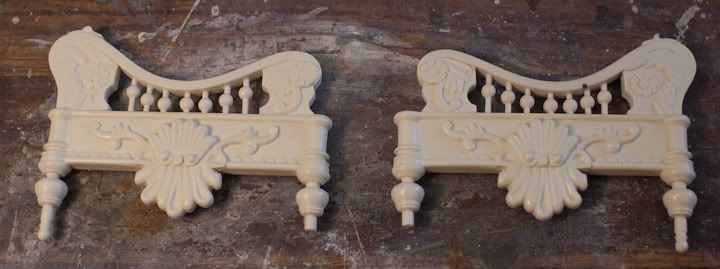
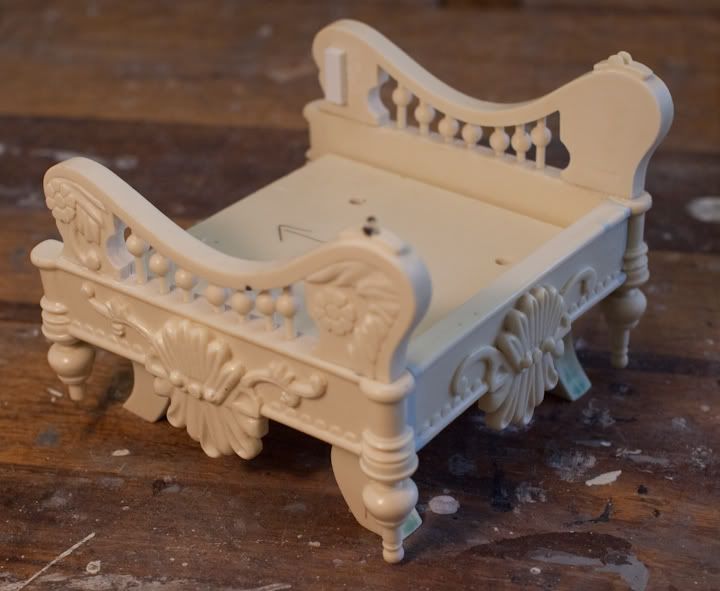
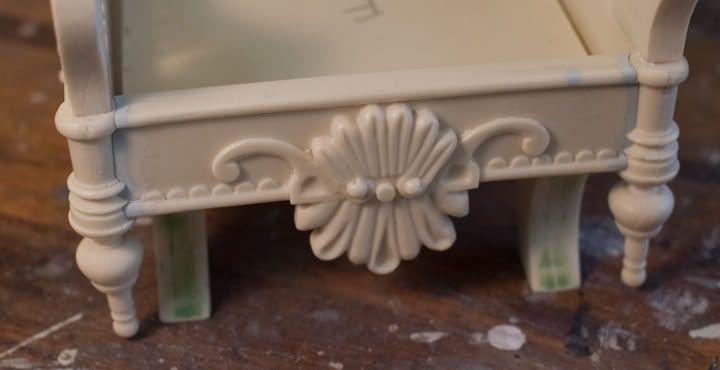
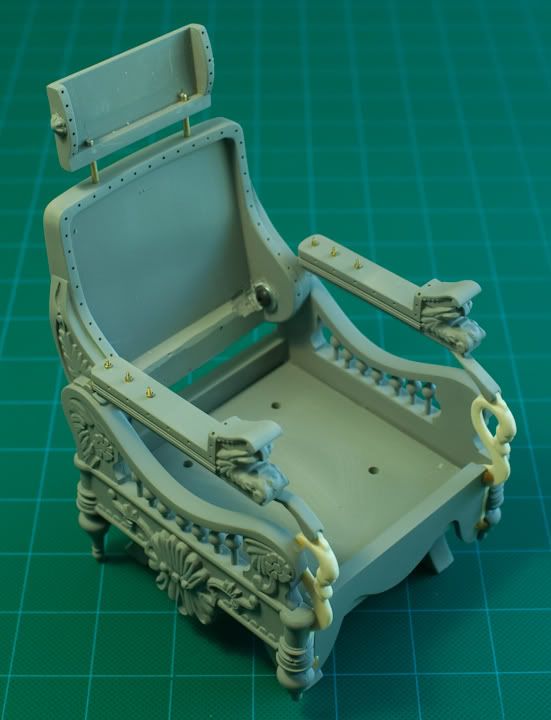
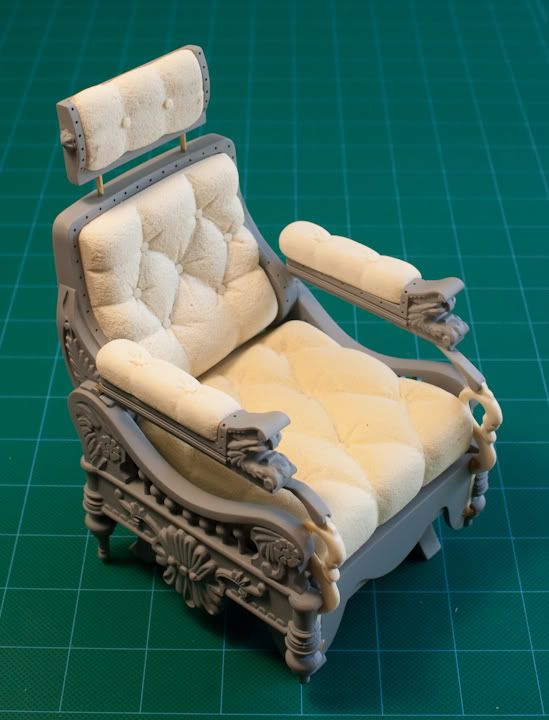
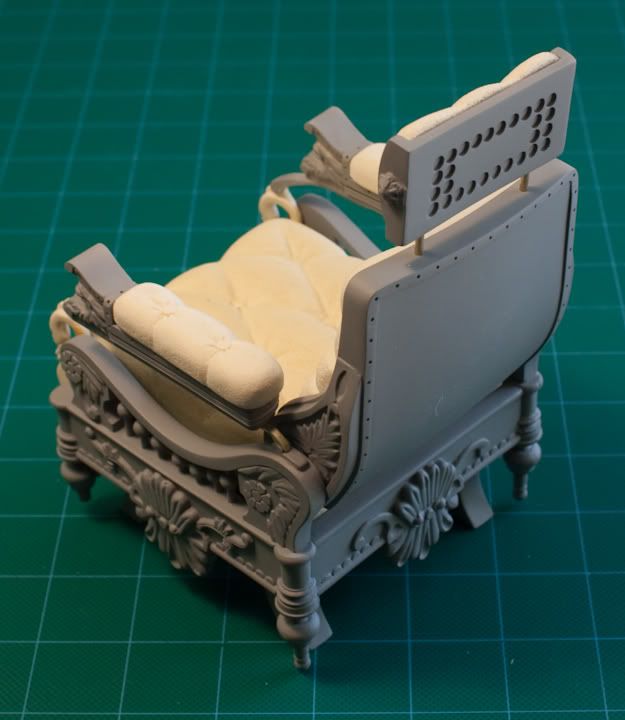
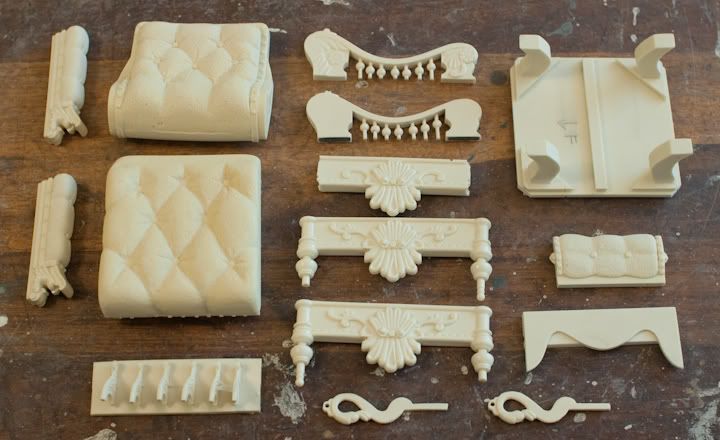
And the parts for the ornate seat. I've already trimmed most of the flash from these parts.
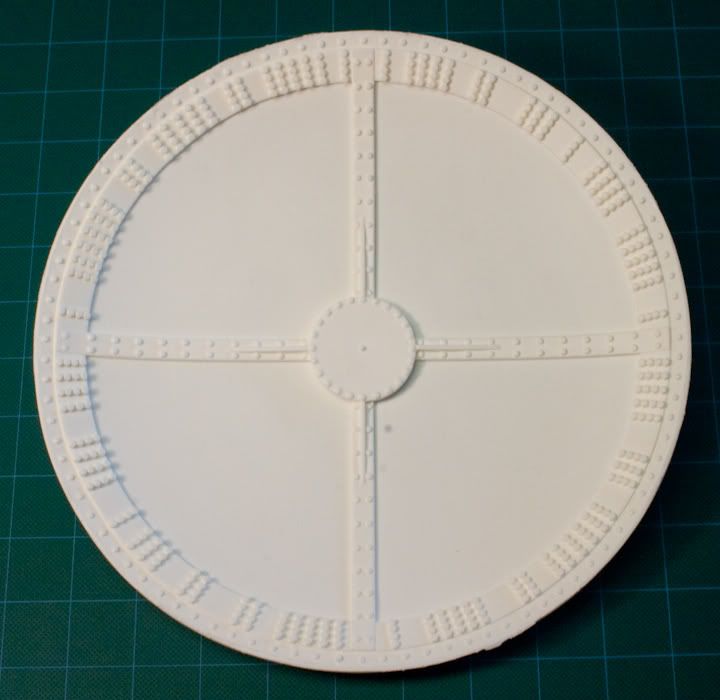
CRW_2910.jpg


The Dish.

CRW_2945.jpg


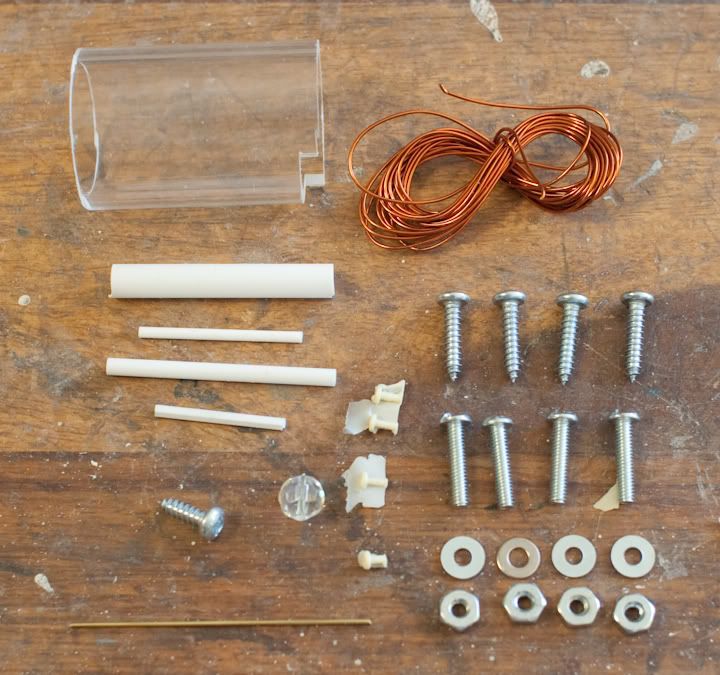
The kit includes a bag of hardware and other misc parts.

CRW_2914.jpg


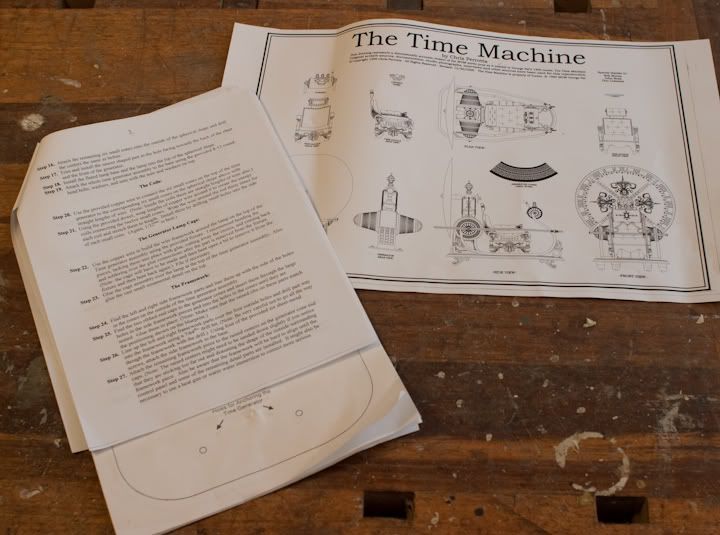
The step-by-step instructions are fairly detailed, though there are no illustrations or assembly photos, which would have been helpful. Included is a detailed drawing of the Time Machine, though since there were no assembly diagrams, it would have been nice had the drawing been in the same scale as the model, or at least a bit larger than it is.

CRW_2915.jpg
 
Last edited:
Replacing the rivets

All of the rivets on the seat parts were molded as flat discs, rather than as the domed rivets they actually were. So I've decided to replace them using brass headed pins. Not only will this be more accurate to the original film prop, but I won't also have to paint each rivet a brass color by hand.

Here is before and after of the back of the seat showing the flat disc rivets trimmed flush and drilled out for the brass pins.

CRW_2906.jpg


CRW_2917.jpg
 
Nice looking parts and your idea for the rivets is great. If I ever can get one of these, though, I'll HAVE to light and motorize it. How does the disc look, it's the one part that there wasn't a pic of.

Steve
 
Nice looking parts and your idea for the rivets is great. If I ever can get one of these, though, I'll HAVE to light and motorize it. How does the disc look, it's the one part that there wasn't a pic of.

Steve

I forgot to take a picture of the disc. I'll post one tomorrow. The disc is pretty nice, a little warped, but nothing that can't be straightened out with a bit of heat. The biggest issue is that the 365 raised dots were molded as hexagons, when they were in fact round on the film prop. So I have to decide if it's worth the trouble to trim them all off and replace with little round dots.
 
Time Generator Housing

Here the two halves of the time generator have been joined together, attached to the contoured base, and all the seams puttied and sanded. The back panel didn't fit very well (it's the piece lying on the table) so I fit a rectangular piece of plexiglas in it's place. I'll cut new little raised rectangles out of styrene to glue on. As with the chair, the rivets were incorrectly molded as flat discs. So they've been trimmed off and holes drill from brass pins to represent rivets.

CRW_2922.jpg


CRW_2923.jpg
 
Seat Base

The sides and back have been attached to the seat base. The castings were pretty nice, though there was a bit of cleanup required. It did take quite a bit of fiddling and trimming though to get the sides to fit to the base correctly. And there was still some putty work required where the back rail meets the turned posts of the sides.

CRW_2931.jpg


CRW_2928.jpg


CRW_2926.jpg
 
Last edited:
Seat Cushions

The seat cushions come molded together with the seat back, head rest and arm rests. I decided that it would look better, and be easier to paint, if the cushions were separate pieces. I ordered an extra set of these parts from Masterpiece Models, then proceeded to mill out the cushion areas from one set of castings, and the, ummm, non-cushion areas of the other set. These parts have also had all the flat disc rivets trimmed flush and drilled out for brass pins. Here are the resulting parts.

CRW_2943.jpg


Milling out the cushion from the seat back:

CRW_2939.jpg


Milling out the arm rests:

CRW_2935.jpg


and the head rest:

CRW_2937.jpg
 
Last edited:
This is great, I am watching closely. I haven't even thought about tackling my kit yet, but builds like this tend to inspire me to bump builds up in line.
 
Dave...your model is coming along very nice. I'll be looking at your progress til finished with great interest.
For more info on more ideas and builds of this model kit check out my friend Don Coleman's Time Machine website at :
http://colemanzone.com/Time_Machine_Project/project.htm

Everything you ever wanted to know about the Time Machine is on this site.......... with apologizes to Howard as I didn't notice he already posted this website
 
Armrests

The castings of the rear mounting brackets for the armrests proved to be too thin and fragile, so I've fabricated new ones out of brass. The are fastened to the armrests with 00-90 brass bolts.

CRW_2949.jpg
 
Very nicely done. I actually have one of these kits at home and never got around to starting it. I'll be looking this thread up once I do start though.

:thumbsup
 
Outstanding!

I had horrible castings on the two that I built - both lit and motorized. They were the worst models I have ever made - in comparison to what I made, you are doing absolutely WONDERFUL work!

Other guys that have this kit - were your parts this bad? And these are the upgraded "wire-in-resin" parts!
DSC06124.jpg

DSC06122.jpg


I think your milled seat cushioned area is a brilliant touch - awesome.
Painting that seat was much more difficult with the molded-in cushions:
done.jpg
 
Moffeaton - you did a beautiful job on your build! Most of the parts in my kit were okay, though there were a lot of parts with serious flash and crud, indications of molds being used beyond their prime. I'm turning new parts for most of the vertical column and drive shaft on the time generator. I'll post photos when done. I don't think the frames have molded in wires.

My kit came with a one piece, cast base. No need to cut layers of styrene.
 
So, I'm always thrown by the issues with the castings on this kit. My kit was really pretty perfect overall, one or two pinholes here and there, but that's it. Maybe they got cheap, and didn't update molds when they were done. I would have been hacked if I got castings as bad as the ones in the photos above!

KK
 
This thread is more than 9 years old.

Your message may be considered spam for the following reasons:

  1. This thread hasn't been active in some time. A new post in this thread might not contribute constructively to this discussion after so long.
If you wish to reply despite these issues, check the box below before replying.
Be aware that malicious compliance may result in more severe penalties.
Back
Top