WarMachine
Sr Member
I'm starting to wonder if a certain member in this thread is the same person that's he's defending, but under a different account. Dunno, probably not, but I can't help but wonder about it. Same bad spelling, same reasoning, same attitude and everything.
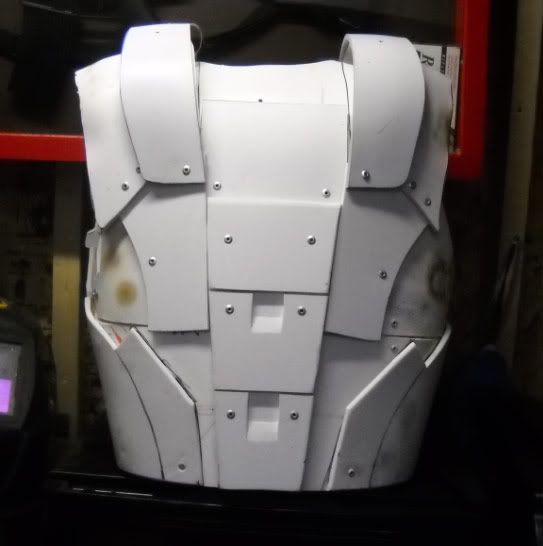
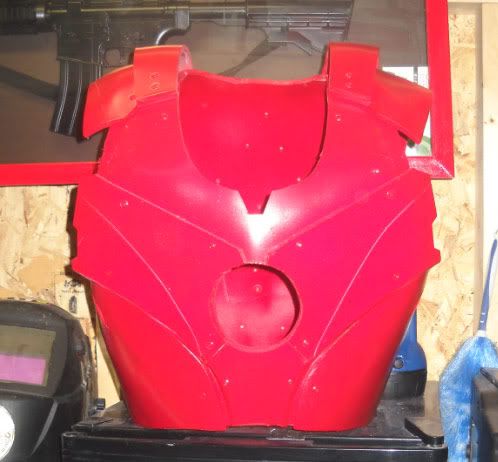
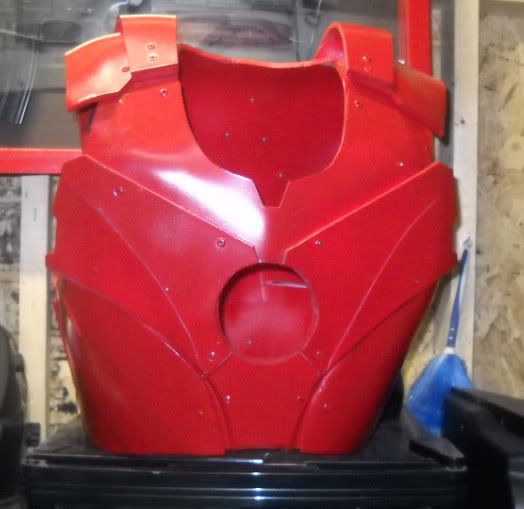
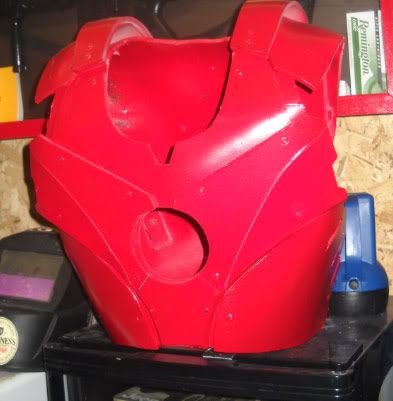
Anywho, that aside, I just caught this thread. Awesome work so far. It's really great that you're doing this for people and putting the techniques and templates out there for everyone. Can't wait to see how it progresses and looks when you're done.
Anywho, that aside, I just caught this thread. Awesome work so far. It's really great that you're doing this for people and putting the techniques and templates out there for everyone. Can't wait to see how it progresses and looks when you're done.