jt001
Sr Member
I got my goggles and I am rushing to get them done for a small con this weekend! I am trying to document as much as possible. So far it's taken me a few hours to get them done. Half was done last night (cleaning sanding, etc) and the next day was for painting. I could have been done with them today but will wait until tomorrow morning. Most of the time was removing the excess flash. Besides that, there is not much more to be done, other than applying some primer and paint!
The lenses were already painted, and the straps had the buttons already attached. Everything was nicely packaged and very well protected. Kudos to Dan!
Well, I decided to get OD for the goggles. I went to Home Depot to no avail, so I went to a Hobby Store and got some Tamiya OD paint. Keep in mind that I am a completely newbie with the airbrush. I've only used it once or twice many years ago... so I sat down, watched a million airbrushing techniques/training videos on Youtube and decided to give it a try again. I am happy to say that it came out real nice! I wanted to mix the OD with a little white, but realized that I didn't have any, so I went full OD green.
I gotta admit... I was having so much fun with the airbrush that I decided to also paint the knobs, and fix some over weathering I did to my trap. If you haven't tried it, just go and get yourself one. It's awesome! I just don't think I'll be back to rattle cans ever, well, unless is a big project! Oh, not to mention that airbrush paints dry FAST! When I weathered my trap I think I went a little overboard with the weathering, and wasn't completely happy with the result. A few seconds latter with the airbrush and I was happy again with my trap! I'll still add some weathering, but will go a little less aggressive. There was no way I could had fixed those spots on my trap with a normal spray paint can. Time to go back to Home Depot and return that Hunter Green rattle can!
Here are some progress pics:
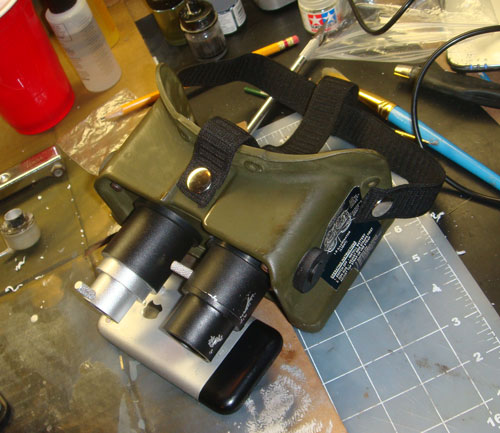
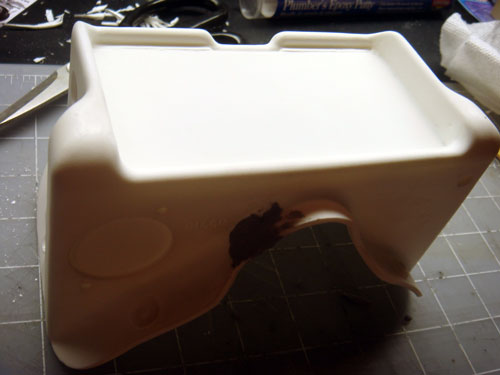
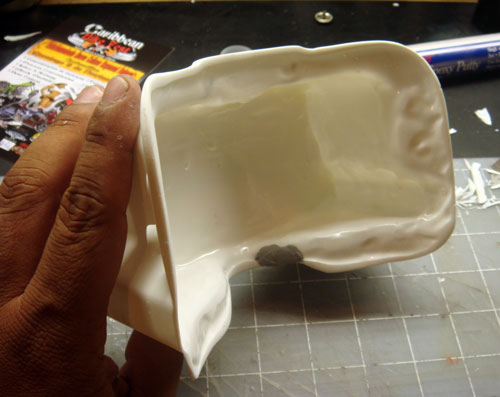
This is how the goggles will look out from the box. I had position number one on the non pre-order list, so this is pretty much how you will get yours. There is some flash removing and sanding to be done. I used a Stanley and X-acto knife to clean them up. For reference I used photos posted by members who got theirs cleaned by Dan, just to make sure I was staying inside the line when doing my cuts.
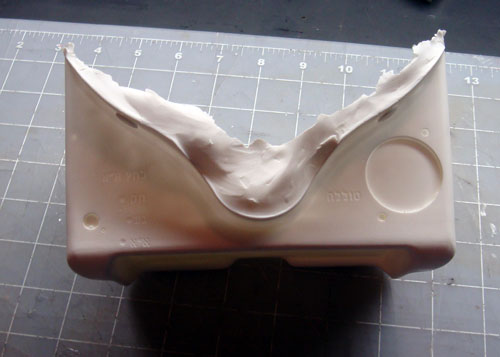
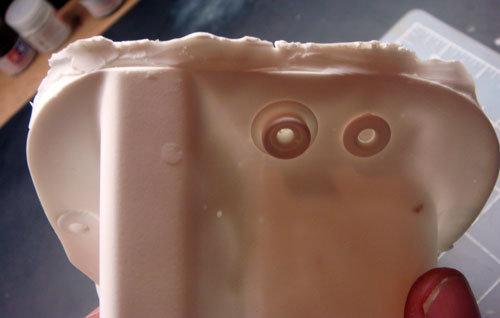
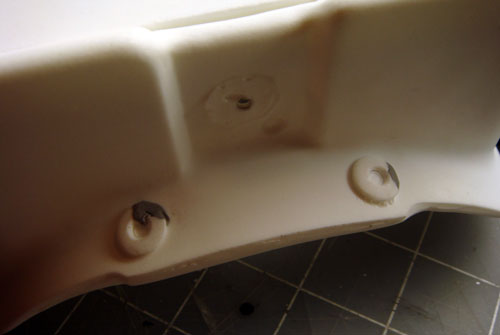
This is normal stuff with resin models. A little bit of epoxy putty should take care of it.
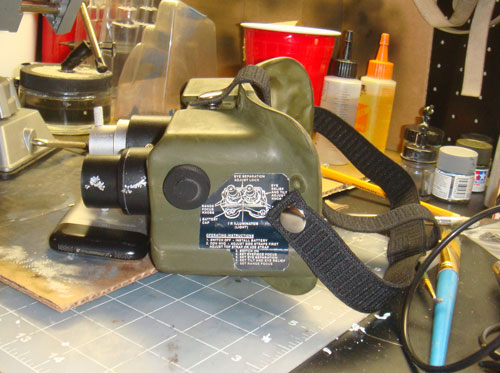
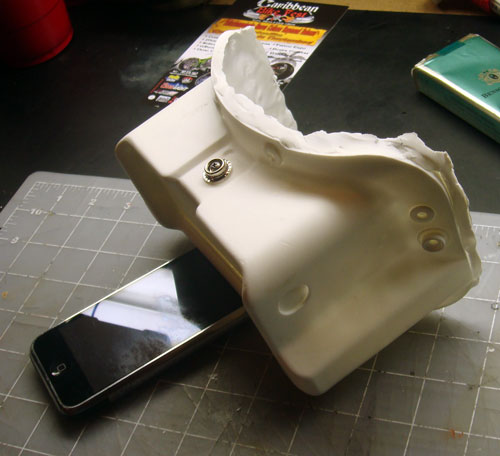
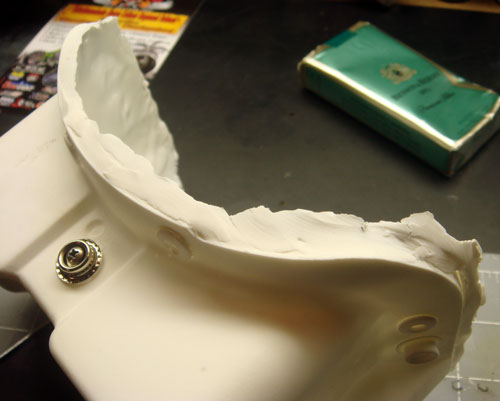
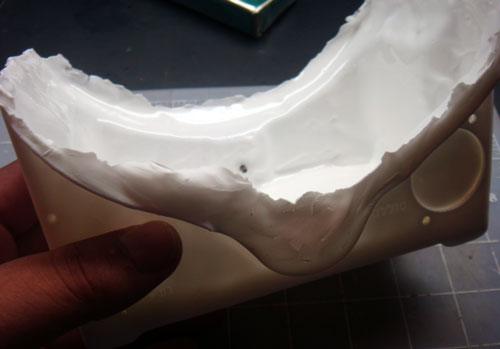
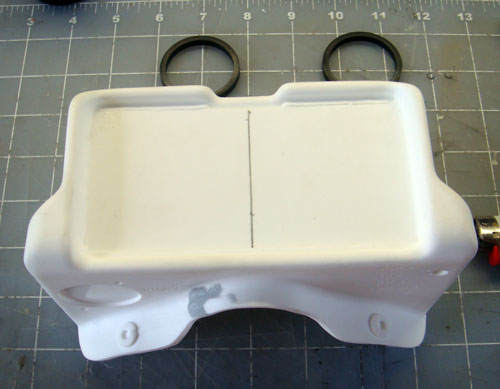
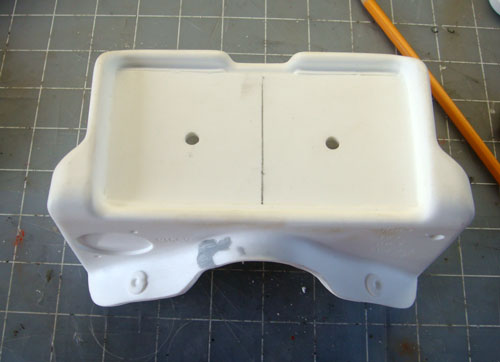
Most of the cleaning process has been done!
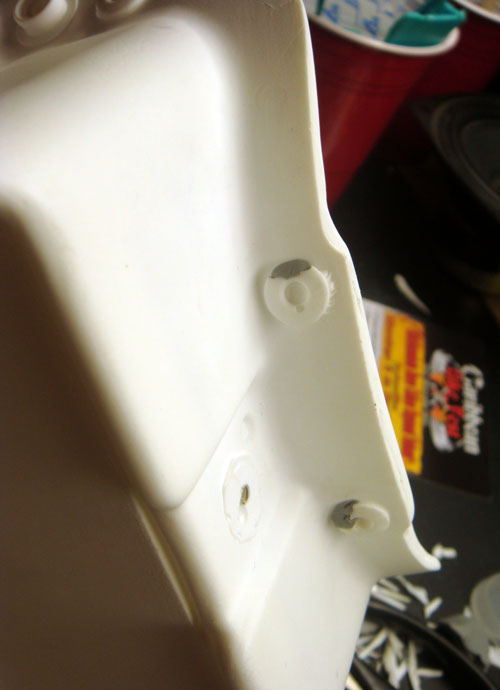
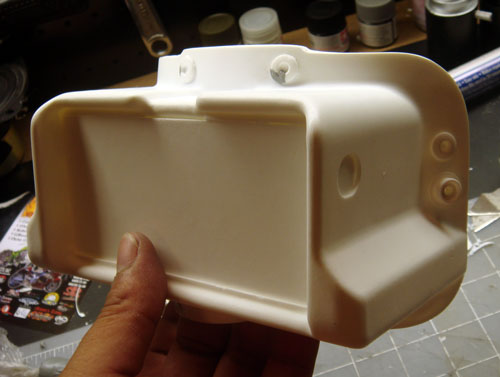

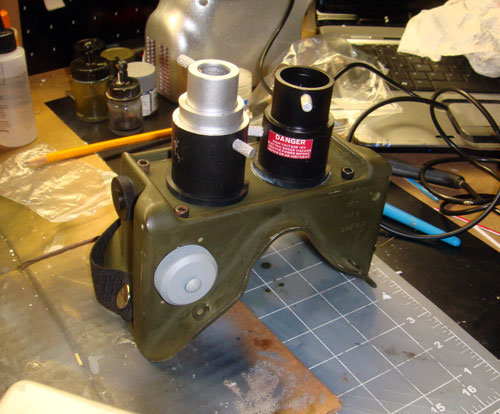
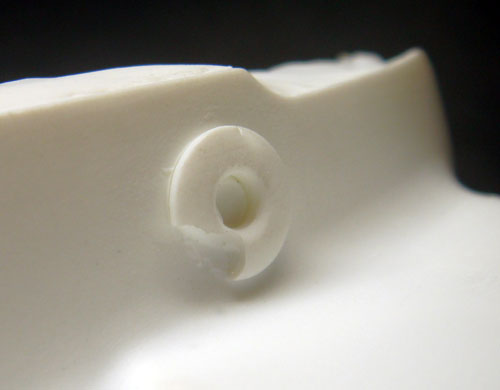
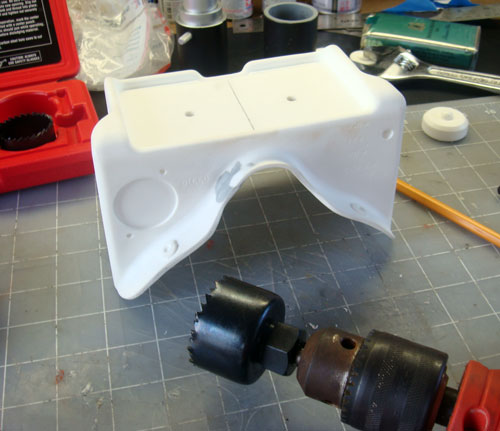
Getting ready to drill the holes for the lenses.
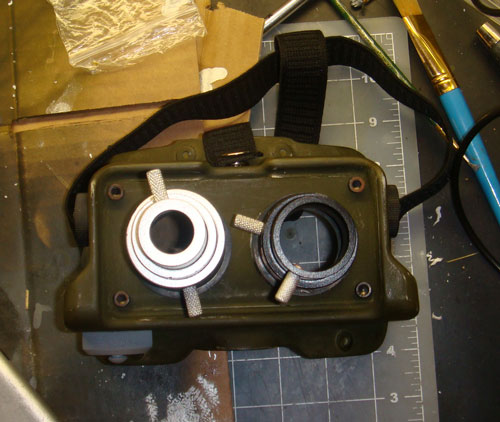
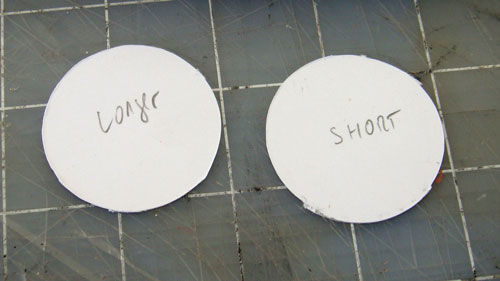
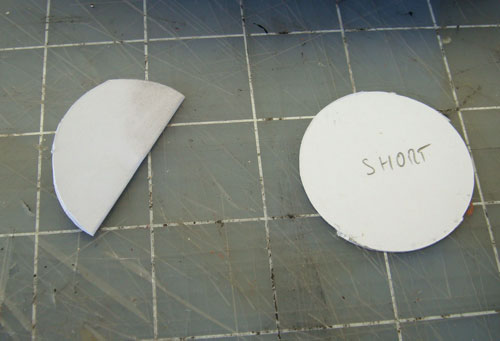
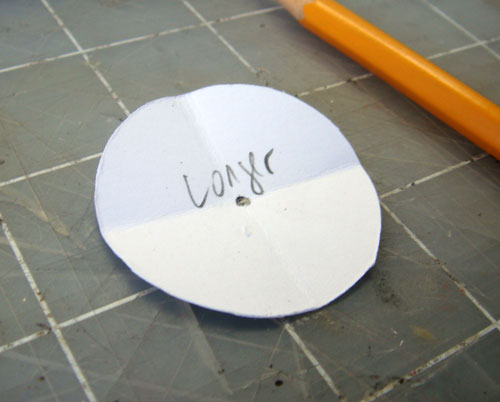
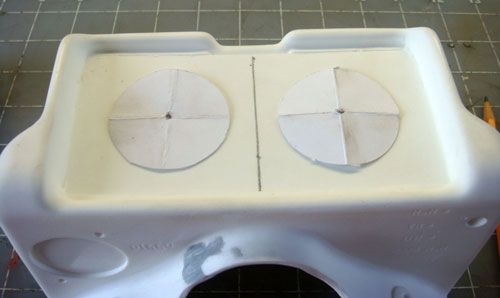
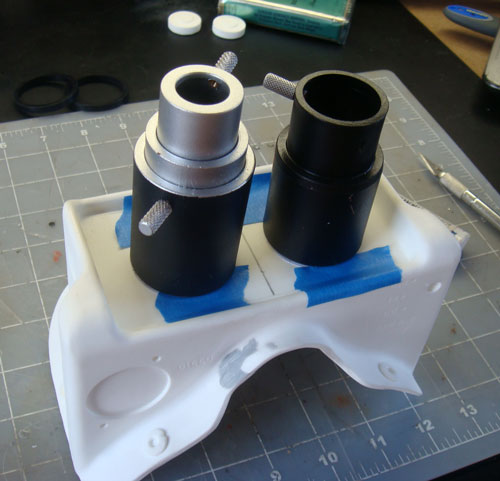
For this I created a template using the lenses provided by Dan. I just traced them and cut them with an X-Acto. I folded the circles to find the exact center point. I taped them to the lenses (I also used a laser guide to make sure they were both aligned) and made some pilot holes in order to use the Hole Saw attachment. I wish I had a drill press!") Oh, make sure to use a smaller hole saw. One hole was a tad too big for one lens, but it was an easy fix. I was going to use some epoxy putty, but then realized that the rubber gasket supplied in the kit, when in place will cover the hole, so I will add some two part epoxy on the back and secure the lens in place. I'll take pics of the process... my English is not that good
Oh, make sure to use a smaller hole saw. One hole was a tad too big for one lens, but it was an easy fix. I was going to use some epoxy putty, but then realized that the rubber gasket supplied in the kit, when in place will cover the hole, so I will add some two part epoxy on the back and secure the lens in place. I'll take pics of the process... my English is not that good
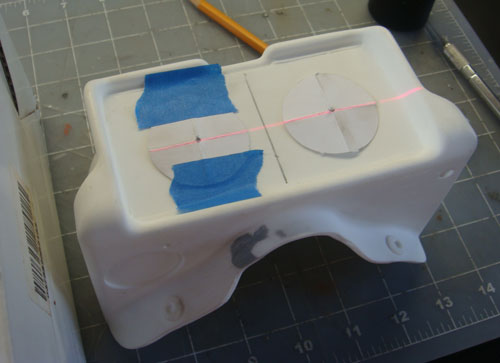
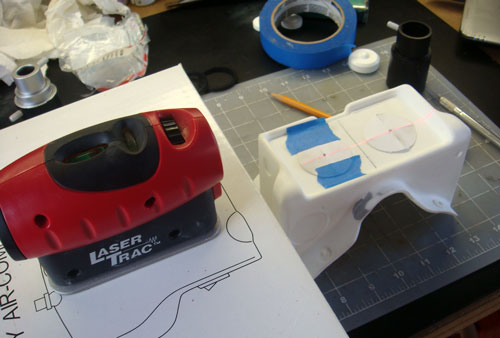
Cheating with the laser guide

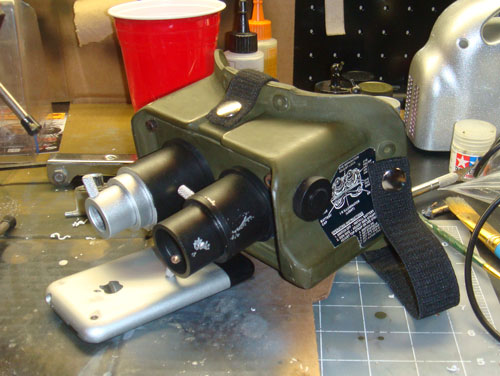
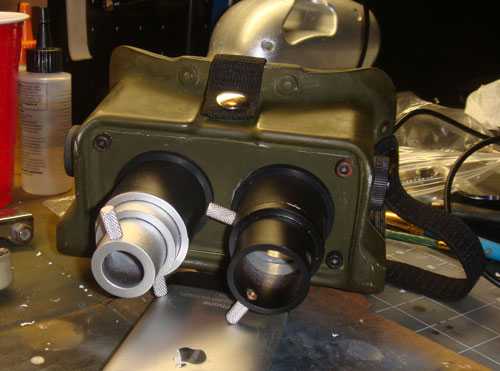
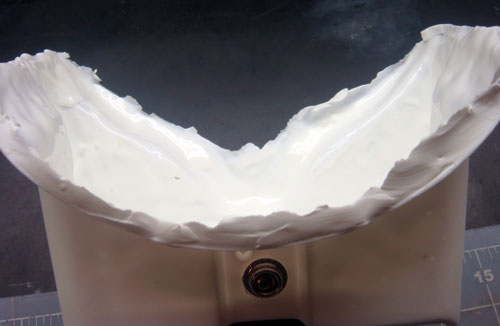
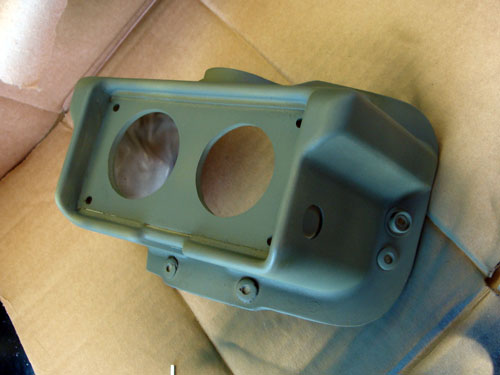
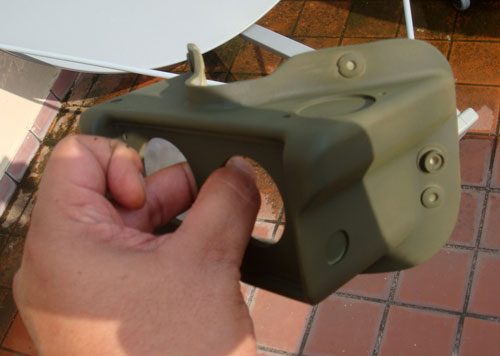
Airbrush time! Can't believe how different the color looks when inside/outside! Please keep in mind that I had only airbrushed a layer or two of paint. You can still see primer spots. I was still experimenting with the paint/thinner ratio. I added another layer after that and the result came out much better.
Indoors
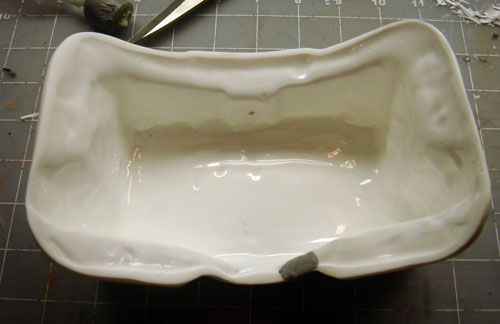
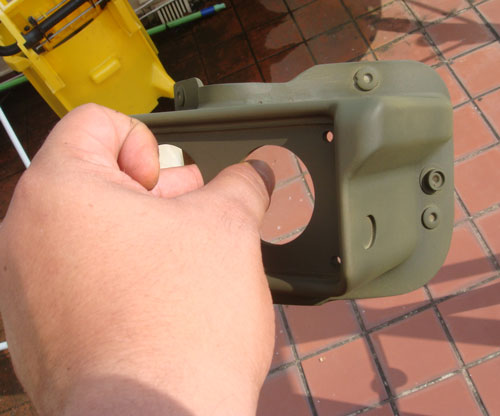
Outdoors (sun light)
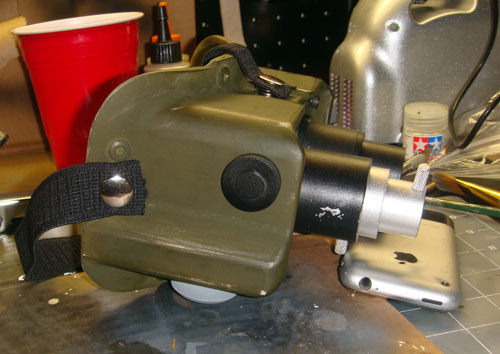
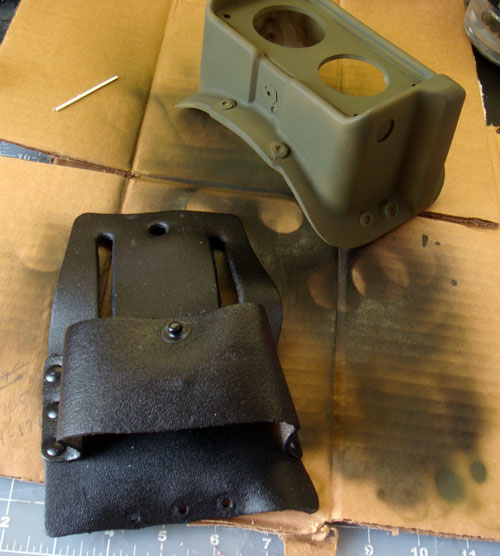
I also finished cutting/painting my gizmo holder
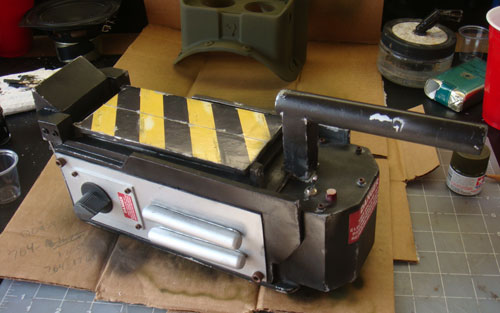
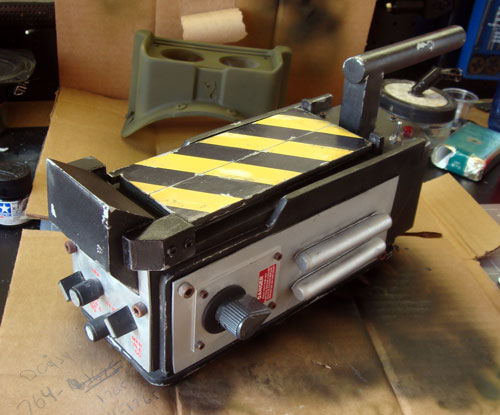
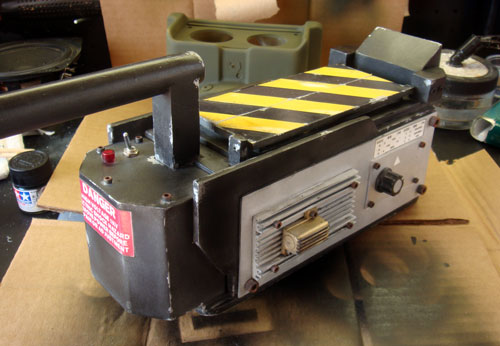
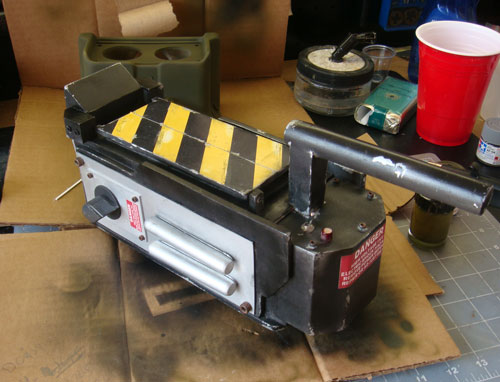
And here are some photos of my trap with a little less weathering. I got airbrush happy and also painted the front display (haven't attached it, yet)
The lenses were already painted, and the straps had the buttons already attached. Everything was nicely packaged and very well protected. Kudos to Dan!
Well, I decided to get OD for the goggles. I went to Home Depot to no avail, so I went to a Hobby Store and got some Tamiya OD paint. Keep in mind that I am a completely newbie with the airbrush. I've only used it once or twice many years ago... so I sat down, watched a million airbrushing techniques/training videos on Youtube and decided to give it a try again. I am happy to say that it came out real nice! I wanted to mix the OD with a little white, but realized that I didn't have any, so I went full OD green.
I gotta admit... I was having so much fun with the airbrush that I decided to also paint the knobs, and fix some over weathering I did to my trap. If you haven't tried it, just go and get yourself one. It's awesome! I just don't think I'll be back to rattle cans ever, well, unless is a big project! Oh, not to mention that airbrush paints dry FAST! When I weathered my trap I think I went a little overboard with the weathering, and wasn't completely happy with the result. A few seconds latter with the airbrush and I was happy again with my trap! I'll still add some weathering, but will go a little less aggressive. There was no way I could had fixed those spots on my trap with a normal spray paint can. Time to go back to Home Depot and return that Hunter Green rattle can!
Here are some progress pics:
This is how the goggles will look out from the box. I had position number one on the non pre-order list, so this is pretty much how you will get yours. There is some flash removing and sanding to be done. I used a Stanley and X-acto knife to clean them up. For reference I used photos posted by members who got theirs cleaned by Dan, just to make sure I was staying inside the line when doing my cuts.
This is normal stuff with resin models. A little bit of epoxy putty should take care of it.
Most of the cleaning process has been done!
Getting ready to drill the holes for the lenses.
For this I created a template using the lenses provided by Dan. I just traced them and cut them with an X-Acto. I folded the circles to find the exact center point. I taped them to the lenses (I also used a laser guide to make sure they were both aligned) and made some pilot holes in order to use the Hole Saw attachment. I wish I had a drill press!
Oh, make sure to use a smaller hole saw. One hole was a tad too big for one lens, but it was an easy fix. I was going to use some epoxy putty, but then realized that the rubber gasket supplied in the kit, when in place will cover the hole, so I will add some two part epoxy on the back and secure the lens in place. I'll take pics of the process... my English is not that good
Cheating with the laser guide
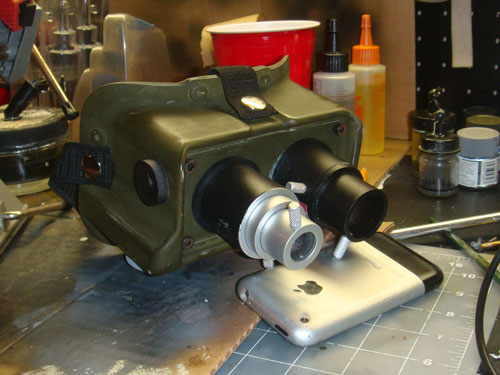
Airbrush time! Can't believe how different the color looks when inside/outside! Please keep in mind that I had only airbrushed a layer or two of paint. You can still see primer spots. I was still experimenting with the paint/thinner ratio. I added another layer after that and the result came out much better.
Indoors
Outdoors (sun light)
I also finished cutting/painting my gizmo holder
And here are some photos of my trap with a little less weathering. I got airbrush happy and also painted the front display (haven't attached it, yet)
Last edited: