bbioshockprop97
New Member
Awesome! It would be sweet if it lit up blue
It doesAwesome! It would be sweet if it lit up blue
 I'll post a video on youtube or something to show what it looks like.
Very, very nice!
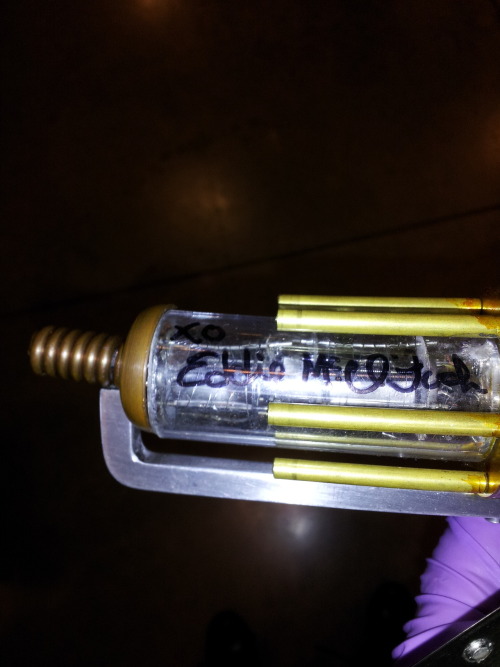
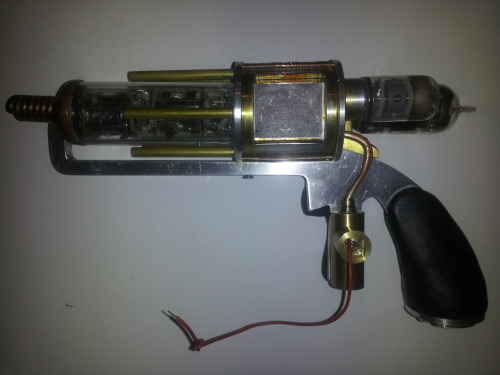
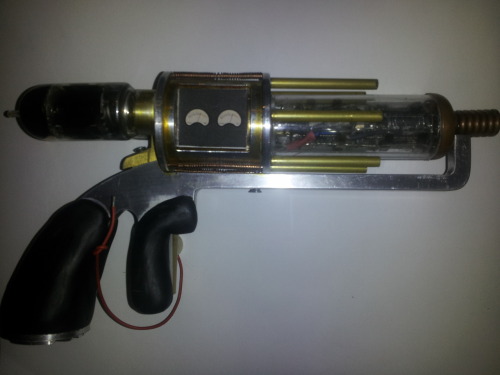
Excellent work! Another fine metal hero build joins the mix!Here is a couple of quick progress pics taken with my phone so excuse the quality as I tried to keep the size down. Was just test fitting parts and checking the best radio tubes I had for suitability.
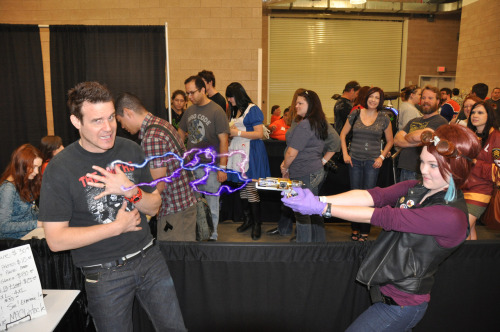
I'd been toying around with that exact same idea for well over a year now, but opted not to. That is, until 'iamthenight' had to go ahead and impress me with her little LED 'light-show'. I am now reasonably considering breaking the glass and gutting one of my rare main tubes:I am going to try cutting and/or drilling a bunch of spare tubes I have to see how badly they oxidise inside. I may be able to cut the entire bottom off them and remove the insides then clean the tubes and put the guts back in. If I can do that reasonably successfully I can try inserting some LEDs inside.
 ) you will ever find to match the Season 1 Tesla Gun, and has been nearly impossible to locate. That said, my reluctancy to 'gut' one should be easily understood.
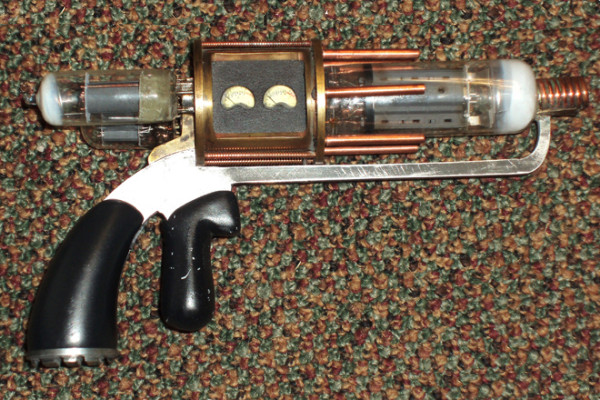
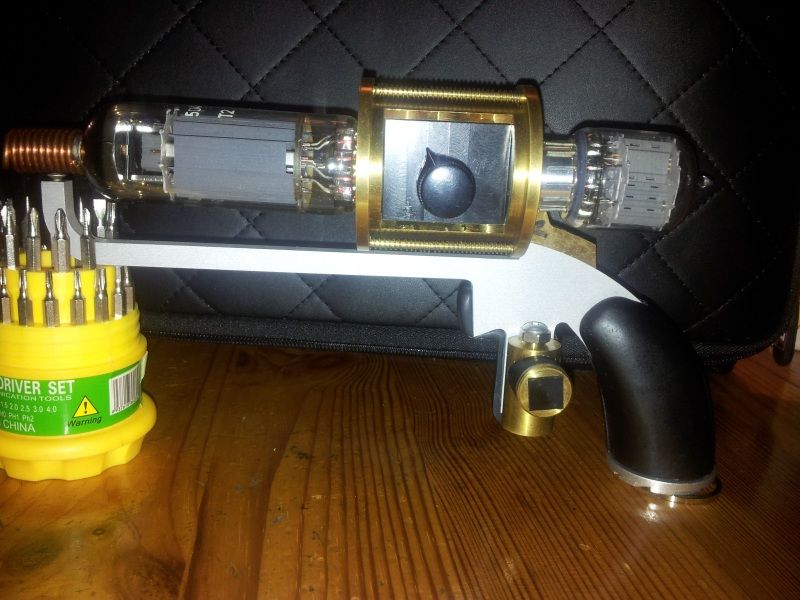
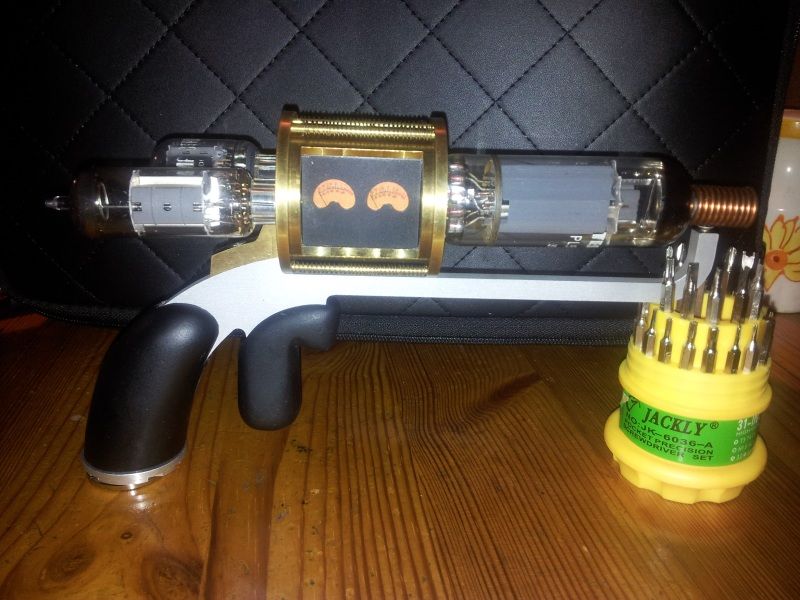
That's a great shot!
I am now reasonably considering breaking the glass and gutting one of my rare main tubes:
This is the most SCREEN-ACCURATE tube (with the exception of blowing the seal
Excellent work! Another fine metal hero build joins the mix!
I'd been toying around with that exact same idea for well over a year now, but opted not to. That is, until 'iamthenight' had to go ahead and impress me with her little LED 'light-show'. I am now reasonably considering breaking the glass and gutting one of my rare main tubes:
This is the most SCREEN-ACCURATE tube (with the exception of blowing the seal
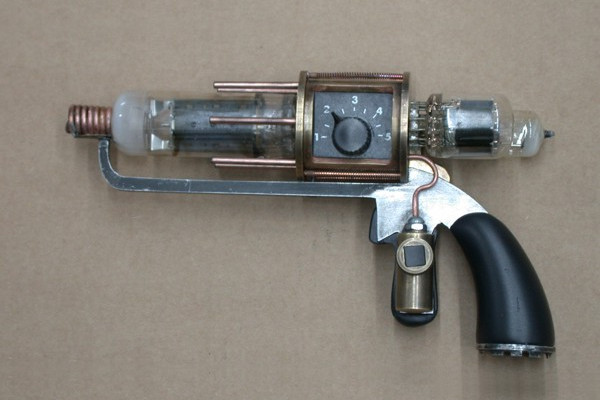
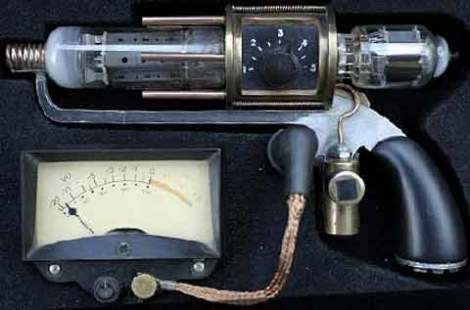
Here are shots of the Season 1 Hero Tesla Gun for reference:
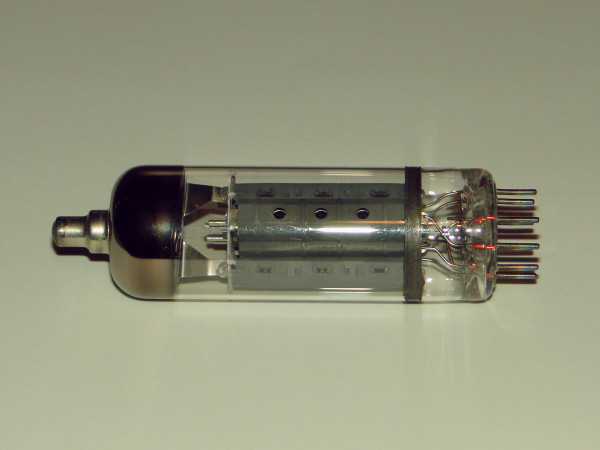
Hey Kenney good to see you here again. I decided that I was never likely to get the exact main tube, and also since there seemed to be some variation in those tubes seen online, that I would go for something close that looked really good. I am pretty happy with the PL504 tube that I've chosen and I have five of them so I can affored to make a mistake or two in attempting to cut them. Some varitaion among the fanmade Teslas is good I think.
) I took two of them, broke the glass, and glued the guts together. Then I fed the LEDS through the pieces. You have to be careful that it doesn't short out. Heat shrink tubing is a good way to keep that from happening, although it does make it difficult to maneuver the wires. Why not use an acrylic tube and manufacture a cap for it? I used a kids toy from hobby lobby for the tube and cut down a plumbing cap to fit. The toy actually came with the flashing LED board, so it worked out great!
That way you save your vacuum tube, and if you mess up, you can always get another one of the toys. It may not be "authentic", however it's much easier to gut a few broken tubes and stick the parts inside than it would be to try and feed LEDs into a hole.
My dad builds WWII german radio replicas, so we had a bunch of spare broken tubes lying around. (Which was funny, because I figured those were going to be the most difficult part of the project to get, and he walked in with a giant bag of them!
I'd be happy to help you if you have any really detail oriented questions on the LED part.