jt001
Sr Member
Although I haven't been around lately, I am finally getting my act together and getting of the Off Topic board (at least for a while hehe)!!! After many, many years I've finally got something to post on the prop section of the RPF!!! I can't remember when was the last time I posted here!
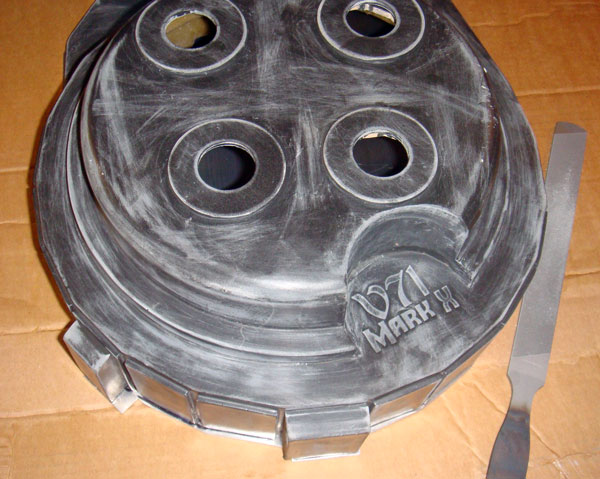
I've begun working on my Halloween costume, and after many, many years, I finally took the plunge and started to work on my proton pack! I think it was time to get away from Star Wars costumes for a while. I got an Exoray's V71 Mark X fiberglass shell and MMM's wand kit. Both pieces are absolutely stunning!!!
The wand progress pics were taken during the course of 3 days. Once I'm done, I'll start with the pack") I'm still waiting for a few parts and real Clippards that will finally be arriving next week. I haven't worked on props for a long time that I really needed to get my confidence back! At first I was a little hesitant, but after some time everything kinda fell back on track! Although, I've never worked filling resin bubbles, etc, so it was a whole new experience for me.
I'm still waiting for a few parts and real Clippards that will finally be arriving next week. I haven't worked on props for a long time that I really needed to get my confidence back! At first I was a little hesitant, but after some time everything kinda fell back on track! Although, I've never worked filling resin bubbles, etc, so it was a whole new experience for me.
I know, I know... pics. But first of all, I needed a place to work. It was either setting my shop upstairs or getting killed by my wife for working in the kitchen... so I decided to set up shop on the second floor. Perfect place! I can work inside with lots of ventilation and take 2 steps outside to the terrace and paint without making a mess inside!
Although it doesn't have to do that much with the pack, I am so excited about having my own shop that I have to show you guys! I spent the weekend setting up the space (lots of other things to do), and finally began working on my pack and wand!
Here are some pics:
Stairs to the second floor/terrace

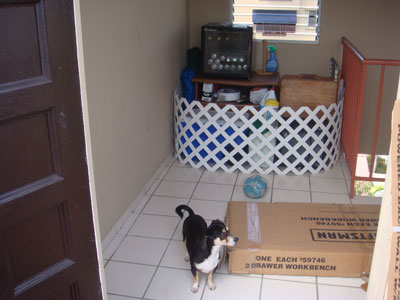
This is the place! Foreman Hulky is supervising the whole thing. Mini-fridge is a plus! Hehe
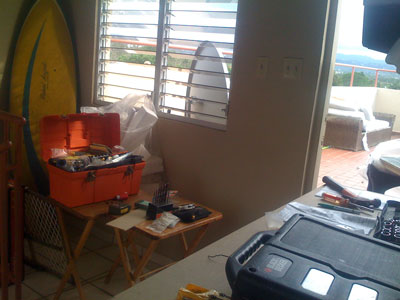
Making progress

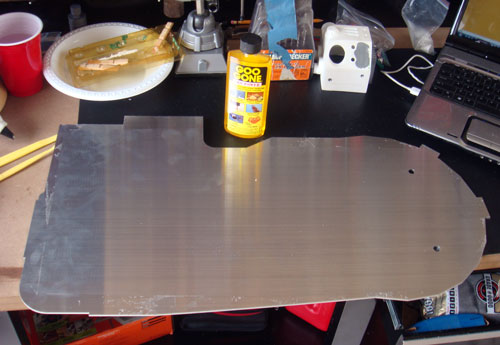
Out thru that door is the Painting Area. That surfboard over there was shaped by one of the guys from the original Endless Summer film: Robert August!
After some beers and a few hours later...

And now... let's get to business.
This is my first build. A long time ago I worked on some Star Wars costumes, a few drain pipe sabers... small stuff; nothing as big as this. I've never worked with resin parts before, so I am learning as I go: browsing here and there, tutorials, etc. I've tried to use some putty to fill holes, sanding, etc; so if you notice I am doing something wrong, please let me know! This thread might be of help to many newbies like me
I decided to start working with the wand, since there's a lot of info around. Here are some progress pics. Please feel free to post. I really appreciate your feedback!
MMM parts are just great. There's little to be done, and the castings are absolutely beautiful. Props to Colin (MMM)!
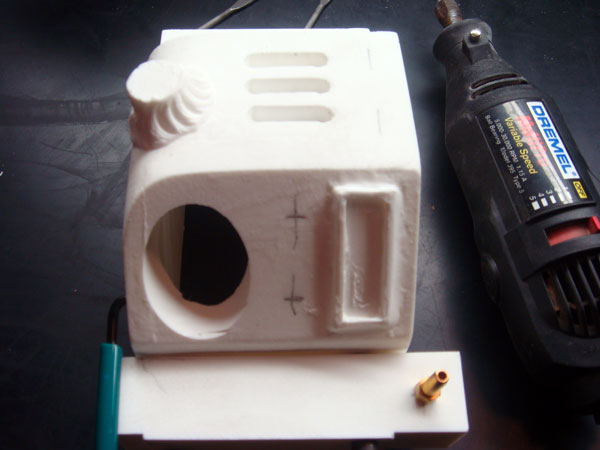
First day:
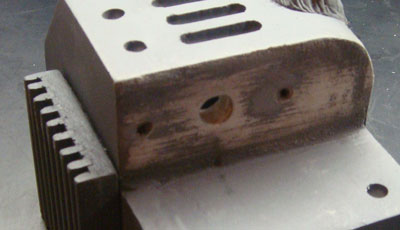
The top holes were already cut, so I just took some time to clean them up a bit.

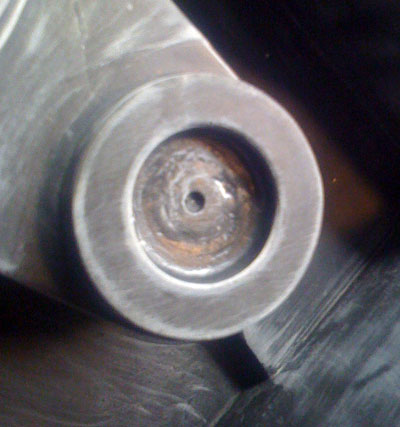
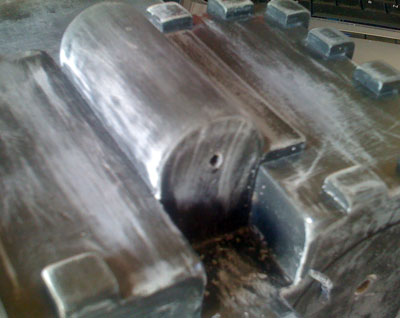
Time to drill the bar area.
Almost there...
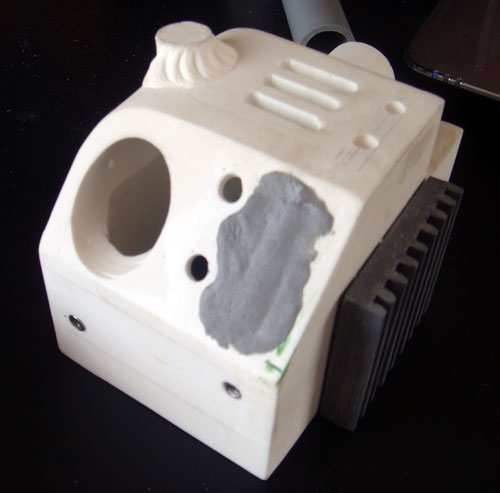
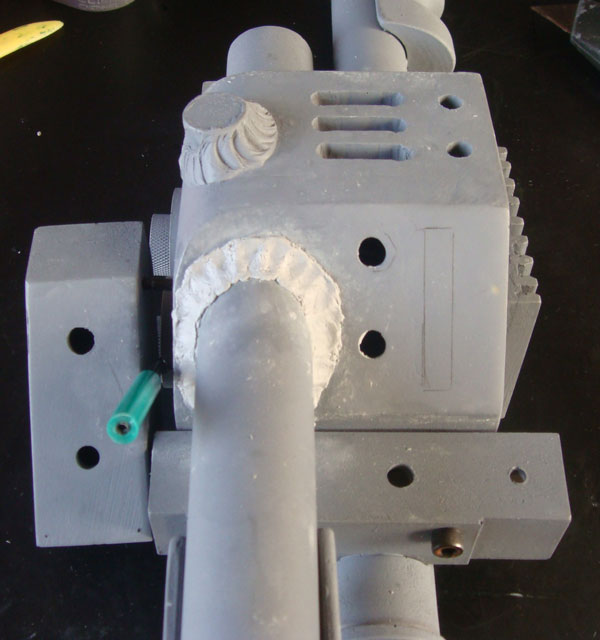
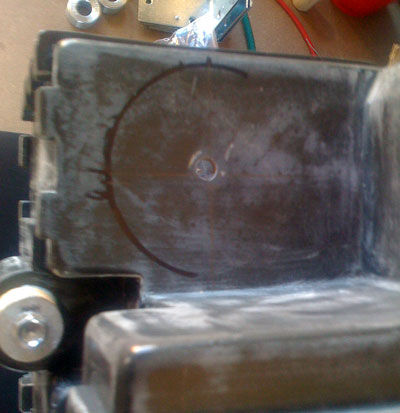
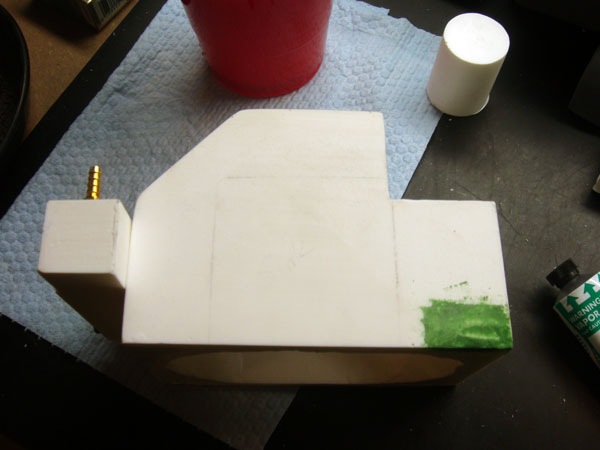
I decided to try and fix a spot over there. I've never done that before so please bear with me I used Squadron's green putty. It is my first attempt so it was a bit hard to get it right. I've heard some people mixing it 50/50 with thinner. I'll sand that later.
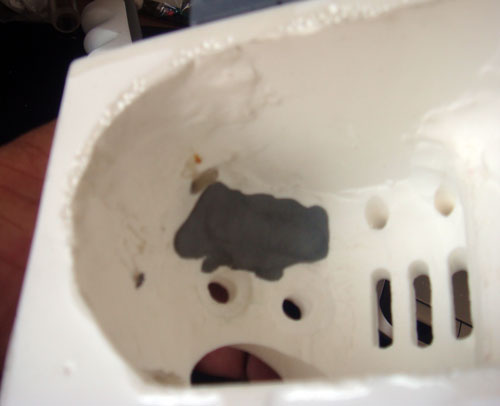
That piece had a little crack. I tried to fix it with that green putty thing again.
I *think* this one came up a little better. I applied the putty and removed the excess.
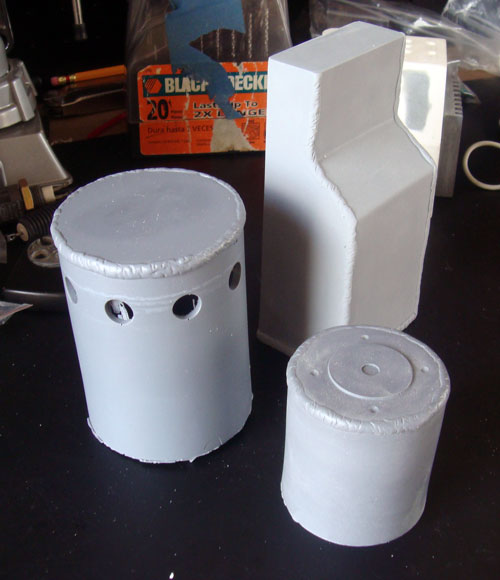
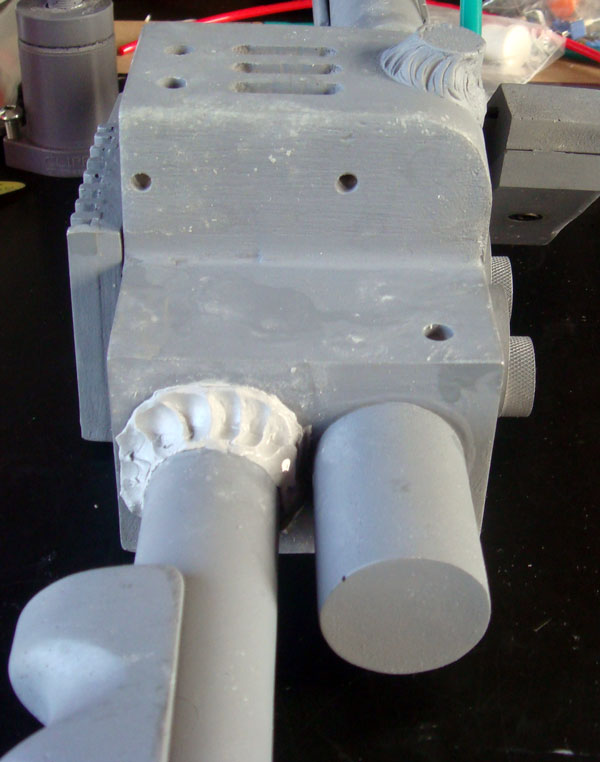
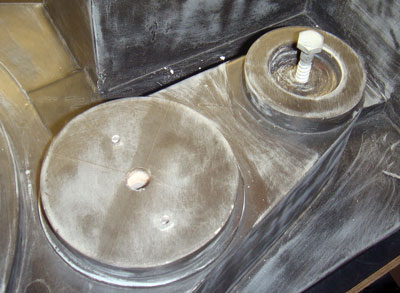
This part had a few bubbles. I sanded the top and decided to try my luck again!
It looks like it has a few bumps, but actually it's pretty smooth. I tried using my fingers to apply it and then used a mini spatula I had around.


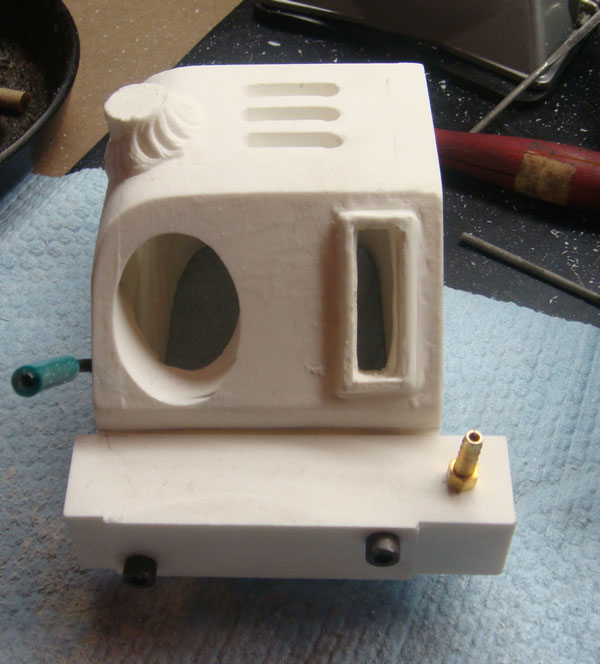
Second day:
The filling/sanding came out pretty good!
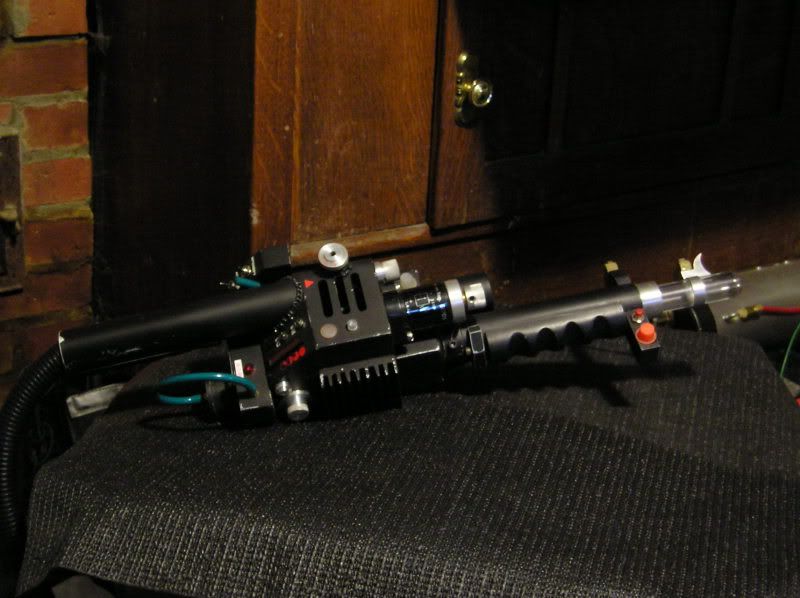
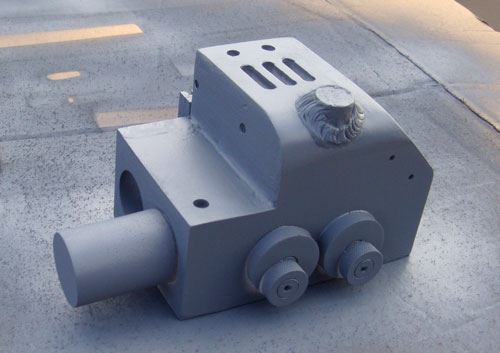
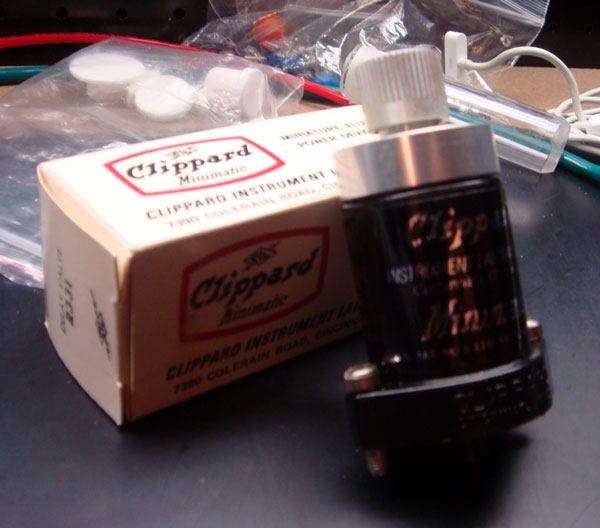
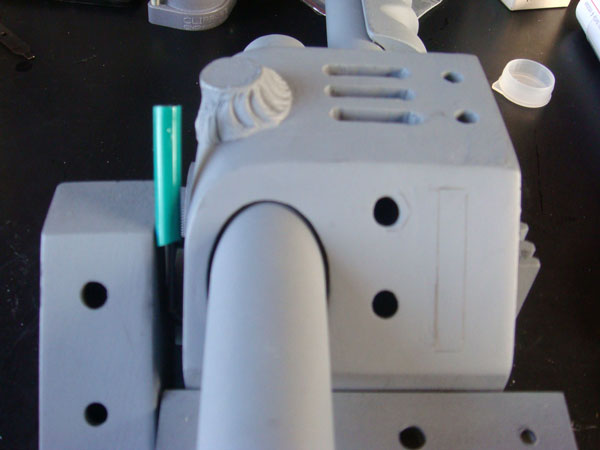
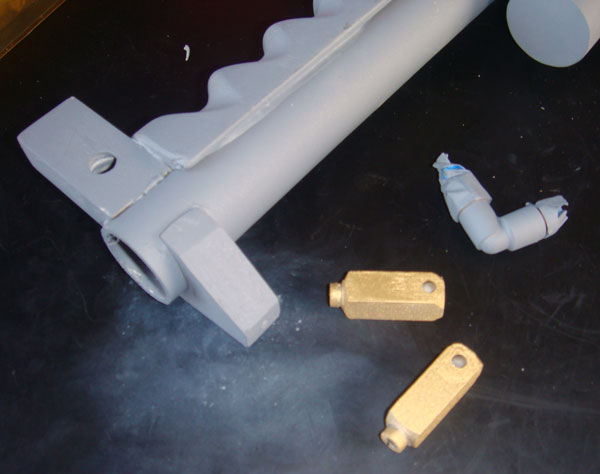
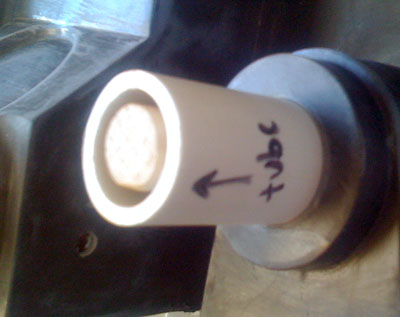
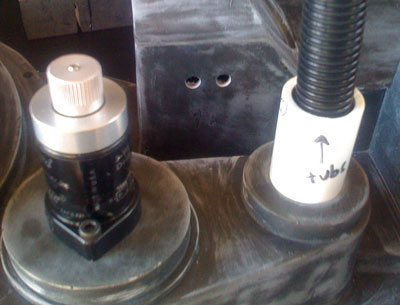
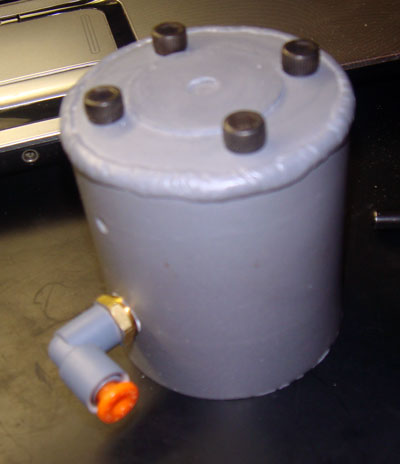
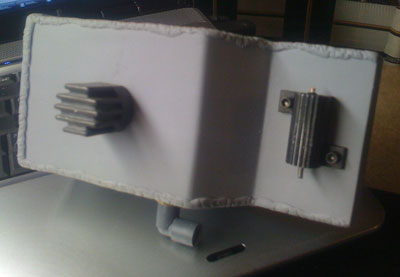
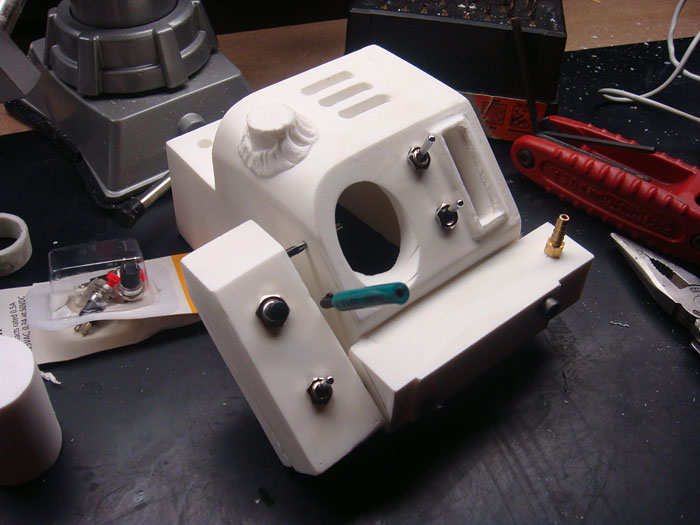
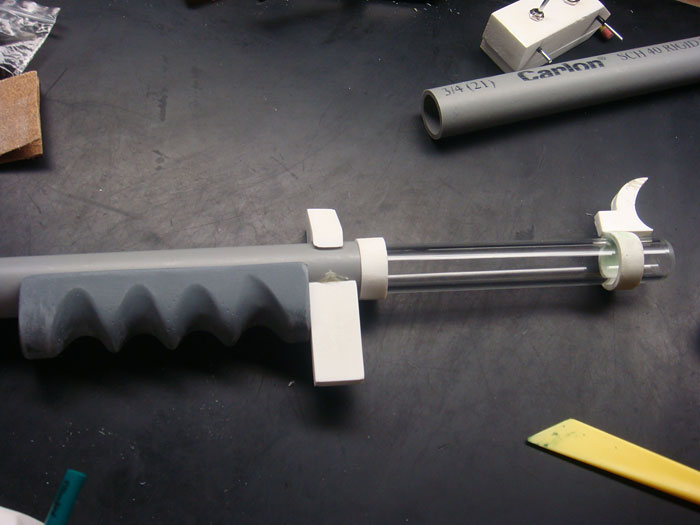
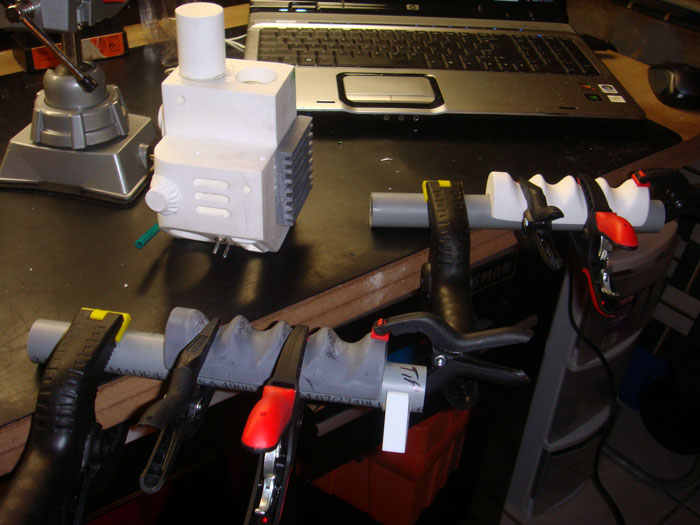
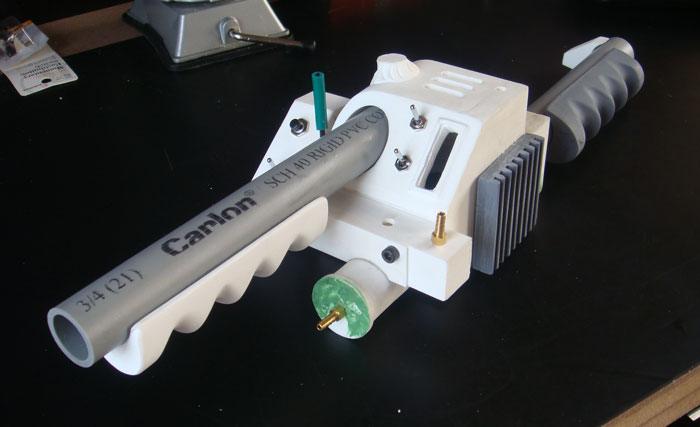
I drilled a few more holes, added switches and glued a few parts. The side disks and the grill were glued with epoxy. The other pieces, like the barrel, front grips, were attached with hot glue to see how will they fit and use it as a guide when I decide to glue them permanently. I'm still waiting for real Clippard valves to arrive. This was put in place for position only.
I believe you might have seen tons of "WIP threads" mostly with the same stuff, but I'll appreciate your input. Please let me know if something's not looking good... anything!
Here are some progress pics:

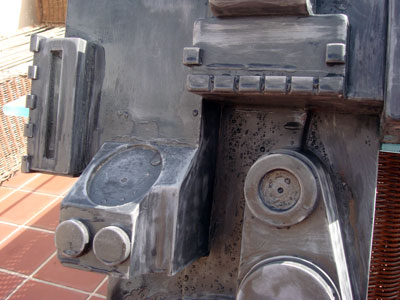
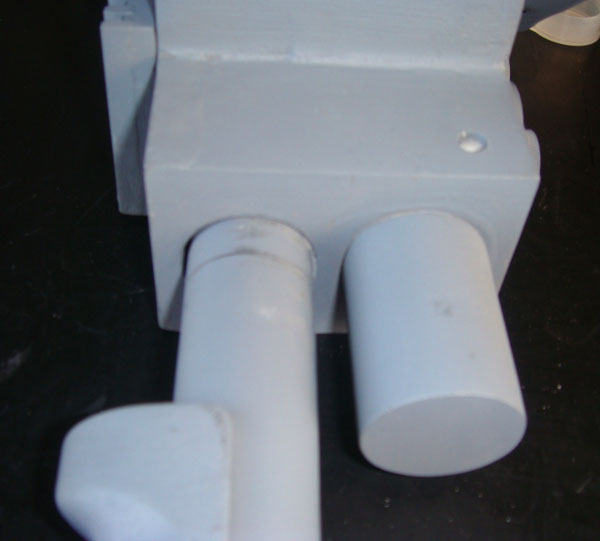
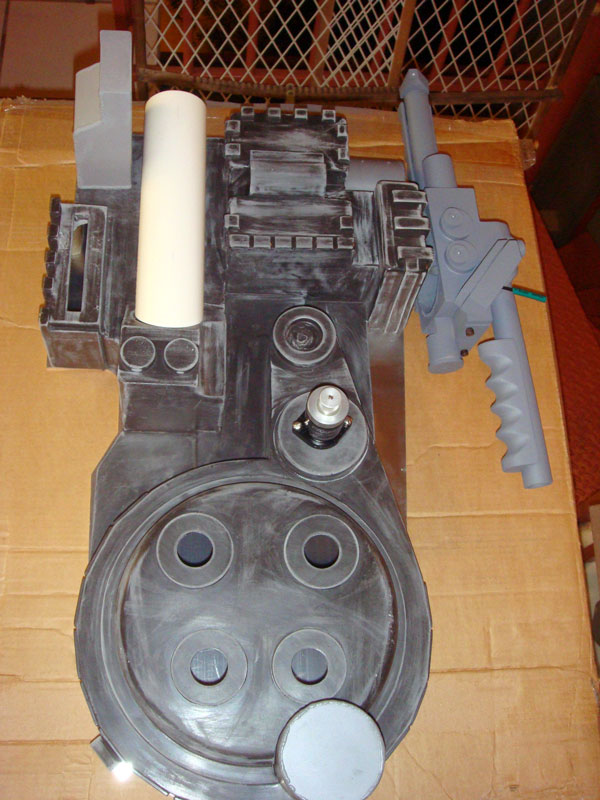
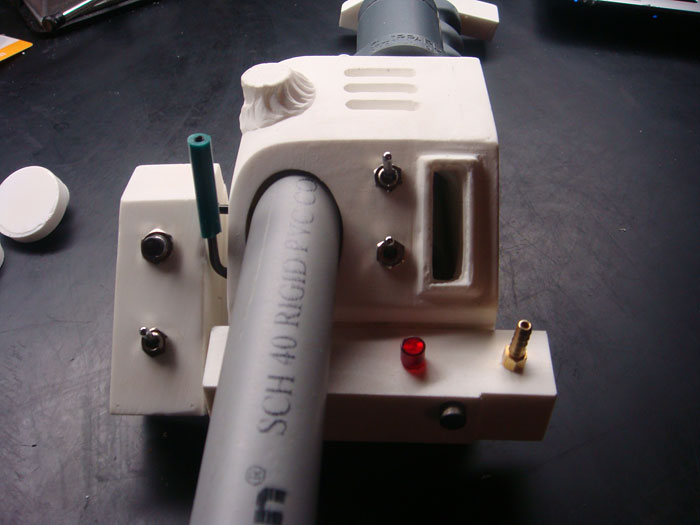
The stuff on the front barrel is being held with hot glue.


I wonder if I'll have enough space for the sticker that goes on the left side of the graph bar If not, I'll have to make some space!
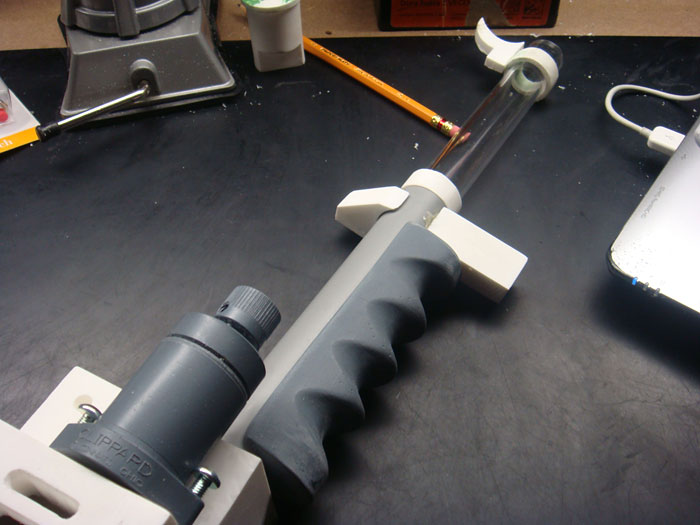
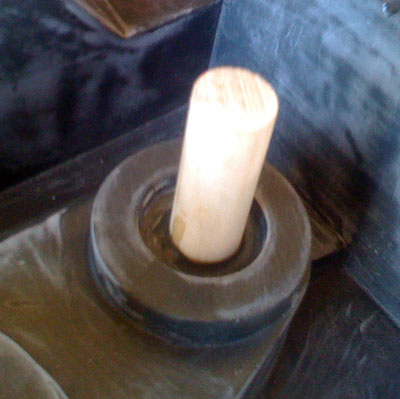
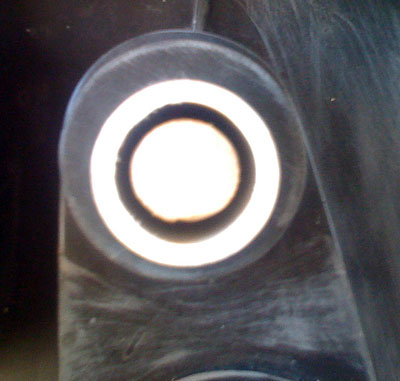
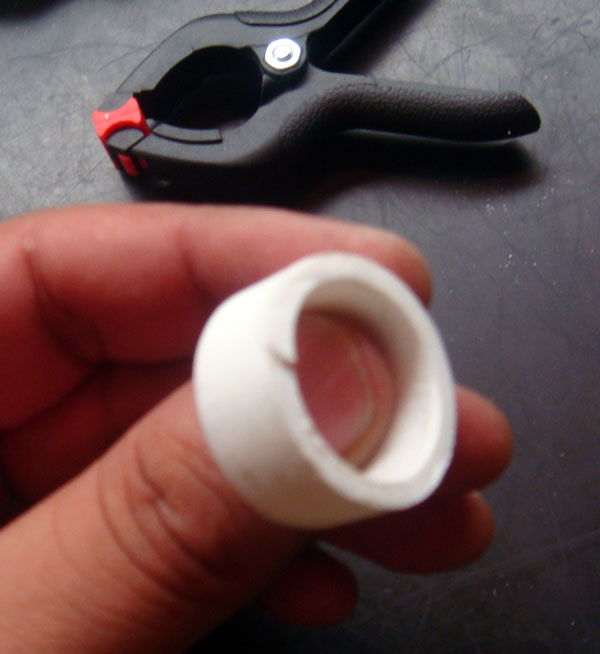
I need to cut the acrylic tip

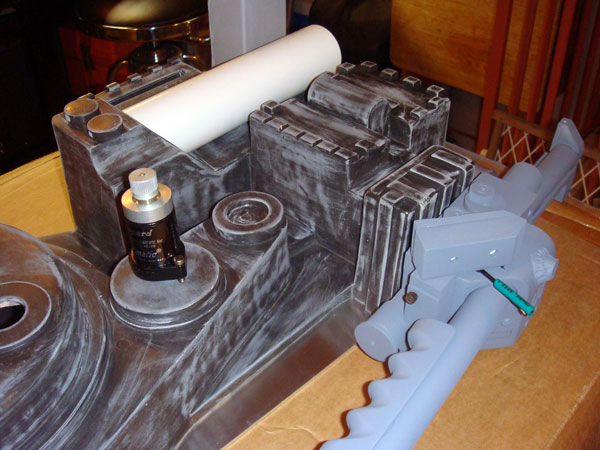
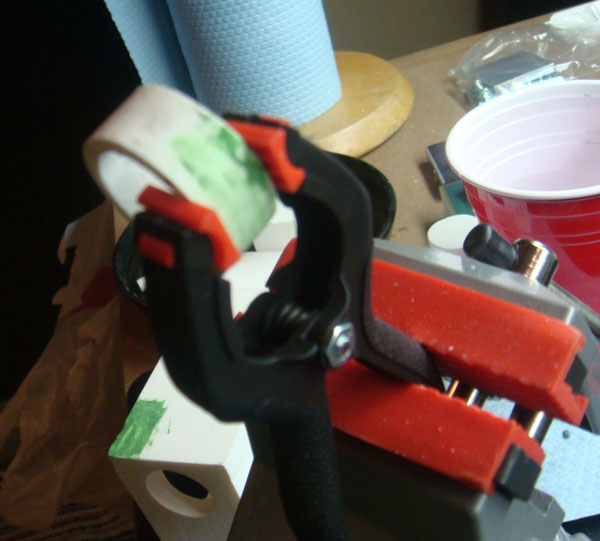
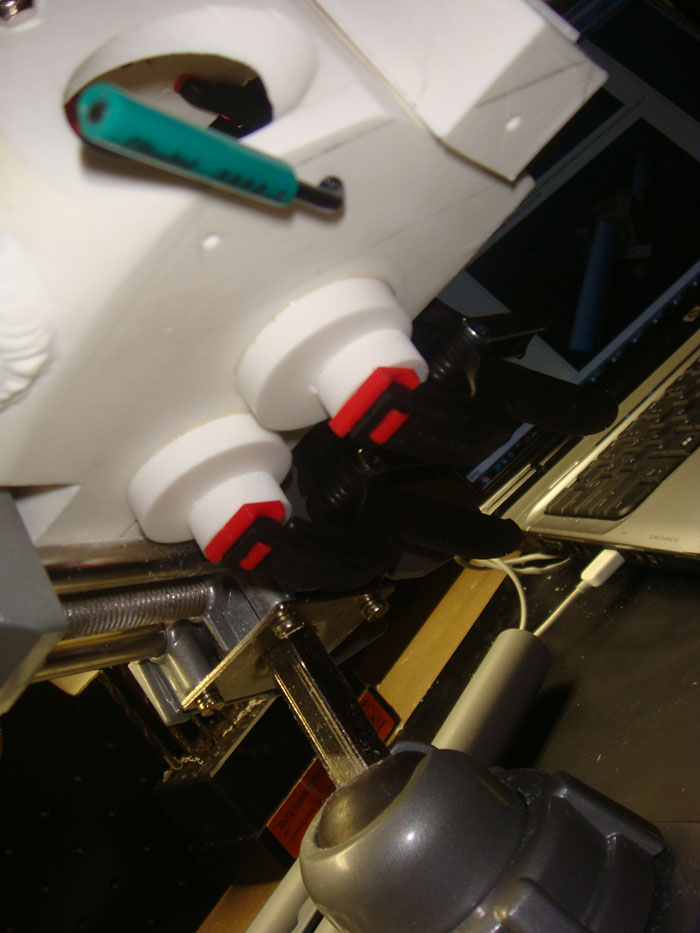
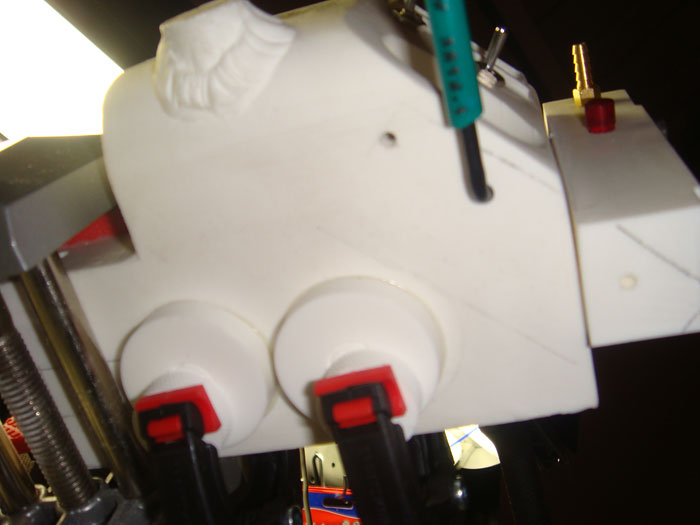
Holding some parts in place until the epoxy dries.

Third day:
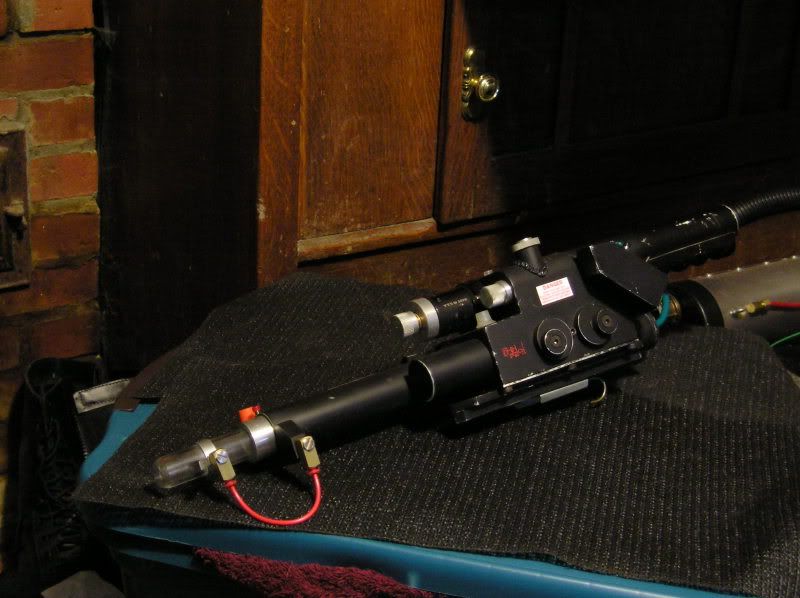
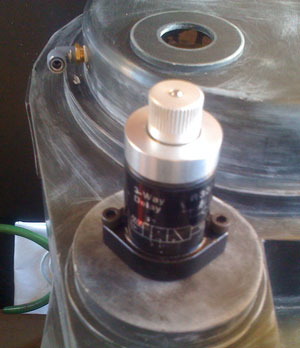
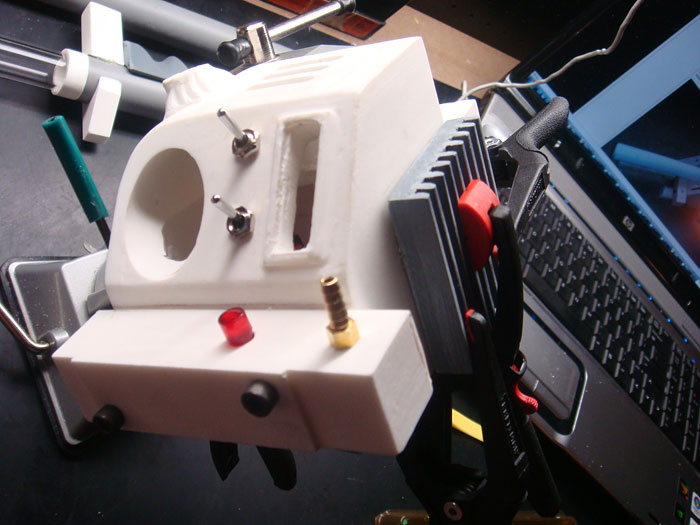
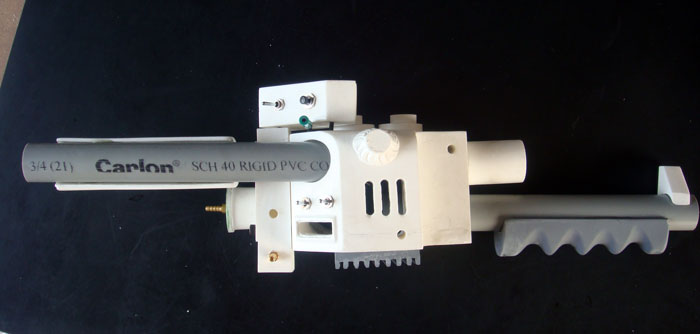
Last night I worked a little bit more: I glued a few parts with epoxy, drilled some holes... everything is coming along great! I'm almost ready to start priming, but the weather has been awful lately. I'll be adding a real Clippard and metal knobs, so need to drill for now
Here are some progress pics:
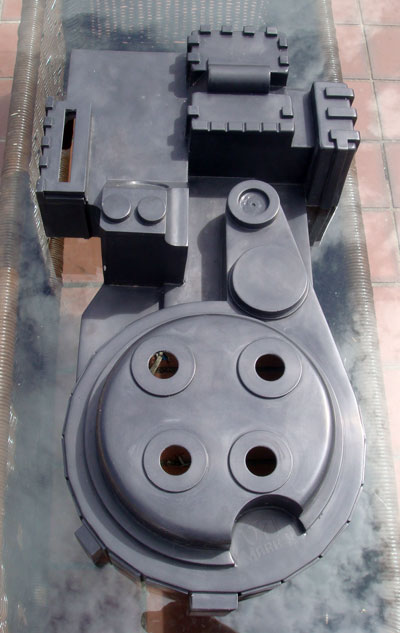
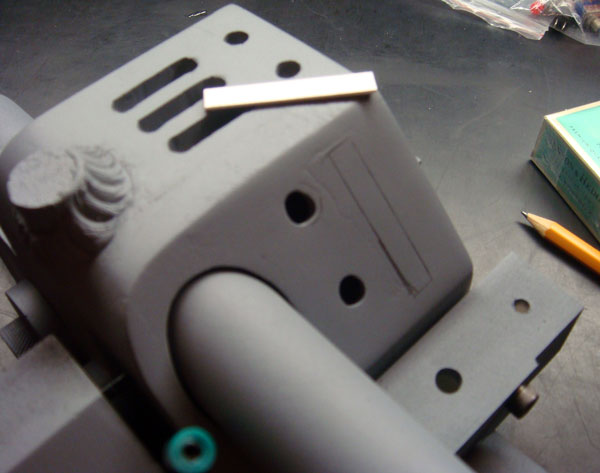
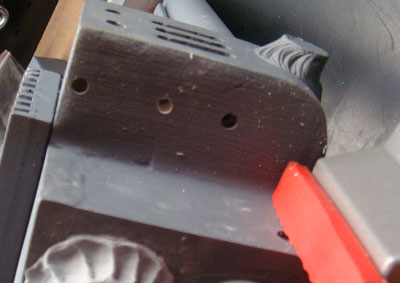
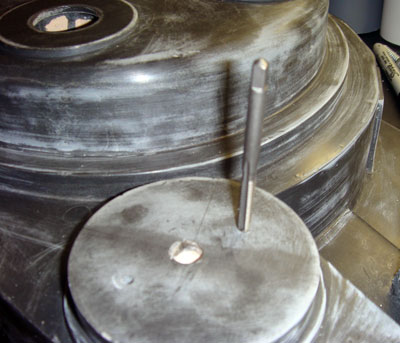
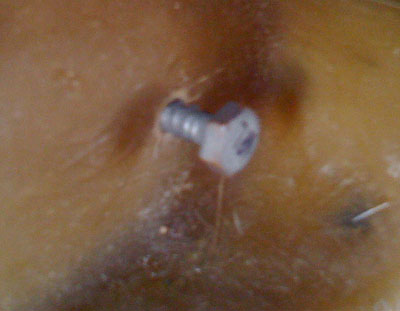
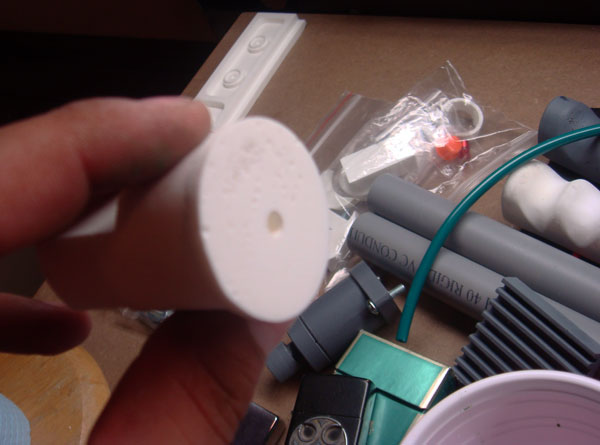
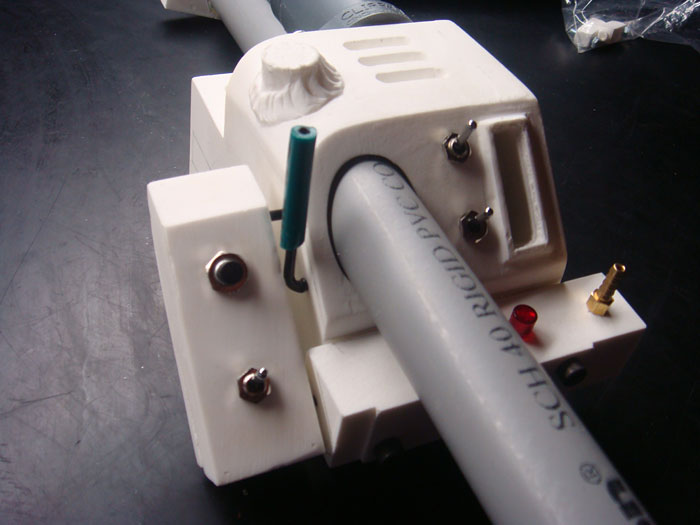
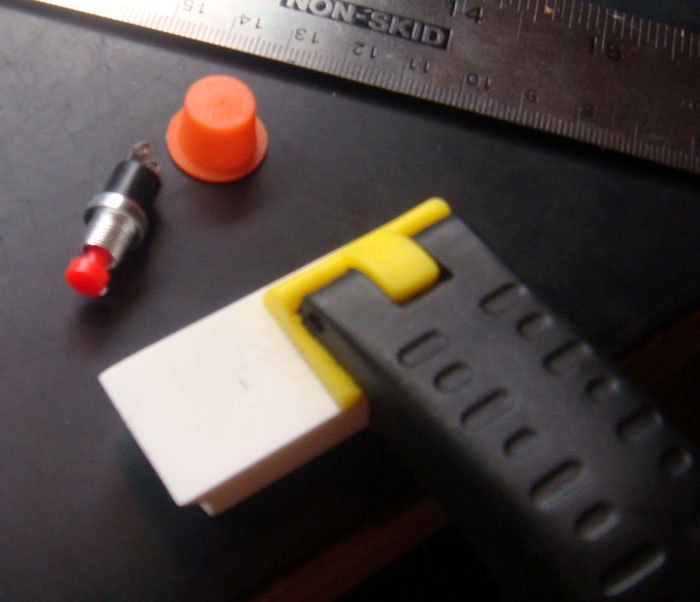
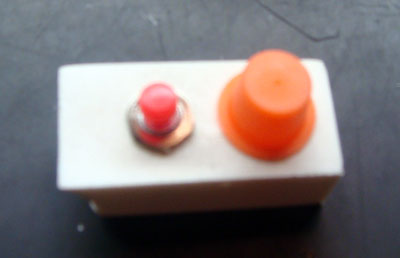
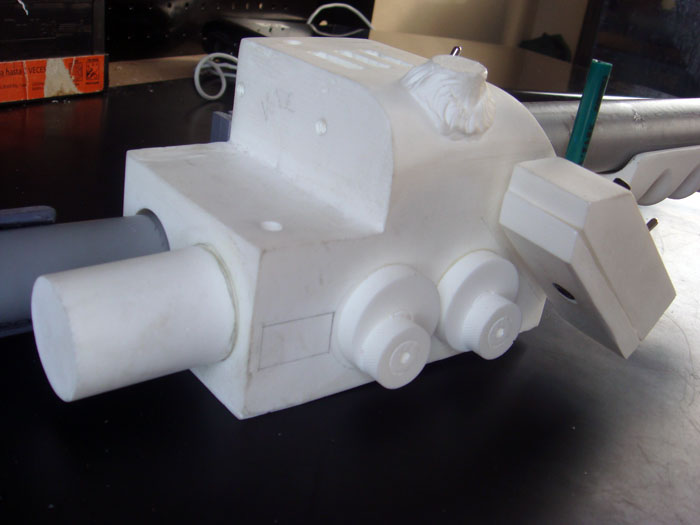
I had to drill a bigger hole in the back to accommodate the momentary push button. Do you guys fill the back once the button is set or do you leave it open?
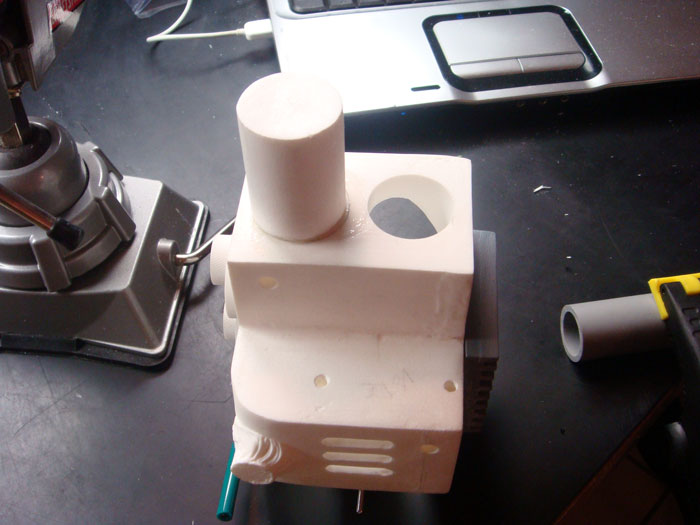

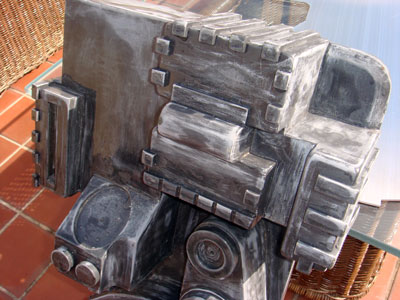
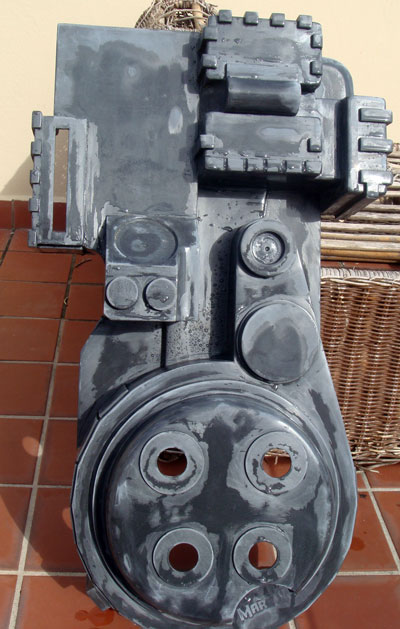
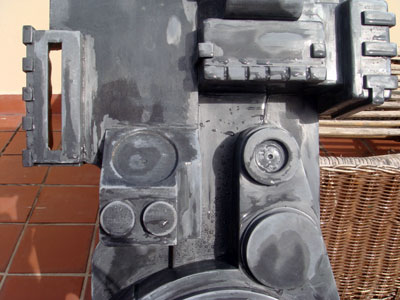
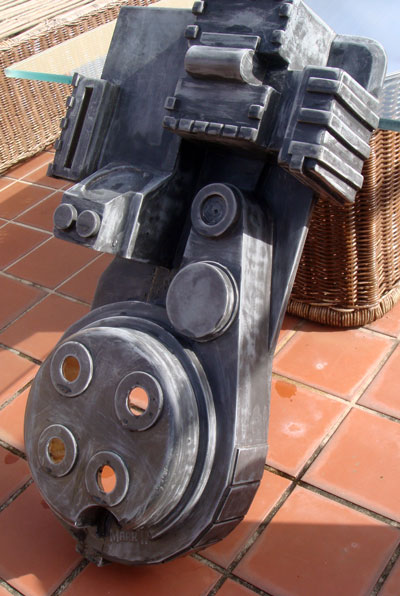
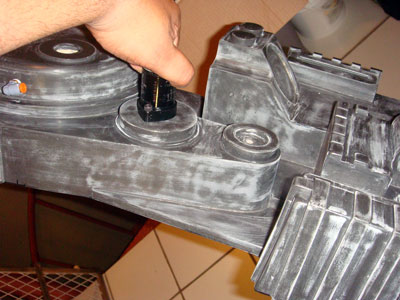
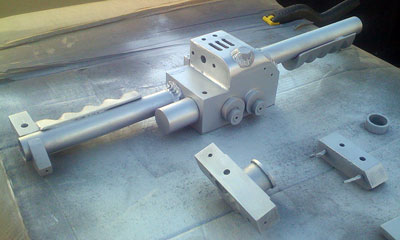
Taking shape now!


That's it for now!
I've begun working on my Halloween costume, and after many, many years, I finally took the plunge and started to work on my proton pack! I think it was time to get away from Star Wars costumes for a while. I got an Exoray's V71 Mark X fiberglass shell and MMM's wand kit. Both pieces are absolutely stunning!!!
The wand progress pics were taken during the course of 3 days. Once I'm done, I'll start with the pack
I'm still waiting for a few parts and real Clippards that will finally be arriving next week. I haven't worked on props for a long time that I really needed to get my confidence back! At first I was a little hesitant, but after some time everything kinda fell back on track! Although, I've never worked filling resin bubbles, etc, so it was a whole new experience for me.I know, I know... pics. But first of all, I needed a place to work. It was either setting my shop upstairs or getting killed by my wife for working in the kitchen... so I decided to set up shop on the second floor. Perfect place! I can work inside with lots of ventilation and take 2 steps outside to the terrace and paint without making a mess inside!
Although it doesn't have to do that much with the pack, I am so excited about having my own shop that I have to show you guys!
I spent the weekend setting up the space (lots of other things to do), and finally began working on my pack and wand!Here are some pics:
Stairs to the second floor/terrace
This is the place! Foreman Hulky is supervising the whole thing. Mini-fridge is a plus! Hehe
Making progress
Out thru that door is the Painting Area.
That surfboard over there was shaped by one of the guys from the original Endless Summer film: Robert August!
After some beers and a few hours later...
And now... let's get to business.
This is my first build. A long time ago I worked on some Star Wars costumes, a few drain pipe sabers... small stuff; nothing as big as this. I've never worked with resin parts before, so I am learning as I go: browsing here and there, tutorials, etc. I've tried to use some putty to fill holes, sanding, etc; so if you notice I am doing something wrong, please let me know! This thread might be of help to many newbies like me
I decided to start working with the wand, since there's a lot of info around. Here are some progress pics. Please feel free to post. I really appreciate your feedback!
MMM parts are just great. There's little to be done, and the castings are absolutely beautiful. Props to Colin (MMM)!
First day:
The top holes were already cut, so I just took some time to clean them up a bit.
Time to drill the bar area.
Almost there...
I decided to try and fix a spot over there. I've never done that before so please bear with me
I used Squadron's green putty. It is my first attempt so it was a bit hard to get it right. I've heard some people mixing it 50/50 with thinner. I'll sand that later.
That piece had a little crack. I tried to fix it with that green putty thing again.
I *think* this one came up a little better. I applied the putty and removed the excess.
This part had a few bubbles. I sanded the top and decided to try my luck again!
It looks like it has a few bumps, but actually it's pretty smooth. I tried using my fingers to apply it and then used a mini spatula I had around.
Second day:
The filling/sanding came out pretty good!
I drilled a few more holes, added switches and glued a few parts. The side disks and the grill were glued with epoxy. The other pieces, like the barrel, front grips, were attached with hot glue to see how will they fit and use it as a guide when I decide to glue them permanently. I'm still waiting for real Clippard valves to arrive. This was put in place for position only.
I believe you might have seen tons of "WIP threads" mostly with the same stuff, but I'll appreciate your input. Please let me know if something's not looking good... anything!
Here are some progress pics:
The stuff on the front barrel is being held with hot glue.
I wonder if I'll have enough space for the sticker that goes on the left side of the graph bar
If not, I'll have to make some space!
I need to cut the acrylic tip
Holding some parts in place until the epoxy dries.
Third day:
Last night I worked a little bit more: I glued a few parts with epoxy, drilled some holes... everything is coming along great! I'm almost ready to start priming, but the weather has been awful lately. I'll be adding a real Clippard and metal knobs, so need to drill for now
Here are some progress pics:
I had to drill a bigger hole in the back to accommodate the momentary push button. Do you guys fill the back once the button is set or do you leave it open?
Taking shape now!
That's it for now!
Last edited: