Sidkit Firefly pistol build pictures (small update)

falcon dude

Well-Known Member
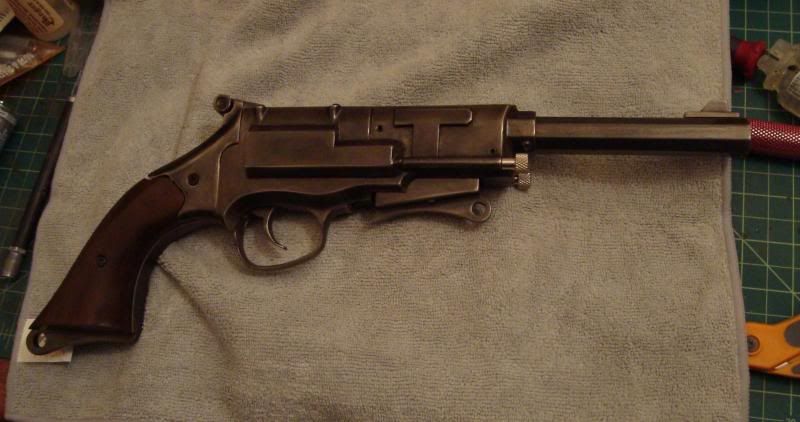
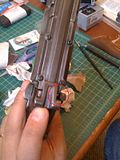
Heres a few pictures of Mals pistol Im building for a few of the guys here.
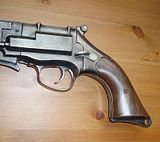
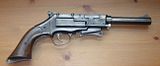
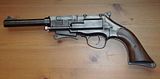
The first one is pretty much done. You cant see it in the pictures but the barrel is bolted in from behind. I didnt want it bending or falling off. Glue just wasnt gonna cut it in the long run, Im sure.

Thumbnails below: (when you click on the thumbnail the picture will show in about 70% size. Click on that picture again to see it full size. Its an annoying Photobucket thing)


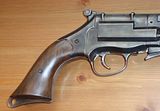
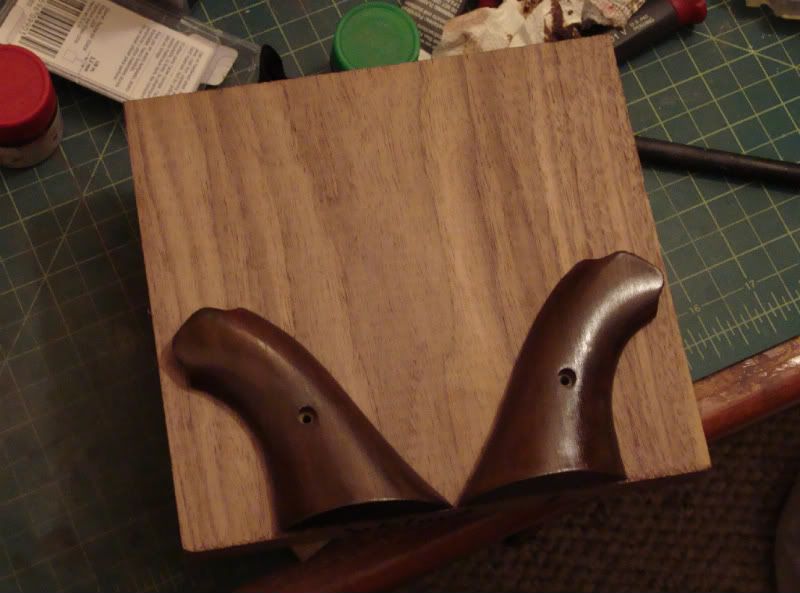
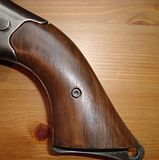
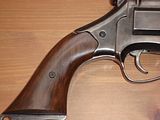
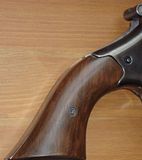
A couple closeups of the resin grips. The fit isnt great on these but there isnt much I can do about it short of making new ones.


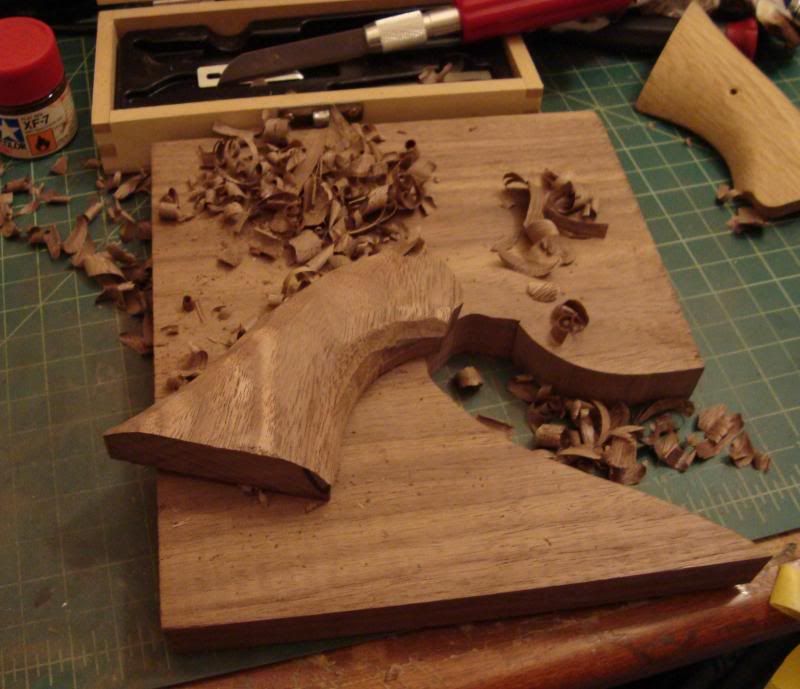
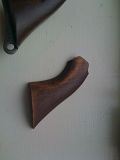
Heres a wooden grip I made just for fun. I dont have a machine to make these so I had t carve them by hand. Came out ok. I didnt like the way the basswood took the stain though. I dont think Ill be making any more of them unless I can find some nice walnut. Basswood isnt worth the effort.


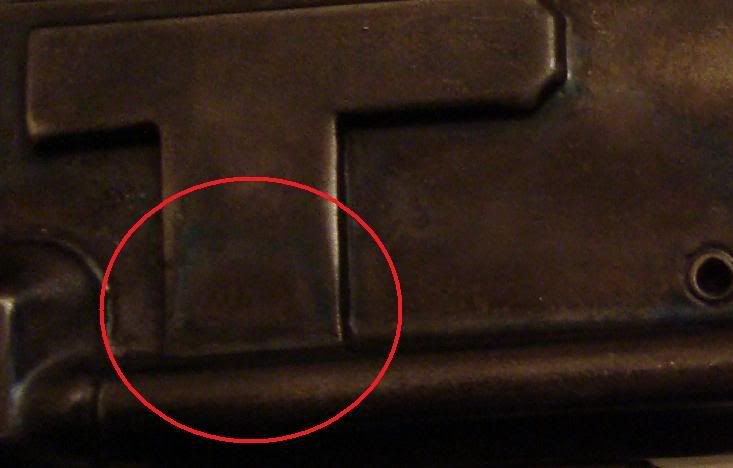
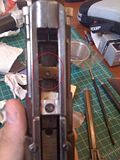
And since I didnt like the idea of gluing thing to the gun permanently I screwed the magazine in from the inside and the top of the pistol is held in place with a small pin. Whan the side is screwed in the ttop can not come off.


Last edited:
Re: Sidkit Firefly pistol build pictures

Hey, look at that! My gun is famous! :)

Really incredible work, Helder. Thank you for all the trouble.
I like your plan for the magazine re-engineering, too.
 
Re: Sidkit Firefly pistol build pictures

Shiny!


Something to help strengthen that barrel


And this is as far as the bottle of blue got me. Time to order another one. This next bottle should last a bit longer :$

 
Re: Sidkit Firefly pistol build pictures

Well I was working on another one of these and I was kinda unhappy with the swirl that the brass brush leaves when your using it as per Sid instructions so i decided to shine it up without the rush. I just wanted to see how nice it would be possible to get it with no brush ans no polishing compounds (cause I dont wanna leave any residue that could mess up the bluing later on)

So I started with 320 sandpaper and kept going finer and finer until I reached about 1500 grit. I think it looks much better than the Brass Brush method. Its very time consuming though, and I don't really know how much difference it will actually make after bluing (I dont think any). I guess I'm gonna use this method only for Bronson BB's pistol, since its gonna be plated (and any little thing shows through plating according to the plating guy)

Pics aren't the best, I took them with my camera but you can get the idea


Finished Oldzey's pistol and wanted to take a small break from polishing and bluing. I had found a small piece of nice walnut so, what better way to detox from metal and chemicals than to work with some wood! Was just playing around really, I wont be offering these as Eltee is currently making a run as well and since his run is CNCd and mine takes a whole day, his are simply more cost effective.

They aren't finished yet, since I don't know what pistol they will be put on, there will be some final trimming to do.

DSC00439.jpg

DSC00444.jpg

DSC00448.jpg
 
Last edited:
Holy hell, those look fantastic!

Dangit....I'm going to have to rebuild my Mal pistol now, these new builds look too darn good.
 
Not "those", "that one" as I only made one side. The ones in the first picture are the resin ones from the kit.
Thanks for the compliment :)
Helder
 
You see, thats the weird part. People keep telling me that they look good but for some reason I cant see it that way. Since the metal isn't meant to be blued, the bluing doesn't go on perfectly like it would on real metal, there are a bunch small of imperfections everywhere. In reality, in person it sorta looks like burnt steel or something very used. That bothers me a LOT hehe, because my intention was to make it look NEW!
There are actually some parts of the metal that I redid 3 or 4 times but I guess since the composition of the metal in that particular spot is the same, even after I sand the bluing off, repolish and reblue, I get the same imperfection in exactly the same spot, and shaped the same way too! Sometimes its just less obvious, but its still there.
Heres an example of what I mean (not your pistol BTW just an example)

Detail.jpg


That darker blue spot will be there no matter what I do.
Oh well....
 
Yep, I had the same issue with my Mal. In the end I just chalked it up to it looking "weathered". In my case, I was literally immersing the parts in bluing solution for up to an hour to try and get a deeper blue. The really frustrating part is that after all that work, the finish is wearing off the edges anyway due to the softness of the metal.
 
This thread is more than 13 years old.

Your message may be considered spam for the following reasons:

  1. This thread hasn't been active in some time. A new post in this thread might not contribute constructively to this discussion after so long.
If you wish to reply despite these issues, check the box below before replying.
Be aware that malicious compliance may result in more severe penalties.
Back
Top