You are using an out of date browser. It may not display this or other websites correctly.
You should upgrade or use an alternative browser.
You should upgrade or use an alternative browser.
There has to be something better - TOS Shuttlecraft build
- Thread starter feek61
- Start date
Smiling Demon
Sr Member
WOW:eek
That thing is shaping up quite nicely!!:thumbsup
That thing is shaping up quite nicely!!:thumbsup
feek61
Sr Member
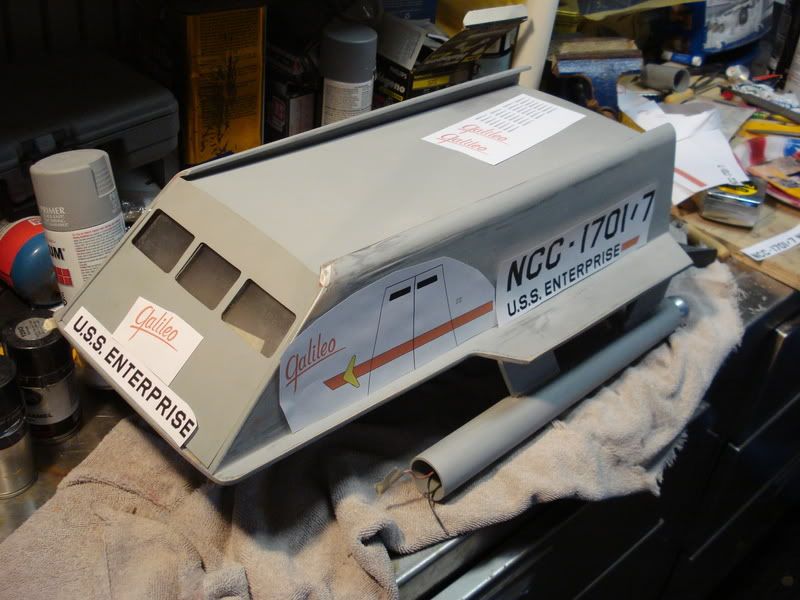
Thanks guys for all of the kind words. Seeing the work of others here has been a real inspiration. Ron, I did clear coat the decals with Krylon crystal clear acrylic spray. It worked great. I'm looking forward to getting some more time in on it this weekend. I spend all week working my arse off and don't have time to do much on the shuttlecraft BUT it gives me pleanty of time to think about what I want to do. I love the weekends! :lol I have decided to go ahead and do the windows in the door in plexi and light them. The real model didn't have anything there but a black decal but I figure what the heck. I might as well go all the way.
Will
Will
Last edited:
redshirt
Sr Member
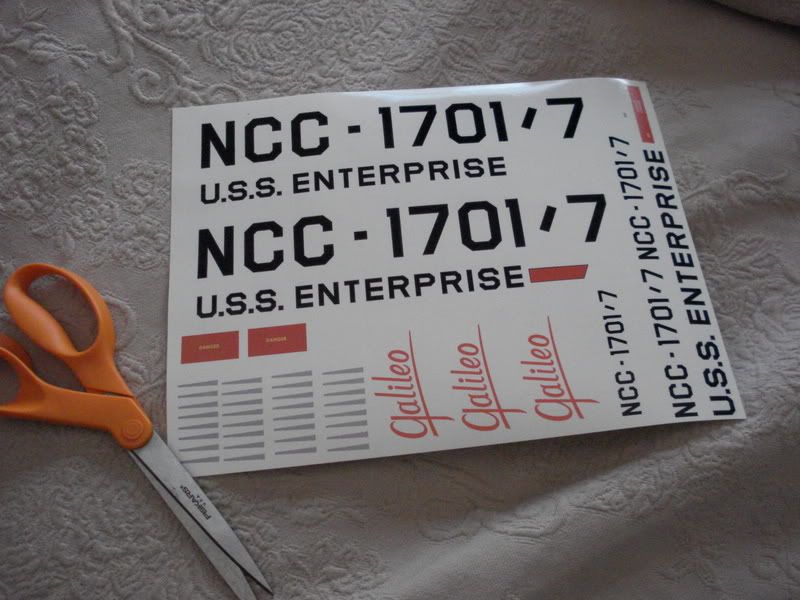
Here is where I'm at today. Over night I went ahead and did the graphics for the decals. It's a little early for decals but I am using decals for the fan blades on the warp engine so I really need them now. Not to mention it was fun doing something that resembled a finished product. First I printed them on a plane sheet of paper to make sure the size was correct. Everything looked fine so I then printed them onto a decal sheet.
You can see the warp fan blades on the lower left by the sissors (I printed a few spares; just in case, lol). It will take 2 sheets but I only printed one for now until I'm ready for the rest. These look smaller in the photo but that's a 8.5" X 11" sheet.
I was able to finish the front lower hull details and get the inner warp domes attached to the rods. Next up finishing up the warp engines.

Where did you get the half clear domes from?
Tom
feek61
Sr Member
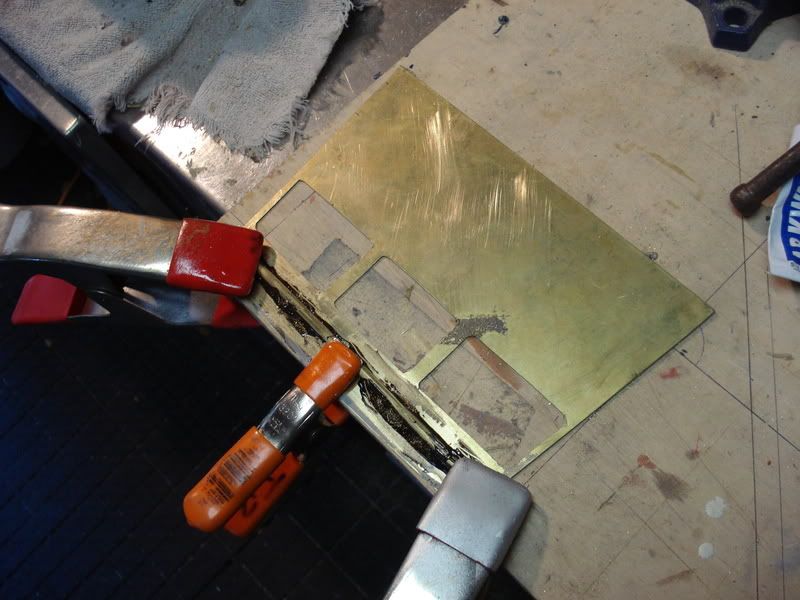
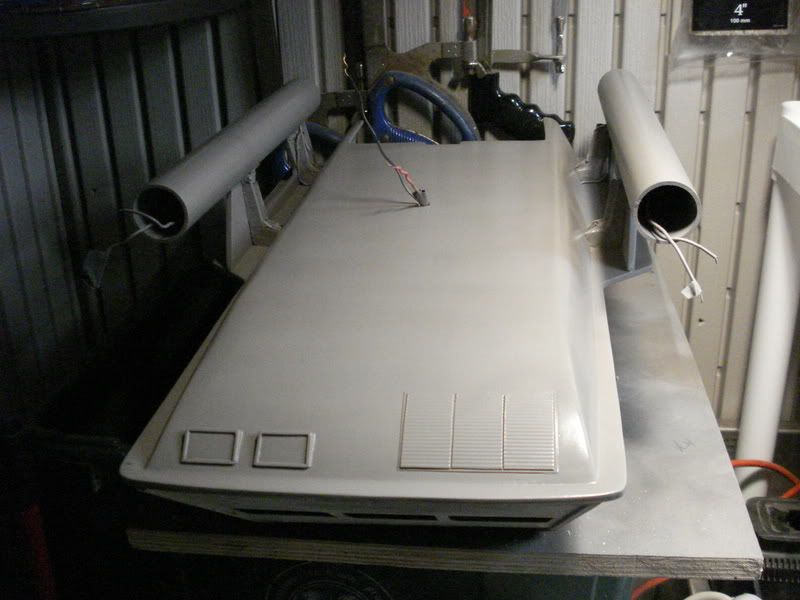
Thanks guys. I have not had much time to spend on this but here are a few more photos. I removed most of the existing front and replaced it with a thin brass sheet. I reenforced the top of the brass from bending by epoxying a brass rod across the top. This is the area that no longer has solid backing.
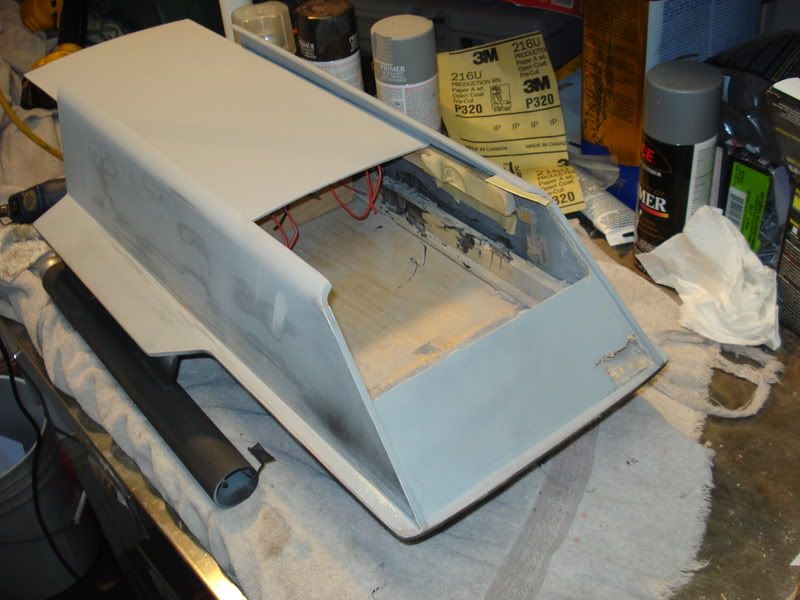
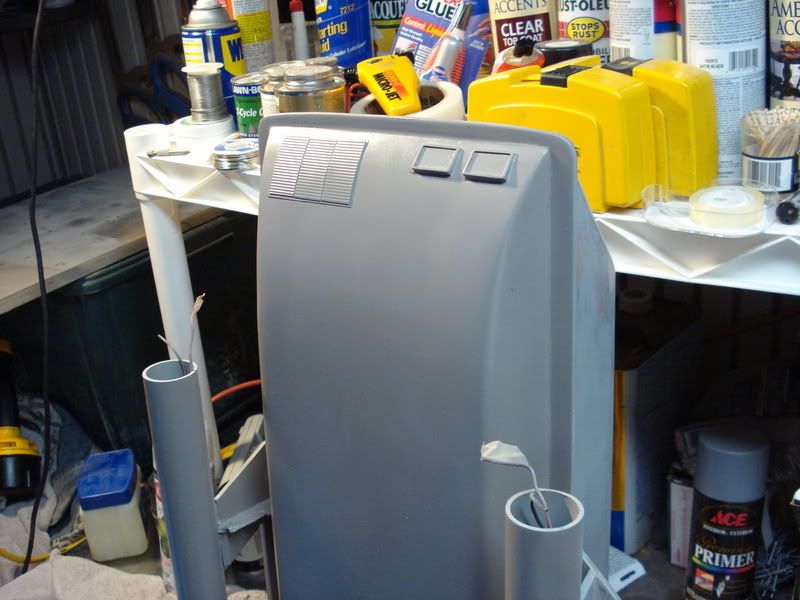
I also had a chance to install the warp engine vents on both sides. Sorry about the dark primer on this one. The finish color needed to bee just a touch darker so I'm hoping this will do it:
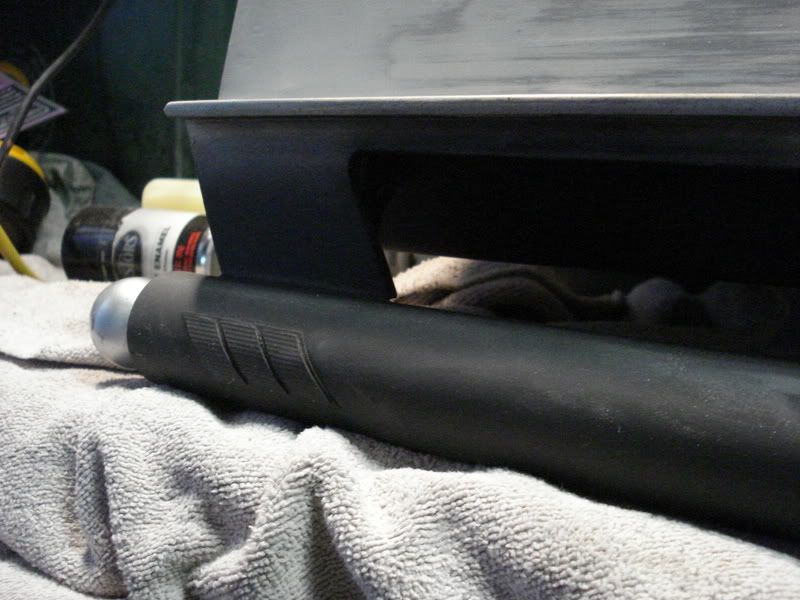
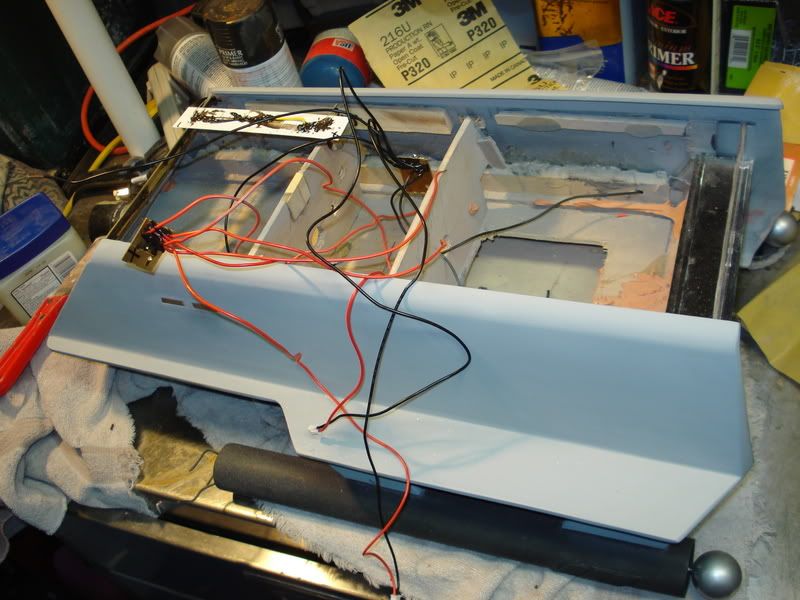
I went ahead and finished wiring the interior and made-up the lighting as well. I made a 7 conductor brass buss to distribute the power. Also in this photo you can see where I added the side windows where the door is.
Here are a couple of pix with the lights on:
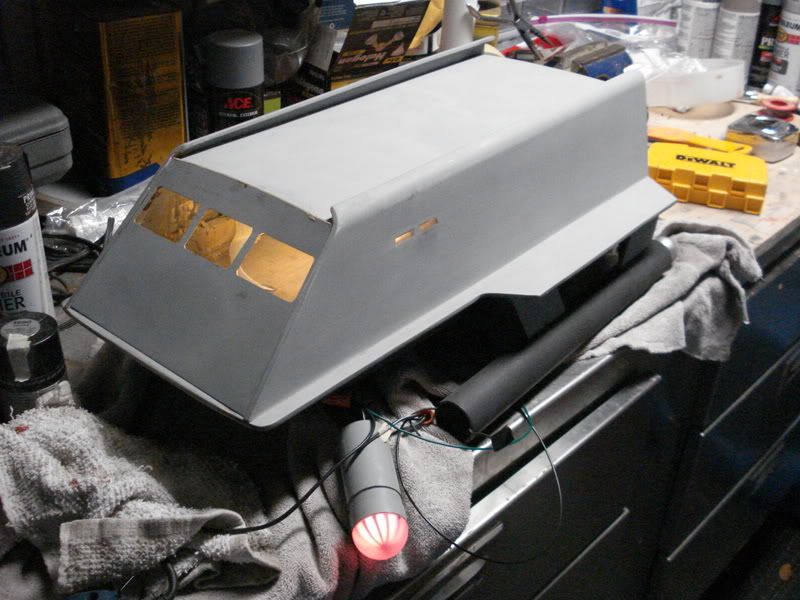
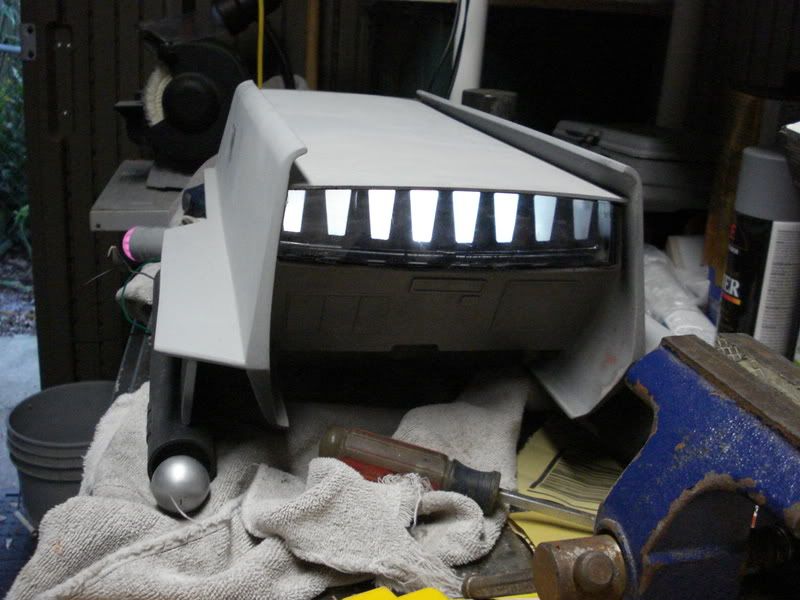
I'm using white cold cathode tubes in the back and warm white LEDs for the front. Looks pretty good in person.
That's about it for now.
Will
I also had a chance to install the warp engine vents on both sides. Sorry about the dark primer on this one. The finish color needed to bee just a touch darker so I'm hoping this will do it:
I went ahead and finished wiring the interior and made-up the lighting as well. I made a 7 conductor brass buss to distribute the power. Also in this photo you can see where I added the side windows where the door is.
Here are a couple of pix with the lights on:
I'm using white cold cathode tubes in the back and warm white LEDs for the front. Looks pretty good in person.
That's about it for now.
Will
Last edited:
Thanks guys. I have not had much time to spend on this but here are a few more photos. I removed most of the existing front and replaced it with a thin brass sheet. I reenforced the top of the brass from bending by epoxying a brass rod across the top. This is the area that no longer has solid backing.
I also had a chance to install the warp engine vents on both sides. Sorry about the dark primer on this one. The finish color needed to bee just a touch darker so I'm hoping this will do it:
I went ahead and finished wiring the interior and made-up the lighting as well. I made a 7 conductor brass buss to distribute the power. Also in this photo you can see where I added the side windows where the door is.
Here are a couple of pix with the lights on:
I'm using white cold cathode tubes in the back and warm white LEDs for the front. Looks pretty good in person.
That's about it for now.
Will
Looks great!
I have that same Craftsman screwdriver.
:lol
S. Holmes
Active Member
I had some of the parts made by a buddy. Here are the warp engine rings and part of the rear strut.
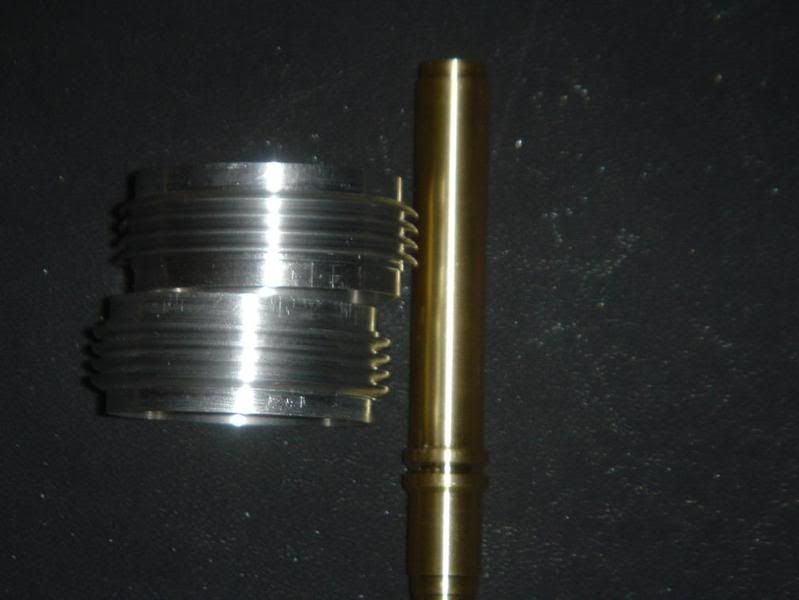
Hopefully I'll be able to finish this project up in the next few weeks.
Will
Looks frakin GREAT Will !!!!!
Too bad your not gonna cast it up and offer it for sale.
you'd have buyer's on the hook.
Gil
jts1031
Sr Member
I think every one is happy to know that you own tools Ron.
Hows your "Ultimate Enterprise"....... :confused
Your troll-fu is weak. 2/10
Are there any plans to have an interior, especially with the open windows, or at least a backlit plate image?
feek61
Sr Member
Your troll-fu is weak. 2/10
Are there any plans to have an interior, especially with the open windows, or at least a backlit plate image?
No, not now. If I had planned on this early on I would have maybe done the interior but it's too late now; the interior is a mess! I didn't get much done this weekend because I'm waiting on some parts AND I'm still debating on the colors. I painted the bottom part of the hull but I'm not sure about it and have no idea what I'm using for the top color yet. Here is the bottom painted; I may go a little darker.
These are the colors that I averaged out over about 10 or 12 caps:

I think they are slightly too dark.

You can see why I averaged them out by looking at the color differece between these two photos.
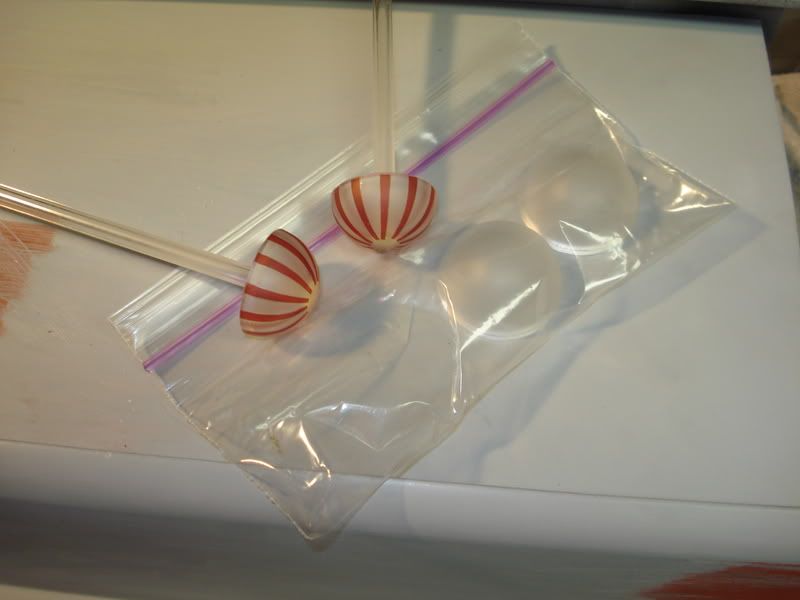
I applied the decals to the inner clear dome for the warp engines and then dull coated them along with the outer domes (in the baggie). They kind of look like a candy cane, lol.
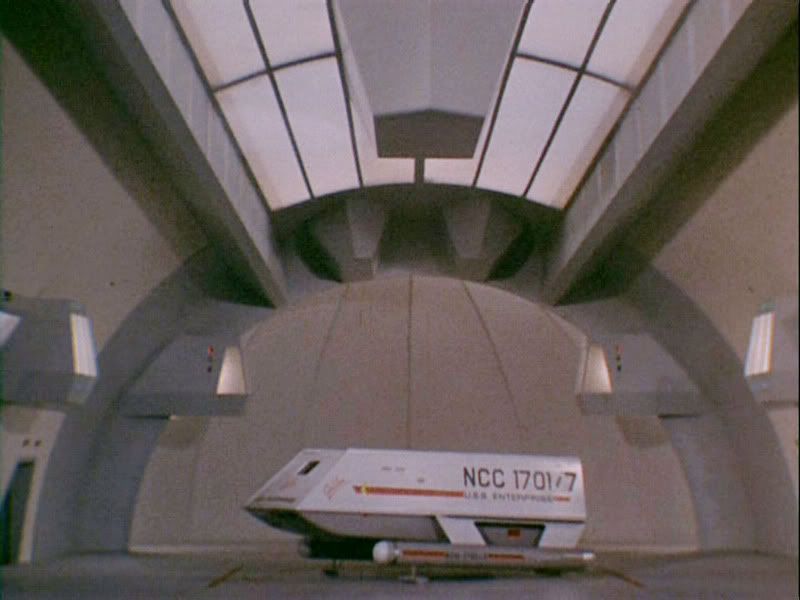
I did them dark red instead of black because I wanted a little of the light to come through and I wanted it to look like this:

Notice how asymetric the fan blades are. Part of the effect is the shadow of the fan blades on the outer dome. When I was testing how I wanted to do this I was amazed how much closer to the original the effect it looked if I pulled the inner dome slightily away from the outer dome and created a slight shadow. The flashing lights and the turning blade really look good and has the strobe hypnotizing effect that I want.
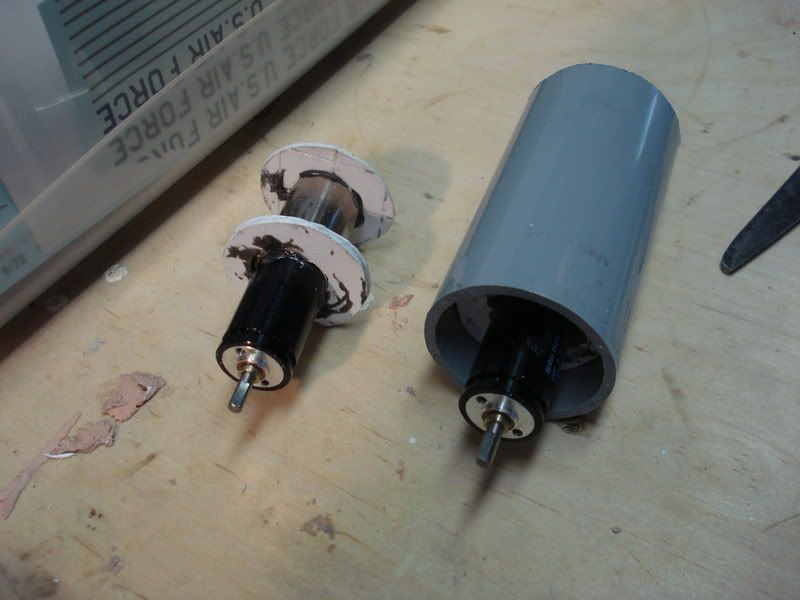
I also completed the motor mounts but didn't want to actually assemble the warp effect until I get the parts from Matt. On the demonstrator for the warp effect I felt that the color changes were too drastic so I painted the tips of the flashing LEDs with a little silver paint and it really nailed what I was looking for. I went ahead in preparation painted the LEDs (which allows more orange to come through). Here is the motor mounts which slide right into the tube of the warp engine.
That's about it for now. I am planning on getting the paint colors finalized and the shuttlecraft painted before next weekend. Thanks for the kind words.
UPDATE: I have the correct colors now
Will
Last edited:
Beagle Bill
Sr Member
I applied the decals to the inner clear dome for the warp engines and then dull coated them along with the outer domes (in the baggie). They kind of look like a candy cane, lol.
Will
Mmmm...pepperminty fresh!:lol Seriously though, this model is turning out beautifully! This has got to be the all time ultimate Shuttlecraft model! Thank you for documenting your progress so thoroughly, I would love to attempt a shuttle of my own some day. Too bad you're not offering it as a kit. If you were, this would definately be on my "must have" list! It's looking fantastic!:thumbsup
Bill
feek61
Sr Member
Well it's been a while since I've had time to work on this project but I squeezed in a few hours today; so here is the update!! ")
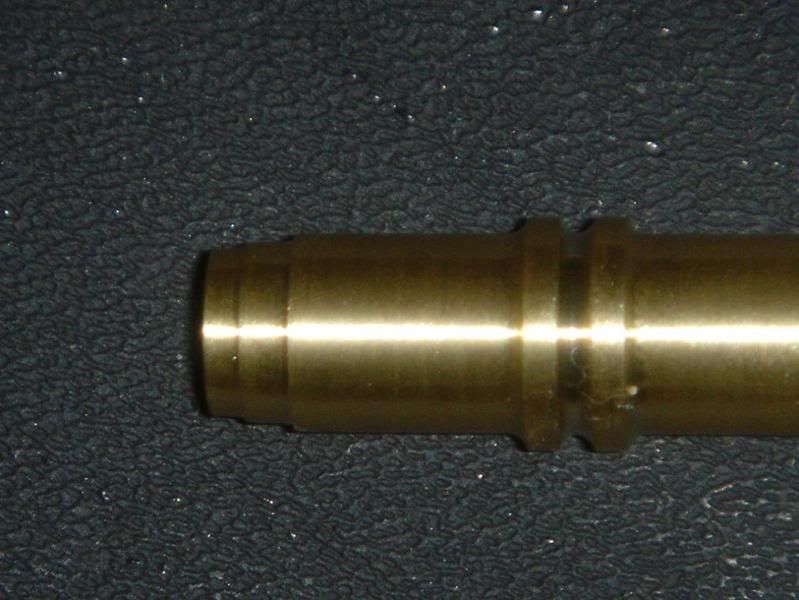
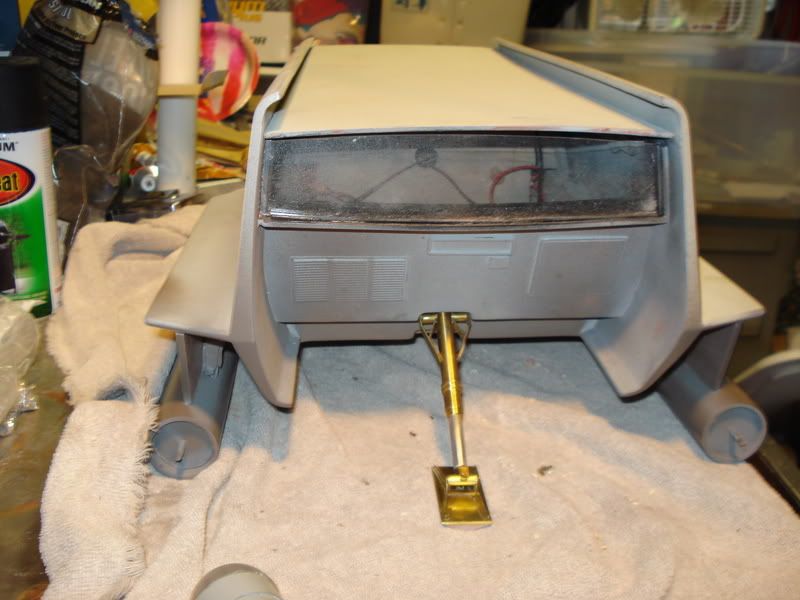
Something has always intrigued me about the rear landing gear which is what I have been working on today. The miniature and the full scale mock-up are different (in fact I’m almost convinced that the full-scale pad was never really permanently connected but that’s another story). The full scale version pad is more square then the miniature which is much more rectangular. The intriguing part is that the miniature pad is pointed on the back which I’ve always thought was cool. Upon further research I’ve come to realize that the pad is actually square and the pointed back is actually the bottom of the pad: SHAZZAAMMM!!! This is almost identical to the warp engine pads which also appear to be triangular in shape on the bottom. So, I’ve always intended on building the narrow miniature version of the pad with the pointed back but with this new knowledge I’ve tried to duplicate the actual studio version. Here is my pad:

See the similarity?
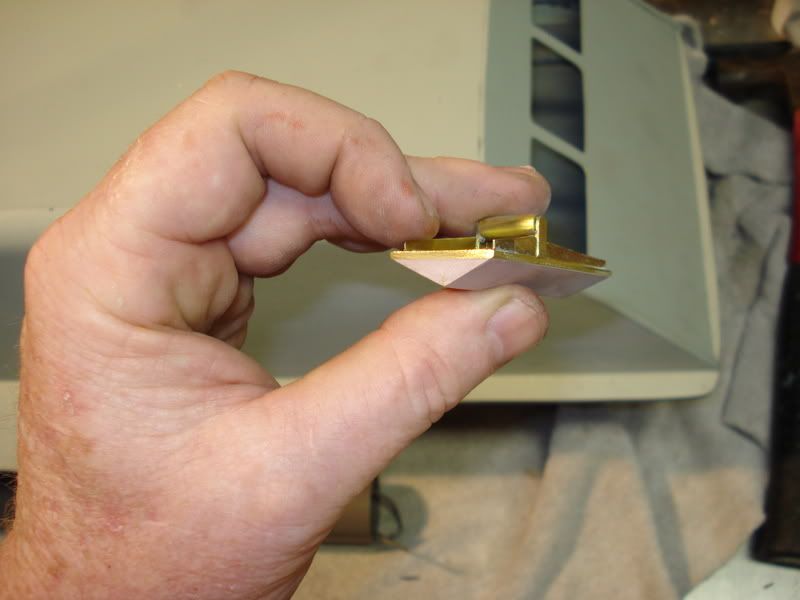
I finished the rest of the rear gear which is all aluminum and brass:

Something has always intrigued me about the rear landing gear which is what I have been working on today. The miniature and the full scale mock-up are different (in fact I’m almost convinced that the full-scale pad was never really permanently connected but that’s another story). The full scale version pad is more square then the miniature which is much more rectangular. The intriguing part is that the miniature pad is pointed on the back which I’ve always thought was cool. Upon further research I’ve come to realize that the pad is actually square and the pointed back is actually the bottom of the pad: SHAZZAAMMM!!! This is almost identical to the warp engine pads which also appear to be triangular in shape on the bottom. So, I’ve always intended on building the narrow miniature version of the pad with the pointed back but with this new knowledge I’ve tried to duplicate the actual studio version. Here is my pad:
See the similarity?
I finished the rest of the rear gear which is all aluminum and brass:
Last edited:
Carson Dyle
Sr Member
Beautiful work.
Having grown up a few blocks away from the suburban front yard in which the full-scale mock-up spent most of the 1970's, I can assure you the landing pads were permanently connected to the hull.
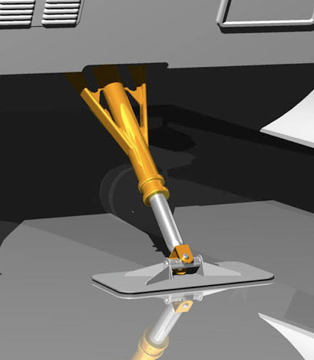
My buddy Phil Broad grew up in the same area, and his excellent renderings (posted in more detail on his Cloudster site) depict the rear landing strut pretty accurately.
Yeah, although we never saw that configuration in the series, such appears to have been the idea.
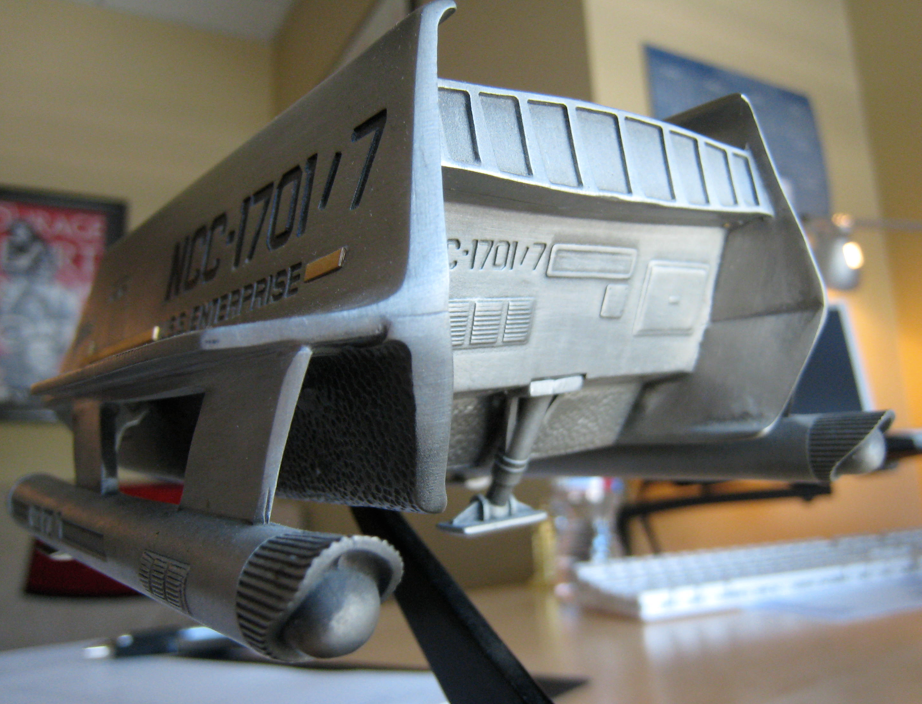
A pewter display model produced by the Franklin Mint back in the early 90’s depicts the gear in retracted mode. I post it simply because for the longest time this was the only commercially available replica of this subject that came anywhere close to capturing the shape and contours of the original. Too bad Greg Jein's pattern work was wasted on a cheesy pewter display piece.
The miniature and the full scale mock-up are different (in face I’m almost convinced that the full-scale pad was never really permanently connected but that’s another story).
Having grown up a few blocks away from the suburban front yard in which the full-scale mock-up spent most of the 1970's, I can assure you the landing pads were permanently connected to the hull.
My buddy Phil Broad grew up in the same area, and his excellent renderings (posted in more detail on his Cloudster site) depict the rear landing strut pretty accurately.
So the rear landing pad was supposed to retract?
Yeah, although we never saw that configuration in the series, such appears to have been the idea.
A pewter display model produced by the Franklin Mint back in the early 90’s depicts the gear in retracted mode. I post it simply because for the longest time this was the only commercially available replica of this subject that came anywhere close to capturing the shape and contours of the original. Too bad Greg Jein's pattern work was wasted on a cheesy pewter display piece.
Similar threads
- Replies
- 12
- Views
- 1,892
- Replies
- 4
- Views
- 576
- Replies
- 121
- Views
- 8,094