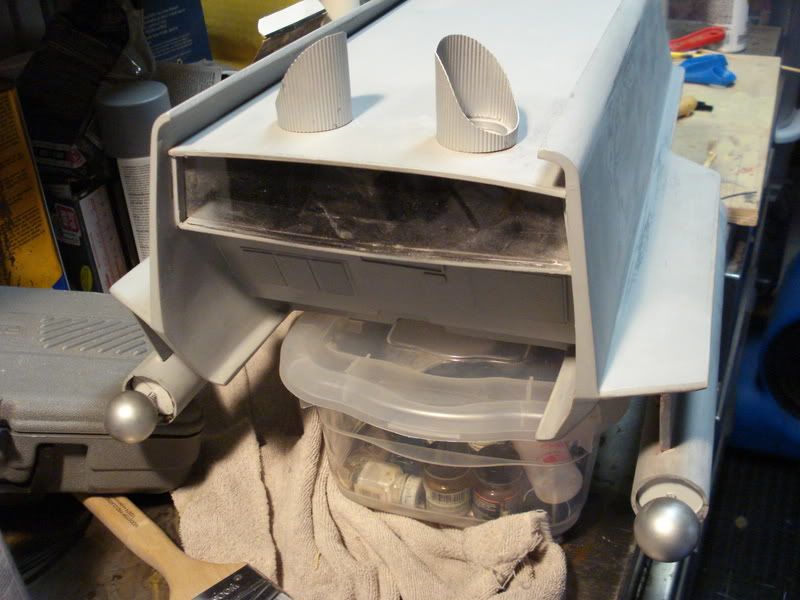
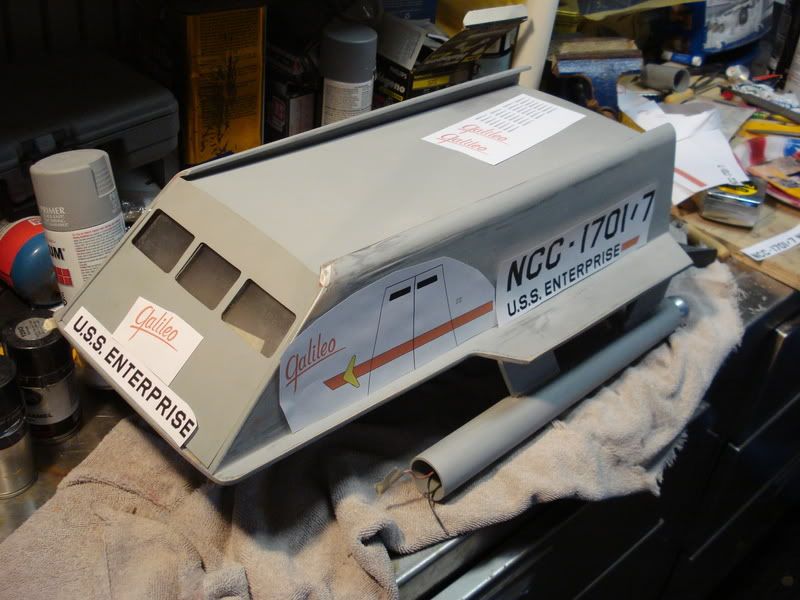
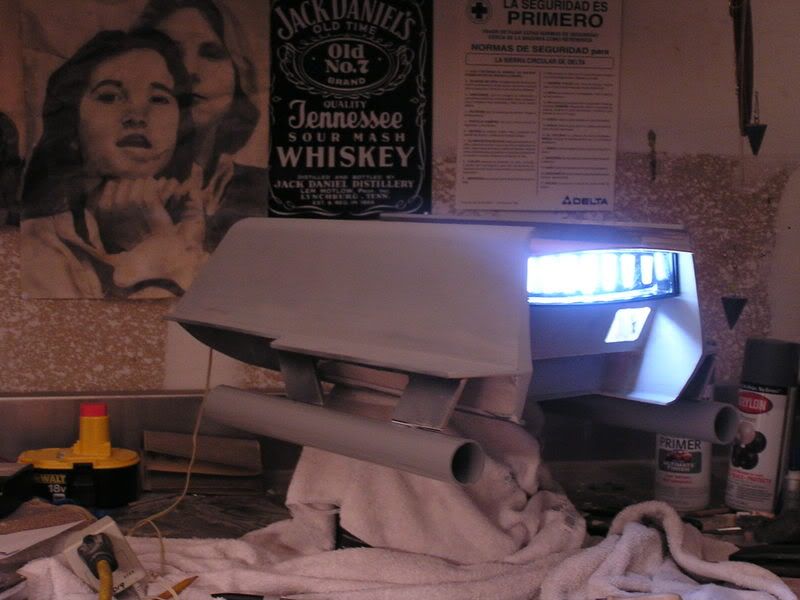
Nice but I think the impulse reactor is about to blow...:lolLight test:
Jedi Dade
Nice but I think the impulse reactor is about to blow...:lolLight test:

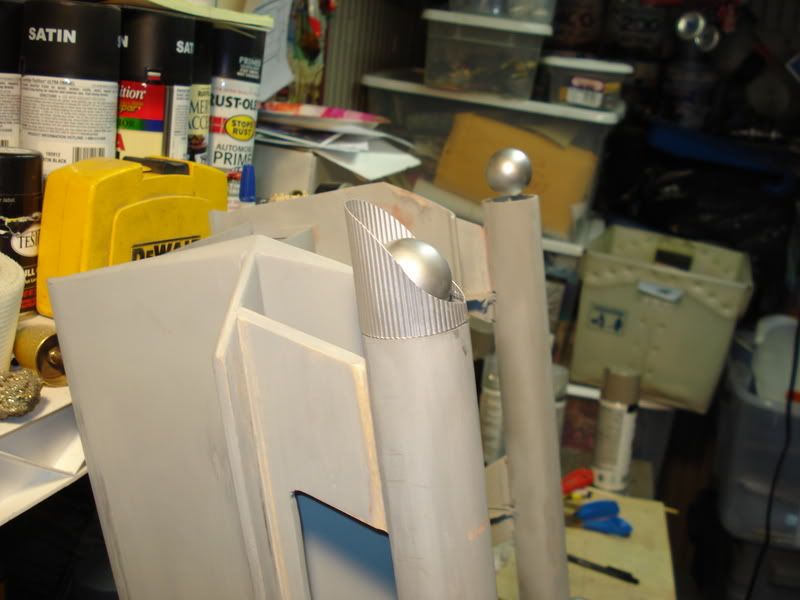
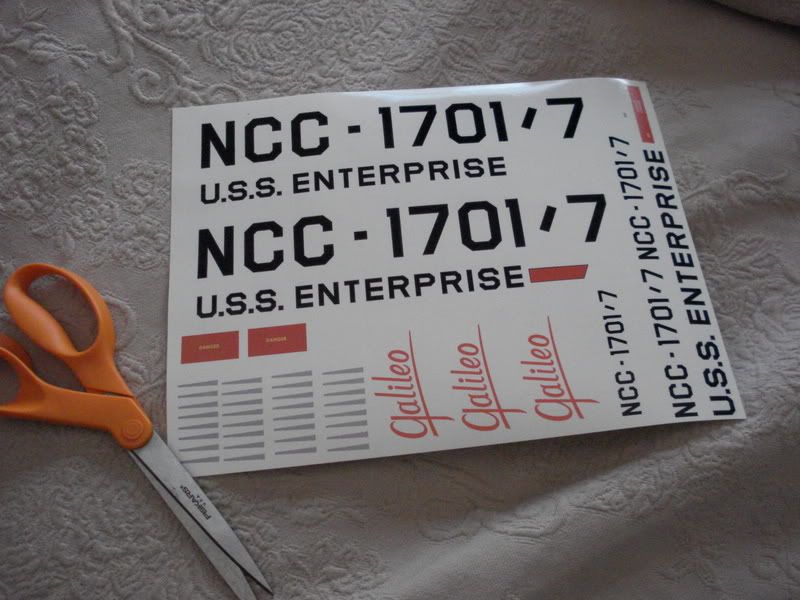
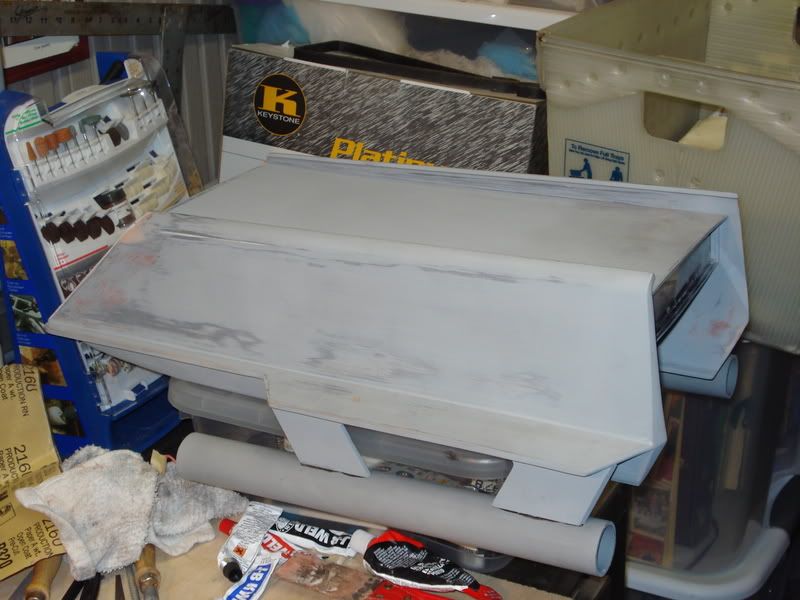
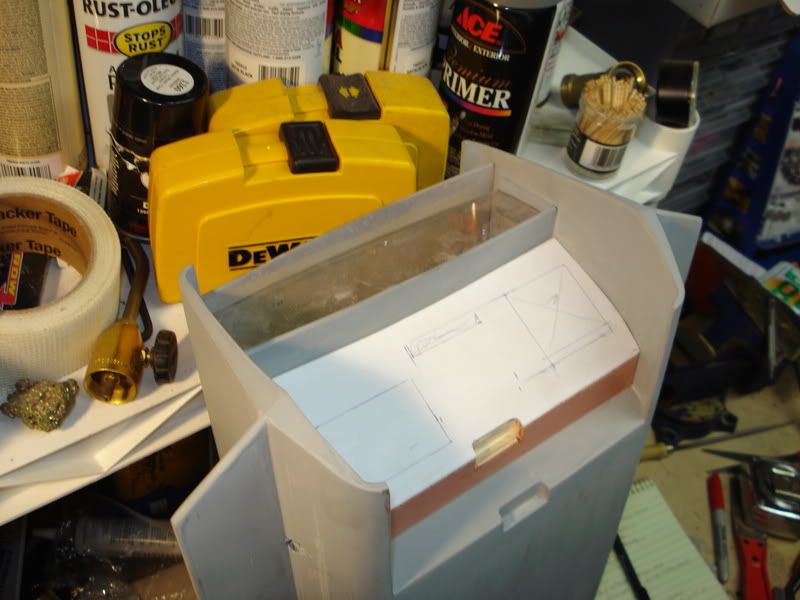
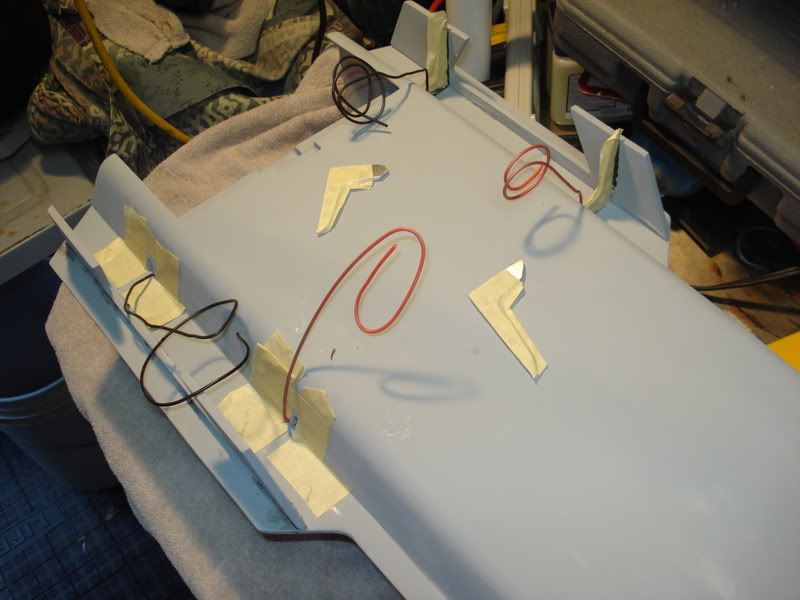
") I made a mistake while doing the conversions on the back so I made the back mid-section too short. So today I extended it and it came out great. I wanted to use something solid so I use birch plywood set in place with bondo.
I made a mistake while doing the conversions on the back so I made the back mid-section too short. So today I extended it and it came out great. I wanted to use something solid so I use birch plywood set in place with bondo.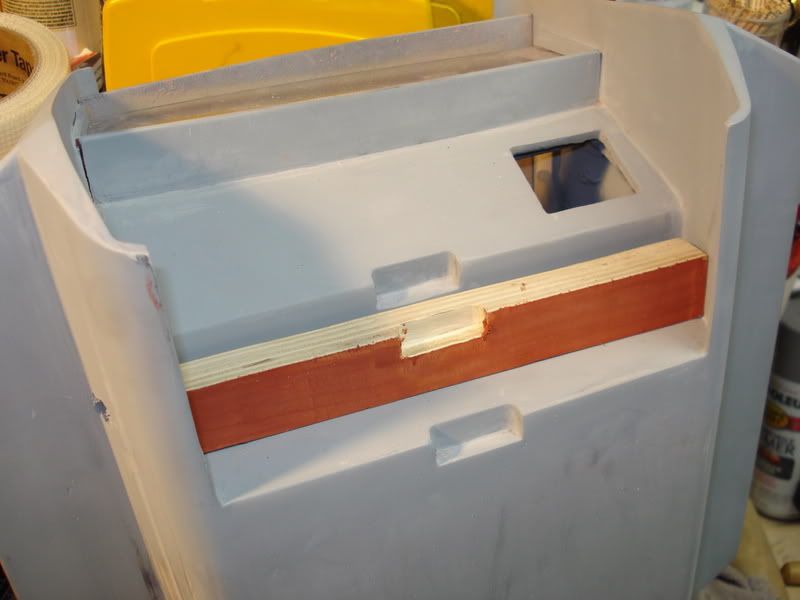
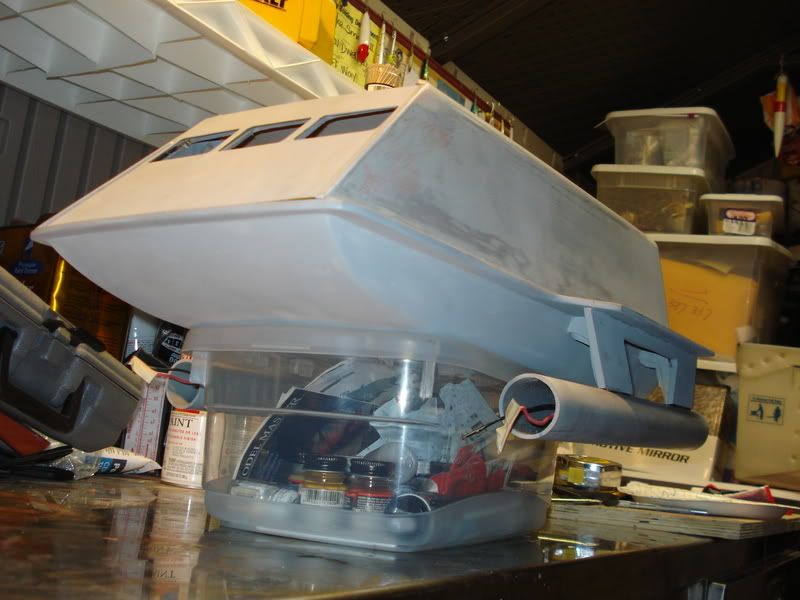
Maybe you mentioned this earlier (and if so I apologies for asking again) - did you draw up your own plans for this?
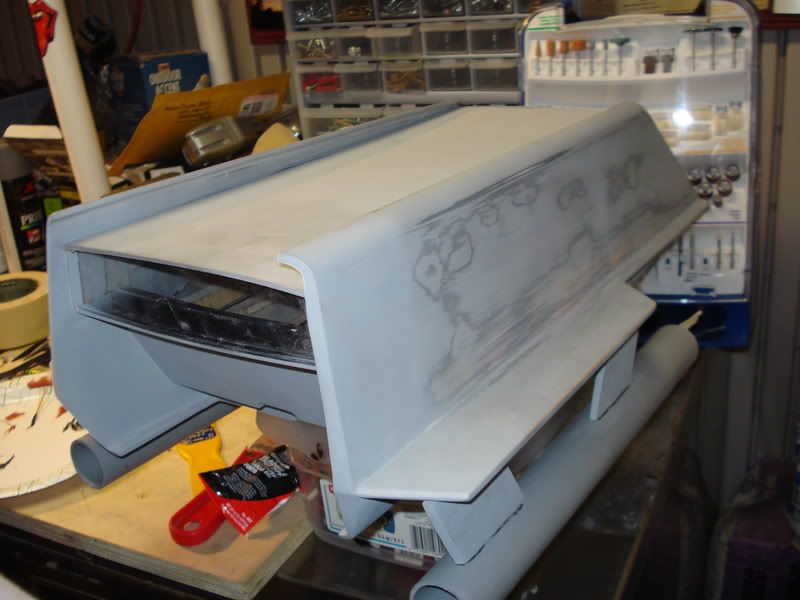
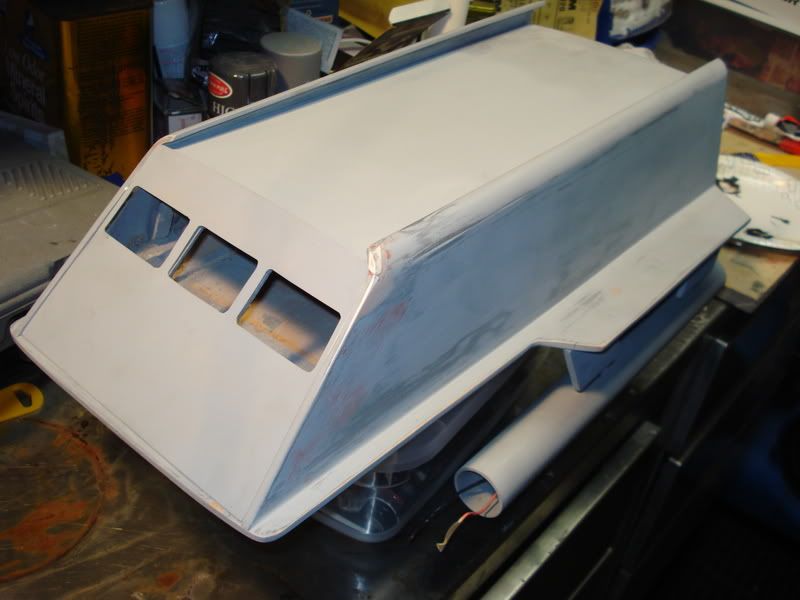
This is really looking nice!


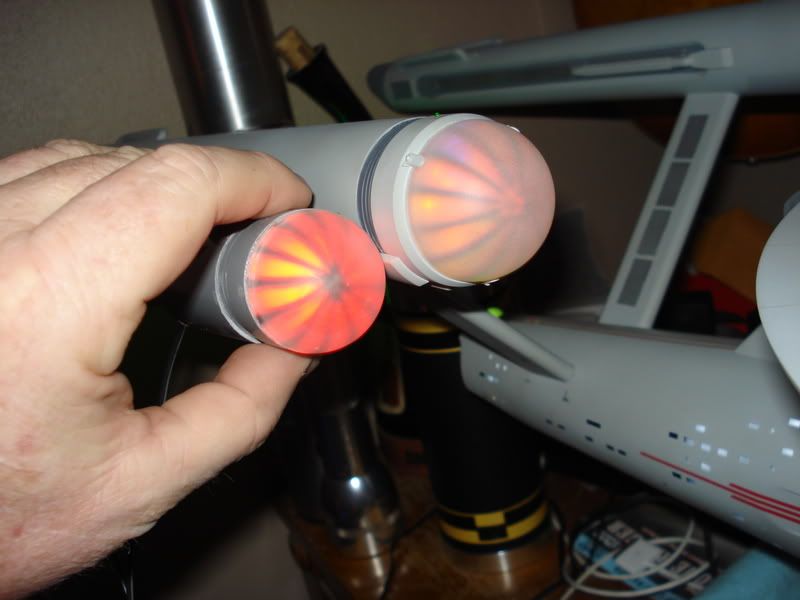
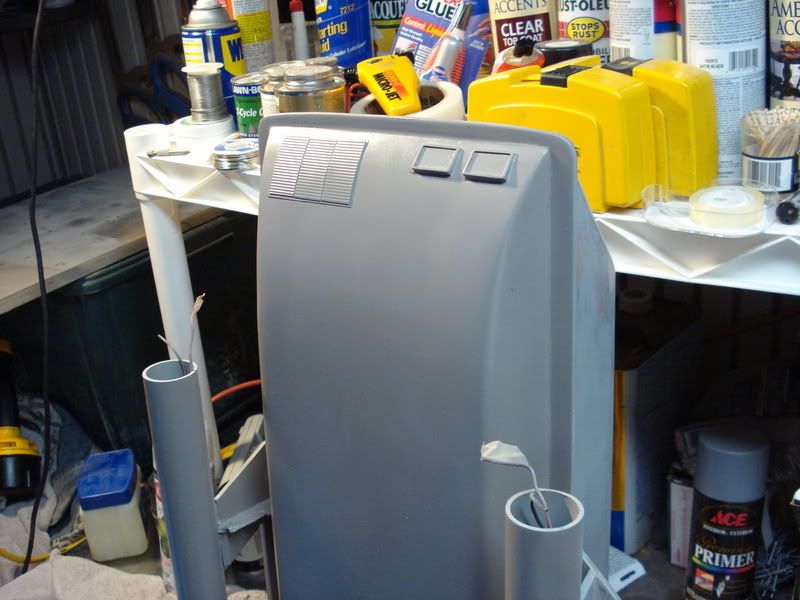
I take it that's a motorized fan blade there? :cool
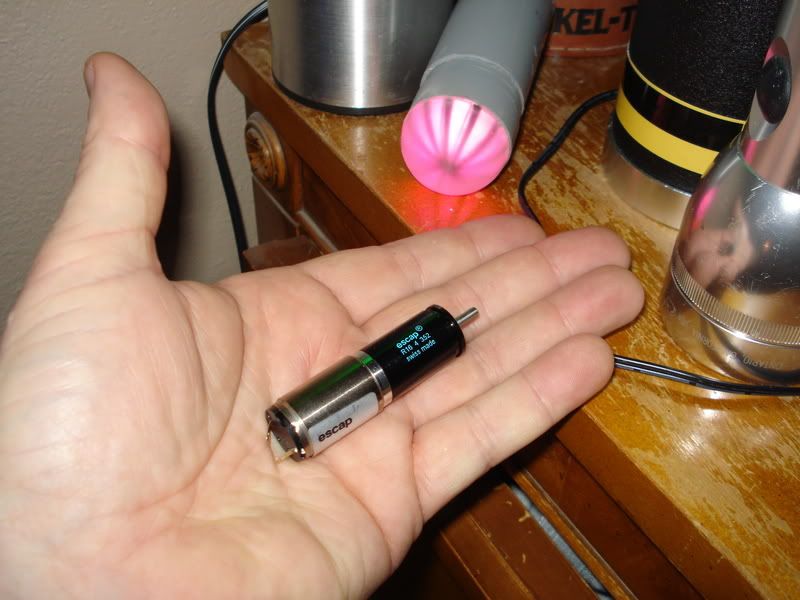
Well I got the motors in today and they are perfect! What I bought turns at 24 RPM which is perfect (the MR is too fast) and the motors themselves run backwards if you reverse the polarity so no gears will be required at all!!!! It's too bad that MR didn't go the extra mile and install motors similar to these. They make NO noise at all. For the $40 bucks these things cost I would have gladly paided the extra (or more) for the MR. Here is the motor.