I hadn't built a model kit in 20+ years, but after seeing the Bandai X-Wing at Barnes & Noble I picked one up on a whim. Another $30 at the local hobby store later and I soon had it all set out on my automotive work bench. My Alfa Romeo transaxle rebuild took a backseat for a few weeks... Every morning after sending the kids to school and before heading to work I'd doodle with it a bit.
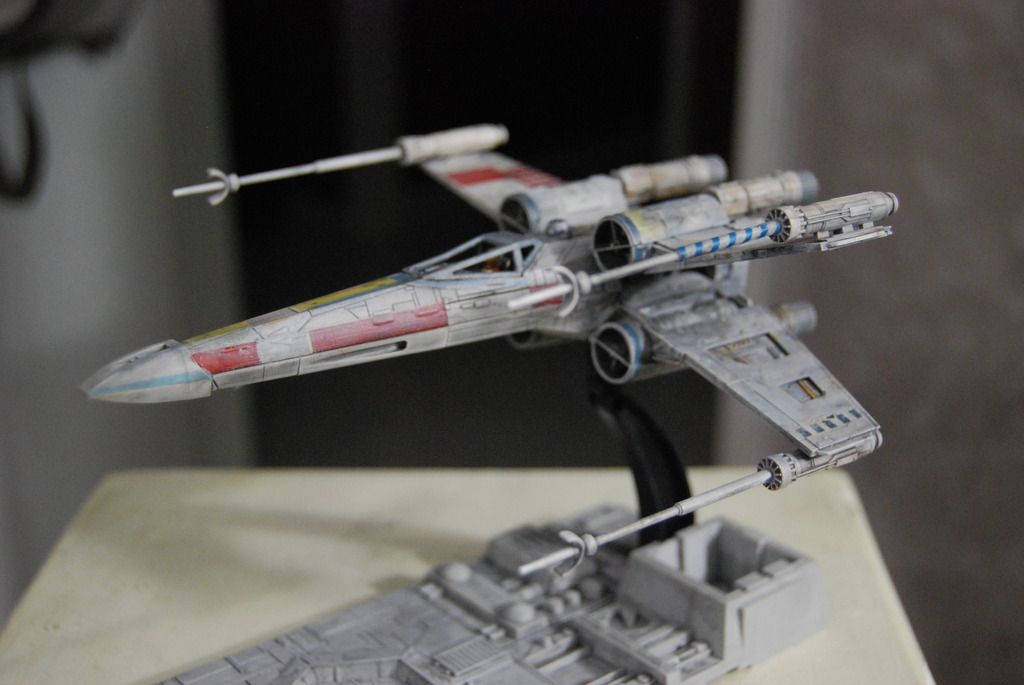
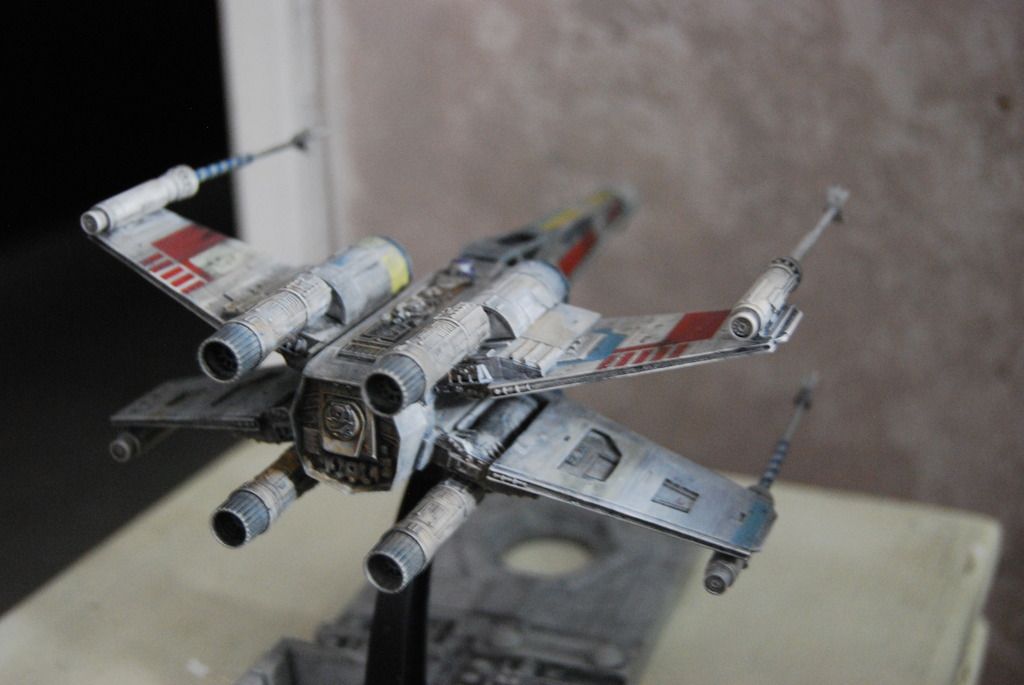
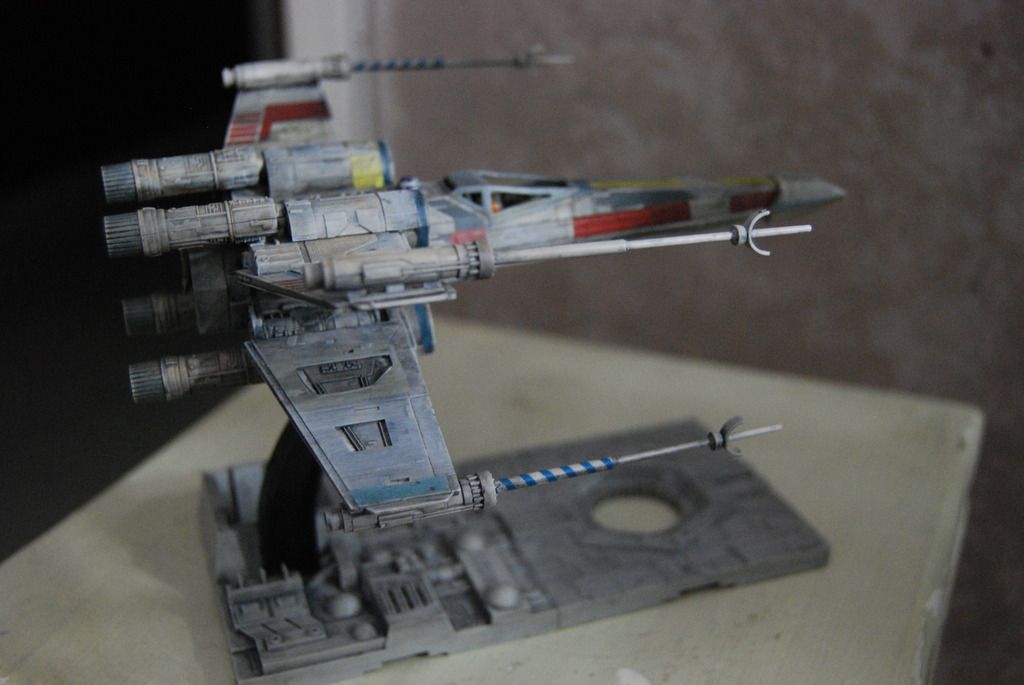
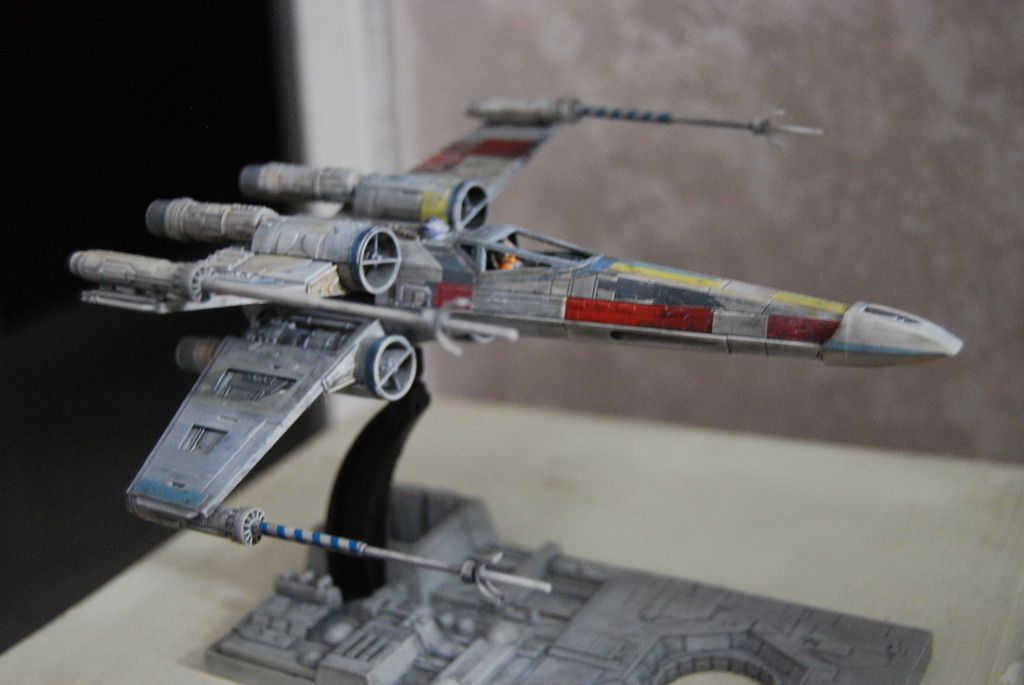
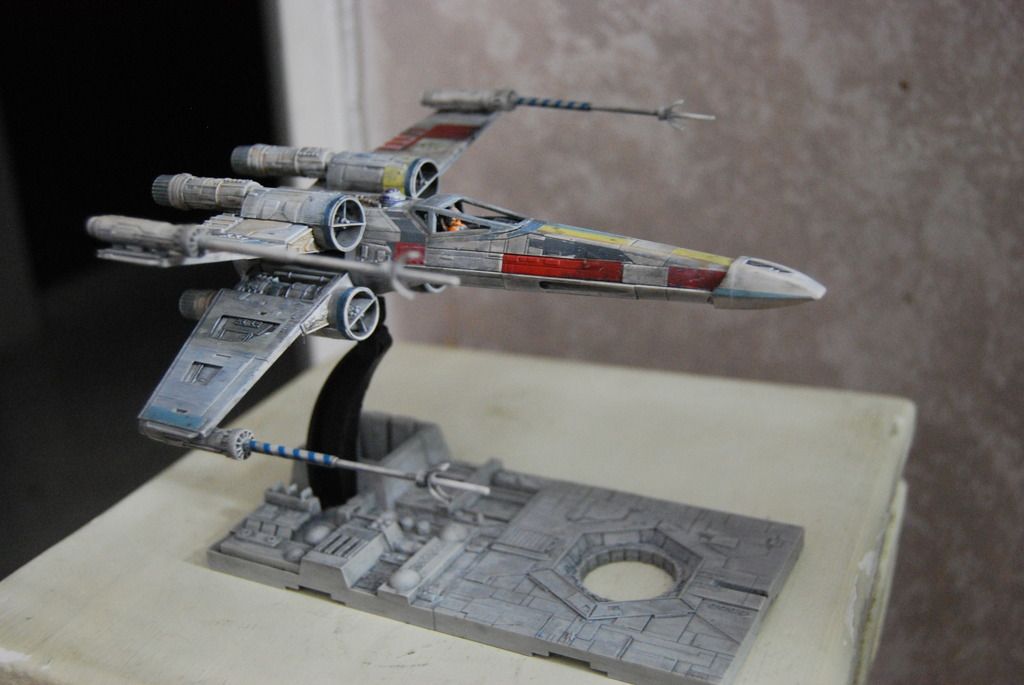
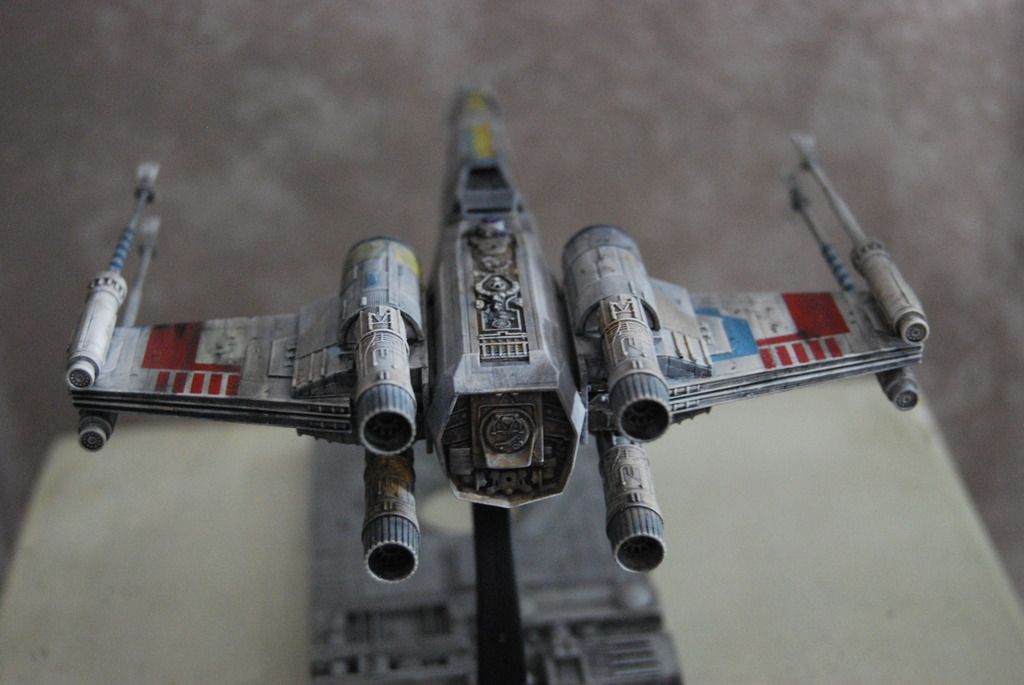
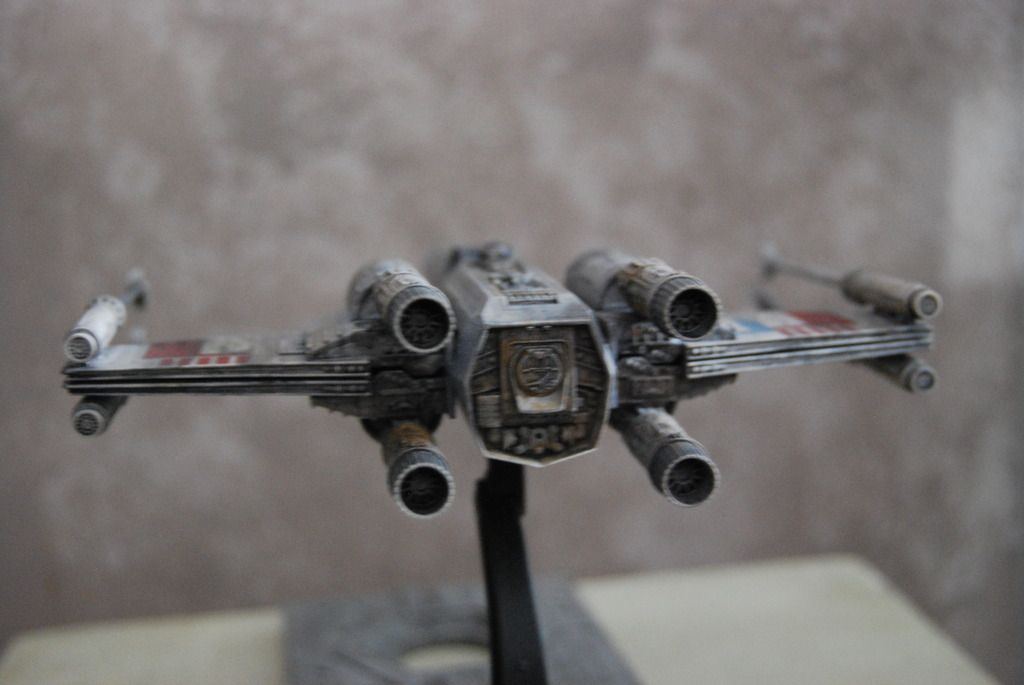
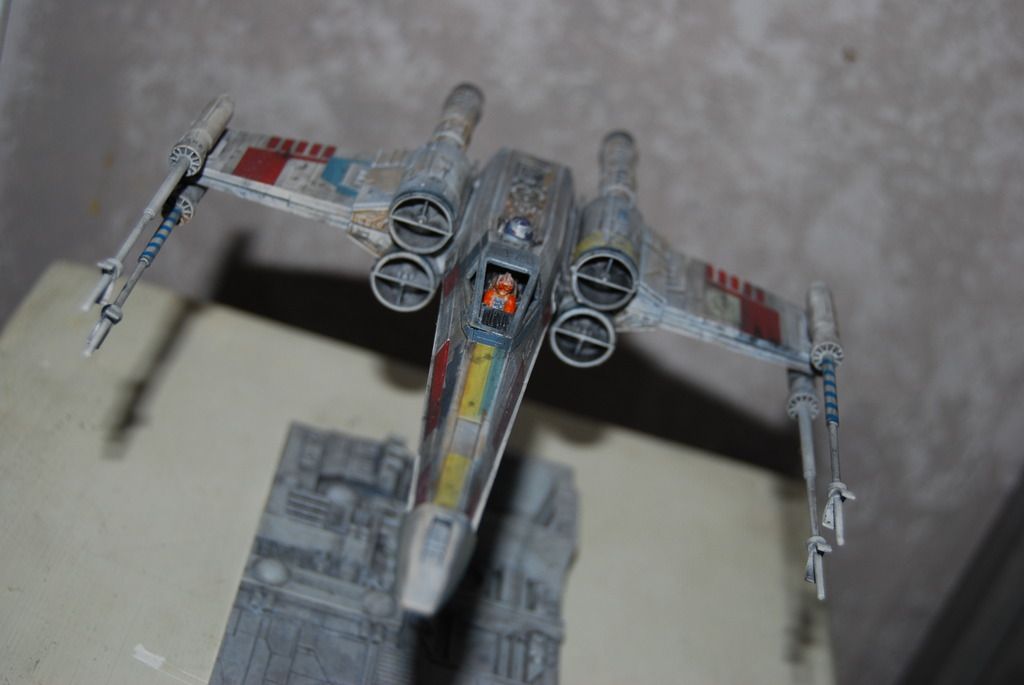
I don't have an airbrush so it was rattle cans, some automotive and some garden variety Krylon, and I actually used real rust, soot and coke from an old cast iron exhaust manifold I have laying around. I did apply a watercolor-based wash to bring out the raised areas, but most of the panel lines and streaking is real exhaust residue! One different approach I took was to lay down a dark green base coat, THEN applied a coat of clear aluminum, before going over all of the panel lines with a thinned 50/50 black and panzer gray. The result was a lot like what an F22 looks like before it's painted in flat gray with squadron liveries.
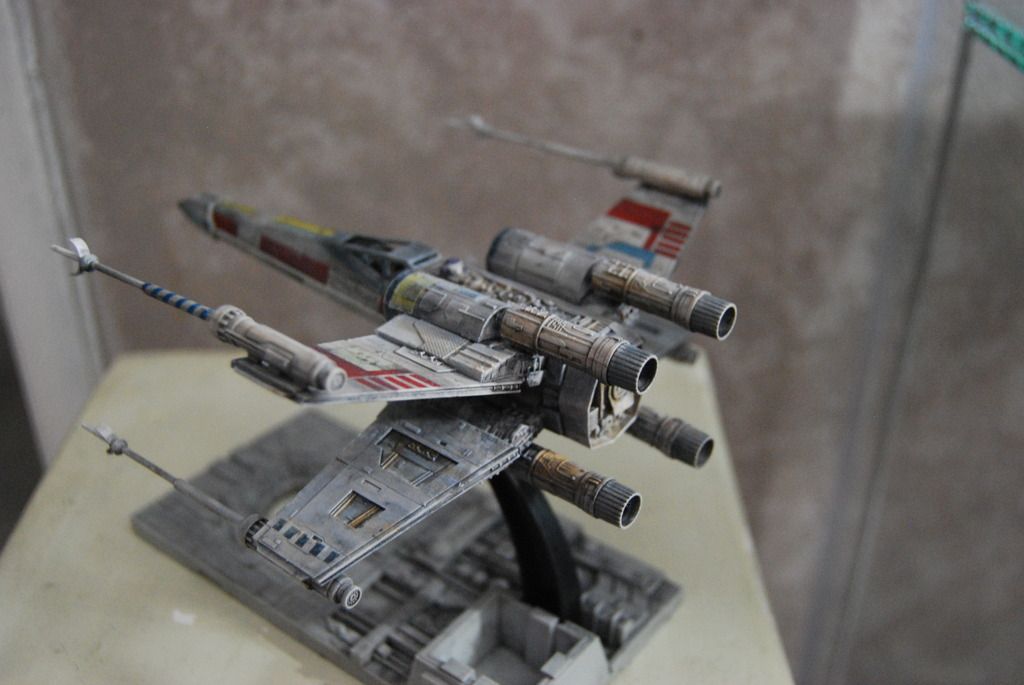
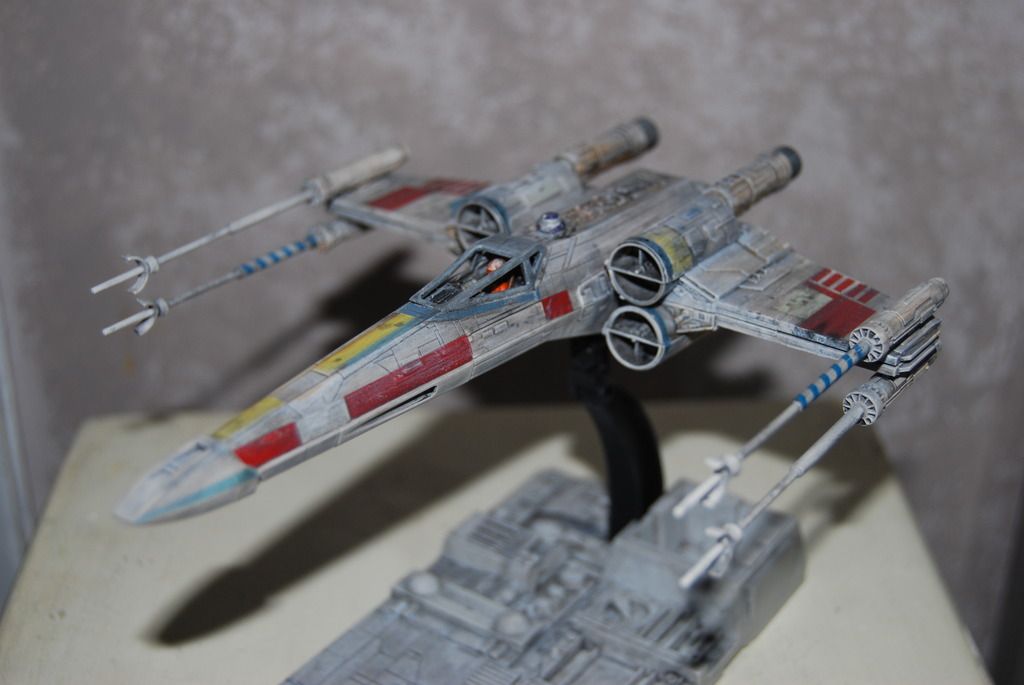
With the final classic white coat down I weathered the whole ship with 1000 grit wet, which did a great job of revealing the bare metal beneath. I also painted some panels different colors, then painted over them with white to give the appearance of a ship that's been transferred to different squadrons or into different theaters. I know that's not necessarily keeping with the studio models, but it's how I wanted my Red 5 to look!
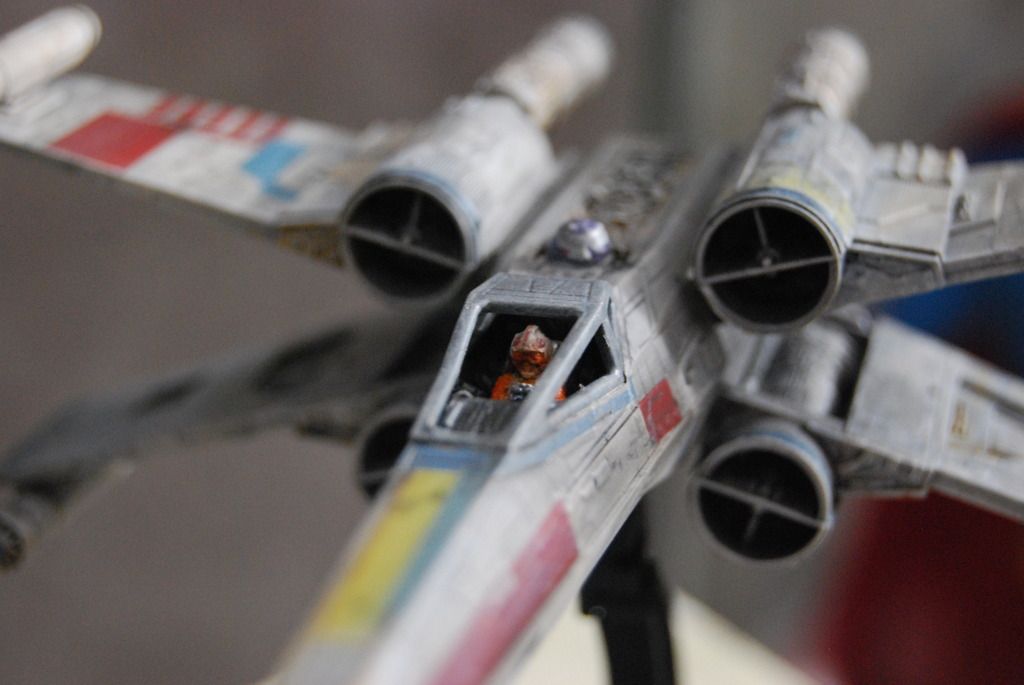
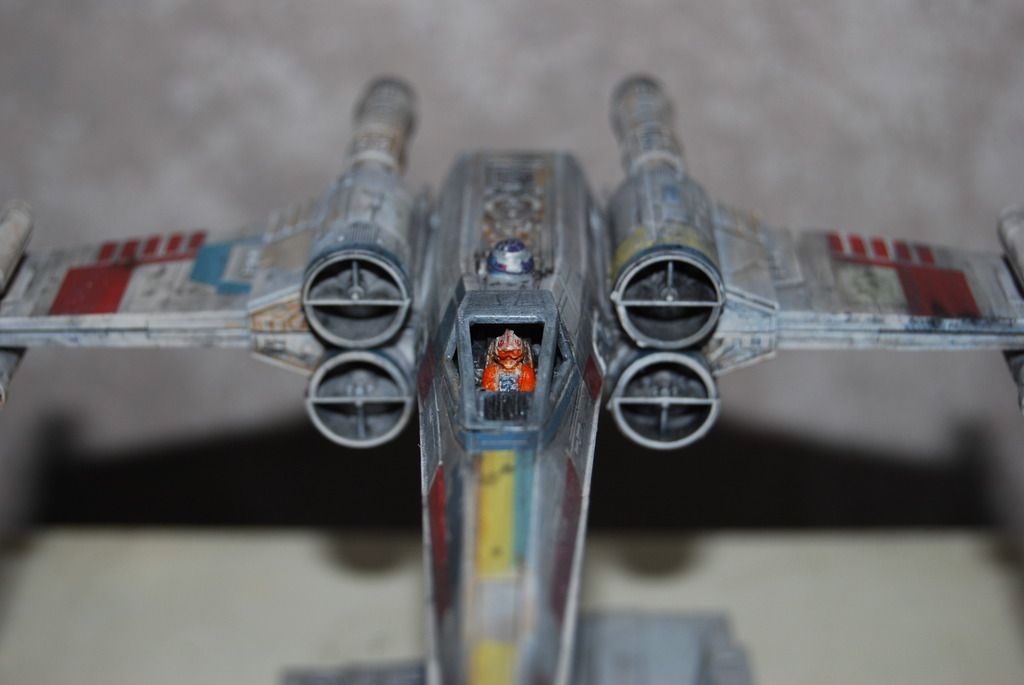
I used a combo of the stickers (which are surprisingly great), water slide decals, and paint to finish it, before putting down two coats of plain old Testor's Dulcote, just like when I was a kid.
The whole kit went together beautifully and was easy to disassemble as I changed my mind throughout the build. I did use Gorilla Glue on some part that seemed like they'd want to fall off, like the cannons, but for the most part the snap-together construction seems to be sturdy enough to keep it together as it sits on my desk.
One funny aside - I meant to give the whole thing a more industrial look, and used some automotive paints. Well, when I was prepping the Death Star base, I accidentally used high-build primer, which basically reduced the base's detail to nothing. I tried sanding it but it was no use. Luckily, the exhaust port had a space the perfect size to accept the stand arm, which is where it all resides now.
Fun build! I think I'm going to do some more.