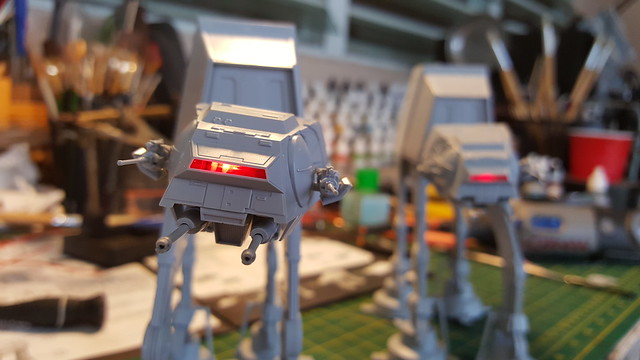
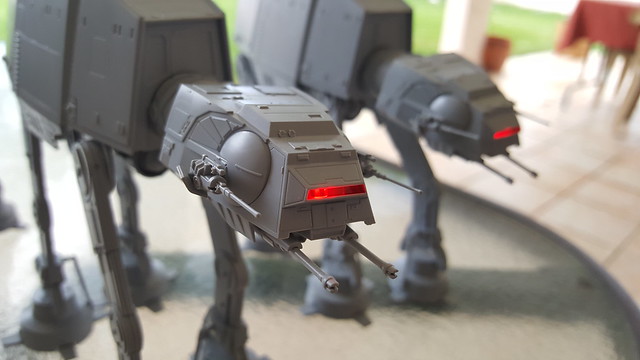
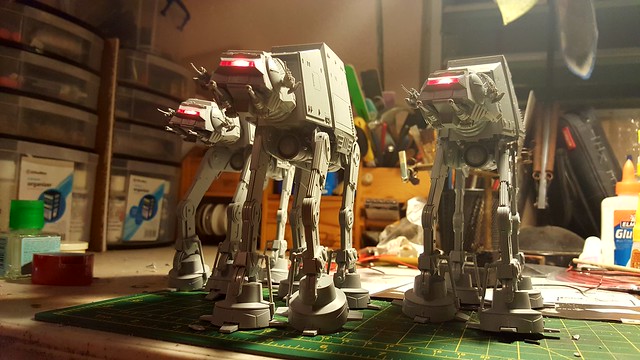
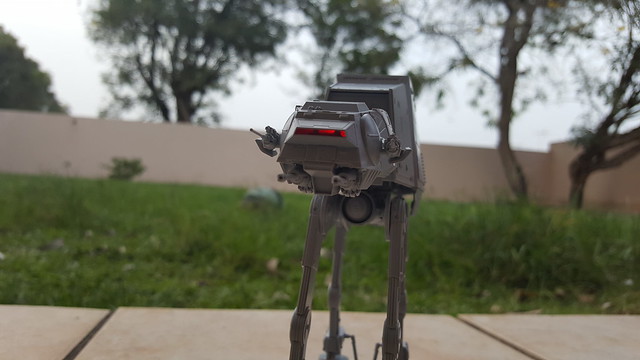
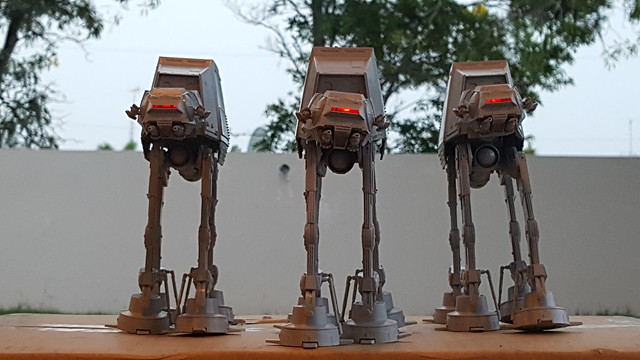
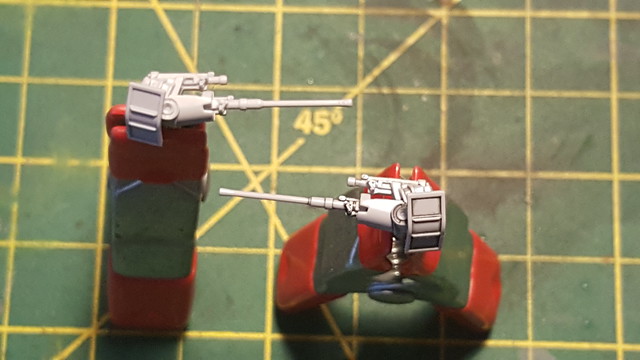
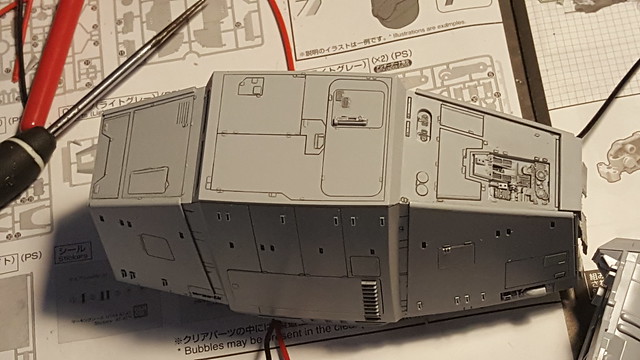
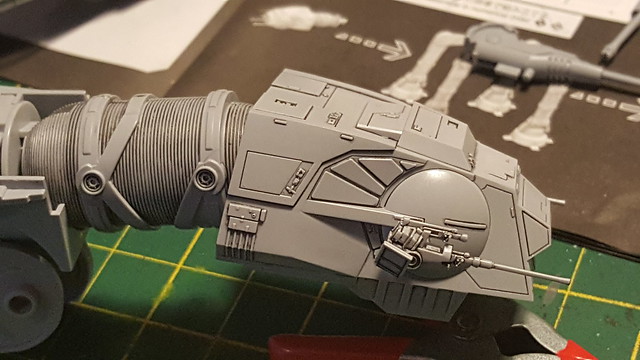
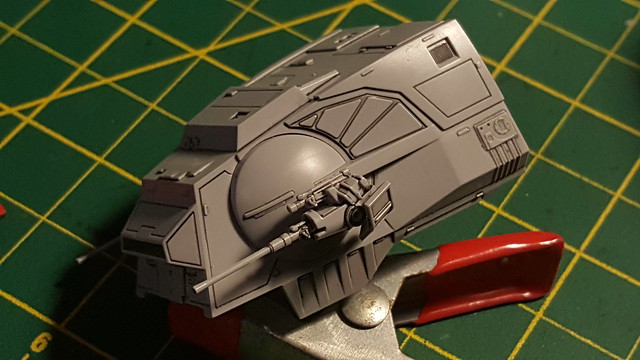
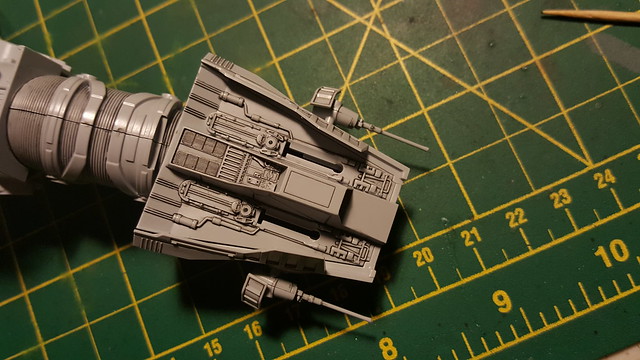
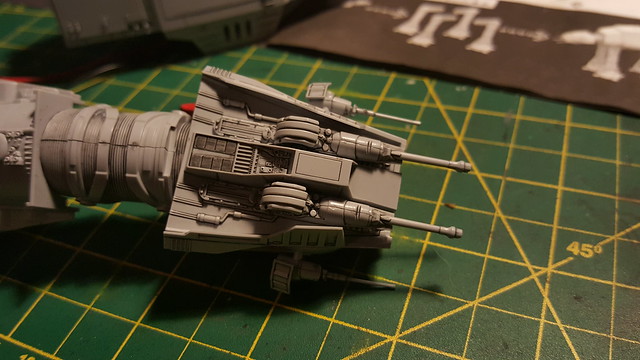
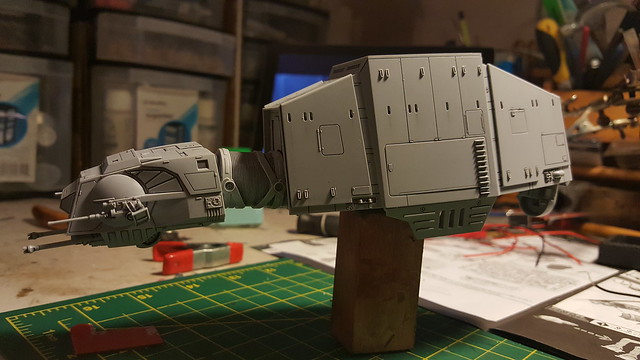
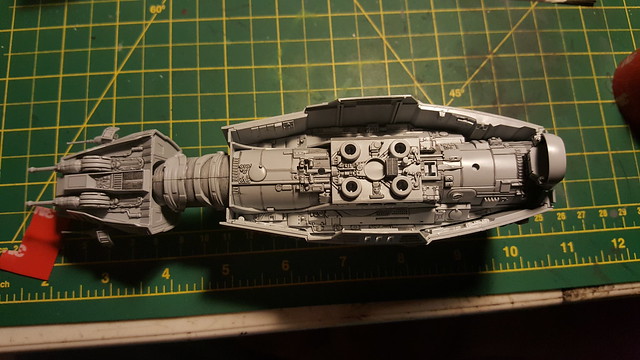
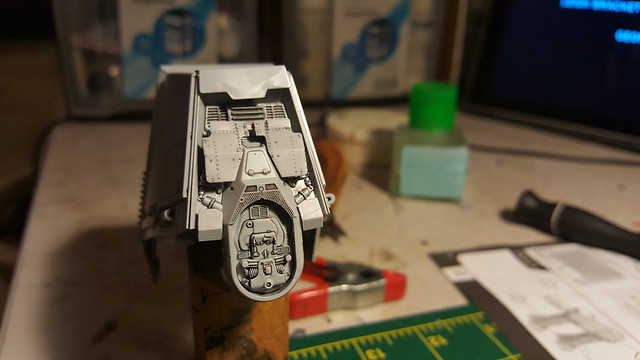
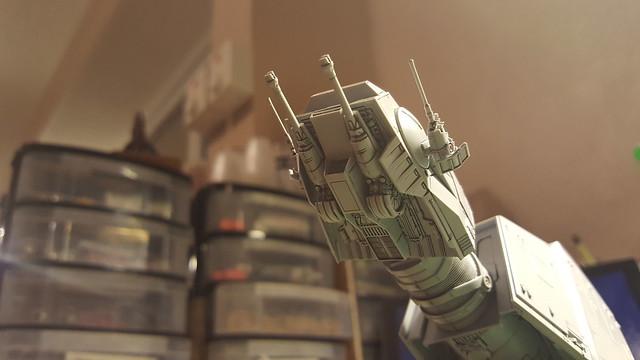
Bandai 1/144 AT-AT build (WIP)

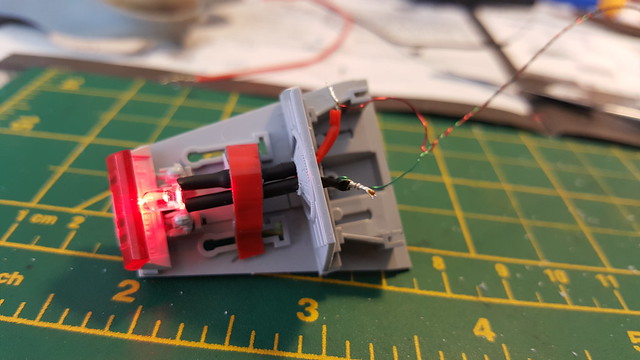
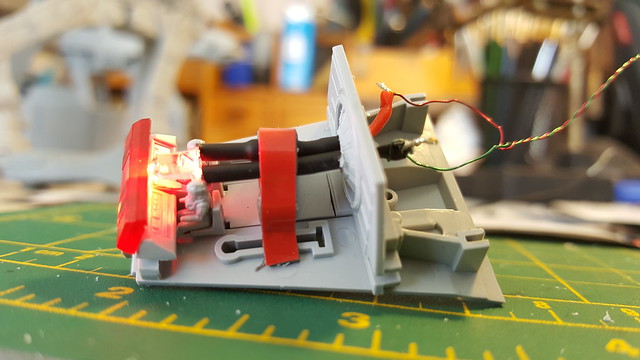
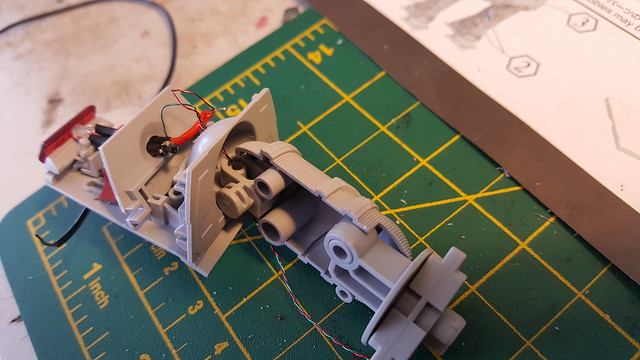
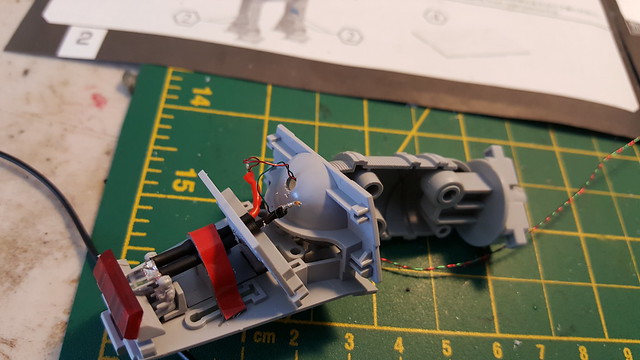
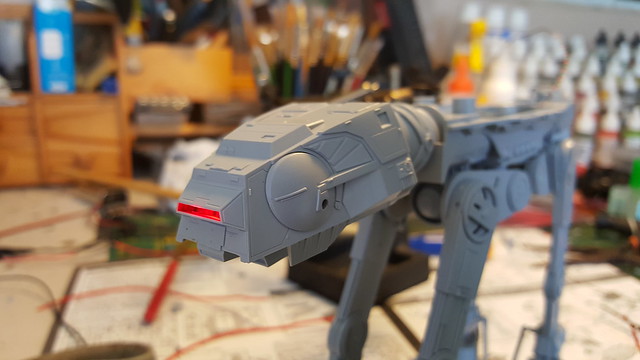
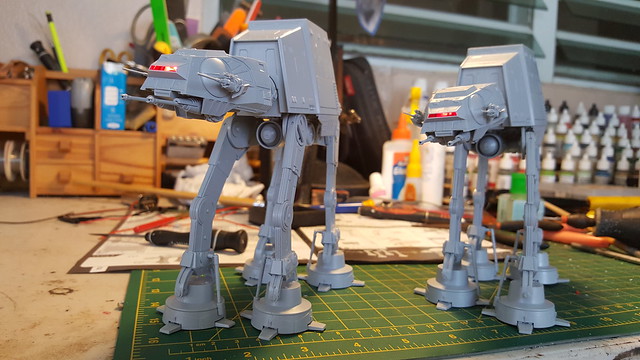
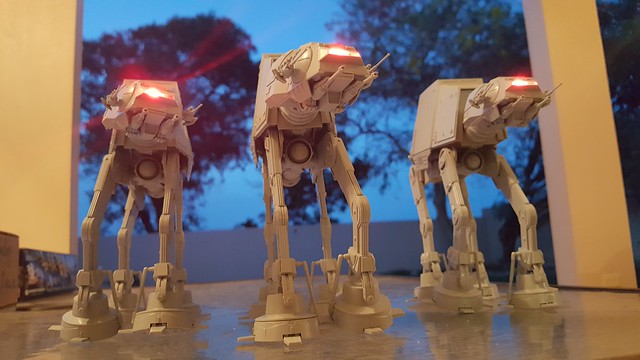
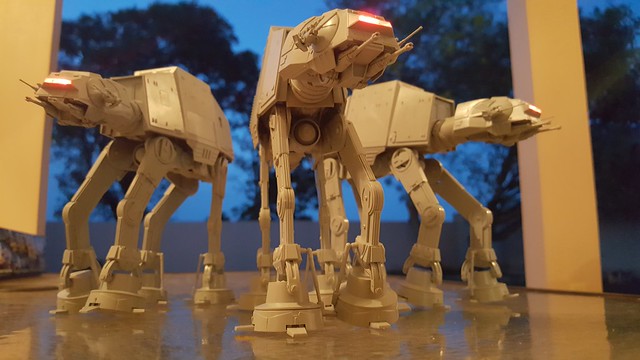
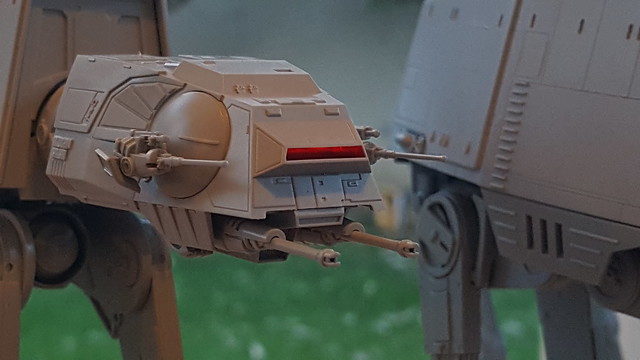
Thats a red LED behind the red colored lens.

Nice work! I have to ask... I've been playing with lighting mine as well and I discovered that part A2 has a pair of terrible ejection pin marks. And when I stuck an LED in the head (I'm using a 3MM Red LED as well) all I could see were those @#$% marks! So I ended up sanding the inside until they were gone, but now you can't see anything inside (of course you really couldn't see anything before).

Did you have that problem? It's a shame to waste that detail, but the "glass" is pretty thick anyways.

Upper body goes over it and fitment is perfect with minor surgery required.

Can I ask you to elaborate here? Are you talking about trimming those tabs on B1 and B2 on the back of each side? I did that and it seemed to allow the top to be removed but it's still a bit tight and fiddly. Is there another change that should be made?

Man the parts fit is so tight on this thing - I ended up breaking the mounting peg for part A6 just trying to dry fit and then disassemble the head.

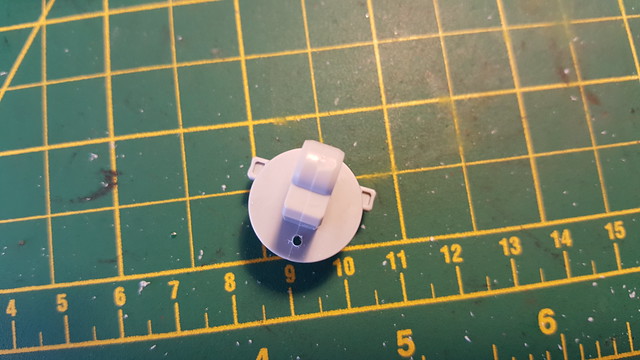
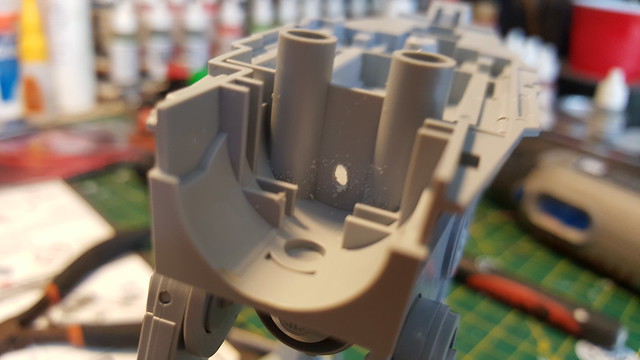
Do you have any comments about routing wire from the head to the body? I'm looking at drilling a hole in A25 plus a bit of hacking to A14/A15 to pass the wires, with a hole in A6 (which is possibly a mistake?).

I'Im also considering building all these three AT-ATs into a diorama. One of them would be down with two still standing walkers flanking it. What would have been a simple build is getting a tad complicated.

Nice! I'm really impressed with this kit. I've got a pair (well, one kit has a broken A6 and needs some attention) and I'm thinking of adding a third to display with my pair of AT-ST's.

Looking forward to seeing more progress.

Regards,

Brad.
 
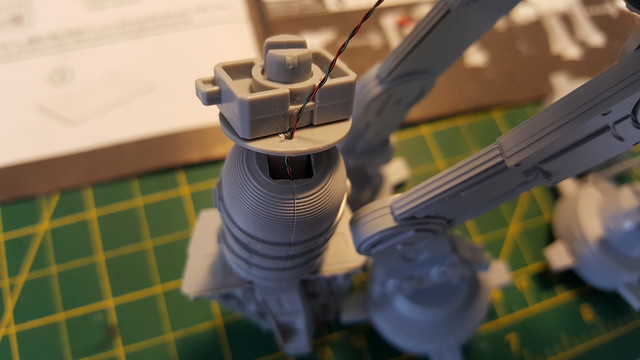
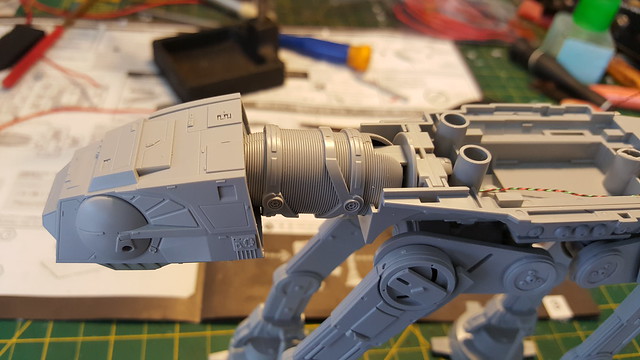
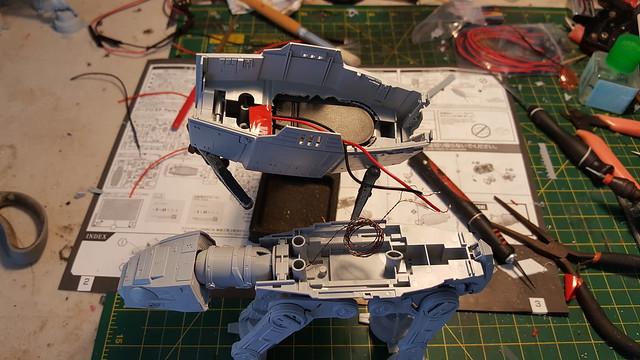
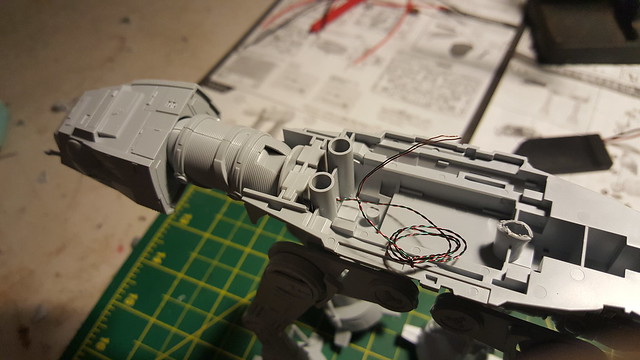
I will take more pics of how a routed the cable through the head, neck and body. I used Magnetowire which makes the whole job easier. Thanks for the props.
 
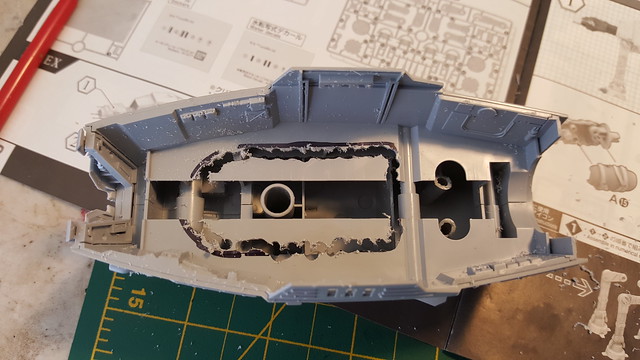
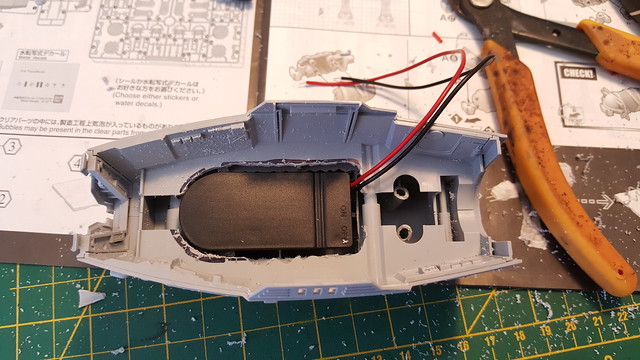
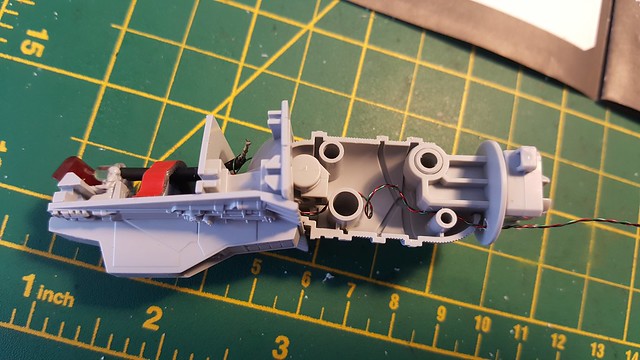
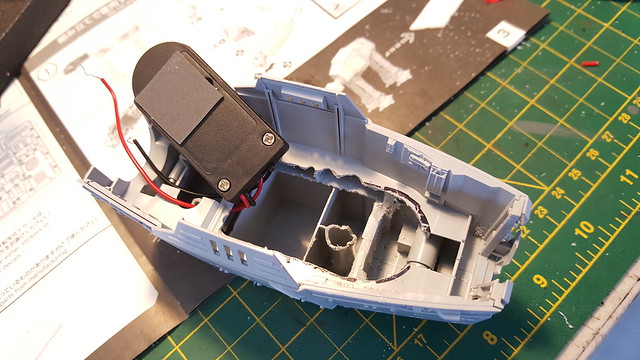
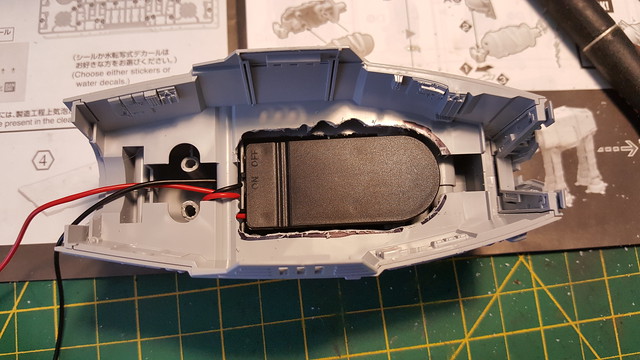
Here are images of how I routed the wire and where I placed the battery pack and LED. Hope the images speak for themselves.

20170514_160007 by Oscar Baez Soria, on Flickr

20170514_160425 by Oscar Baez Soria, on Flickr

20170514_163151 by Oscar Baez Soria, on Flickr

20170514_163159 by Oscar Baez Soria, on Flickr

20170514_164059 by Oscar Baez Soria, on Flickr

20170514_164108 by Oscar Baez Soria, on Flickr

20170514_164359 by Oscar Baez Soria, on Flickr

20170514_164406 by Oscar Baez Soria, on Flickr

20170514_164552 by Oscar Baez Soria, on Flickr

20170514_164711 by Oscar Baez Soria, on Flickr

20170514_164816 by Oscar Baez Soria, on Flickr

20170514_164917 by Oscar Baez Soria, on Flickr

20170514_165116 by Oscar Baez Soria, on Flickr

20170514_165317 by Oscar Baez Soria, on Flickr

20170514_165804 by Oscar Baez Soria, on Flickr

20170514_170854 by Oscar Baez Soria, on Flickr

20170514_170907 by Oscar Baez Soria, on Flickr

20170514_171014 by Oscar Baez Soria, on Flickr


Any questions? :D
 
Here are images of how I routed the wire and where I placed the battery pack and LED. Hope the images speak for themselves.

[url]https://c1.staticflickr.com/5/4180/33850556683_56536705b6_z.jpg[/url]20170514_163151 by Oscar Baez Soria, on Flickr

[url]https://c1.staticflickr.com/5/4174/33850563353_a26f4799e4_z.jpg[/url]20170514_163159 by Oscar Baez Soria, on Flickr

Any questions? :D

Wonderful build . . . just one question : have you considered putting the LED in the inner doorway just before the neck? I just can't seem to unsee the clear resemblance between your AT-AT's and KIT from Knightrider or a Cylon trooper with those bright red LED lights behind the front screen window :wacko

Chaïm
 
In person the light is much less bright if thats what you mean. Cell phones and cameras in general have a tough time exposing when a bright source of light is in the image. When seen in person it compares quite good to what is seen on screen.When I take the final images of them outside or under brighter lights you will see those red lights much dimmer.
 
So this might be somewhat ignorant, but what are magneto wires? I'm lighting a Venator SD for the first time ever, so anything to make it easier is knowledge I welcome.
 
Its a bit tricky at first. Its very thin wire that is covered by a special paint, not a rubberized coating. You need to scrape off paint in order to solder. Other than that is the best to use when space is limited.
 
Thanks Heluba.

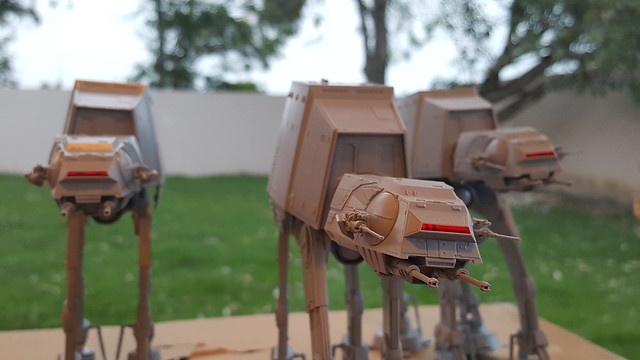
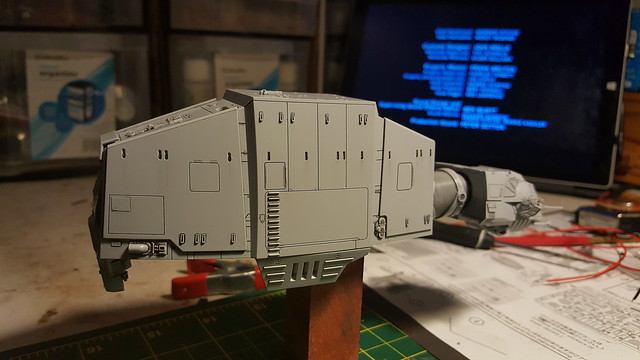
Started some selective washing and panel detail. The amount of details just asks for such approach, IMO. Again Im working over bare plastic. Once I finish this step, will seal with a clear matte coat and proceed with pastels and further detailing.

Top one without selective washing, down one after it:

20170519_184011 by Oscar Baez Soria, on Flickr


Some other images of progress so far:

20170519_184032 by Oscar Baez Soria, on Flickr

20170519_184853 by Oscar Baez Soria, on Flickr

20170519_185646 by Oscar Baez Soria, on Flickr

20170519_191636 by Oscar Baez Soria, on Flickr

20170519_194539 by Oscar Baez Soria, on Flickr

20170519_212323 by Oscar Baez Soria, on Flickr

20170519_212349 by Oscar Baez Soria, on Flickr

20170519_212440 by Oscar Baez Soria, on Flickr

20170519_212555 by Oscar Baez Soria, on Flickr

20170519_212636 by Oscar Baez Soria, on Flickr


:D
 
Real nice work so far! The LED's look much better now. This kit's engineering is incredible. Thanks for posting the video.
 
This thread is more than 6 years old.

Your message may be considered spam for the following reasons:

  1. This thread hasn't been active in some time. A new post in this thread might not contribute constructively to this discussion after so long.
If you wish to reply despite these issues, check the box below before replying.
Be aware that malicious compliance may result in more severe penalties.
Back
Top