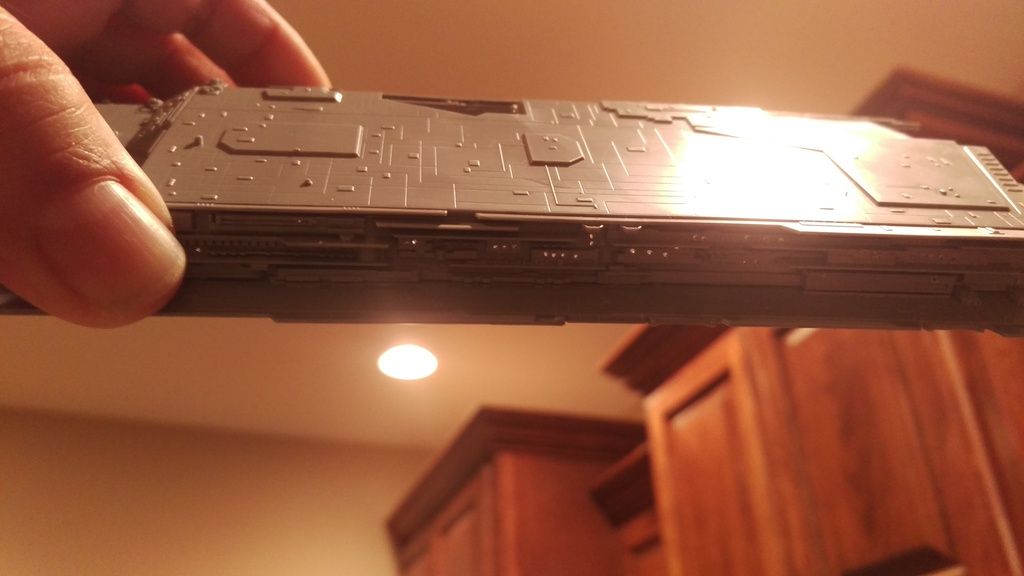
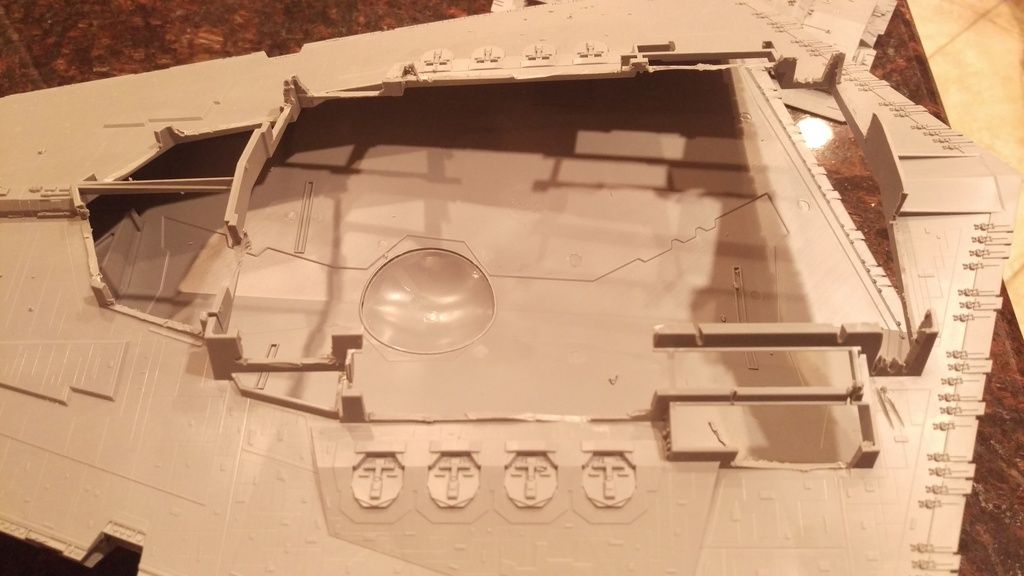
Ok, might as well start up another WIP thread of my Zvezda Star Destroyer kit. It won't be up to the level of the others here but I hope it will still come out ok. I'm going back and forth about lighting with FO or just drilling and putting a bunch of bright LEDs inside and letting the reflective light bounce around and shine out of the holes. I figure I'll start with just the holes and if the need arises to add fibers I can go that route. I've never done a full fiber optic job so a little leary of that. Unfortunately the smallest bit I have right now is 1/32" so I'm going to have to wait til I get a smaller bit before I start drilling.
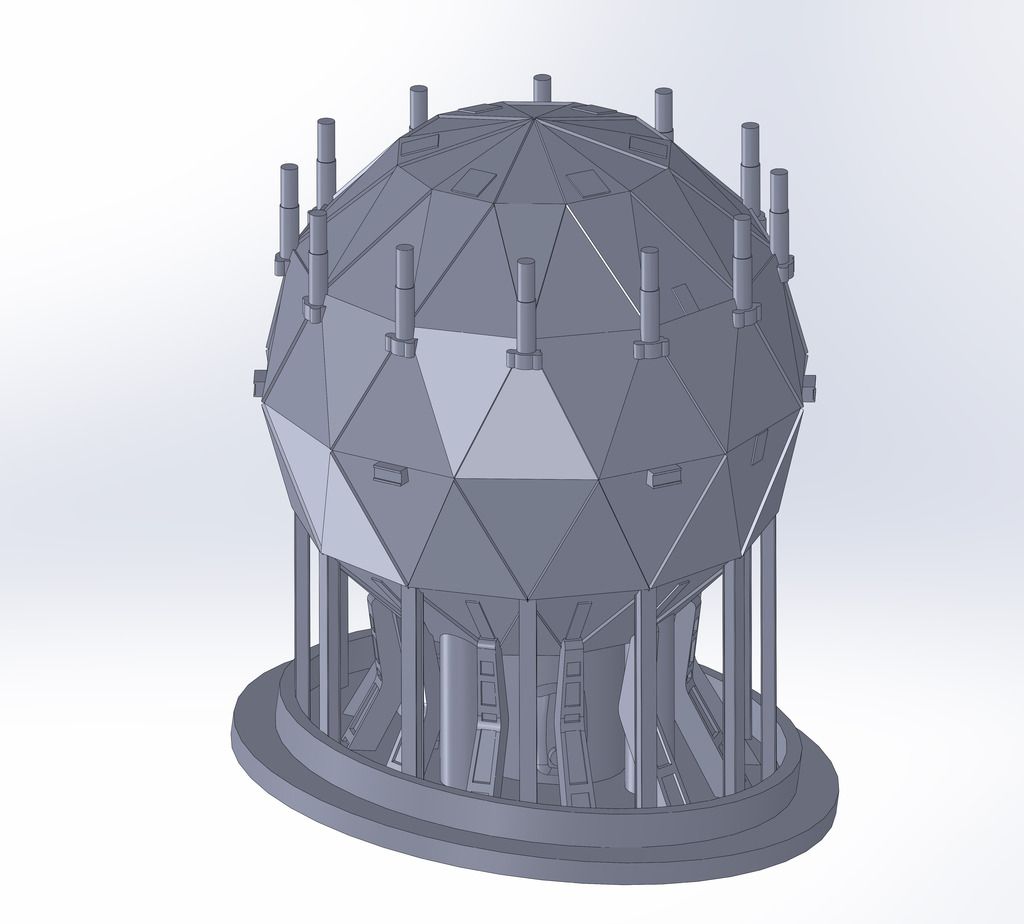
Since there are others building the kit here I won't get to much into the standard construction pics and mainly concentrate on whatever modifications I do along the way. For sure I am going to replace the engine bells and the shield generators. I know this isn't a particular replica of any one filming miniature but I still want it to be as close as possible in some areas. The engines to me are one of the weak points of this kit. So I've drawn some up and will have some 3d prints made. I've also worked out the shield generators and think I have the size and shapes pretty much right on. Here are a few pics of my 3D modeling progress. As always, comments, critiques and suggestions are always welcome.
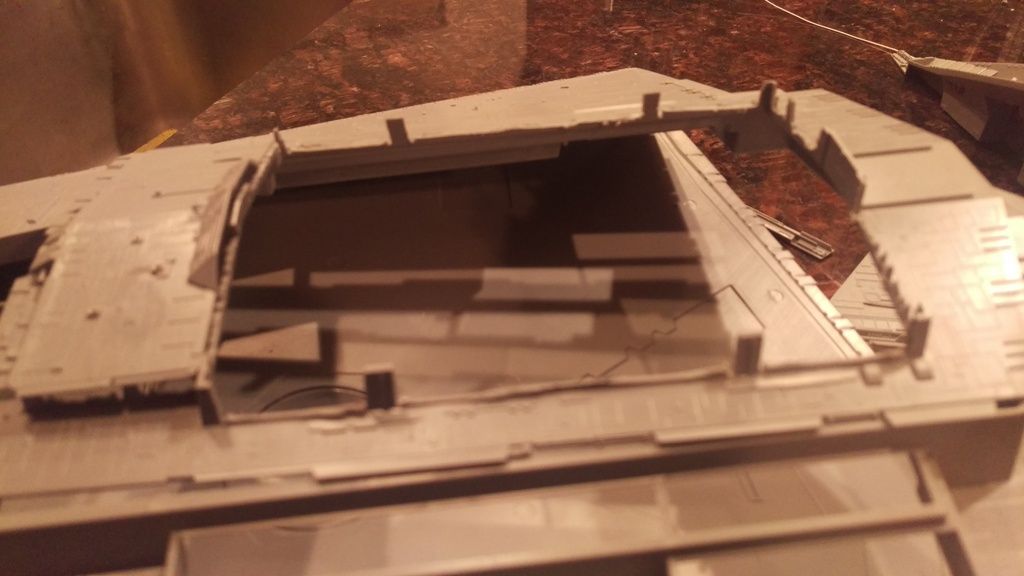
I'm going to be scratch building some of the detail piping around the secondary engines so I've added a few details around the perimeter to tie into.

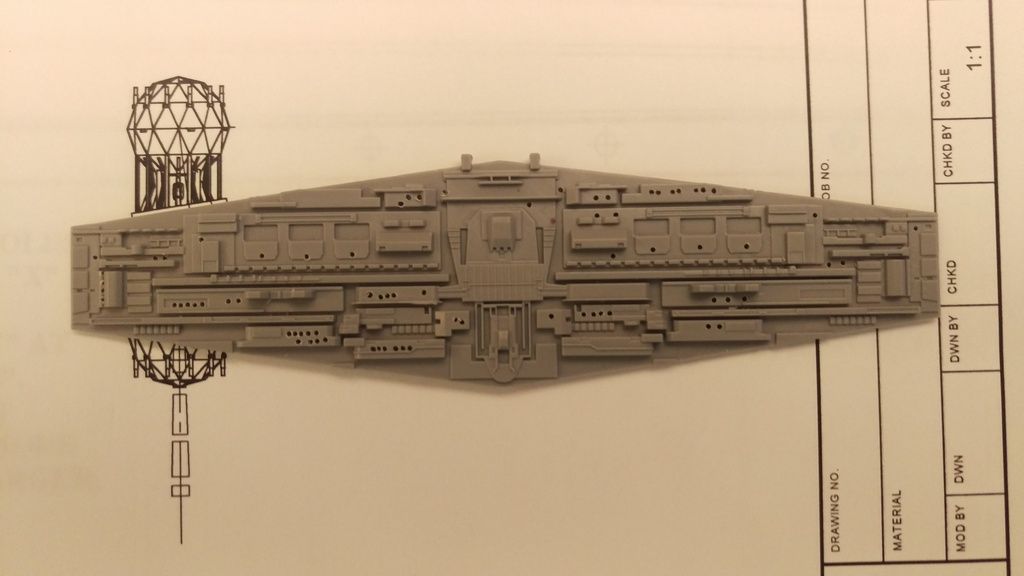
Here's the shield generator in a composite shot with a pic of the prop. I think I have the size about right.

The main engine bells.

Thanks for checking it out.
Bill
Since there are others building the kit here I won't get to much into the standard construction pics and mainly concentrate on whatever modifications I do along the way. For sure I am going to replace the engine bells and the shield generators. I know this isn't a particular replica of any one filming miniature but I still want it to be as close as possible in some areas. The engines to me are one of the weak points of this kit. So I've drawn some up and will have some 3d prints made. I've also worked out the shield generators and think I have the size and shapes pretty much right on. Here are a few pics of my 3D modeling progress. As always, comments, critiques and suggestions are always welcome.
I'm going to be scratch building some of the detail piping around the secondary engines so I've added a few details around the perimeter to tie into.
Here's the shield generator in a composite shot with a pic of the prop. I think I have the size about right.
The main engine bells.
Thanks for checking it out.
Bill
Last edited:
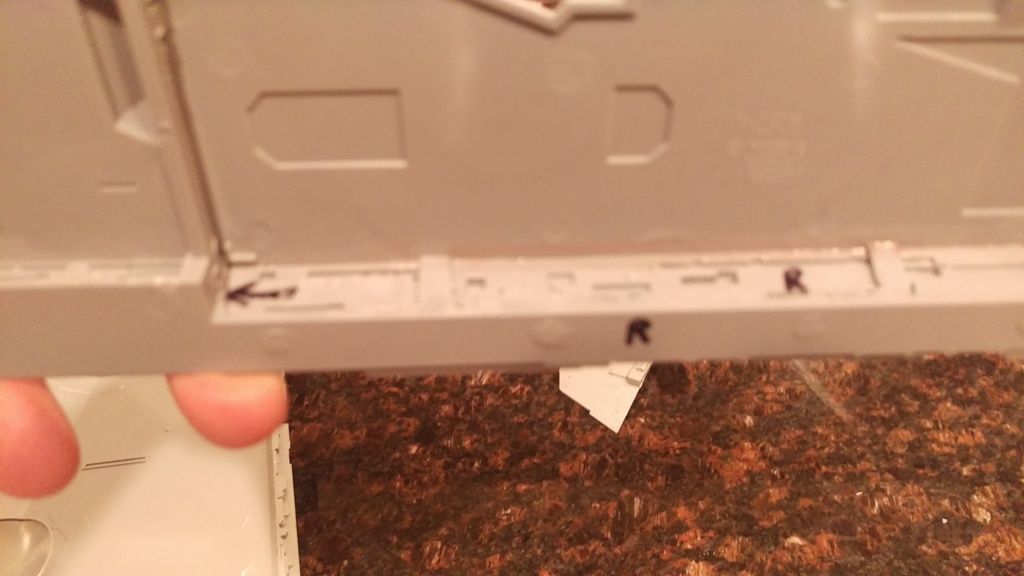
") . I bought my weapon of choice for drilling all the holes and pretty sure I've decided to go for it and use fiber optics. You guys have convinced me that it's really the best way to go. Not the only way, but likely the best way. I got this micro drill set from Harbor Freight and using a .6mm chucked into a handheld pin vice. i know my hand will likely fall off by the time I'm done but for now it's the only way I feel safe drilling and it actually seems to be going pretty easy. I'm definitely having a hard time keeping them lined up straight but hopefully it's not too bad. You can see the first hole I tried in 1/32 and it's too big for me so I'll have to maybe fill that one in and re-drill but it is what it is.
. I bought my weapon of choice for drilling all the holes and pretty sure I've decided to go for it and use fiber optics. You guys have convinced me that it's really the best way to go. Not the only way, but likely the best way. I got this micro drill set from Harbor Freight and using a .6mm chucked into a handheld pin vice. i know my hand will likely fall off by the time I'm done but for now it's the only way I feel safe drilling and it actually seems to be going pretty easy. I'm definitely having a hard time keeping them lined up straight but hopefully it's not too bad. You can see the first hole I tried in 1/32 and it's too big for me so I'll have to maybe fill that one in and re-drill but it is what it is.