hcr
New Member
Before I start working on the bigger Star Destroyers from Zvezda and Anigrand I thought it makes sense to practice with the Revell ISD first.
Plan was to add some FOs and engine lights, never done that before and I have no idea about electronics at all.
While working on the model, I found more and more areas to modify and I spent much more time than initially planned.
But, I learned (and swore) a lot and am quite happy with the results so far.

To get myself familiar with soldering, I disassembled one of this LED lamps, was quite surprised to find those LEDs are of high quality and super bright.
24 LEDS per lamp, bought a pack of two for 5 Euro.

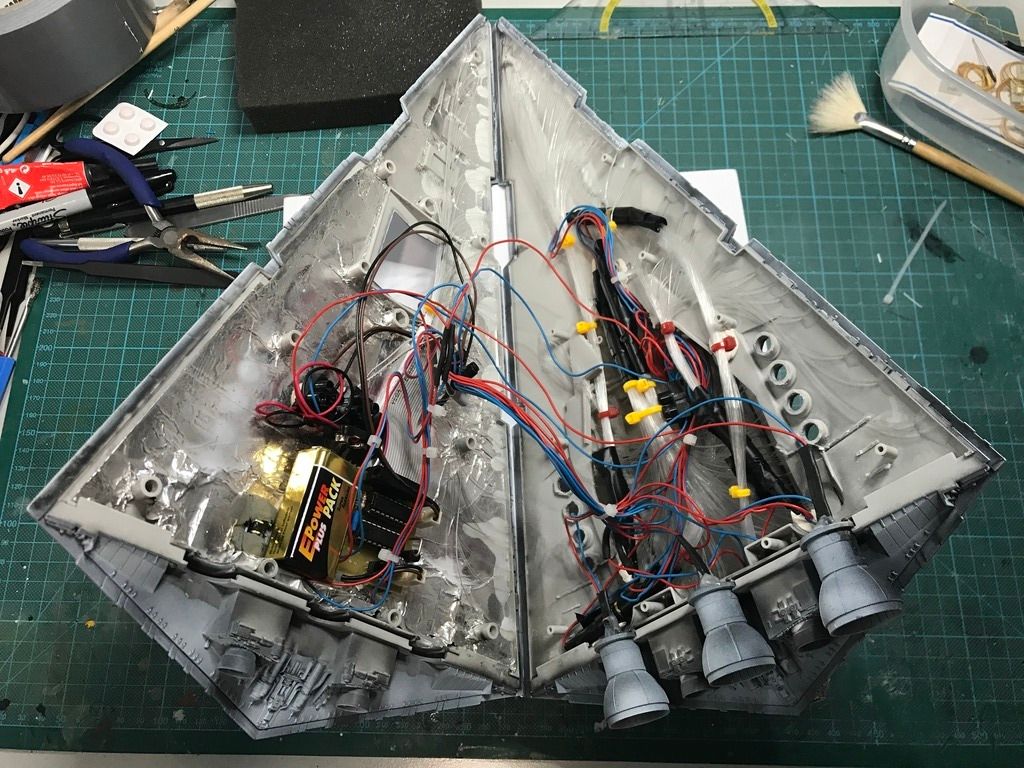
And then, after some burn marks and more swearing, I got this:

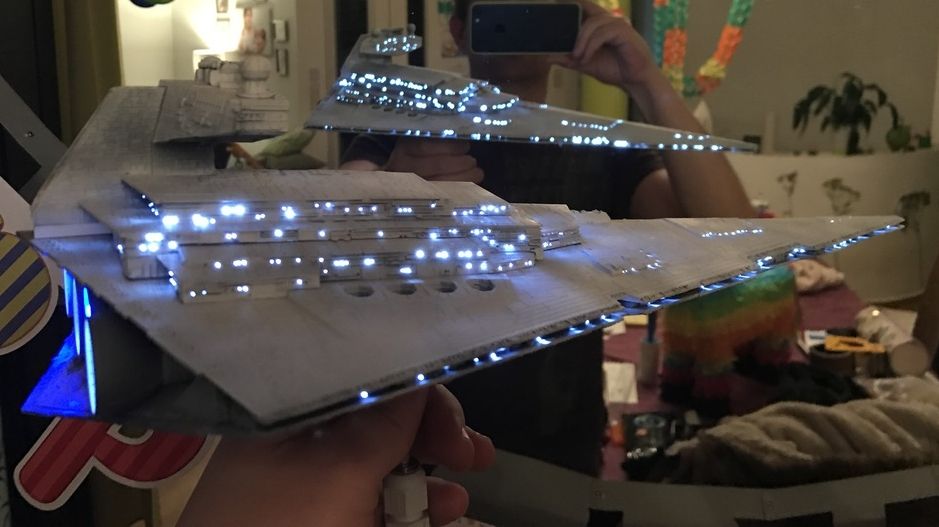
Even the original model had warm white lights, I decided to give it a cold look and blue truster lighting.
This is the lighting module, made by Helios Models:


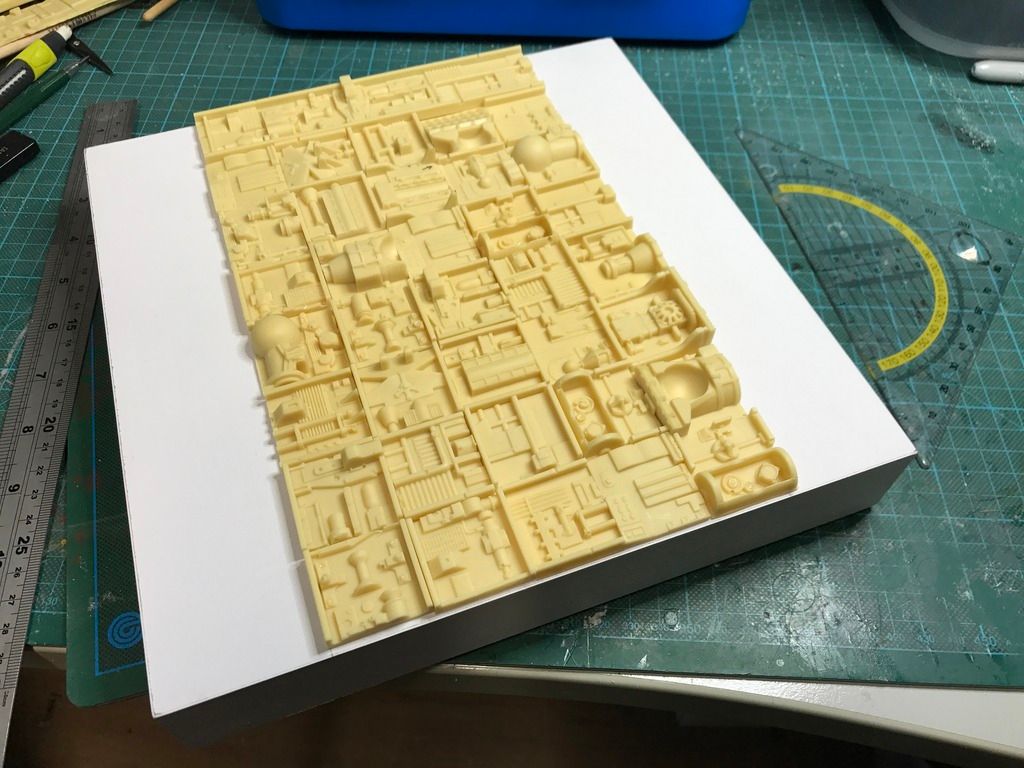
Some pictures of the progress:


And some of the challenges I still have to resolve:
I found a micro switch in an old FO lamp, thought this will be a clever, easy solution to switch the power on and off. Result is that power is always on until I press and hold the button, then its off. Have to gather some expertise here to get this sorted the way I want it to work.


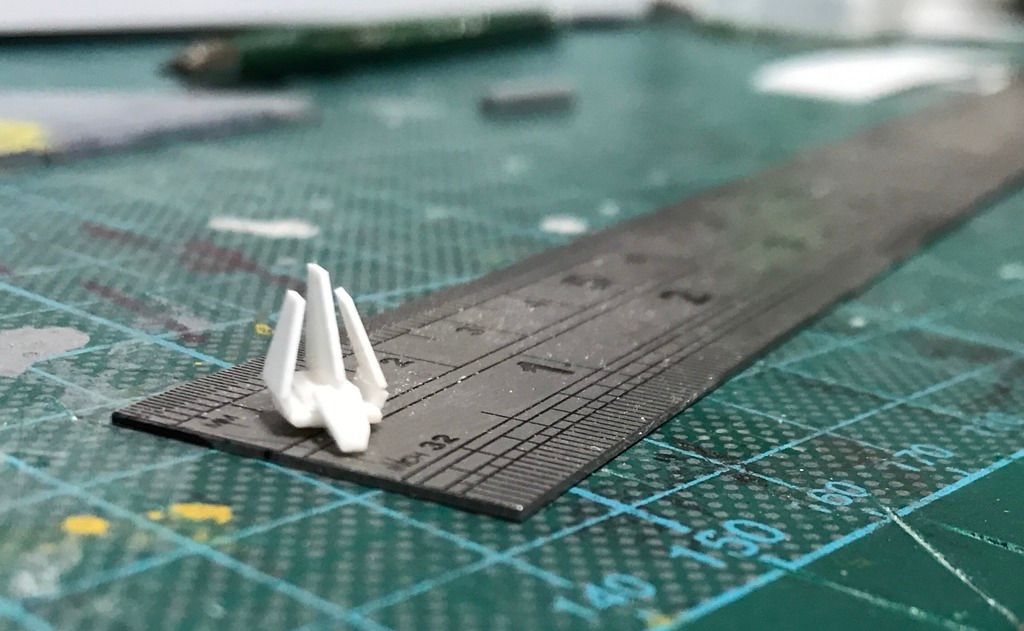
Next issue I haven’t solved yet is the laser turret lighting. Plan is to use 0.5mm FOs with green lighting, with a mix of 500ms flash and double flash. Due to the size of the turrets I am limited to using 2 barrels on each side. The pipes were cut from a hollow needle, those cannulas are made of high quality, hardened steel I guess, quite easy to get a nice and straight cut. Bought a huge amount since I plan to use them frequently from now on.
First test fit with the original turrets:

Wasn’t happy so decided to make new turret bases from scratch. Still have to work on a jig that allows drilling consistent and aligned holes.


And here’s the model with all FOs (around 700) installed and ready for painting! Will start tonight with a black base coat, followed by Tamiya grey and white primer, followed by some accentuated panels in a slightly darker tone, based on the white-greyish base color.

Thanks for looking.
Plan was to add some FOs and engine lights, never done that before and I have no idea about electronics at all.
While working on the model, I found more and more areas to modify and I spent much more time than initially planned.
But, I learned (and swore) a lot and am quite happy with the results so far.
To get myself familiar with soldering, I disassembled one of this LED lamps, was quite surprised to find those LEDs are of high quality and super bright.
24 LEDS per lamp, bought a pack of two for 5 Euro.
And then, after some burn marks and more swearing, I got this:
Even the original model had warm white lights, I decided to give it a cold look and blue truster lighting.
This is the lighting module, made by Helios Models:
Some pictures of the progress:
And some of the challenges I still have to resolve:
I found a micro switch in an old FO lamp, thought this will be a clever, easy solution to switch the power on and off. Result is that power is always on until I press and hold the button, then its off. Have to gather some expertise here to get this sorted the way I want it to work.
Next issue I haven’t solved yet is the laser turret lighting. Plan is to use 0.5mm FOs with green lighting, with a mix of 500ms flash and double flash. Due to the size of the turrets I am limited to using 2 barrels on each side. The pipes were cut from a hollow needle, those cannulas are made of high quality, hardened steel I guess, quite easy to get a nice and straight cut. Bought a huge amount since I plan to use them frequently from now on.
First test fit with the original turrets:
Wasn’t happy so decided to make new turret bases from scratch. Still have to work on a jig that allows drilling consistent and aligned holes.
And here’s the model with all FOs (around 700) installed and ready for painting! Will start tonight with a black base coat, followed by Tamiya grey and white primer, followed by some accentuated panels in a slightly darker tone, based on the white-greyish base color.
Thanks for looking.

