Seraphina Picquery Costume from Fantastic Beasts

ATL Kenobi

Sr Member
RPF PREMIUM MEMBER
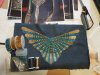
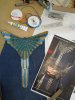
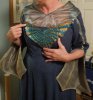
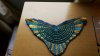
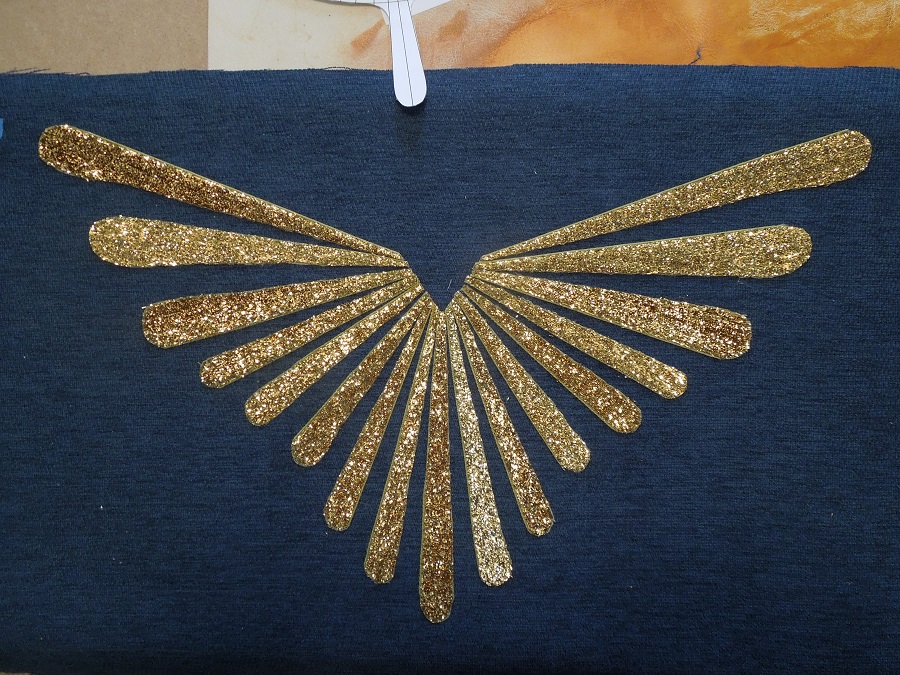
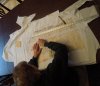
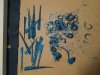
My wife and I are working on a Seraphina Picquery costume that we're trying to have done for the January HP Celebration in Orlando. While she was sewing on Percival, I started on what we refer to as the breast plate. First I cut up gold sparkle ribbon per a sketch I created which was cut up as a template and glued to the back of the ribbon using stencil adhesive. I then cut out the pieces, applied fray check to all the cut edges and when this set, I glued these gold pieces to a piece of teal fabric:
attachment.php


I did the same for blue ribbon. It's not quite the right shade, but was the best I could find:
attachment.php


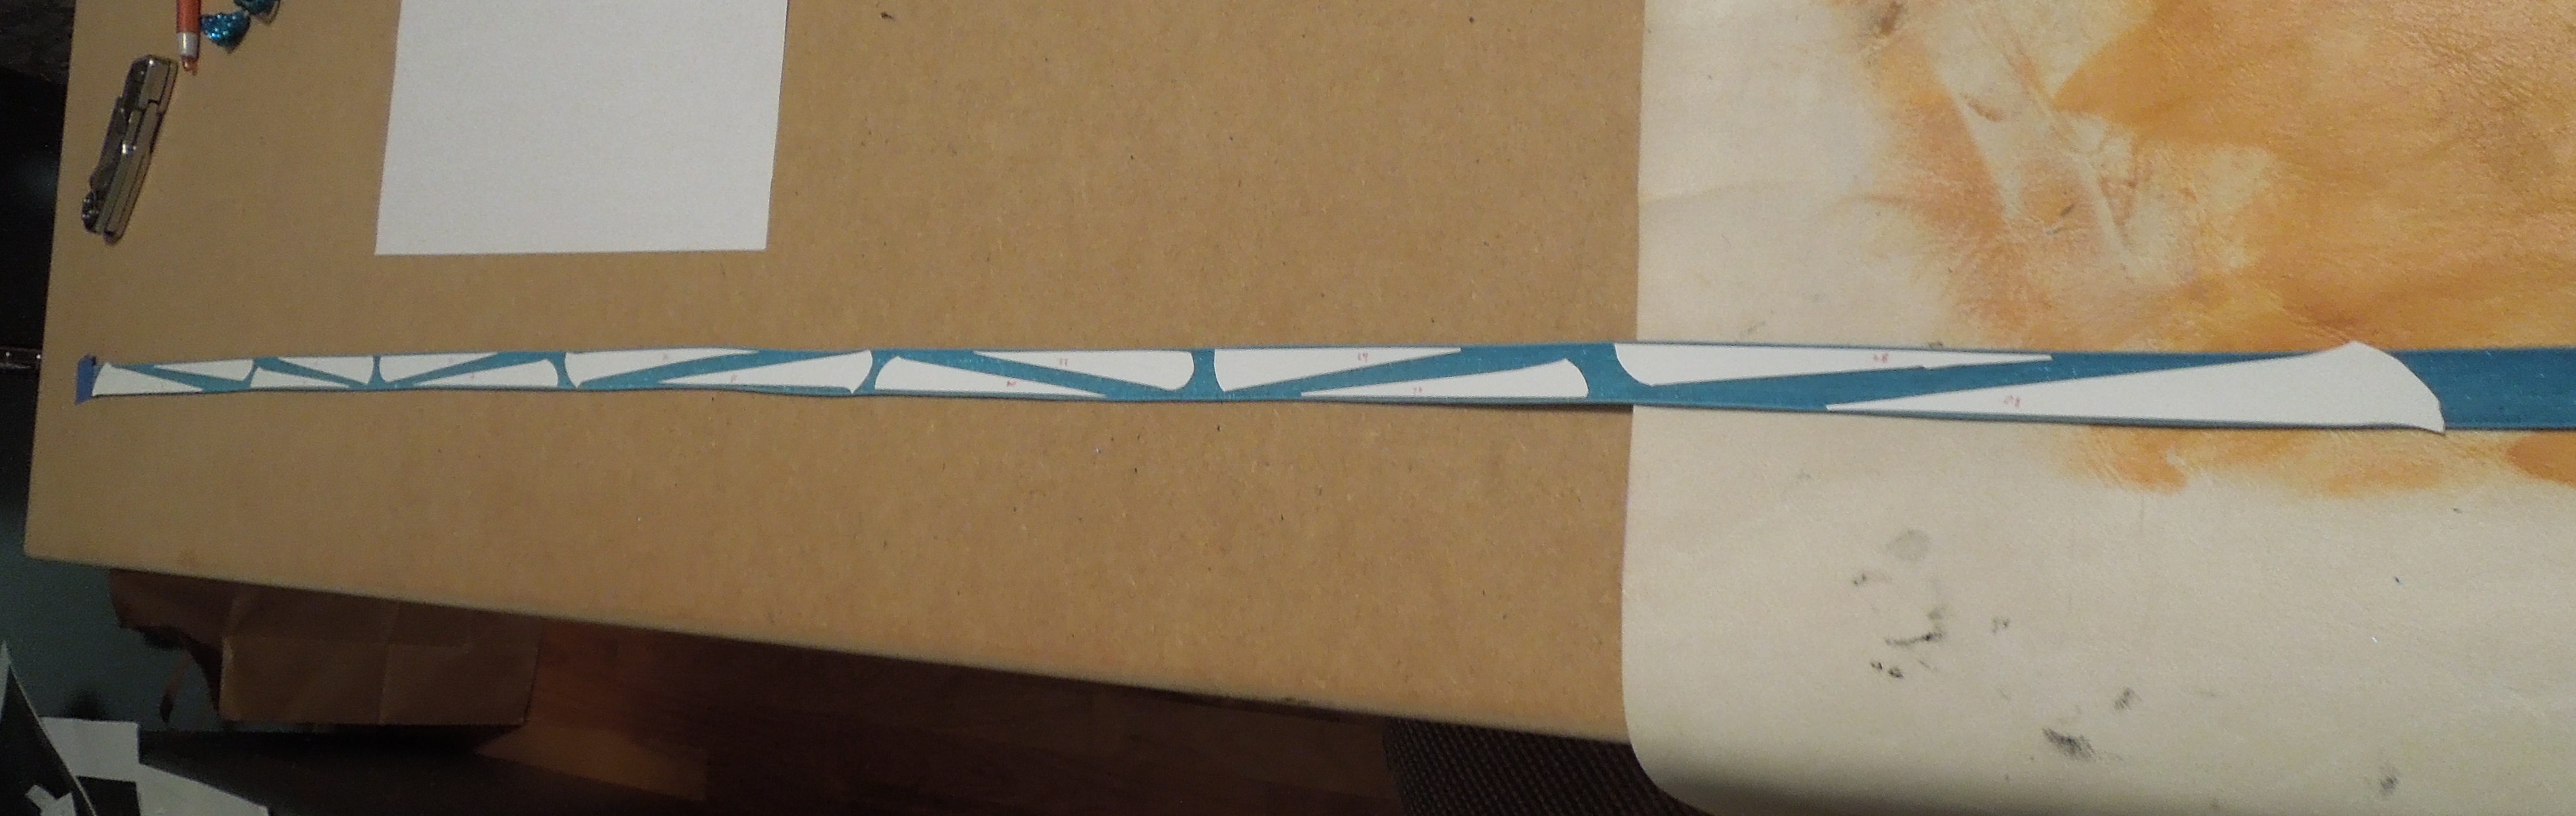
The pieces were numbered.
attachment.php


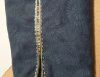
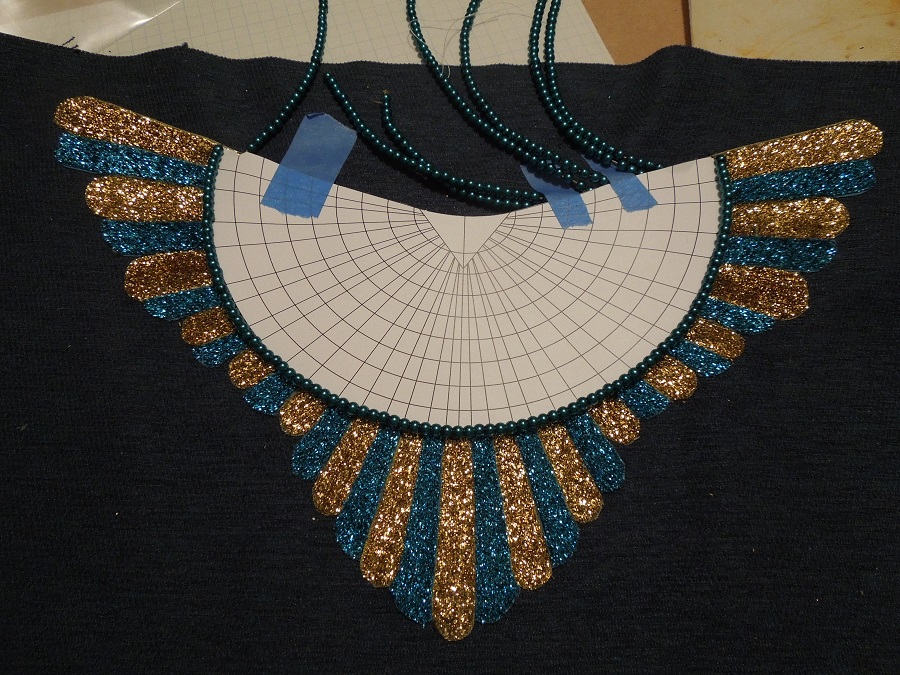
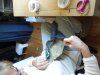
Using another template I stitched and glued on strings of teal beads:
attachment.php


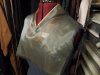
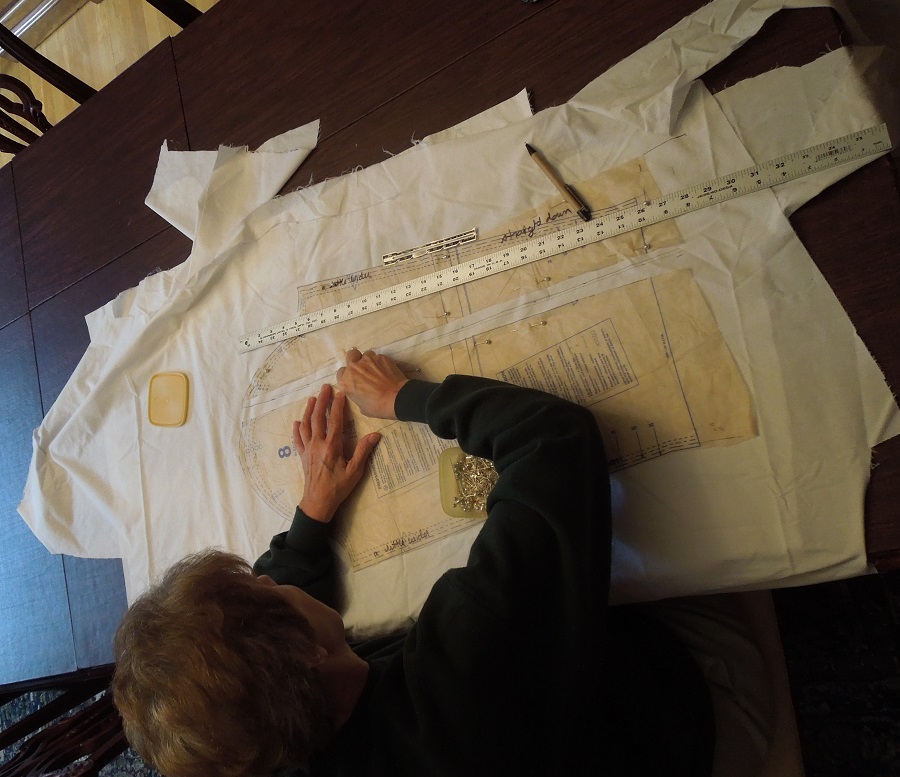
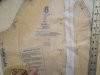
My wife laid out the pattern for the dress on an old sheet as a test:
attachment.php


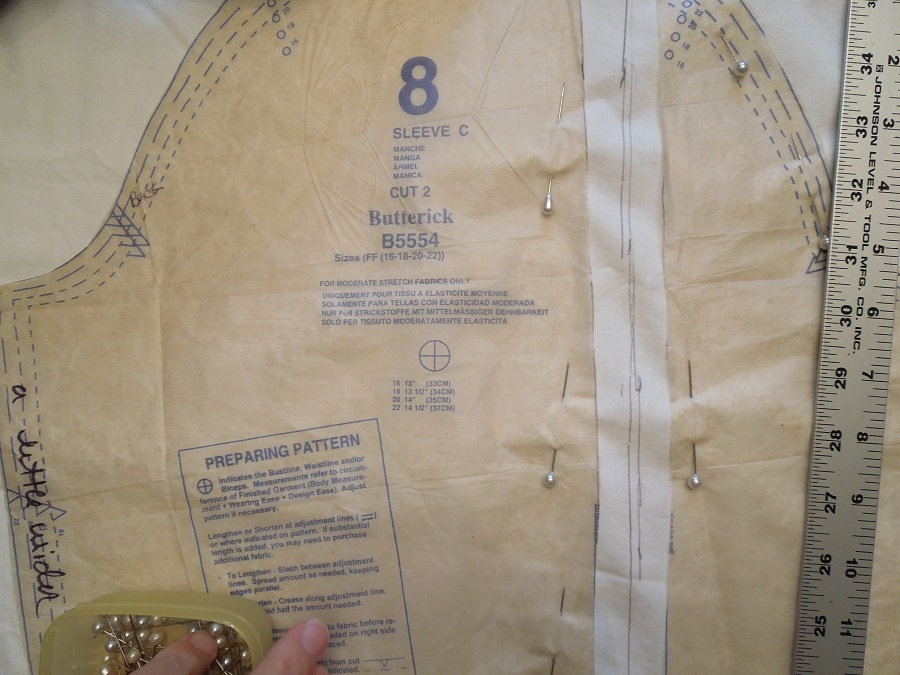
The sleeve needed an extra seem on top for the split at the elbow:
attachment.php


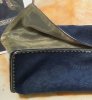
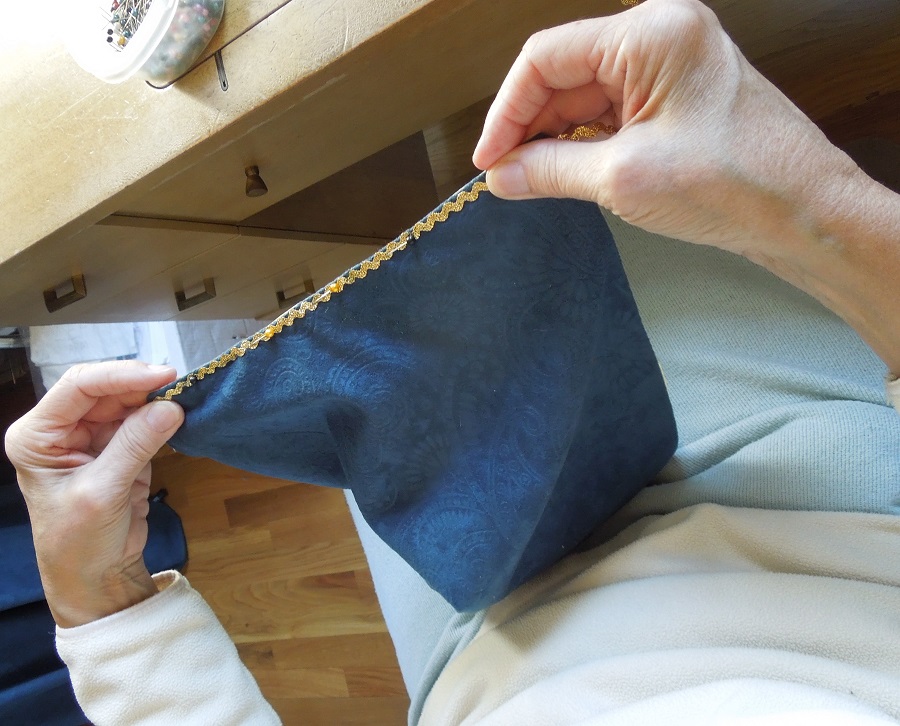
As far as we can determine the edge trim will be made up of three different trims. The first one sewn on was gold baby rick-rack:
attachment.php


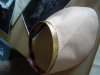
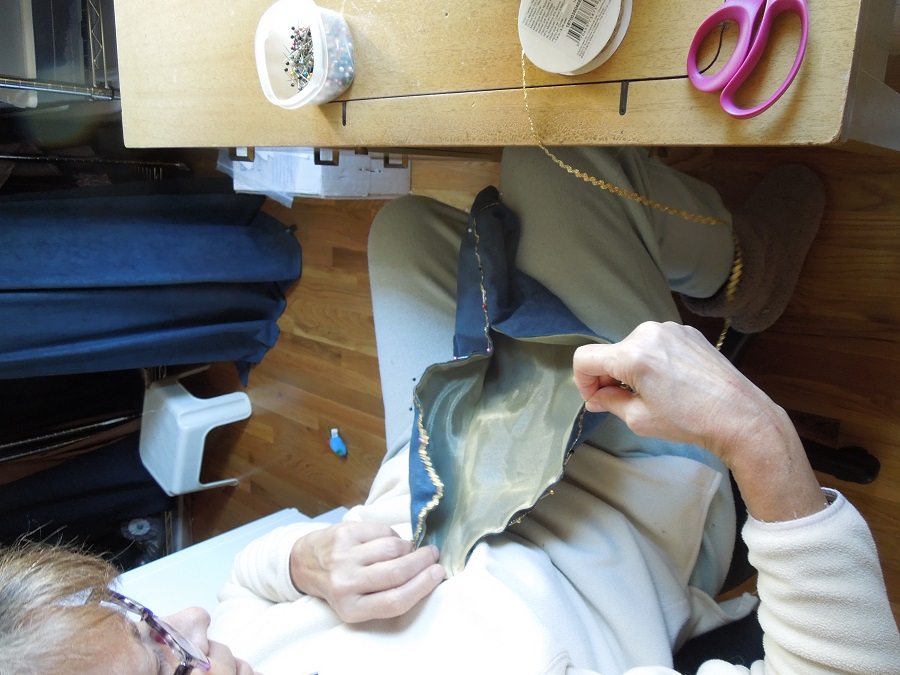
The sleeve is lined with gold tone organza:
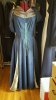
attachment.php


The dress so far:
attachment.php

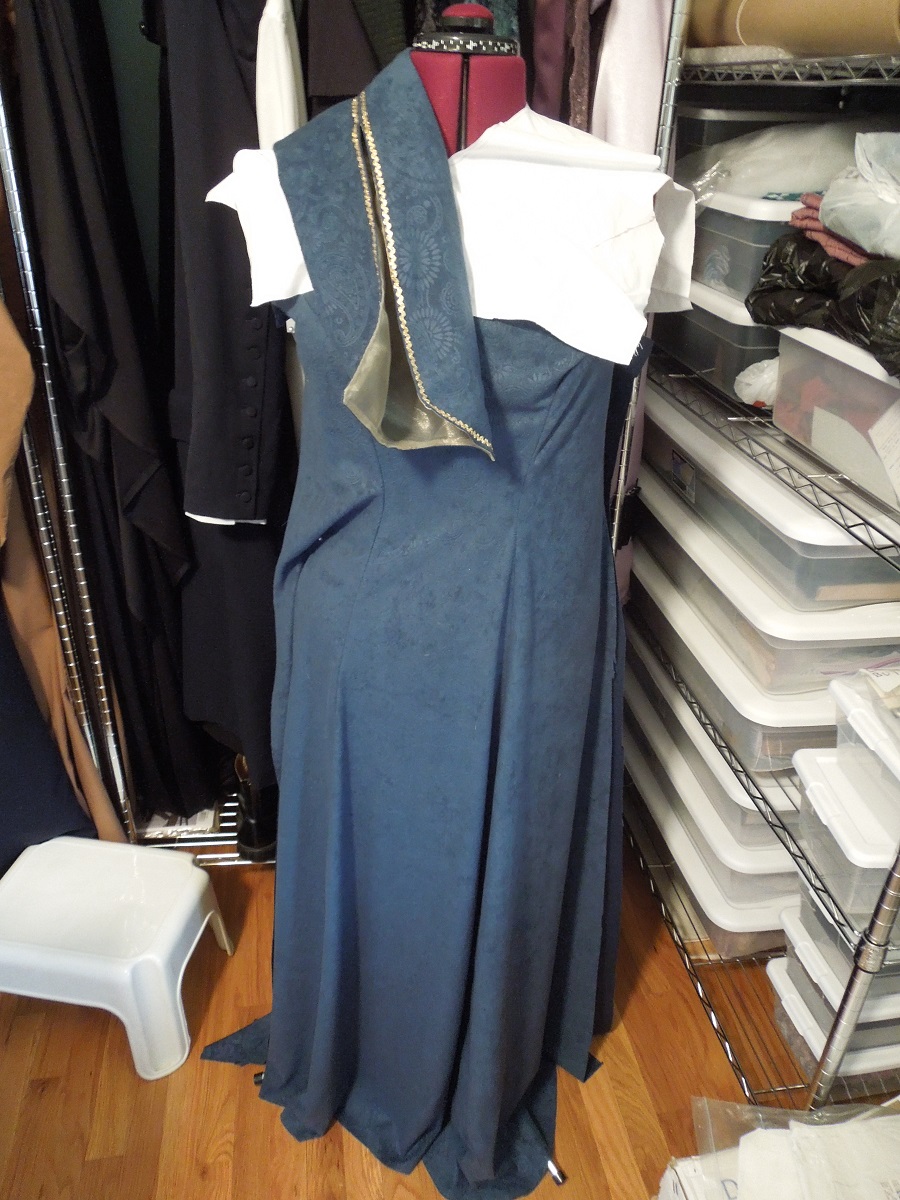
The material was a teal paisley fabric we found at JoAnns.

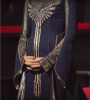
Of course now that the movie is out and there are high res images available, it's pretty obvious the breast plate was actually done as beadwork. Must have been a lot of work! :)
ATL
 

Attachments

  • 1 BP gold.jpg
    1 BP gold.jpg
    334 KB · Views: 2,179
  • 9 coming together.jpg
    9 coming together.jpg
    372.2 KB · Views: 1,699
  • 8 gold organza.jpg
    8 gold organza.jpg
    190.1 KB · Views: 1,666
  • 7 rick rack.jpg
    7 rick rack.jpg
    206.1 KB · Views: 1,687
  • 6 B5554.jpg
    6 B5554.jpg
    185.5 KB · Views: 1,707
  • 5 laying out the pattern.jpg
    5 laying out the pattern.jpg
    195 KB · Views: 1,701
  • 4 bead strands.jpg
    4 bead strands.jpg
    300.4 KB · Views: 1,765
  • 3 Its messy.jpg
    3 Its messy.jpg
    294 KB · Views: 1,696
  • 2 blue wedges.jpg
    2 blue wedges.jpg
    1.1 MB · Views: 1,740
Fantastic! ;)

Egon Spengler Thanks!

For the breastplate, the detail is done but it still needs to be lined and trimmed and I believe the plan is to add snaps to attach it to the dress so it can be removed for when the dress needs to be cleaned.
attachment.php

Beside the breastplate are some of the items used to make it.

The second trim on the sleeve is a 1/16" (2mm) gold cord which is attached using Beacon fabric adhesive.
attachment.php


The third trim which is a 1/16" teal "rattail" cord was applied with Dritz fabric adhesive :
attachment.php


... and now the gold beads sewn on one at a time.:wacko
attachment.php


ATL
 

Attachments

  • 13 beads.jpg
    13 beads.jpg
    268.3 KB · Views: 1,540
  • 12 trim 3.jpg
    12 trim 3.jpg
    274.3 KB · Views: 1,545
  • 11 trim 2.jpg
    11 trim 2.jpg
    119.2 KB · Views: 1,530
  • 10 breastplate done.jpg
    10 breastplate done.jpg
    287.8 KB · Views: 1,595
Last edited by a moderator:
To me the trim work down the front of the dress looks to be a series of a alternating blue and gold cords:
attachment.php


Before actually attaching cords with fabric adhesive to the costume fabric, I figured I better try prototyping the concept first to make sure it's sized and looks right.
attachment.php


...use lots of Fray Check!

ATL
 

Attachments

  • 14 seraphina 3b.png
    14 seraphina 3b.png
    744.6 KB · Views: 2,556
  • 15 breast plate and trim.jpg
    15 breast plate and trim.jpg
    446.6 KB · Views: 1,596
While watching the movie for the 3rd time, we realized that the trim (and the breast plate) is all bead work. So I bought 1700 9mm bugle beads:
attachment.php


Also started on the headdress. We found a black head turban thing and an old "snakeskin" belt which I applied imitation gold leaf:
attachment.php


To this belt I stitched a shaped piece of sheepskin. I applied amber shellac to the back of it to provide stiffness. The front will be painted a metallic gold and the back a semi-flat black. To this we'll add the flowers and the bird.
attachment.php


Work continues on the bodice which is 2 layers of organza.
attachment.php


ATL
 

Attachments

  • 19 Bodice 1.jpg
    19 Bodice 1.jpg
    164.8 KB · Views: 1,348
  • 18 Stitching HD.jpg
    18 Stitching HD.jpg
    120 KB · Views: 1,363
  • 17 fitting the head dress.jpg
    17 fitting the head dress.jpg
    159.7 KB · Views: 1,351
  • 16 1700 beads.jpg
    16 1700 beads.jpg
    148 KB · Views: 1,383
Last edited:
Test fitting the various dress pieces:
attachment.php


And if this isn't the gaudiest thing I've ever made... :)
attachment.php


attachment.php


attachment.php


ATL
 

Attachments

  • 20 Test fit.jpg
    20 Test fit.jpg
    1.8 MB · Views: 1,466
  • 21 Head dress 1.jpg
    21 Head dress 1.jpg
    195.1 KB · Views: 1,319
  • 22 head dress2.jpg
    22 head dress2.jpg
    179.2 KB · Views: 1,394
  • 23 head dress3.jpg
    23 head dress3.jpg
    1.8 MB · Views: 1,558
Here's the "over skirt".
attachment.php


Seven more strands of beads and some sew-on snaps to hold it all together and we should be finished!

attachment.php


ATL
 

Attachments

  • 24 BP.jpeg
    24 BP.jpeg
    207.7 KB · Views: 1,244
  • 25 overskirt.jpeg
    25 overskirt.jpeg
    499.4 KB · Views: 1,355
This thread is more than 6 years old.

Your message may be considered spam for the following reasons:

  1. This thread hasn't been active in some time. A new post in this thread might not contribute constructively to this discussion after so long.
If you wish to reply despite these issues, check the box below before replying.
Be aware that malicious compliance may result in more severe penalties.
Back
Top