Nm1cciola
Active Member
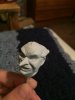
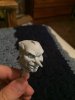
I recently went to the jerseyfest model fair and I was able to get a few good model kits. One of the ones that I purchased which was quite hard to find online is the Horizon "The Penguin" model kit. One thing I admit about this kit is that it comes with an awesome vinyl model base (I am thinking about making it a solid piece via molding and casting). One thing I really like about this kit is the face sculpt.


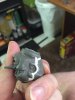
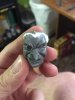
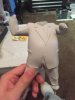
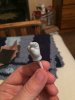
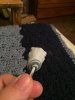
Here are some unclose pictures of the kit itself:


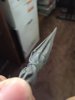
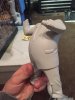
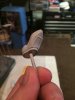
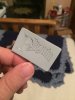
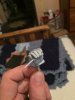
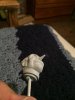
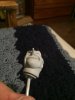
Did some work on this kit cut out the face and the nameplate


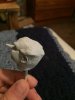
Planning on making him look like his animated series counter part or at least a mishmash of the two that were drawn for the cartoon
.jpg")
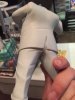
Here are some unclose pictures of the kit itself:
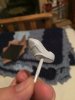
Did some work on this kit cut out the face and the nameplate
Planning on making him look like his animated series counter part or at least a mishmash of the two that were drawn for the cartoon