N3rdyboy
Active Member
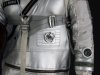
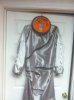
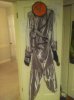
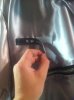
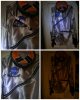
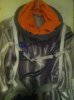
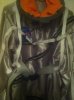
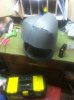
I have done more than I expected today, so the fact that I still hadn't figured out the oxygen meter was annoying me, so, I took a milk lid about the same size as the real oxygen meter, and attached Velcro to the back and to the corresponding area on the suit, then I resized this picture from Ryan Nagata's suit for the meter pattern, hot glued it in, then I cut corresponding circles to make up the cover, for the clear bubble I used a divider binder, I was afraid that the hot glue would melt it but it didn't, and hot glued that to the lid, and then placed the two Velcro sides together giving the desired effect.