TKCC71
Well-Known Member
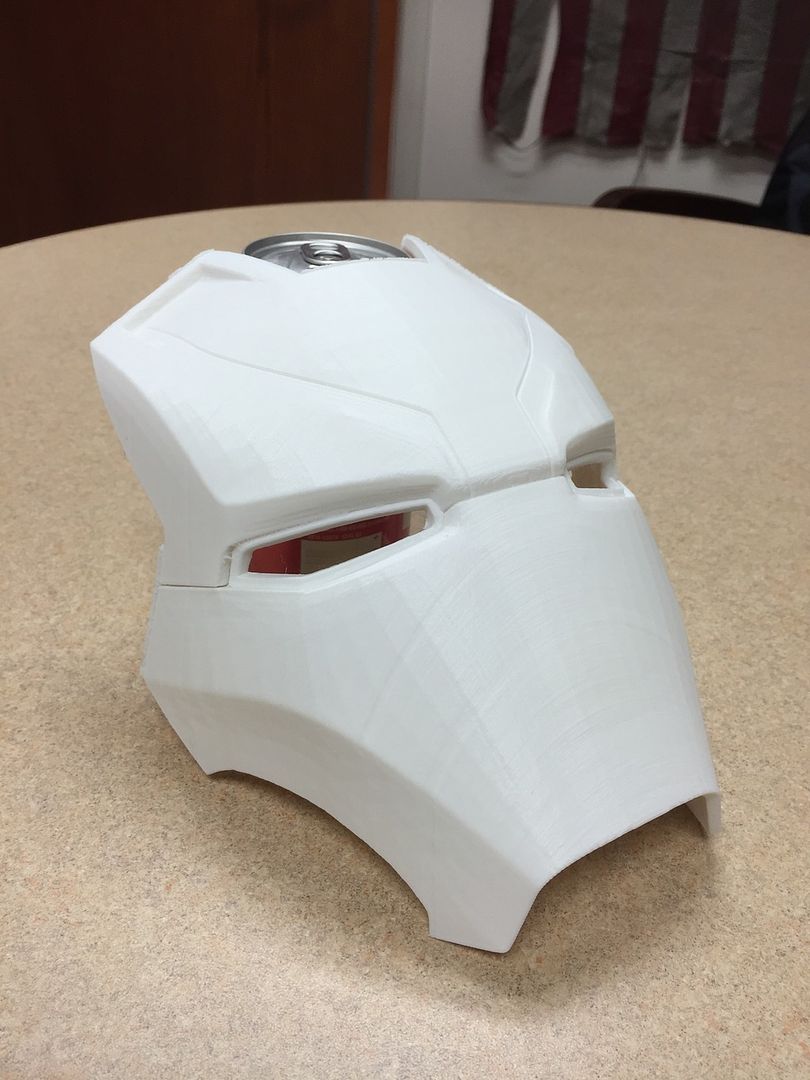
Well figured I would start a new thread here and share the journey on this build.
I'm new to 3D printing and pretty much learning as I go. I had recently purchased some really nice quality files for the new Mark 46 (**Files not shareable per the terms and conditions**) and just received my Robo 3DR1+ printer. I also purchased Simplify3D but haven't printed with that slicer as of yet.
I figure I would share the first print and will be looking forward to some printing tips from the community here as I go along.
This print unfortunately took almost 2 days due to my limited 3D printing knowledge, but hopefully as this build goes along it will get better and faster. I printed this in high quality with the Matter Control slicer that came with the printer. Will start the back of the head and the rest of the helmet this weekend with Simplify3D and will test out some medium to low quality print settings to speed up the process a little more..
Any recommendations on Layer and infil percentages using this printer would be helpful. Want to keep some of the detail but definitely do not want to wait 2 days for a small print.


")
