Monkey540
Sr Member
I thought I might share some pics over here for people to see as well. Sorry if the pics are disjointed, they are from various stages of the project.
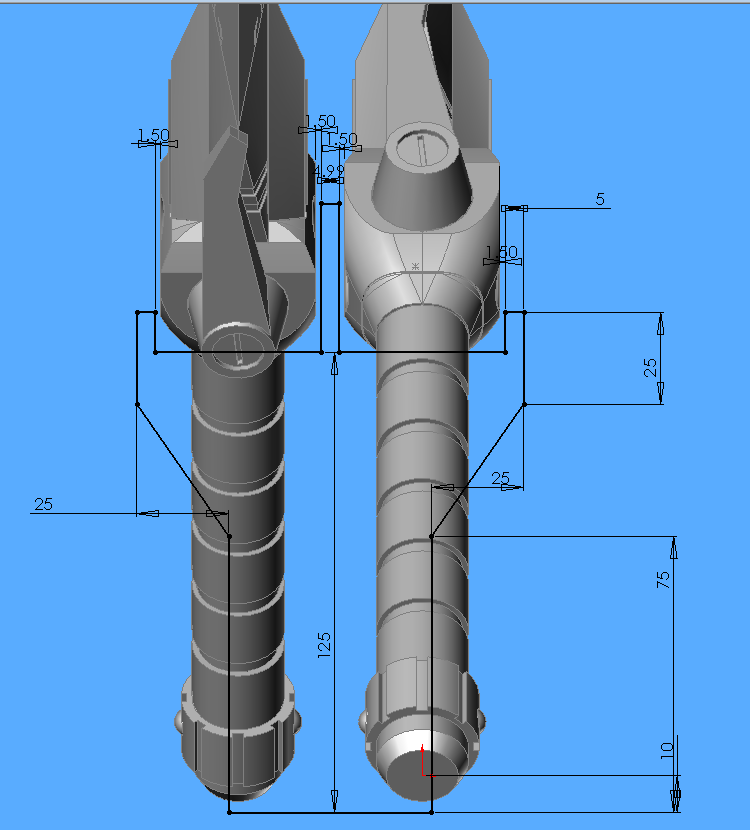
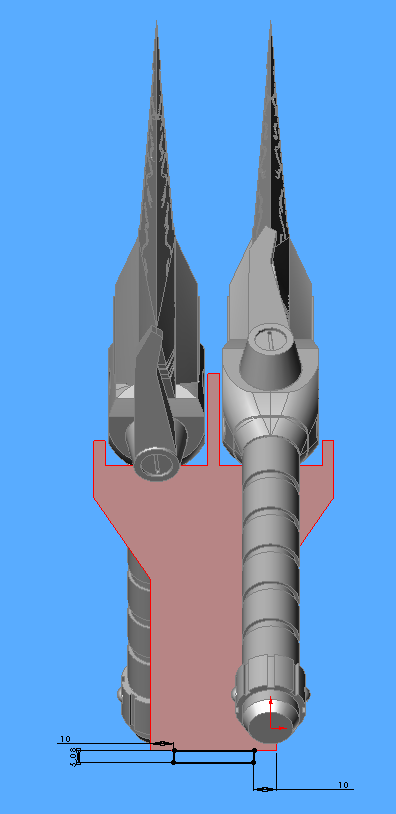
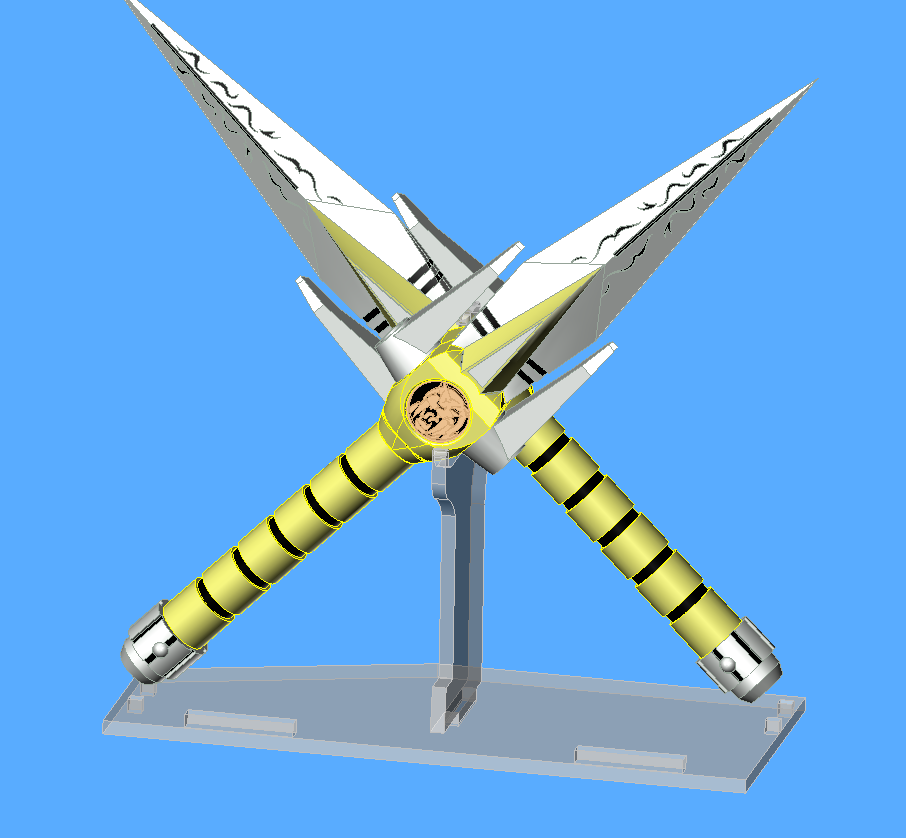
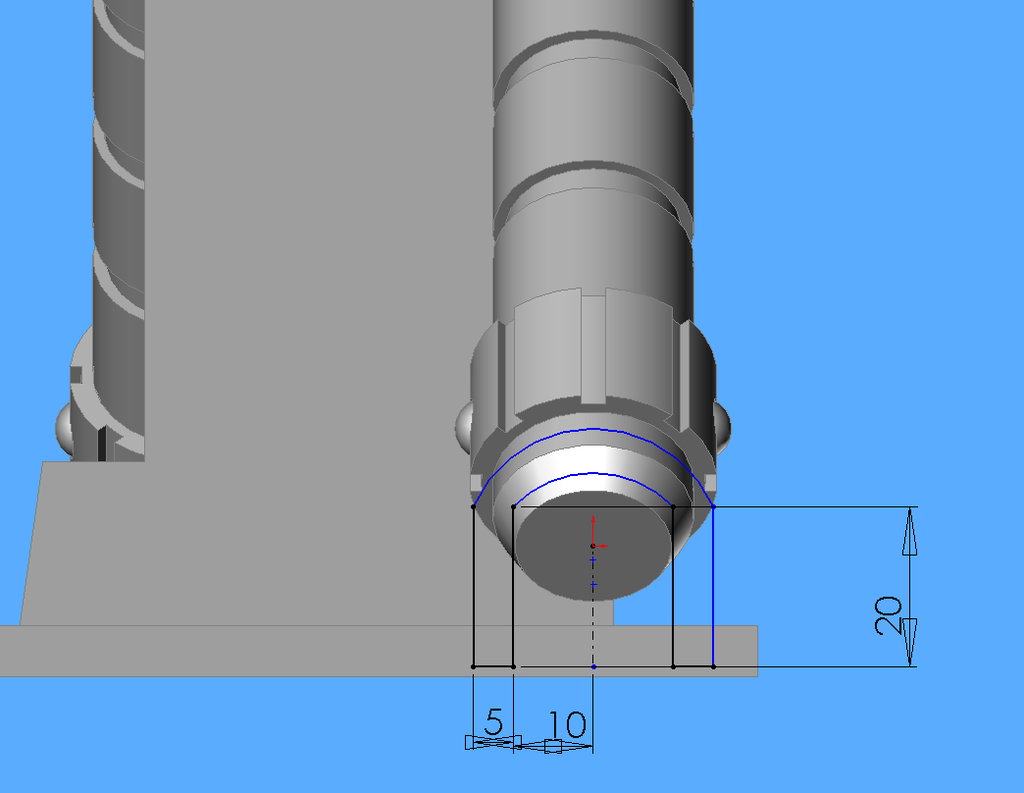
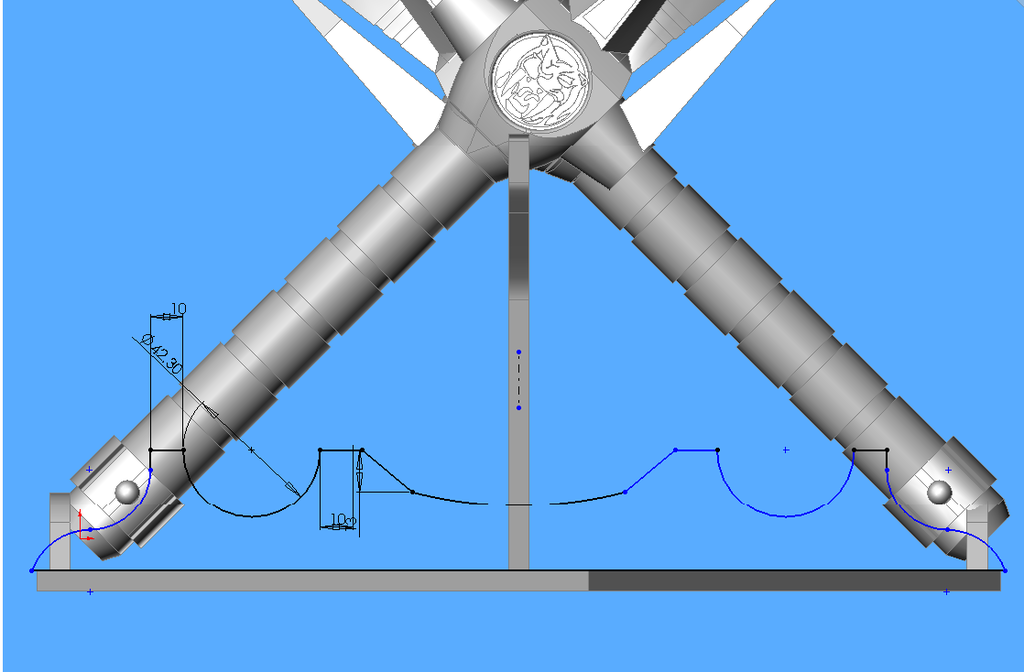
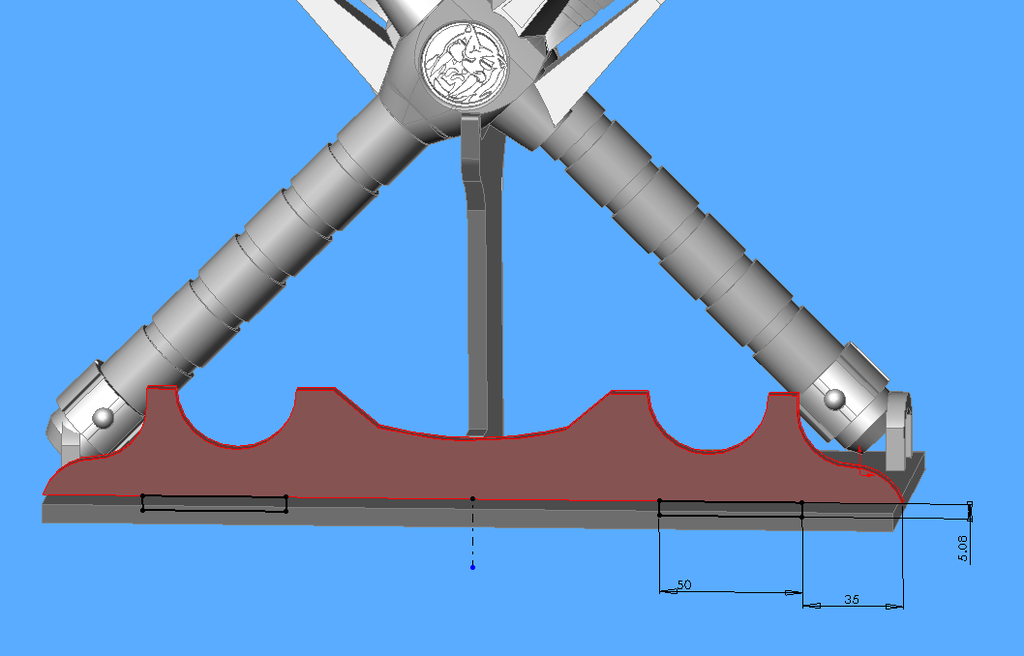
I modeled up a power dagger recently designed for 3D print, here's a render.

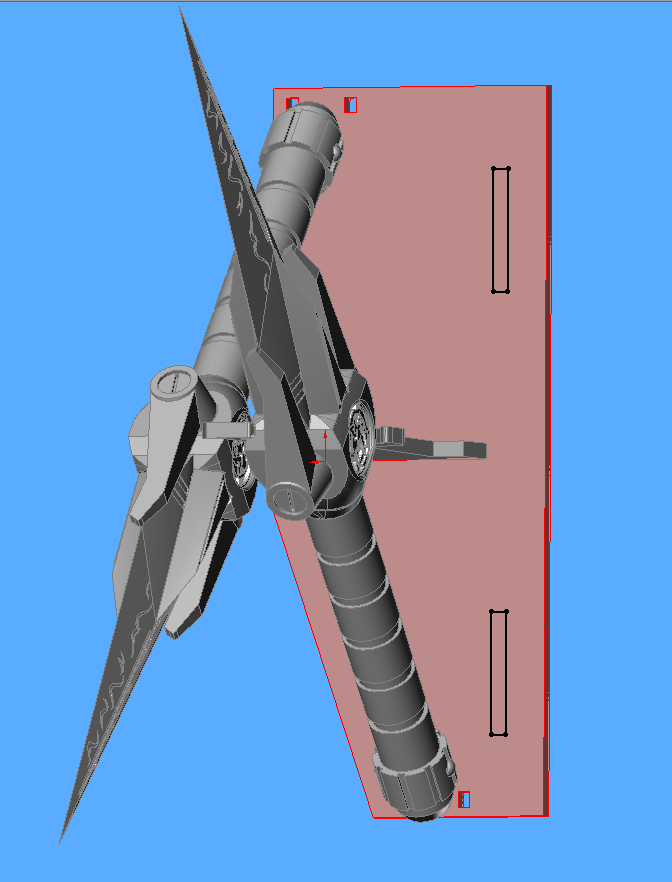
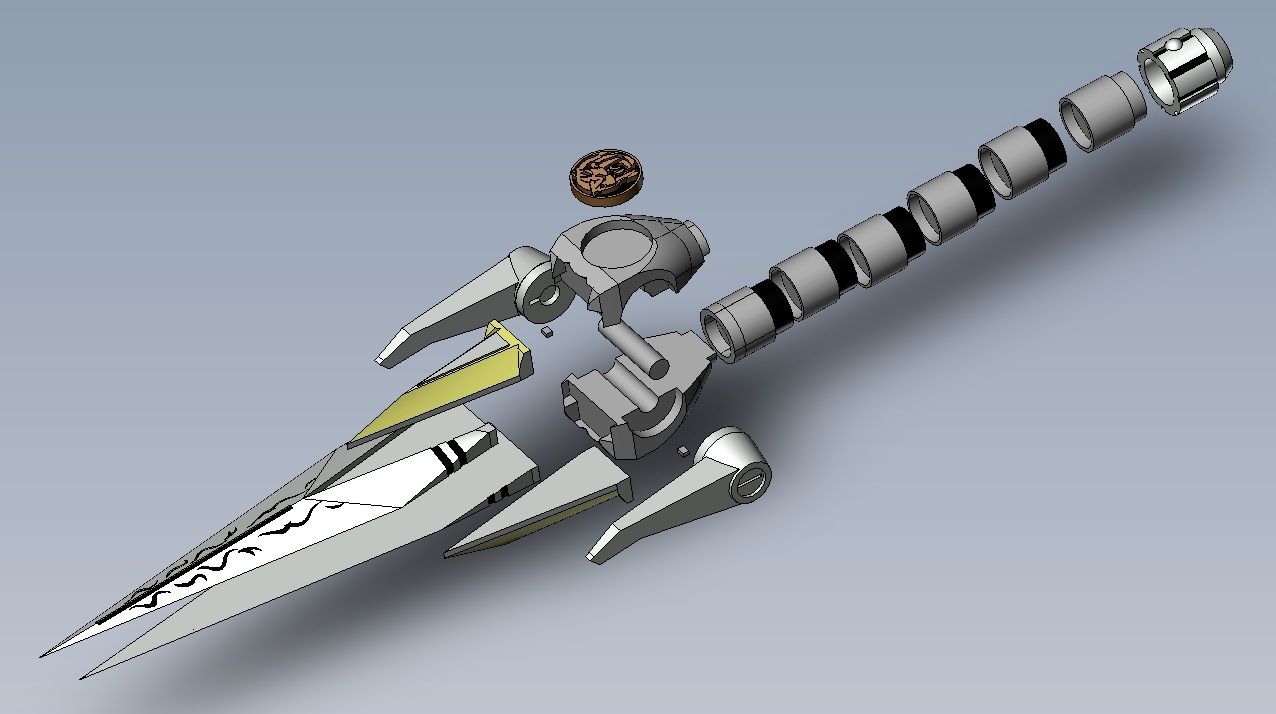
And the explosion view to many pieces:
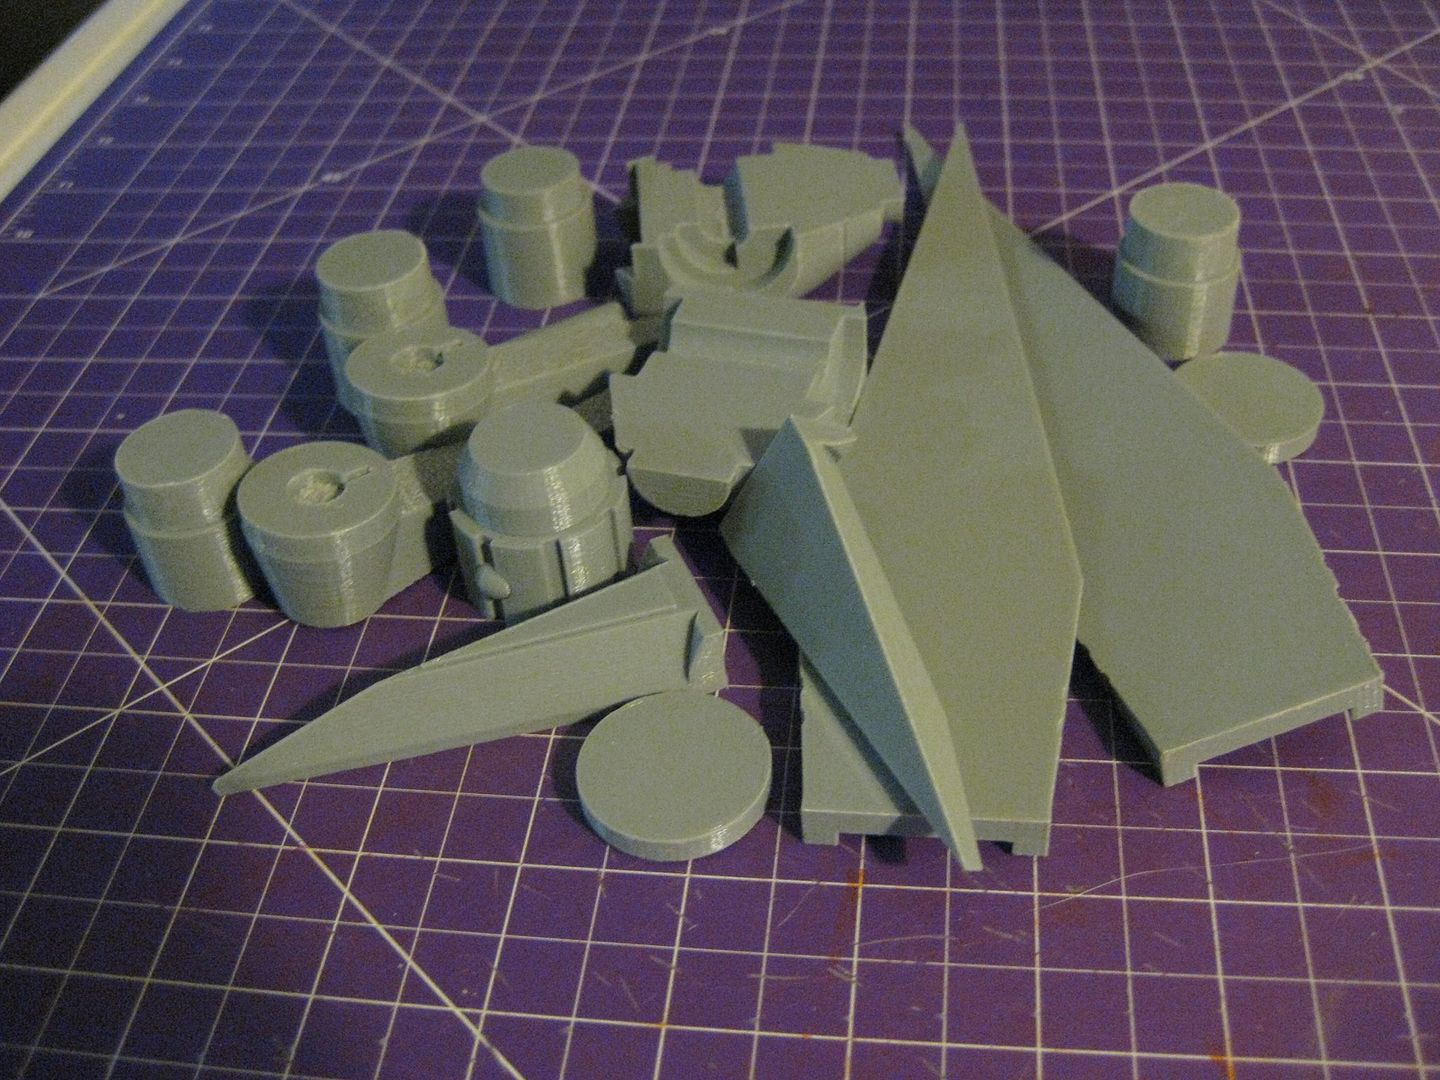
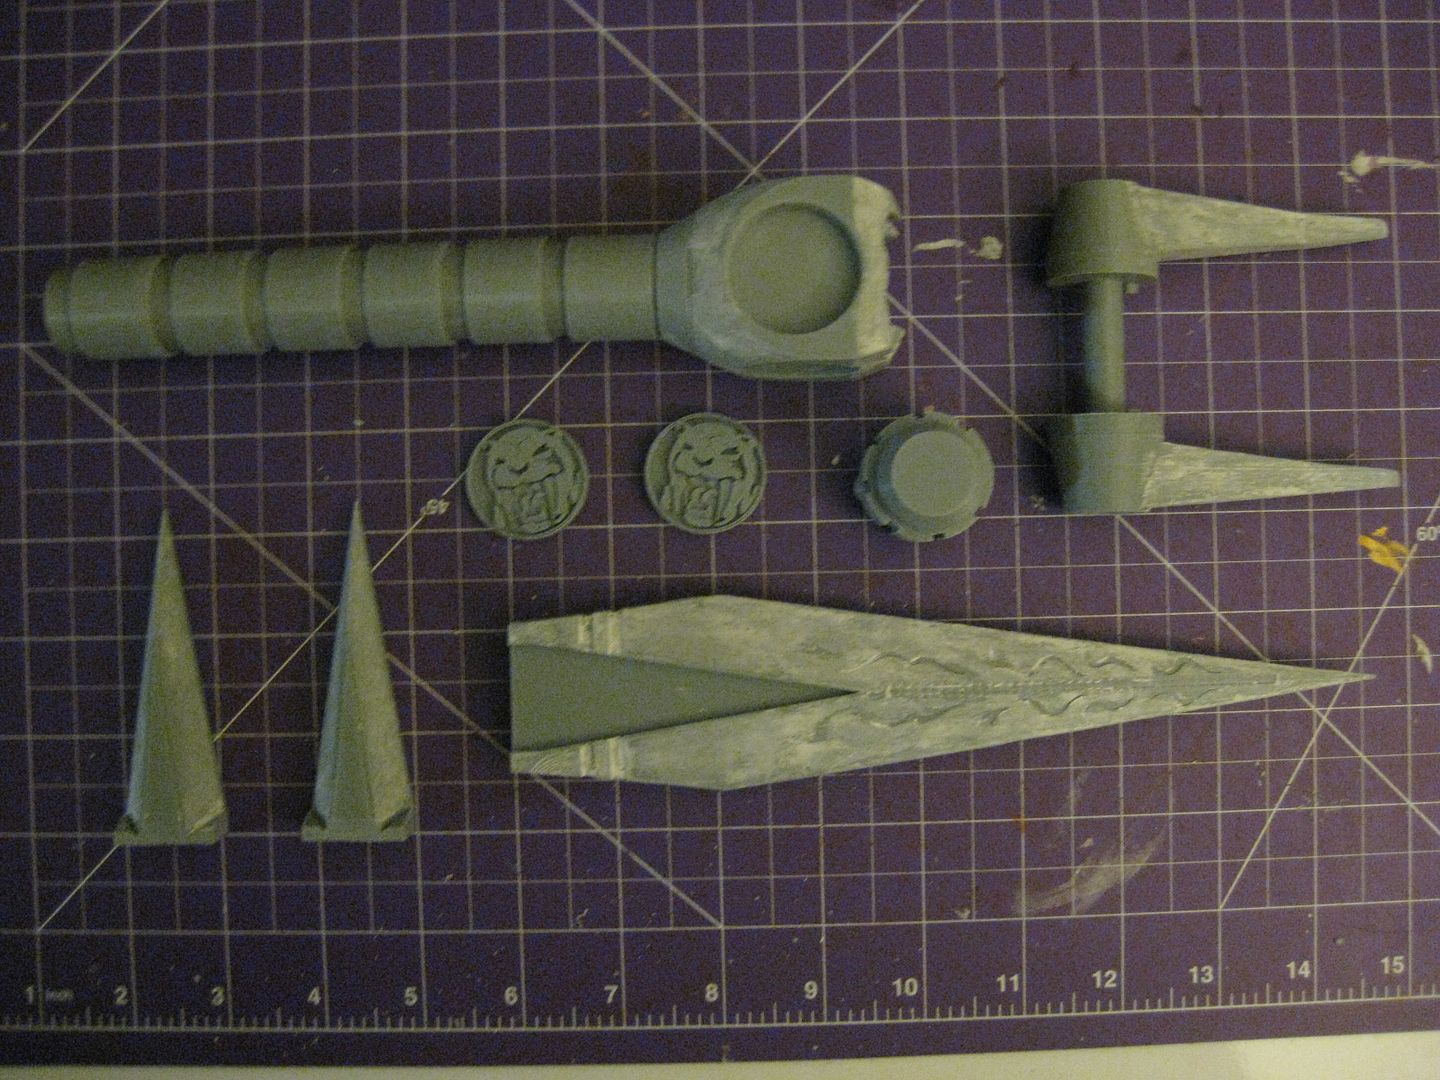
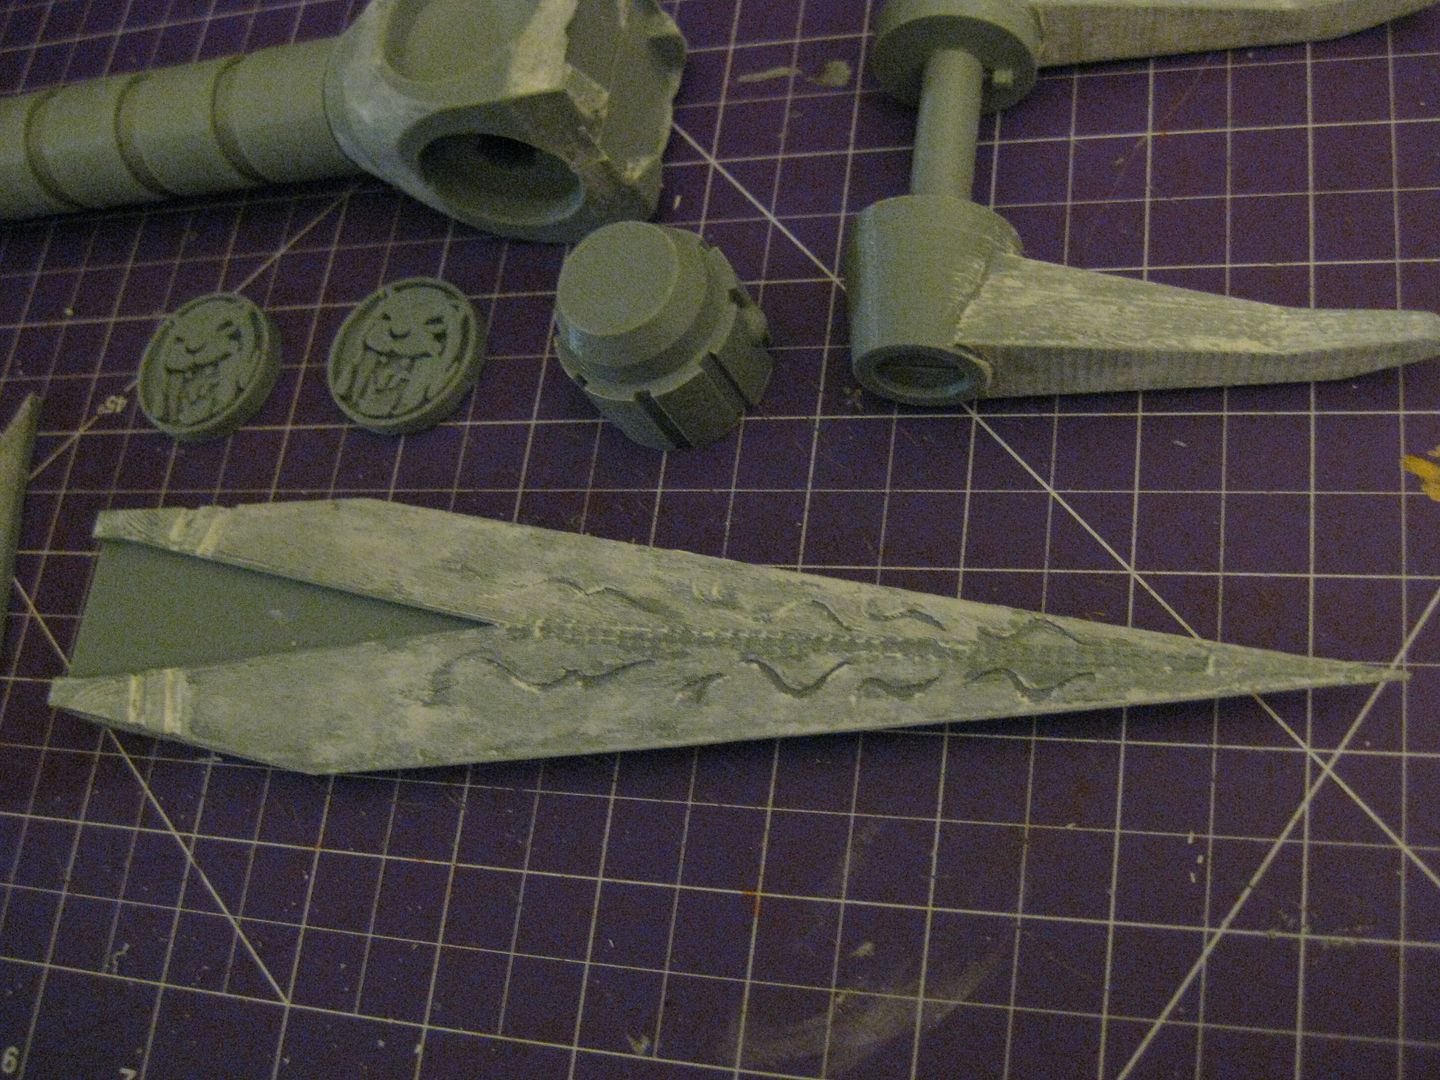
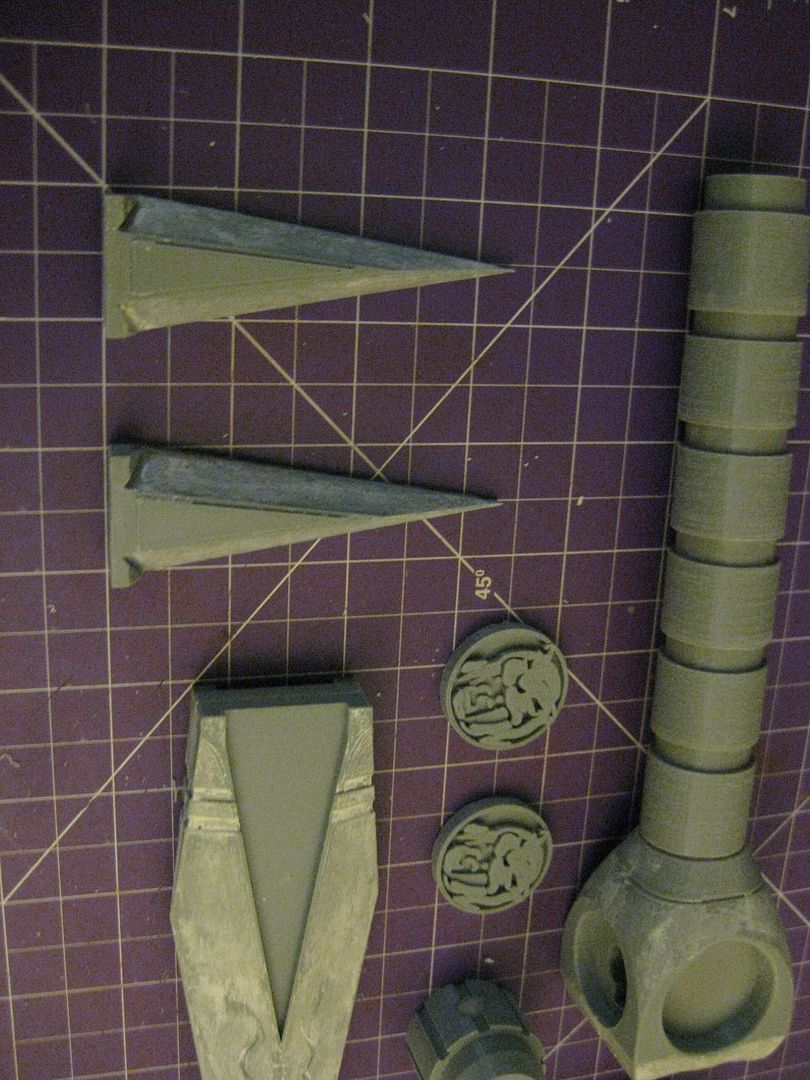
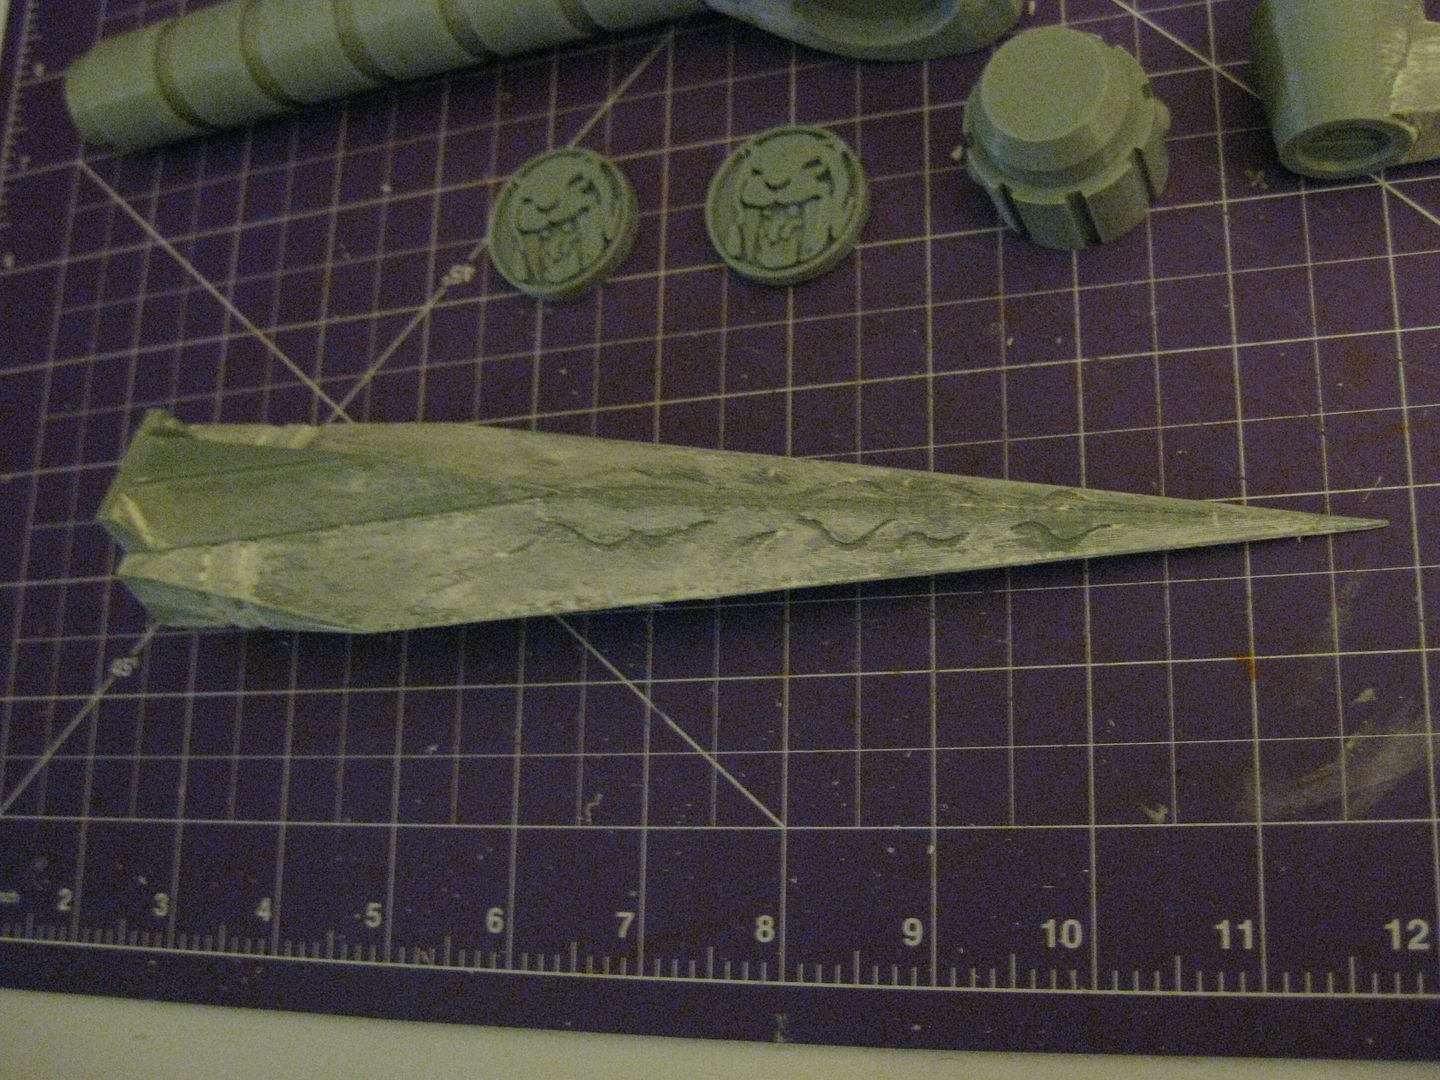
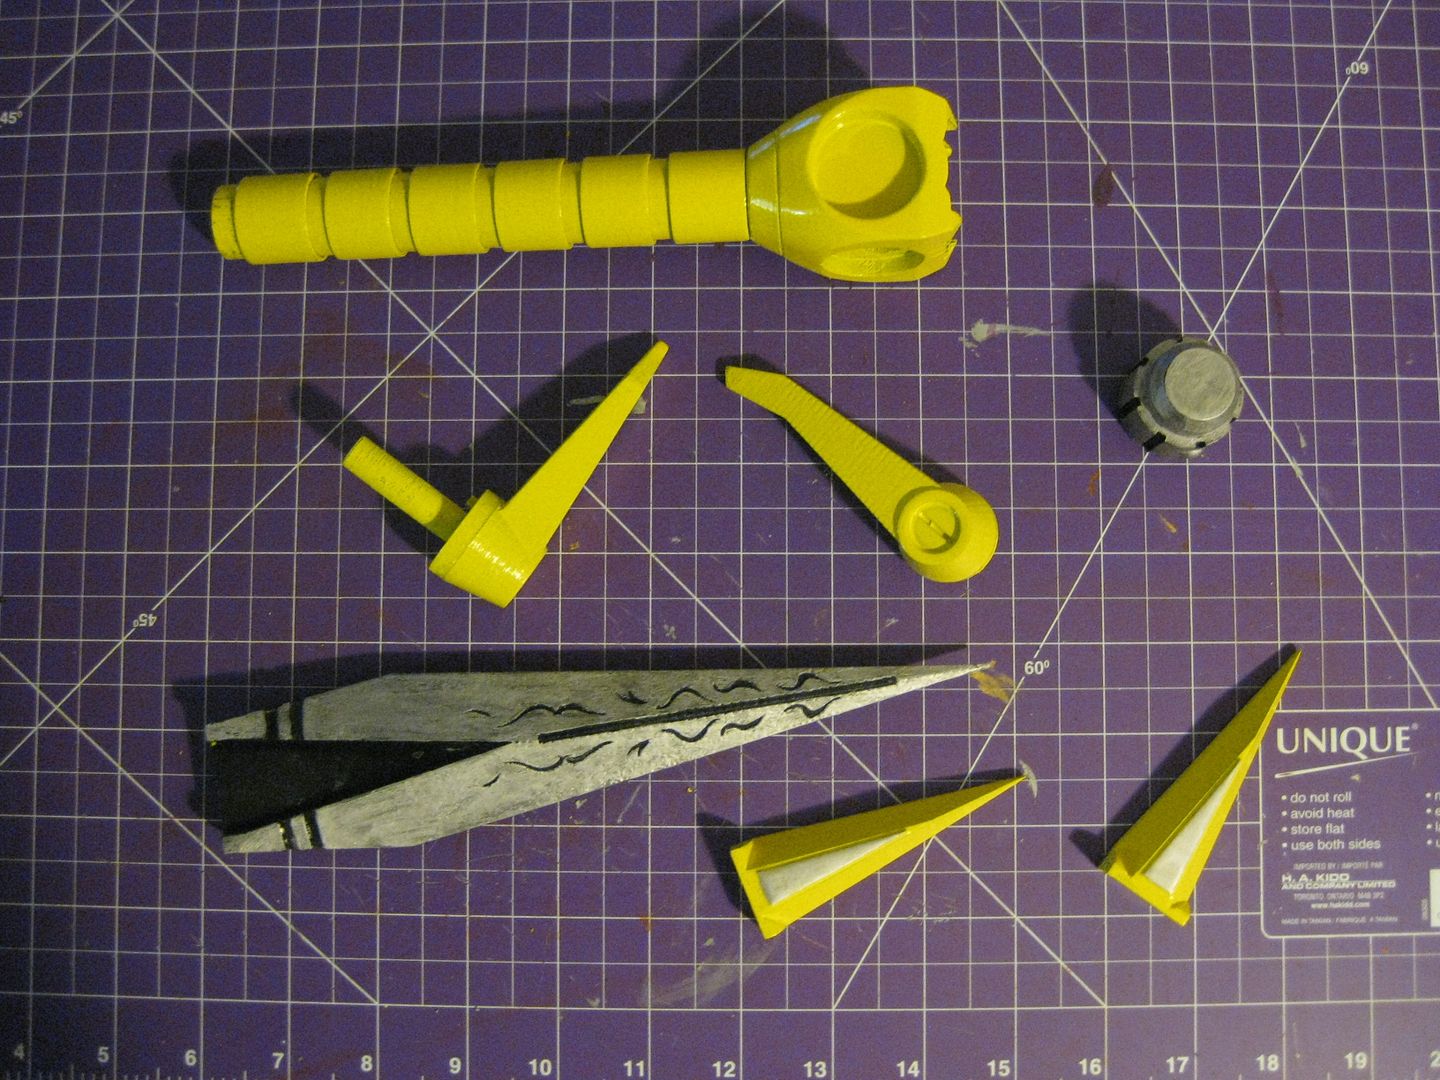
And I had the parts printed out over the weekend, and it looked like this:
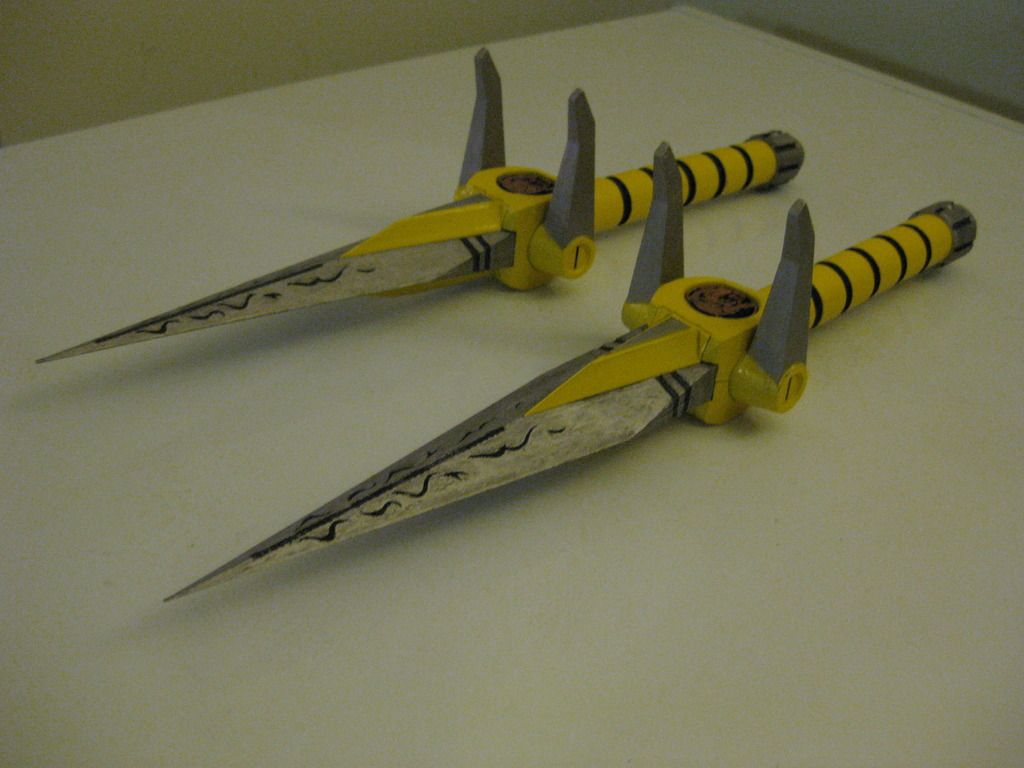
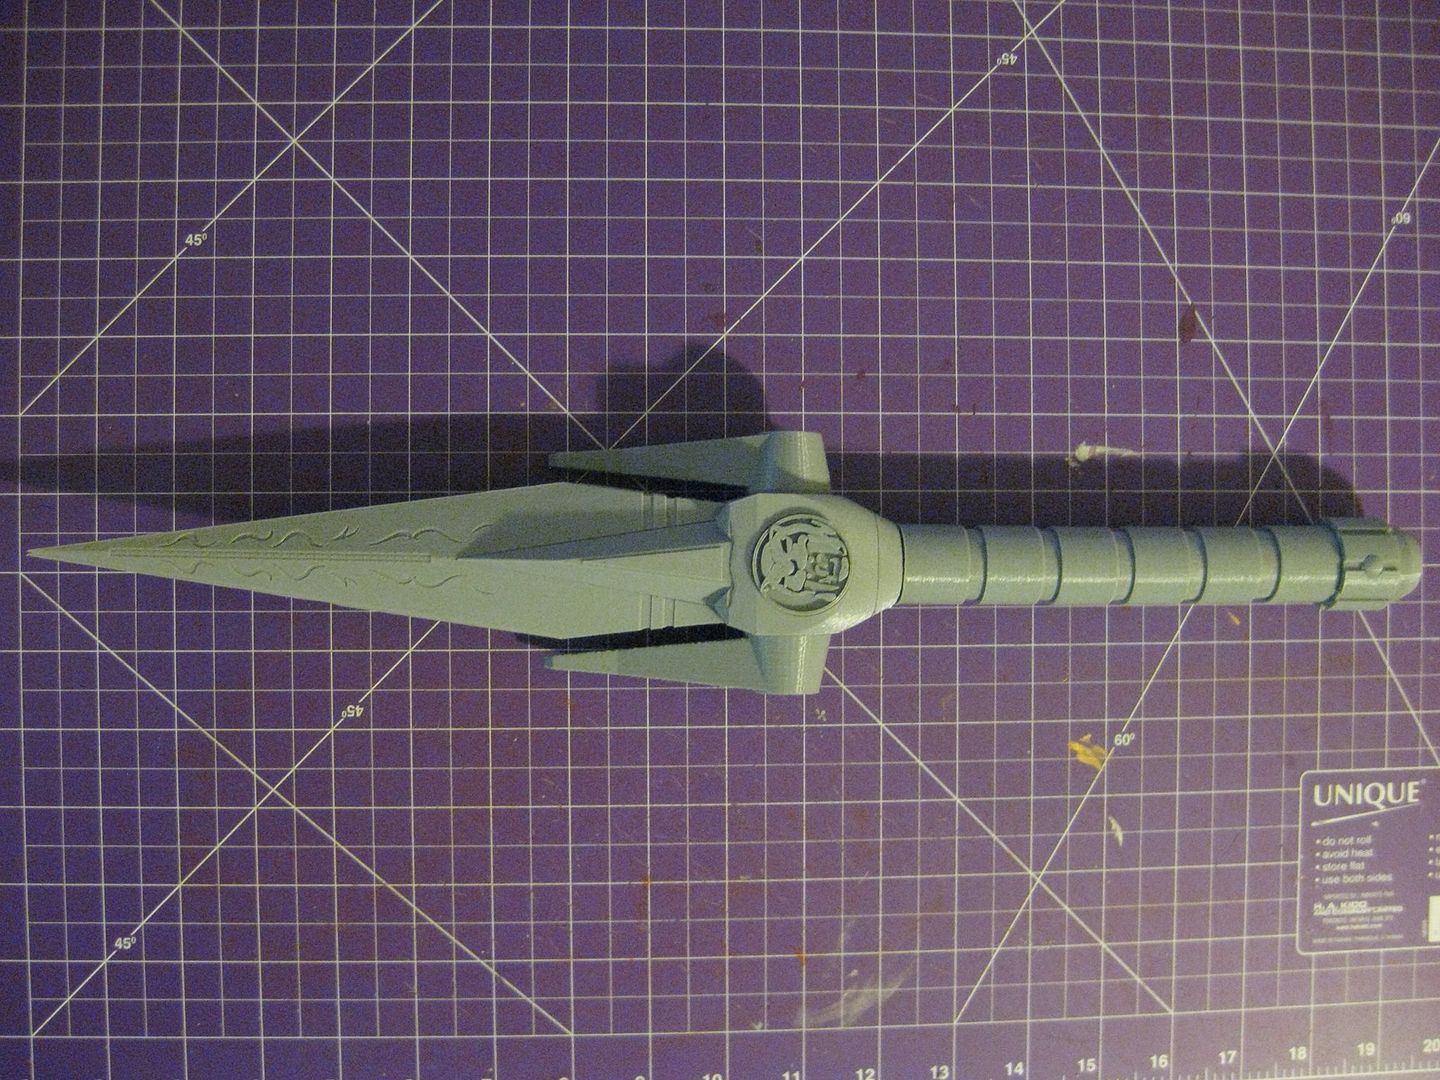
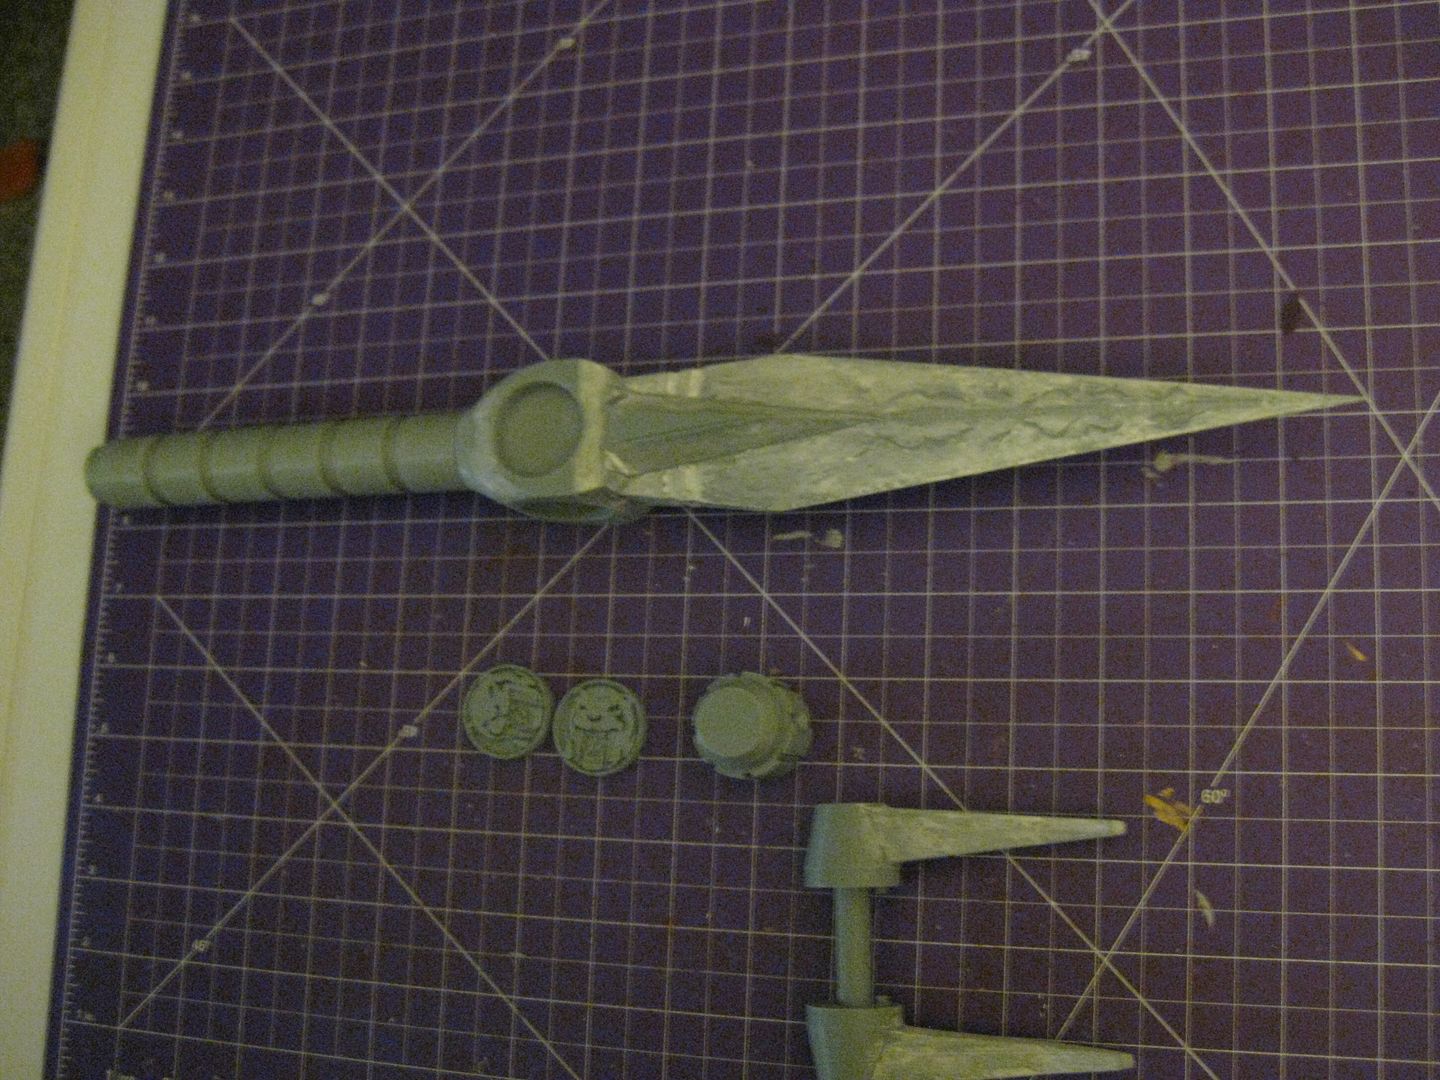
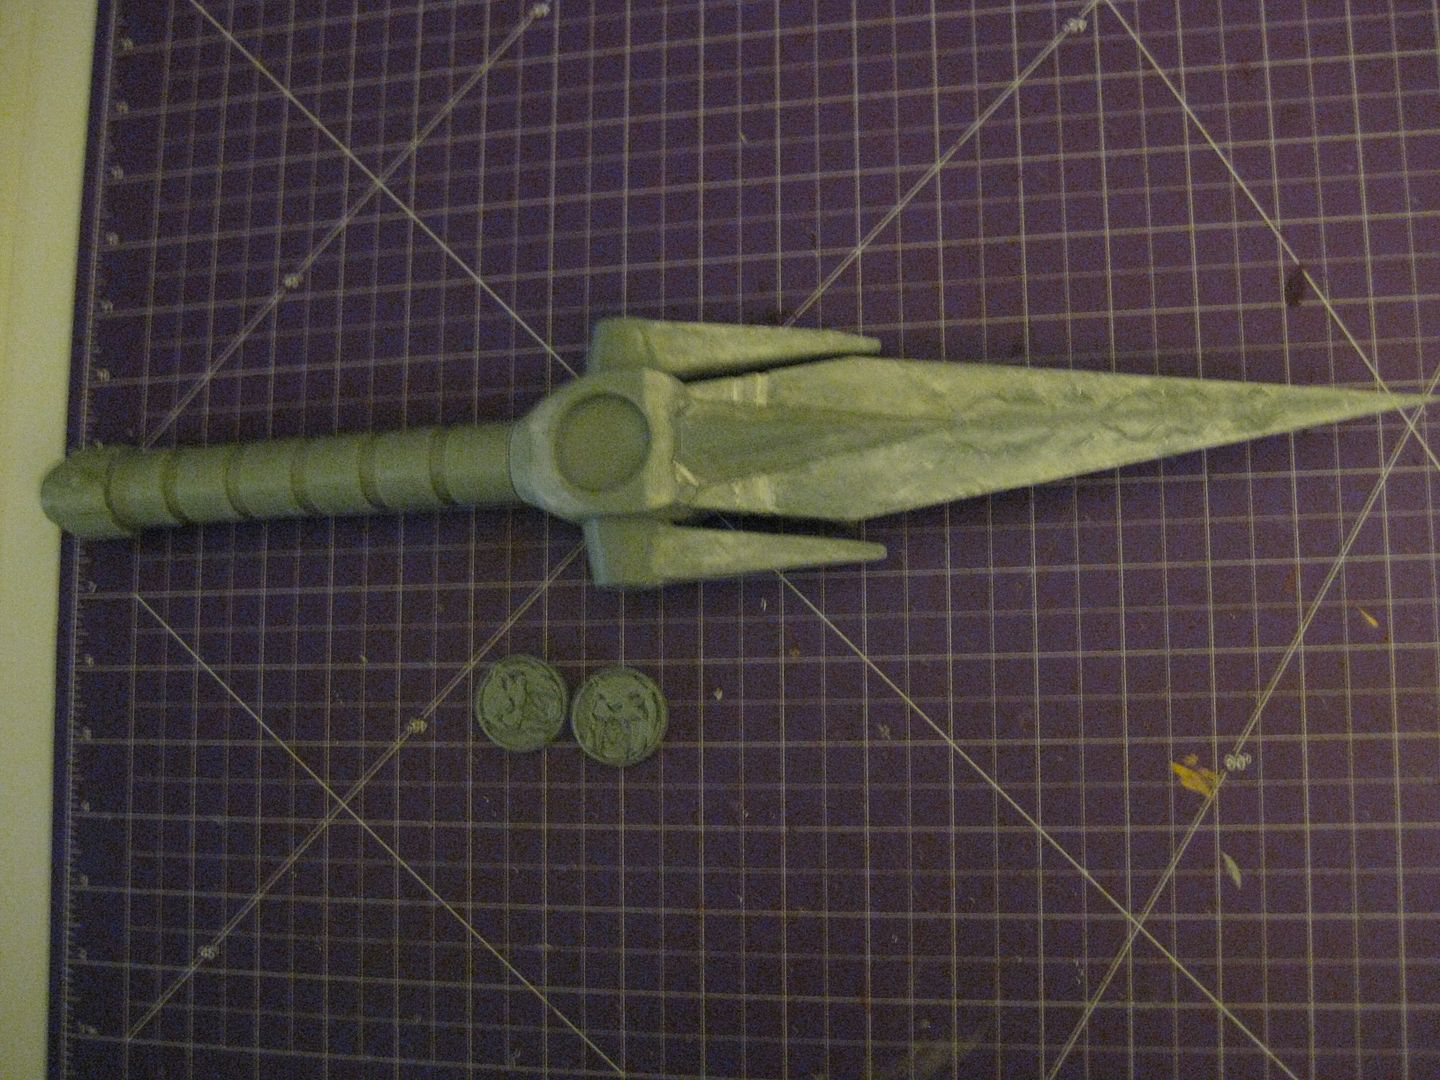
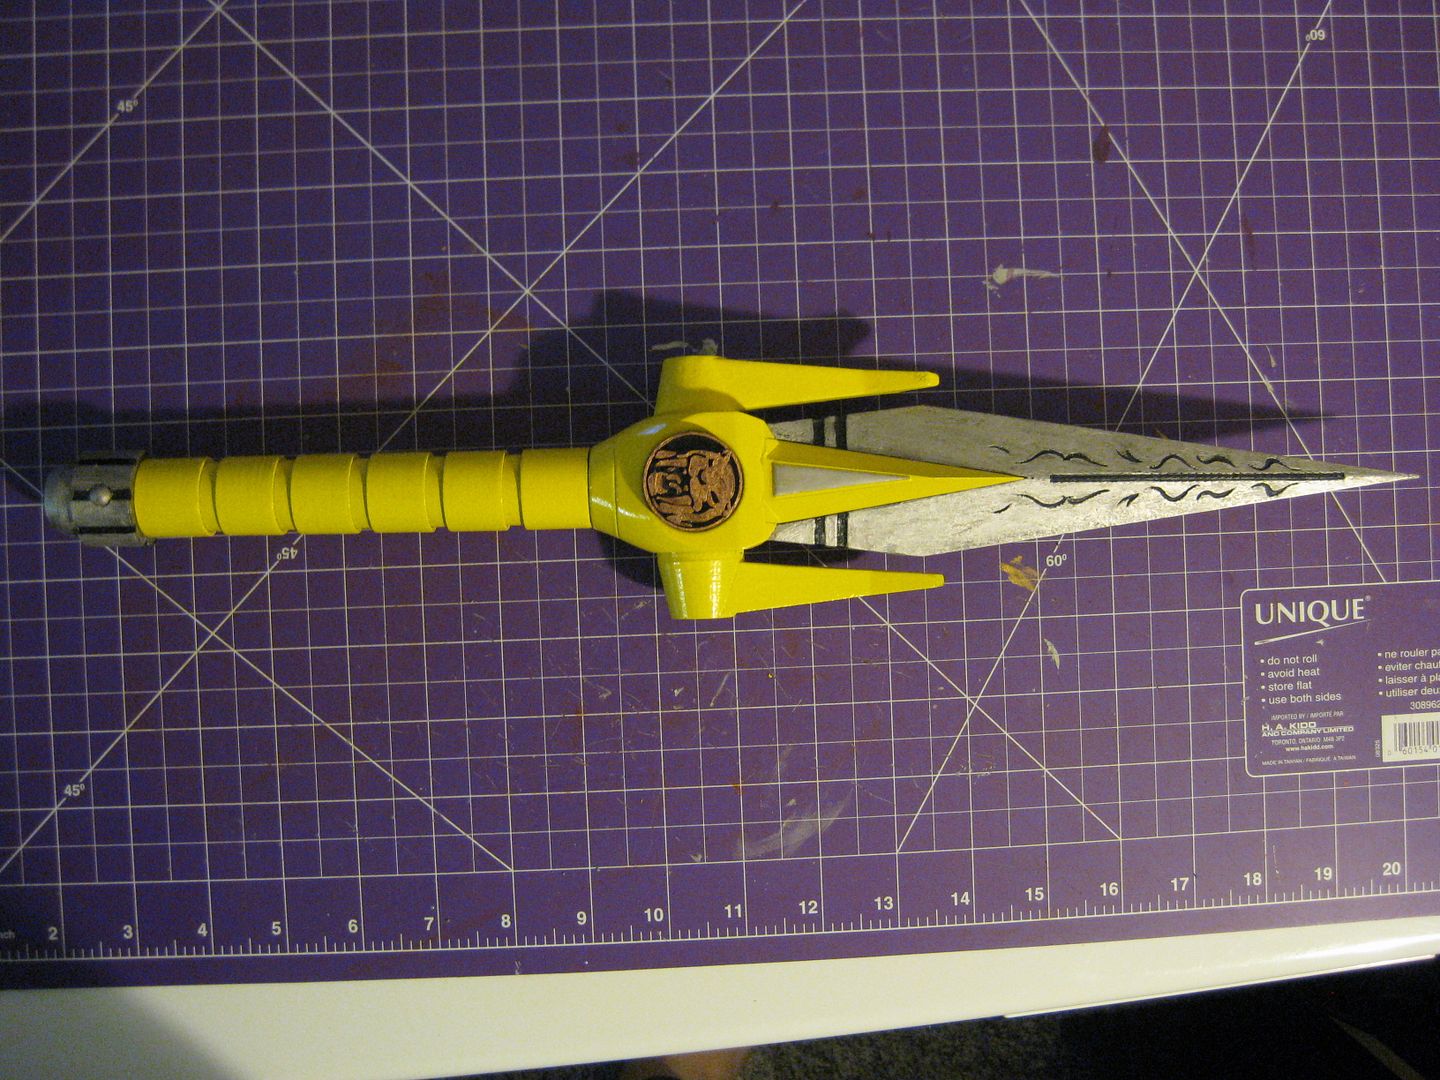
So far, I've done a dry fit assembly, here's how it looks:

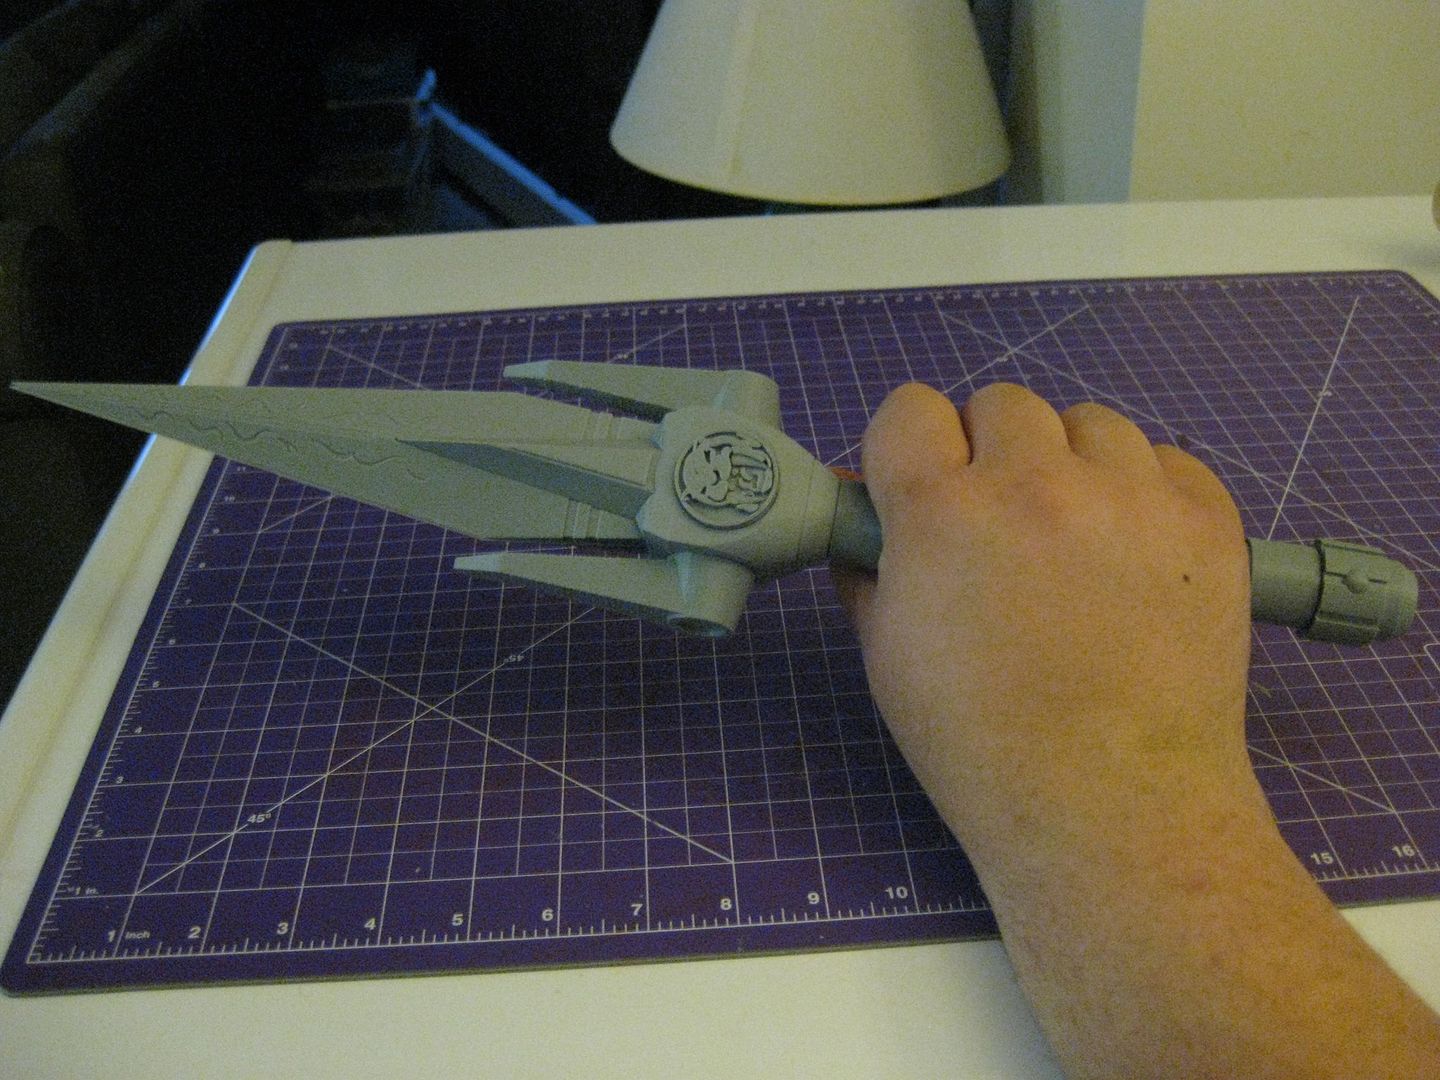
Here it is in my hand, keep in mind, I have very big hands:
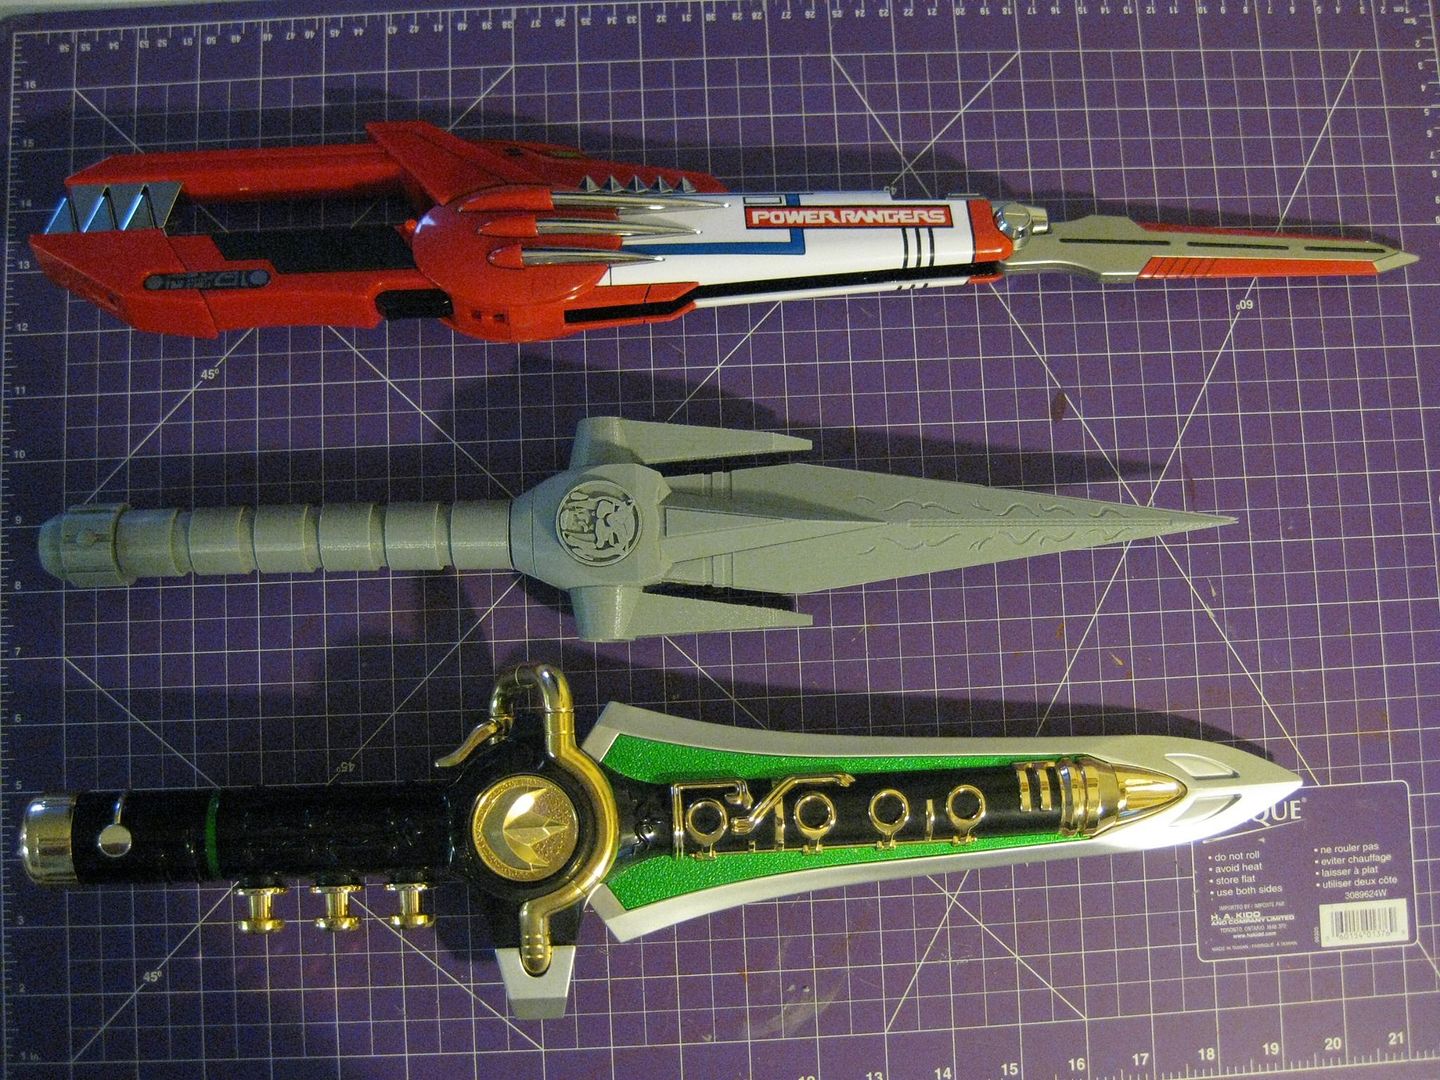
And here's a comparison alongside a legacy blade blaster and legacy dragon dagger:
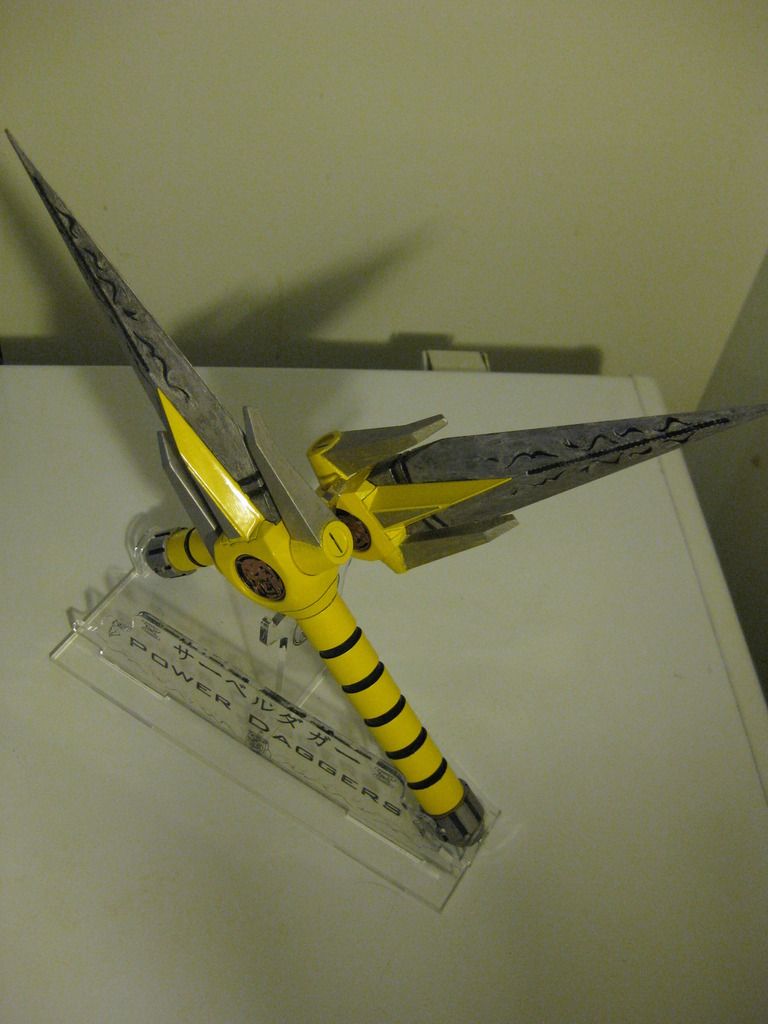
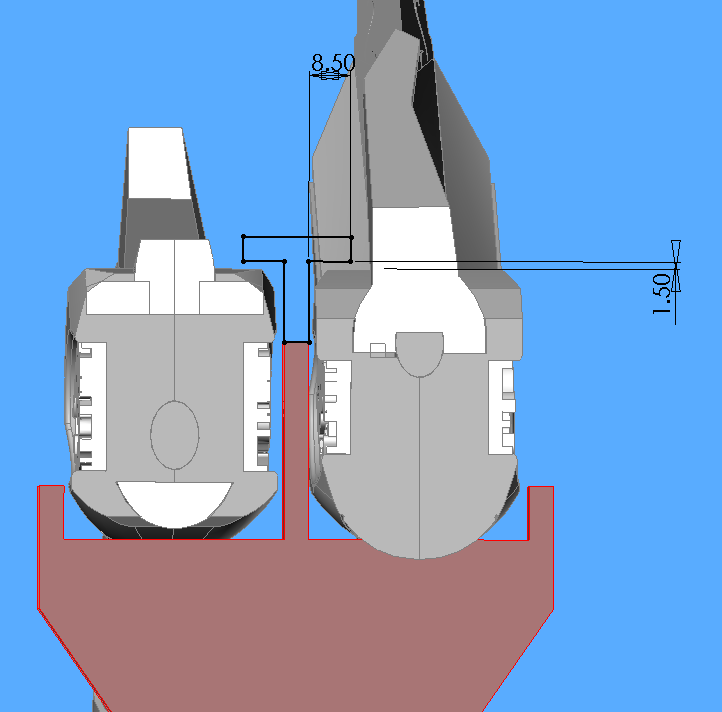
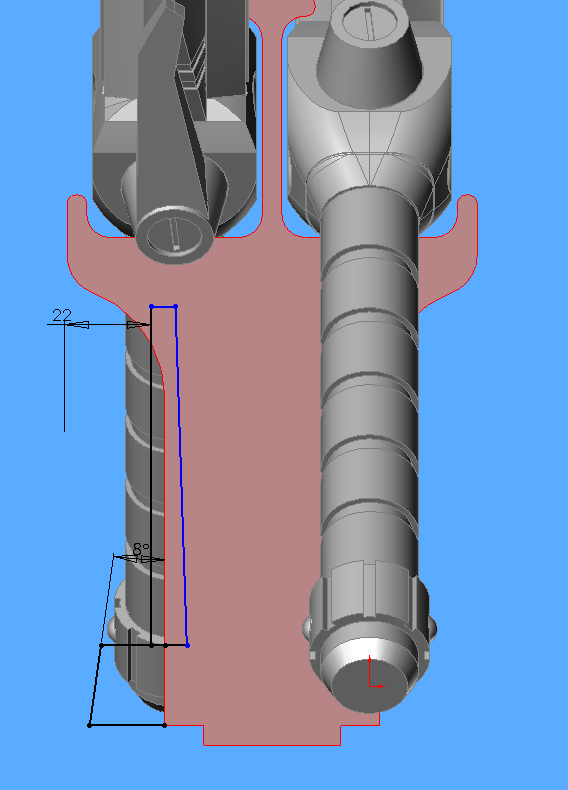
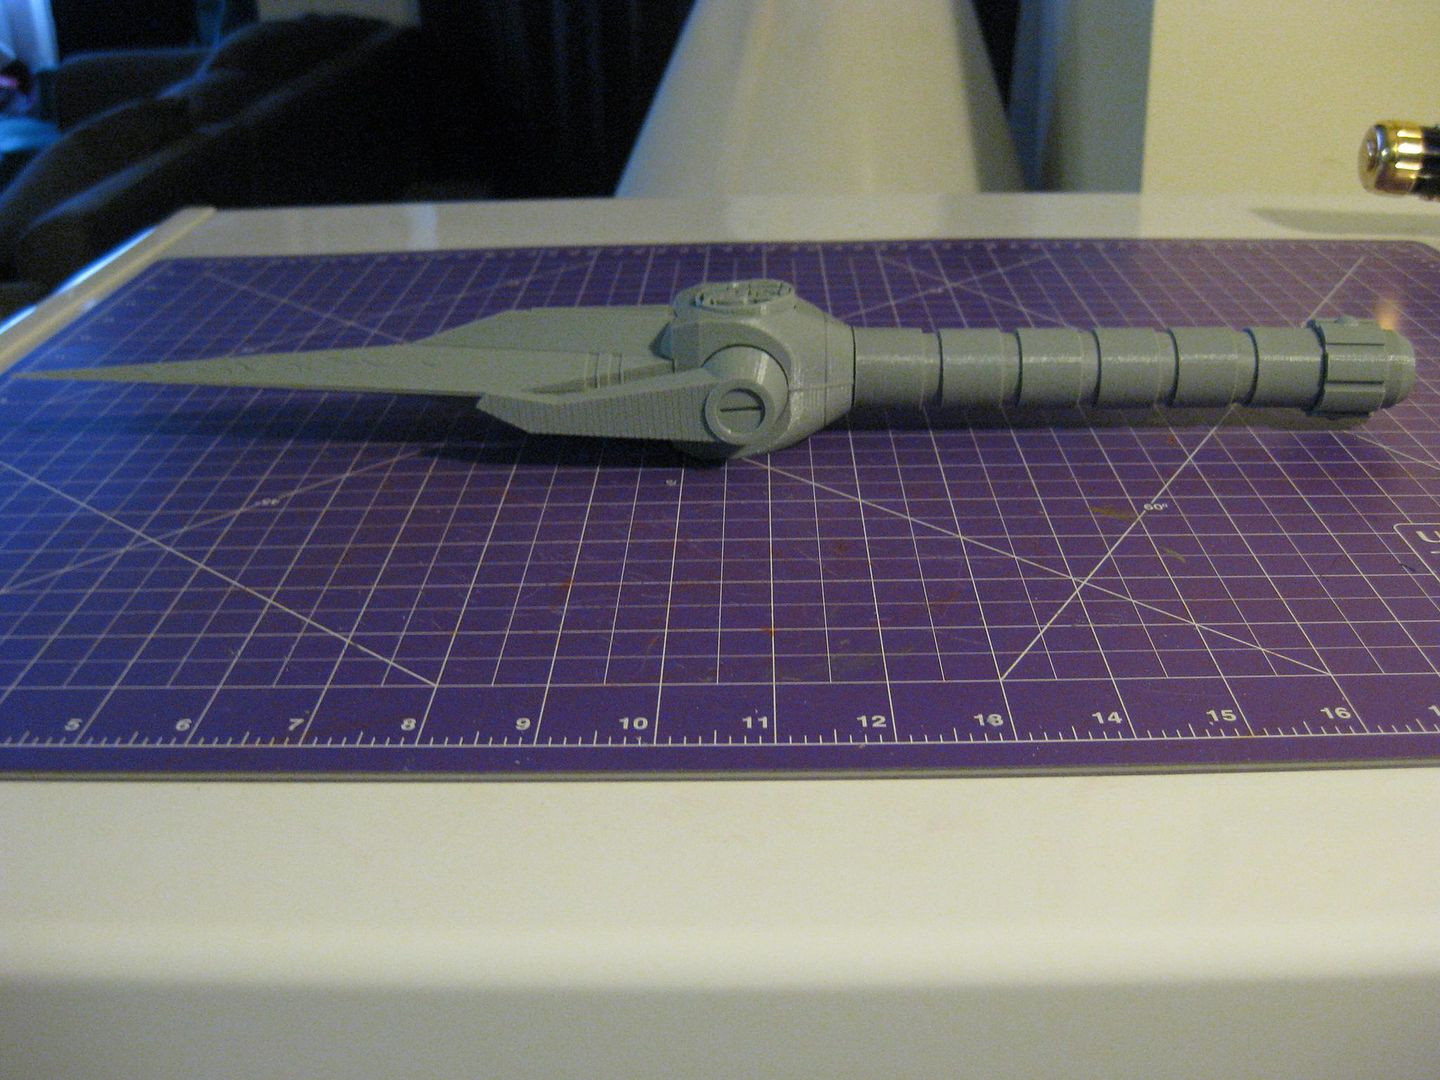
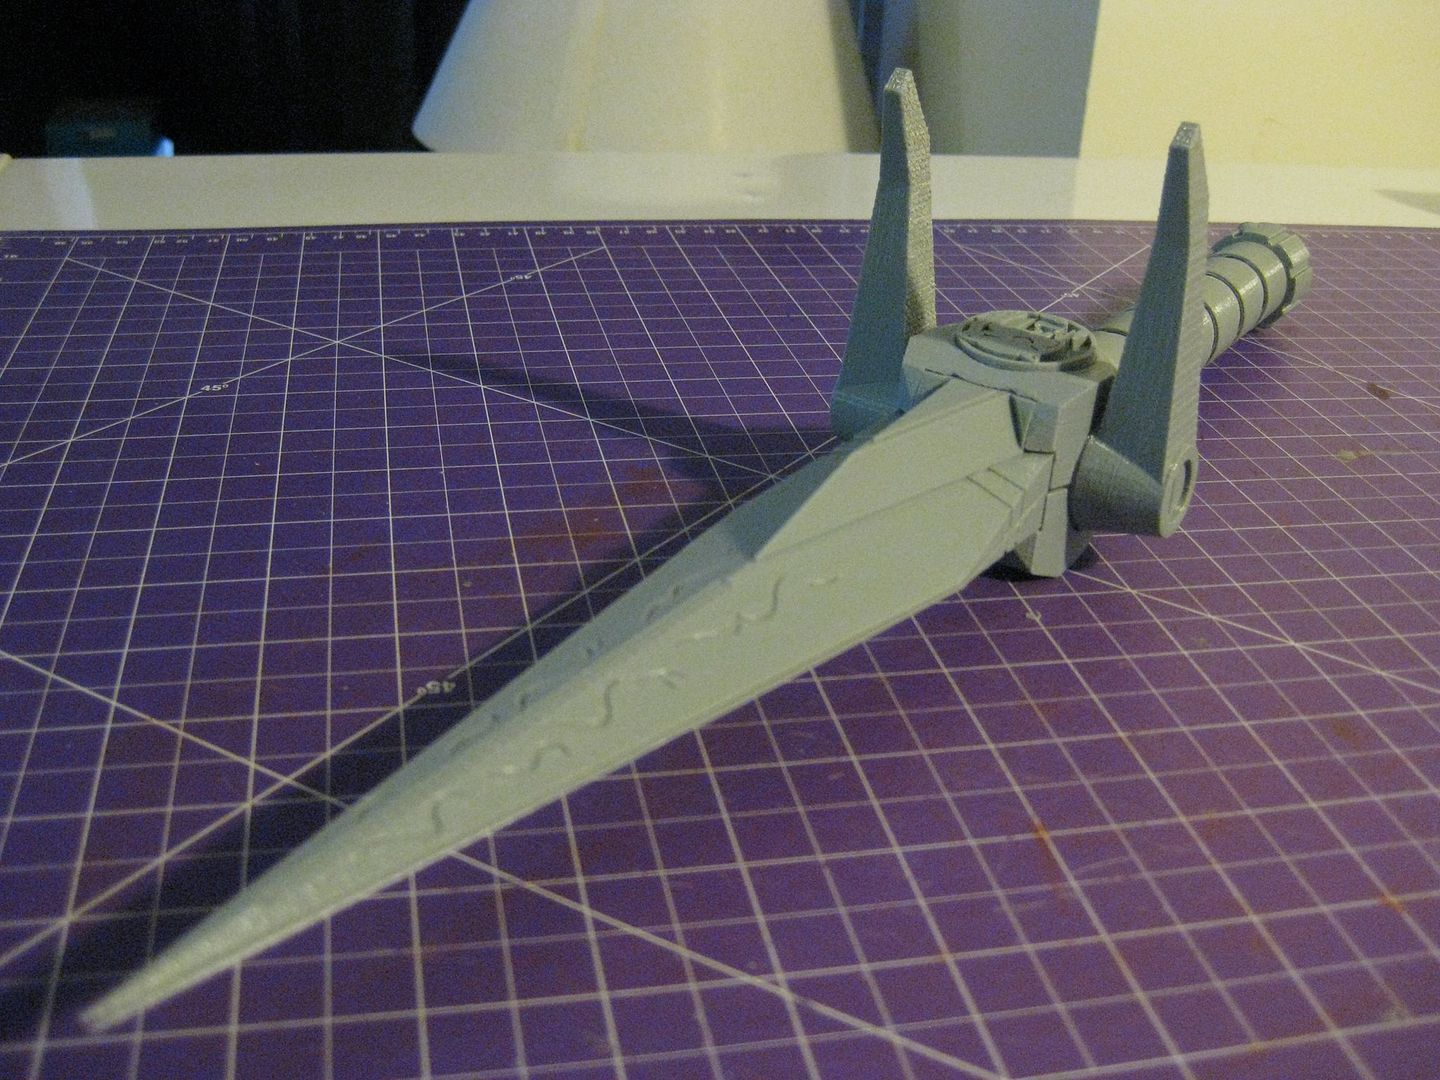
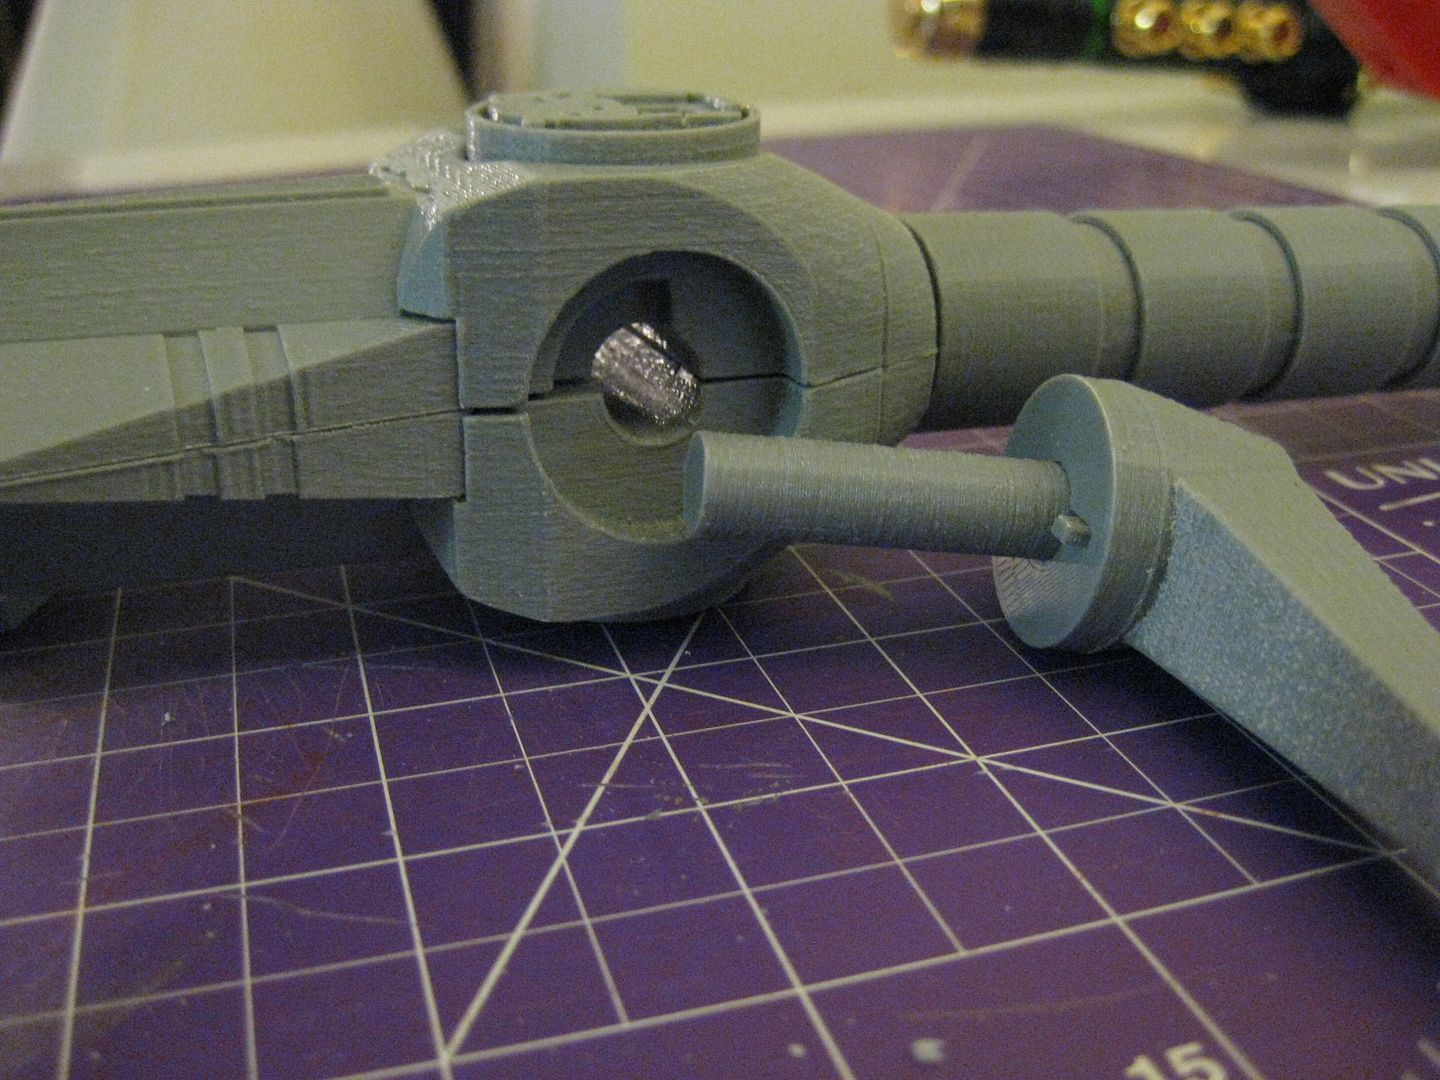
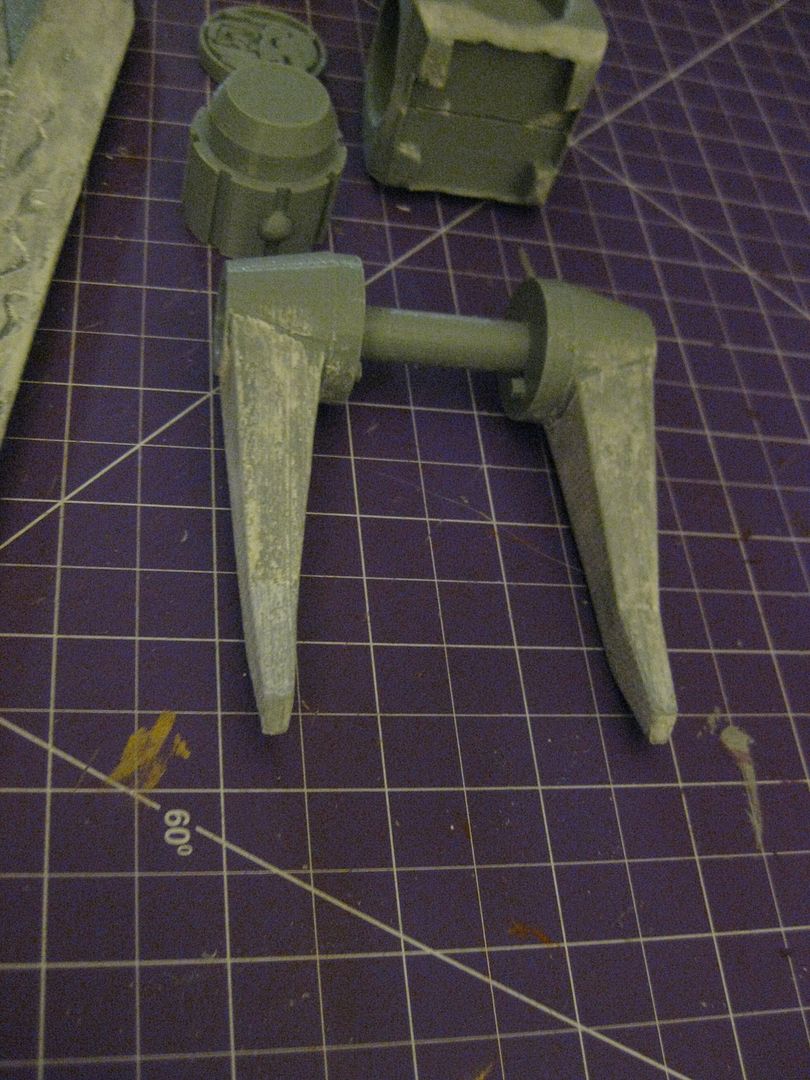
The arms have a key and slot to guide them from the flat position to 90 degrees up and that's it.
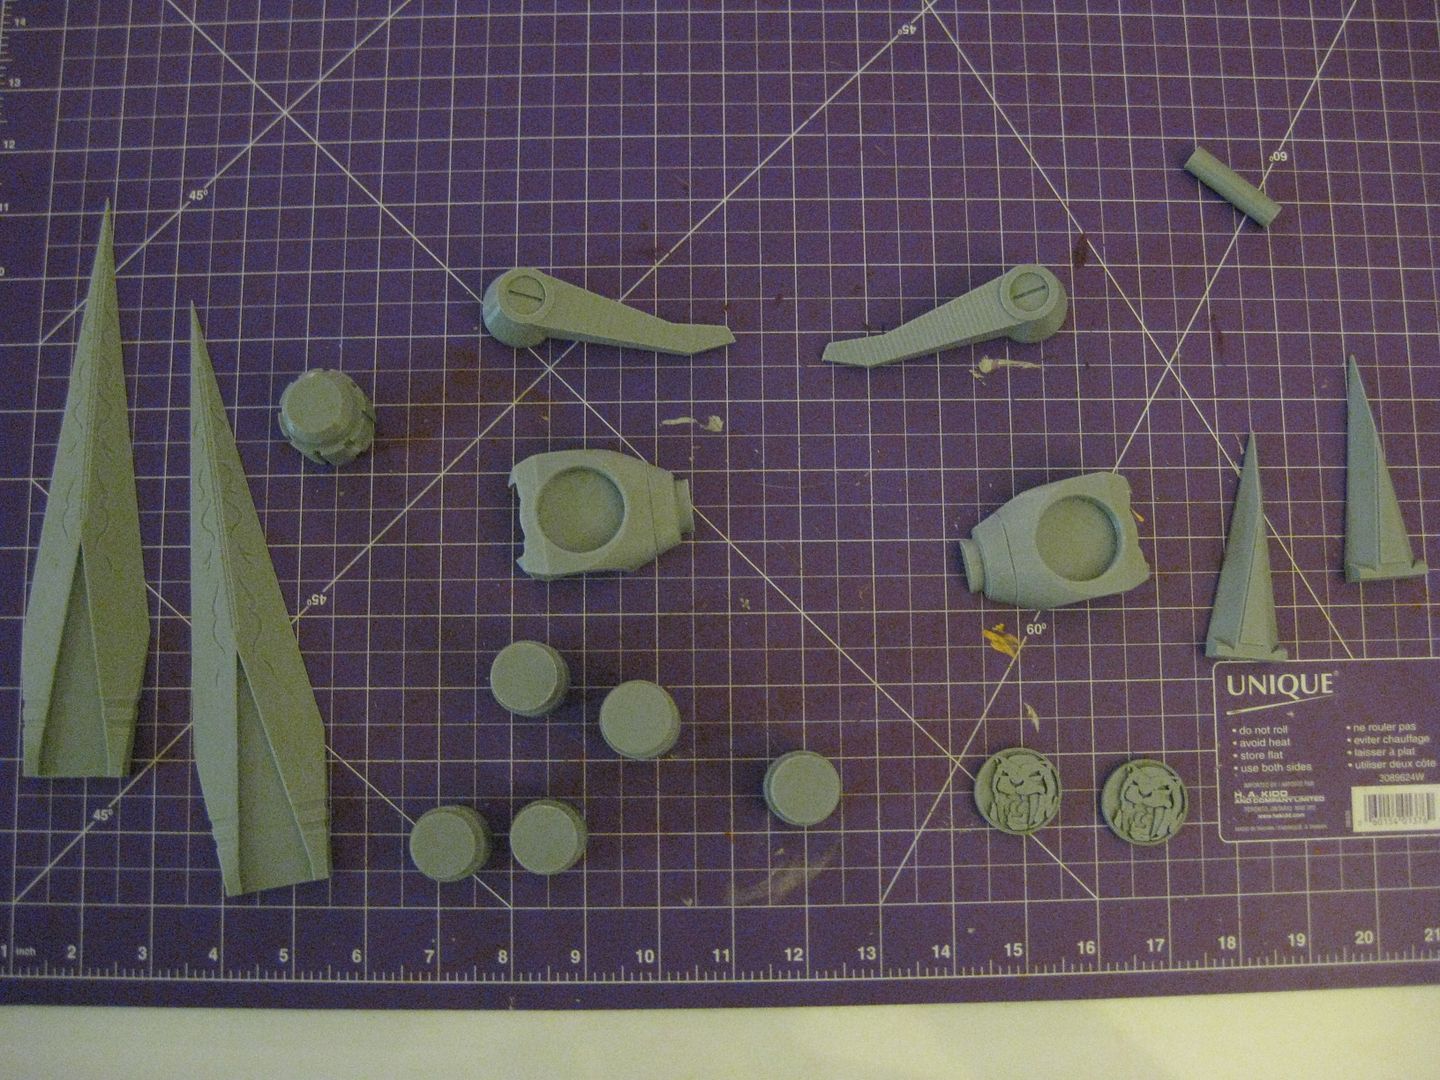
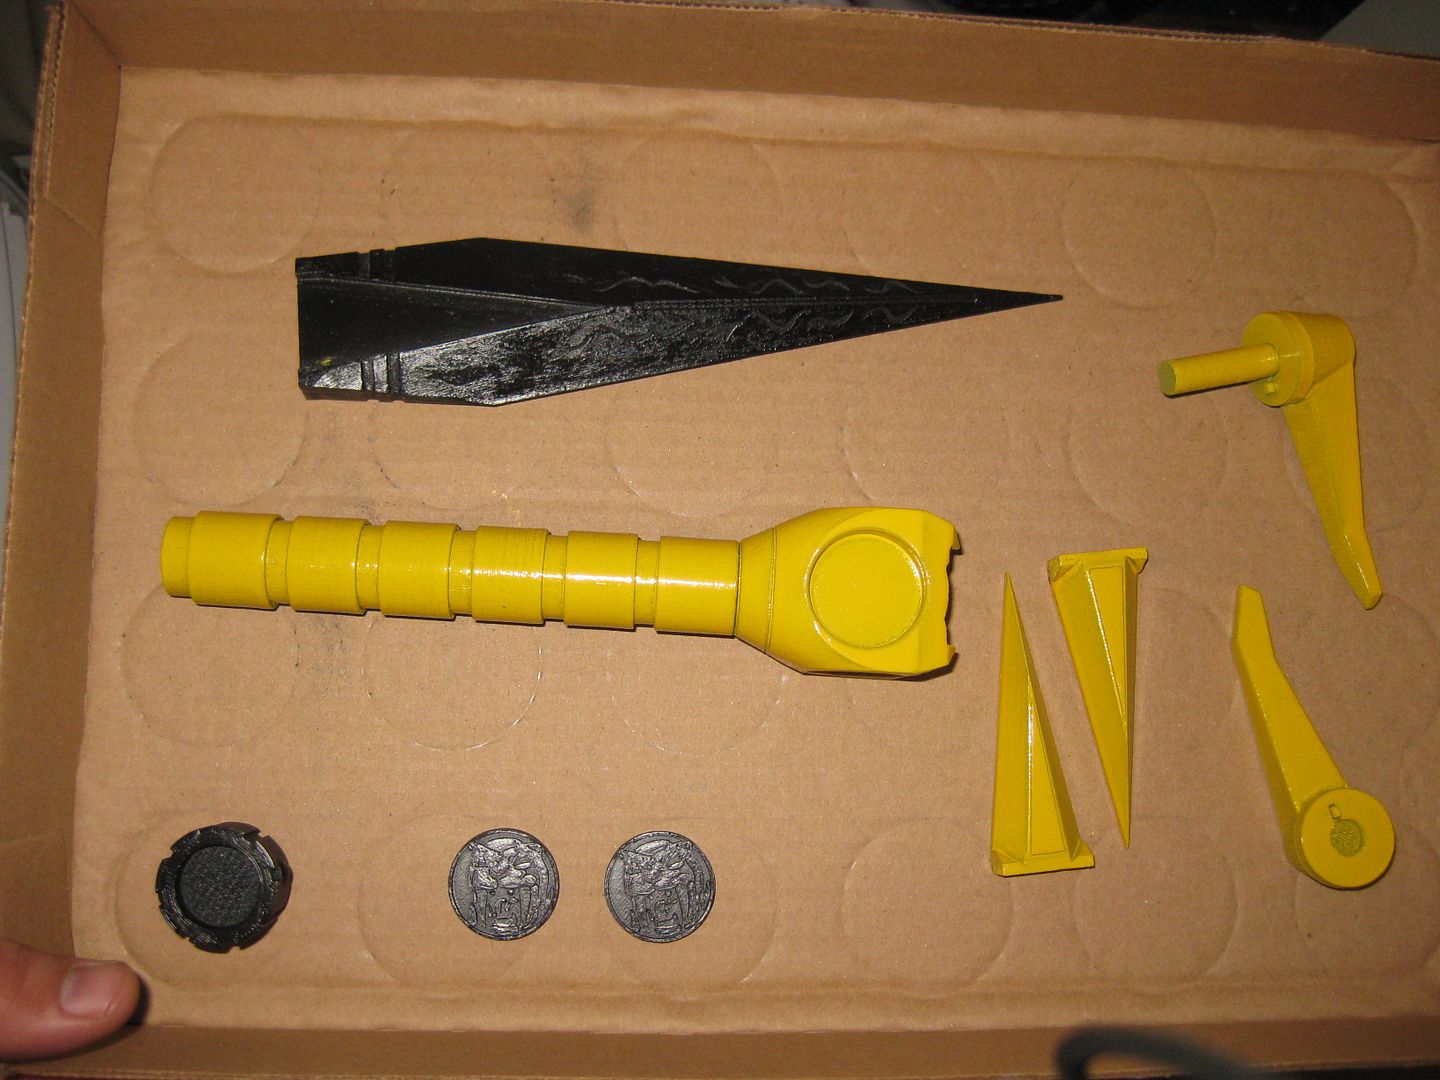
Here are all the parts, face up:
And this is how the key and slot system works to keep the arms at straight or up 90 degrees only.
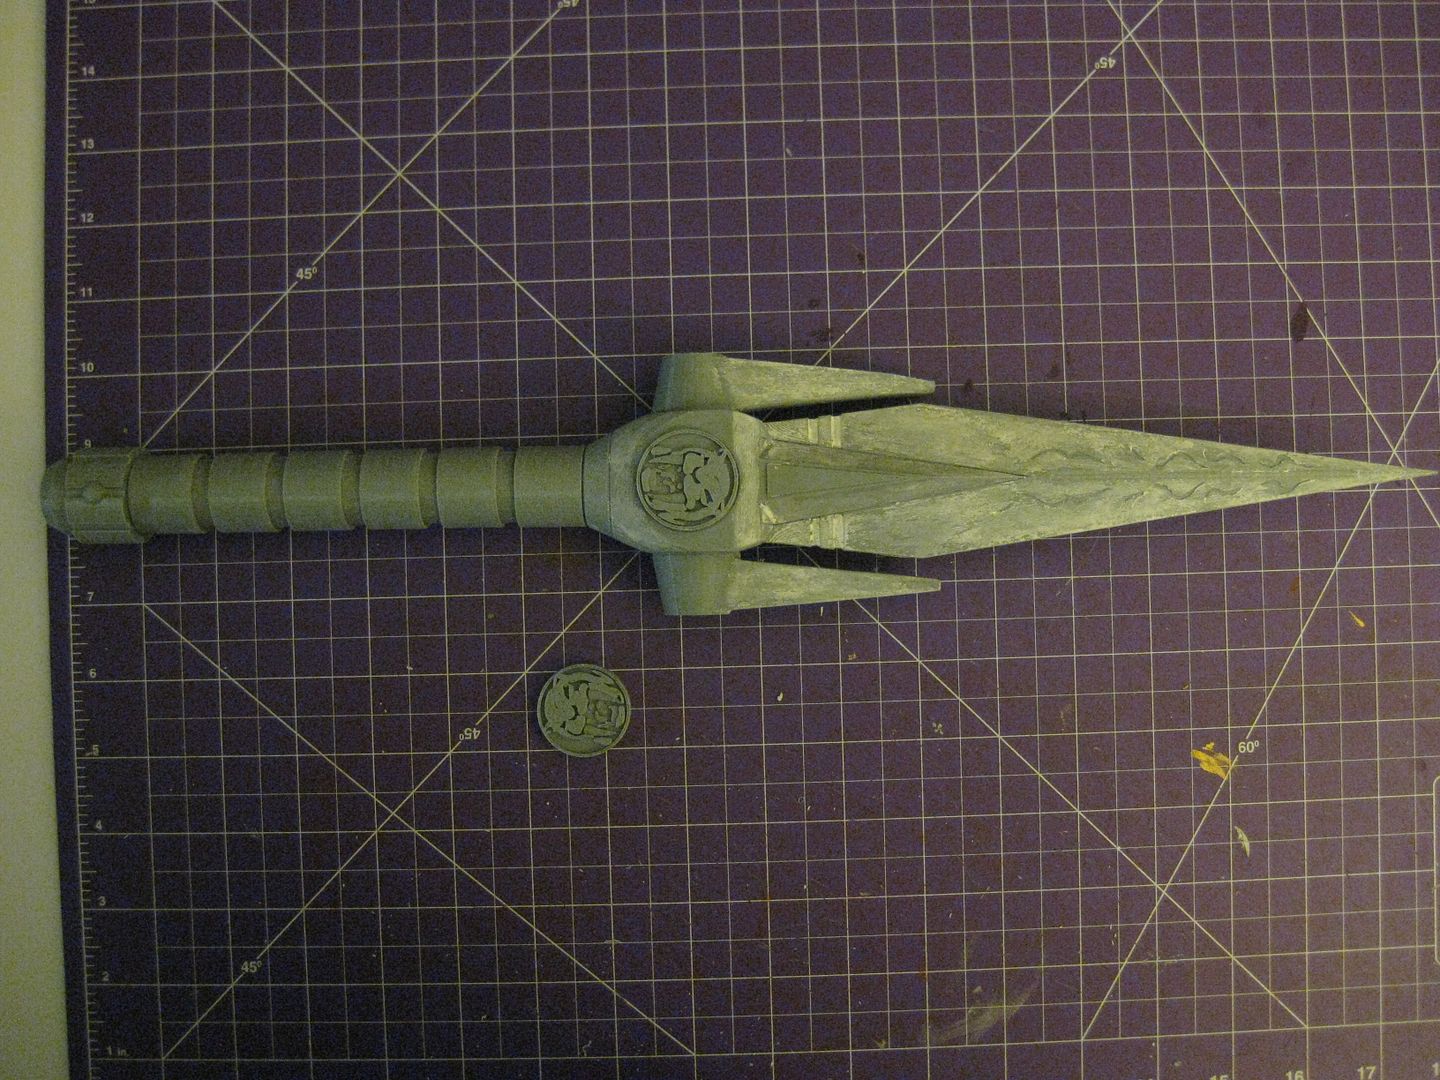
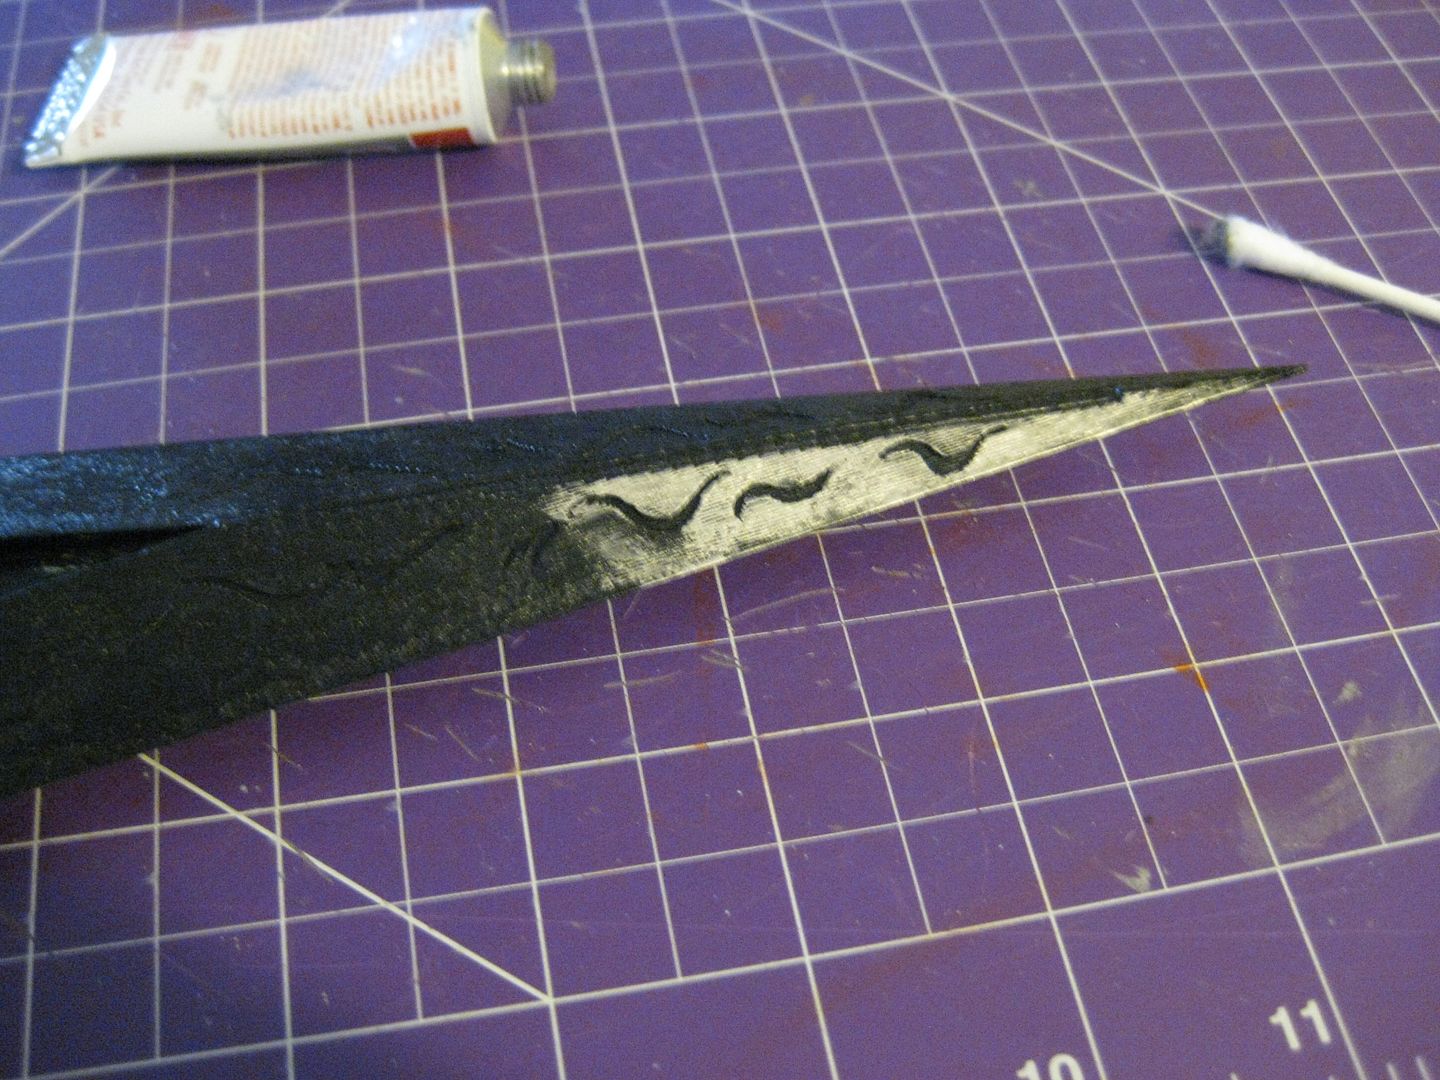
After adding some contour putty:
And I started painting at this point.
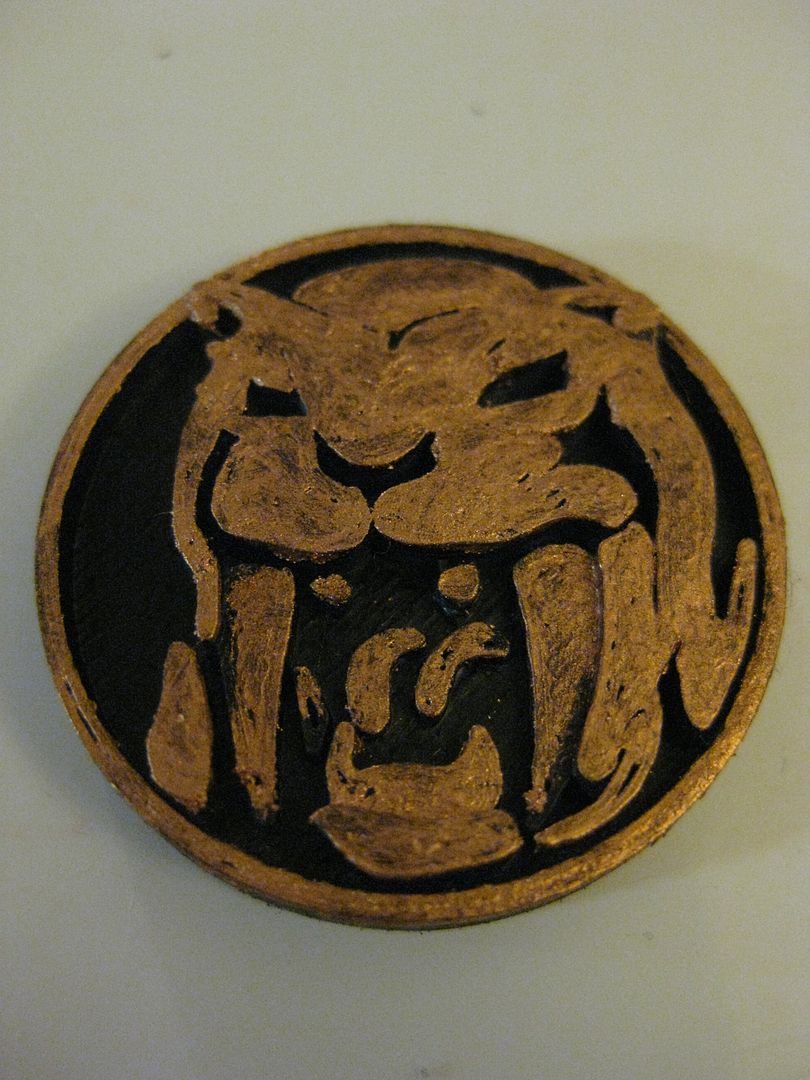
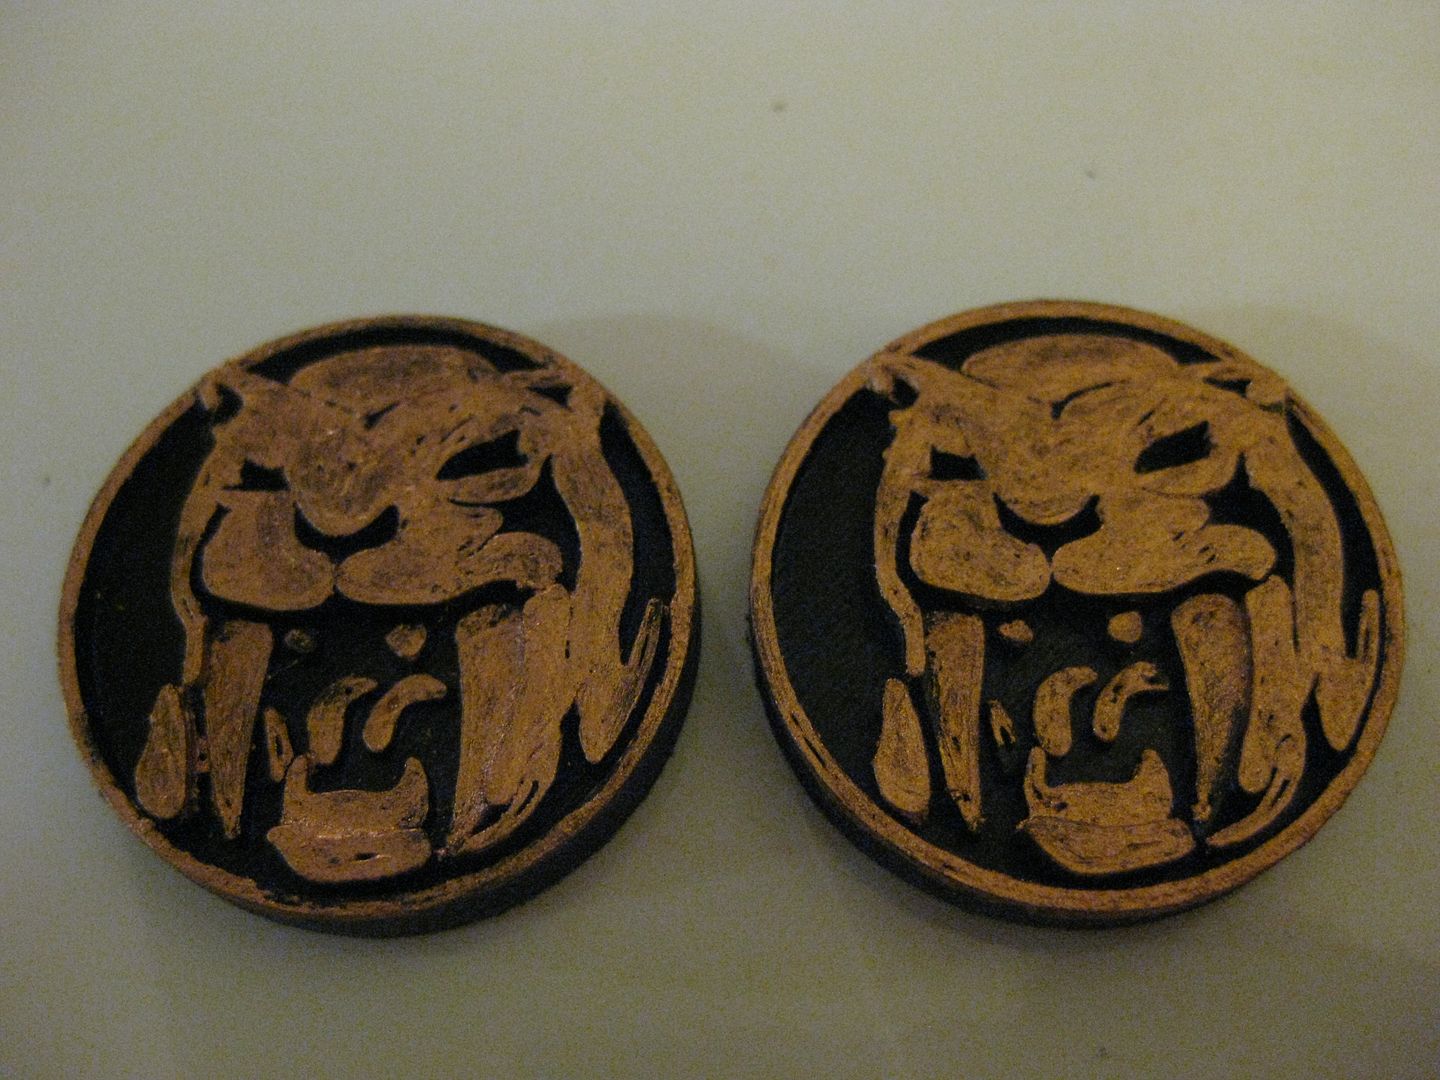
Dagger Coins are painted and then Rub n' Buffed:
I added some pewter rub n' buff to a few pieces:
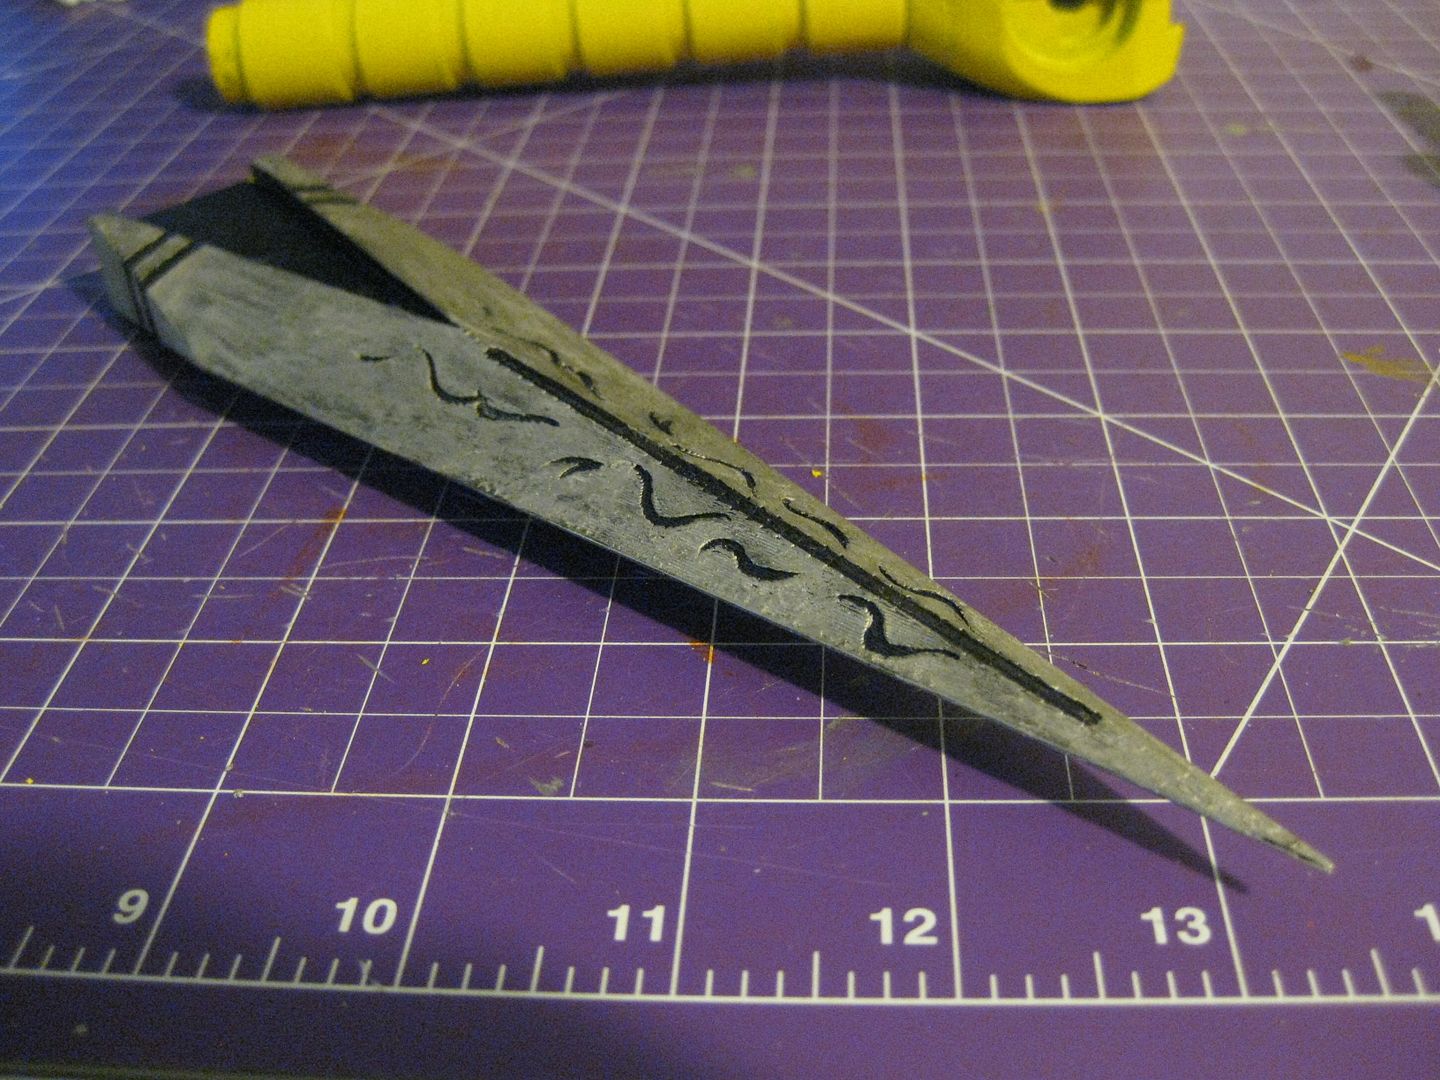
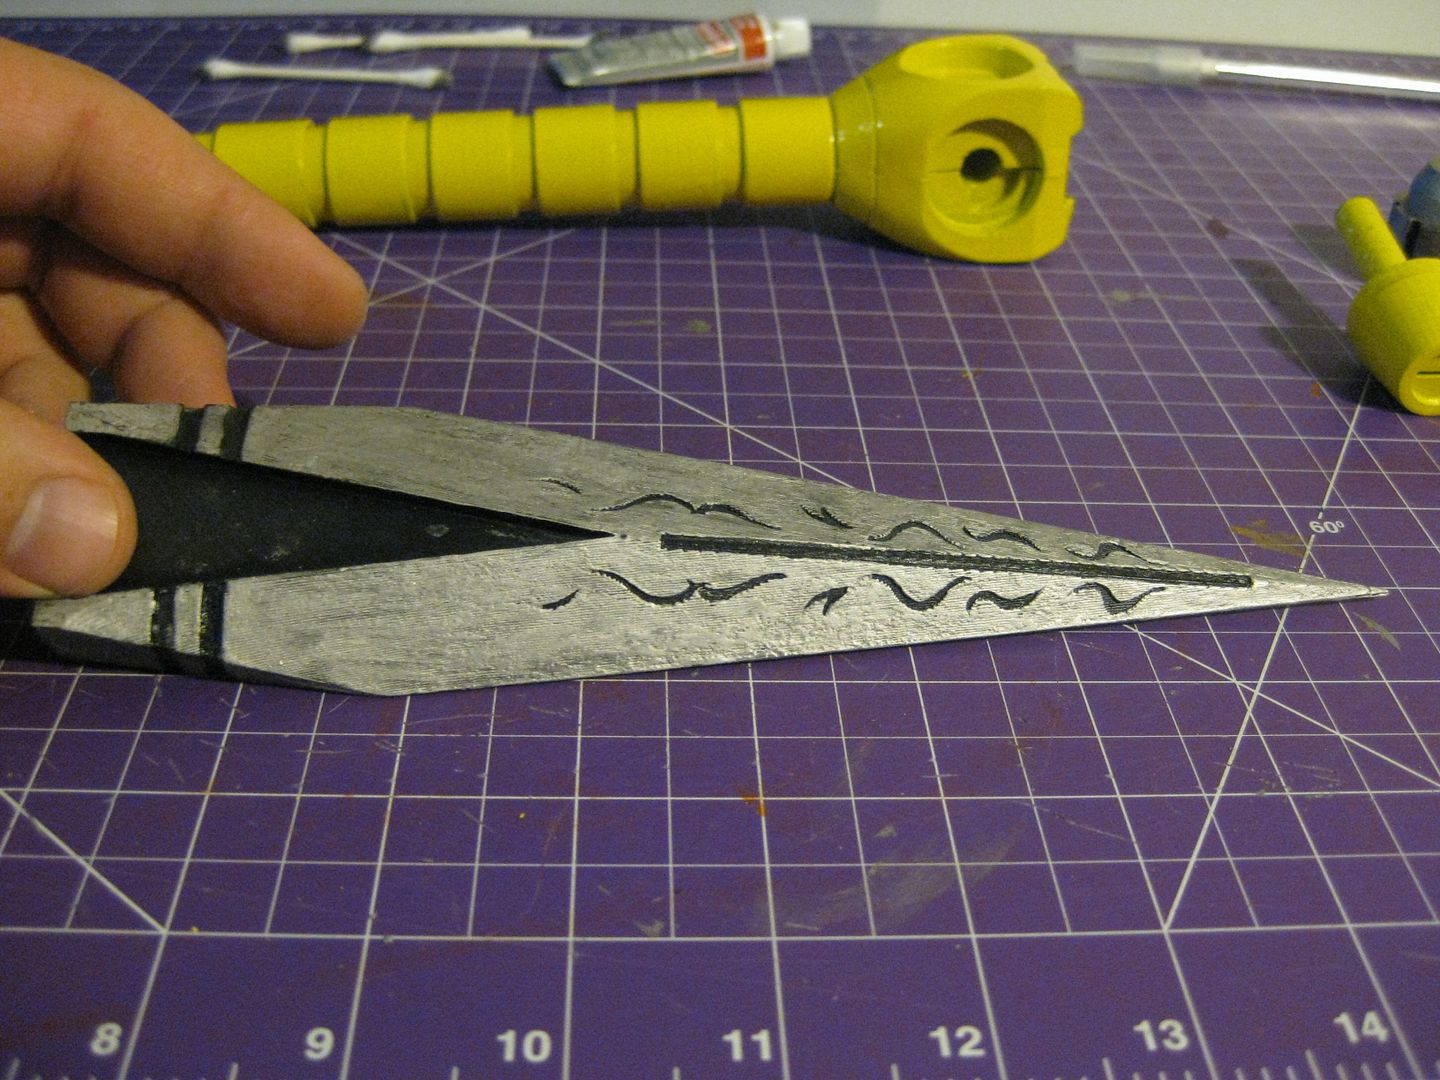
Blade:
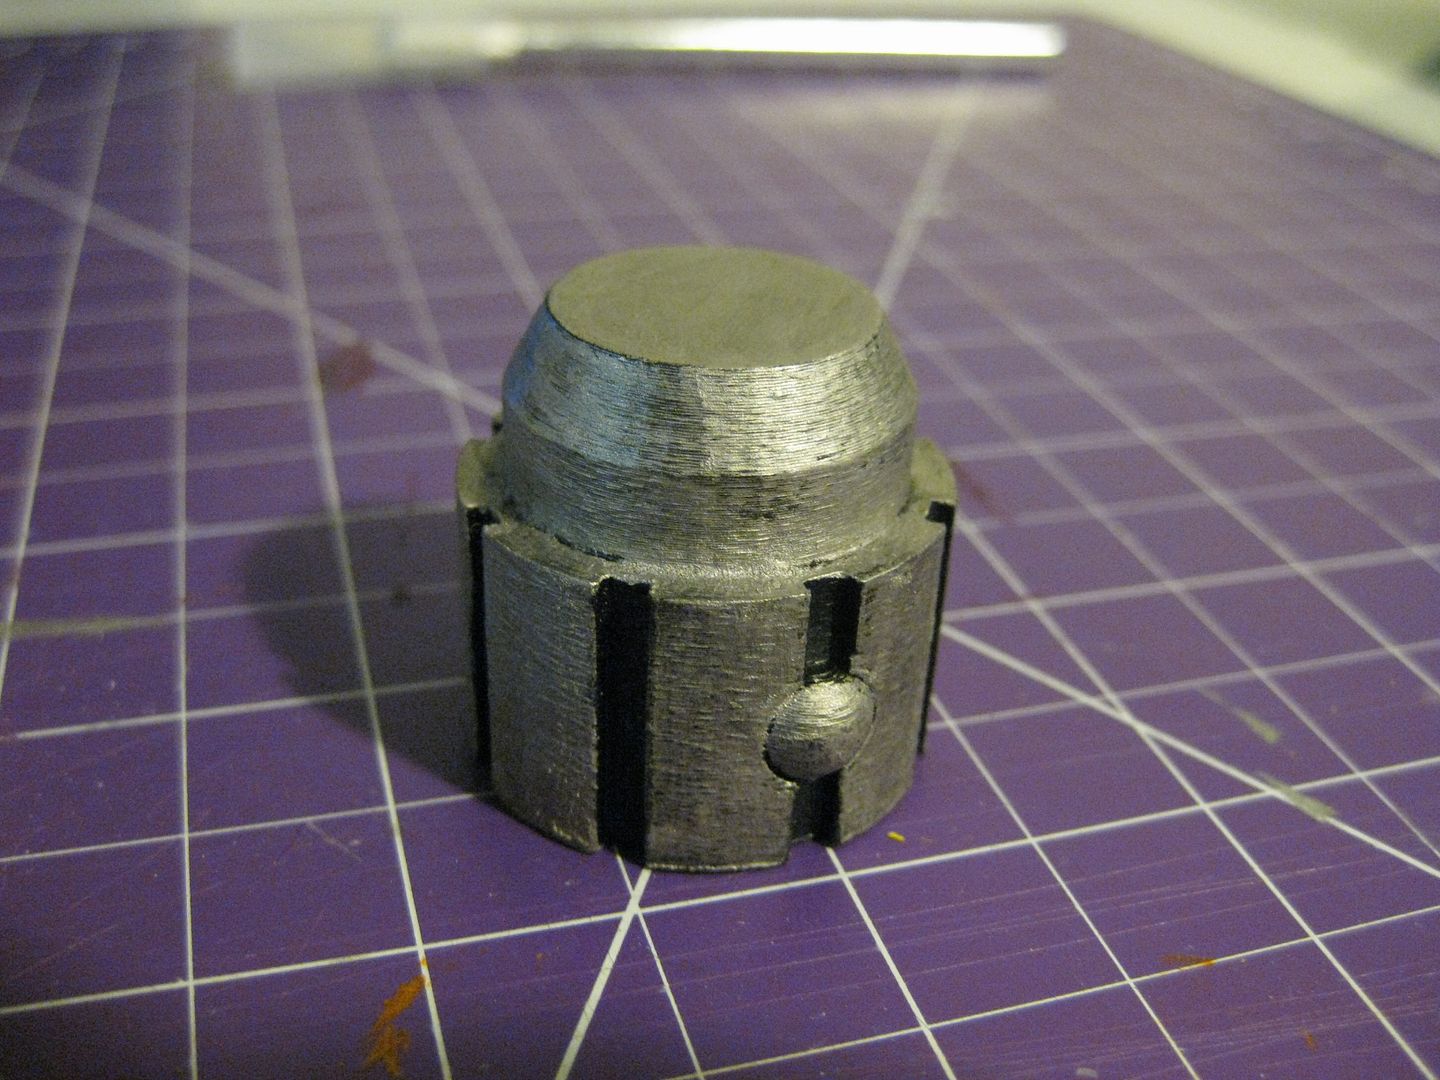
Pommel:
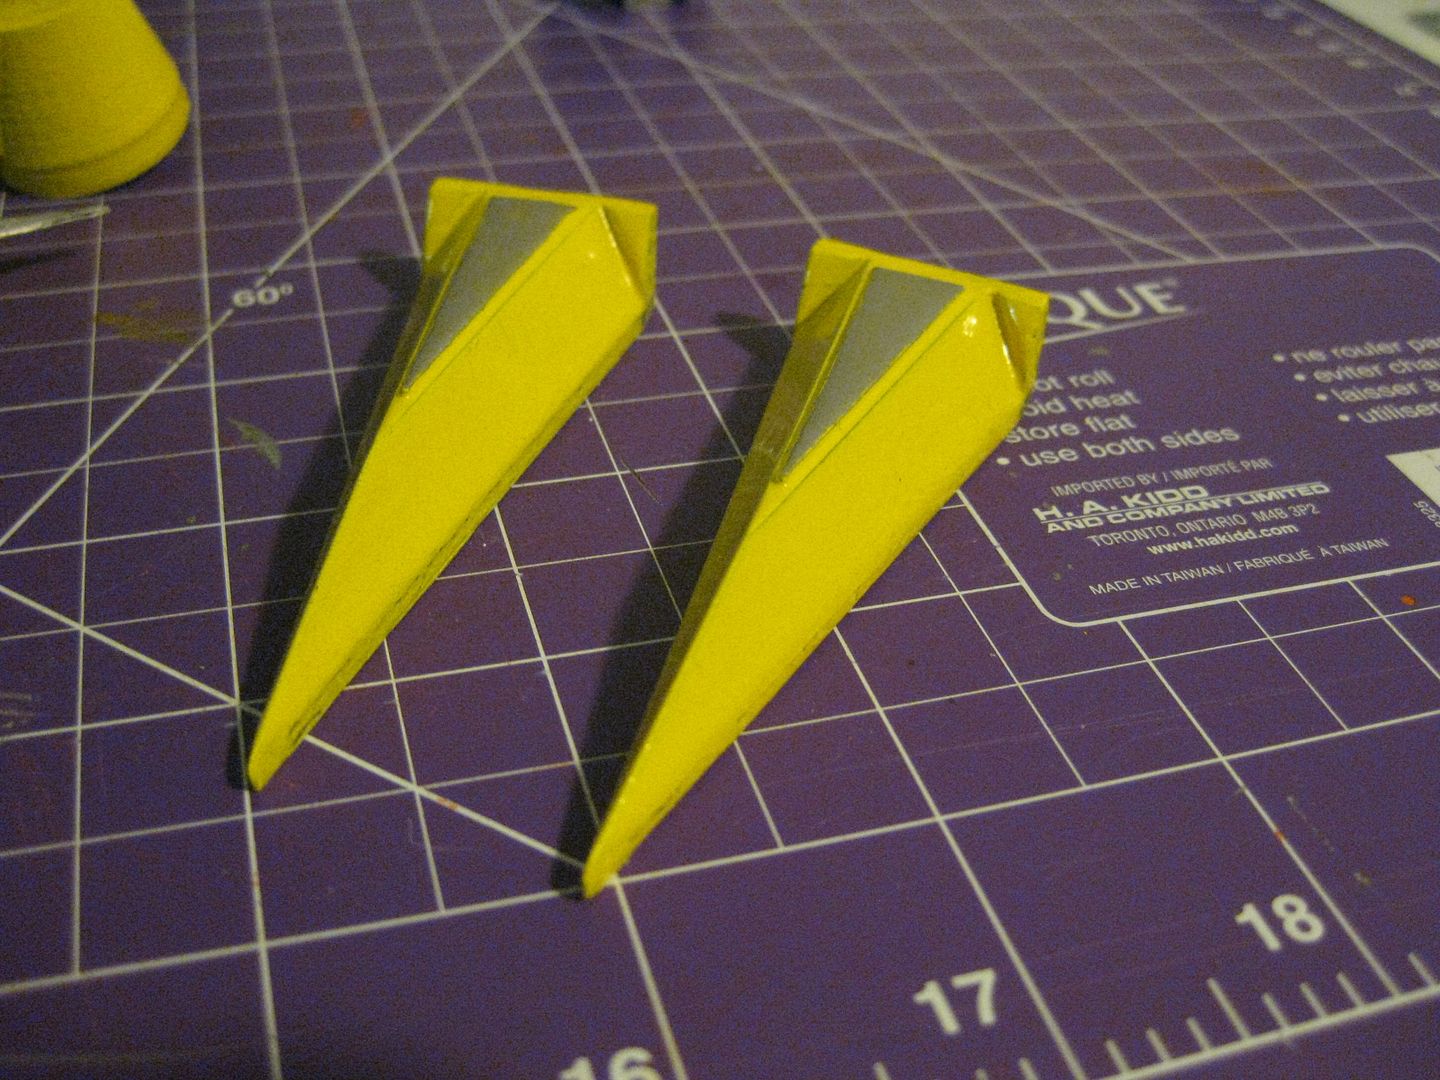
Blade Tops:
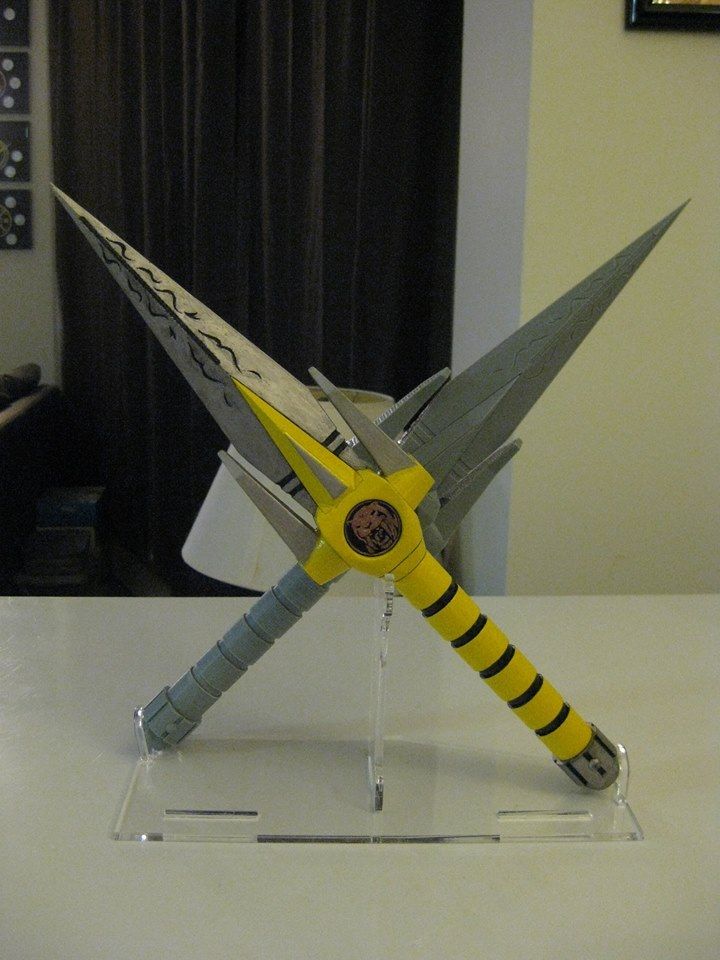
Mockup:
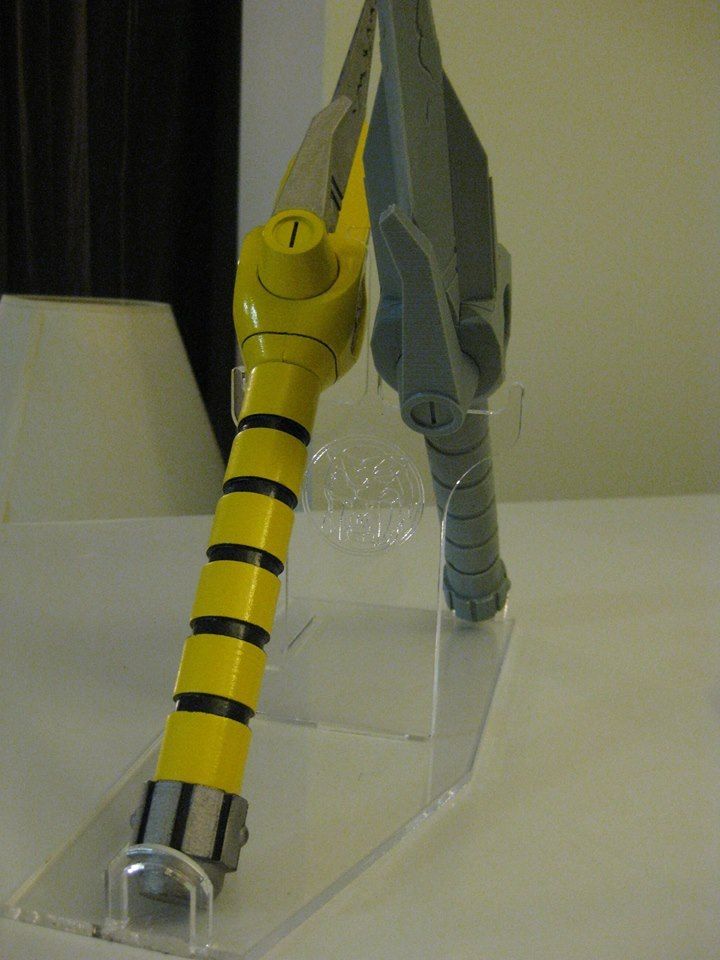
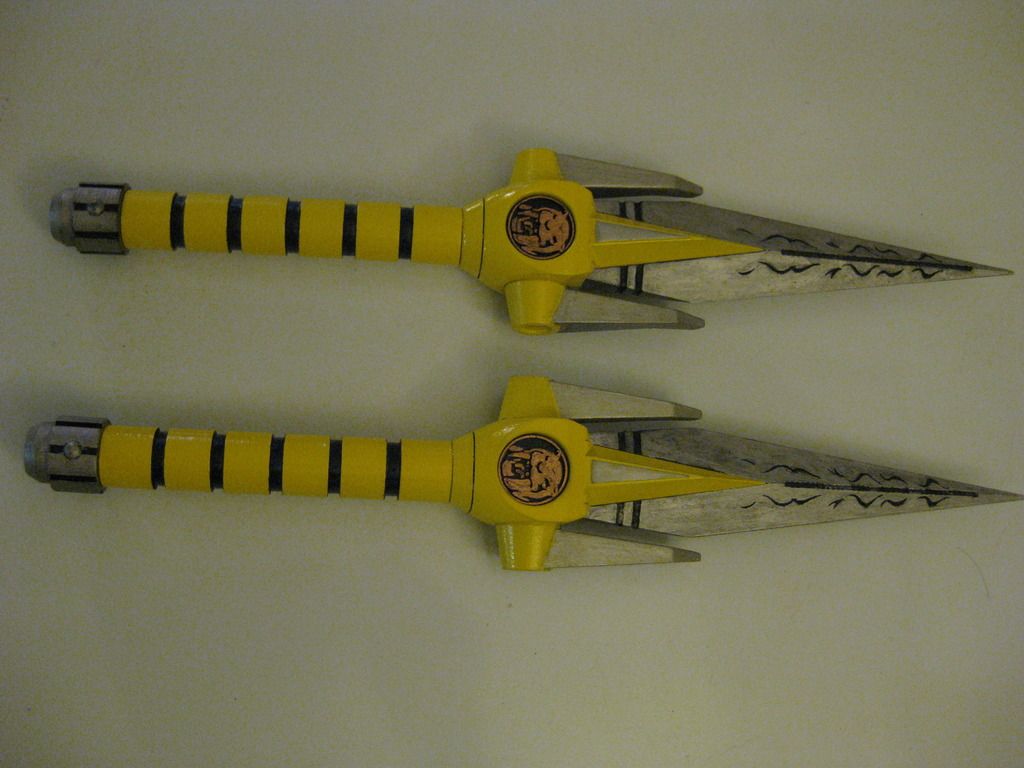
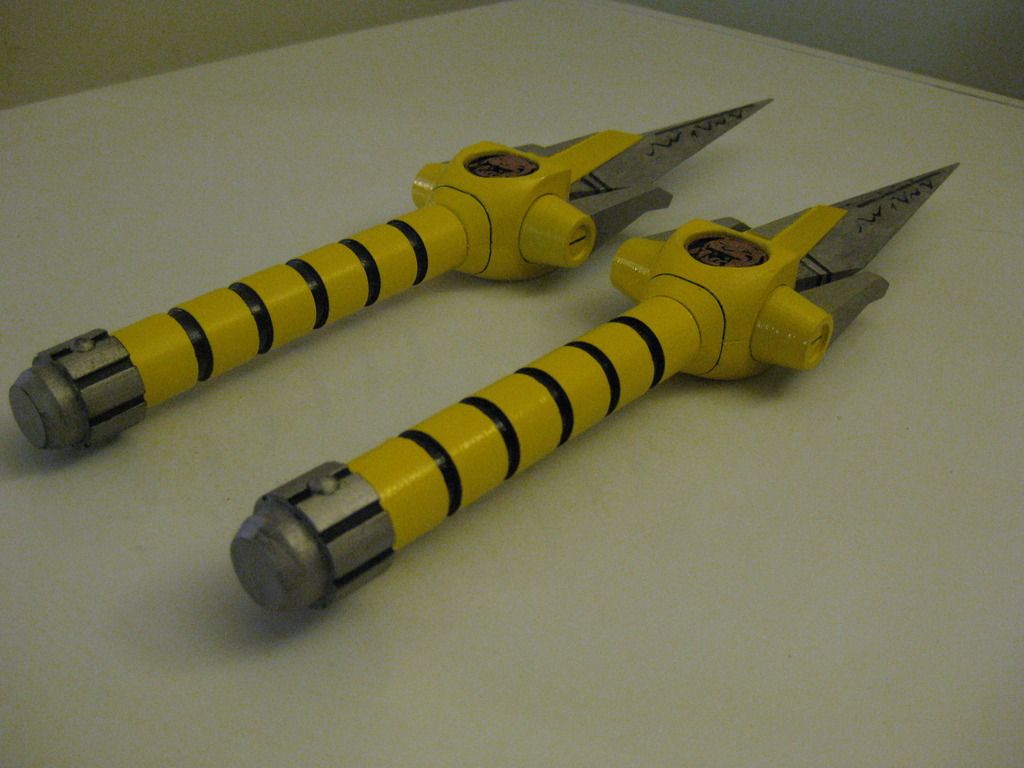
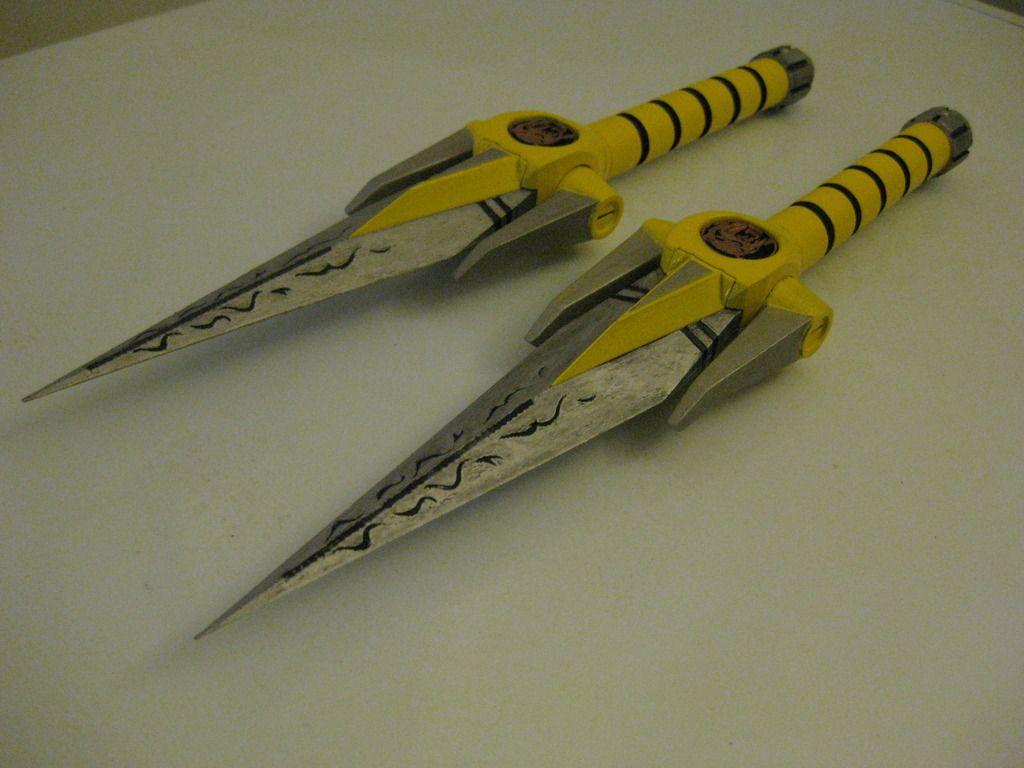
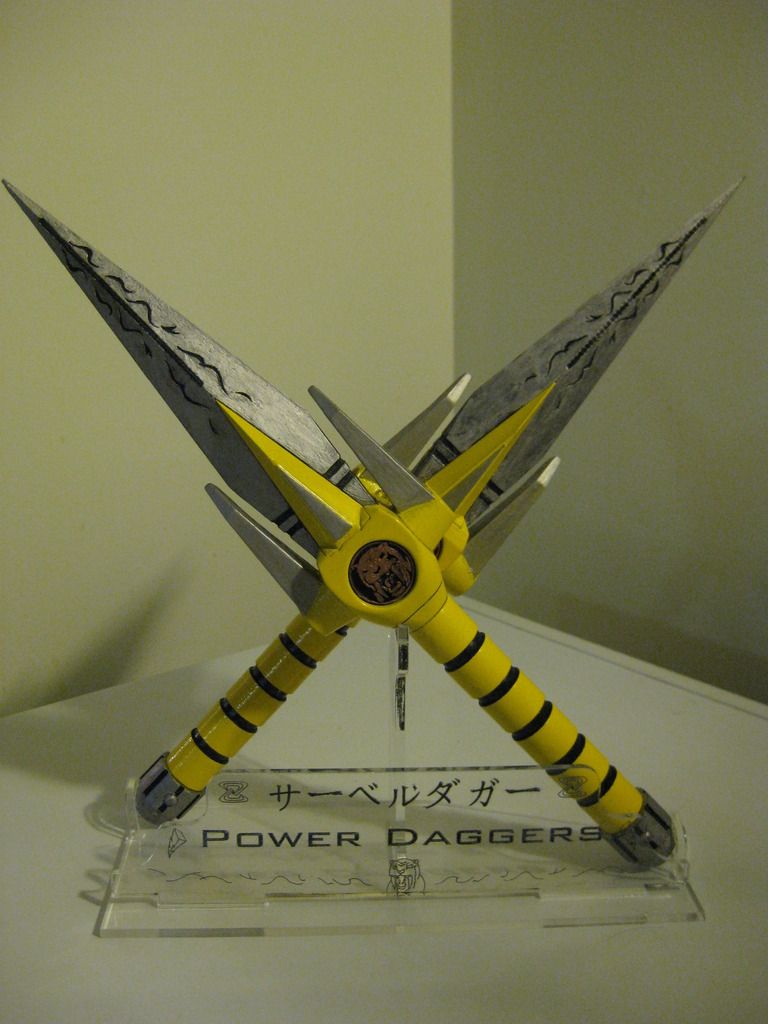
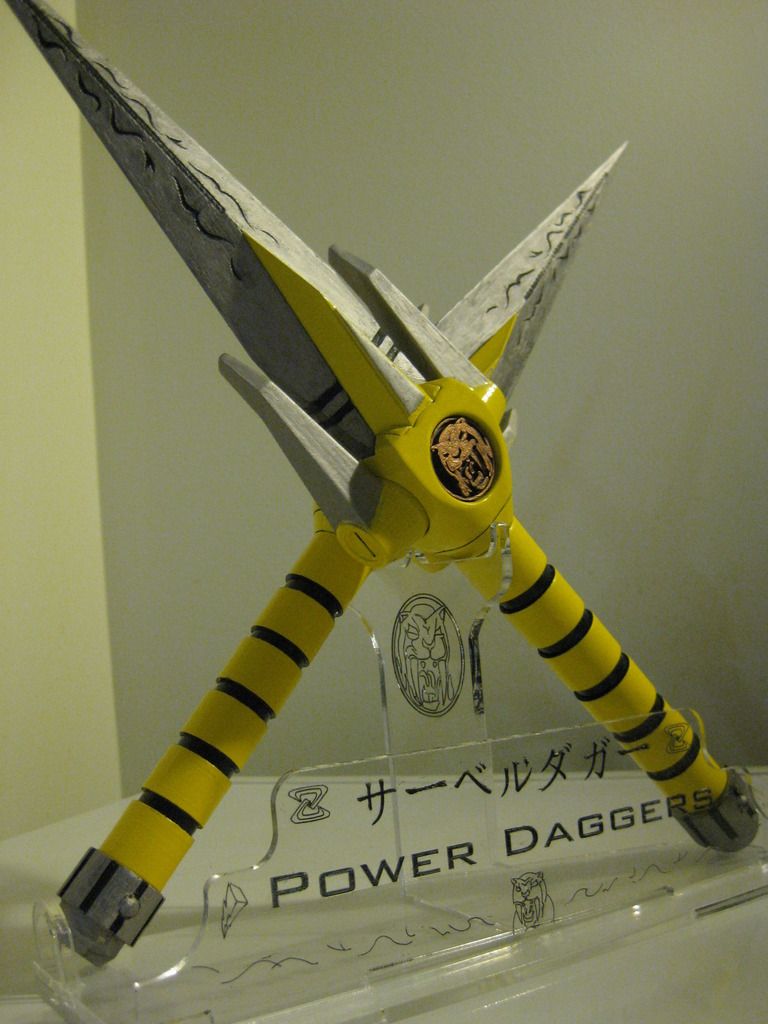
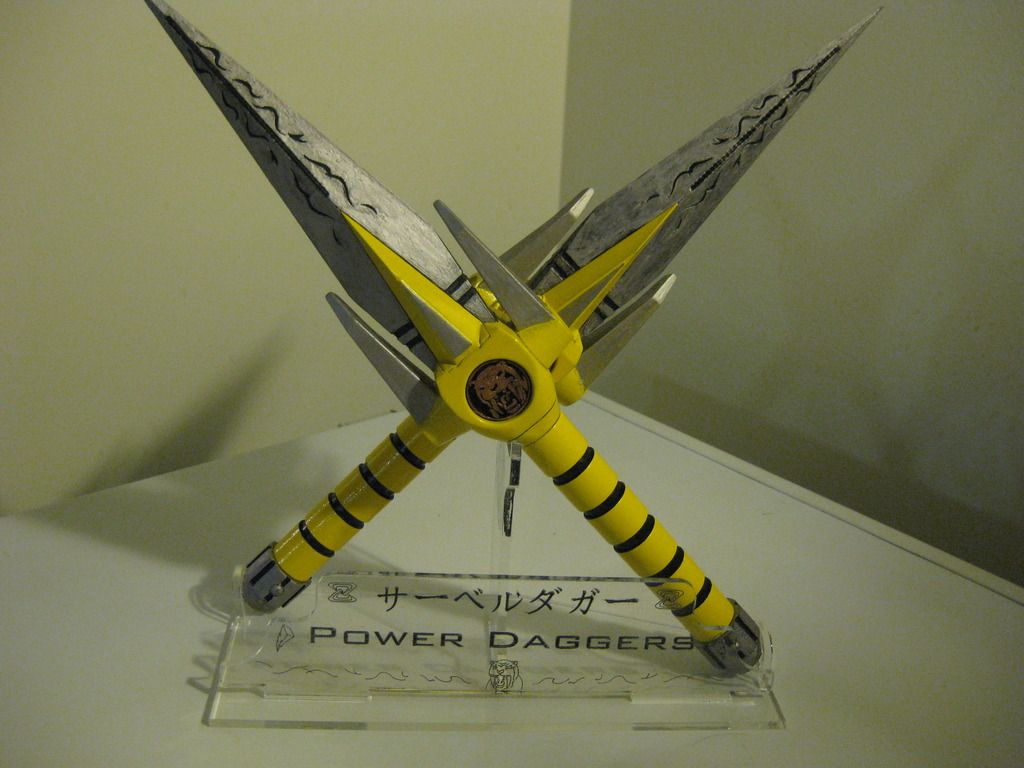
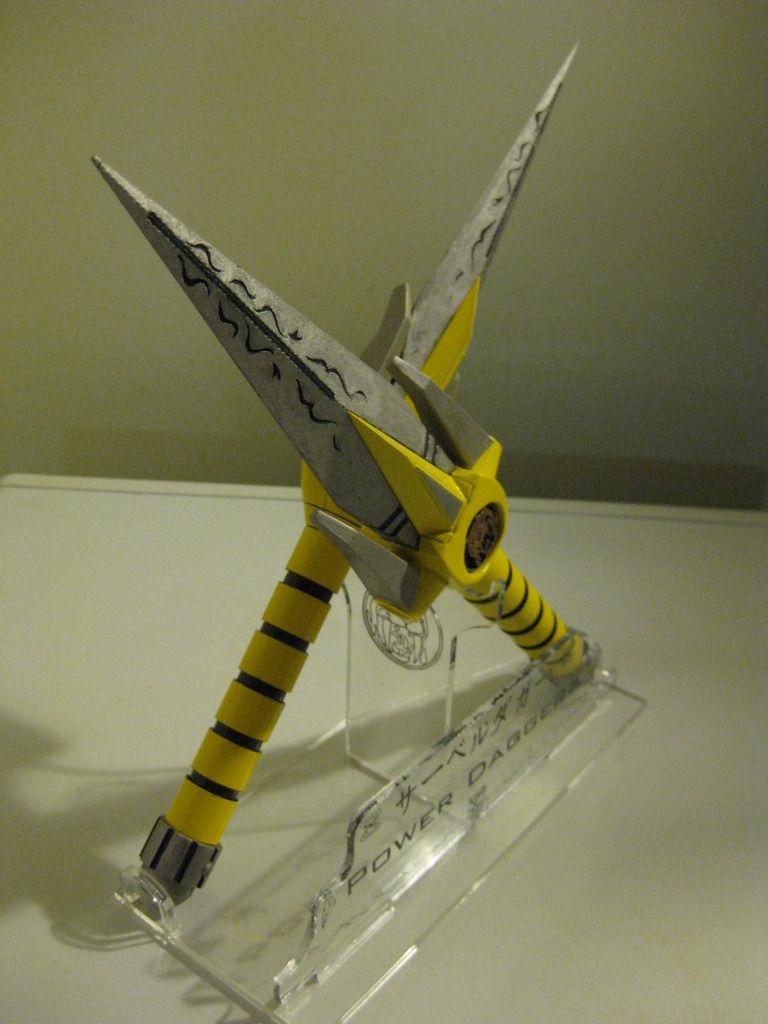
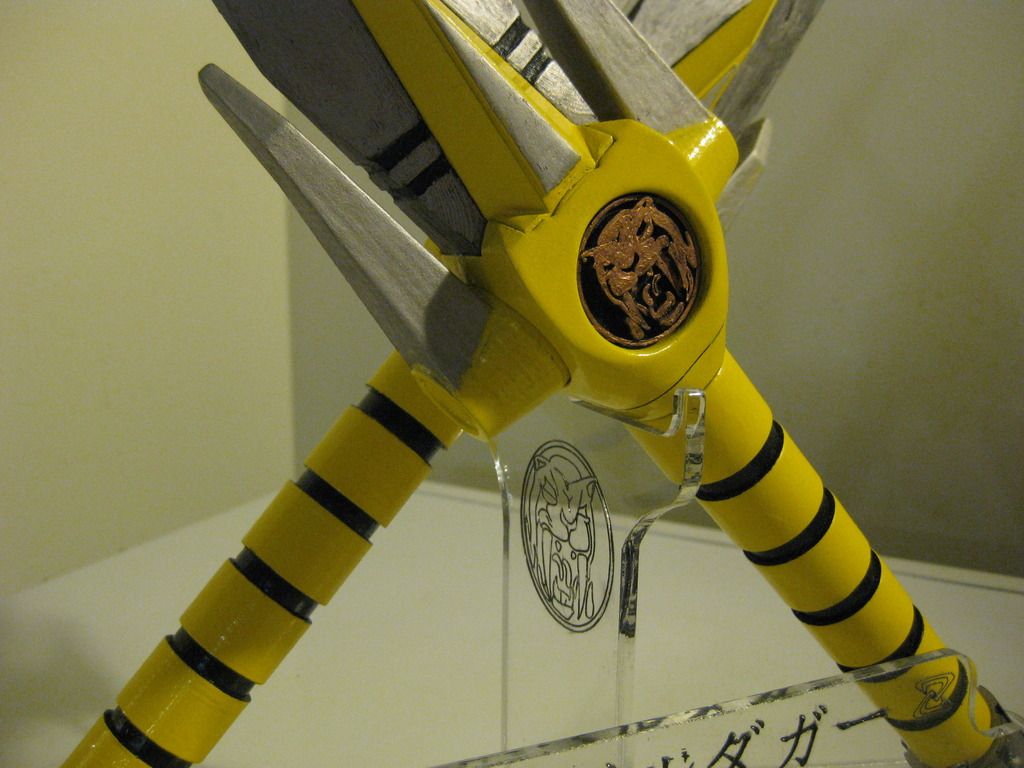
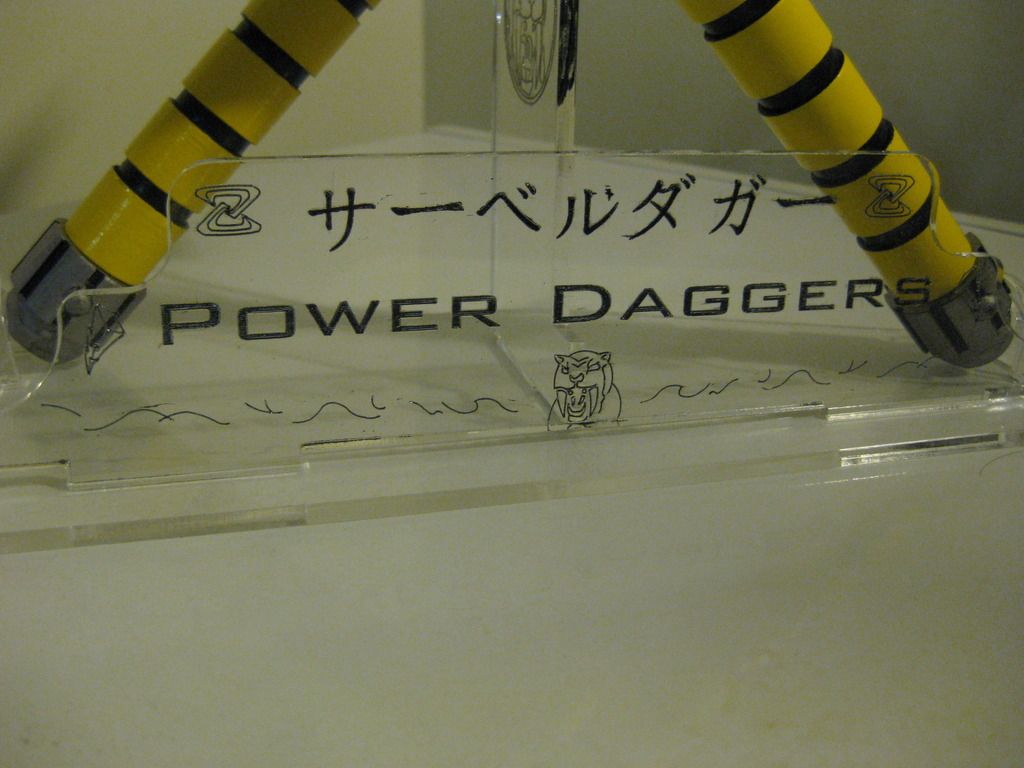
Here is a look at the completed dagger:
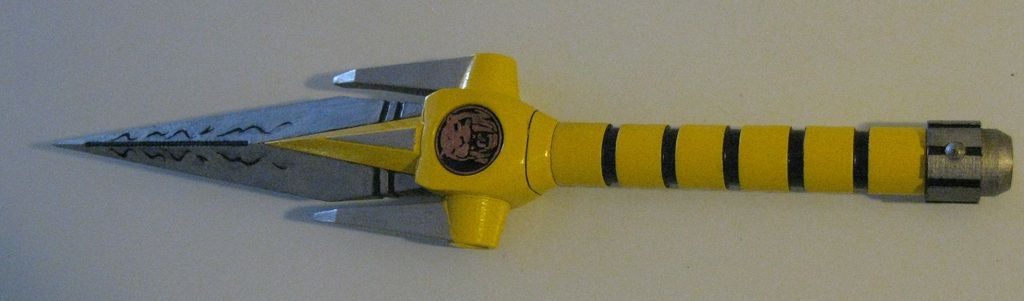
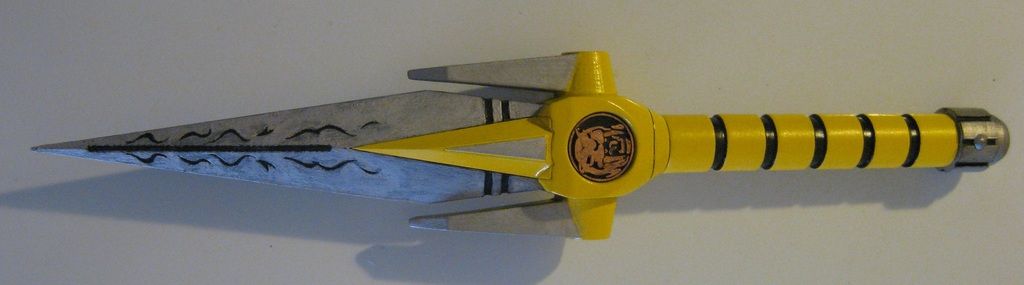


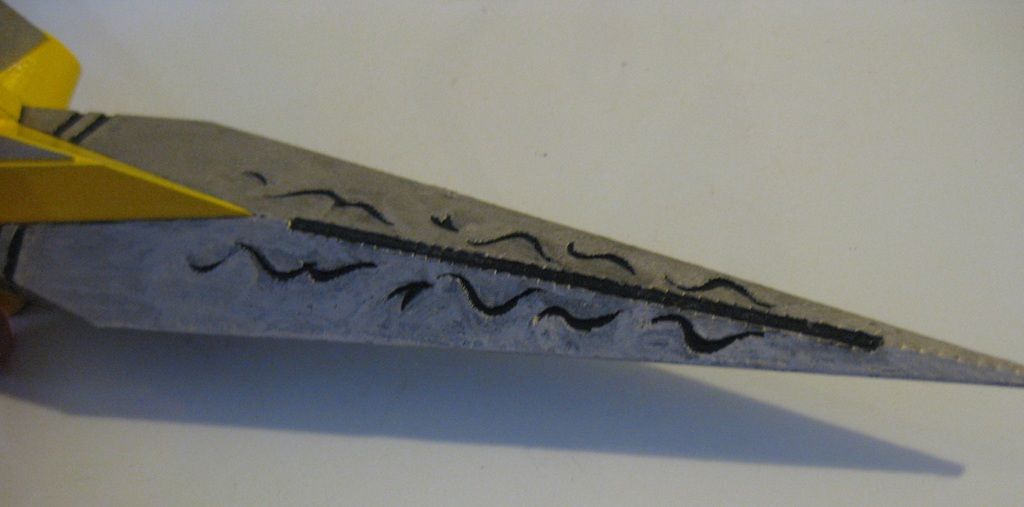
Details on the blade:
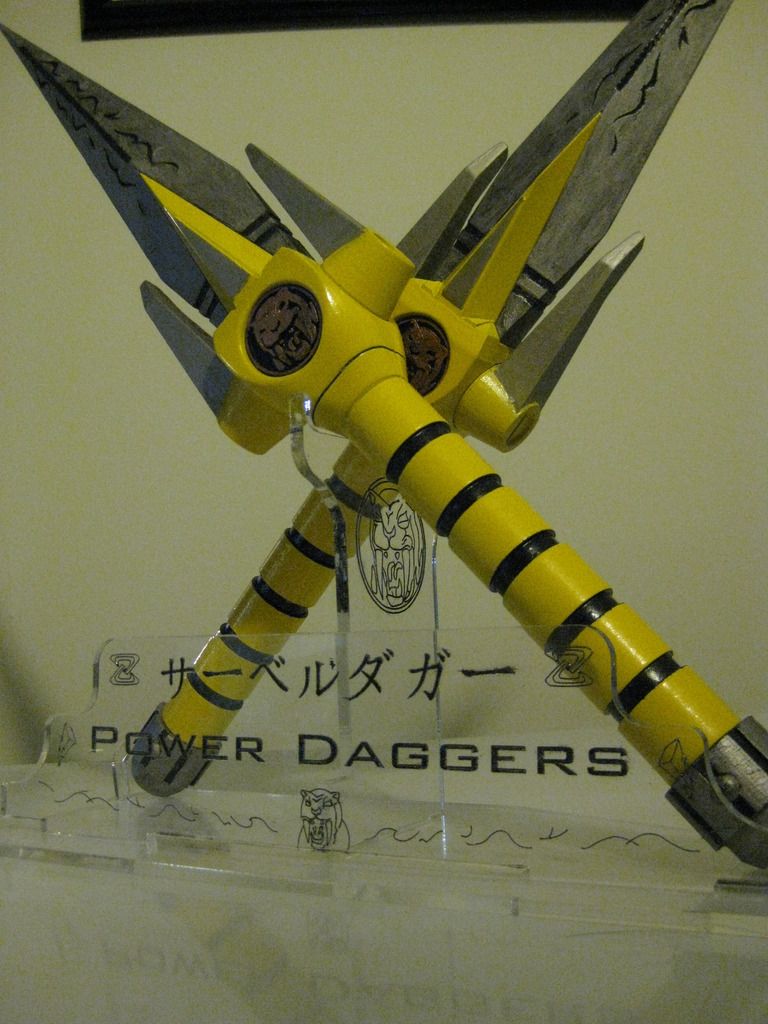
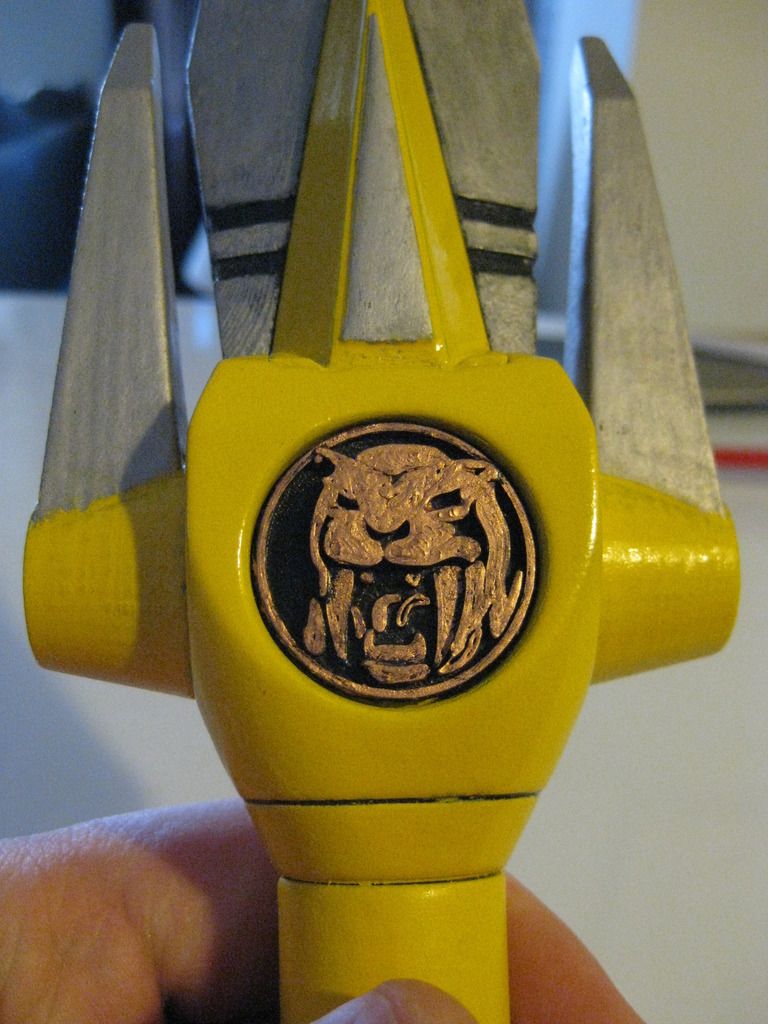
Detail of the coin:
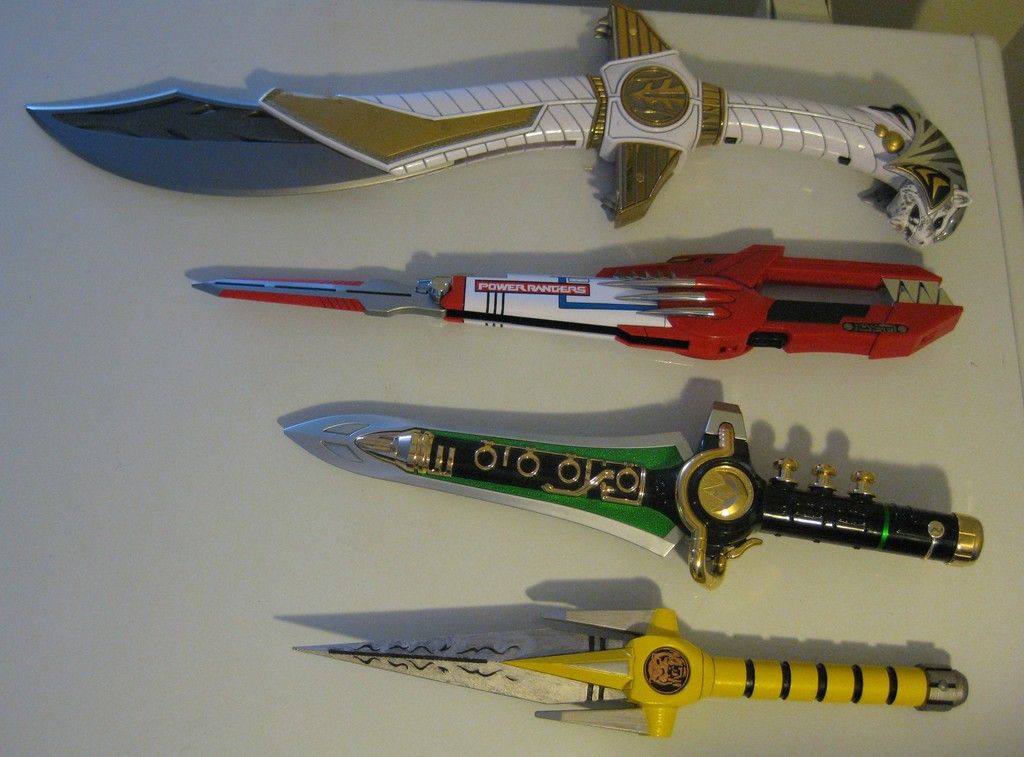
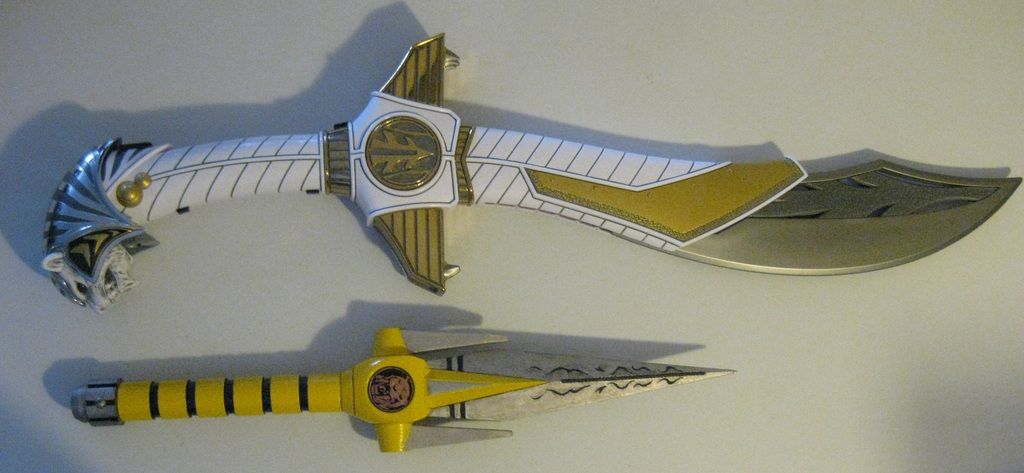
Comparison with legacy weapons:
Comparison with Dragon Dagger - Legacy:

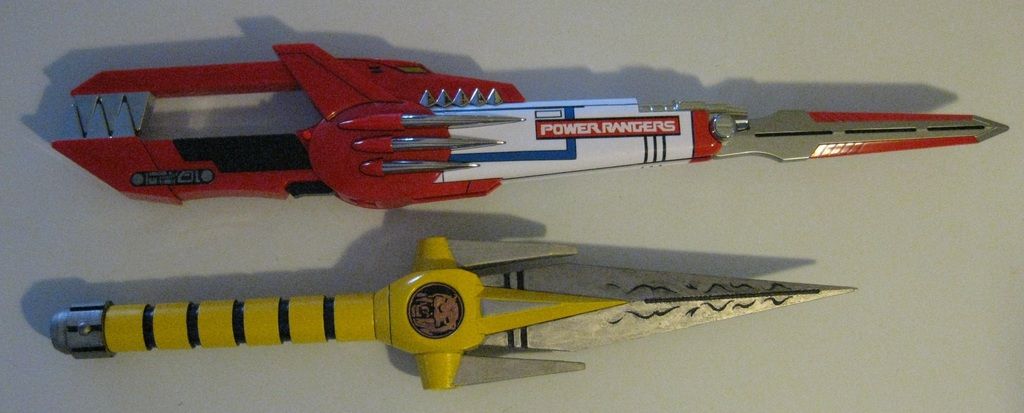
Comparison with Blade Blaster - Legacy:
Comparison with Saba - Legacy:
And here's a short video of the comparison with other legacy items and function of the dagger:
http://vid1361.photobucket.com/albu...eapons/Power Daggers/MVI_0371_zps2ncjl6sd.mp4
Time to make another.
I modeled up a power dagger recently designed for 3D print, here's a render.
And the explosion view to many pieces:
And I had the parts printed out over the weekend, and it looked like this:
So far, I've done a dry fit assembly, here's how it looks:
Here it is in my hand, keep in mind, I have very big hands:
And here's a comparison alongside a legacy blade blaster and legacy dragon dagger:
The arms have a key and slot to guide them from the flat position to 90 degrees up and that's it.
Here are all the parts, face up:
And this is how the key and slot system works to keep the arms at straight or up 90 degrees only.
After adding some contour putty:
And I started painting at this point.
Dagger Coins are painted and then Rub n' Buffed:
I added some pewter rub n' buff to a few pieces:
Blade:
Pommel:
Blade Tops:
Mockup:
Here is a look at the completed dagger:
Details on the blade:
Detail of the coin:
Comparison with legacy weapons:
Comparison with Dragon Dagger - Legacy:
Comparison with Blade Blaster - Legacy:
Comparison with Saba - Legacy:
And here's a short video of the comparison with other legacy items and function of the dagger:
http://vid1361.photobucket.com/albu...eapons/Power Daggers/MVI_0371_zps2ncjl6sd.mp4
Time to make another.