Voodoocaster
Well-Known Member
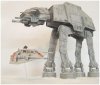
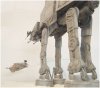
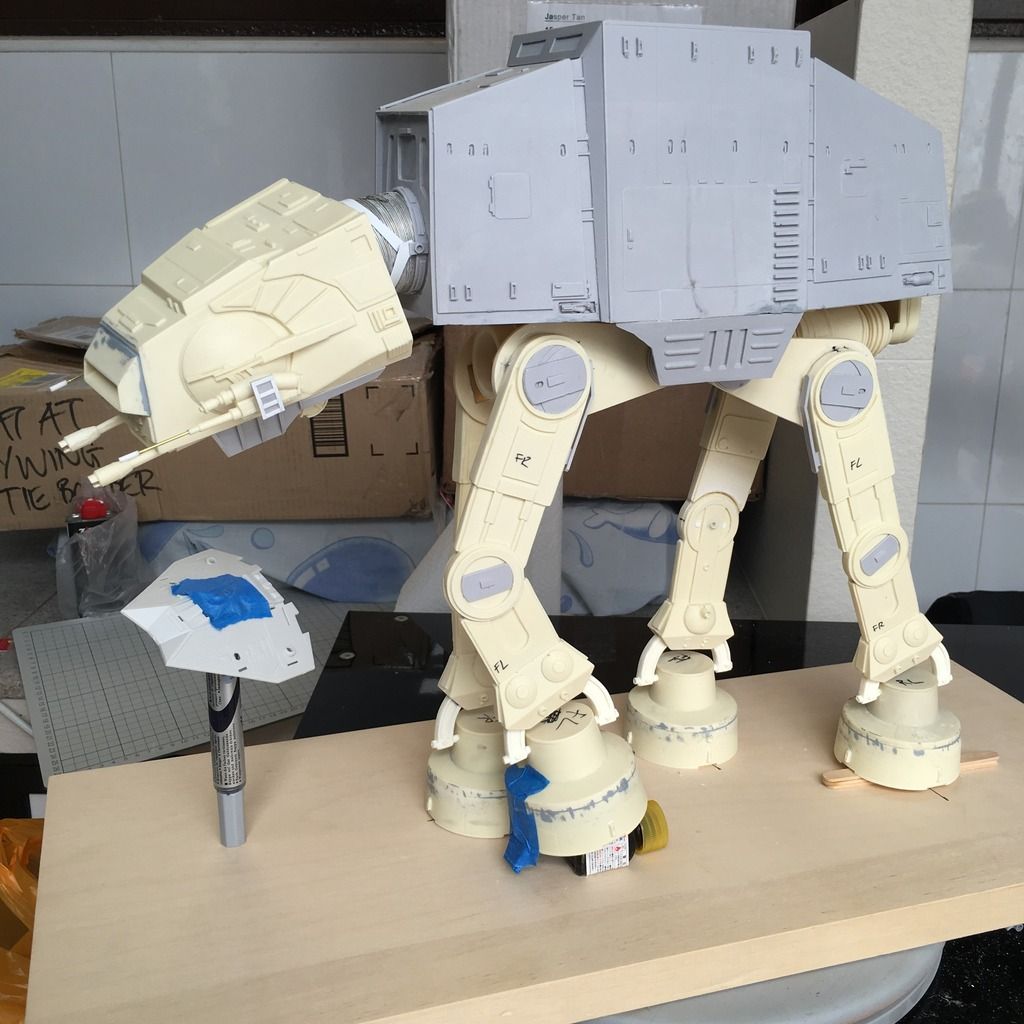
Is the Alfred Wong AT-AT studio scale?
I am wondering if a 1/48 Bandai snowspeeder is in scale with this 1/48 AT-AT,..by that i mean is the Alfred Wong AT-AT 1/48 scale to the filming miniature or to the "full size" movie imagery.
I always thought that a 1/48 snowspeeder is only in scale with the studio scale AT-AT.
Correct me when wrong please.
Maybe a 1/72 snowspeeder is more to scale and if that is the case a llot easier to be supported by a thin wire.
")