Re: WIP: Foam Hulkbuster for my 7yr old - 10/9 Torso Ready for Paint!
Too cool!")
Too cool!
World?Your kid will be the most popular kid in the Hood... no.. in the State... no.. in all of America!
I showed this to my 5 year old and now he wants to be Hulk Buster next year, guess I better start now.
 opcorn
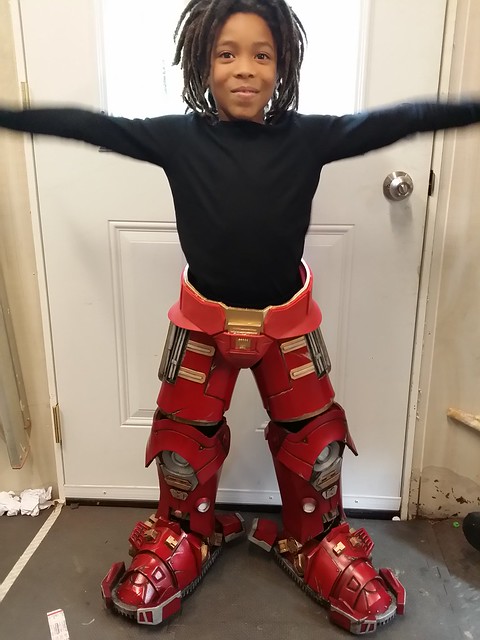

Absolutely fantastic [emoji2] [emoji2] [emoji106]At least he gave you more than 90 day notice!
****
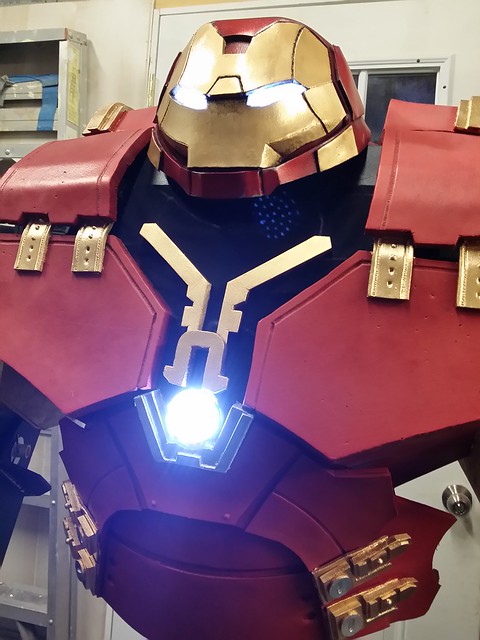
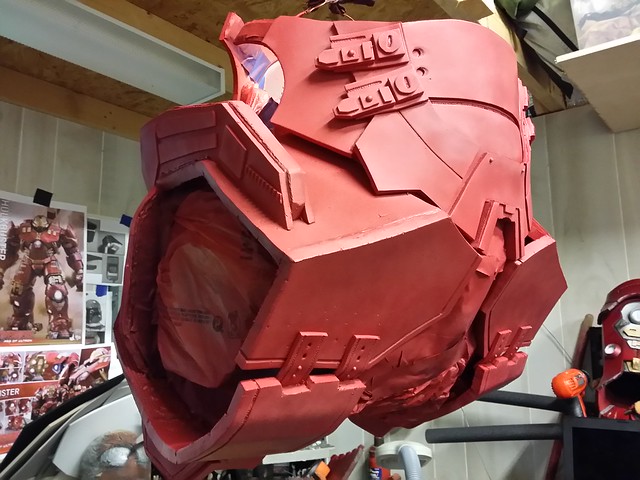
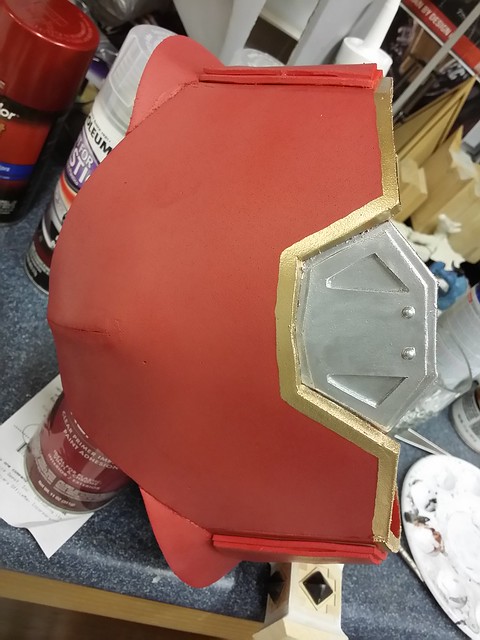
So, I got a lot done yesterday, but I took less pictures (sorry).
I did the rest of the basic painting of the chest here's the front - I'll have to snap a picture of the back today... forgot that one last evening.
https://c2.staticflickr.com/6/5678/21901155808_e069e1dda9_z.jpg
With that done, I started on the next BIG project... the arms.
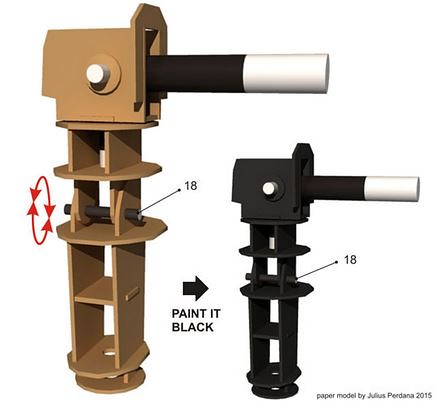
As previously discussed, I'm basing this build on the 'blue-prints' of a greatly enlarged papercraft model by Julius Perdana. In that papercraft model the entire 'action figure' of the Hulkbuster has a wonderfully articulated framework that the paper 'body' sits on. Now, most of what I've done so far, doesn't need that structure as I have a KID inside it! But with the arms, I will be using Julius' internal framework.
His arm structure has 6 points of articulation and are designed to be constructed out of cardboard and rolled paper rods. Here is how it looks in his diagrams...
https://c1.staticflickr.com/1/653/22100042231_b8772a6c04.jpg
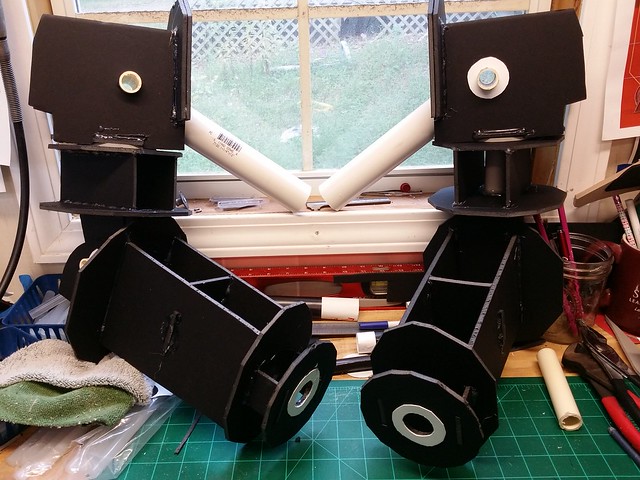
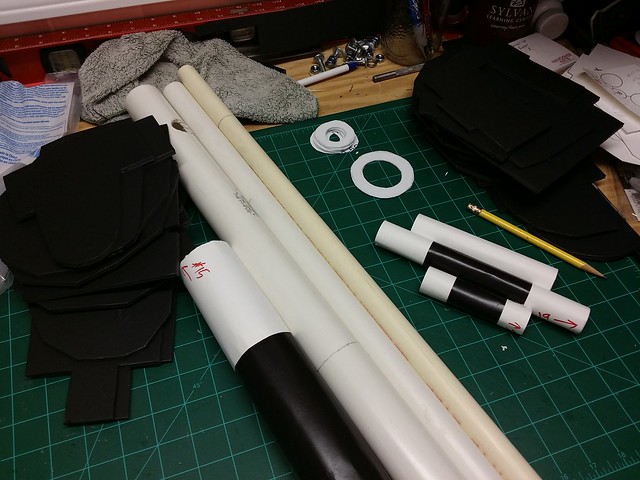
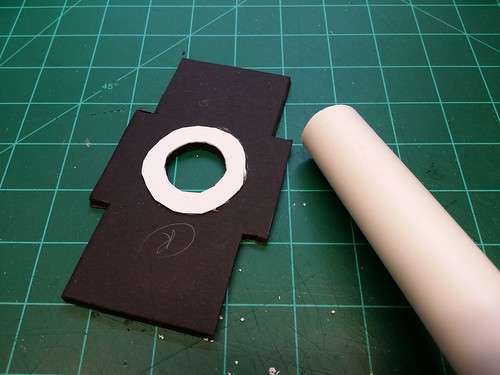
Now, I can't expect cardboard and paper rods to support the MUCH heaver foam build I'm working on for these arms, so I've upgraded the materials slightly. The cardboard pieces will be made out of stiff foam board re-enforced with plastic sheets where needed (mostly around the pivots). The rods will be PVC pipe. This should keep the structure light, but more sturdy than just cardboard.
The little plastic rings I'm using for re-enforcement are my least favorite job of this whole project... there are SO many of them and cutting them out with an blade sucks. But they SHOULD help prevent the PVC from tearing through the foam board.
https://c2.staticflickr.com/6/5818/22089053355_6e8e3095be.jpg
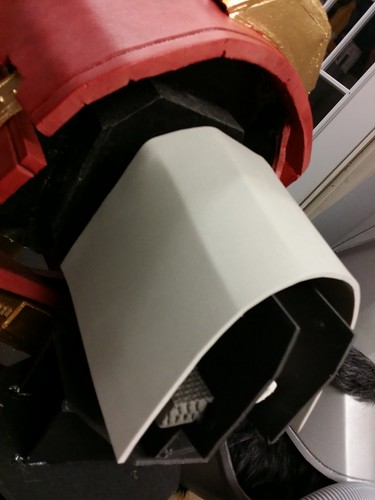
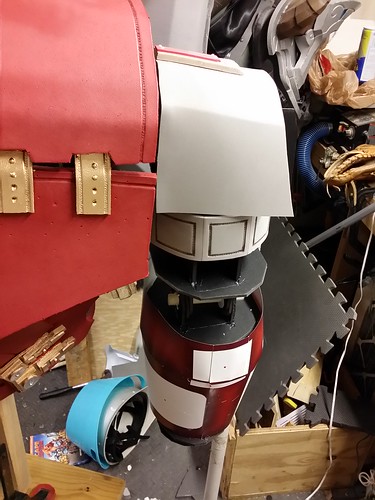
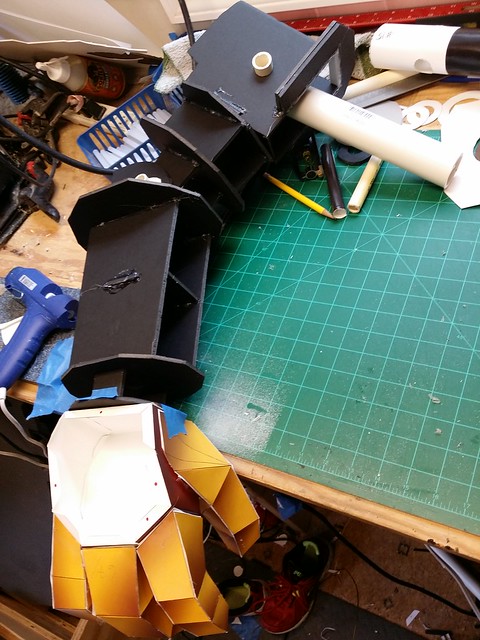
I don't have much progress pictures from the first arm. But here is what it looks like finished. I've taped the paper hand on it just so I can check scale with my kiddo in the suit.
https://c1.staticflickr.com/1/655/22099049591_61b4a1fc7c_z.jpg
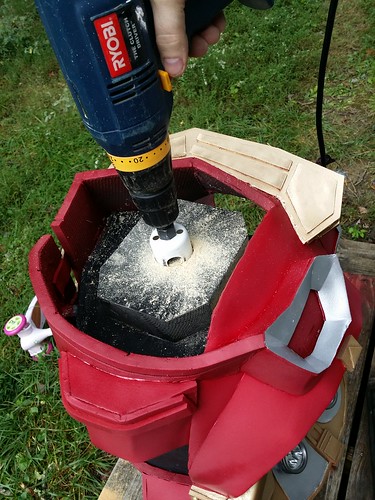
After constructing this I had to do the SCARIEST thing on for this build... cut the hole for the PVC shoulder rod that will fit into to the chest unit. Remember I had mounted a piece of 2x6 on each side of the wooden 'box' that the chest was built on, so now that block of wood needed a hole in it so the Shoulder Rod can be inserted and pinned into place (these will be removable for transportation).
This was pretty scary, as I didn't want to damage the nearly done chest piece.
https://c2.staticflickr.com/6/5828/22089053545_606eefcafe.jpg
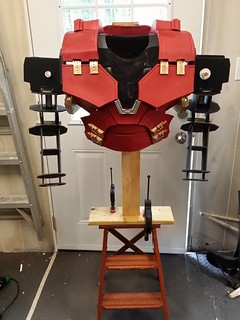
It worked out and that meant it was time to see how the arm scaling turned out with my kid in the suit... TEST FIT!!!! [emoji14]opcorn
First we got him into his black leggings and shirt. Then the lower half of the suit (which still needs LOTS of rigging/fitting work done).
https://c1.staticflickr.com/1/781/22099056061_b195e9f1ea_z.jpg
Then we got the top half on...
https://c2.staticflickr.com/6/5753/22099048951_0f6f623c03_z.jpg
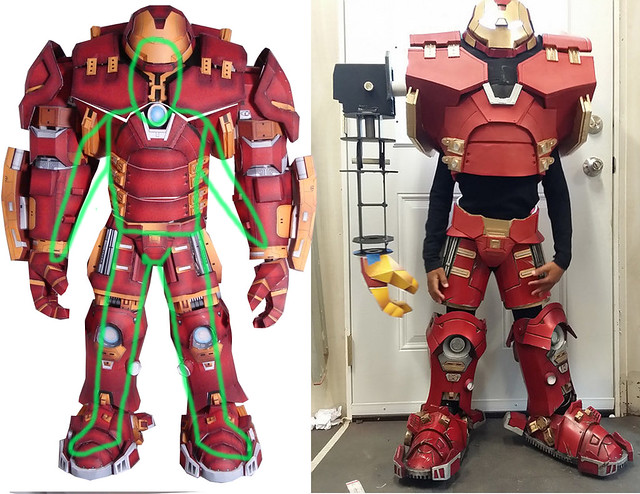
It might be hard to see without the full arms built and the last torso piece I haven't done yet, but here is the way this build is stacking up to the design:
https://c1.staticflickr.com/1/571/21901744950_bd26986475_z.jpg
*****
More arm-building today... we'll see how fast this goes. We have a local convention next weekend and I'd love to have him ready to ROCK the suit there prior to Halloween. I'll probably have to skip the weathering of the chest and arms, but even if we just have the basic body done, we'll go and let him show it off. :cool
Yeah, I had the same issue, but this really seems to help!
*********
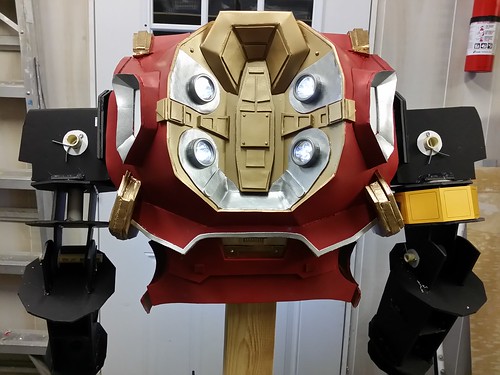
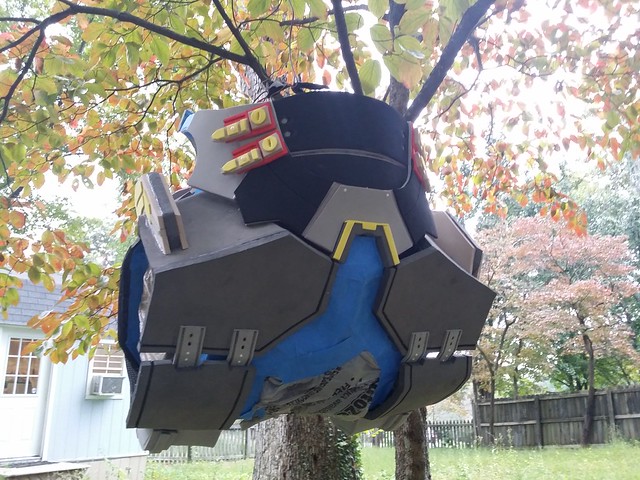
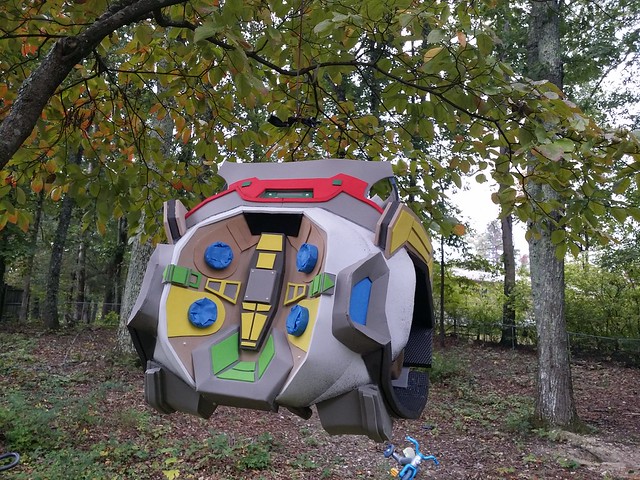
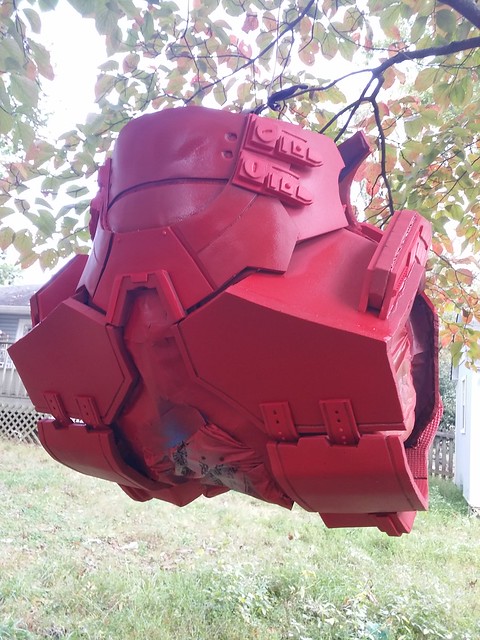
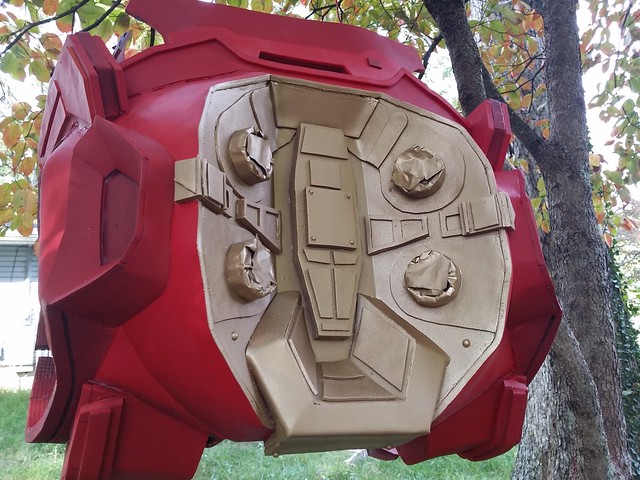
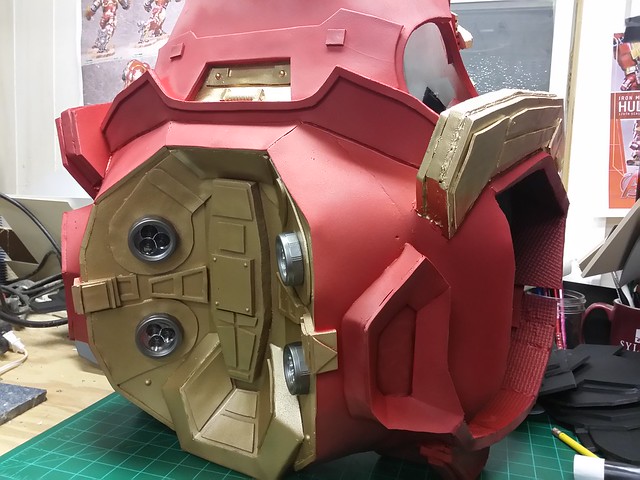
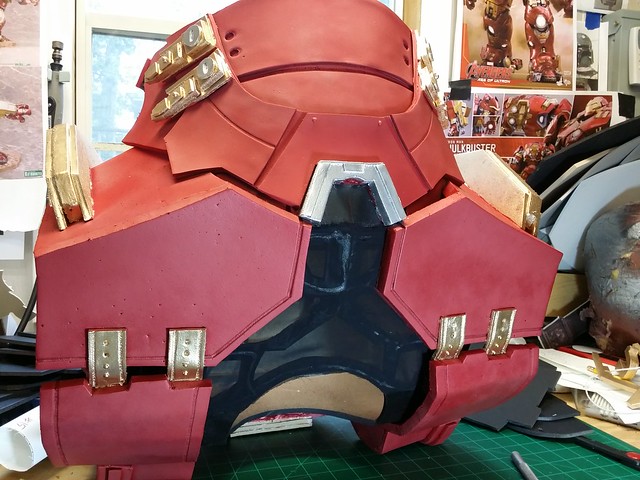
Last night I did finished up the chest armor detailing...
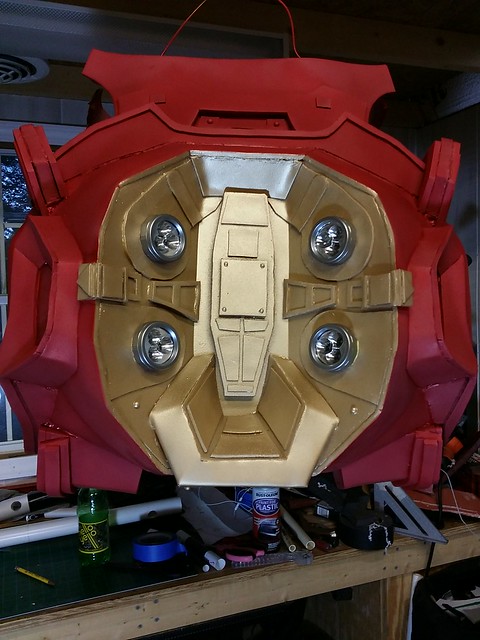
I finished adding foam details around where the arc reactor will be:
https://c2.staticflickr.com/6/5786/21859260678_4de690206d_z.jpg https://c2.staticflickr.com/6/5788/22047126455_ab2526994c.jpg
I also finished the trim piece for the bottom of the back:
https://c2.staticflickr.com/6/5706/22057075731_9f341e47eb_z.jpg
https://c2.staticflickr.com/6/5780/21426001233_aa0a491c14_z.jpg
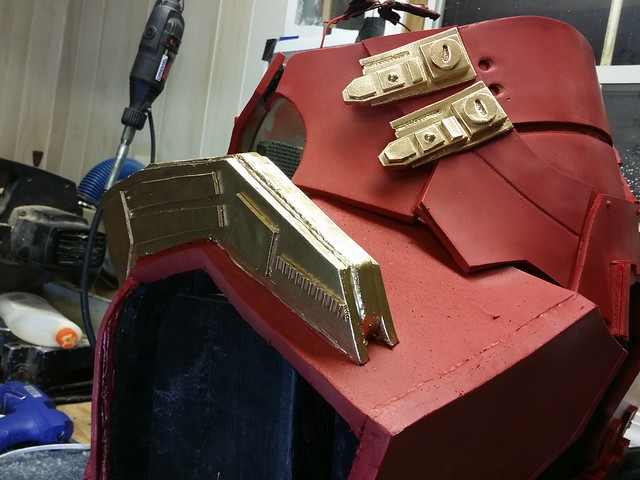
And then I created the 'fastener' details on the side of the torso:
https://c2.staticflickr.com/6/5715/22047298105_743370ebd6_z.jpg
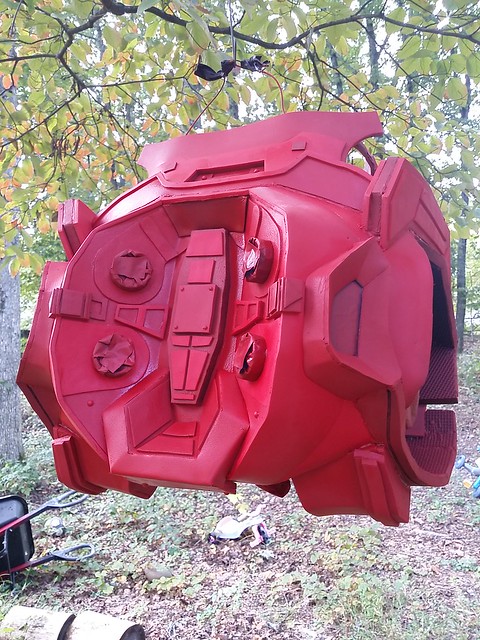
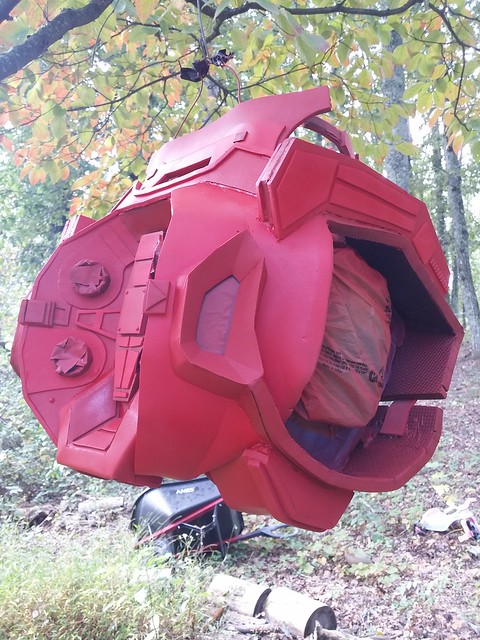
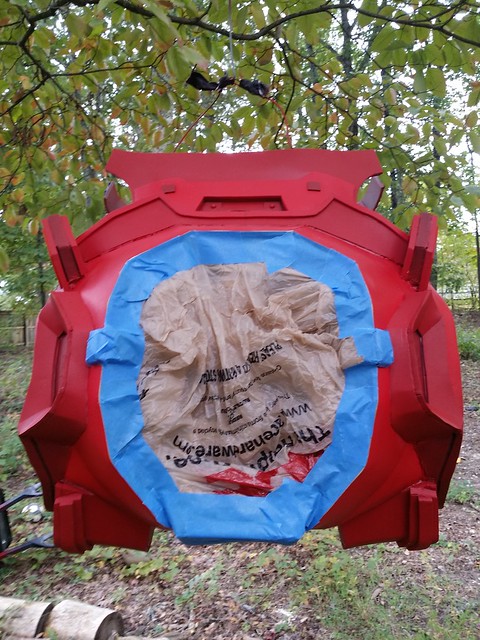
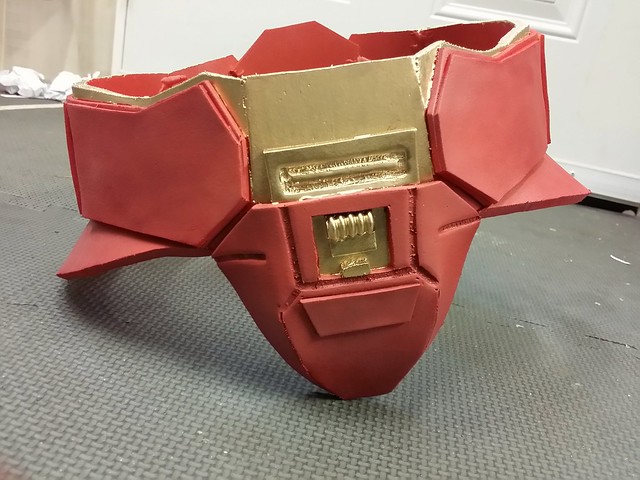
It is now ready for masking and the first coats of Plasti-dip!!!!
https://c1.staticflickr.com/1/706/22047122045_872dd64bc8_z.jpg
More updates after the painting has started!