Malcolm Reynolds Pistol 3D modelling for Funzees :)

Monkey540

Sr Member
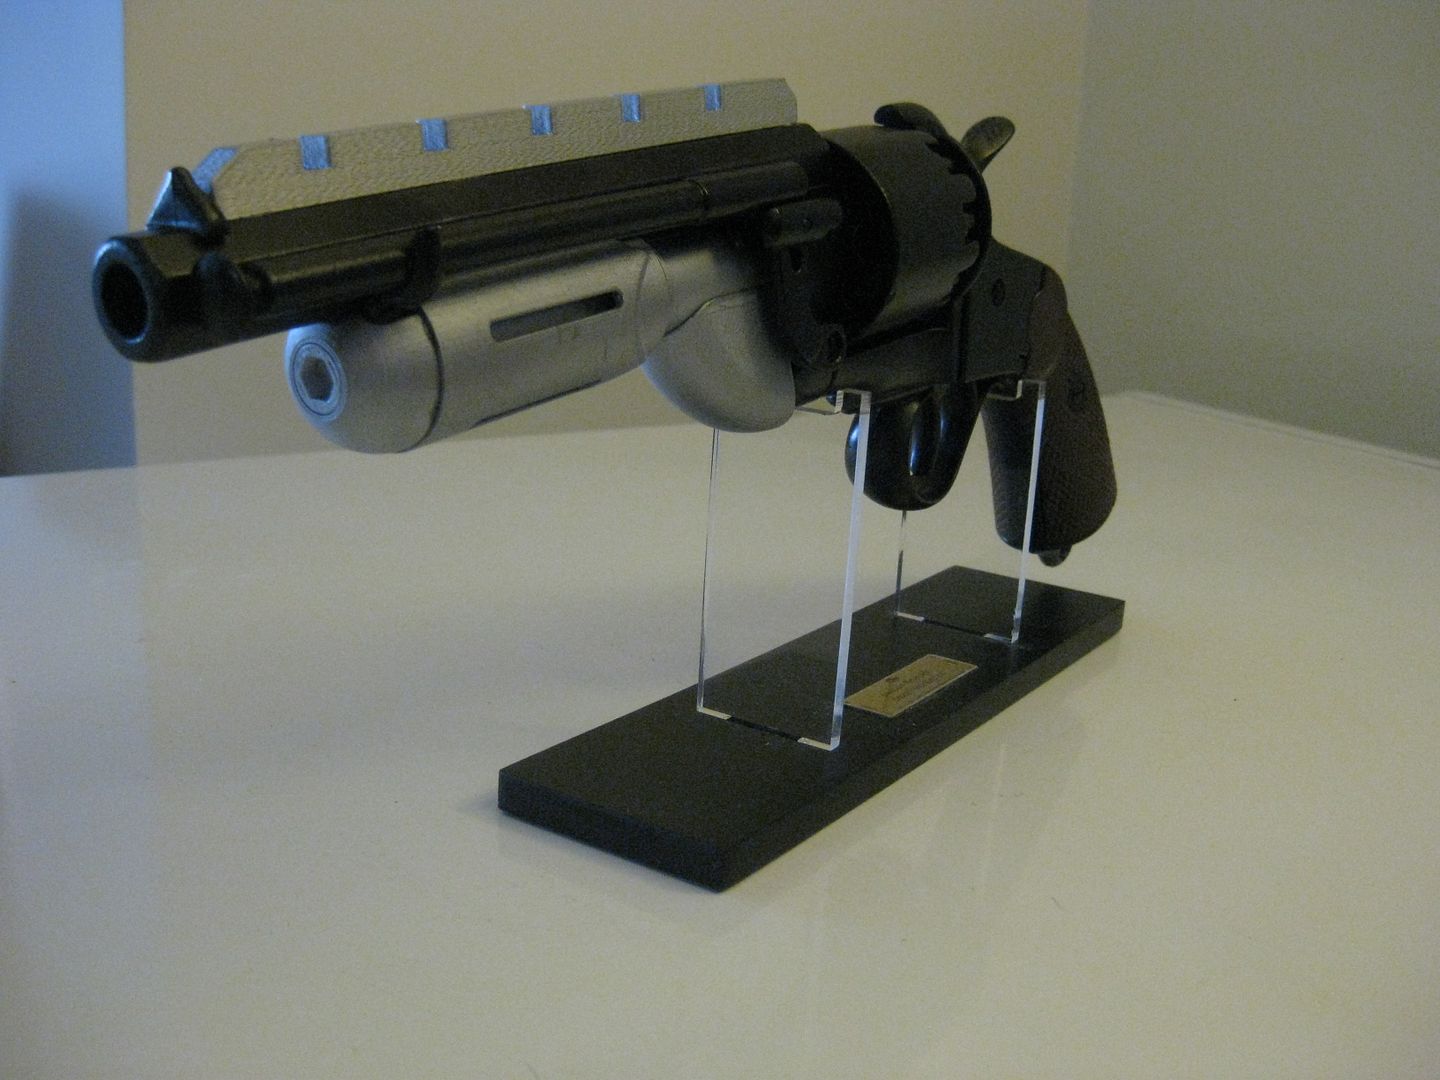
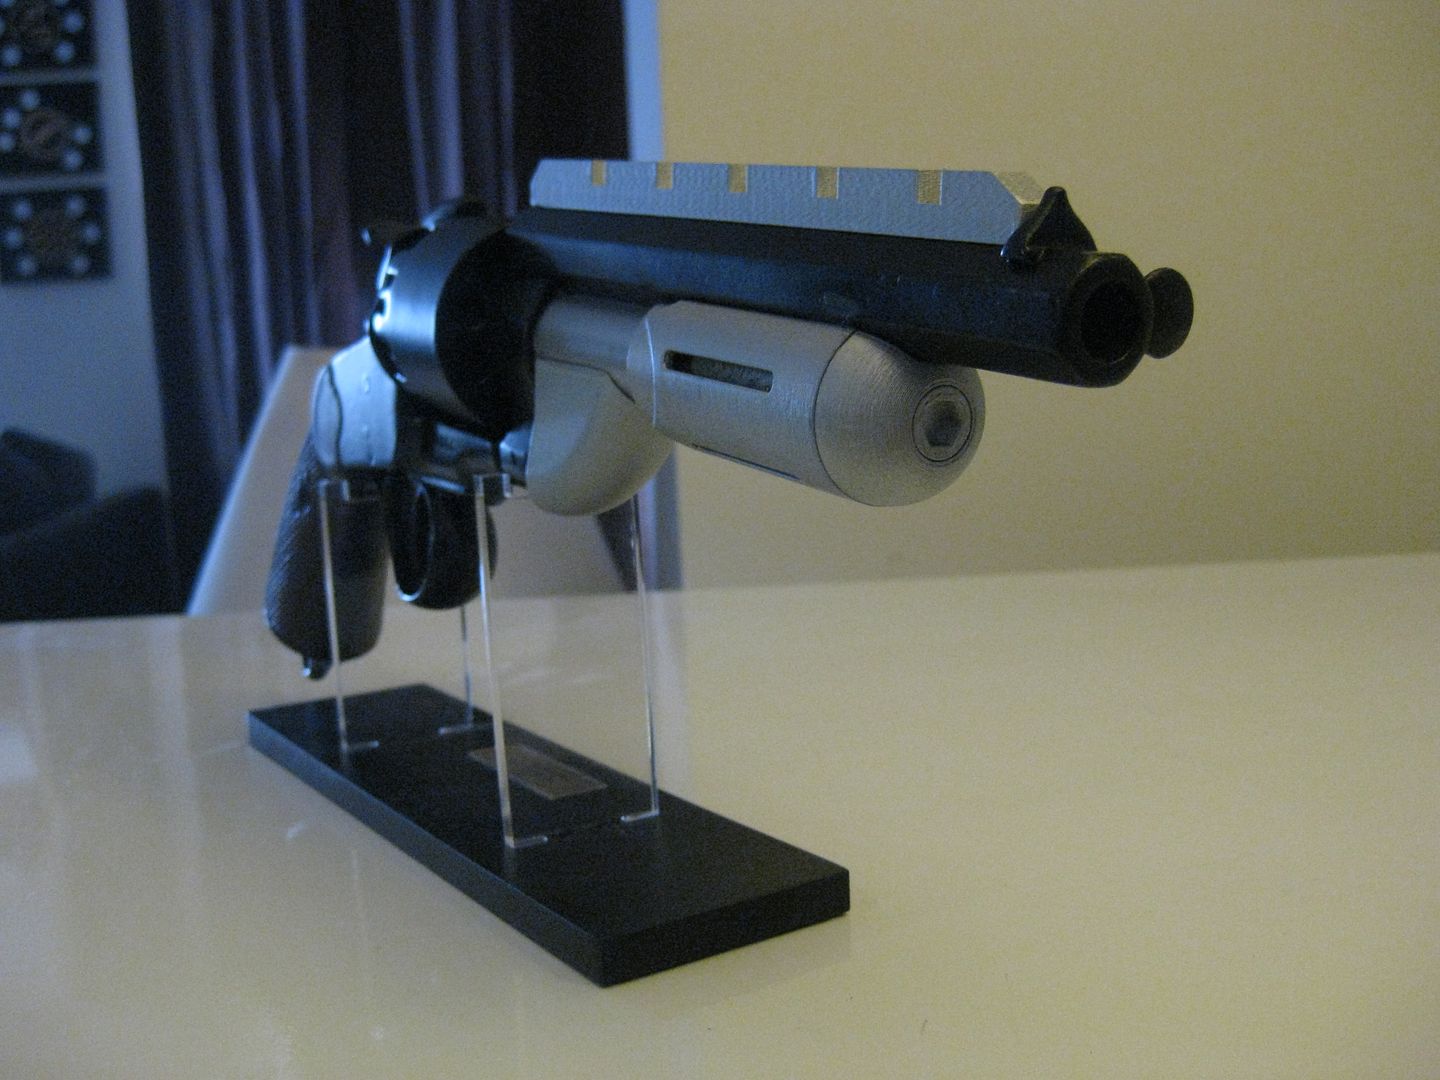
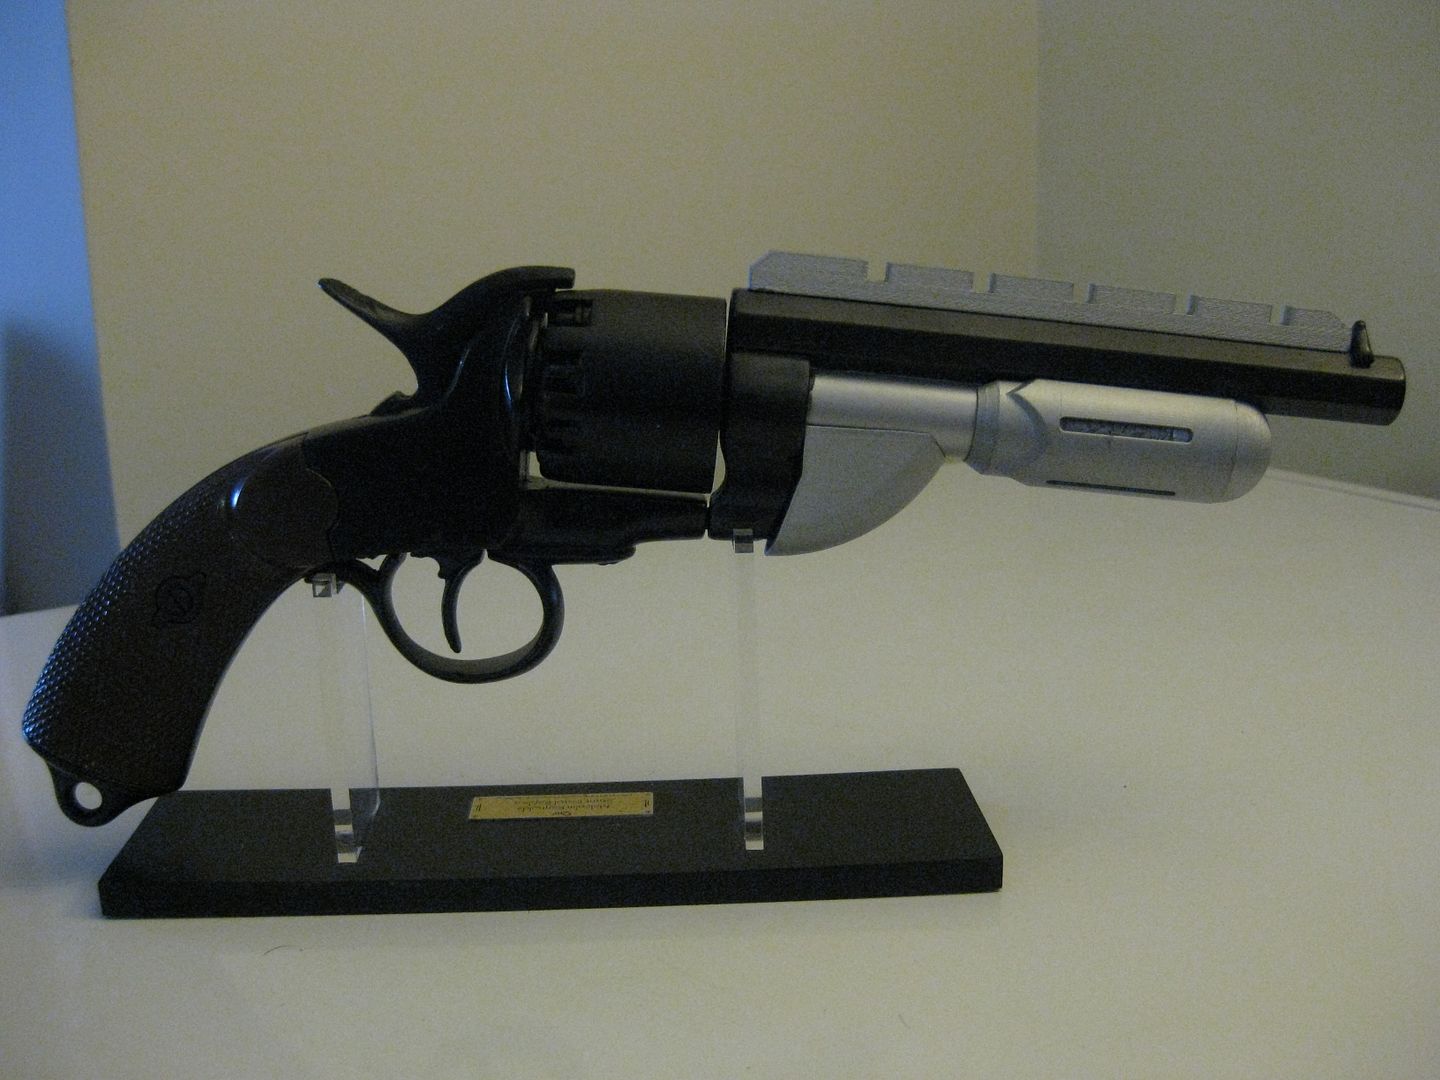
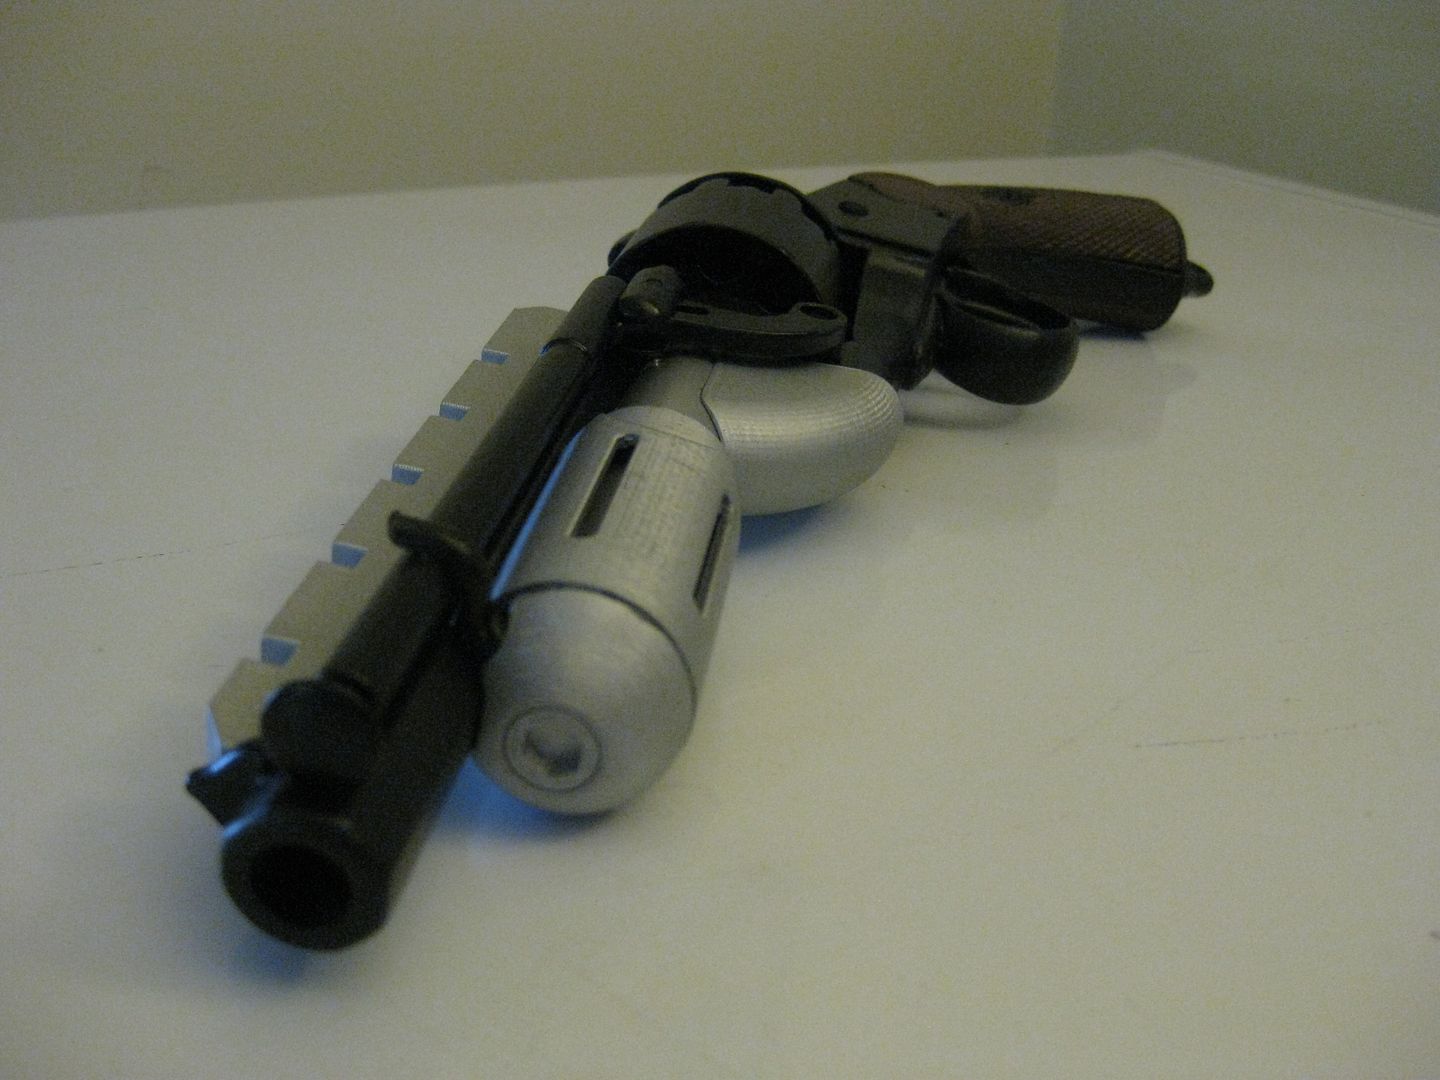
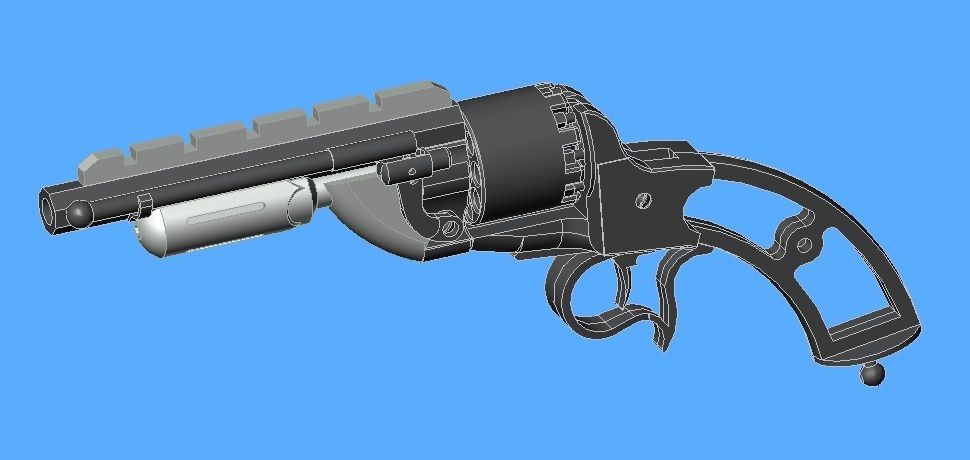
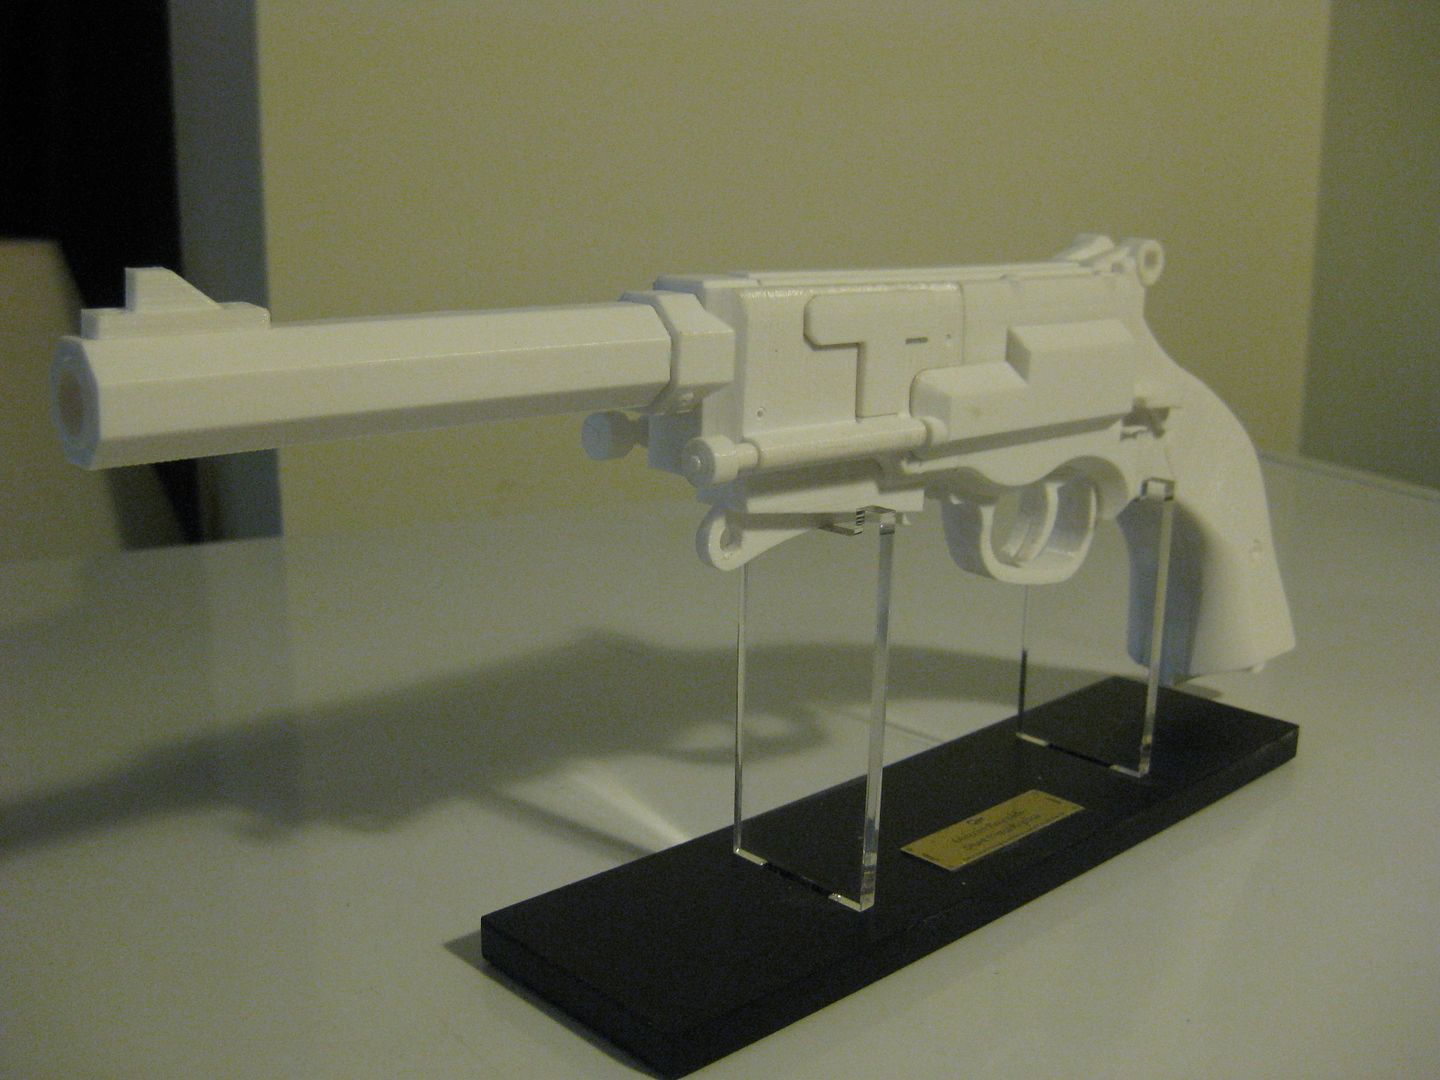
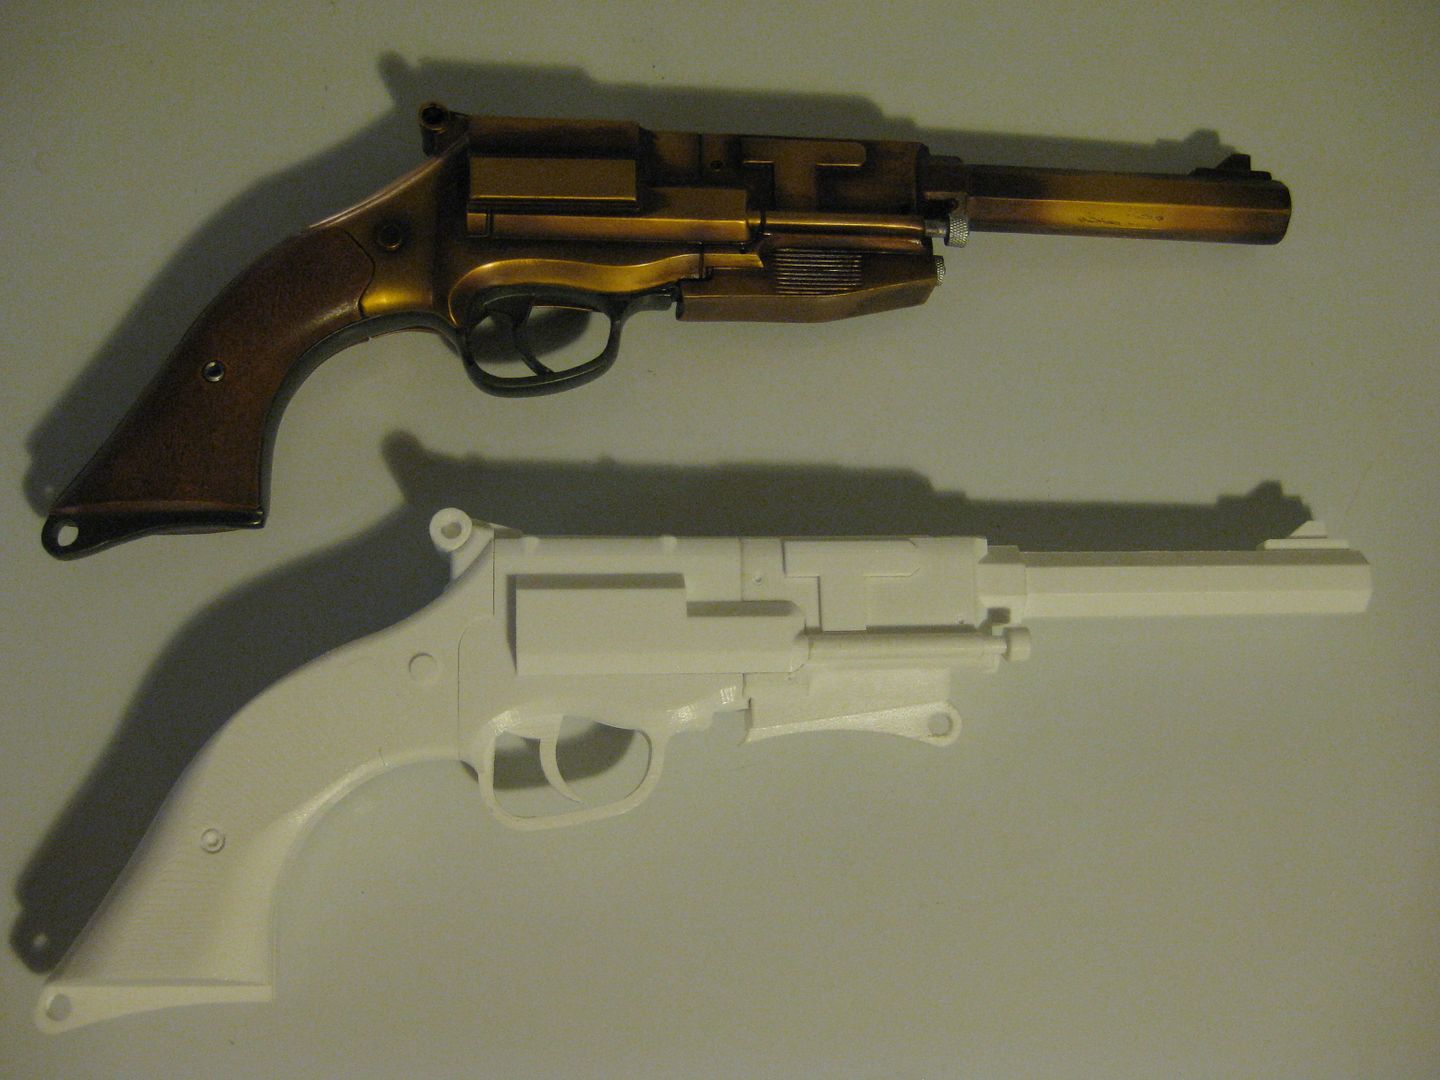
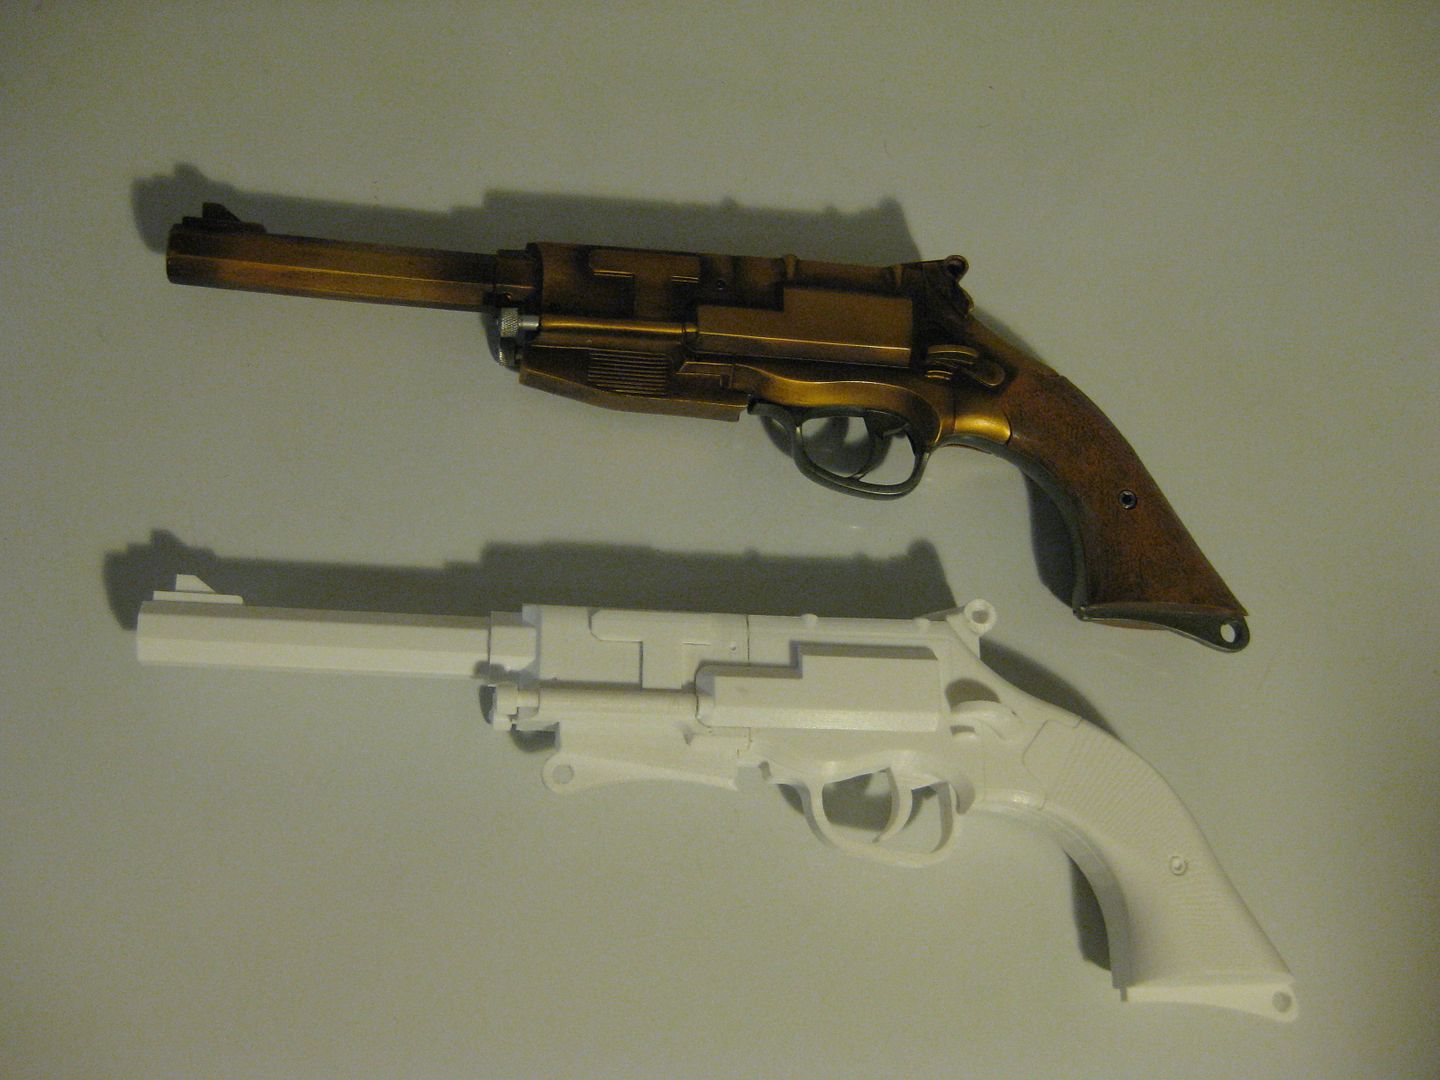
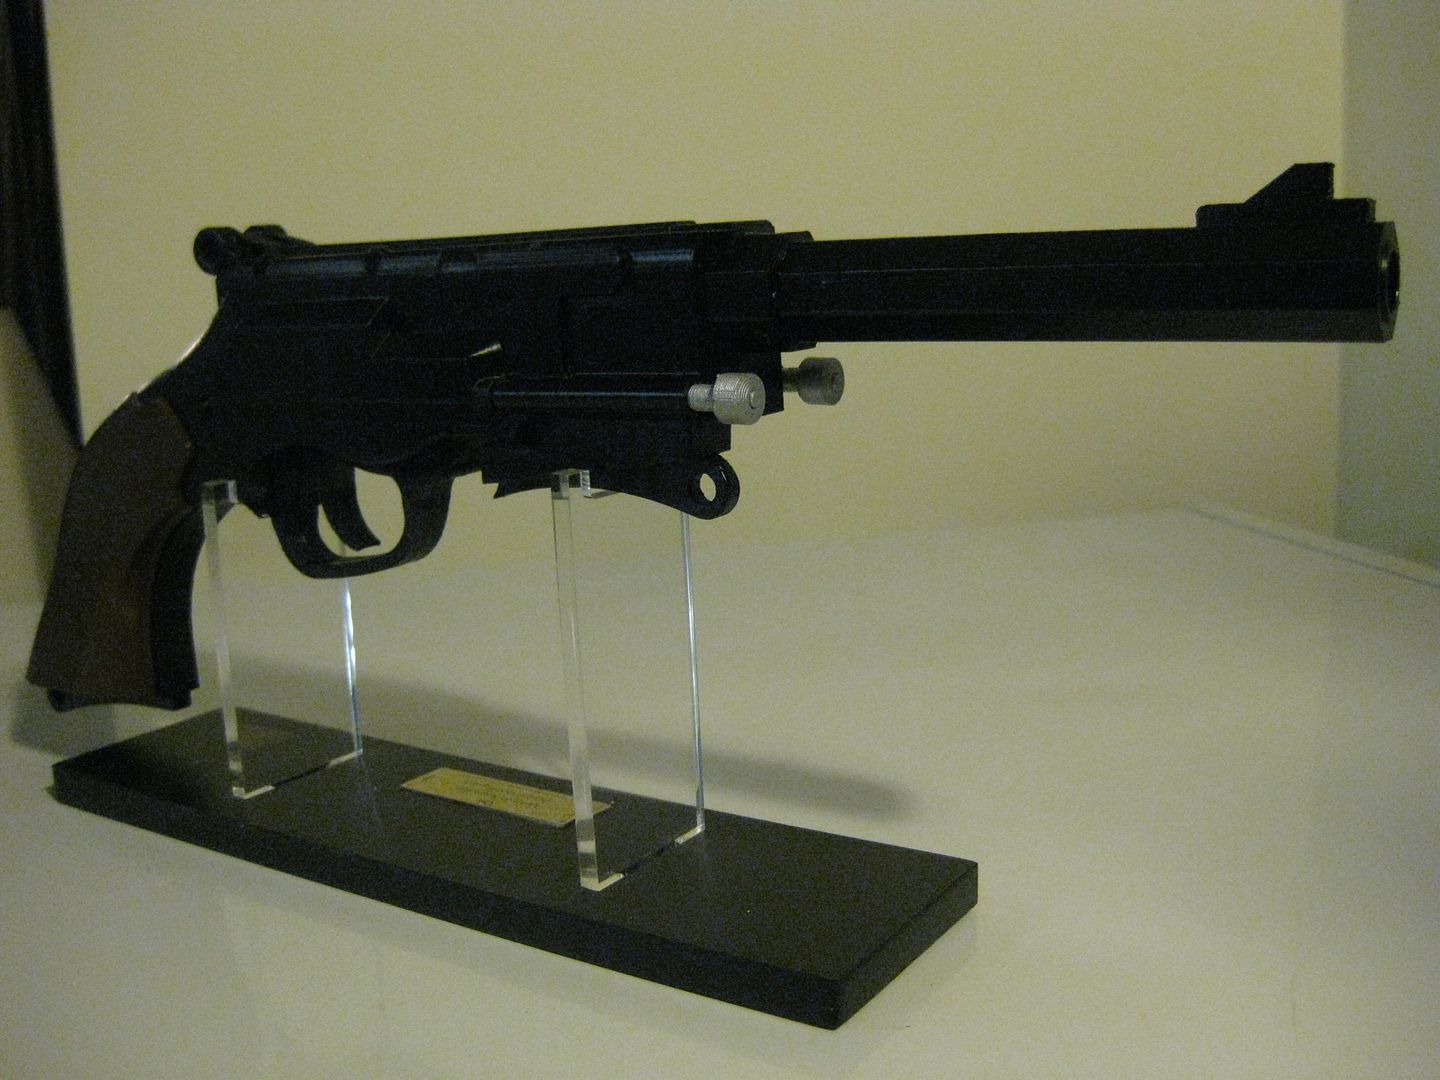
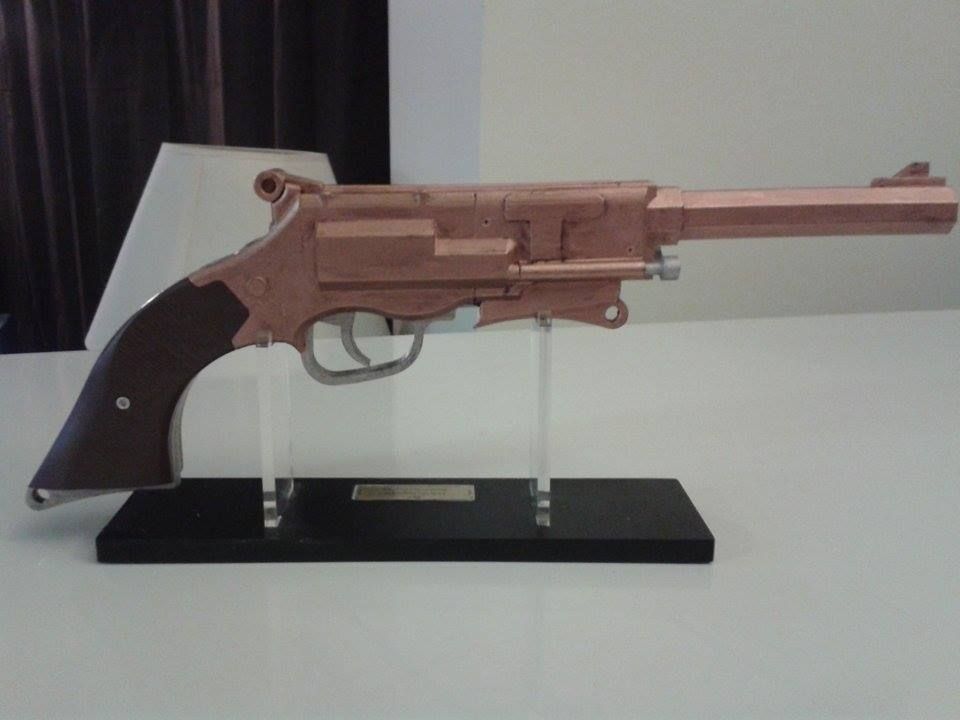
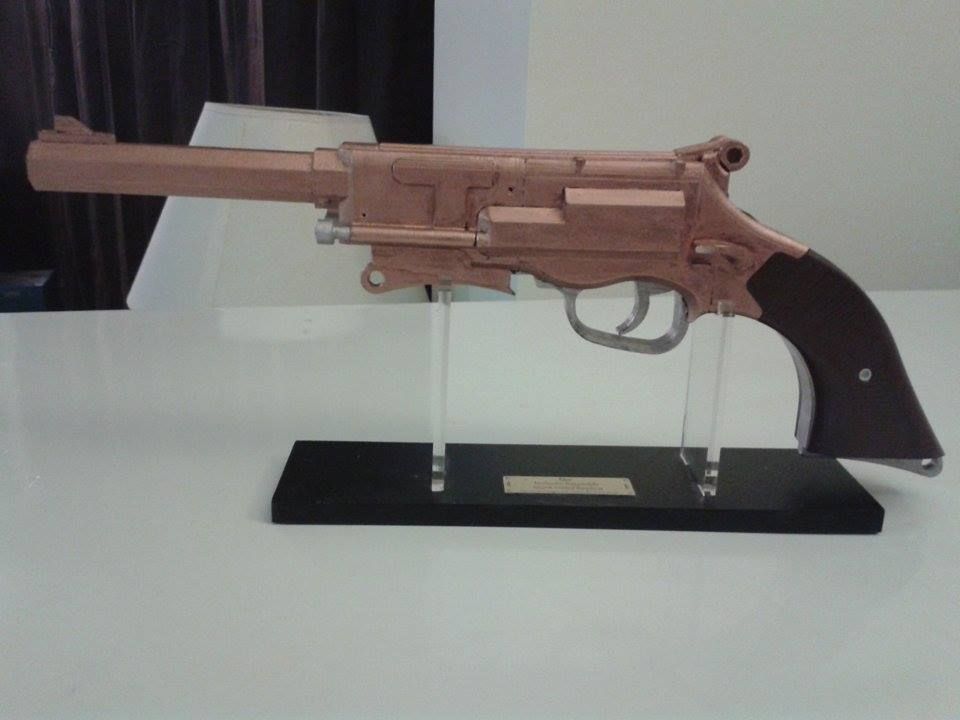
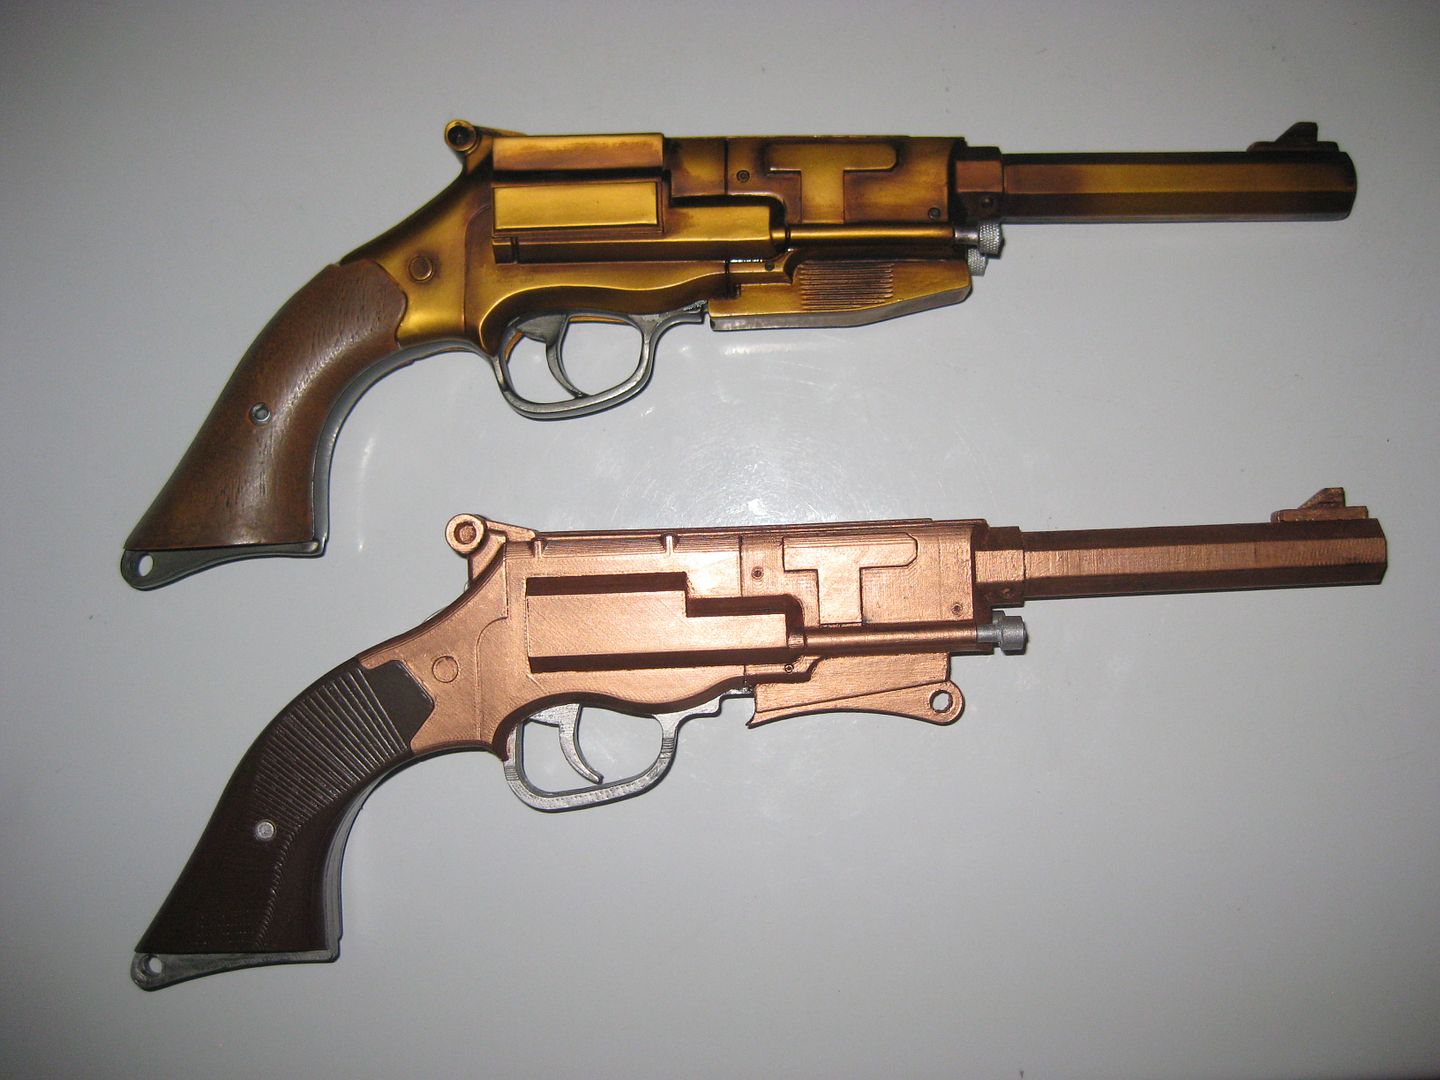
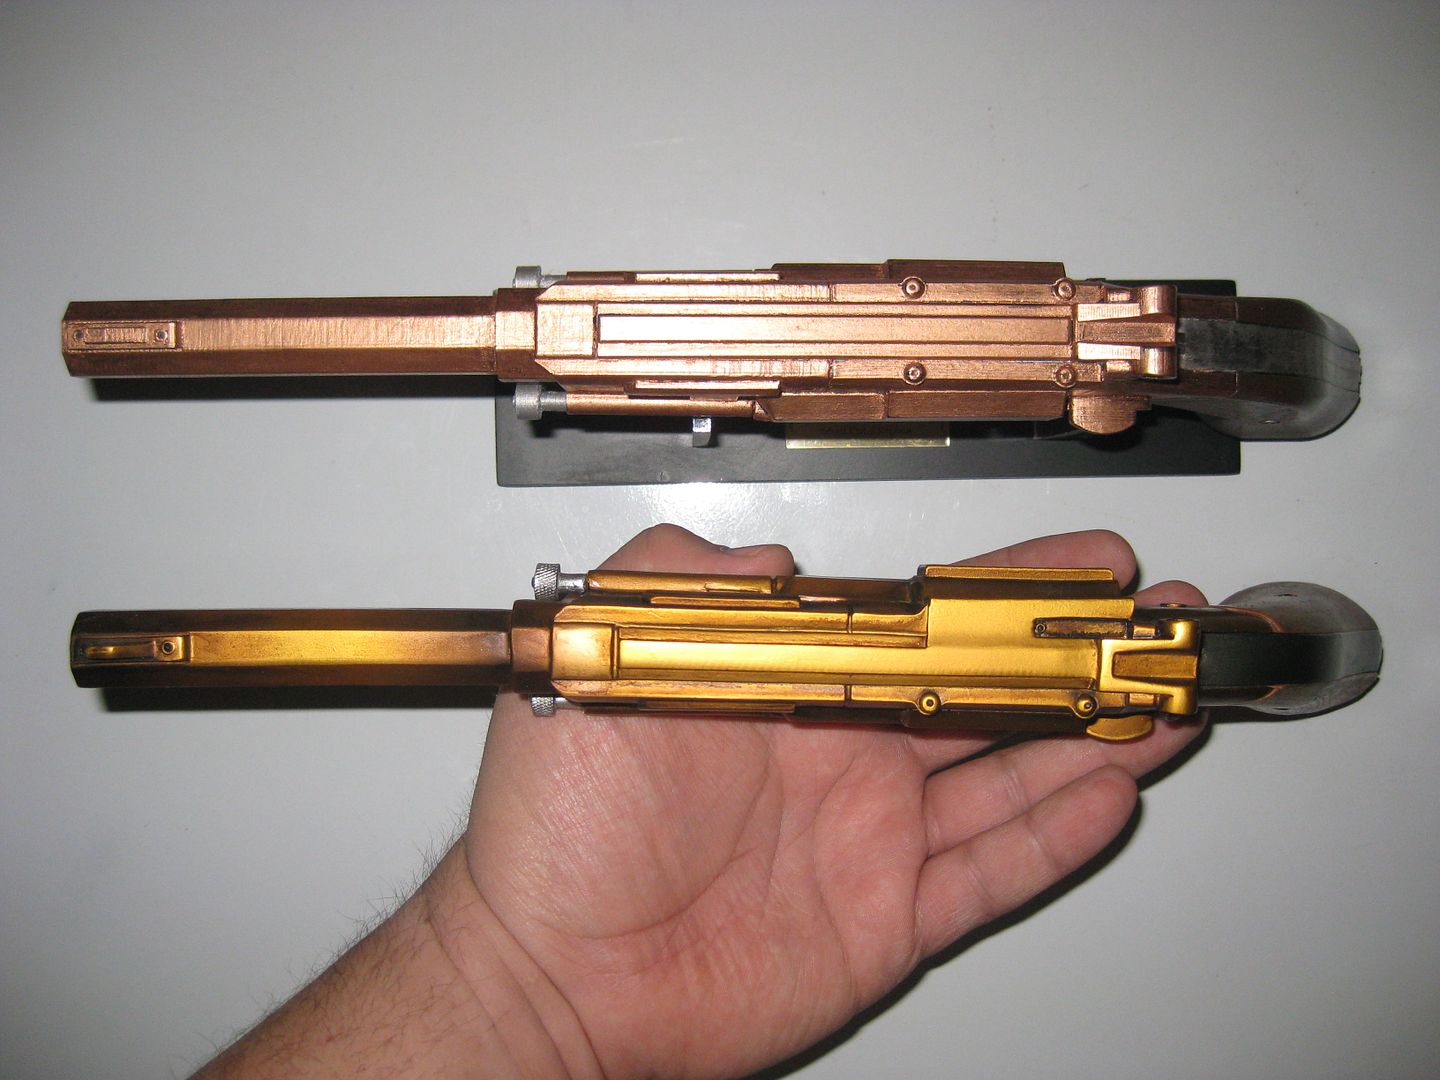
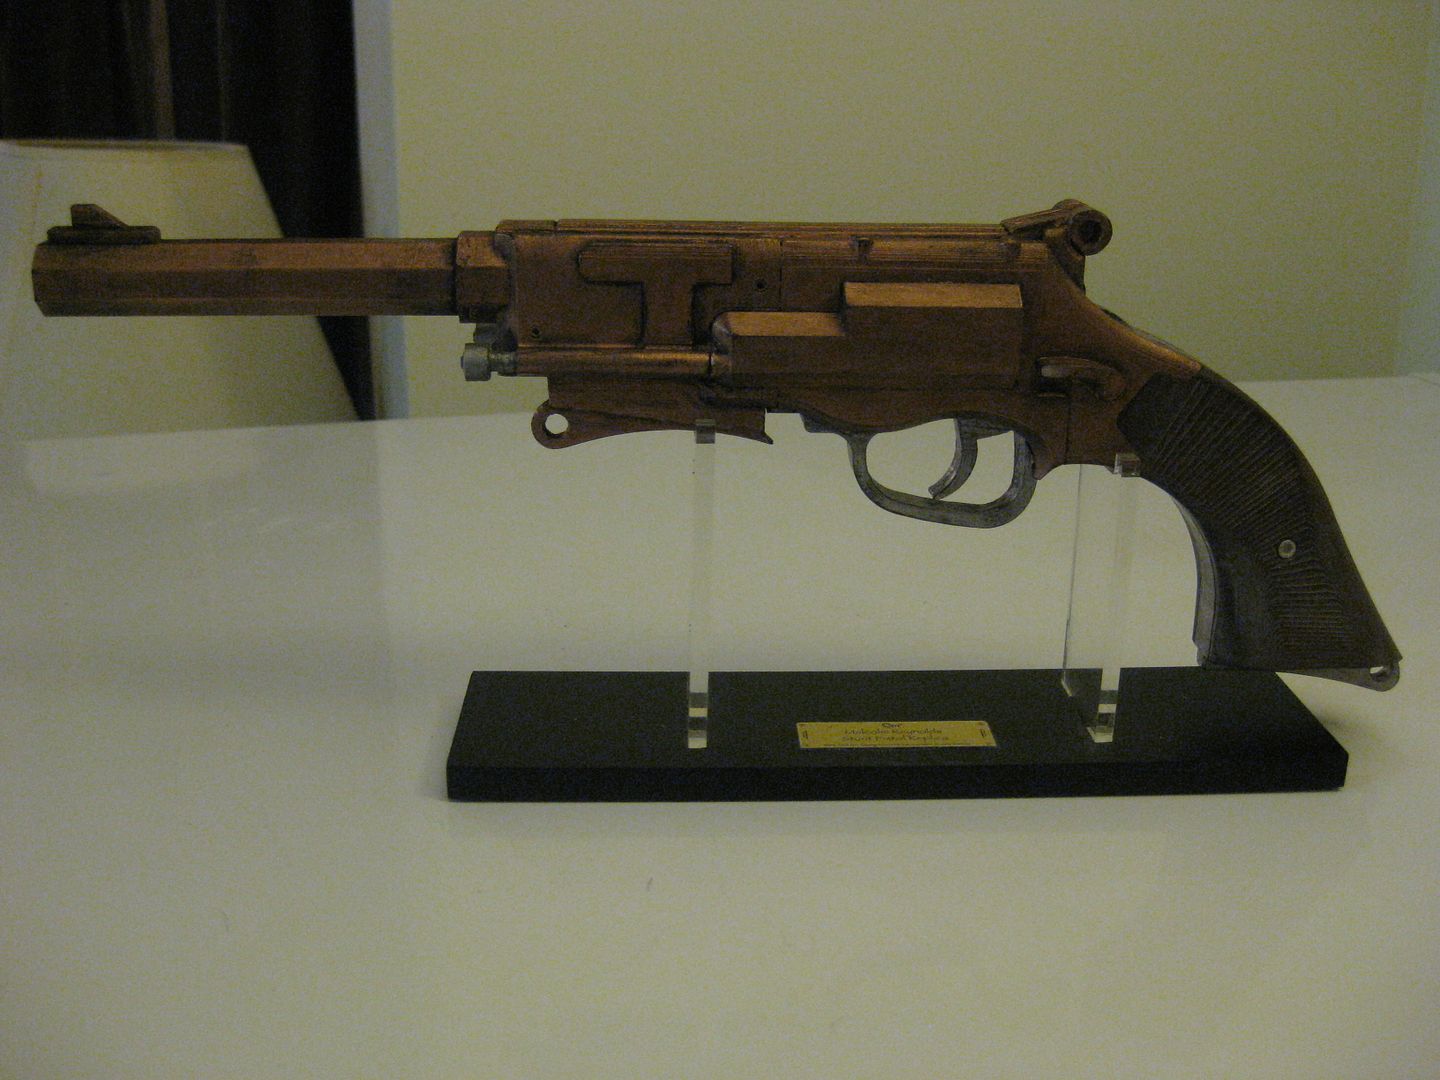
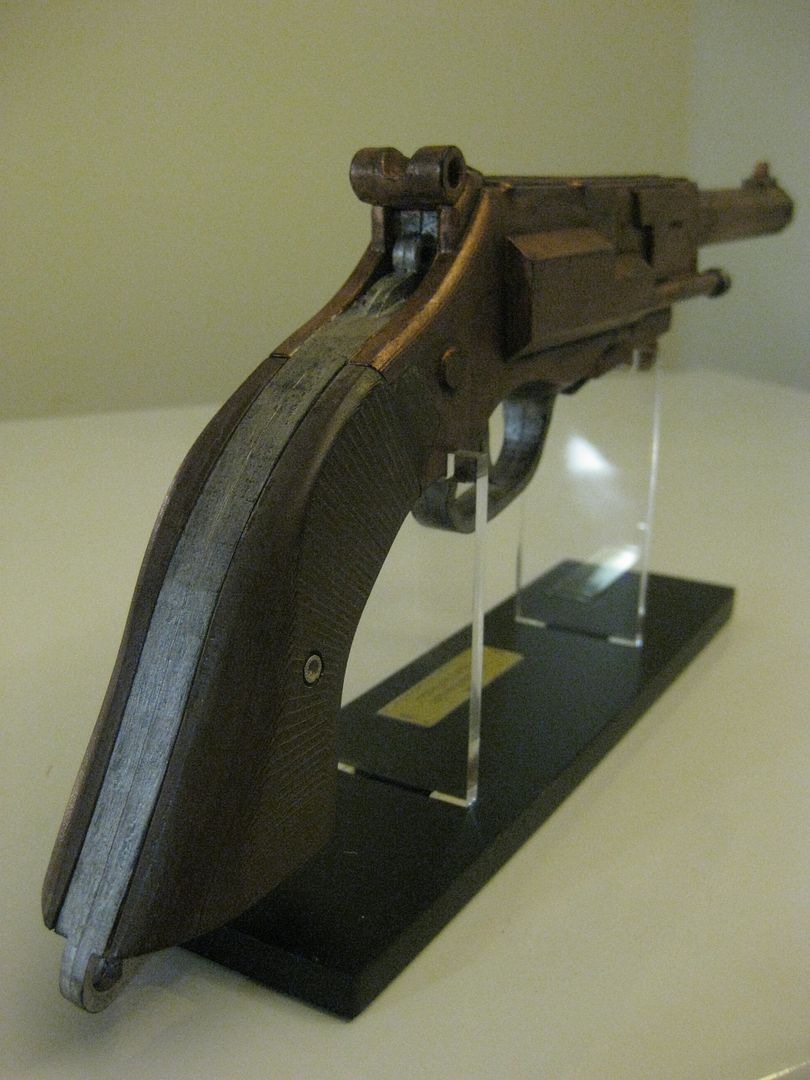
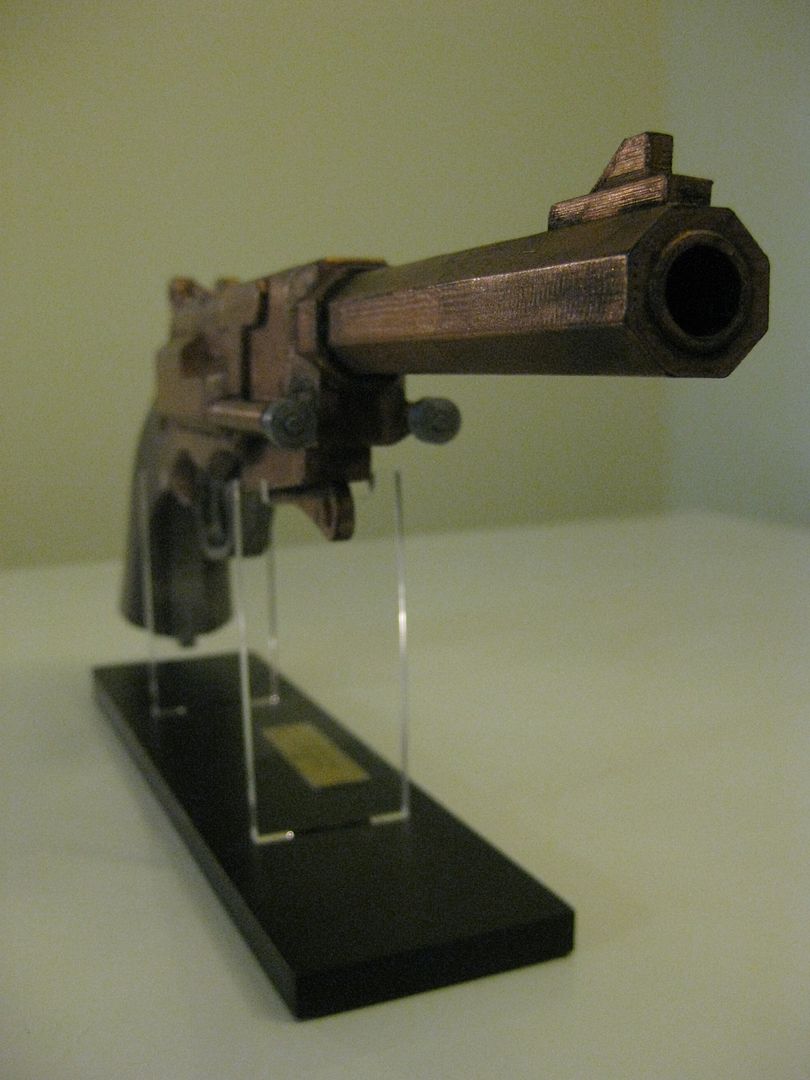
Hey everyone, I was bored the other day and thought to myself, hmmm I've always wanted Mal's TV pistol from Firefly but I'm always strapped for cash to buy a resin or metal copy. So I decided to take a crack at 3D modelling my own and see how it turned out. With a QMX pistol for dimensional reference, I started out and things came together quite well.

Pistol%20Views%20-%20R3_zpsfktyaxys.jpg


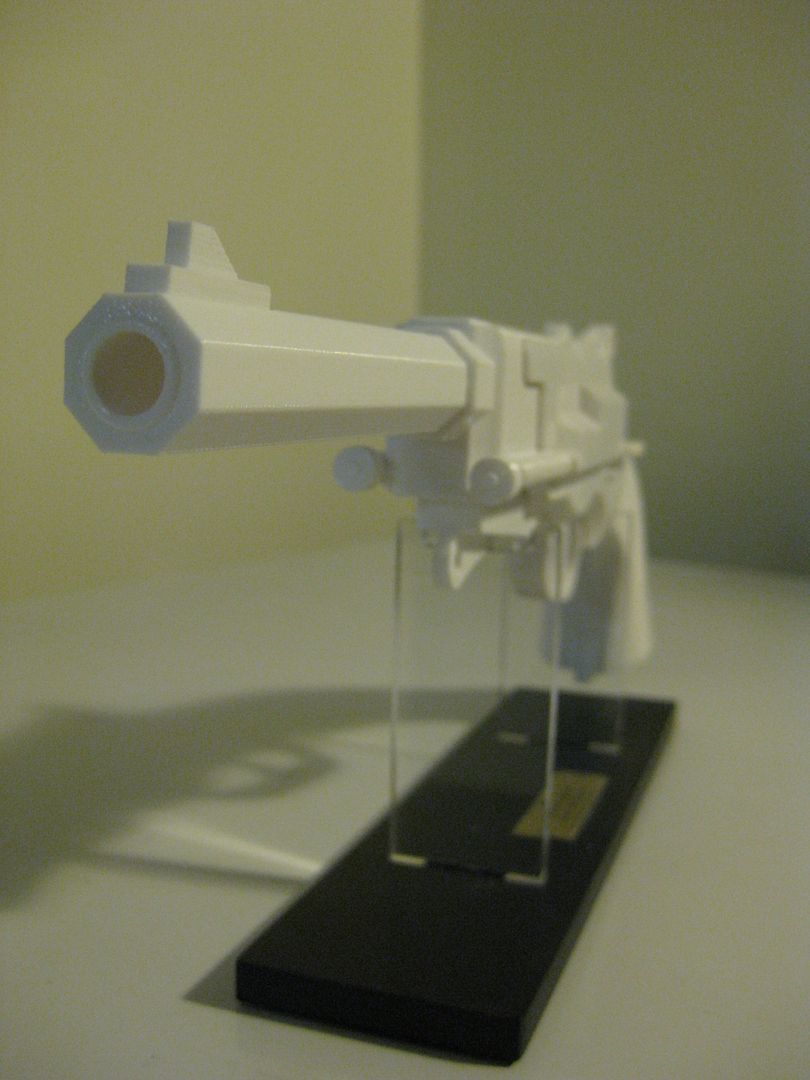
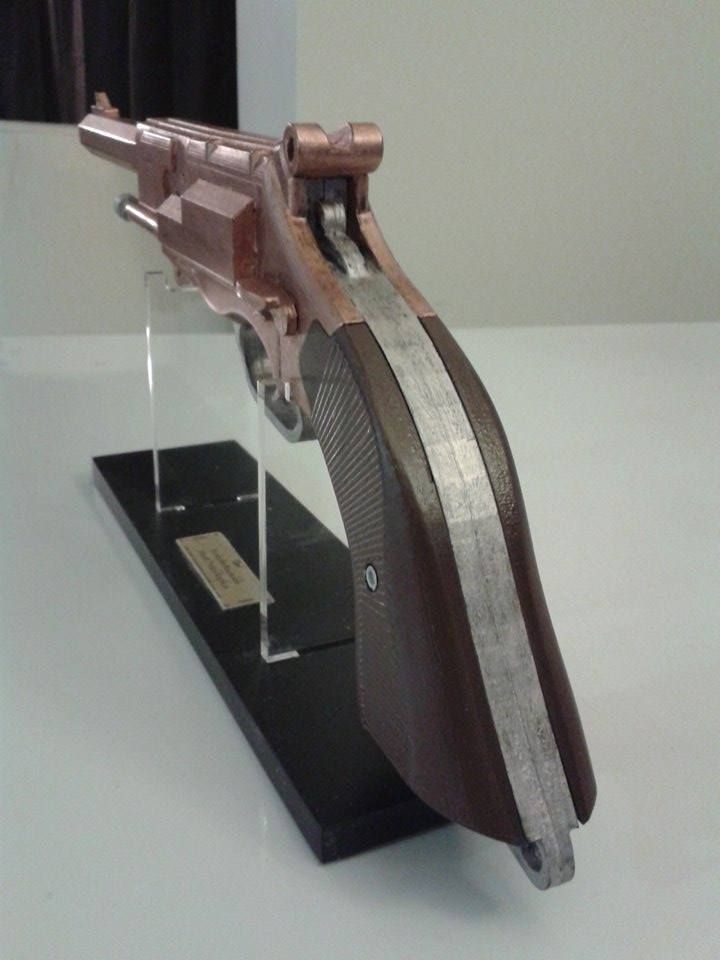
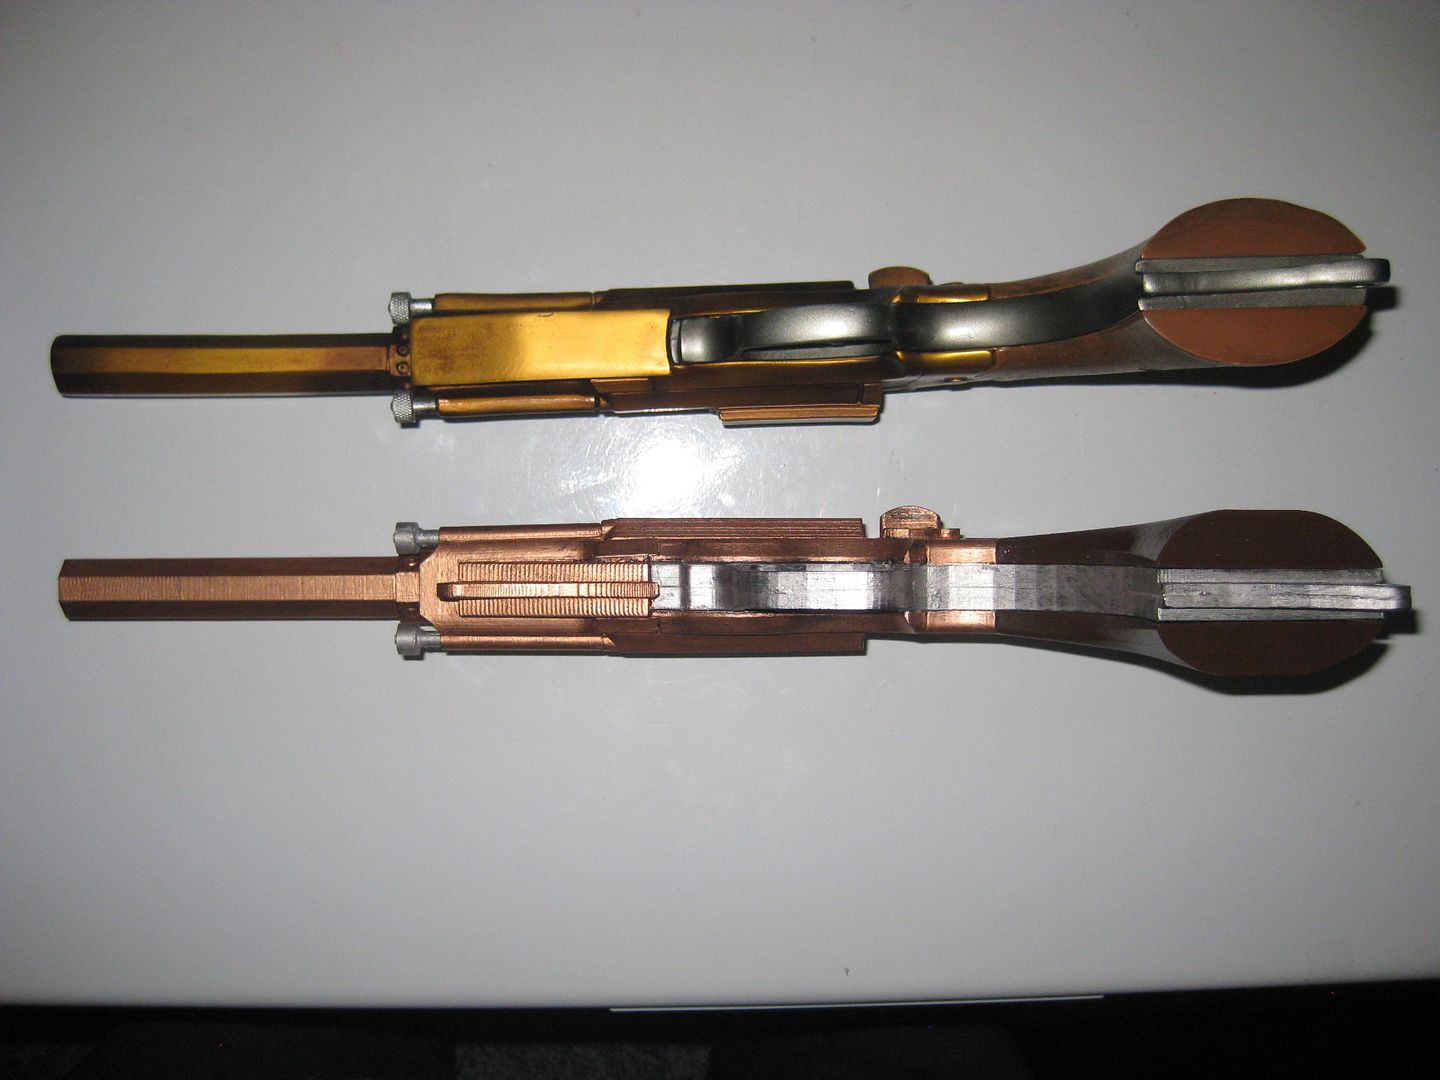
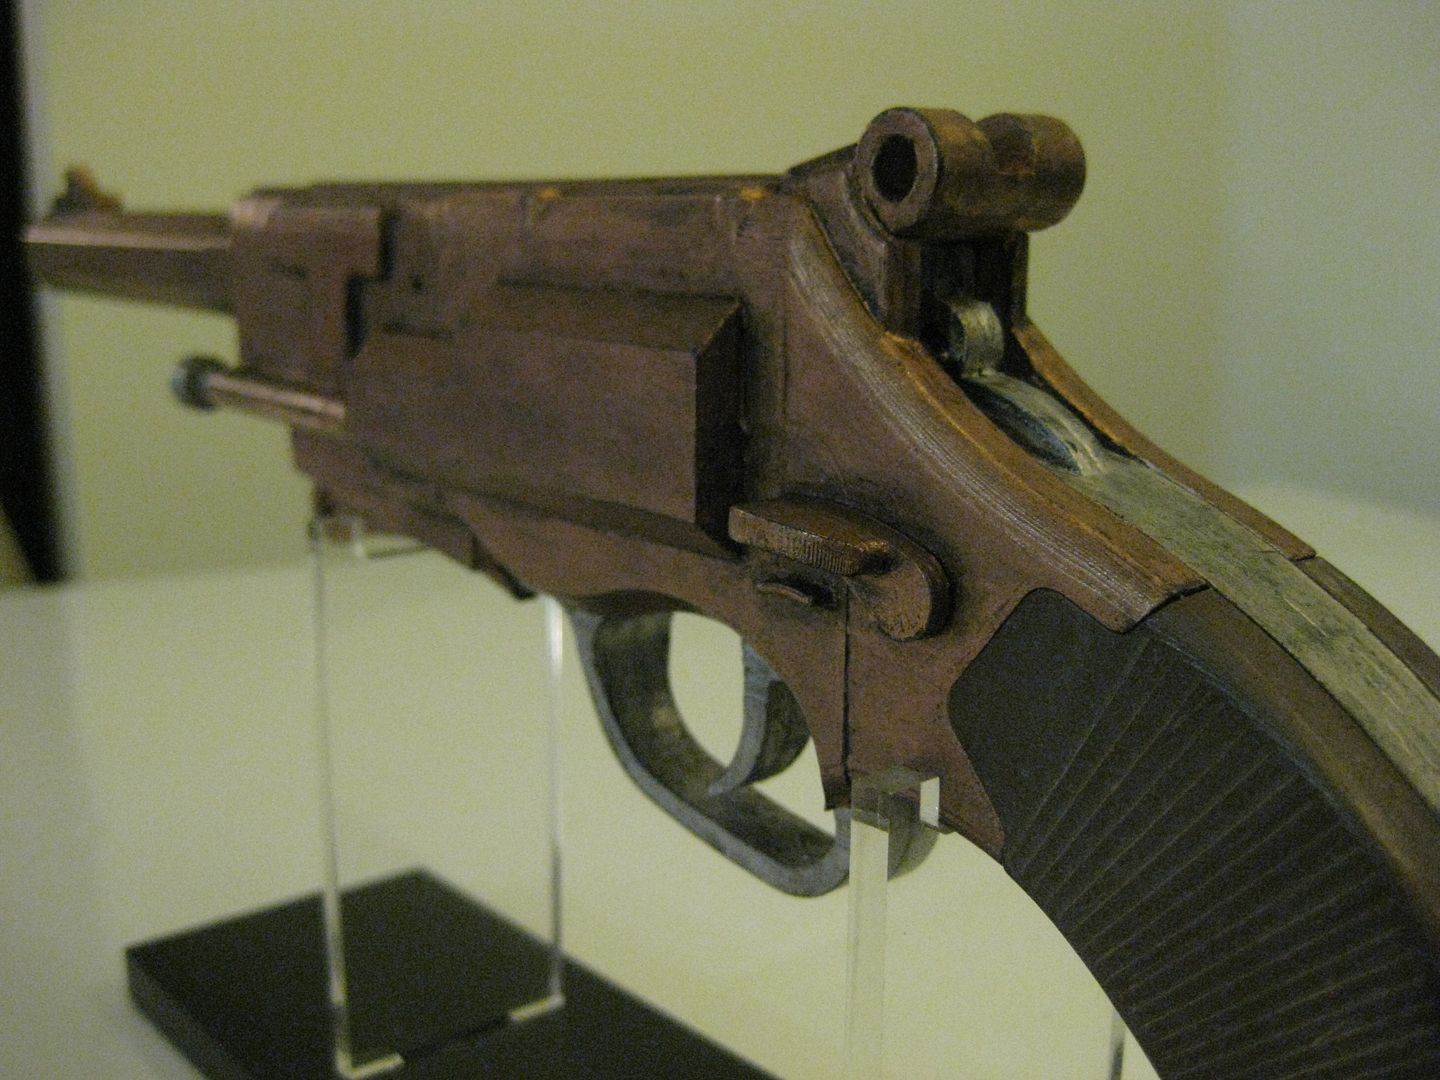
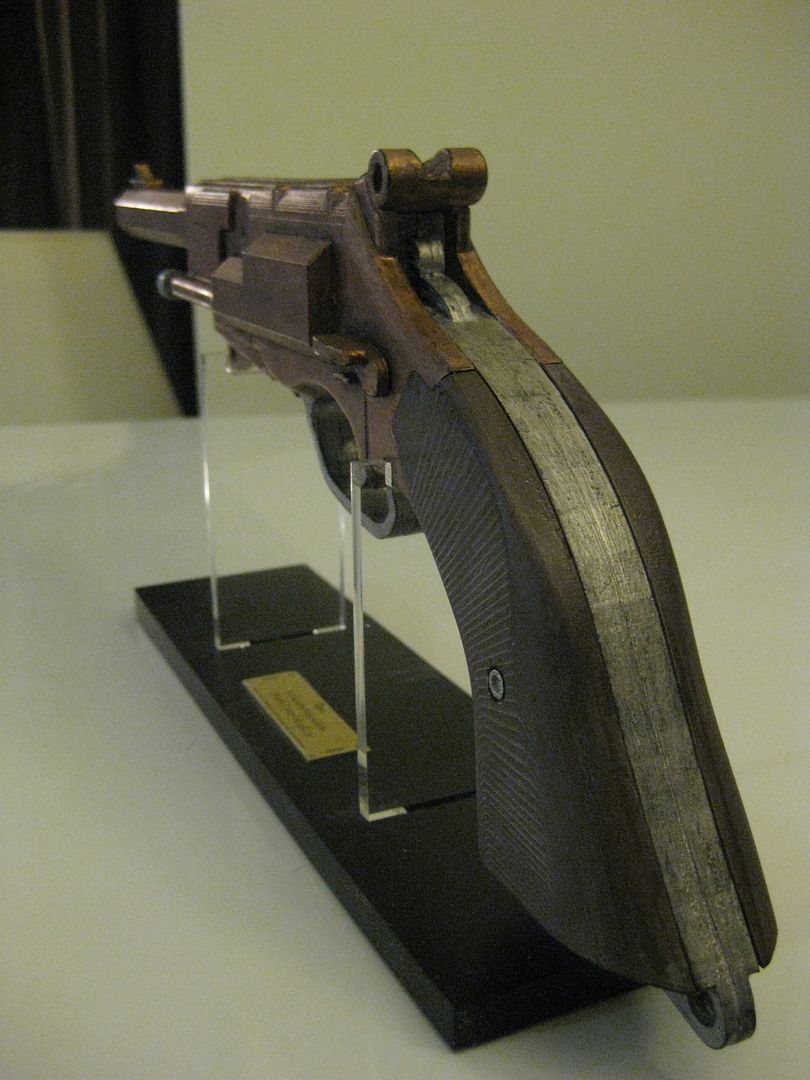
I spent about 8 hours working over the rough details then off and on for a bit longer before I arrived at my current state. So, how did I fare? Well, the main feature I still have issue with is the back of the grips, and really the grips in general are not as accurate on the curves as I had originally wanted but it turned out pretty great.


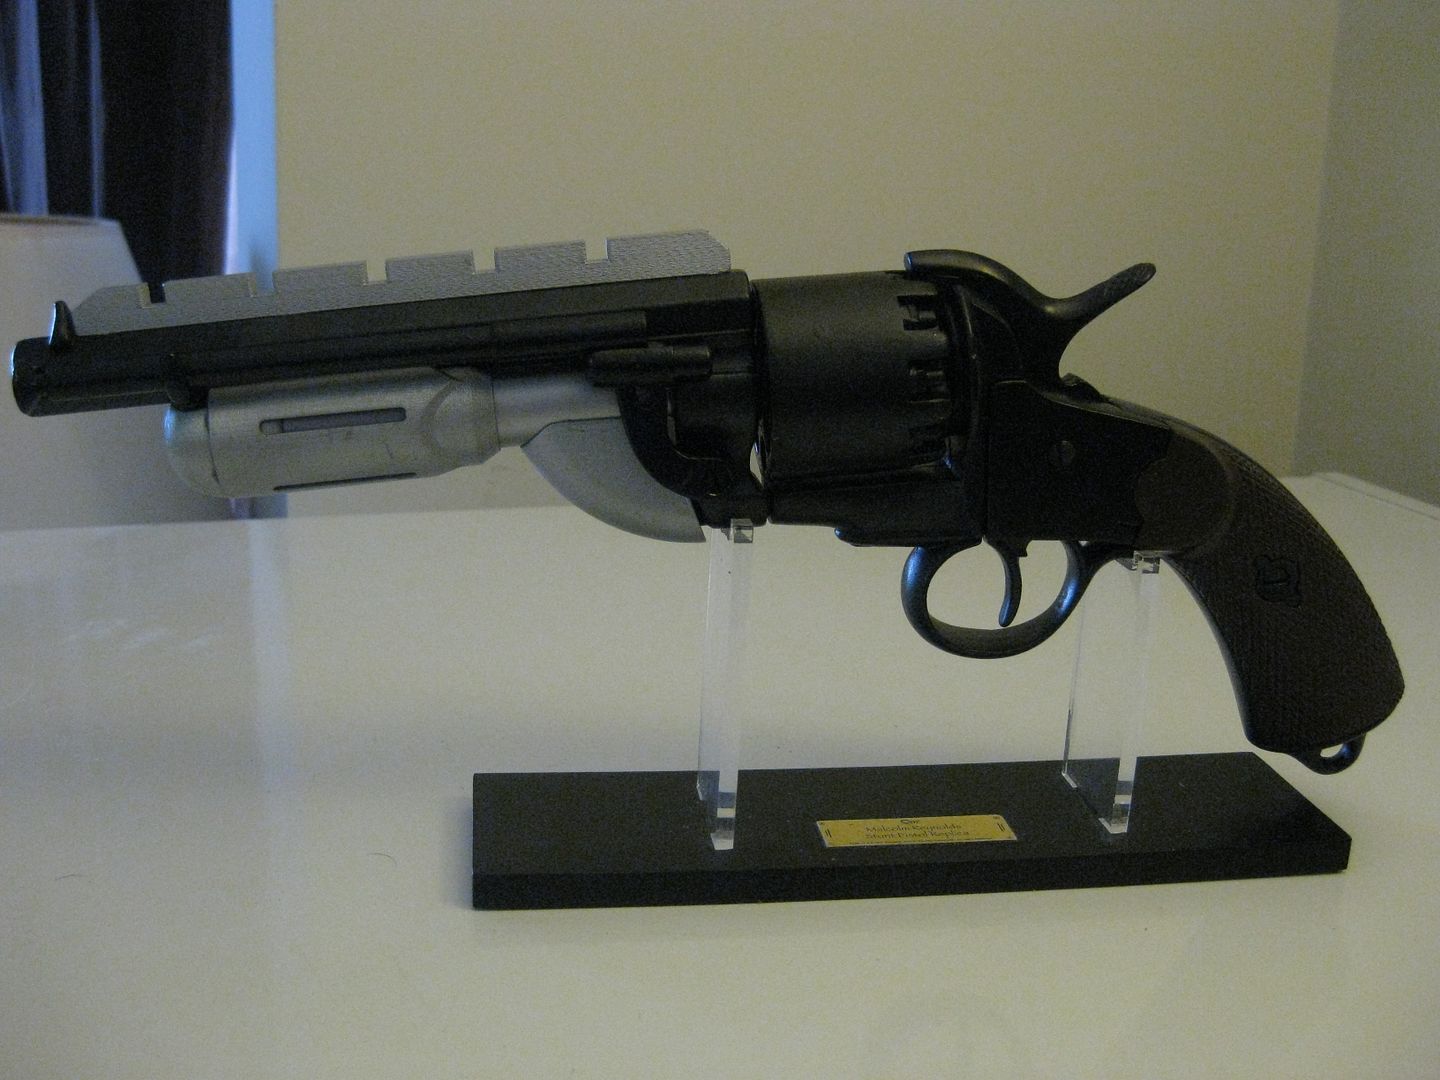
I've had some useful comments from other members in threads and I'm looking to see if there is more that anyone would like to contribute before I end up going for 3D printing quotes.


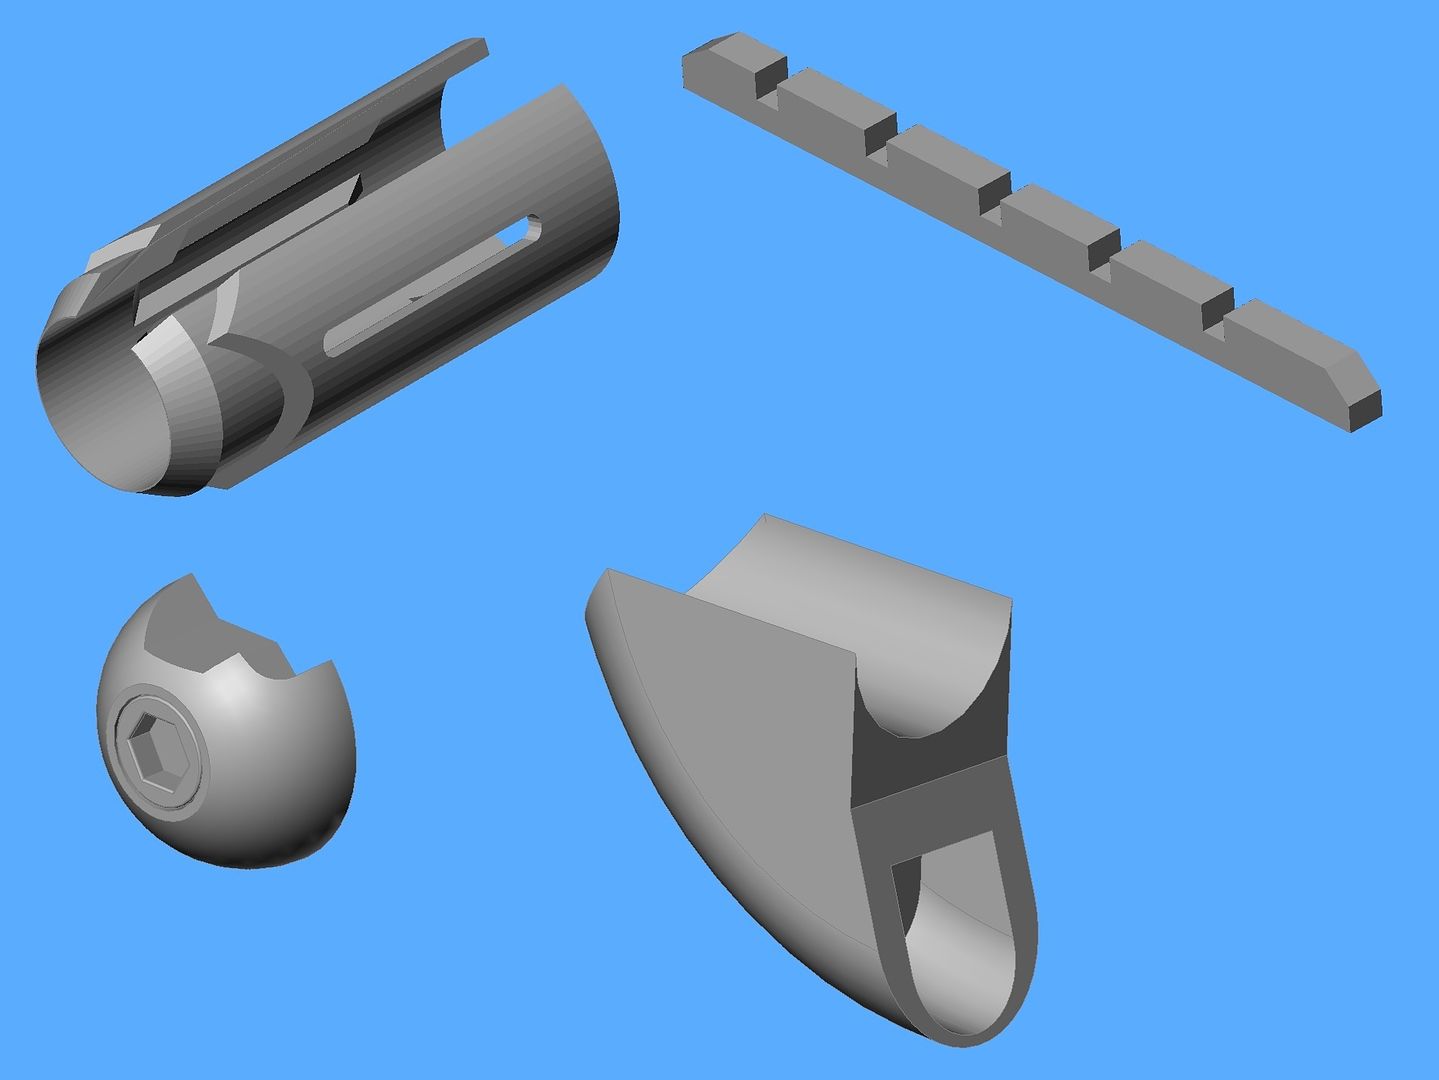
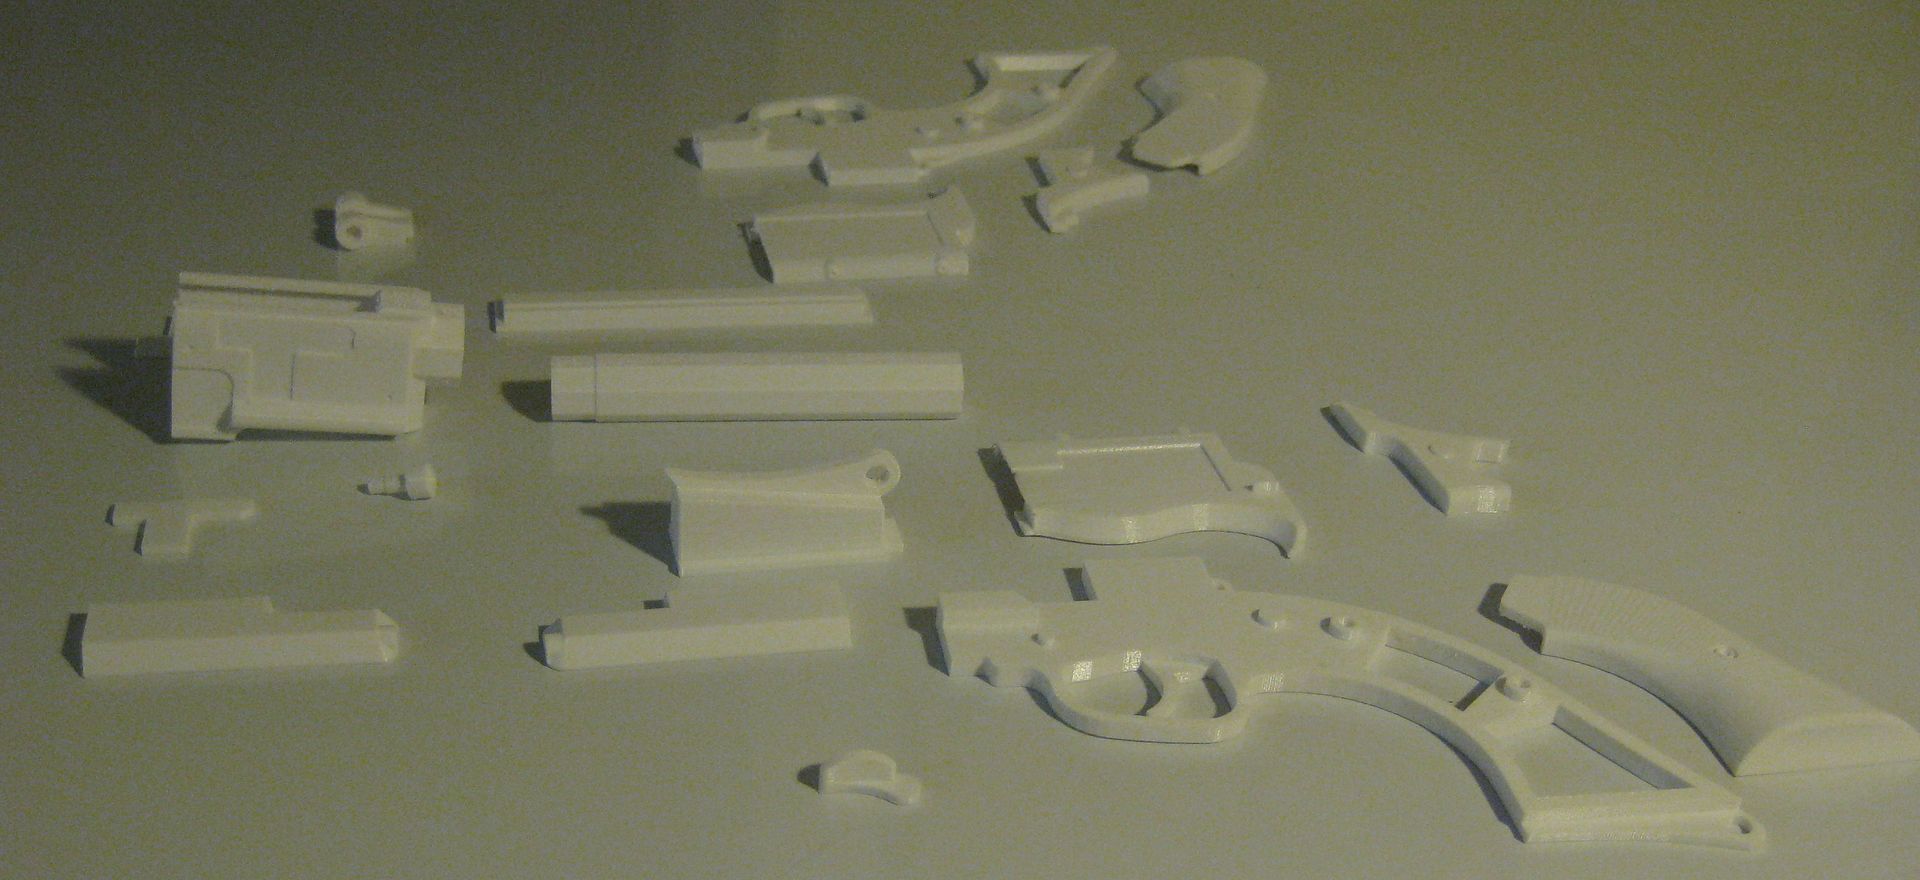
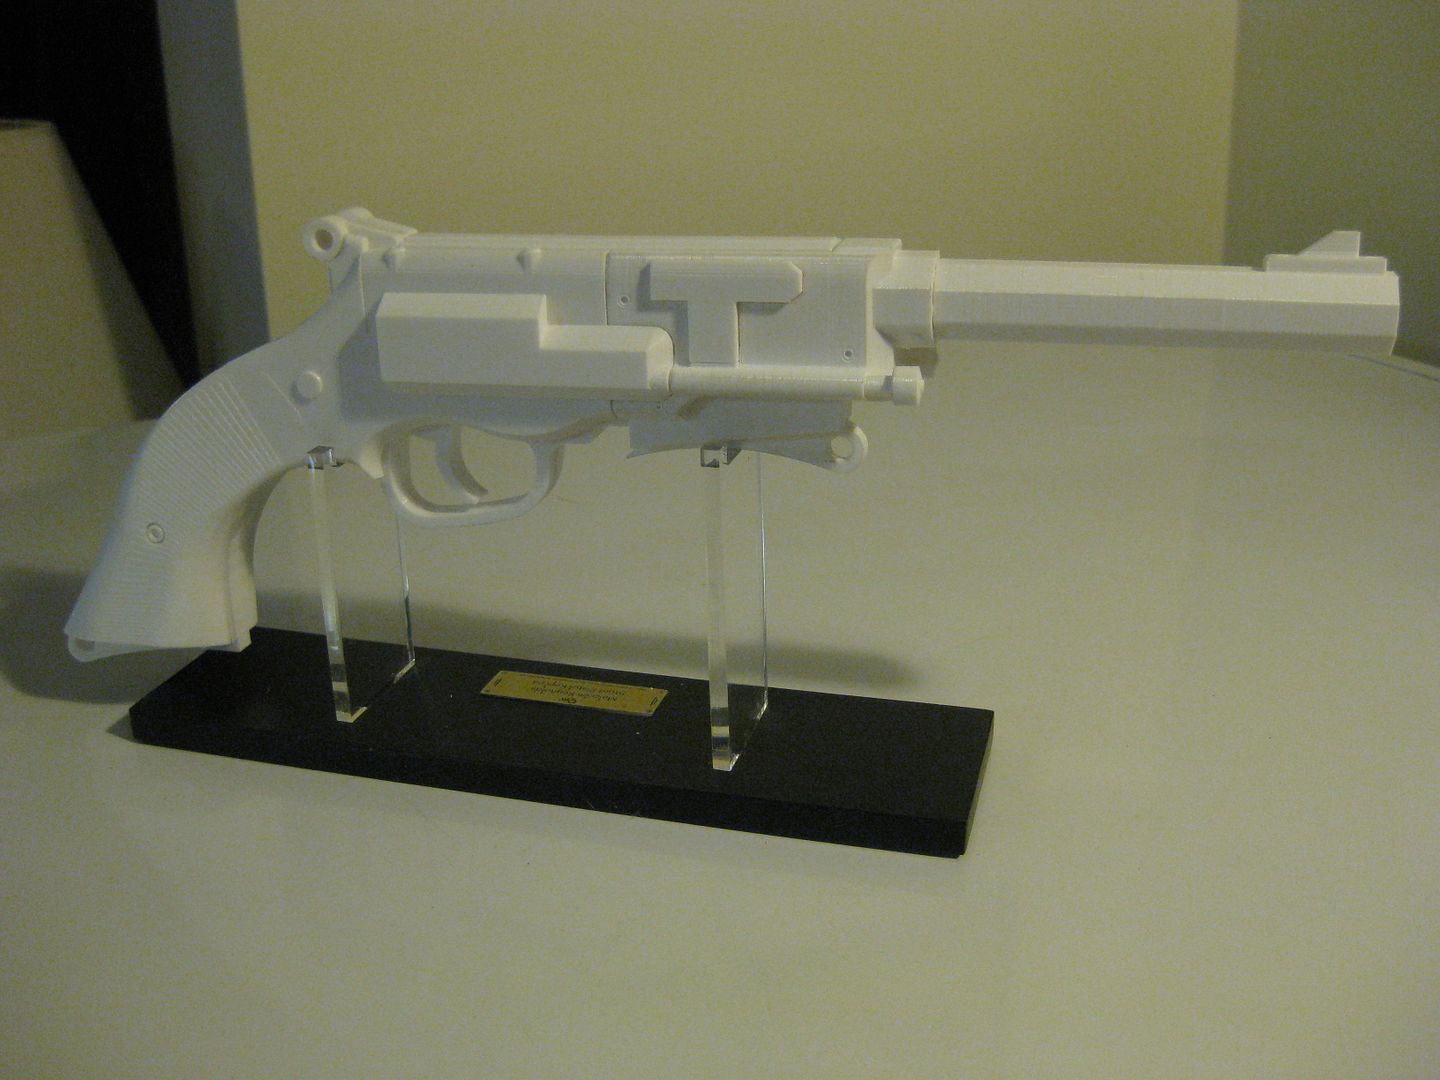
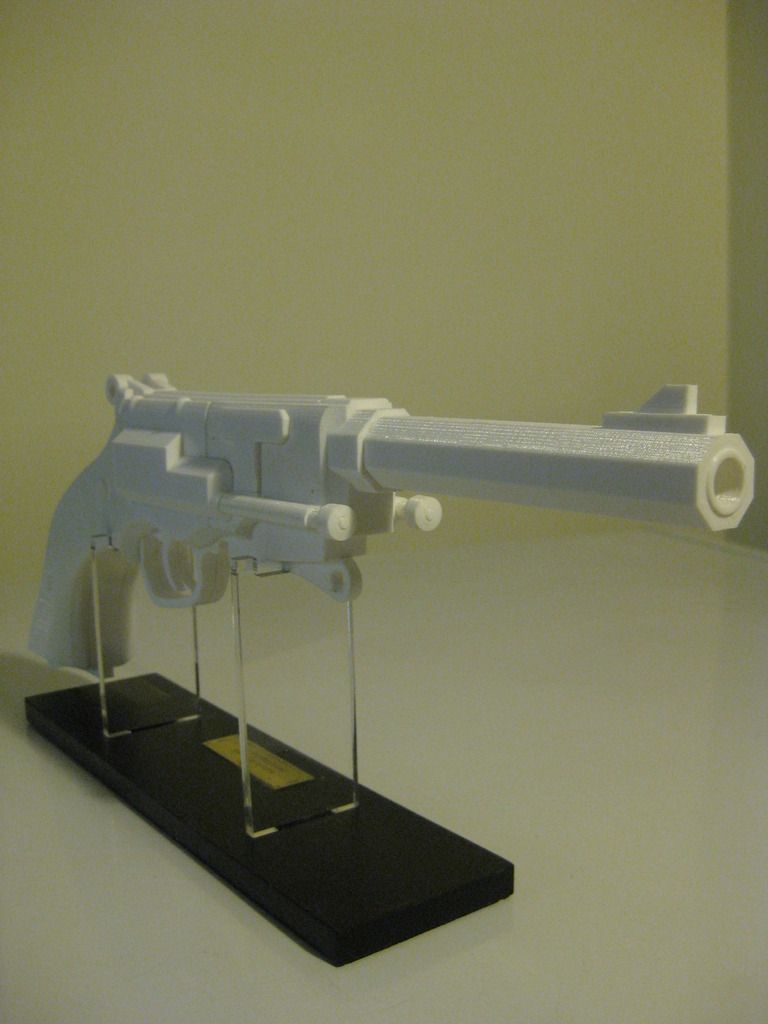
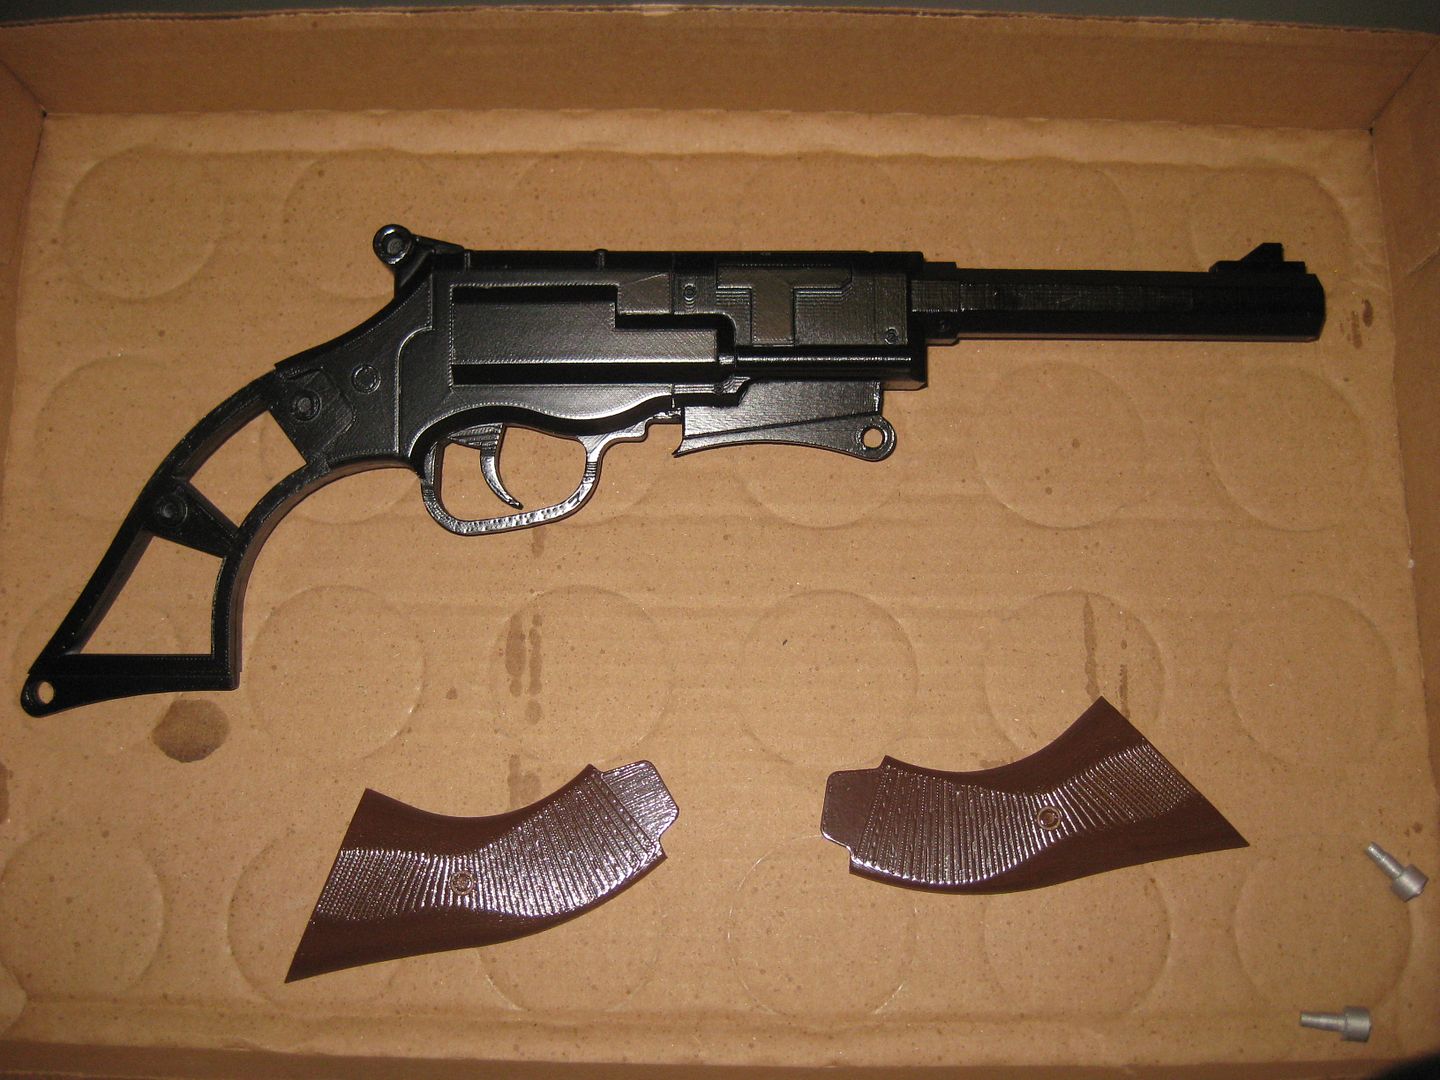
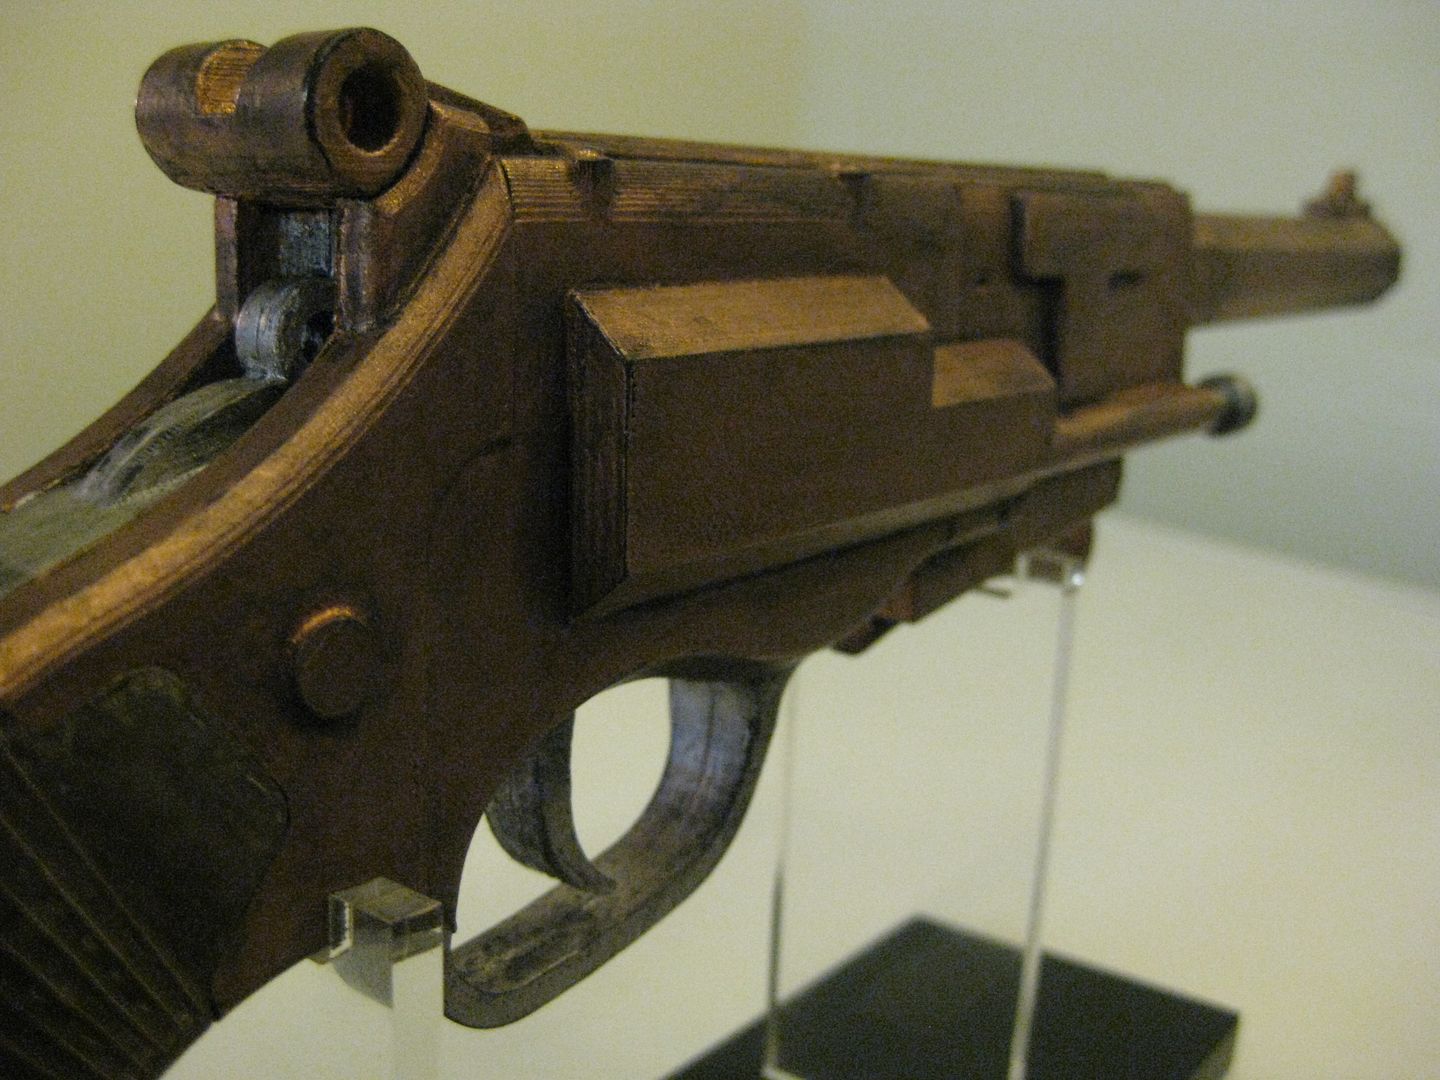
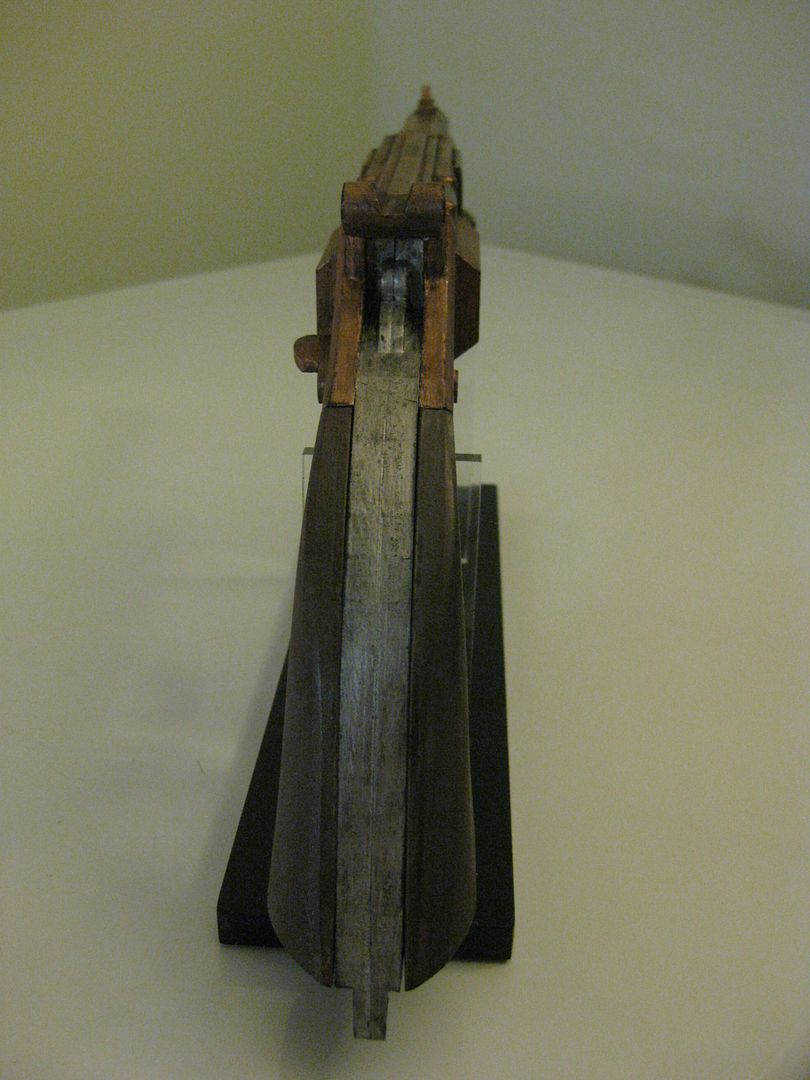
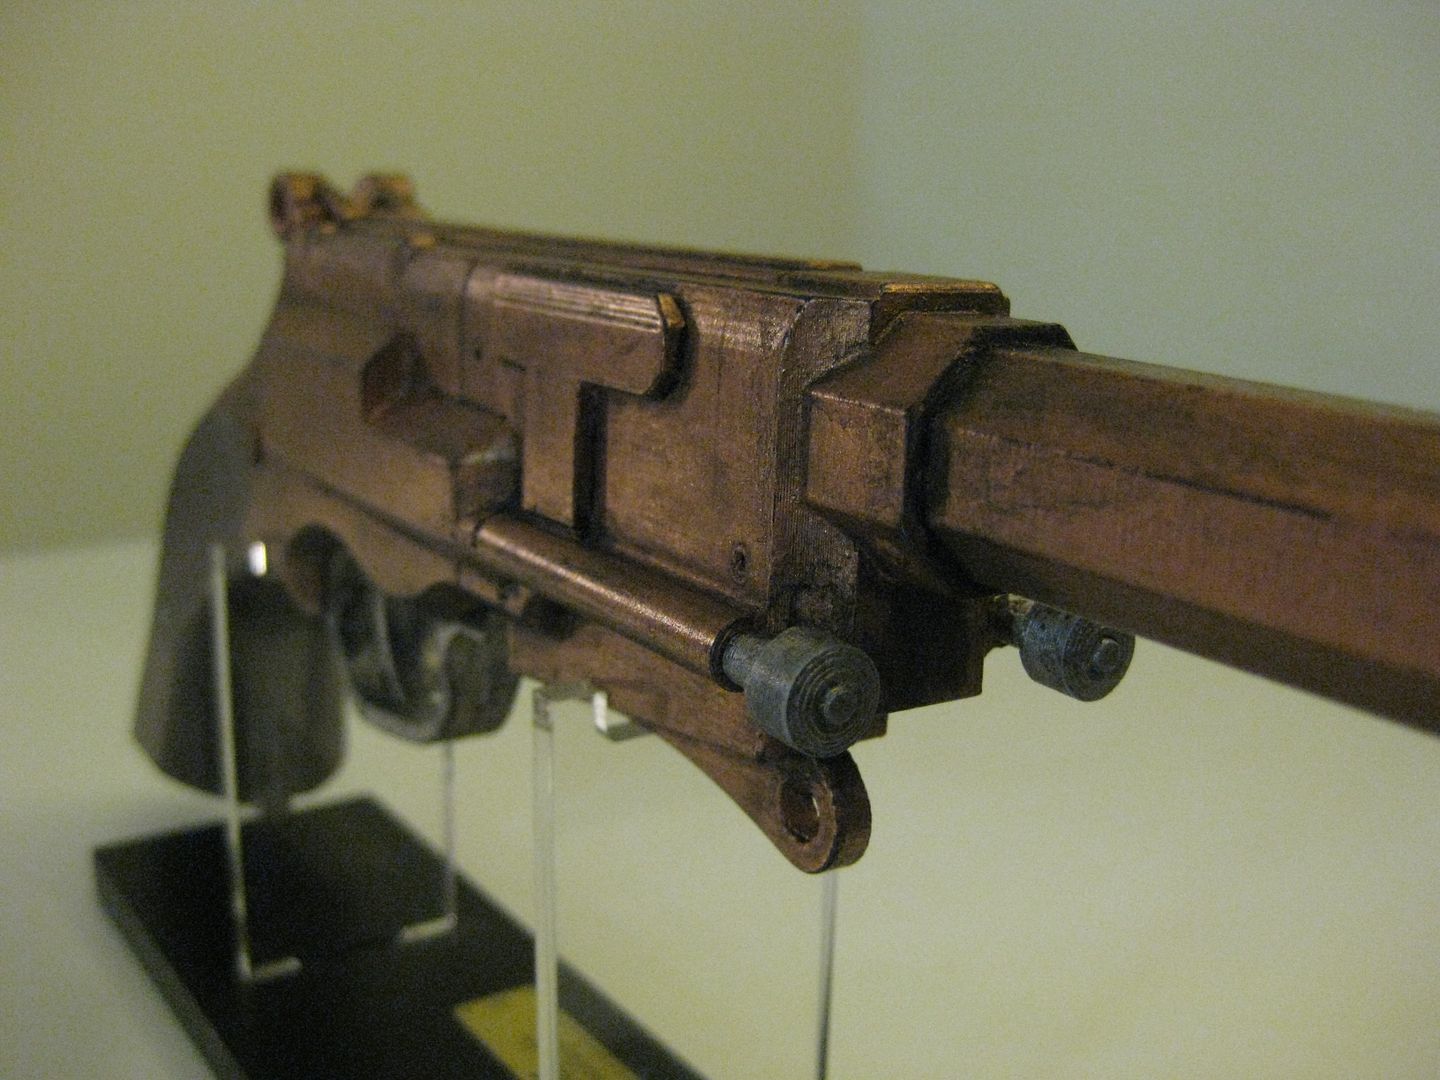
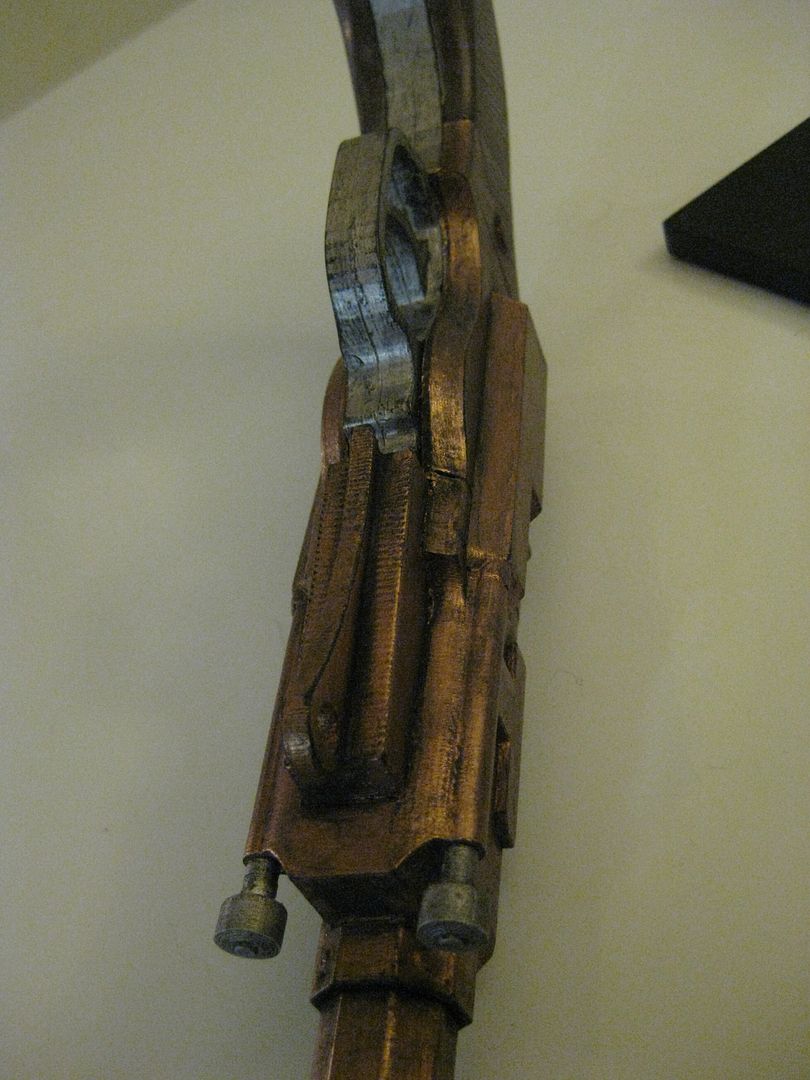
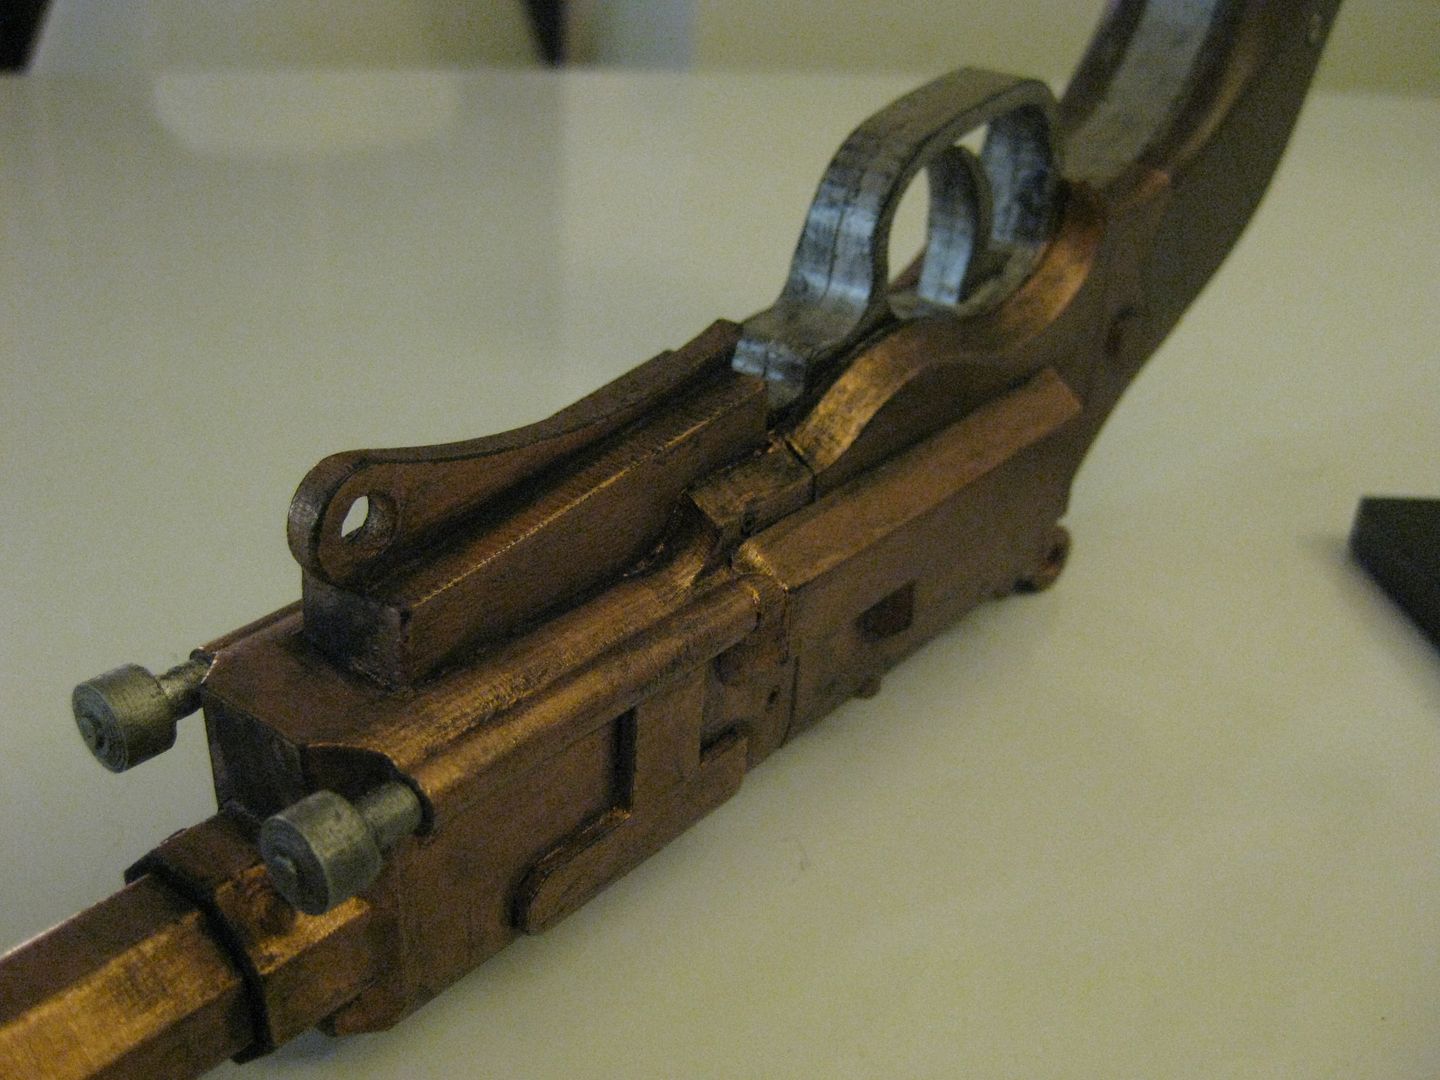
Here's a couple shots of the pieces in exploded view, there are 20 Unique Pieces, I tried to keep the seams as natural as possible, the front receiver is hollow.


Exploded%20View%202_zps2hx6dhfj.jpg


Exploded%20View%201_zpsficslg1y.jpg


I have been considering modelling up the alternate components for the Serenity Pistol (Right side panel, Clip, and sight switch/toggle thingy) and I think I will as it only requires a few modified components.

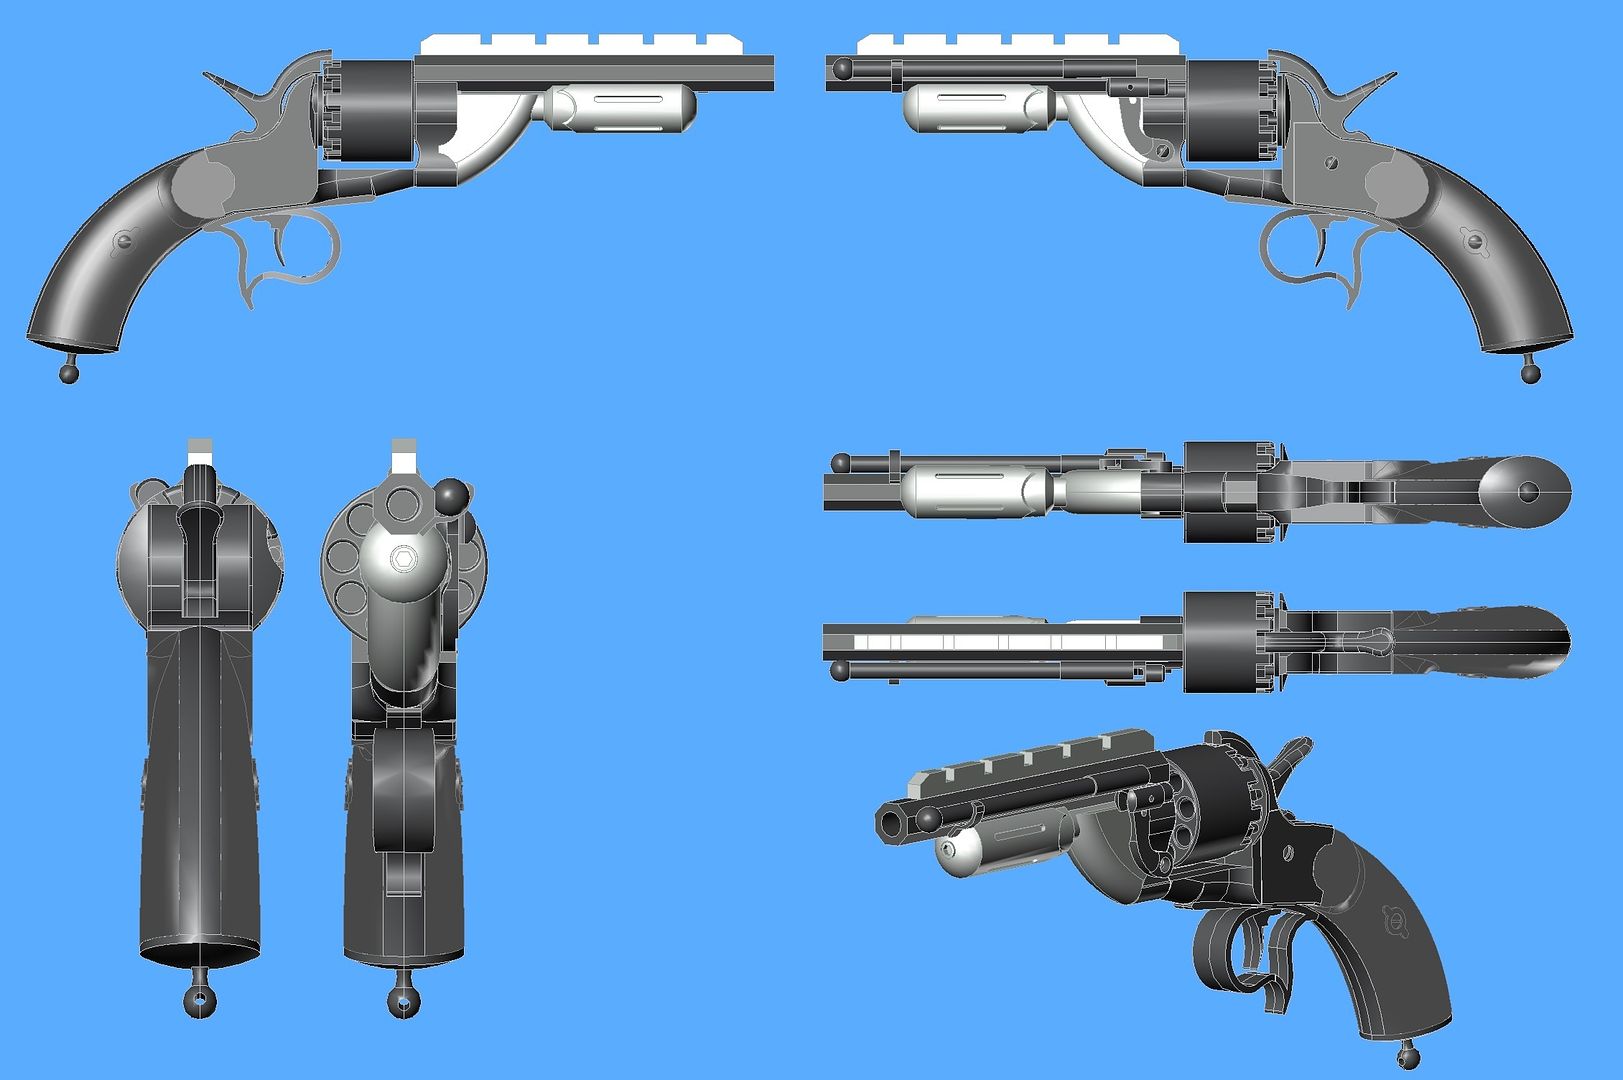
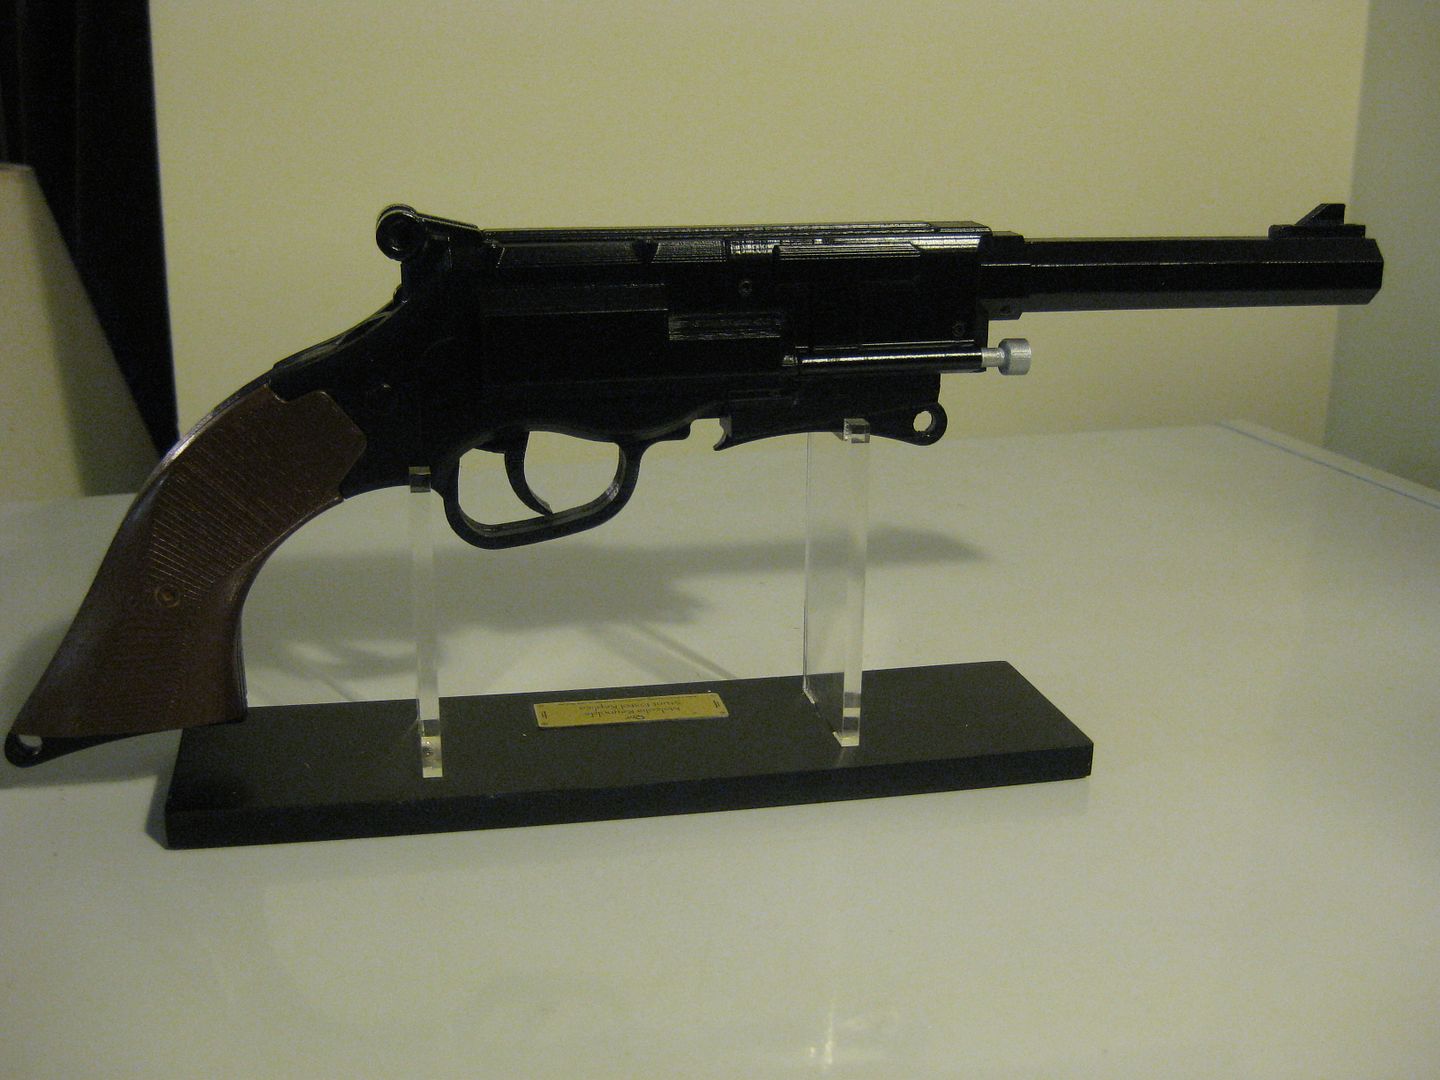
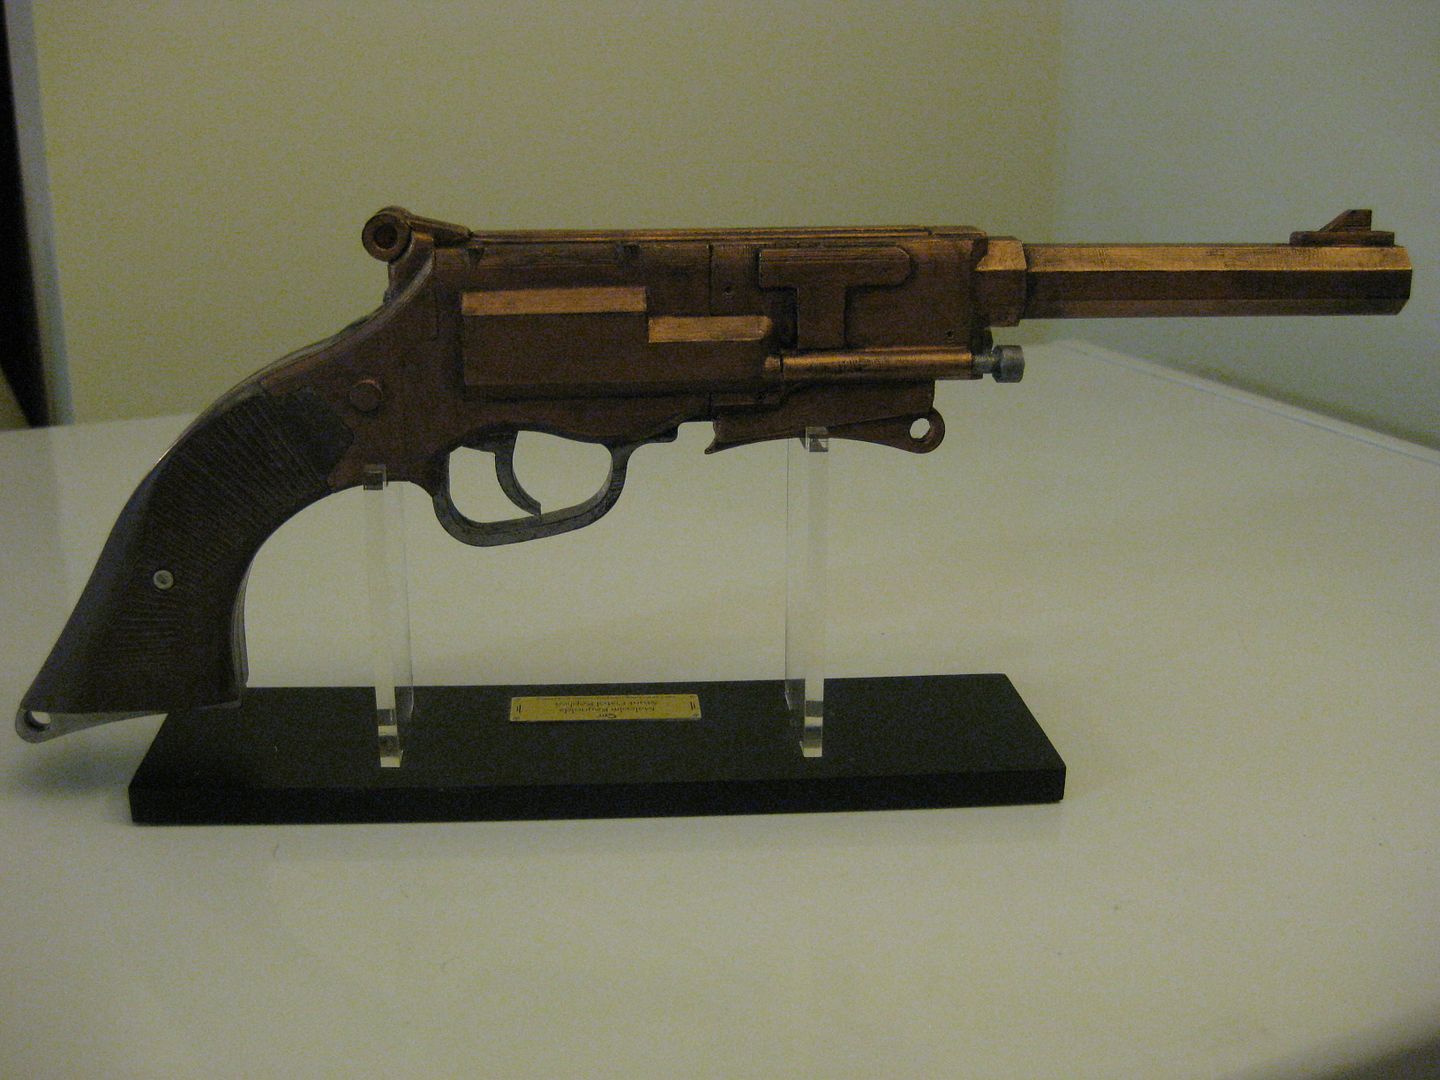
I will get it printed eventually, but I wanted to post the first couple pics of progress to see what everyone thinks, how did I do for a first attempt?

Update:

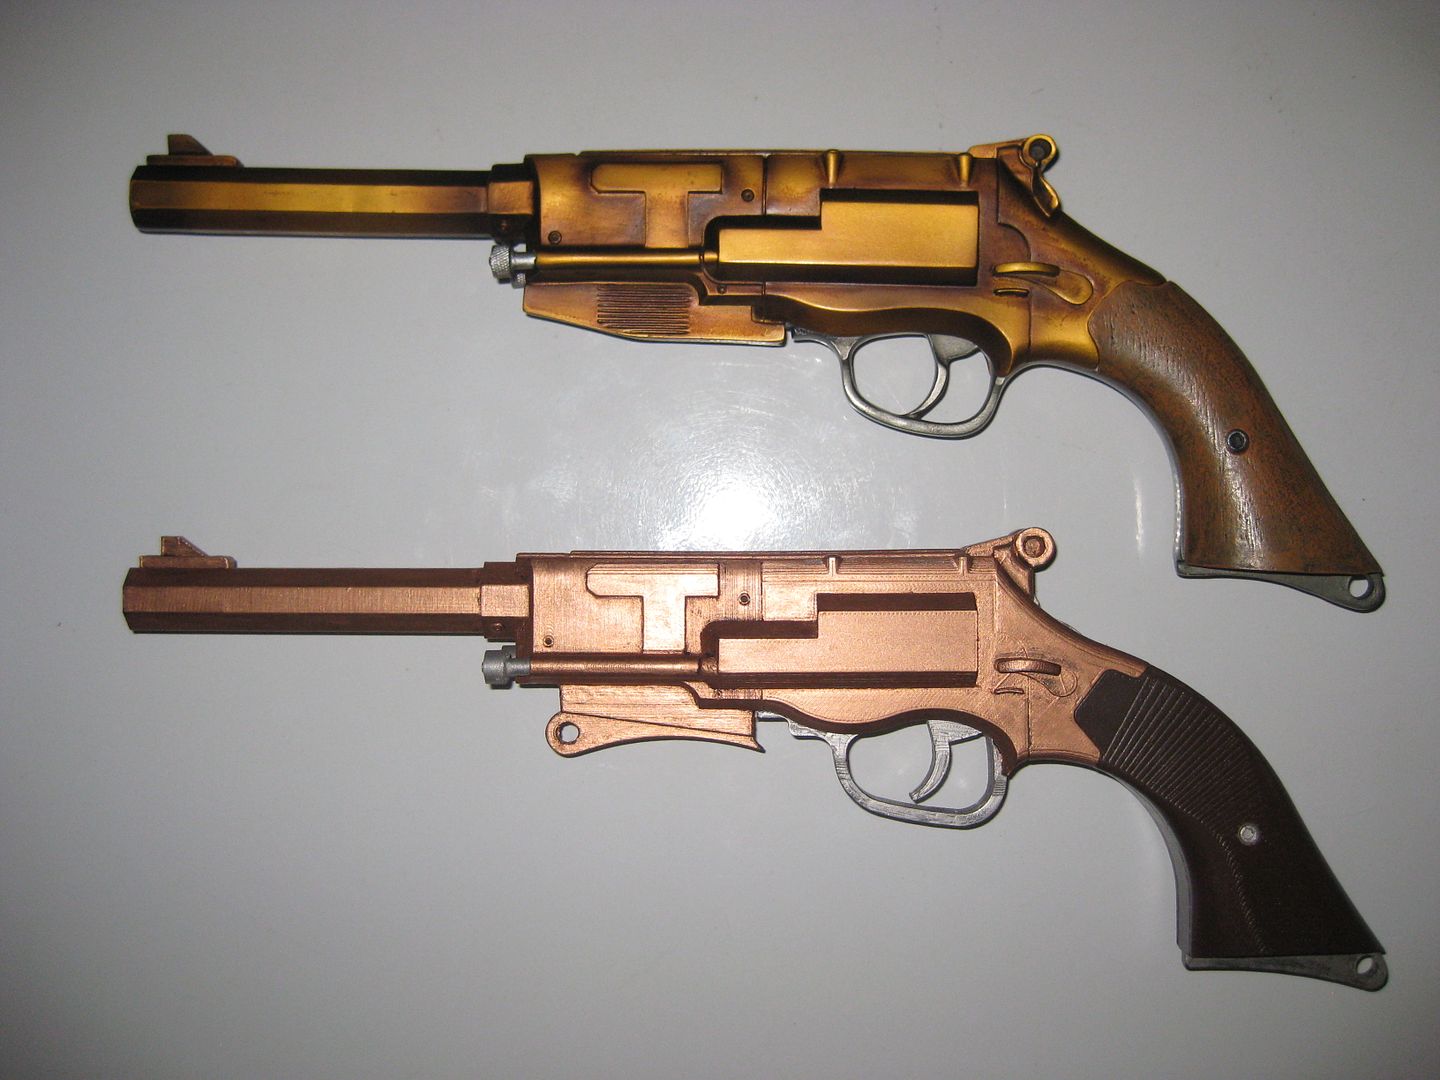
Here's my Serenity version:

Pistol%20Views_zps6decckpz.jpg


Available 3D models:


Mal's Model B Pistol TV:
http://www.thingiverse.com/thing:1162501

Mal's Model B Pistol MOV (Serenity)
http://www.thingiverse.com/thing:1188160

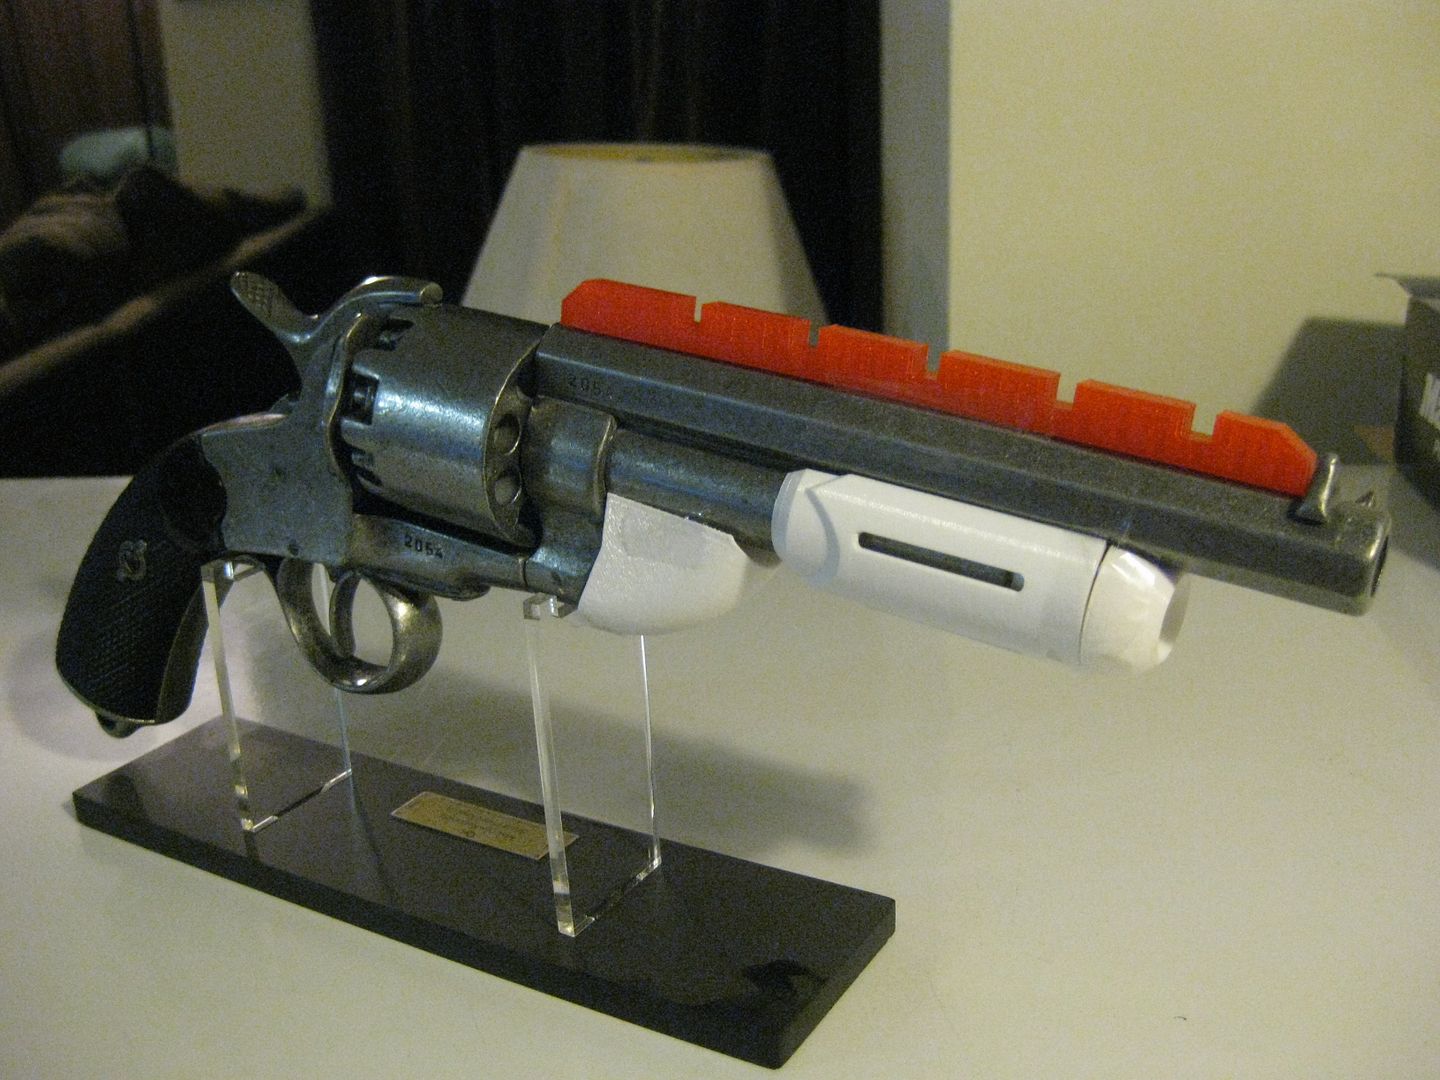
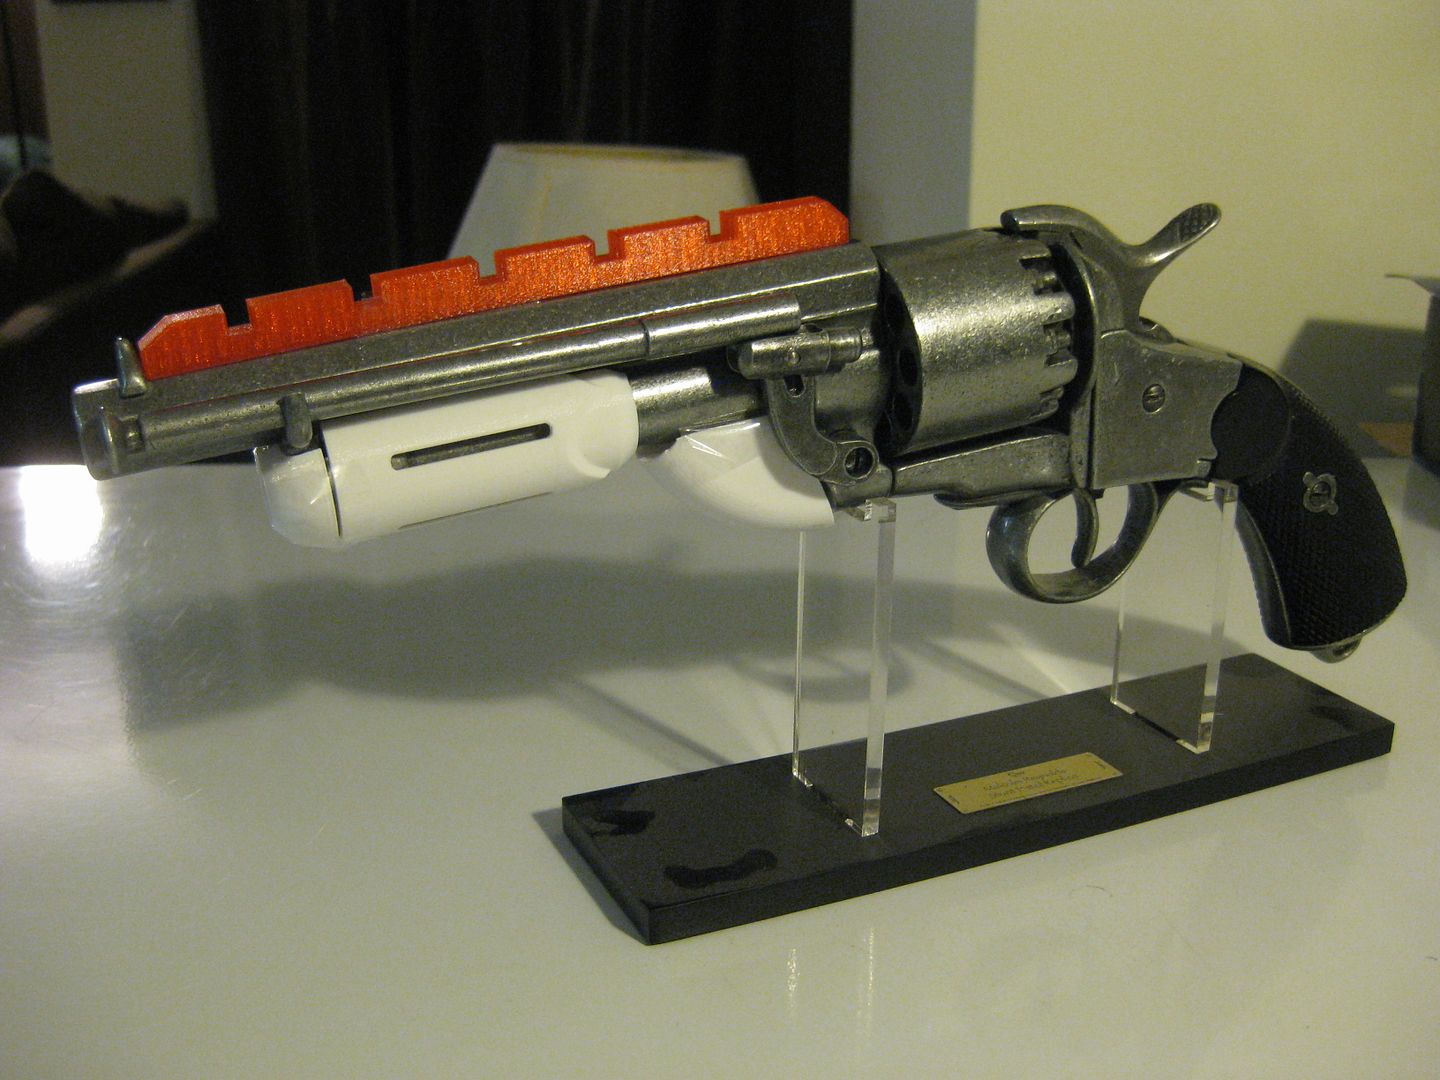
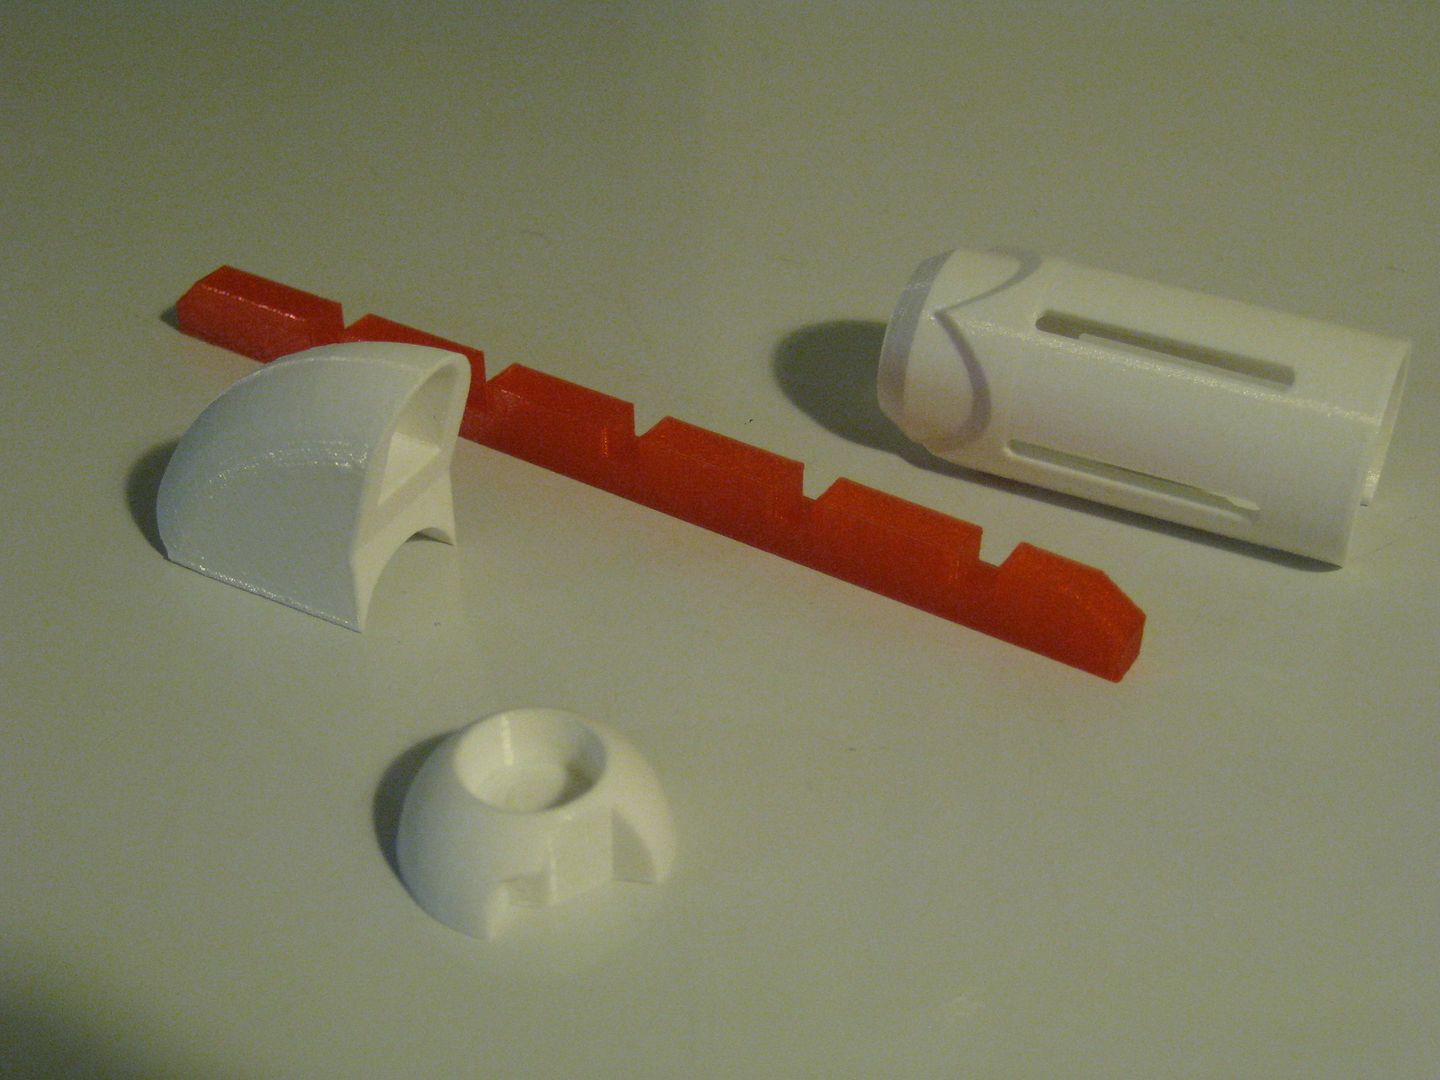
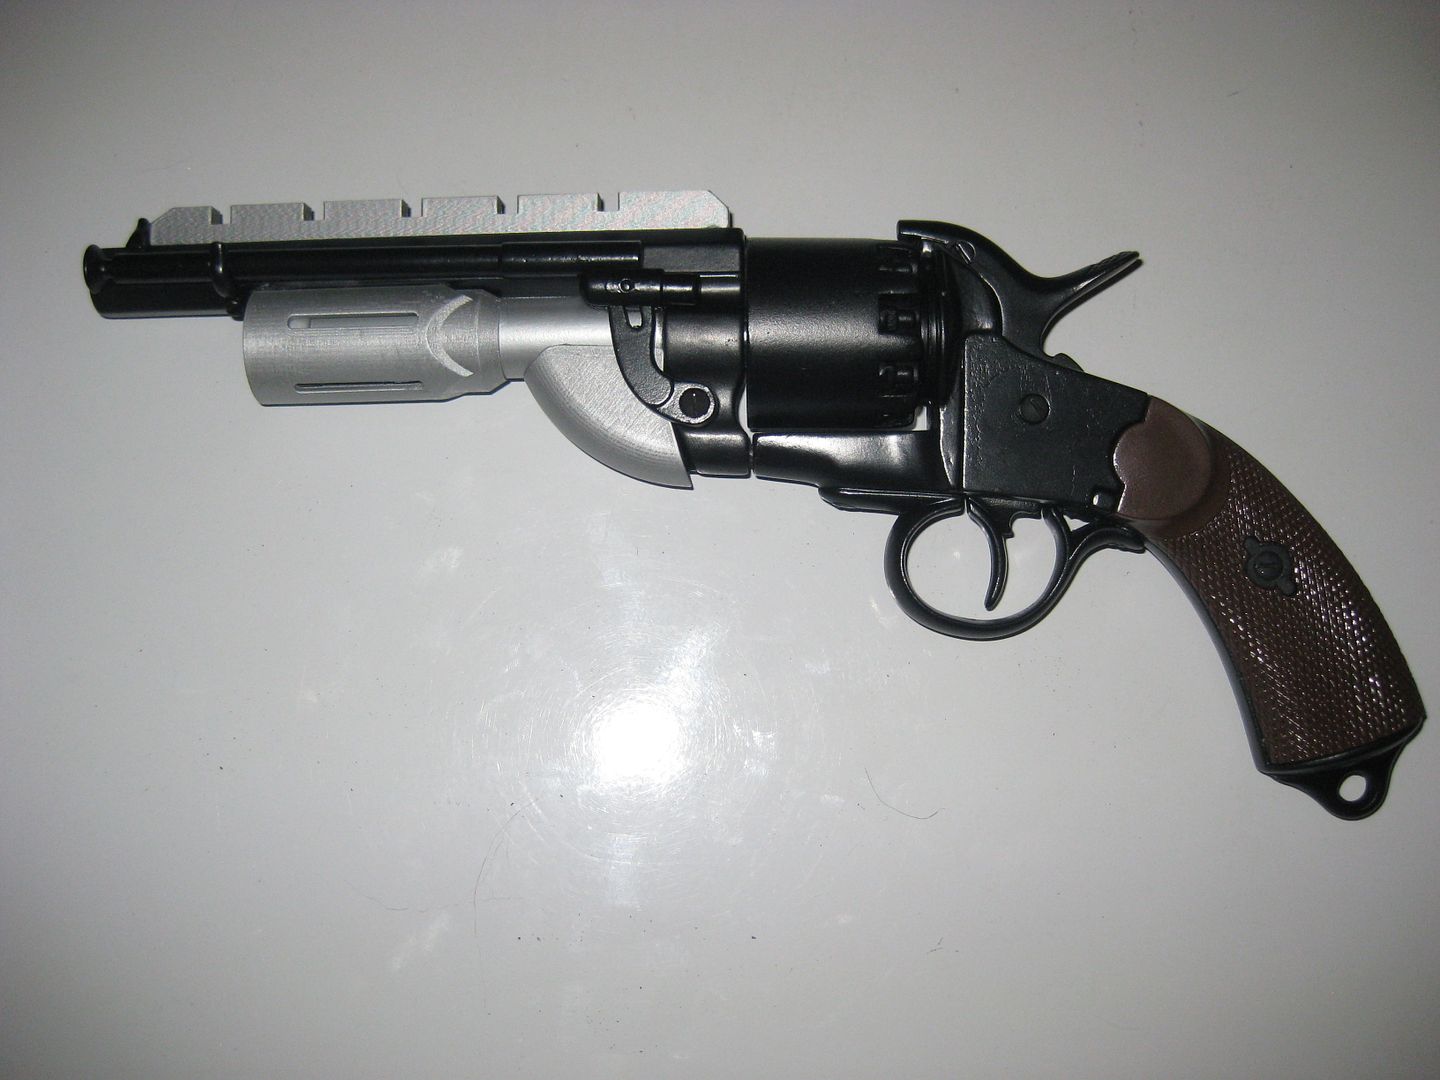
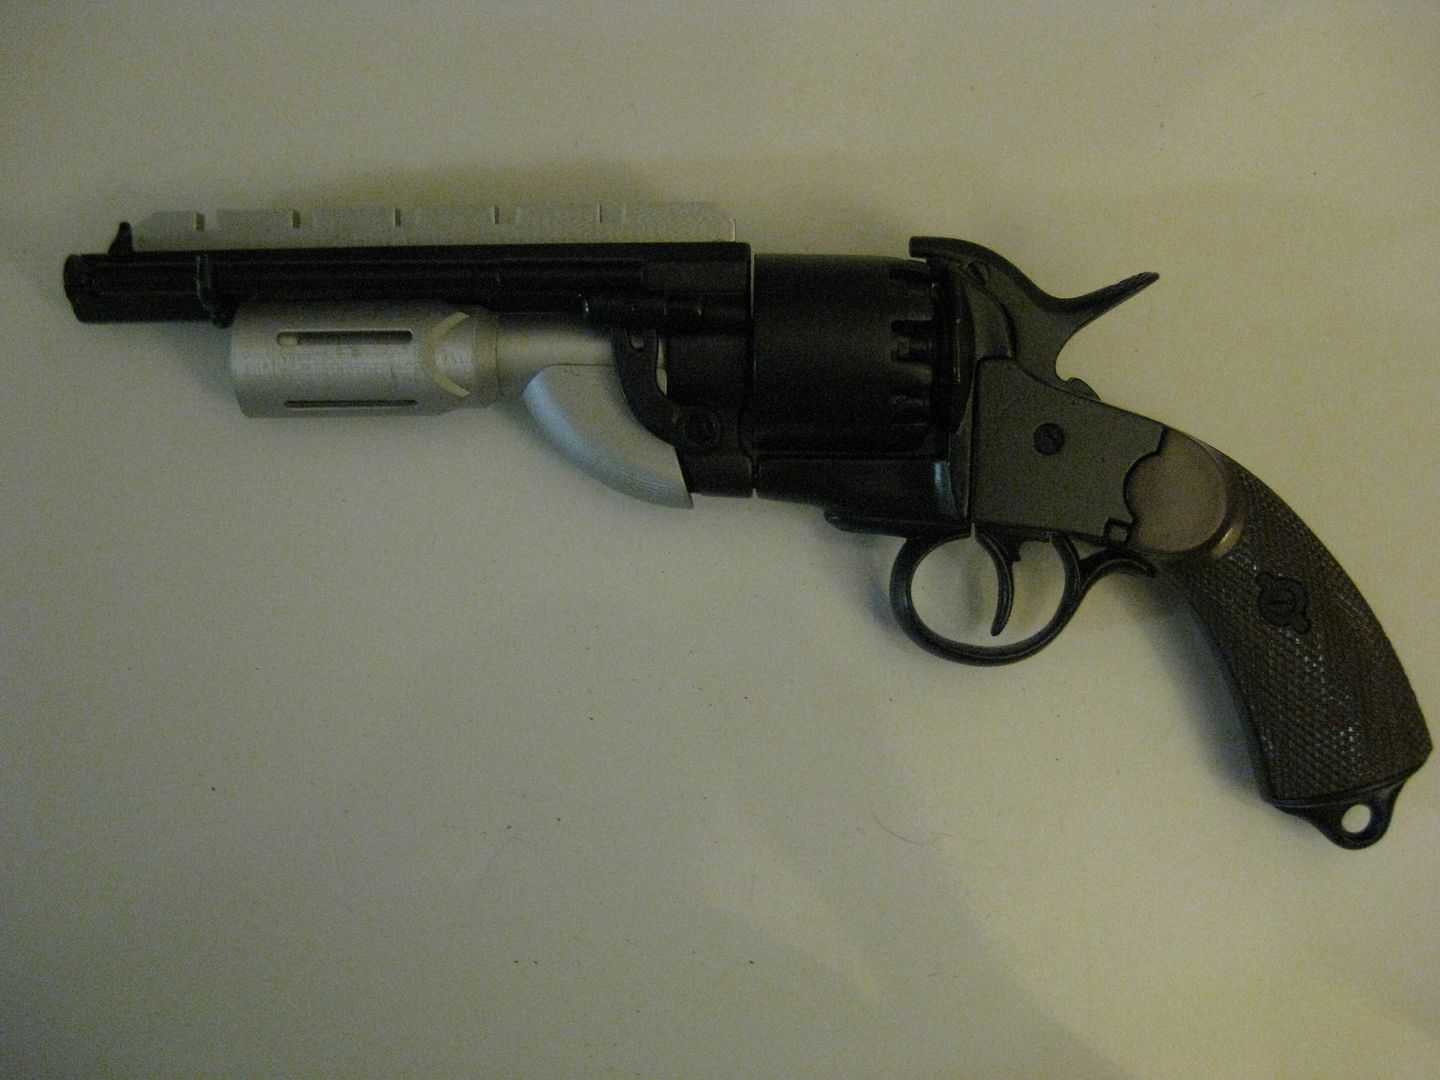
Jayne's "Boo" Denix Le Mat Conversion parts
http://www.thingiverse.com/thing:1140120

Jayne's "Boo" Fully 3D printed:
http://www.thingiverse.com/thing:1720347


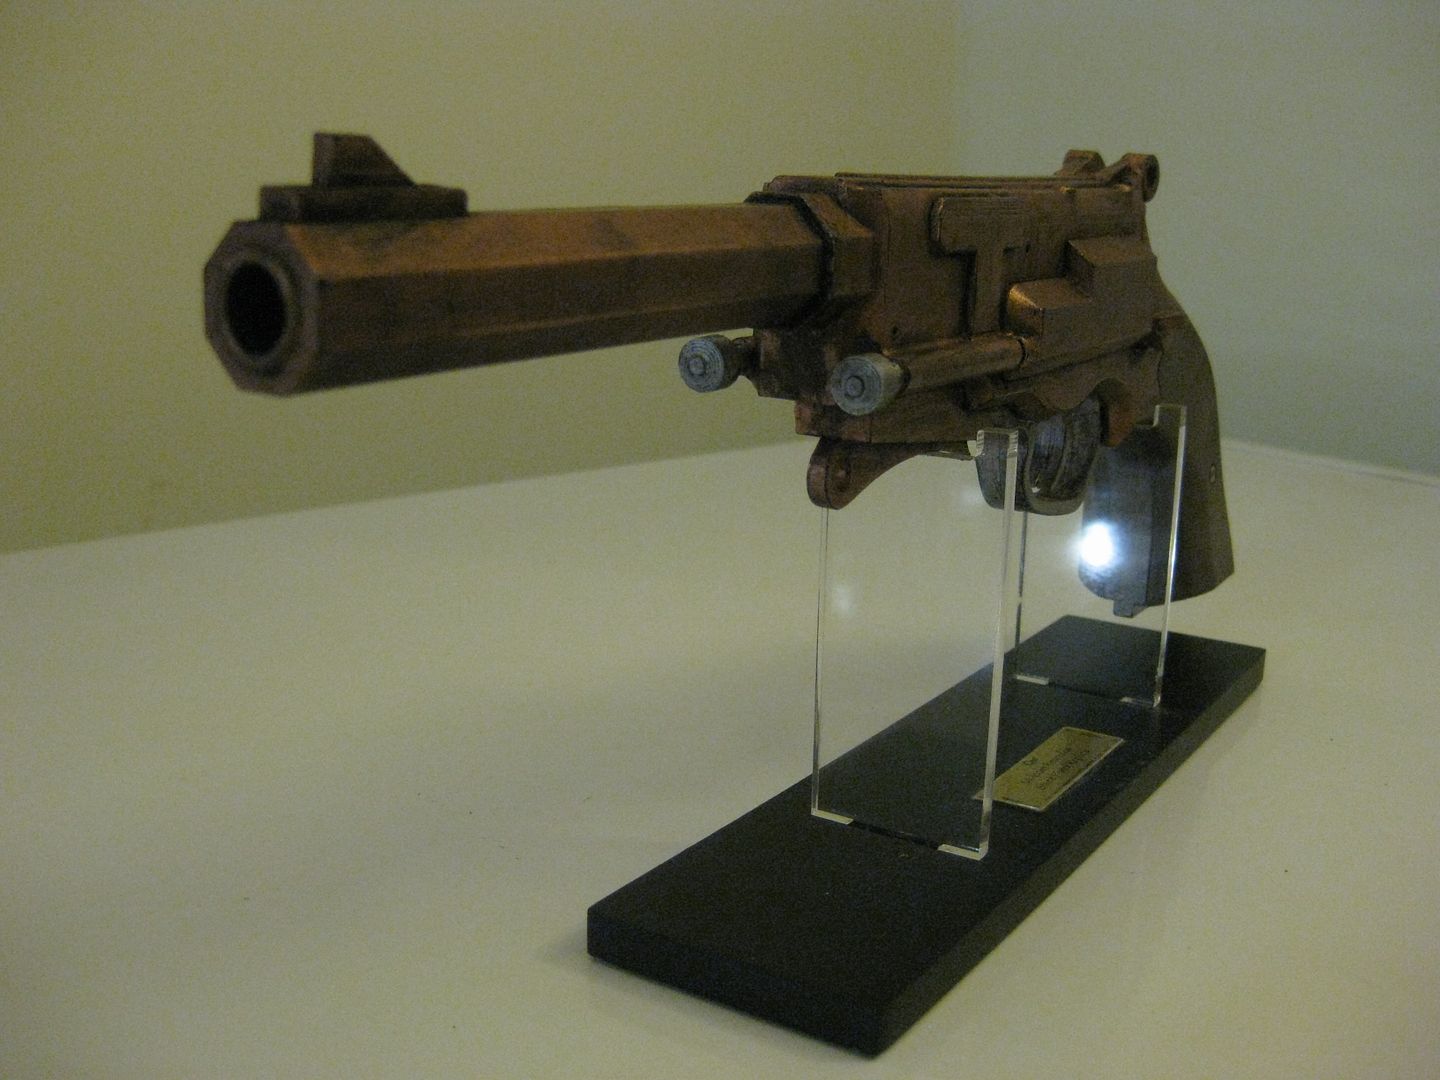
Stand for Mal's Model B / QMX Pistol
http://www.thingiverse.com/thing:1175423

Food Stuffs Bar
http://www.thingiverse.com/thing:1265886

PAL Comm Device
http://www.thingiverse.com/thing:1601260
 
Last edited:
Looks pretty good! If using a QMx for reference, keep in mind that they thickened the trigger guard and some other areas for molding purposes.

Also, I can't tell for sure, but it looks as if you have four securing screws under the barrel (in the area between the thumbscrews). I'm pretty sure the TV version only had two and the two extra were added when the conversion to the movie pistol took place.
Are those actually screws? I thought they were like rivets or something, I just reviewed my reference and it looks like you are right, they are only on the sides, and not on the bottom, simple to remove, thanks again for that bit of info.
 
Updated with Serenity version. Had to make 2 new pieces (side panel, clip) and modify 3 pieces (Rear Receiver front side, Front Receiver, and Hammer guard)

Gonna have to see how printable it really is, a couple of the pieces seem like the supports would be complicated.
 
Loving the break down into parts. Are you going to be releasing the files?.

Thanks. I don't know if I would release the files at this point, I need to see if it's possible to make them in the first place. I would consider it. But I also don't want to step on the toes of the people offering 3D prints of this gun in the marketplace.
 
So, I found some conversion files on thingiverse for the main parts to make a denix into a a Boo with no metal chopping, but it only contained the rail, and cylinder + cap files. I had to modify the cap and create a new piece for the curve section, here's what the parts in render looked like.


Jaynes%20Boo%20Parts%20-%20Render_zps6tvylmgj.jpg


I have printed them out, and I taped them on the gun for a couple of mock up pics, it's looking good so far:


IMG_0060_zps5zncxfx8.jpg

IMG_0061_zps7lawrqsy.jpg


All the printed parts here:
IMG_0062_zpsnia75ozn.jpg

I have since changed the cap to have the screw on it, and will have to re-print.


Looks like I'm ready to start some painting and another print to convert my denix into a boo.
 
Last edited:
Alright, big development for me. I had the Firefly Version Pistol printed, and I assembled it tonite.


Here's what the pieces look like, it was basically like a model kit.
IMG_0084_zpsspklmxzy.jpg


And here it is fully assembled, I didn't glue the screws or the grips in place yet cause I want to paint them seperately.
IMG_0087_zpsbf5vtg5y.jpg

IMG_0088_zpskchv6syl.jpg

IMG_0089_zps7rlzhbmr.jpg

IMG_0090_zpsnsxjz8uk.jpg


And here is a comparison between my printed model, and the QMX Pistol:
IMG_0093_zps9v67b0hm.jpg

IMG_0091_zpsul2rrejv.jpg


let me know what you think, I'm now on to sanding and painting.
 
If you released the files for this, I'd print them in a heartbeat and you'd be my new favorite person. Just saying.

Sent from my XT1060 using Tapatalk
 
Well, here's a couple of pics of my denix converted using my 3D printed pieces. I misplaced the end cap so I'll have to re-print and paint that, and take a bunch more photos.


IMG_0098_zps0wsmo2yh.jpg

IMG_0099_zpse5bp1afb.jpg


I'm very happy with the way it's shaping up, I know it's not all metal but considering I didn't have to do any metal cutting I'm happy with the conversion, I just need the last piece to finish it off.
 
Last edited:
Awesome! I love the printed and assembled model. I have printer a full version, but the details were always hindered no matter how I sliced and tried to arrange them. Your approach, and the work you put into it, are great! I do hope you release the files, pay or free, as I would love to get a cleaner version of this in my collection.
 
Awesome! I love the printed and assembled model. I have printer a full version, but the details were always hindered no matter how I sliced and tried to arrange them. Your approach, and the work you put into it, are great! I do hope you release the files, pay or free, as I would love to get a cleaner version of this in my collection.

Yeah, I may have overdone it for some of the slicing, but I'm happy with the way that it assembles, alot of the pieces were designed to be similar to the way the actual panels on the real prop fit together. It was a very fun piece to assemble.
 
I think the model assembly approach to 3d prints is perhaps the better way to go in any case, as you get cleaner and clearer models, at least with the at-home printers these days. You also get the fun of a model kit. Keep up the awesome work.
 
I had a fun night tonite. It started with applying pewter rub n buff:


12244103_10153760276903343_153132155_n_zpsktml4rvg.jpg

12226594_10153760276873343_1004552980_n_zpsa8sbijce.jpg

12243737_10153760276913343_276213576_n_zps5p732os4.jpg


Then I applied harvest gold rub n buff:


Painting%20Mal%20Pistol_zpsnt8culvp.jpg


So this is how it all looked all fresh-like:


12231091_10153760277193343_850491154_n_zpsusaoultg.jpg

12243890_10153760277228343_1947973715_n_zpsbfmk5ktm.jpg

12233151_10153760277303343_22615264_n_zpsjsgbwumv.jpg

12231371_10153760277278343_923014315_n_zpsl4rr1r4t.jpg


And here's a comparison with the QMX pistol, as you can see the finish I got was looking more copper than brass unfortunately.


IMG_0101_zpsu5bamfbs.jpg

IMG_0103_zps4pksfgk6.jpg

IMG_0102_zpsd4fgjjbb.jpg

IMG_0104_zps8msrgxsp.jpg


Then I decided to do tha aging/weathering. I used a black wash for the pistol and a tan wash for the grip and repeated many times. Here's what the result was:


IMG_0110_zpsapis1fud.jpg

IMG_0111_zpspwhxa446.jpg

IMG_0112_zpsd06fawkt.jpg

IMG_0113_zpsdqe5usei.jpg

IMG_0114_zpsiena7agc.jpg

IMG_0115_zpsihzs5pch.jpg

IMG_0116_zps0wp7v0fp.jpg

IMG_0117_zpsb7j08cca.jpg

IMG_0118_zpsqqxmvhw6.jpg

IMG_0119_zpsqlcwmlg4.jpg

IMG_0120_zpse2bosvh9.jpg

IMG_0121_zpsoldnmwhm.jpg

IMG_0122_zps5mbzewua.jpg


It ended up heavily weathered, but I'm happy with it, this project is complete. :)
 
This thread is more than 5 years old.

Your message may be considered spam for the following reasons:

  1. This thread hasn't been active in some time. A new post in this thread might not contribute constructively to this discussion after so long.
If you wish to reply despite these issues, check the box below before replying.
Be aware that malicious compliance may result in more severe penalties.
Back
Top