Nils
Sr Member
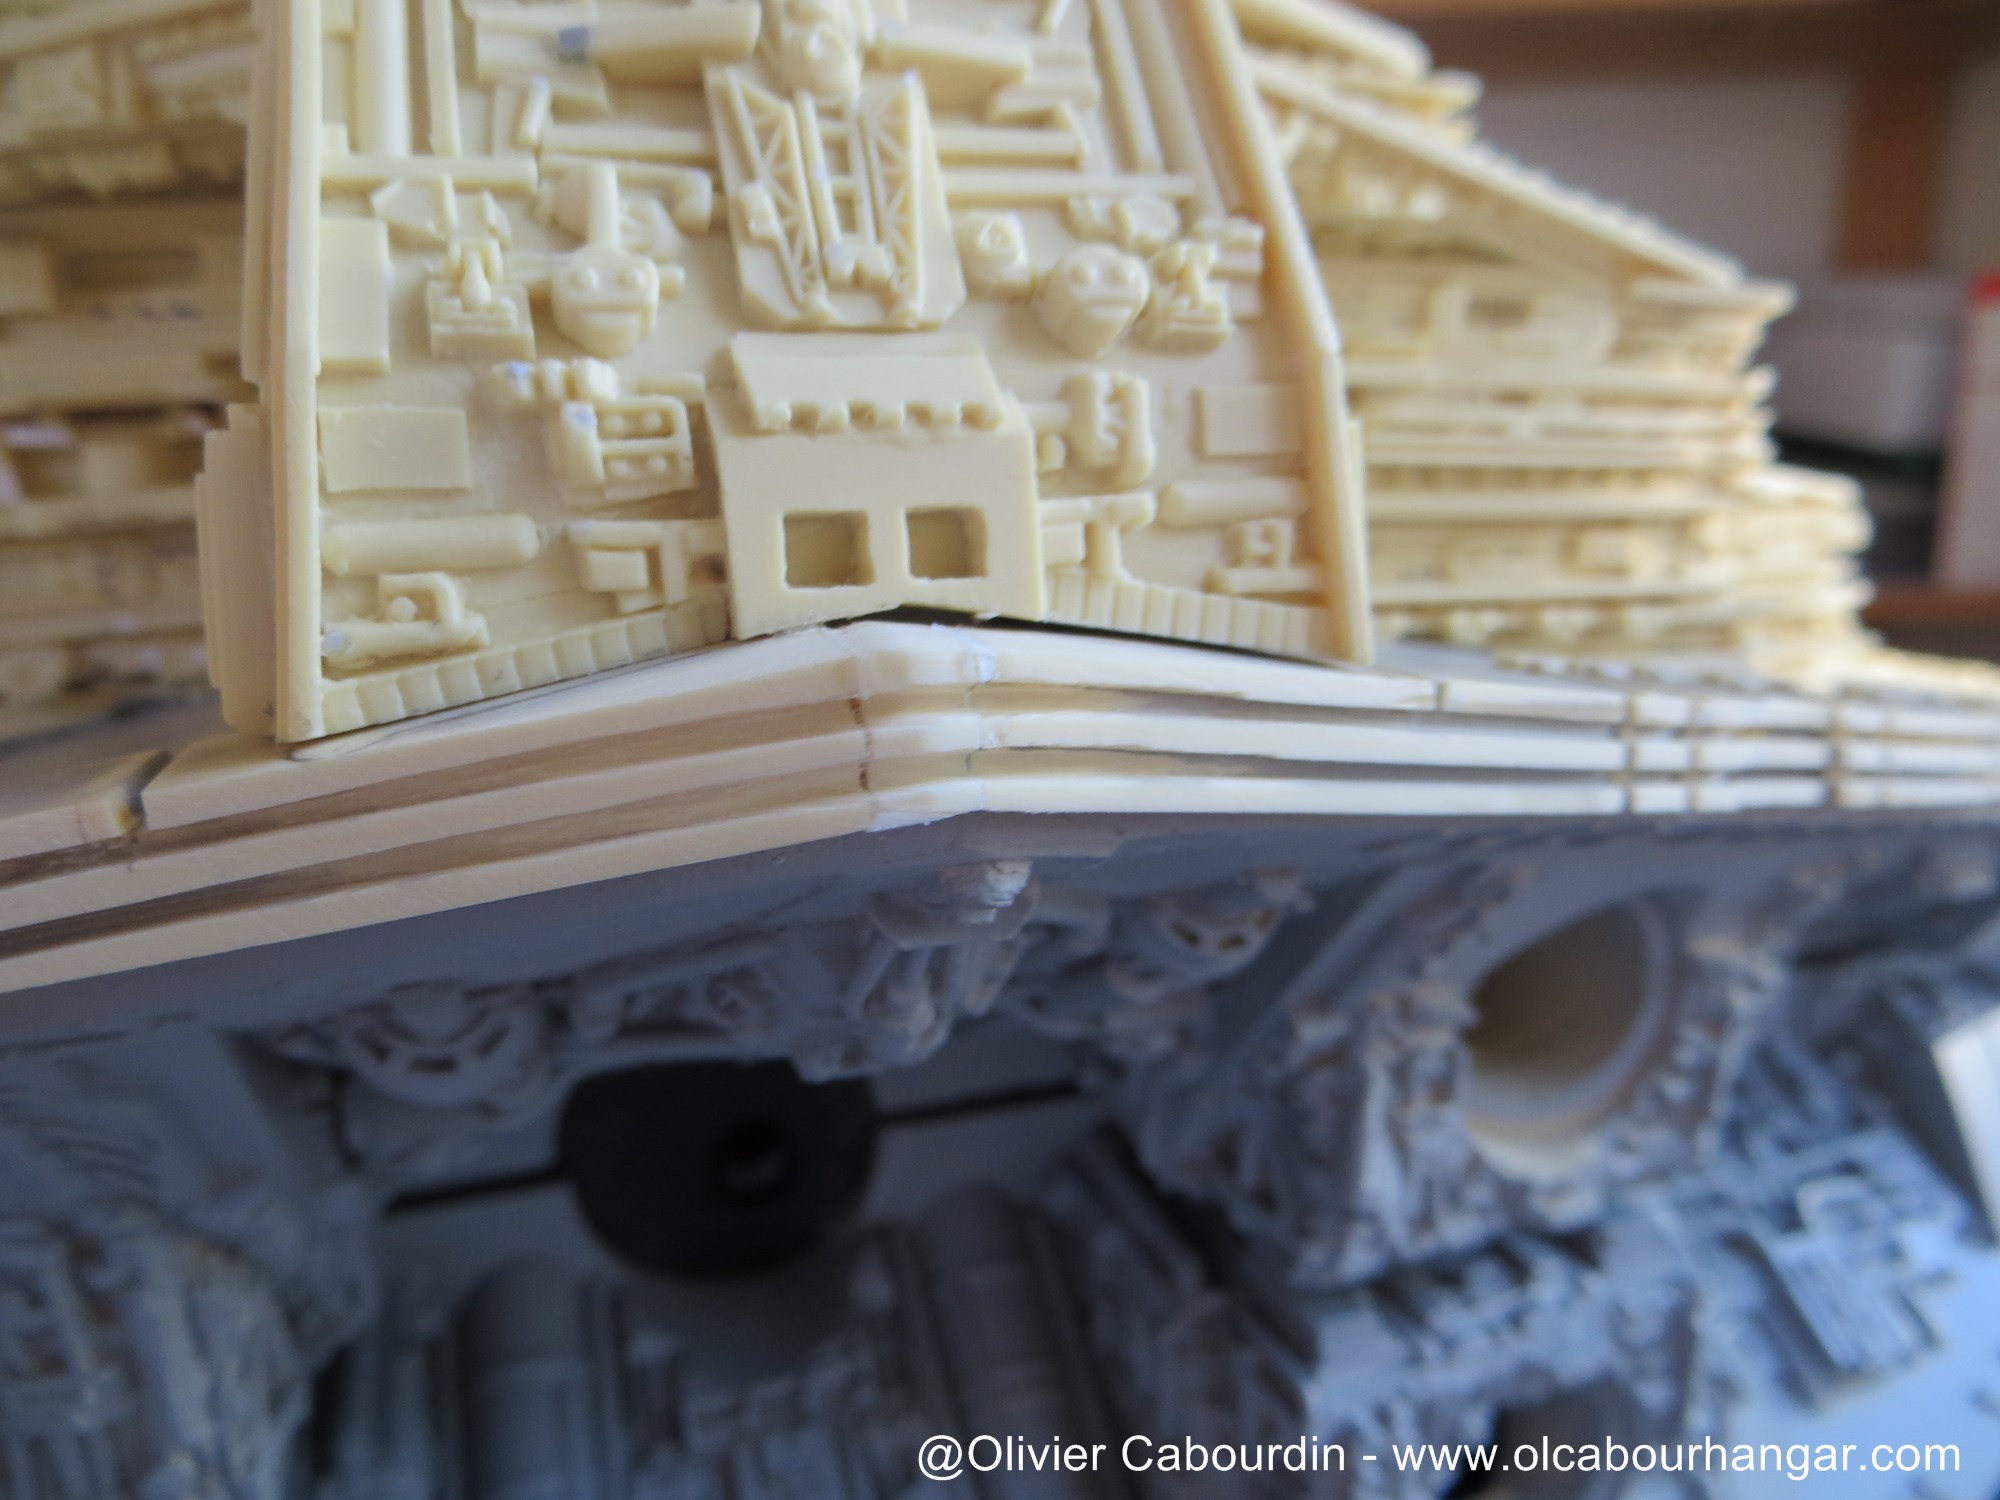
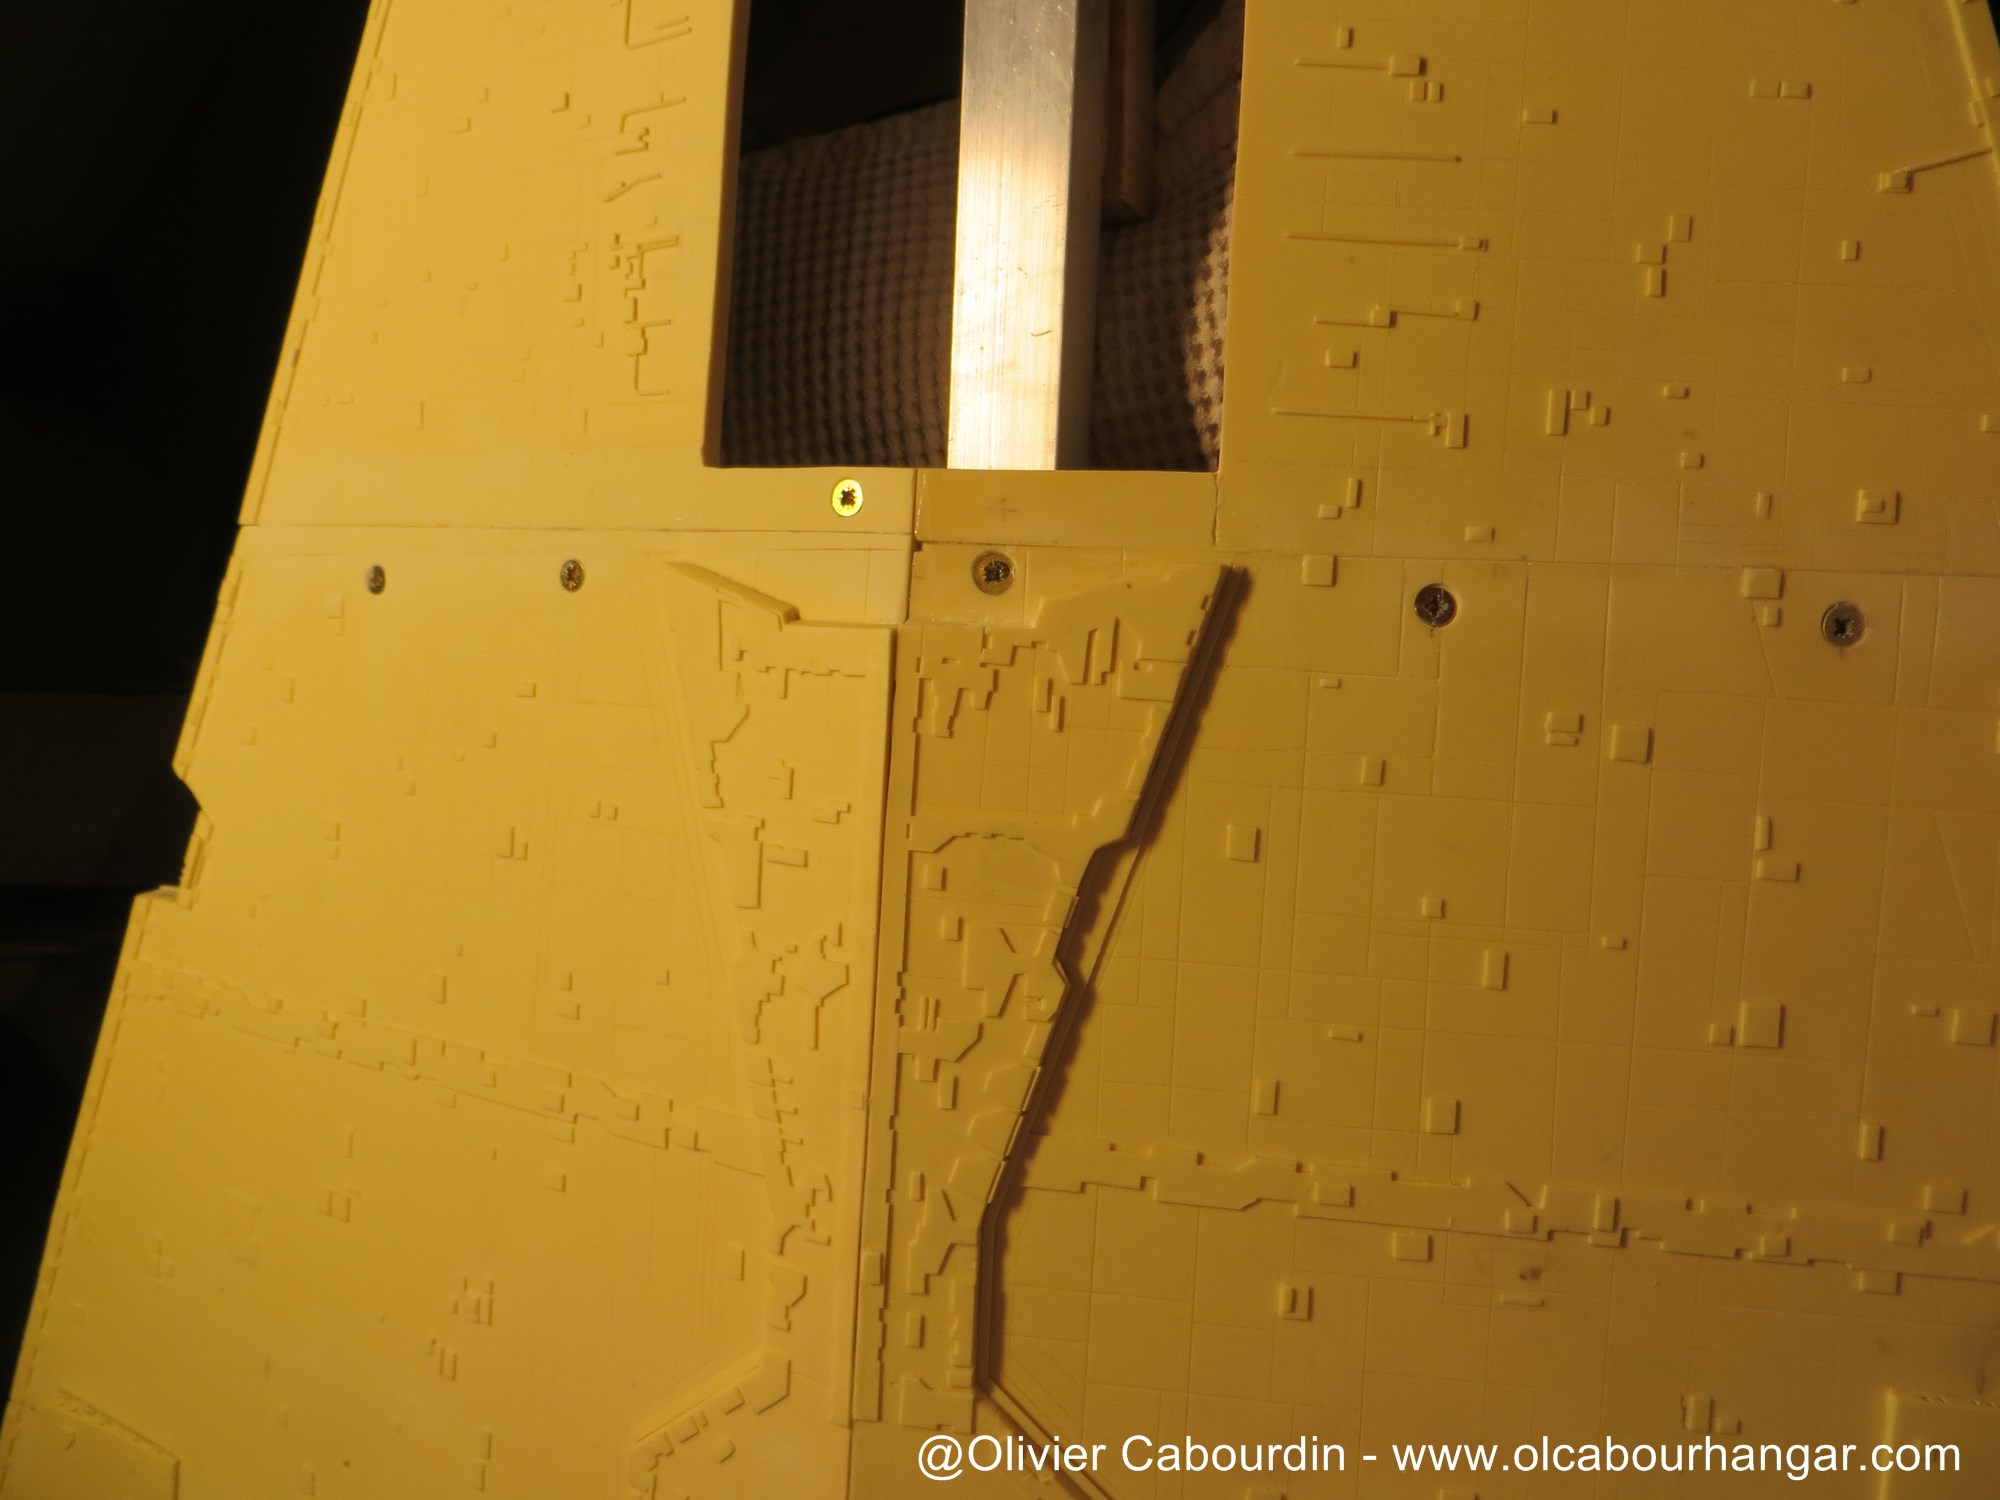
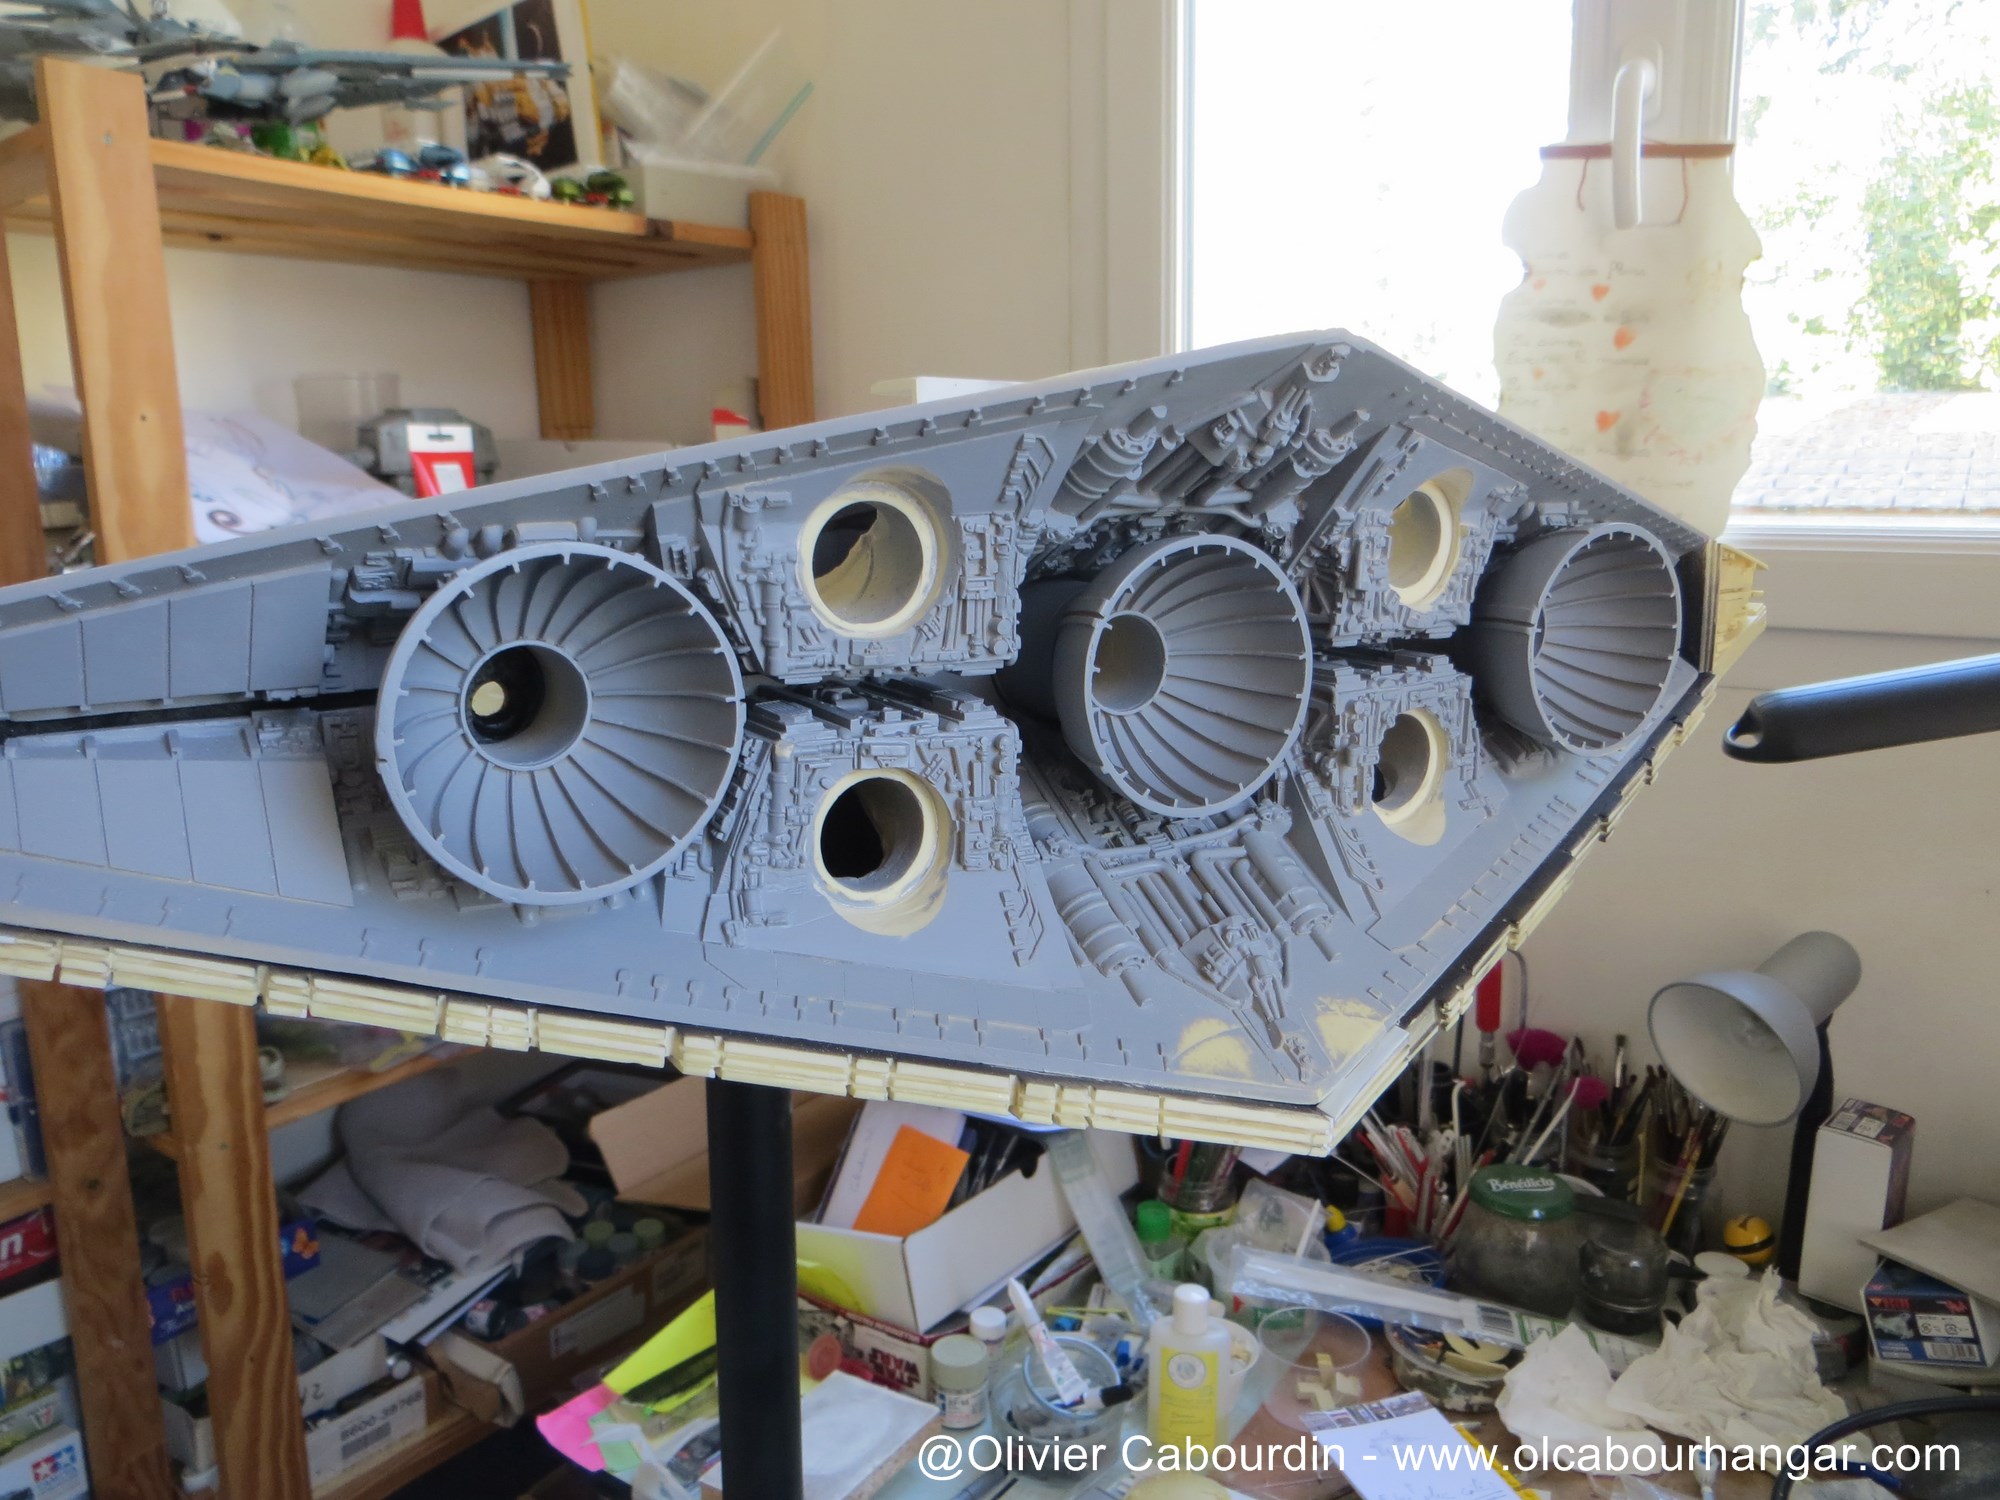
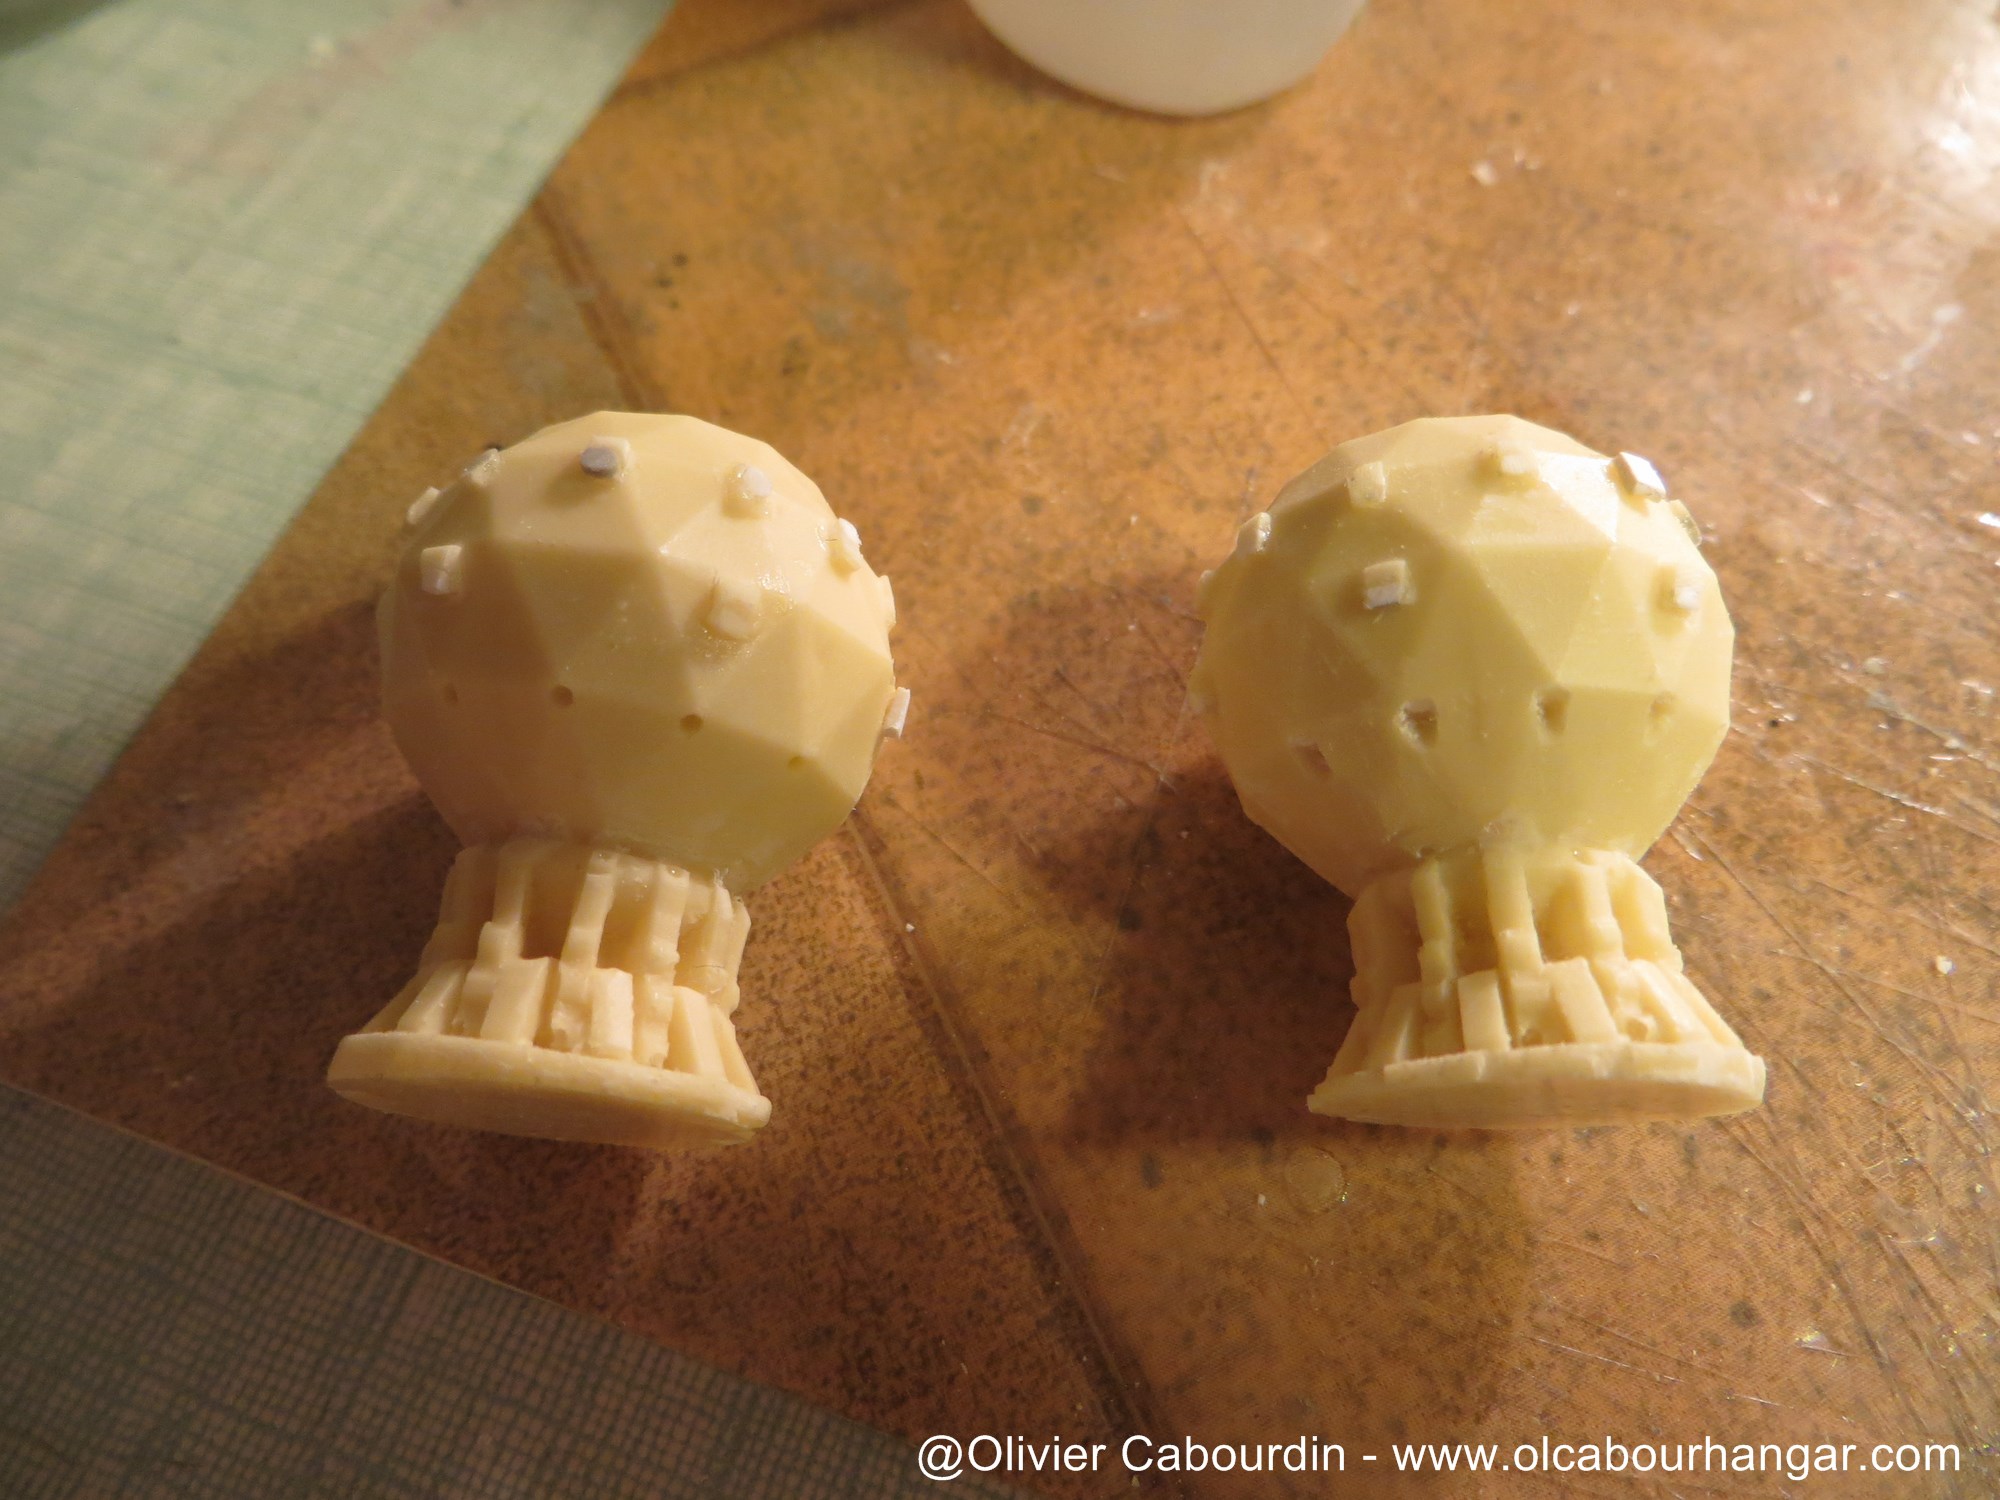
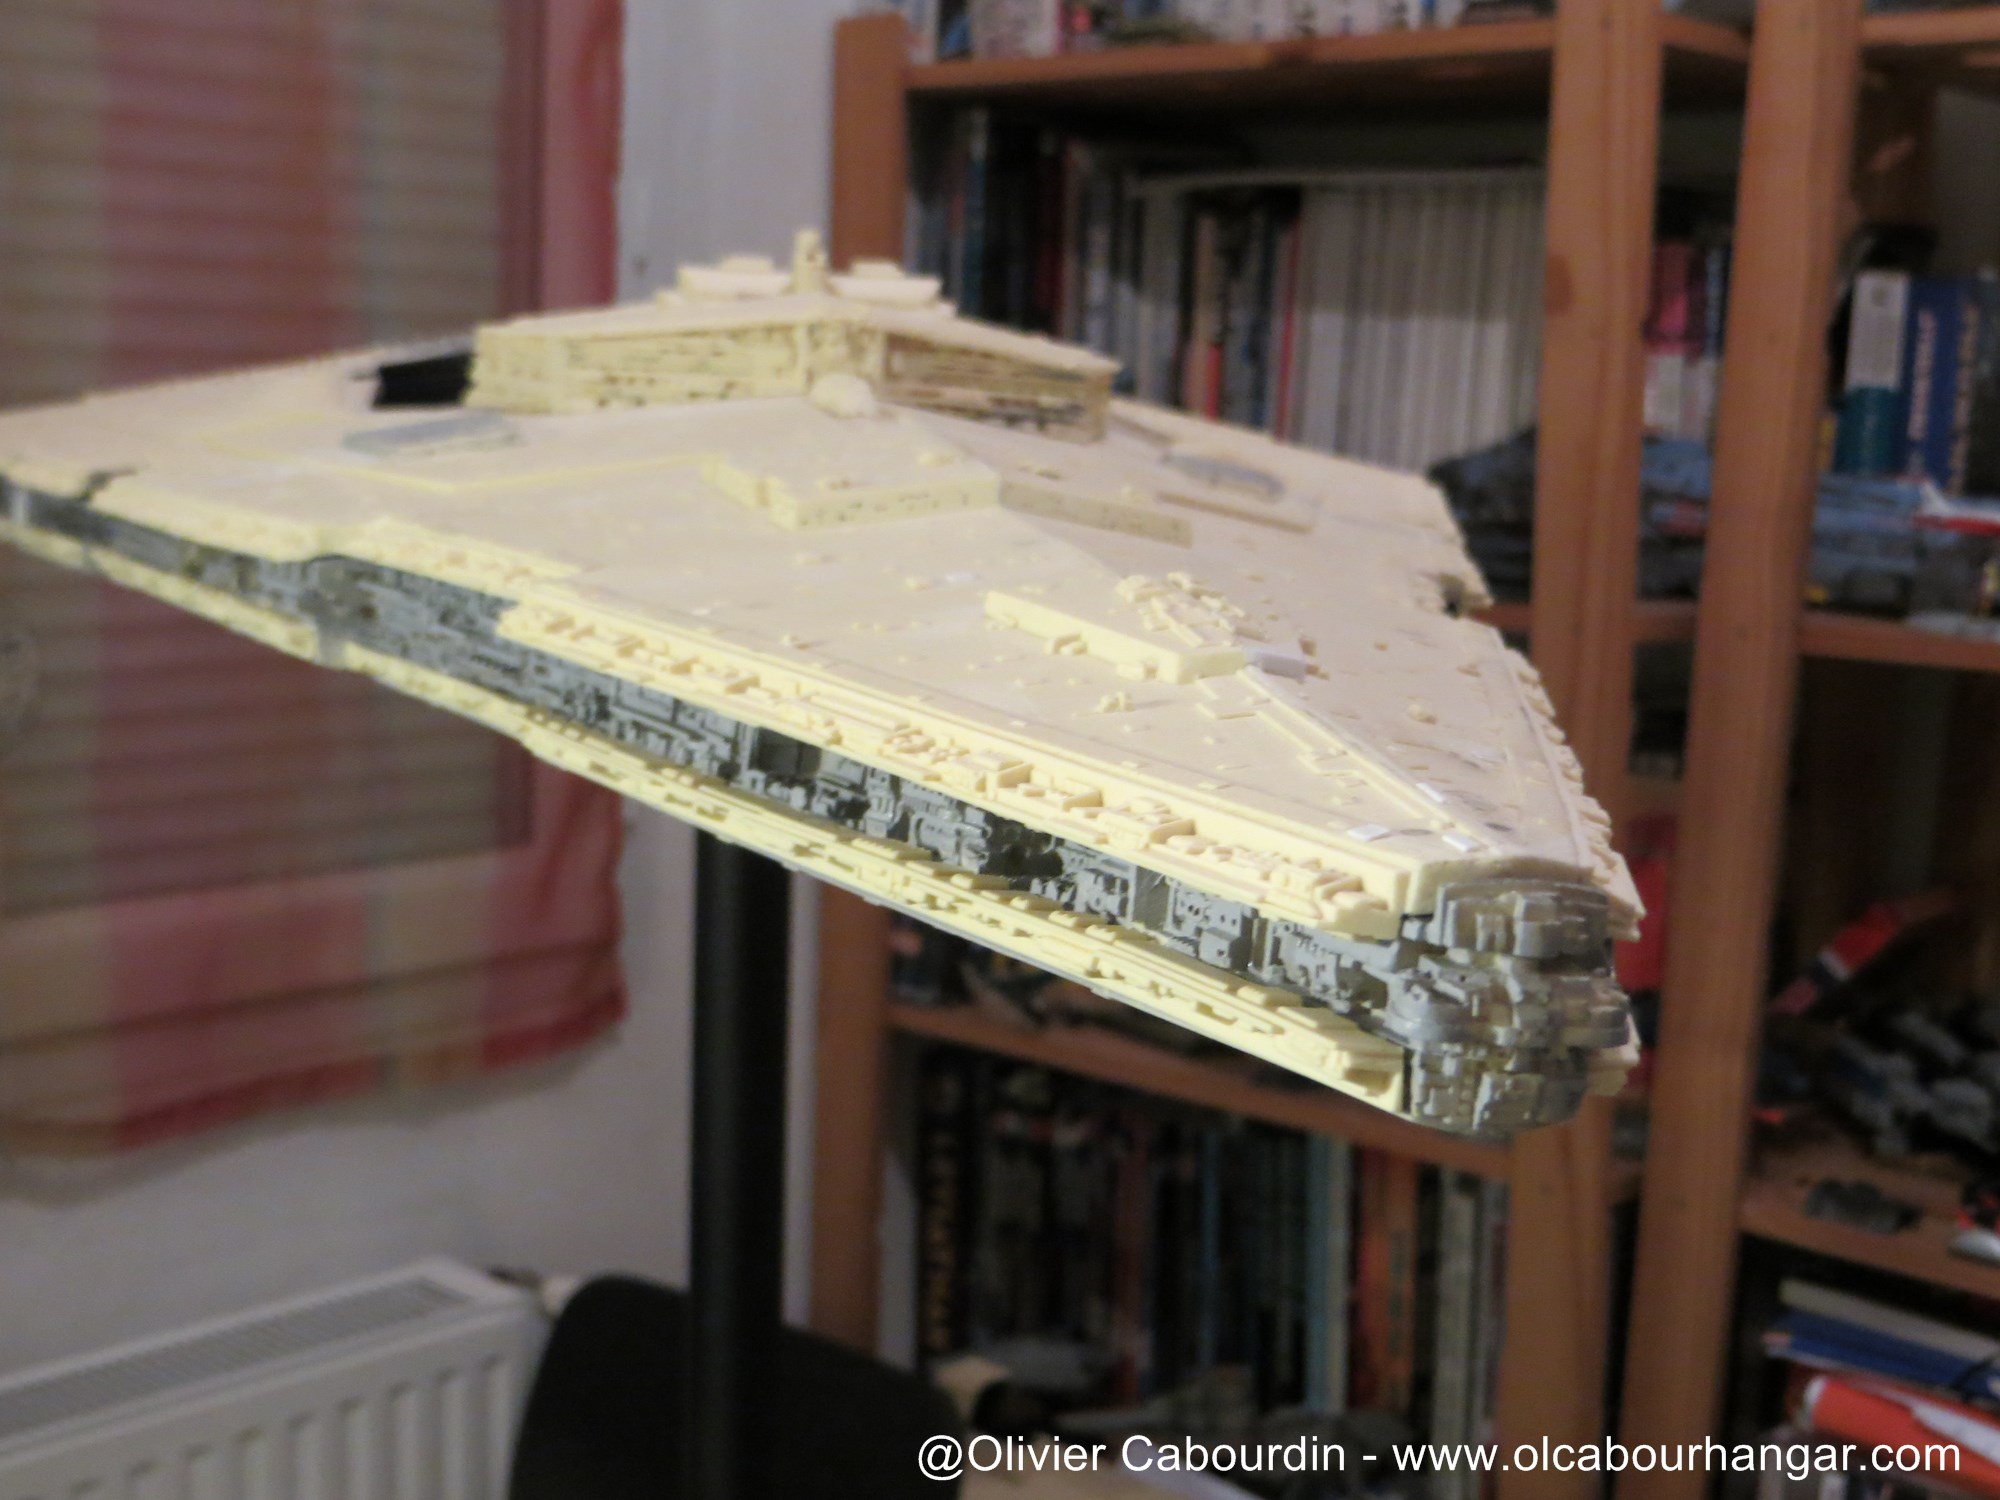
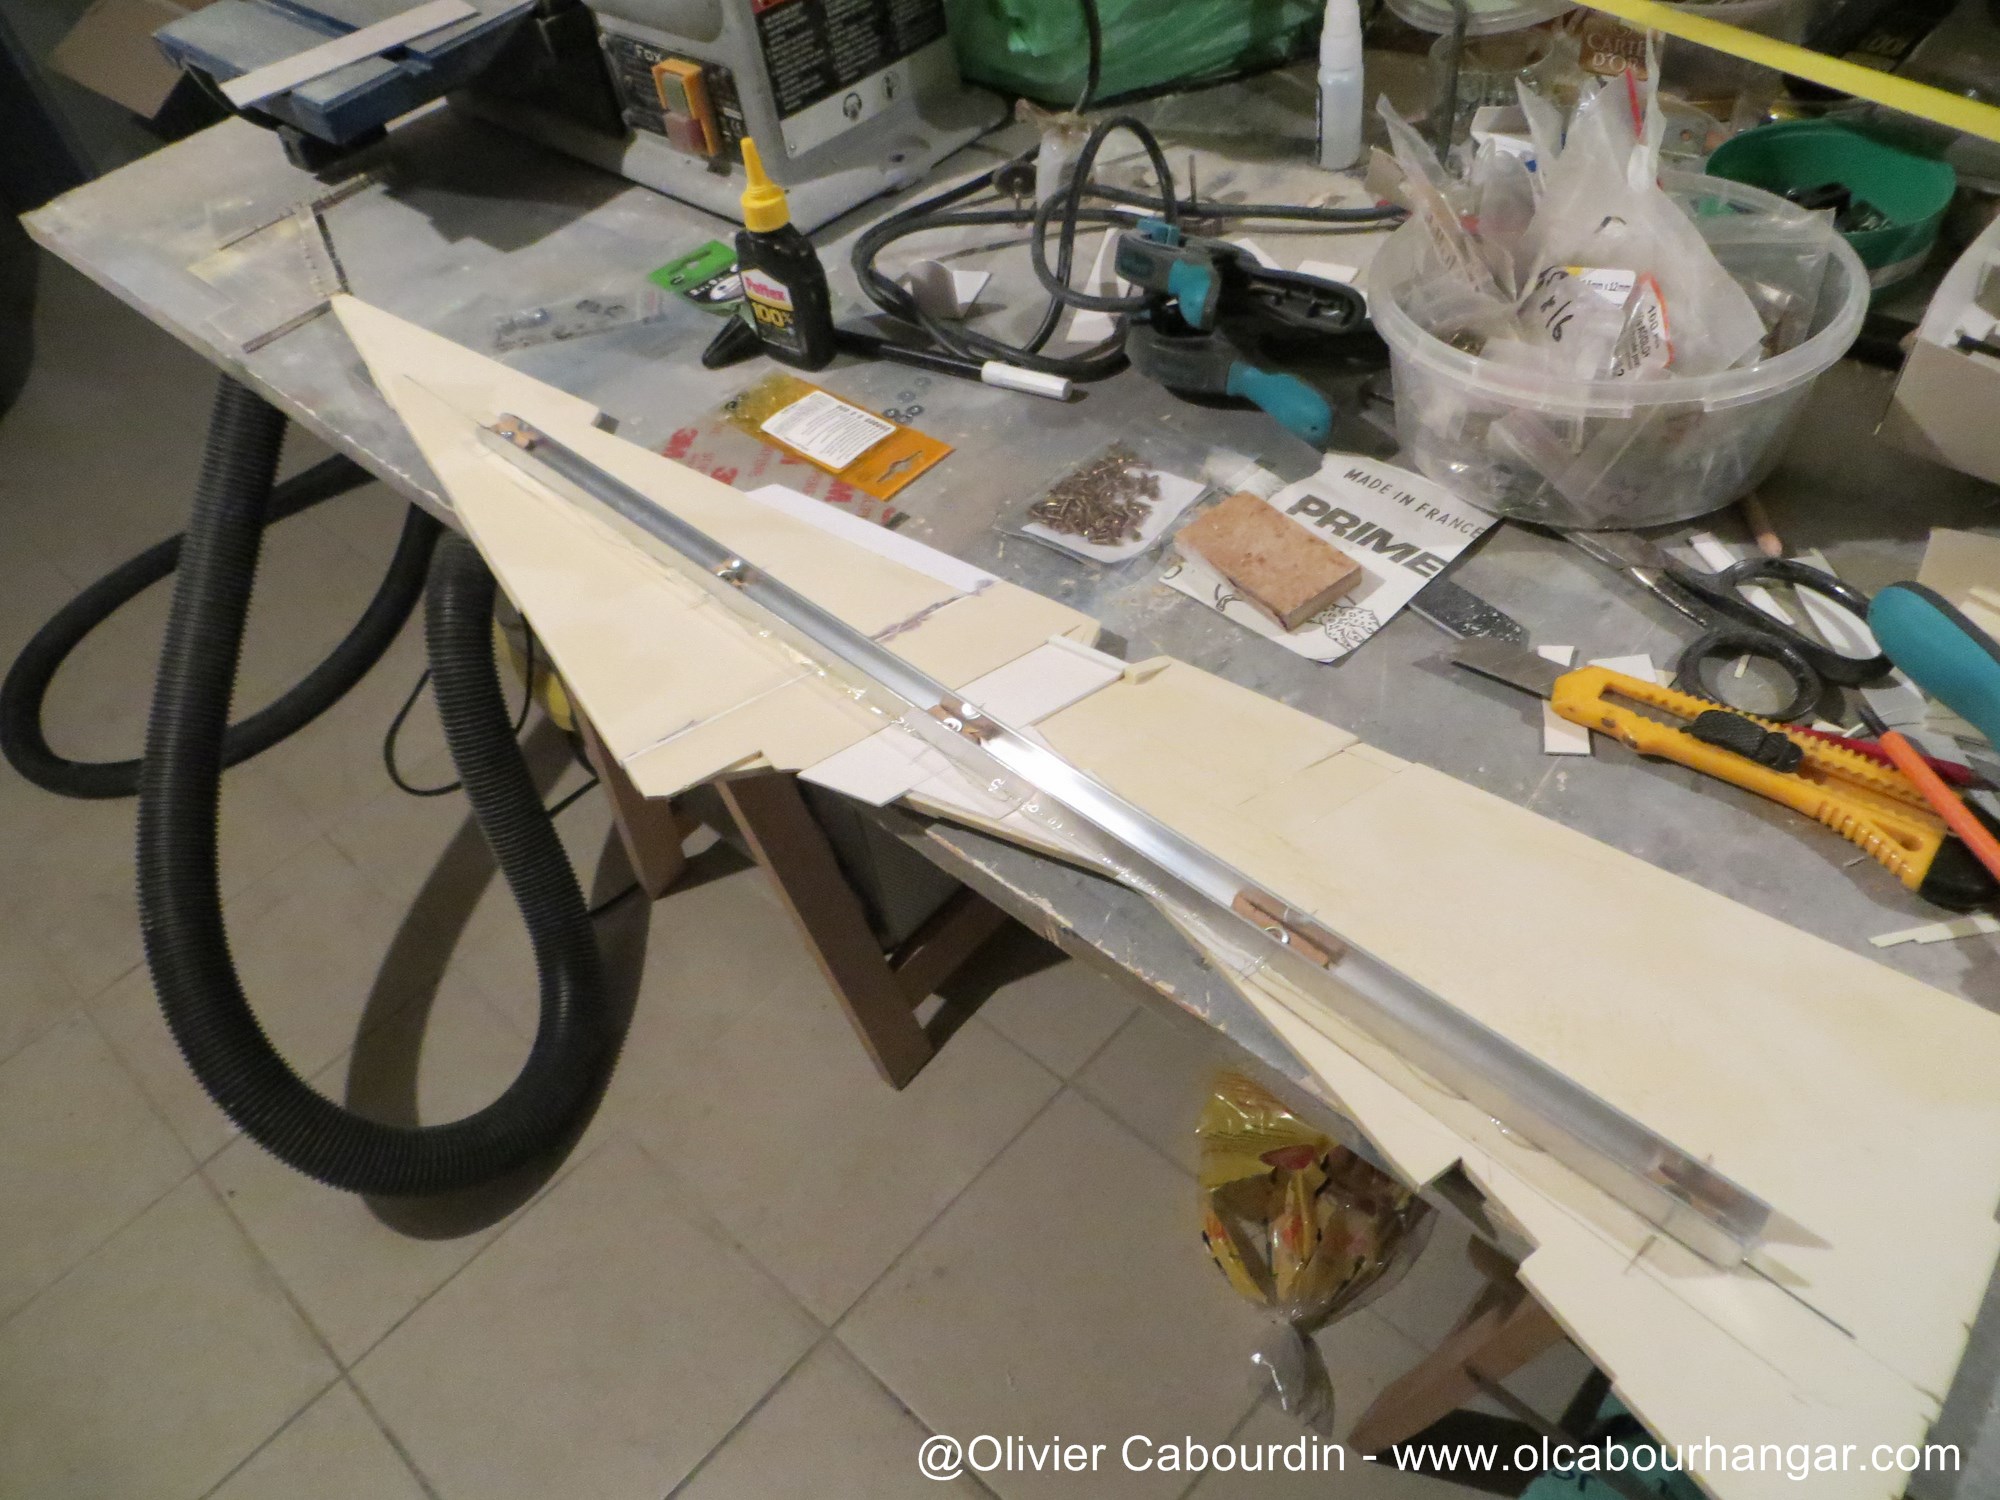
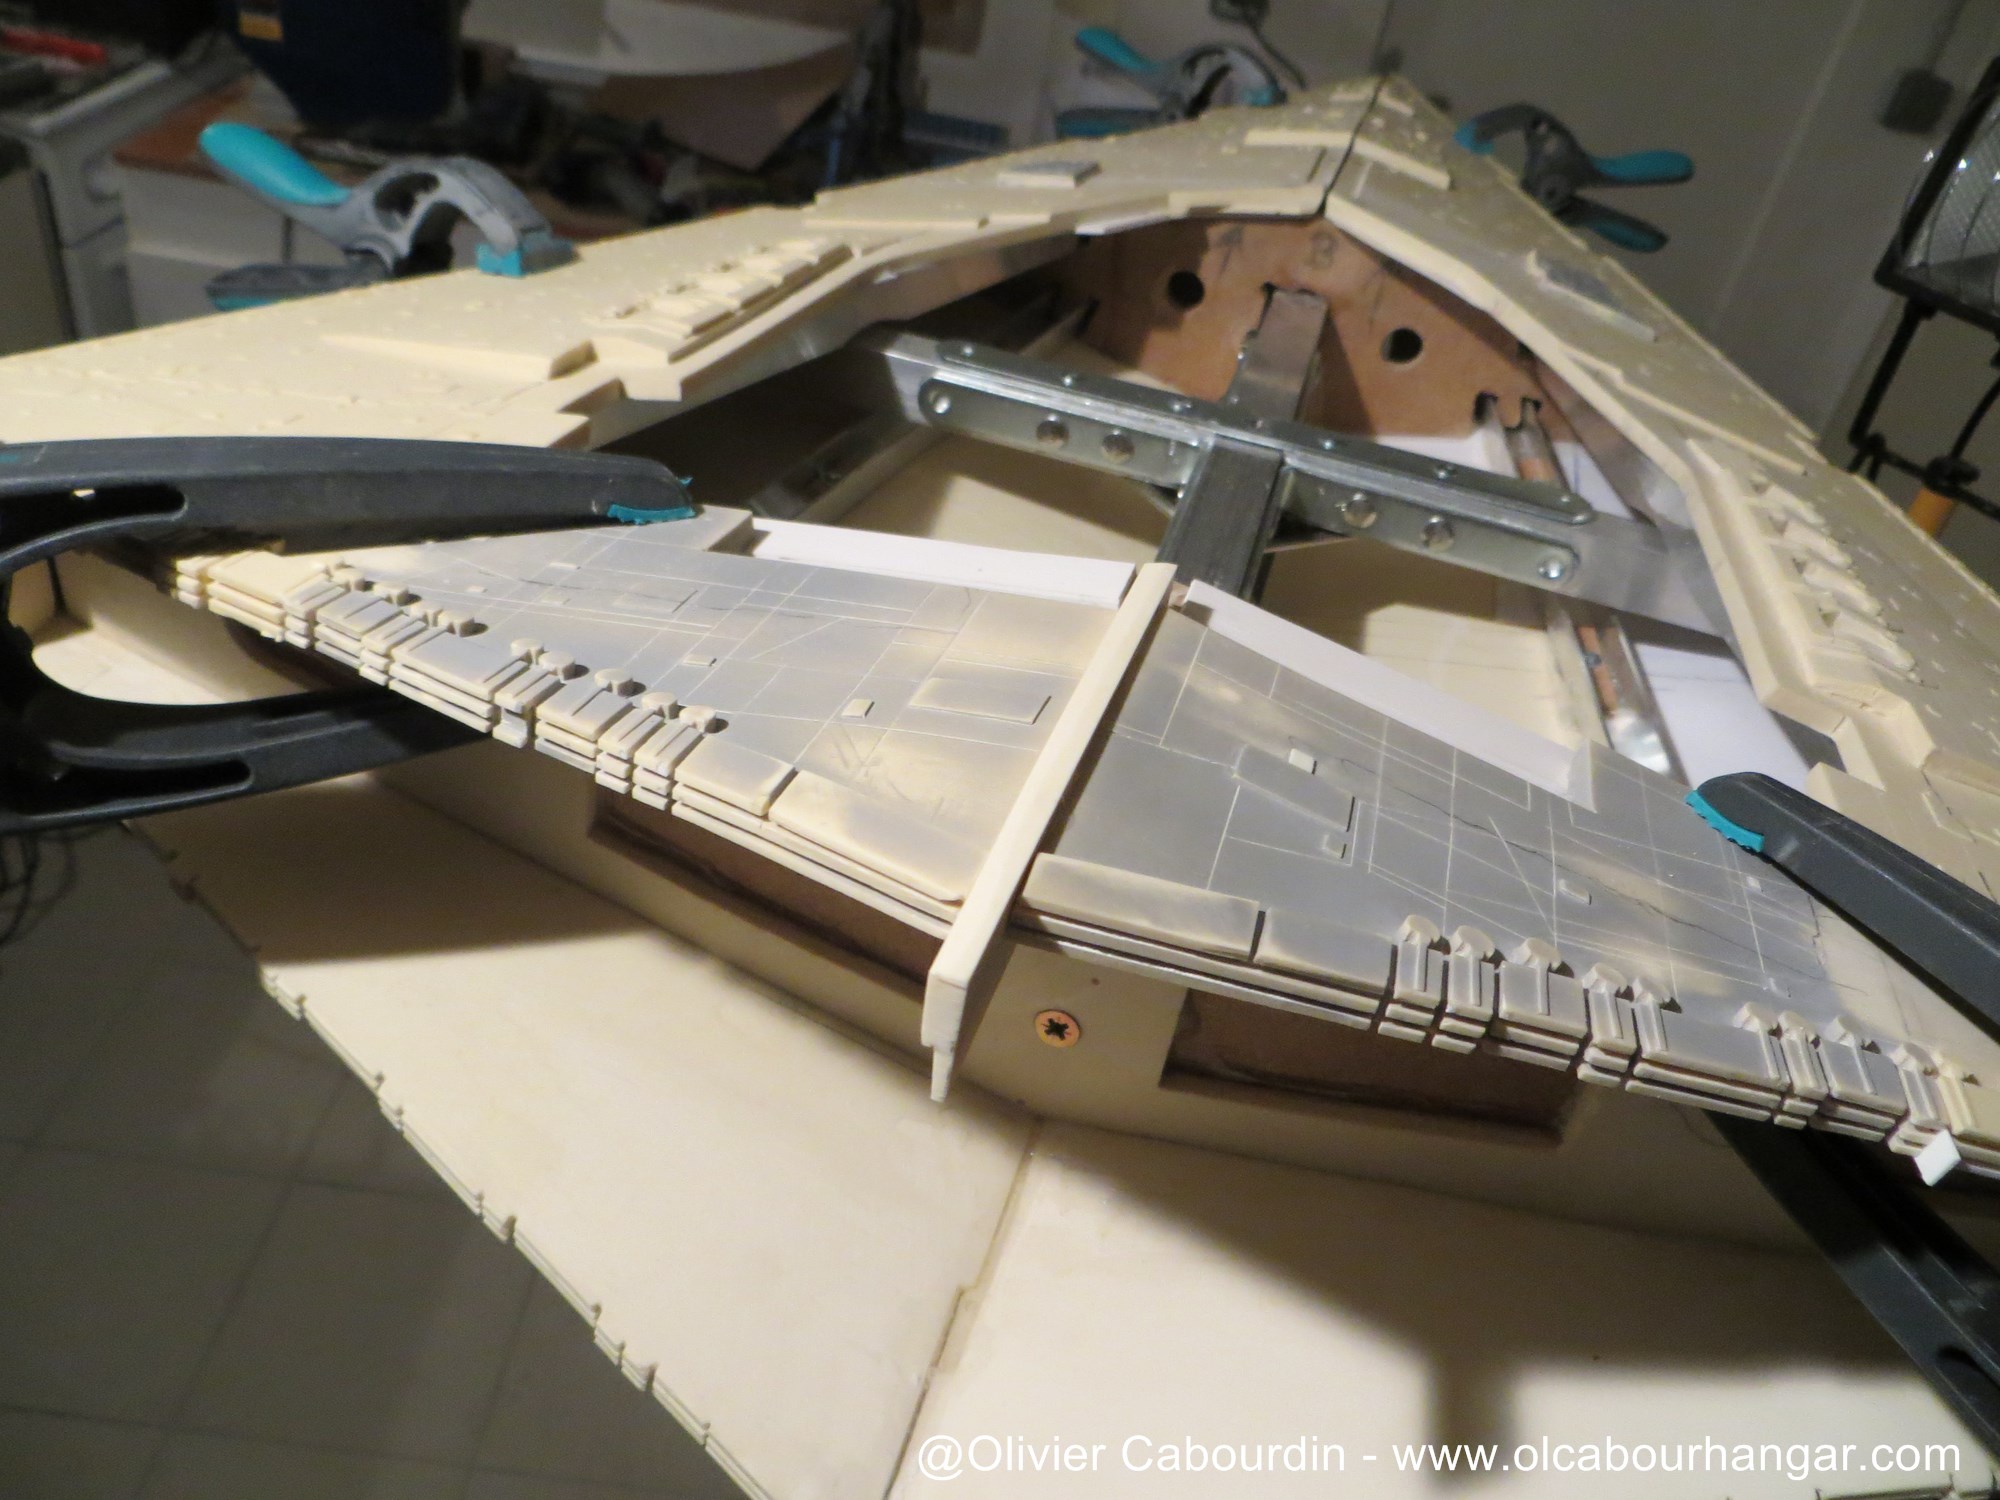
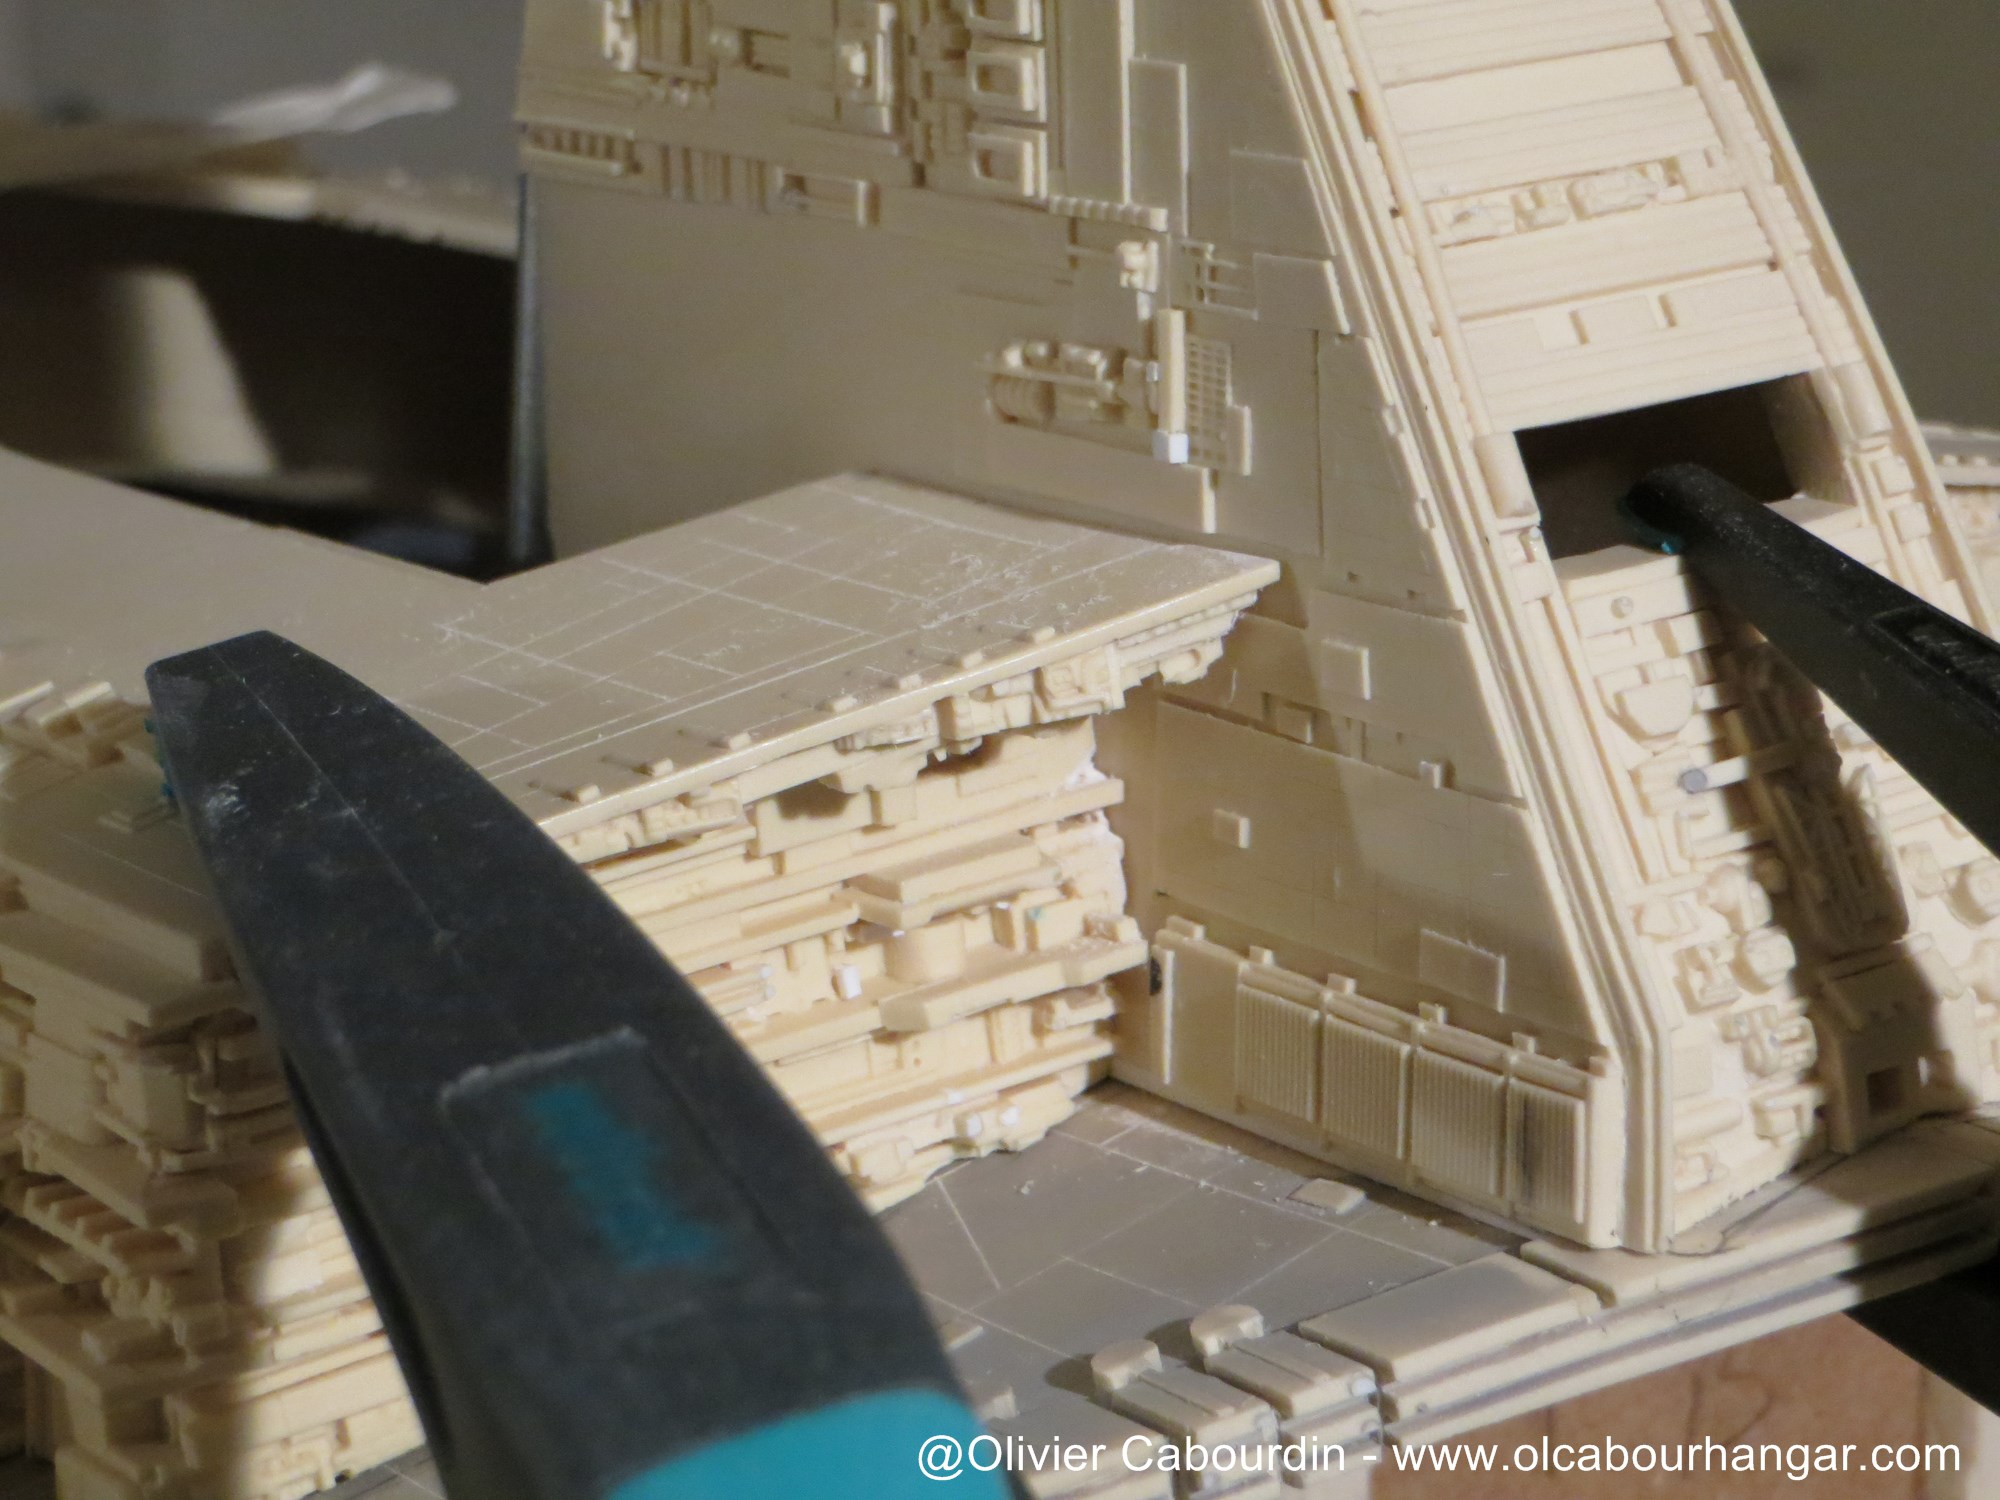
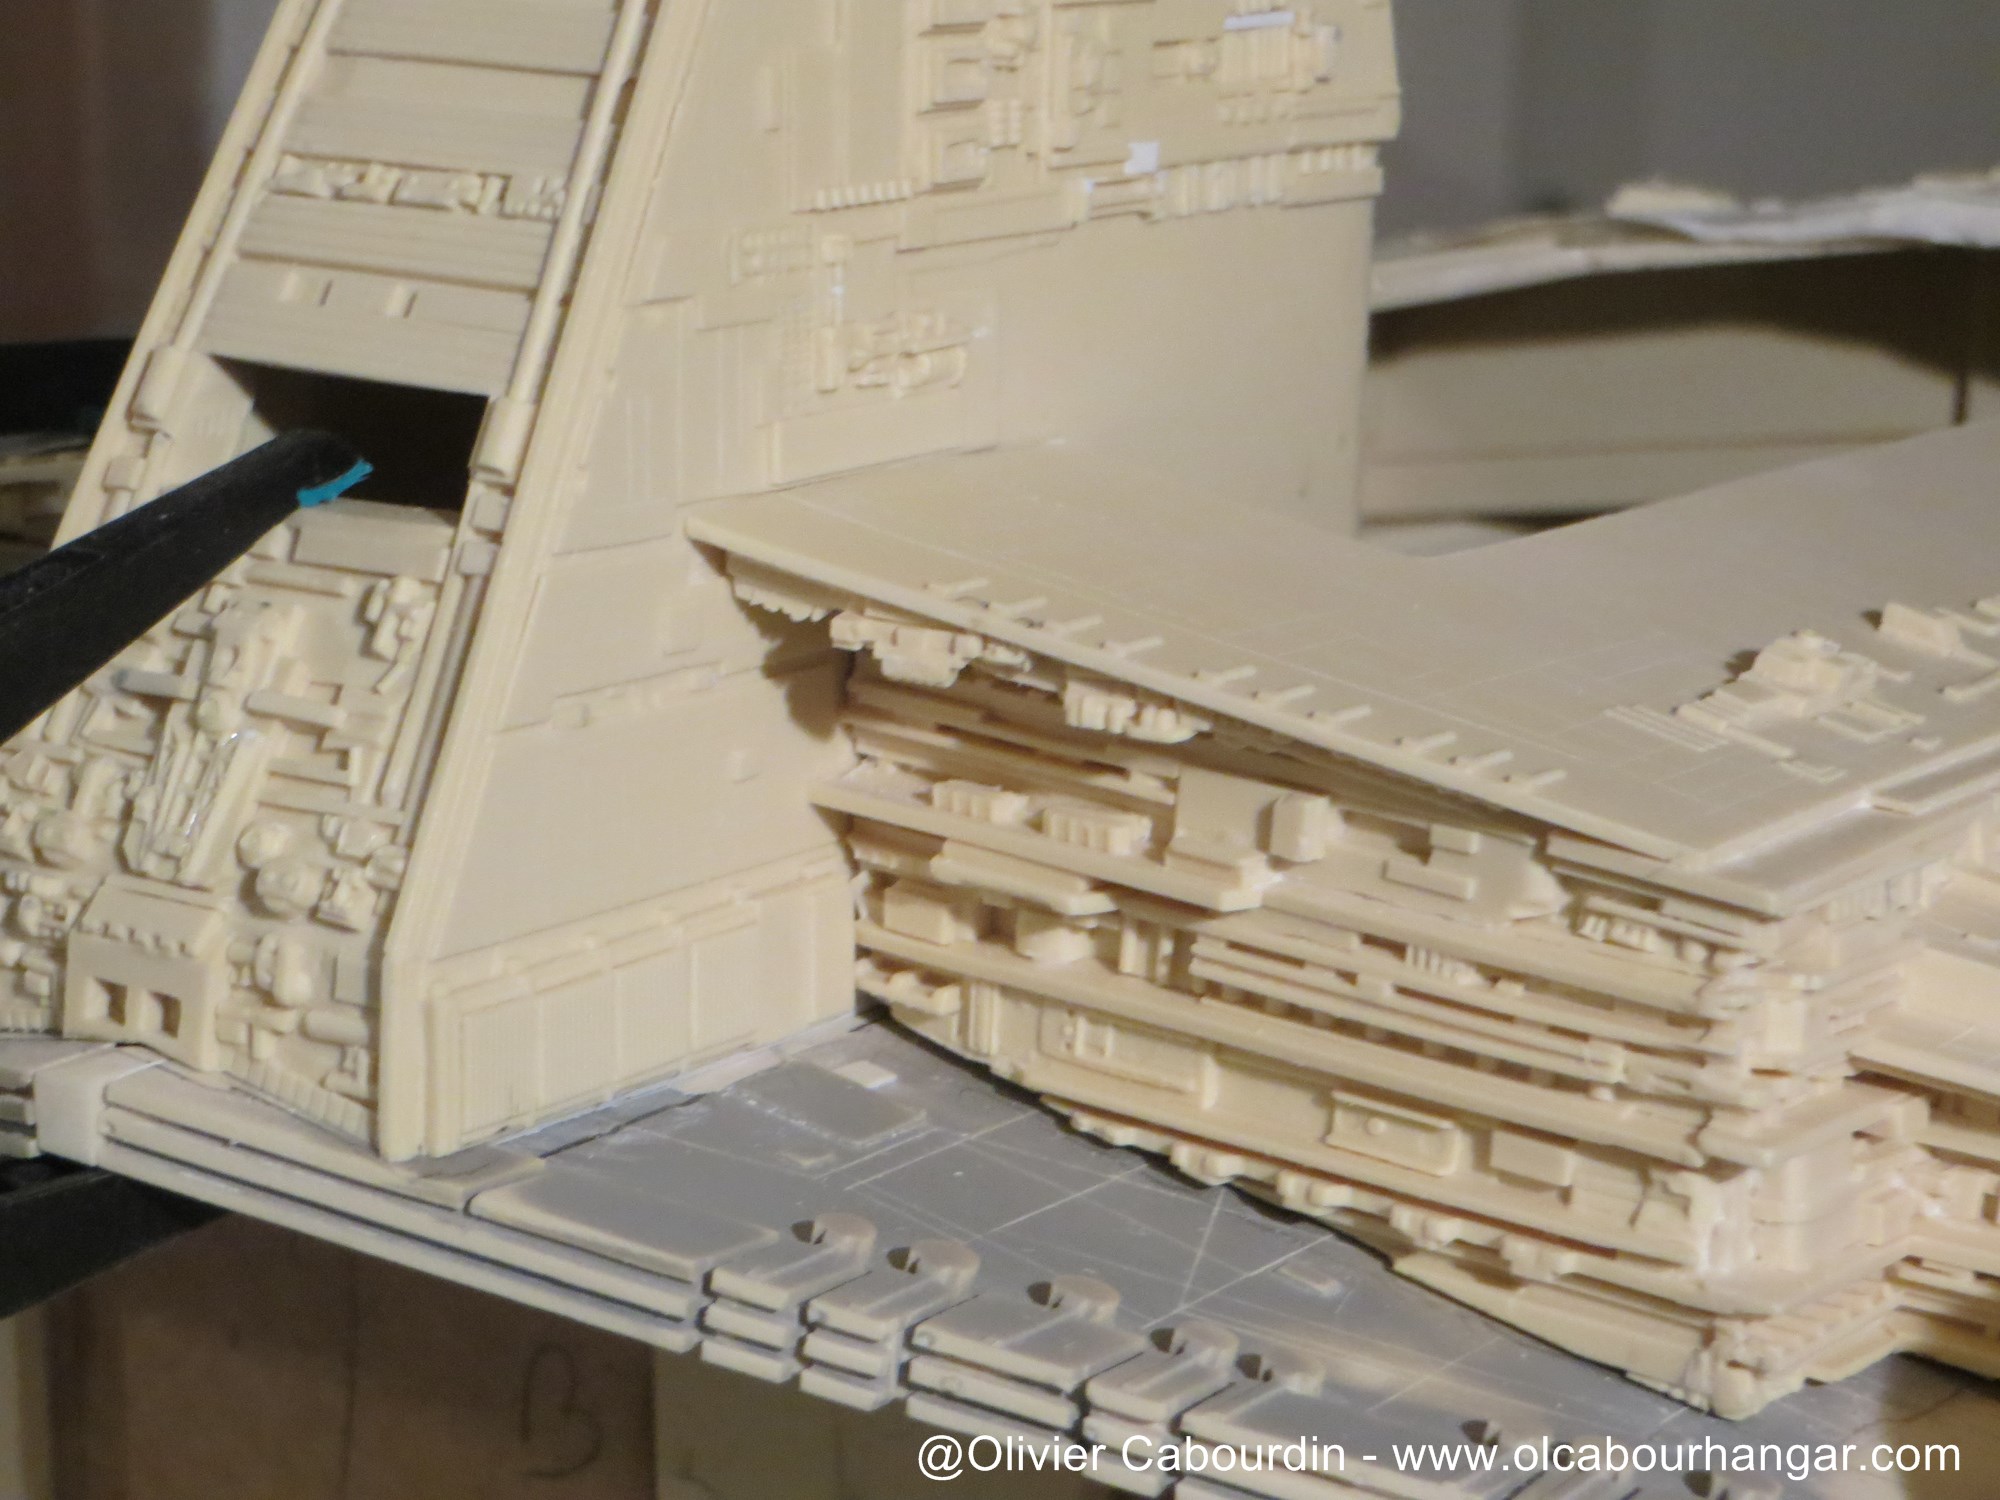
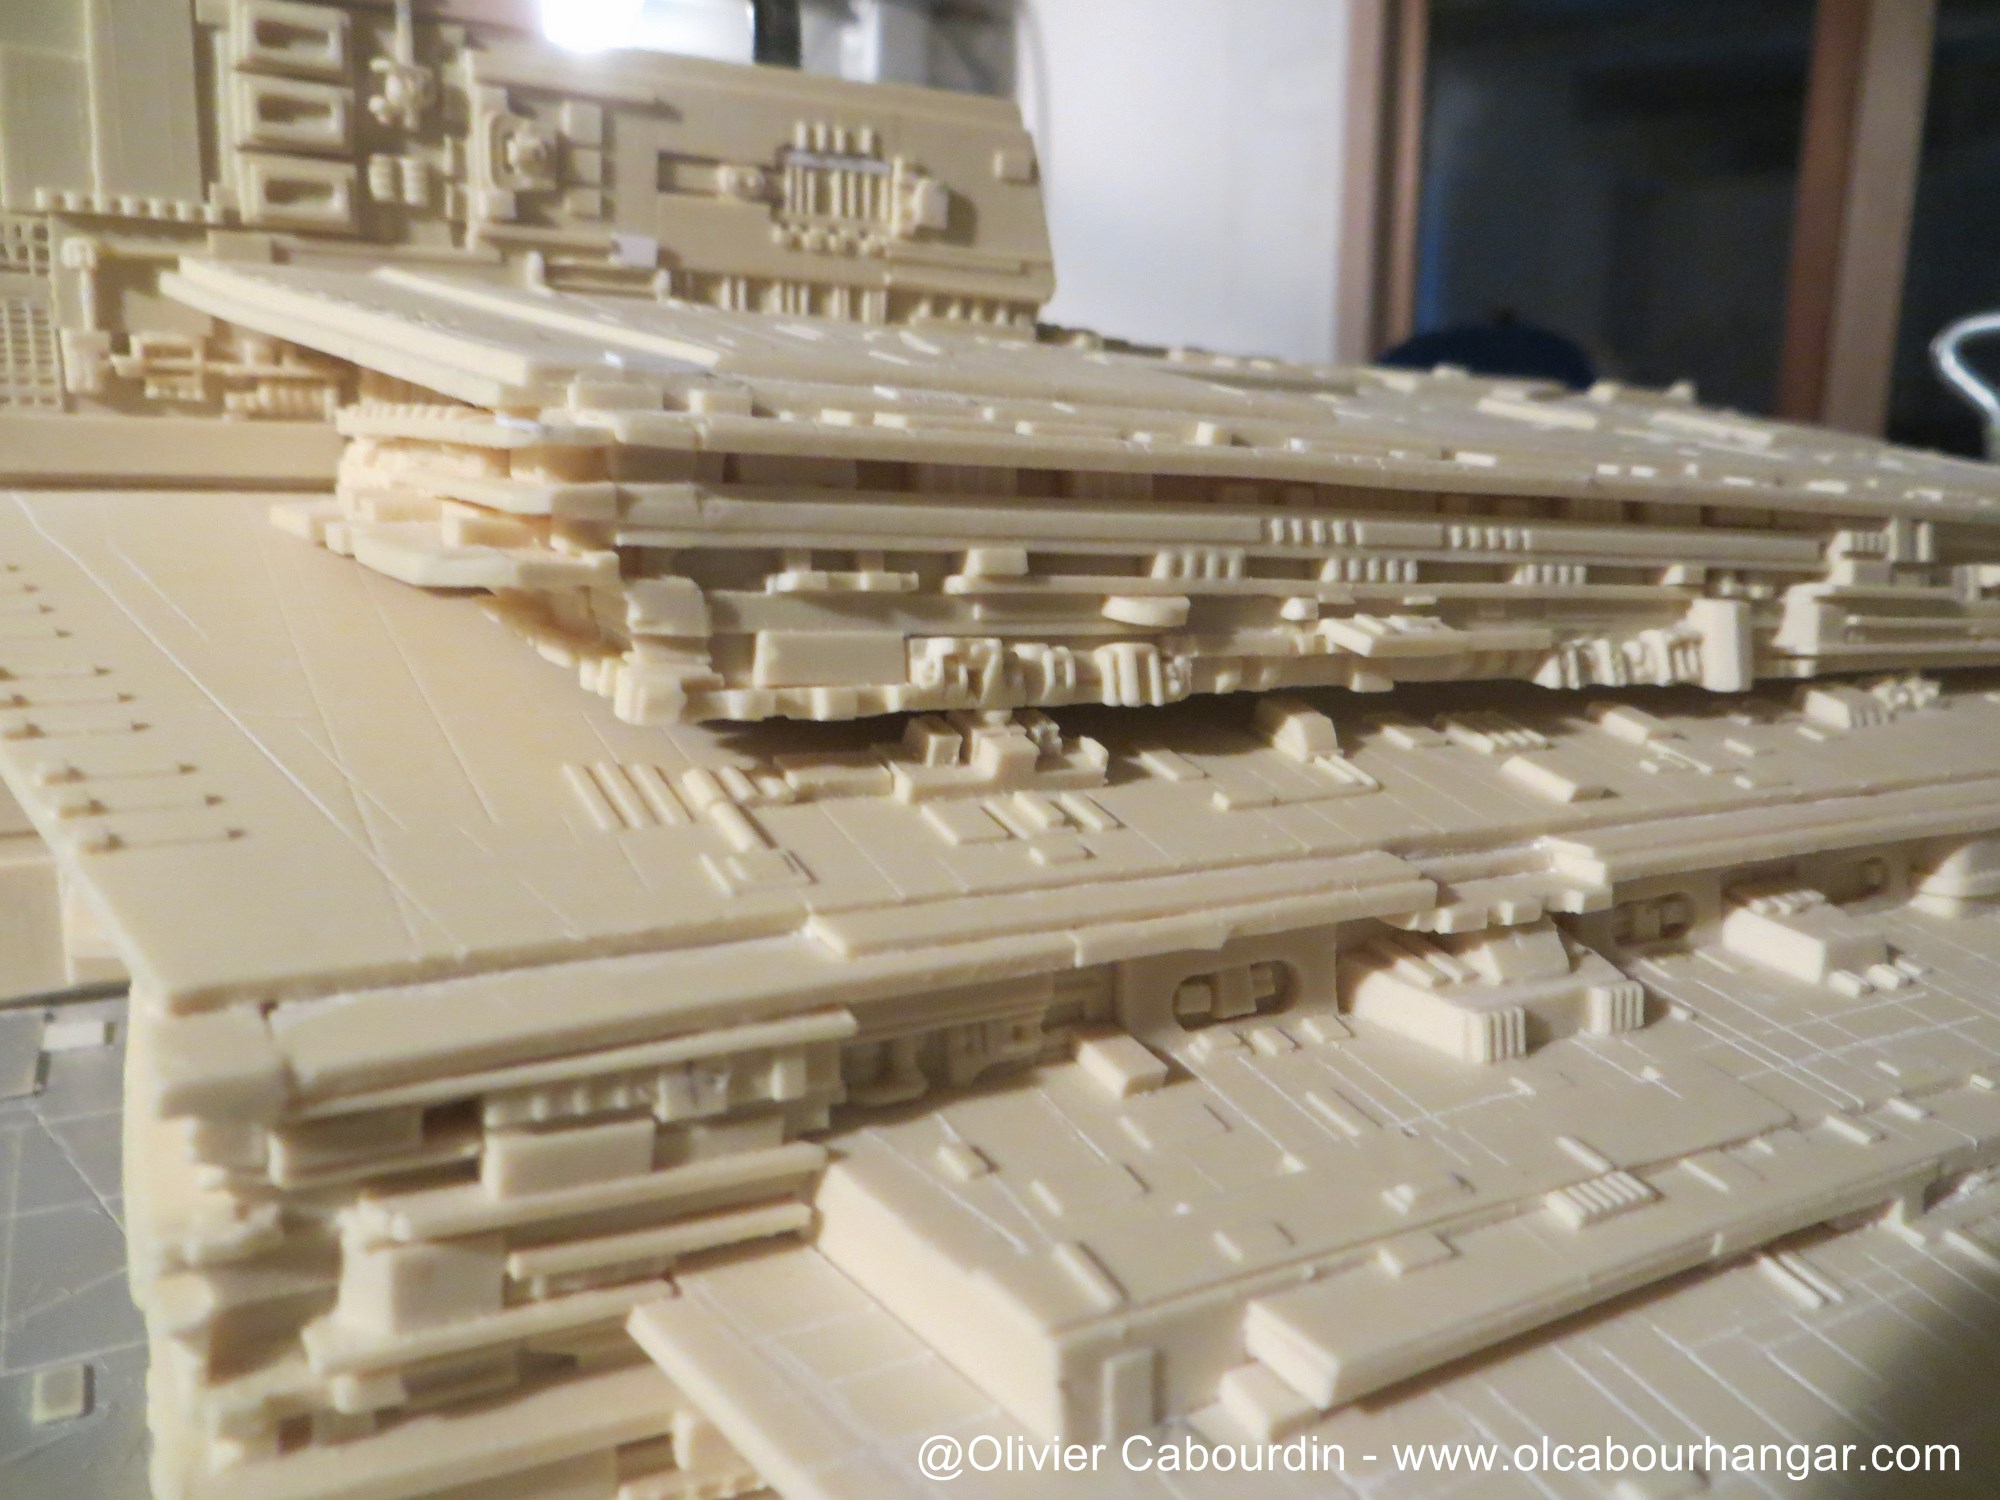
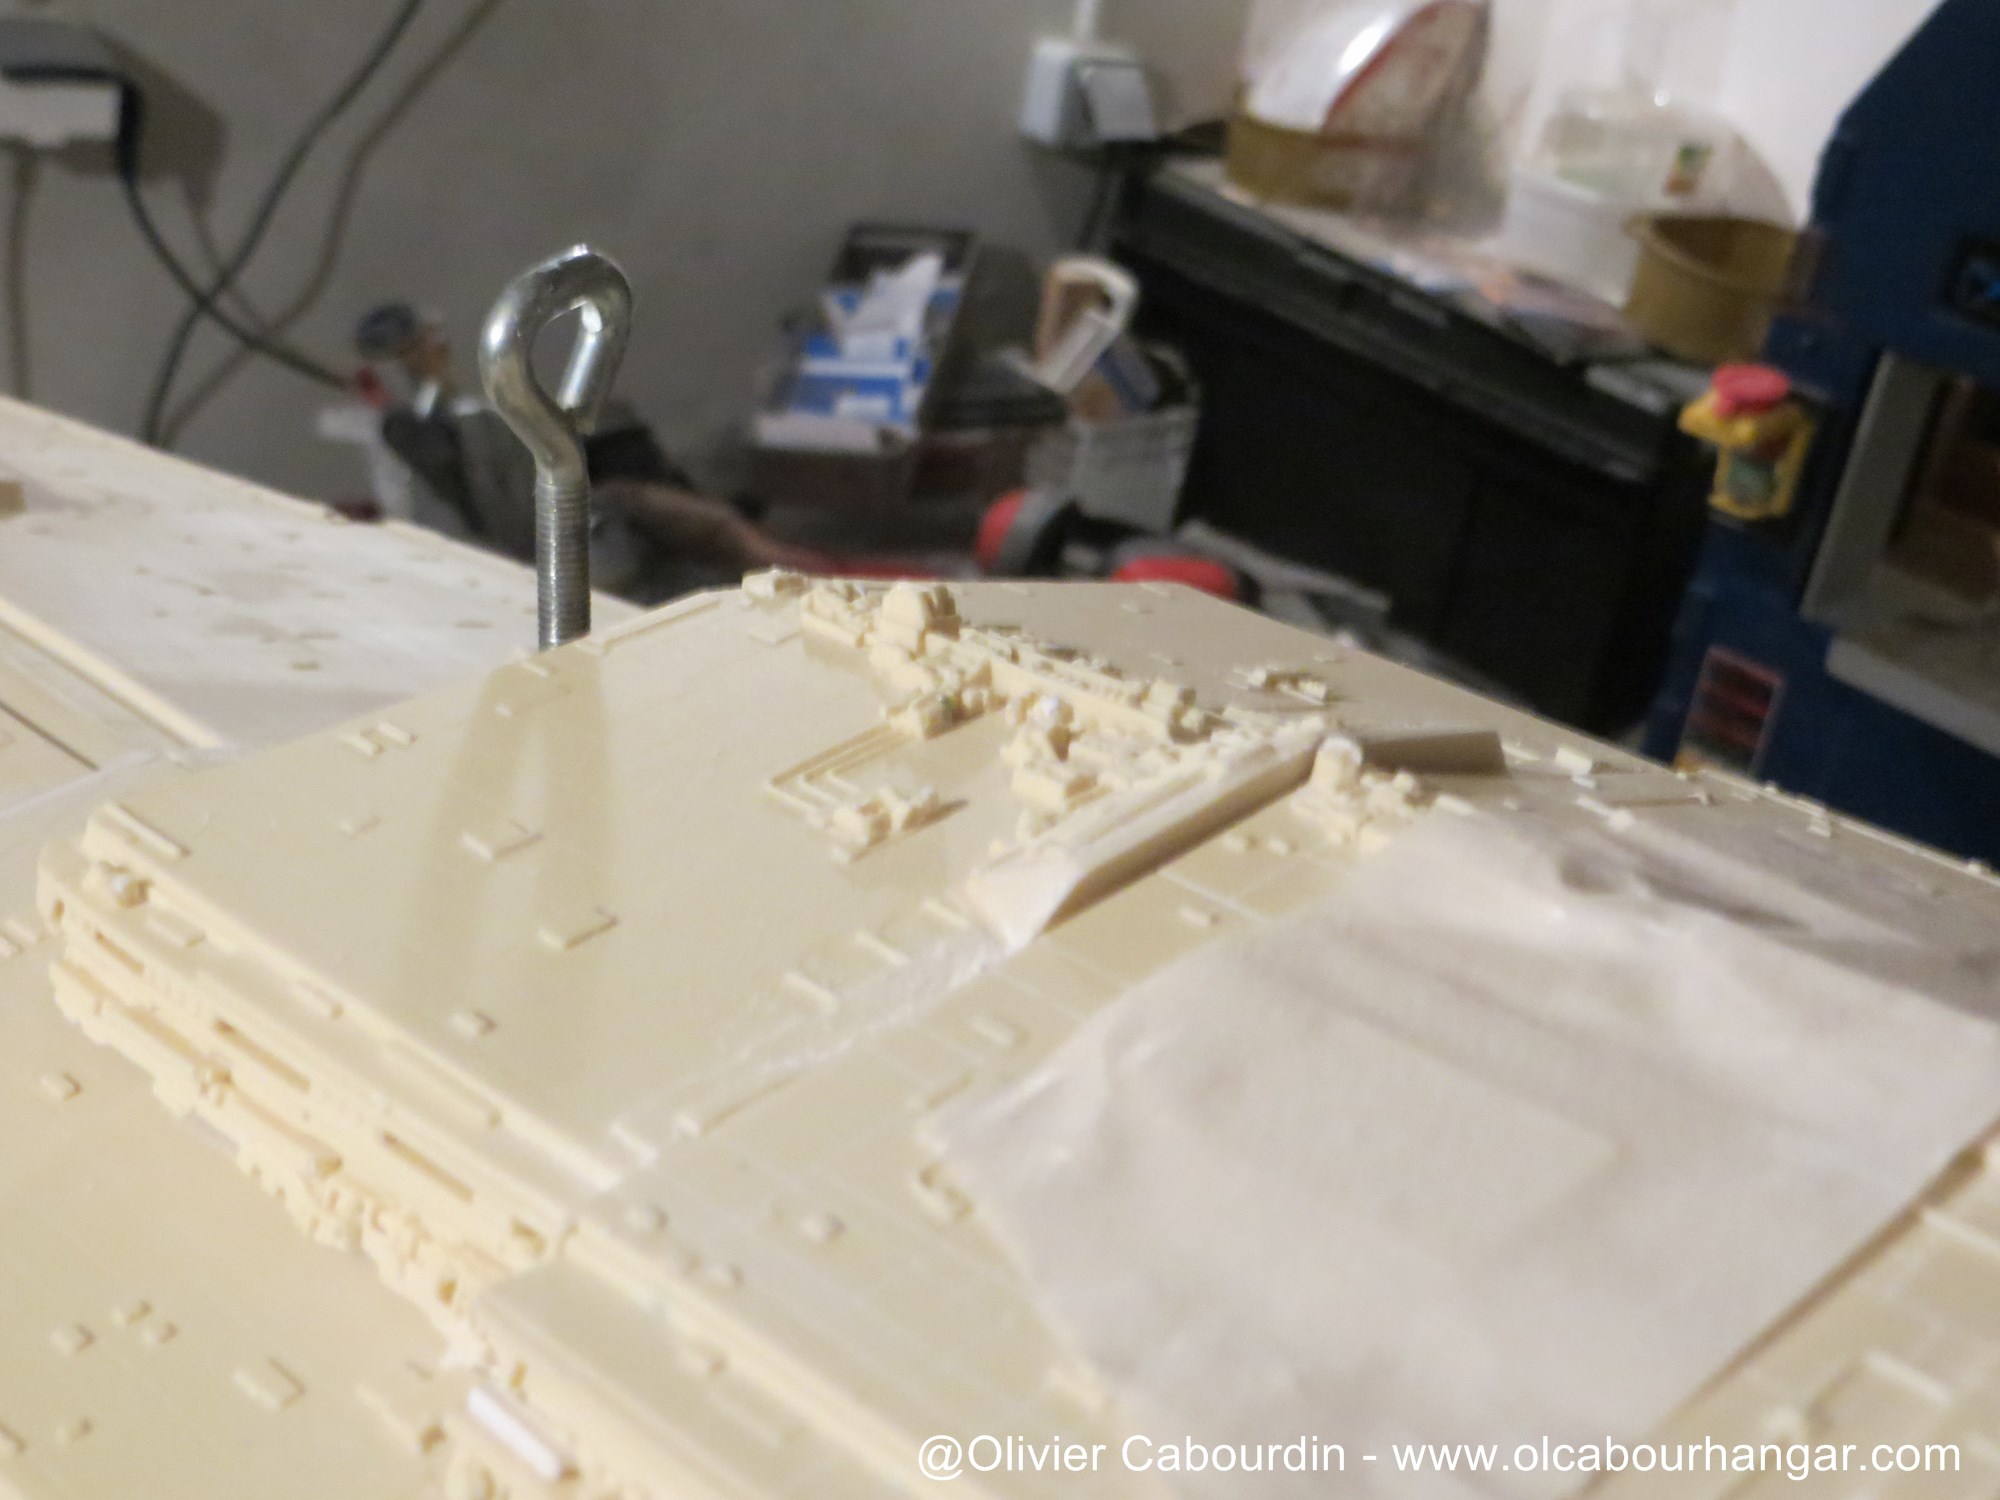
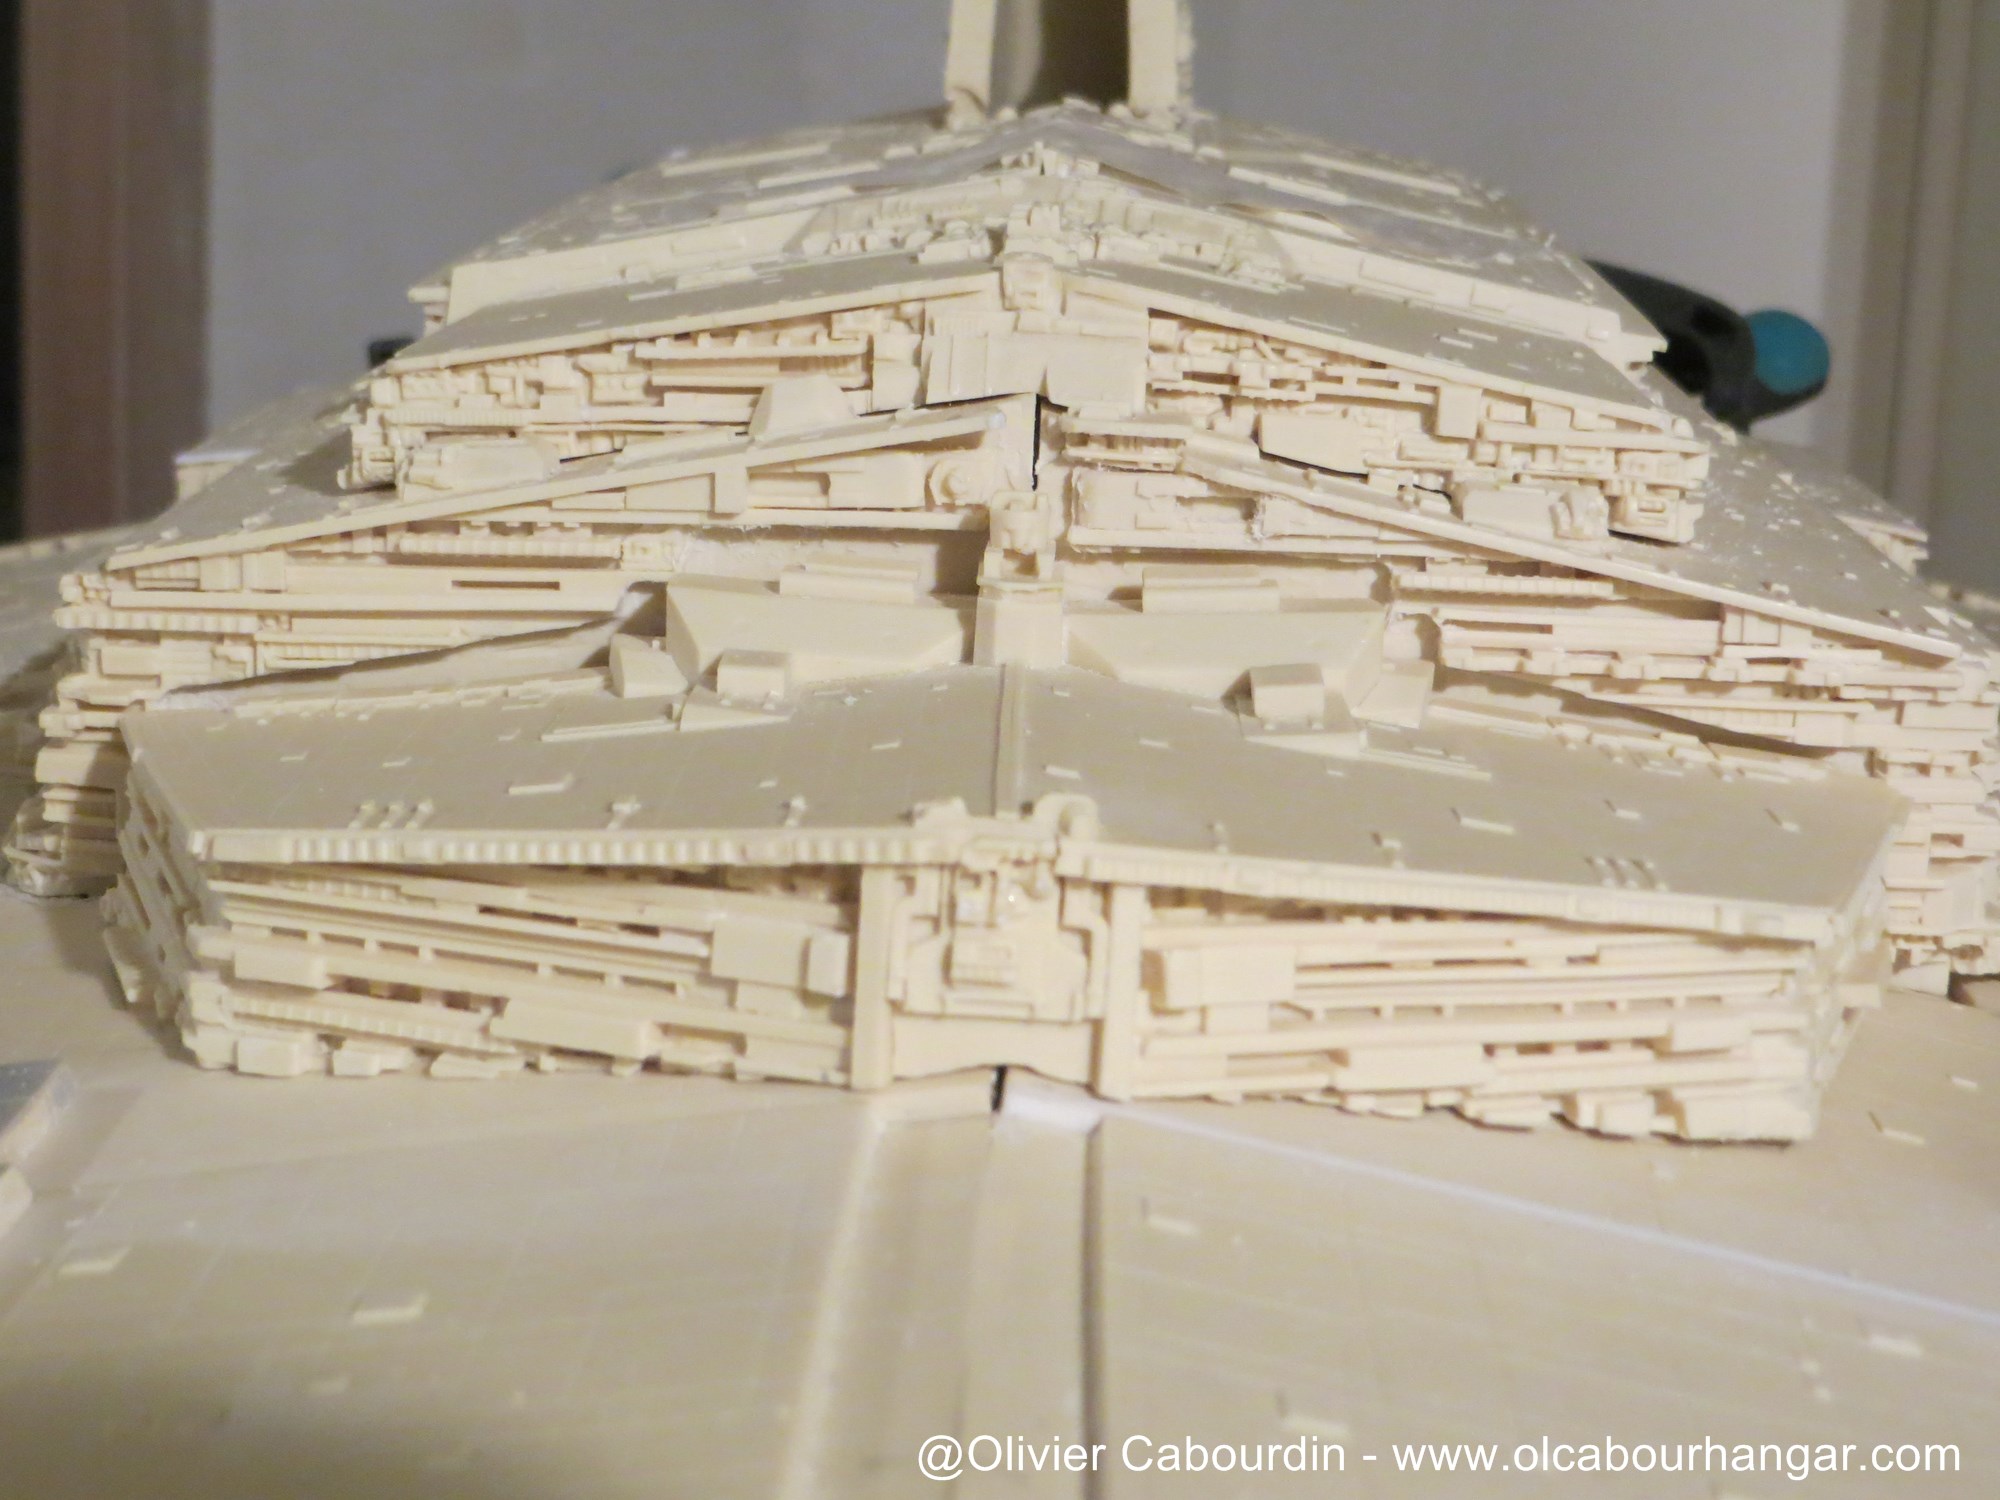
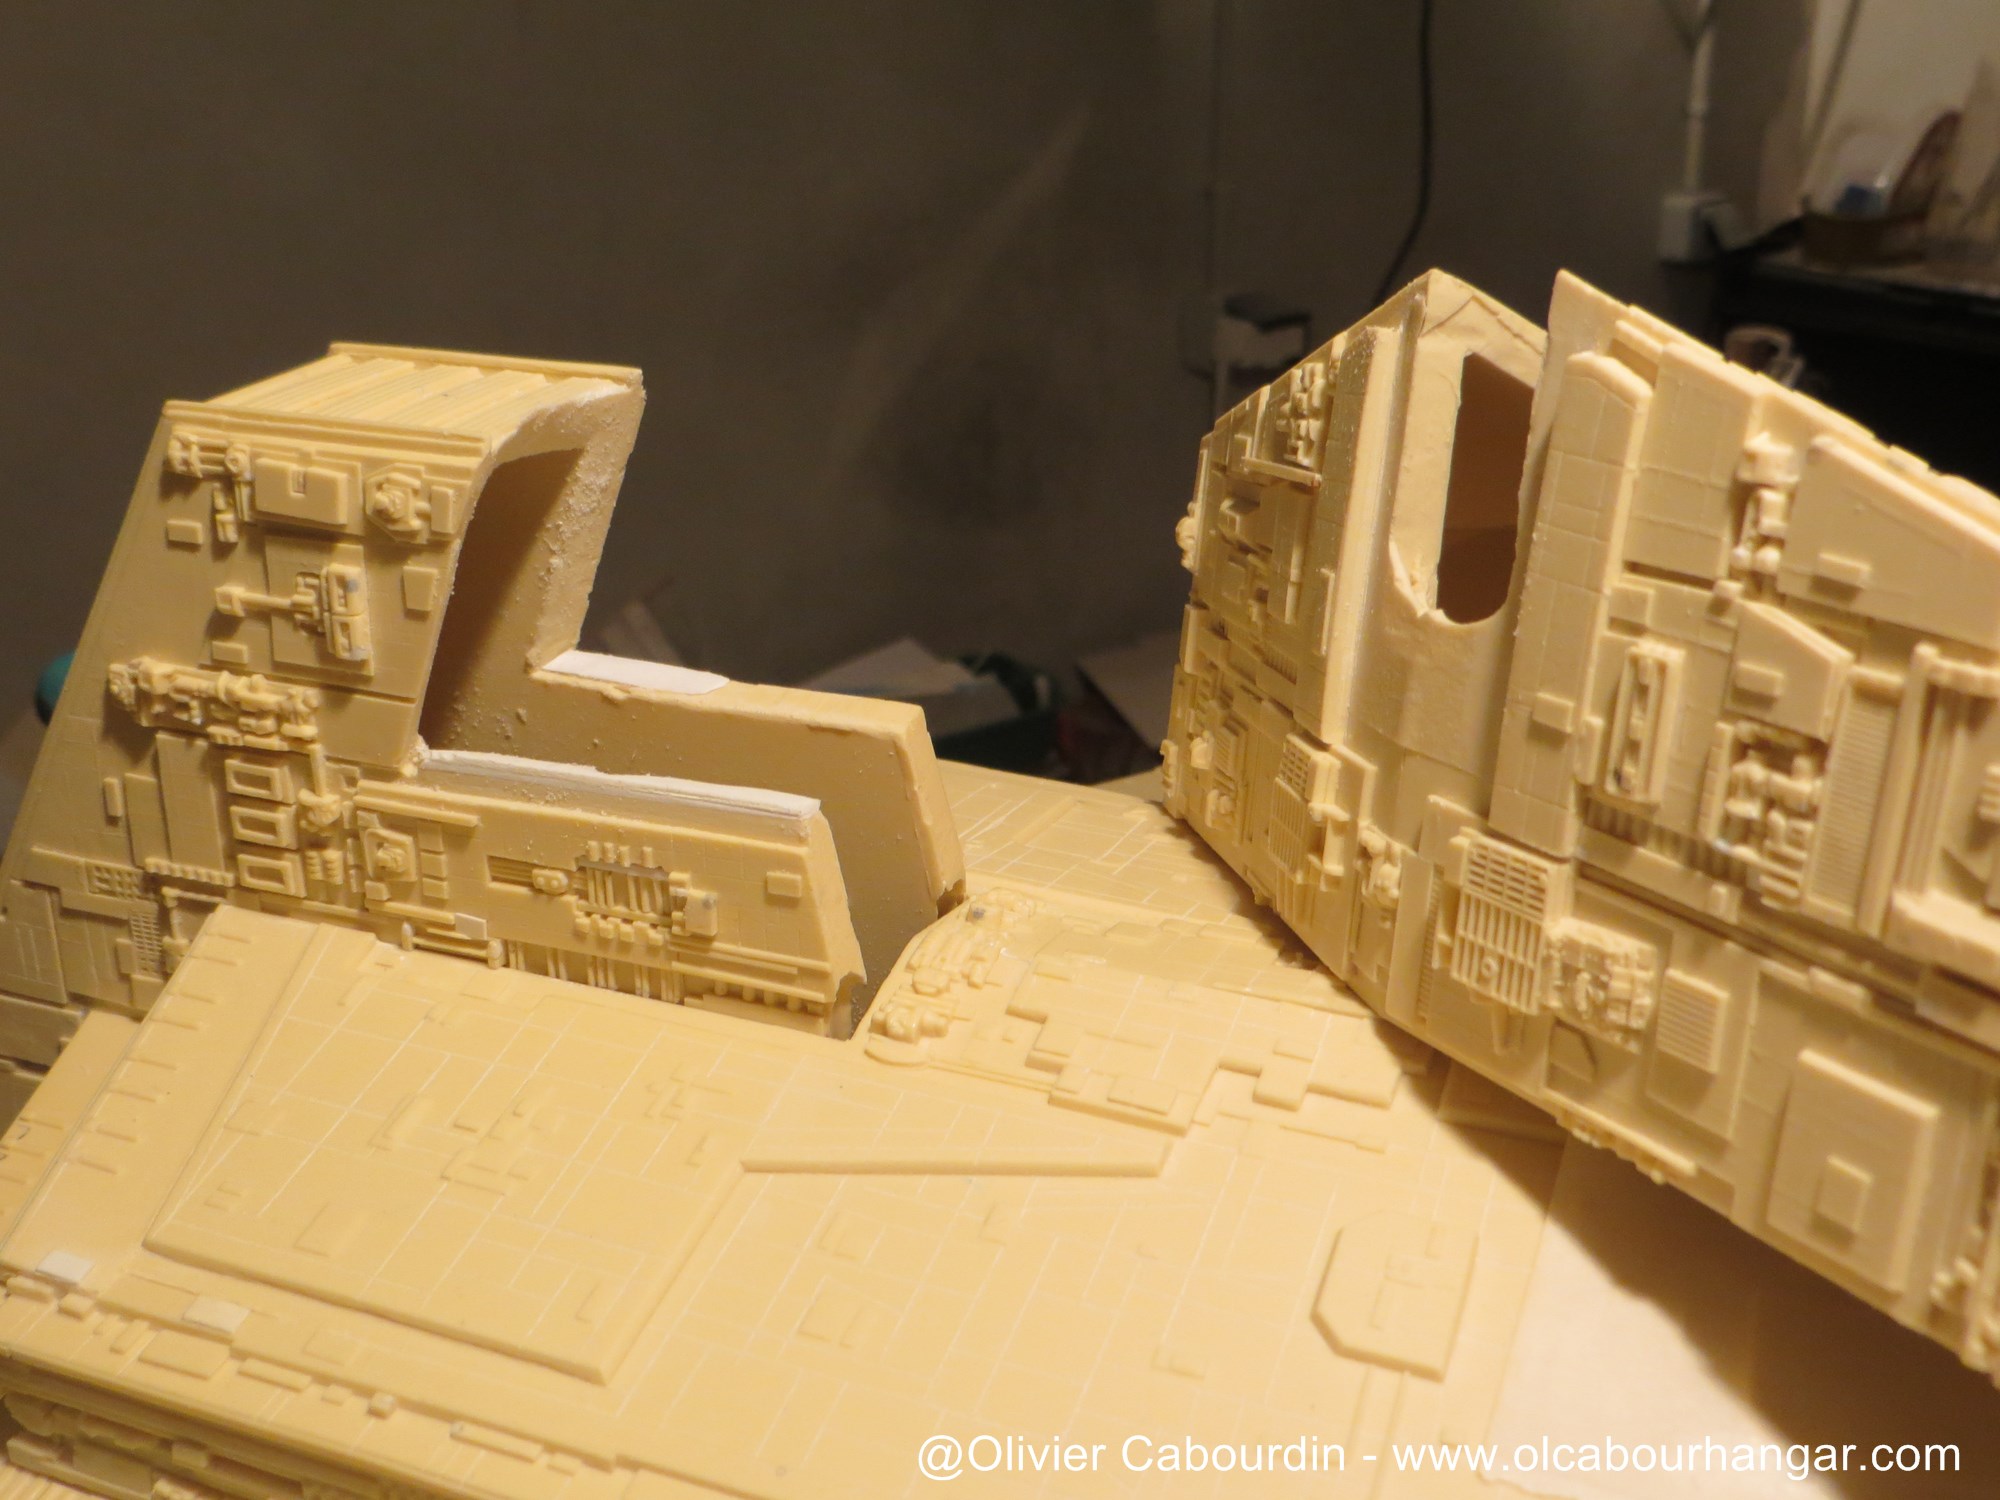
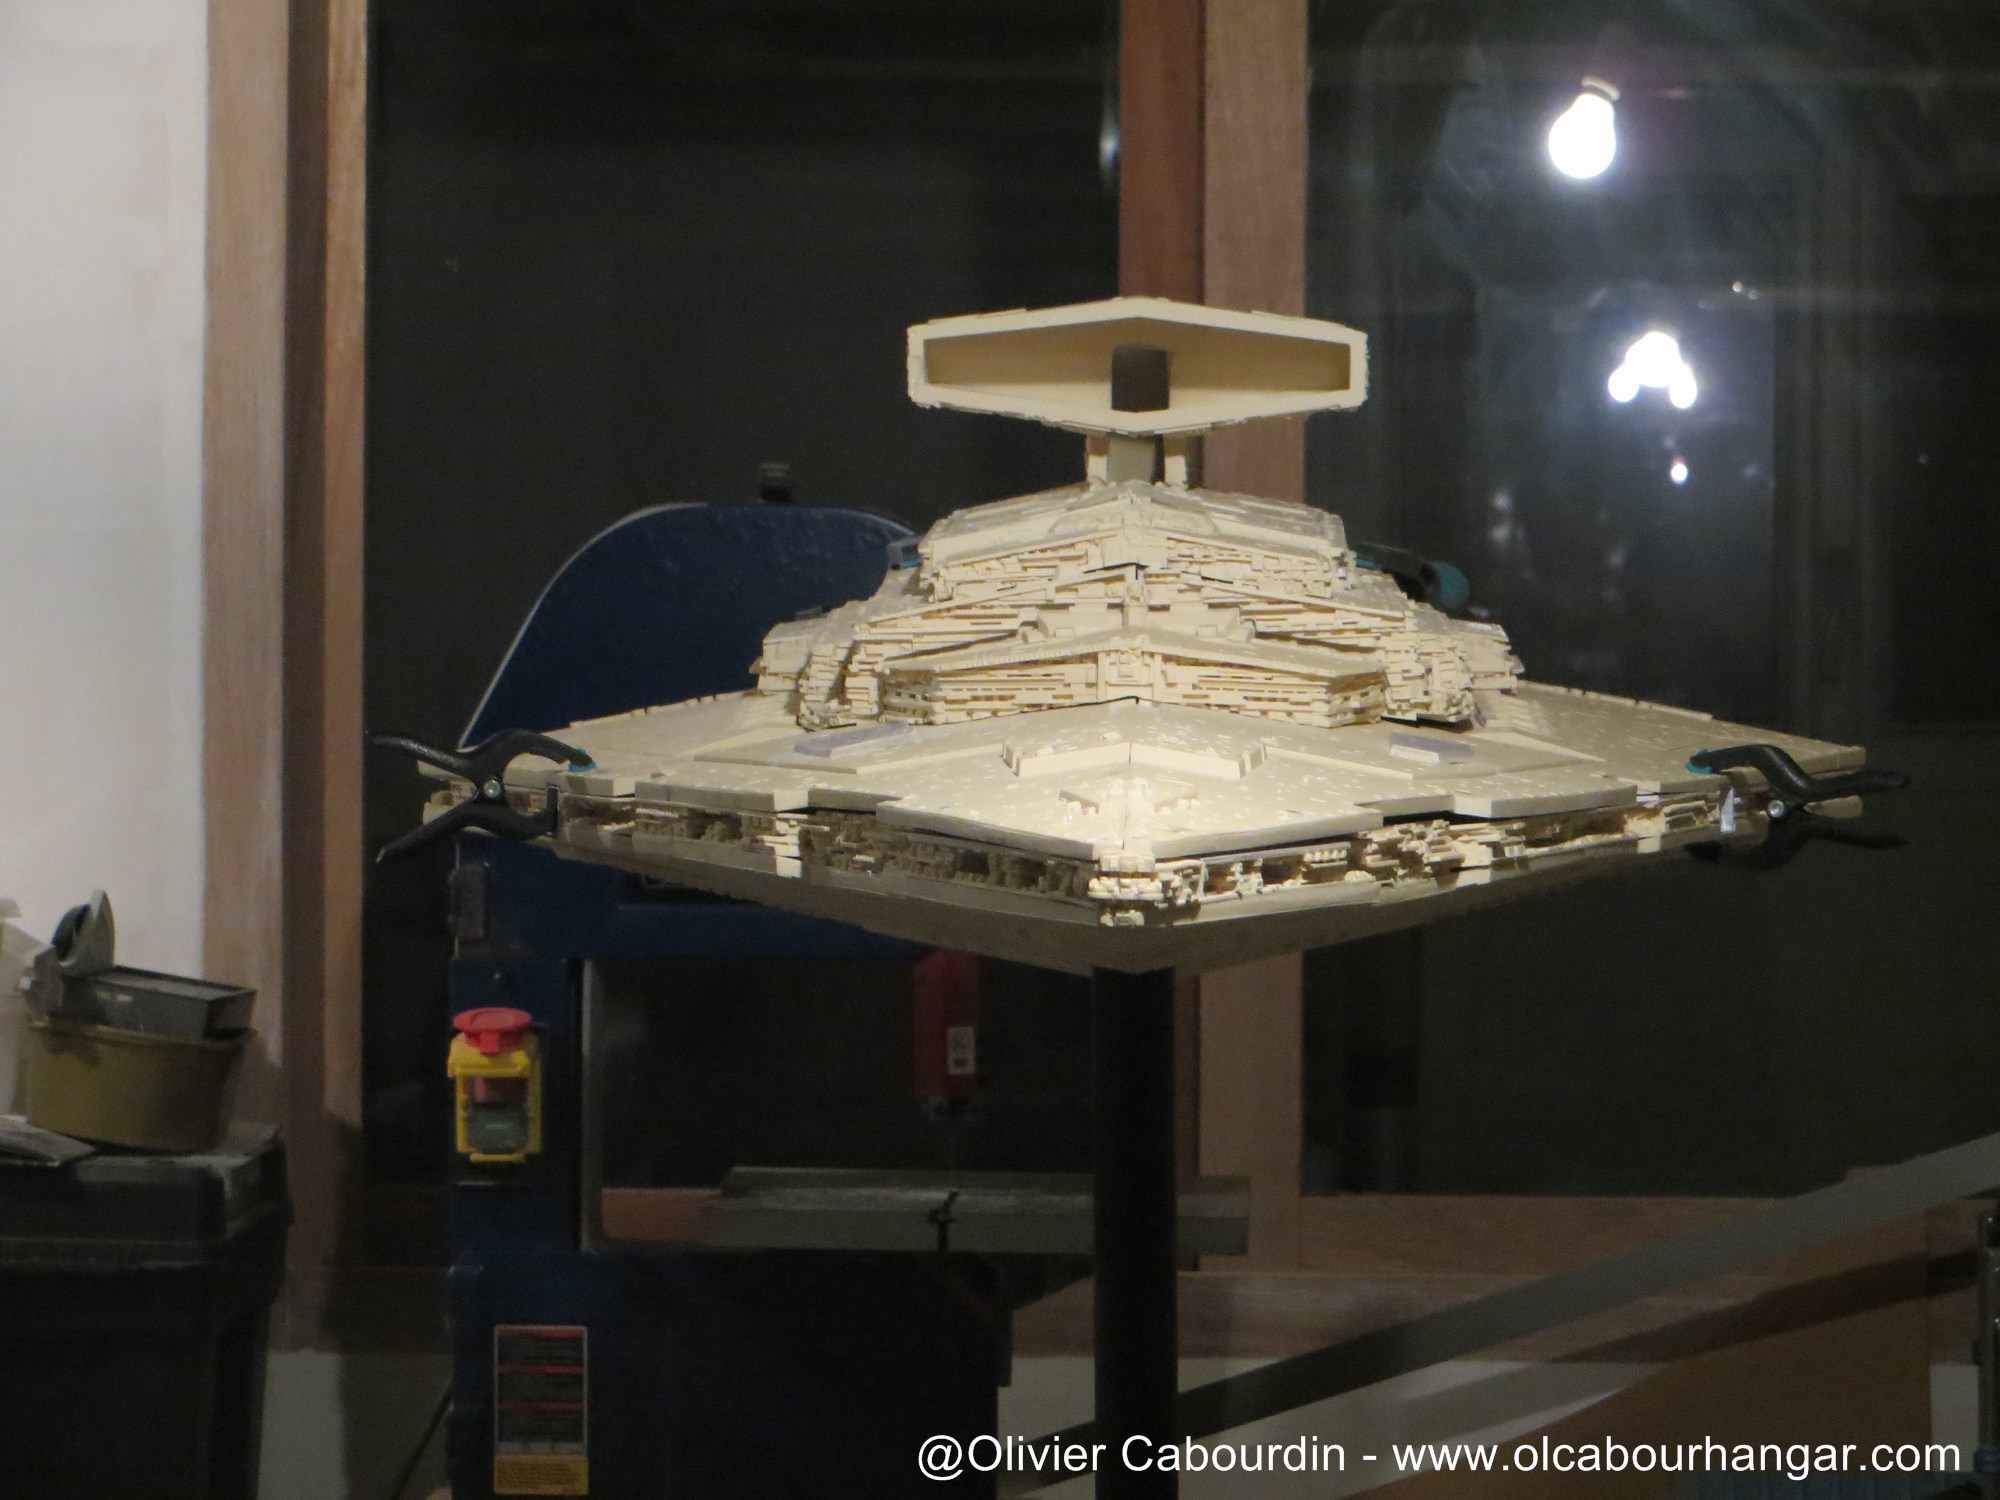
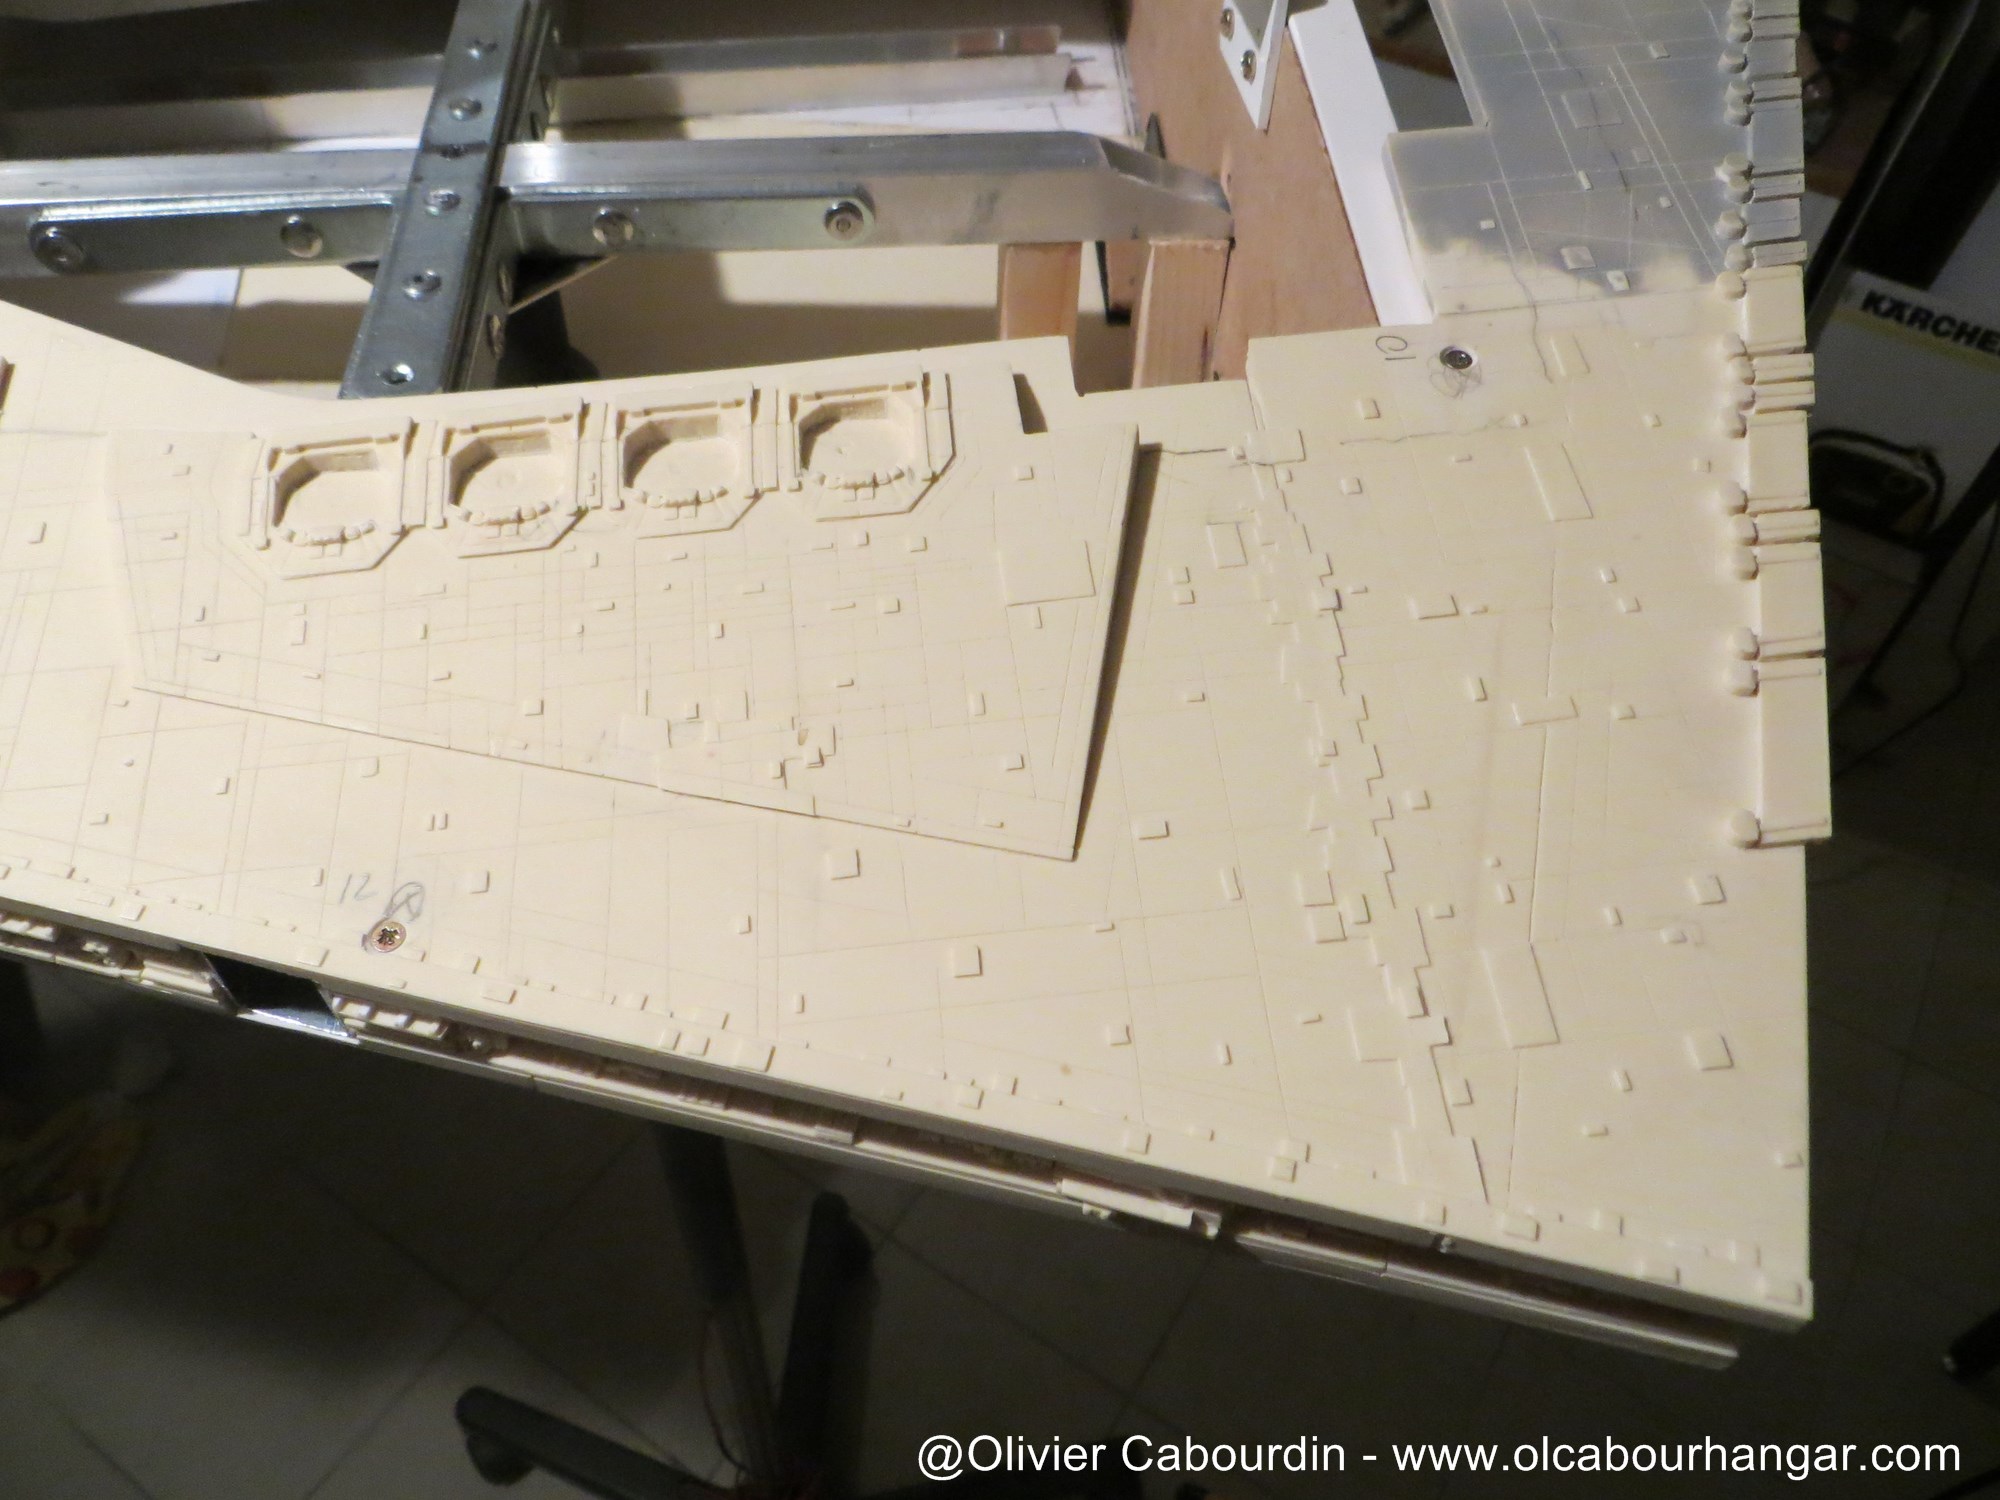
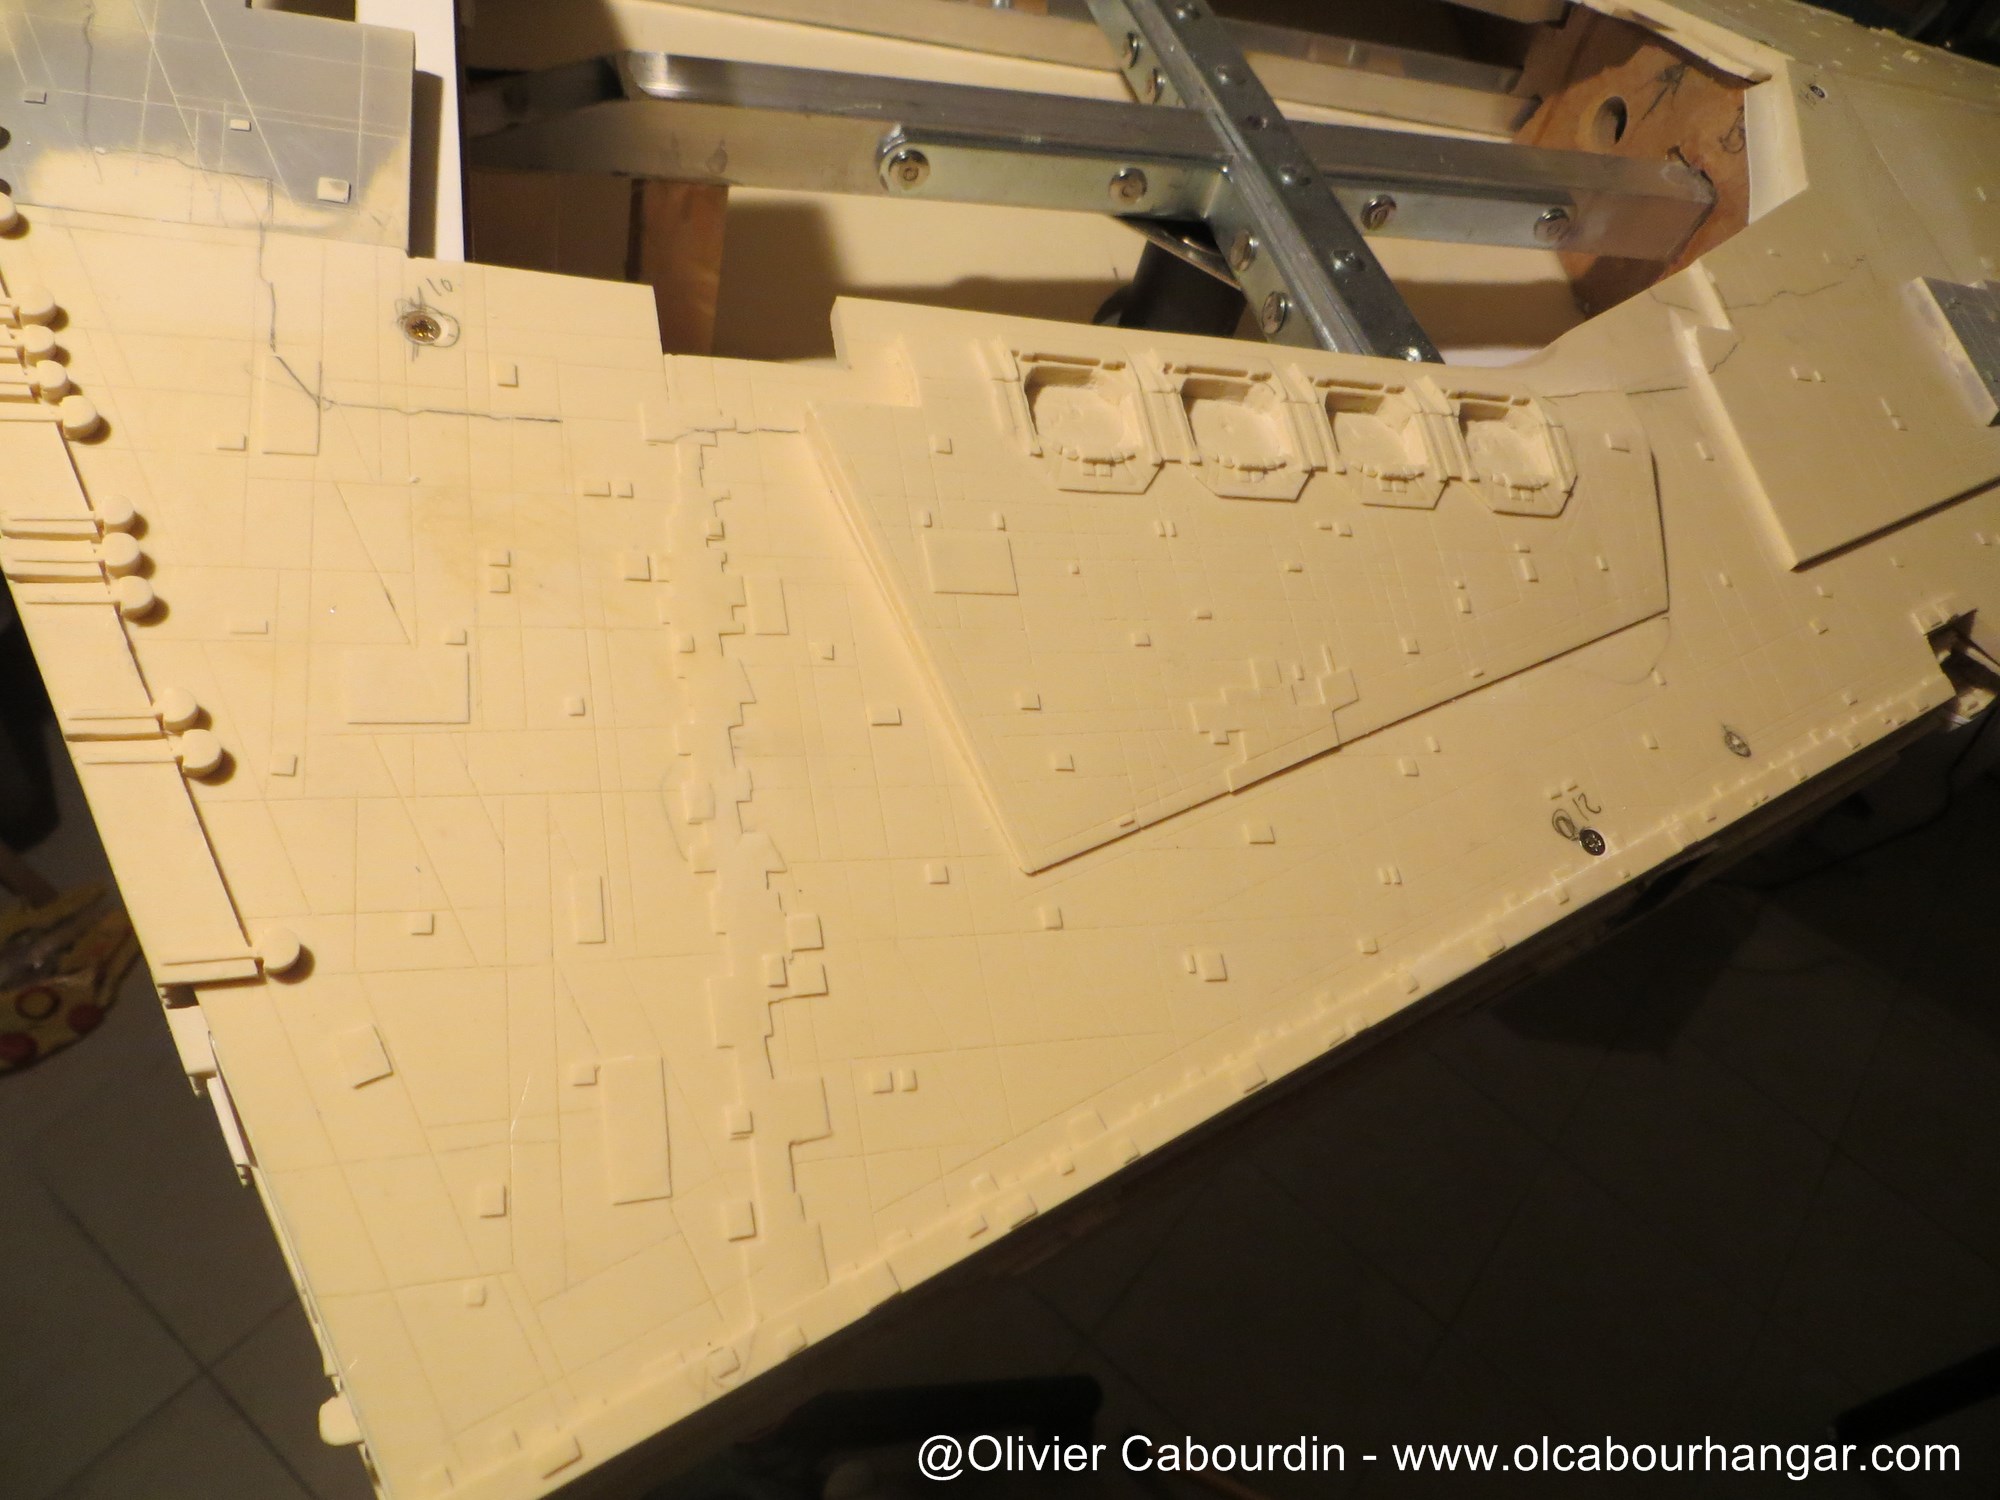
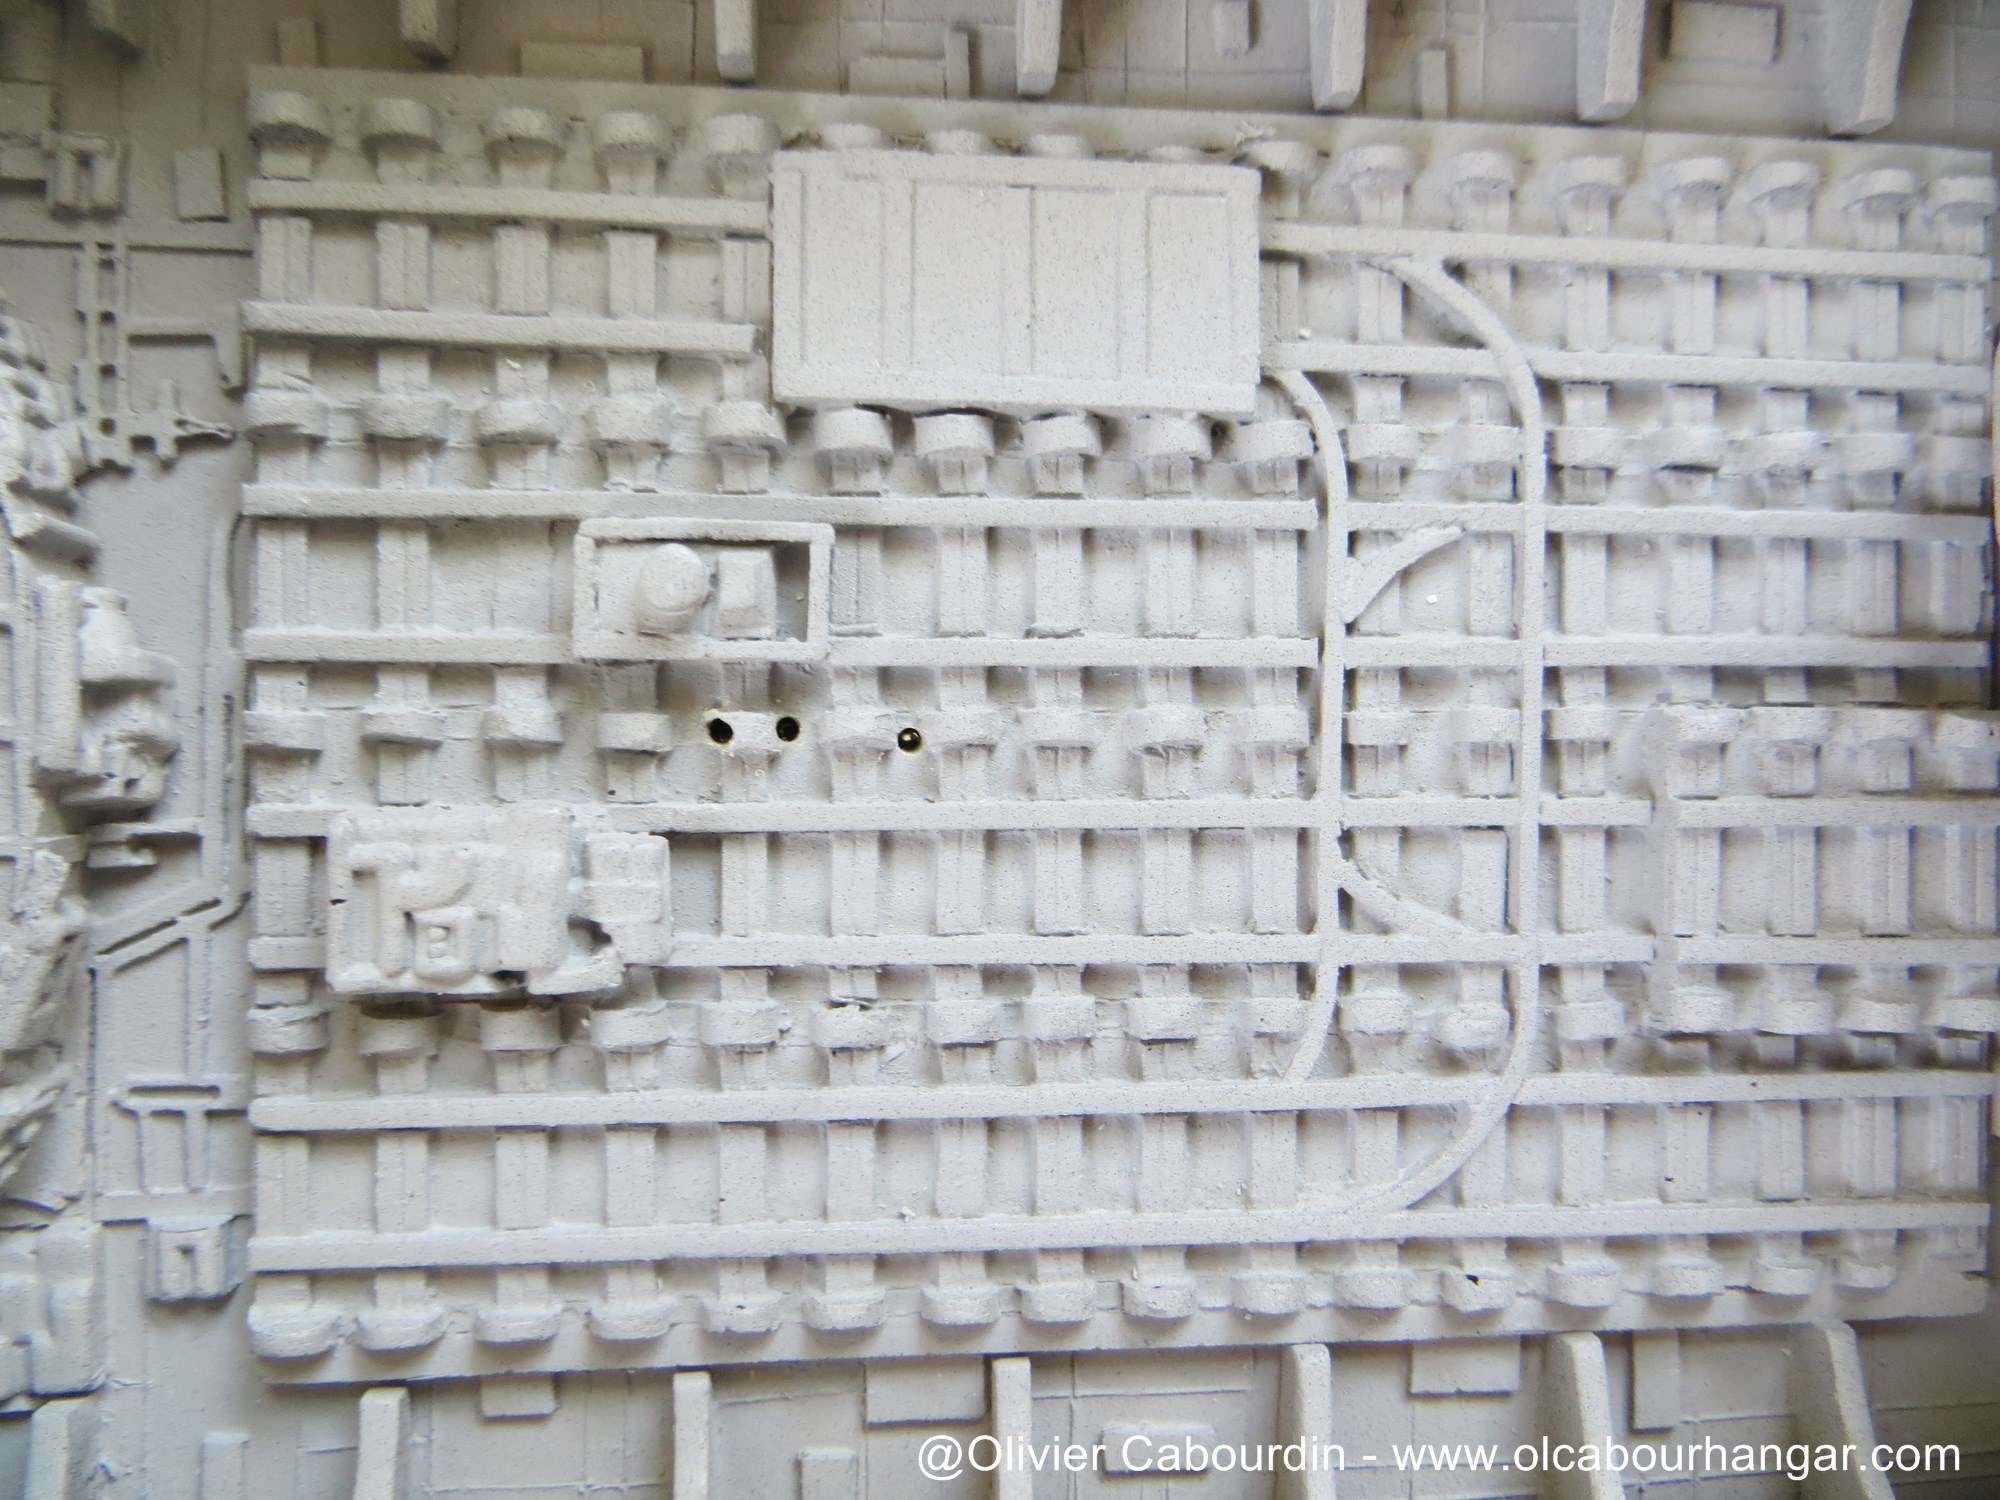
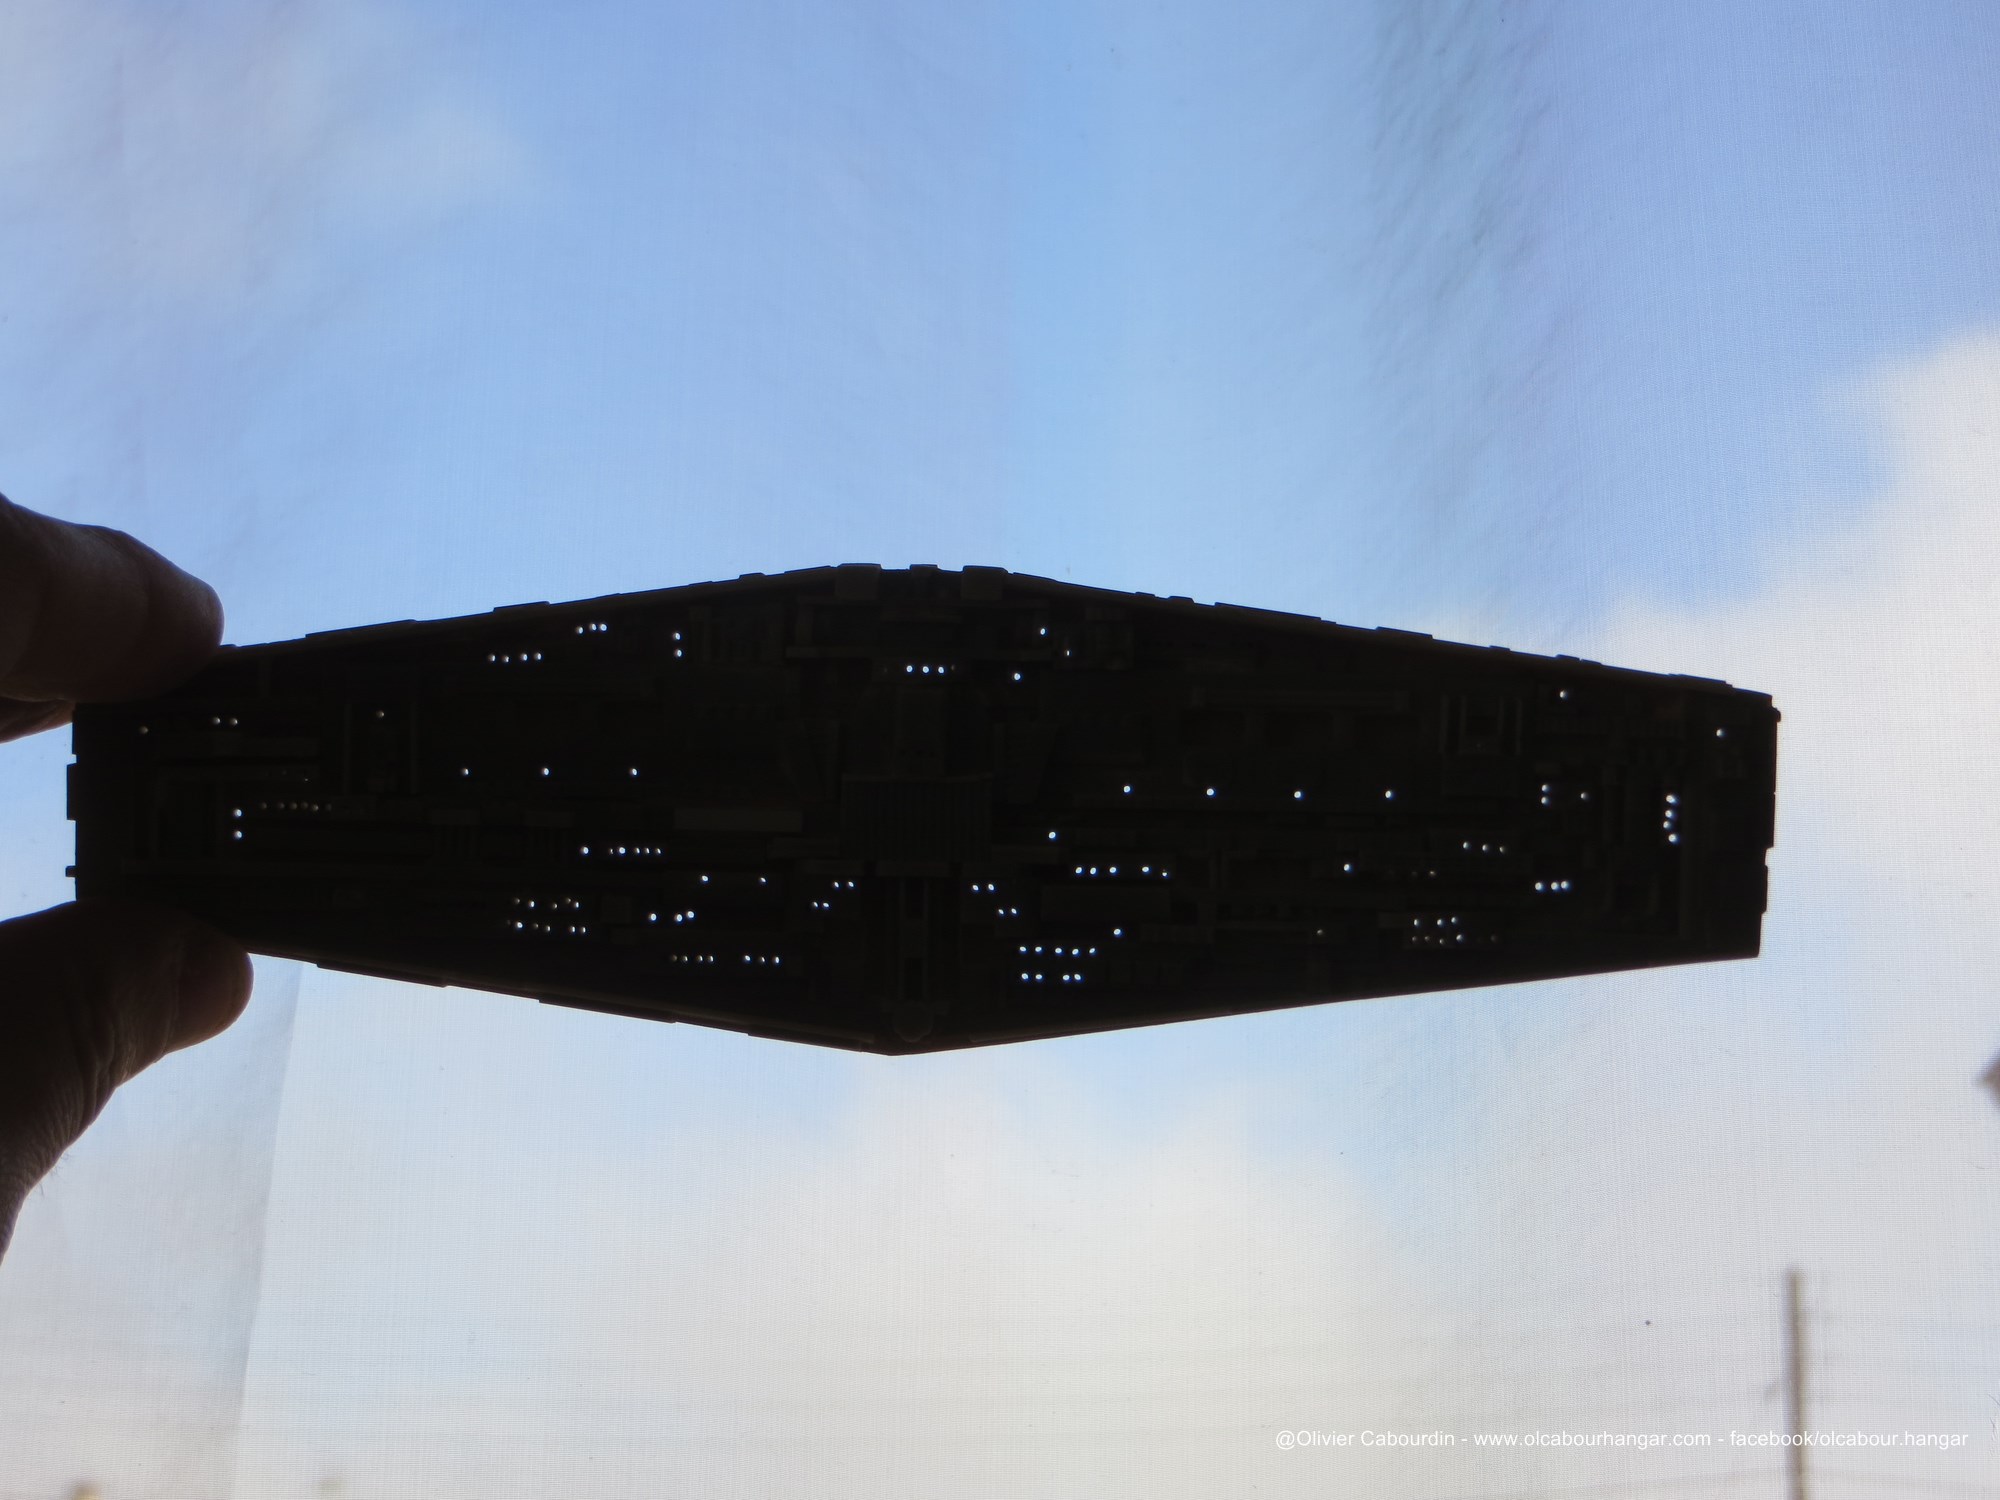
Its a great looking piece once finished.
I have a few pics on my website www.nbg-studios.com , check it out!
I have a few pics on my website www.nbg-studios.com , check it out!


")


 . Well, I don't think I will ever build a second :$
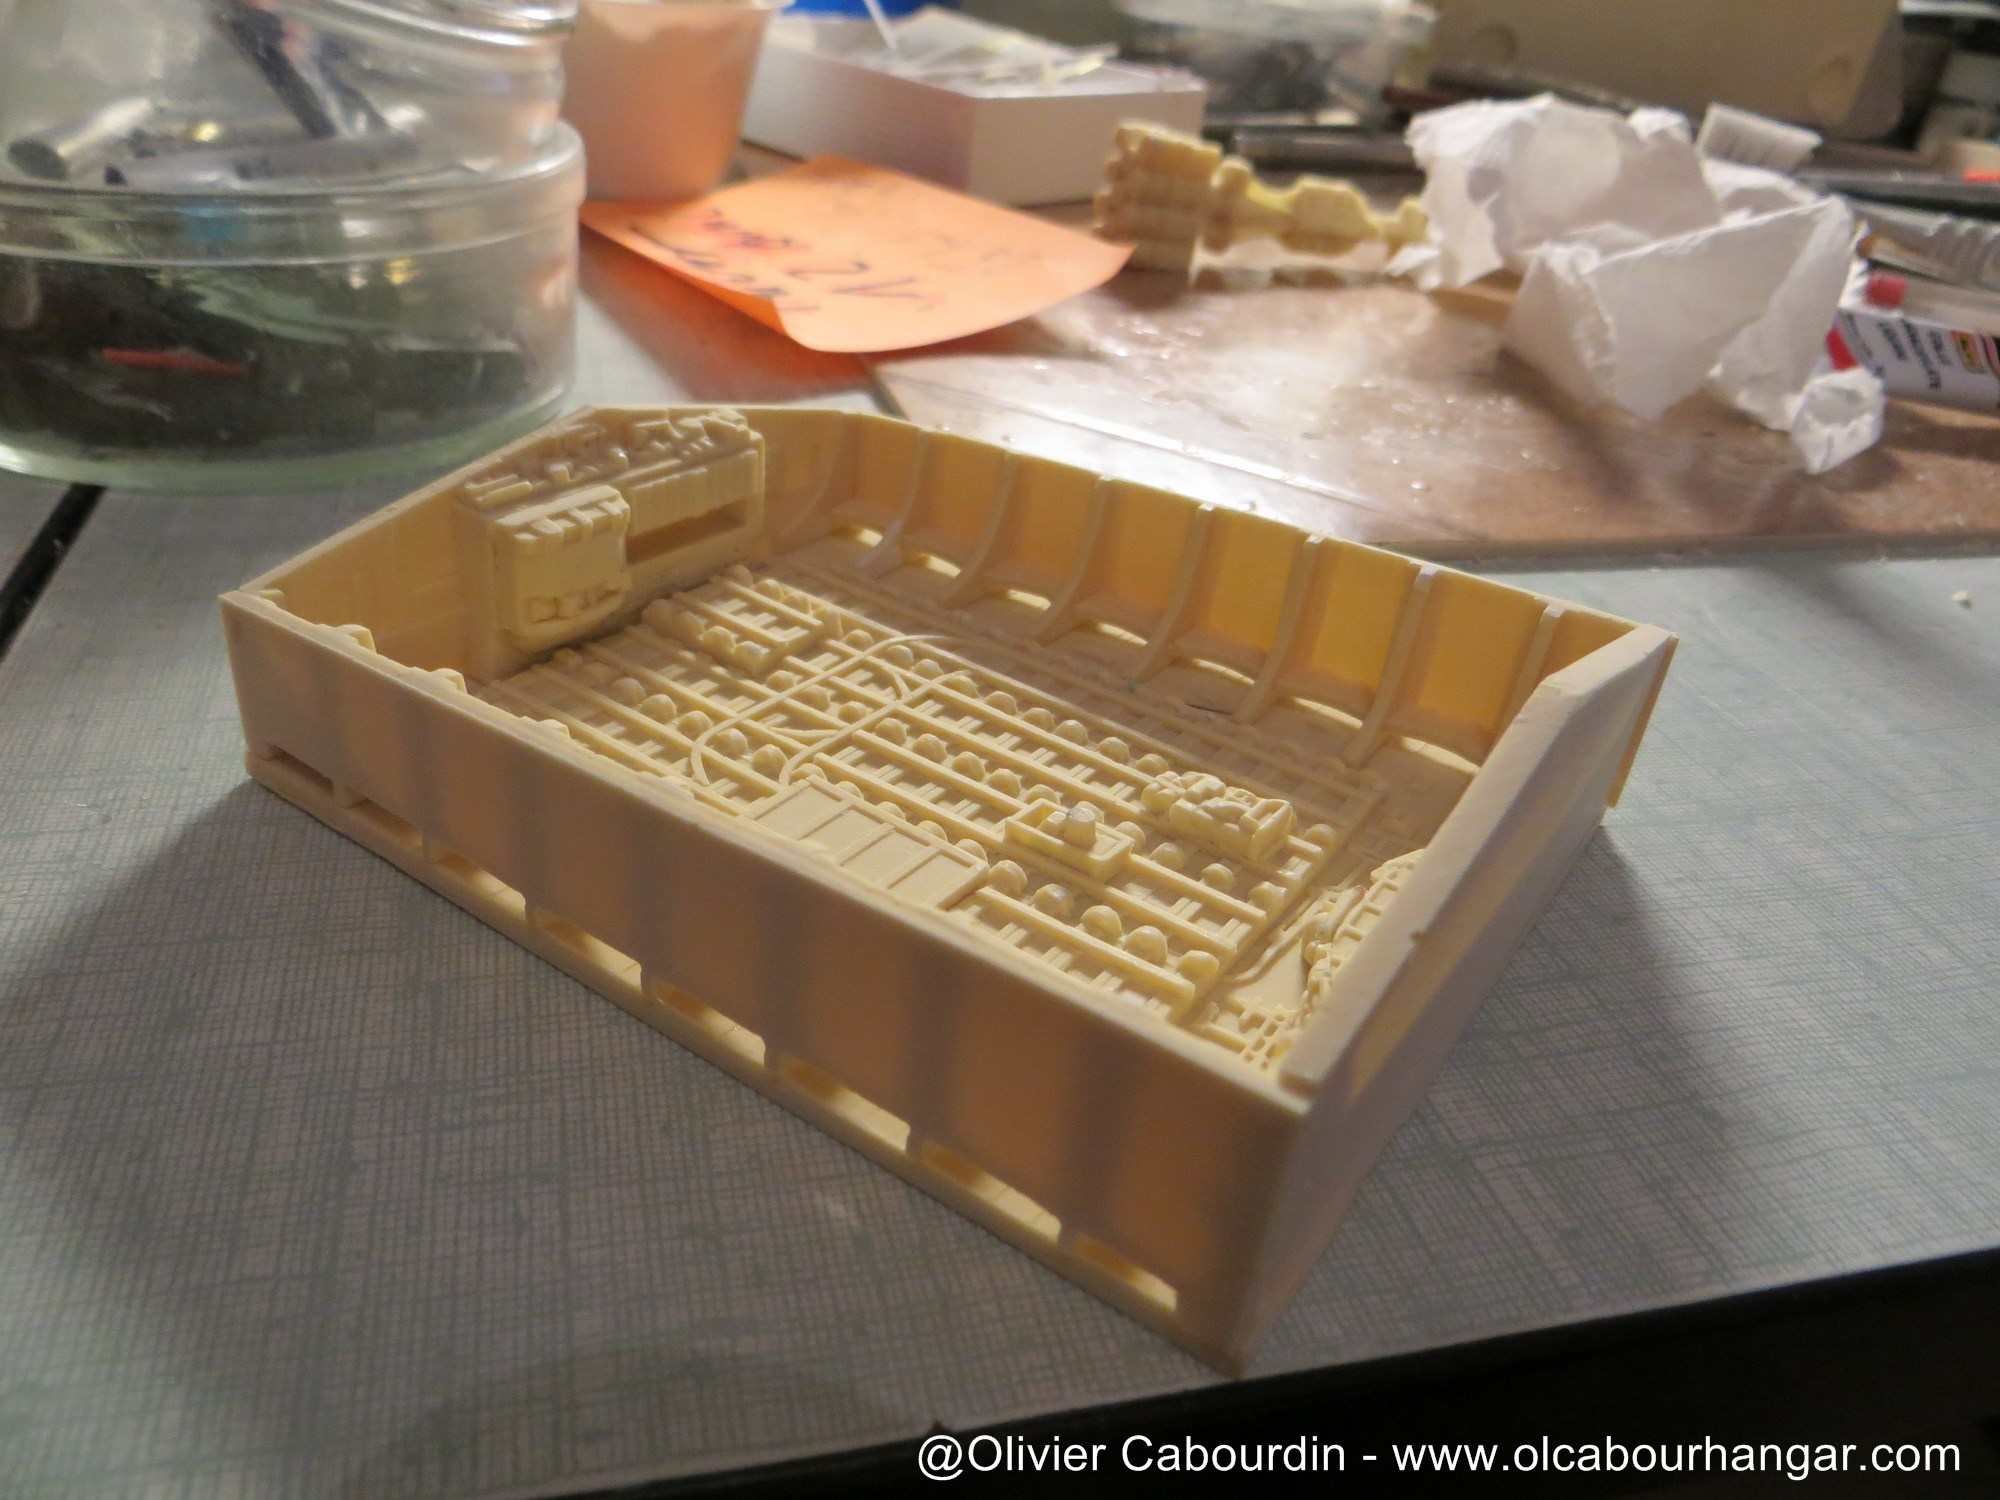


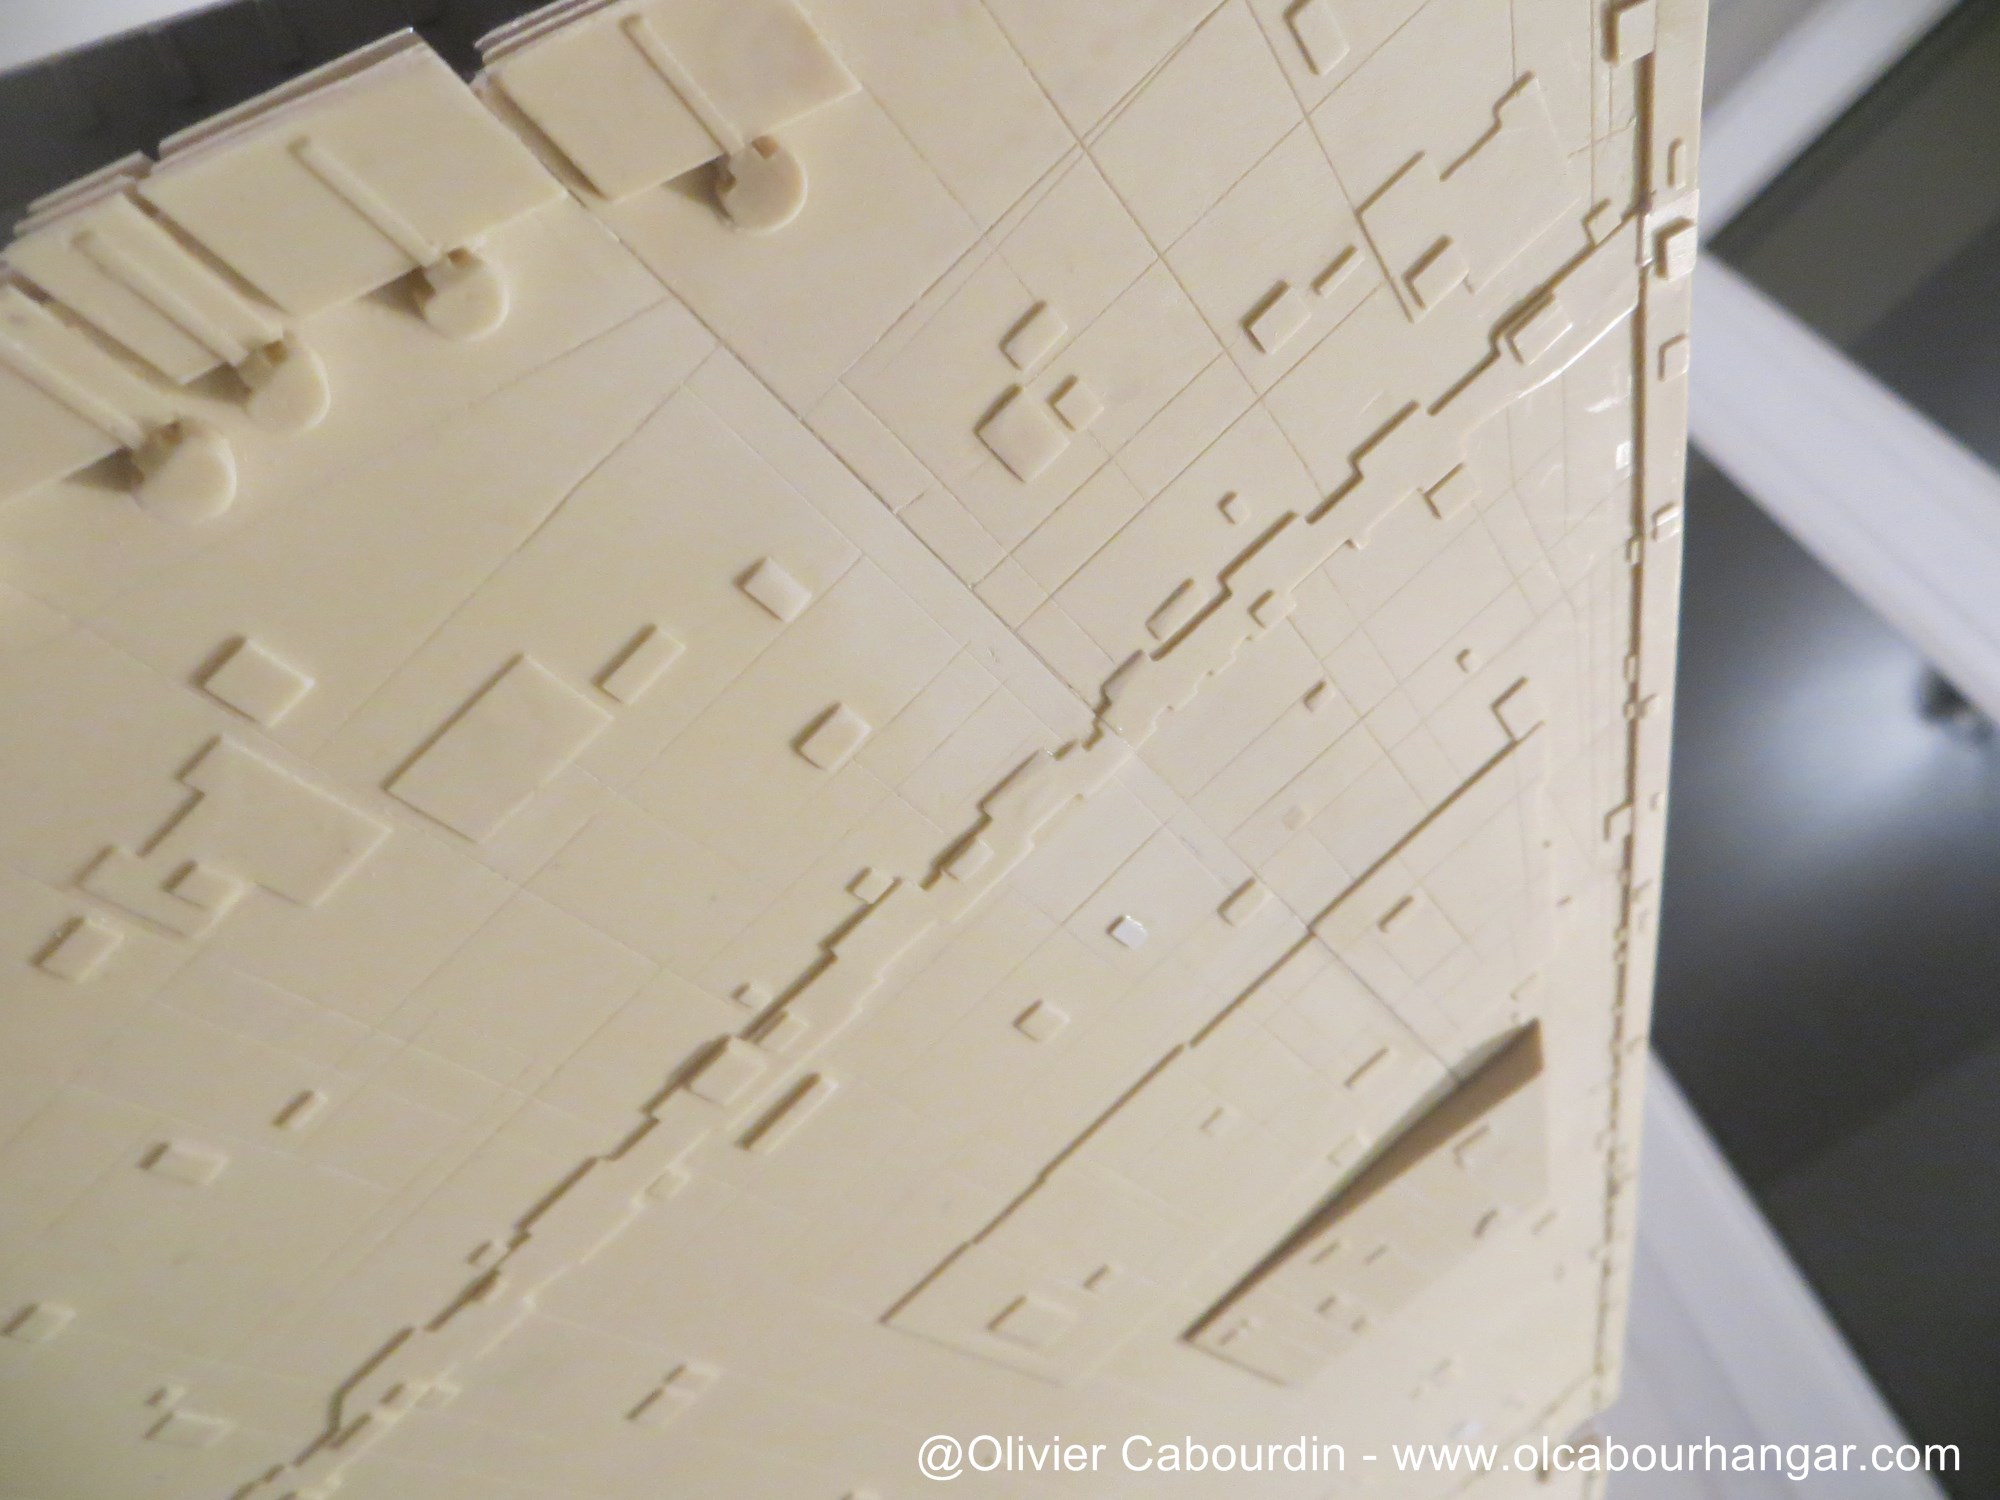
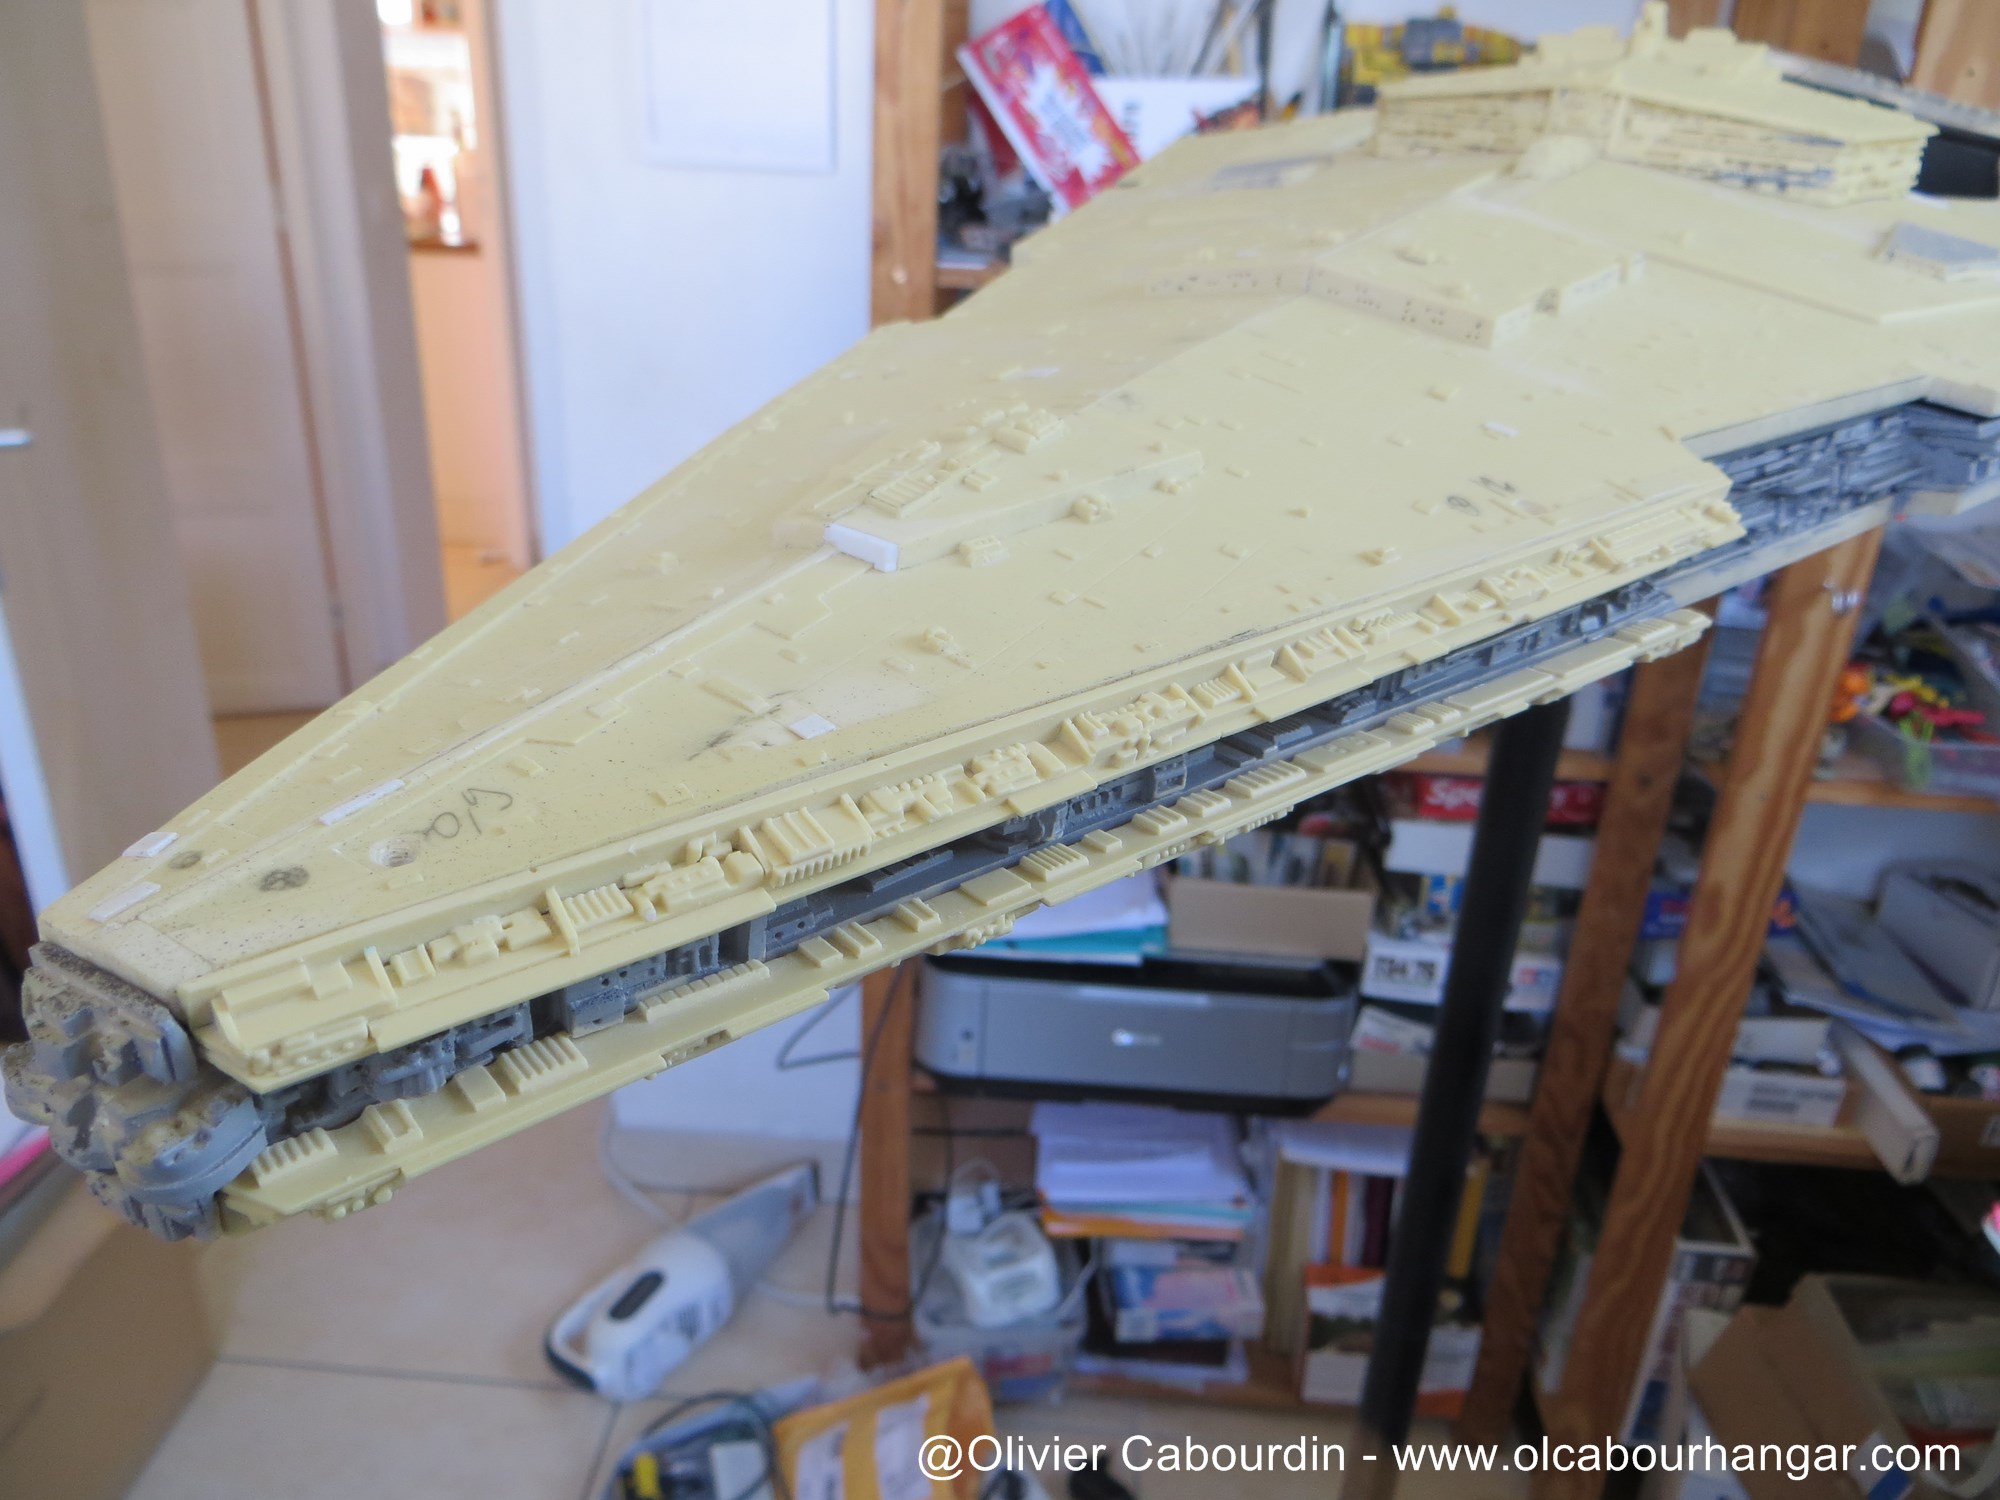
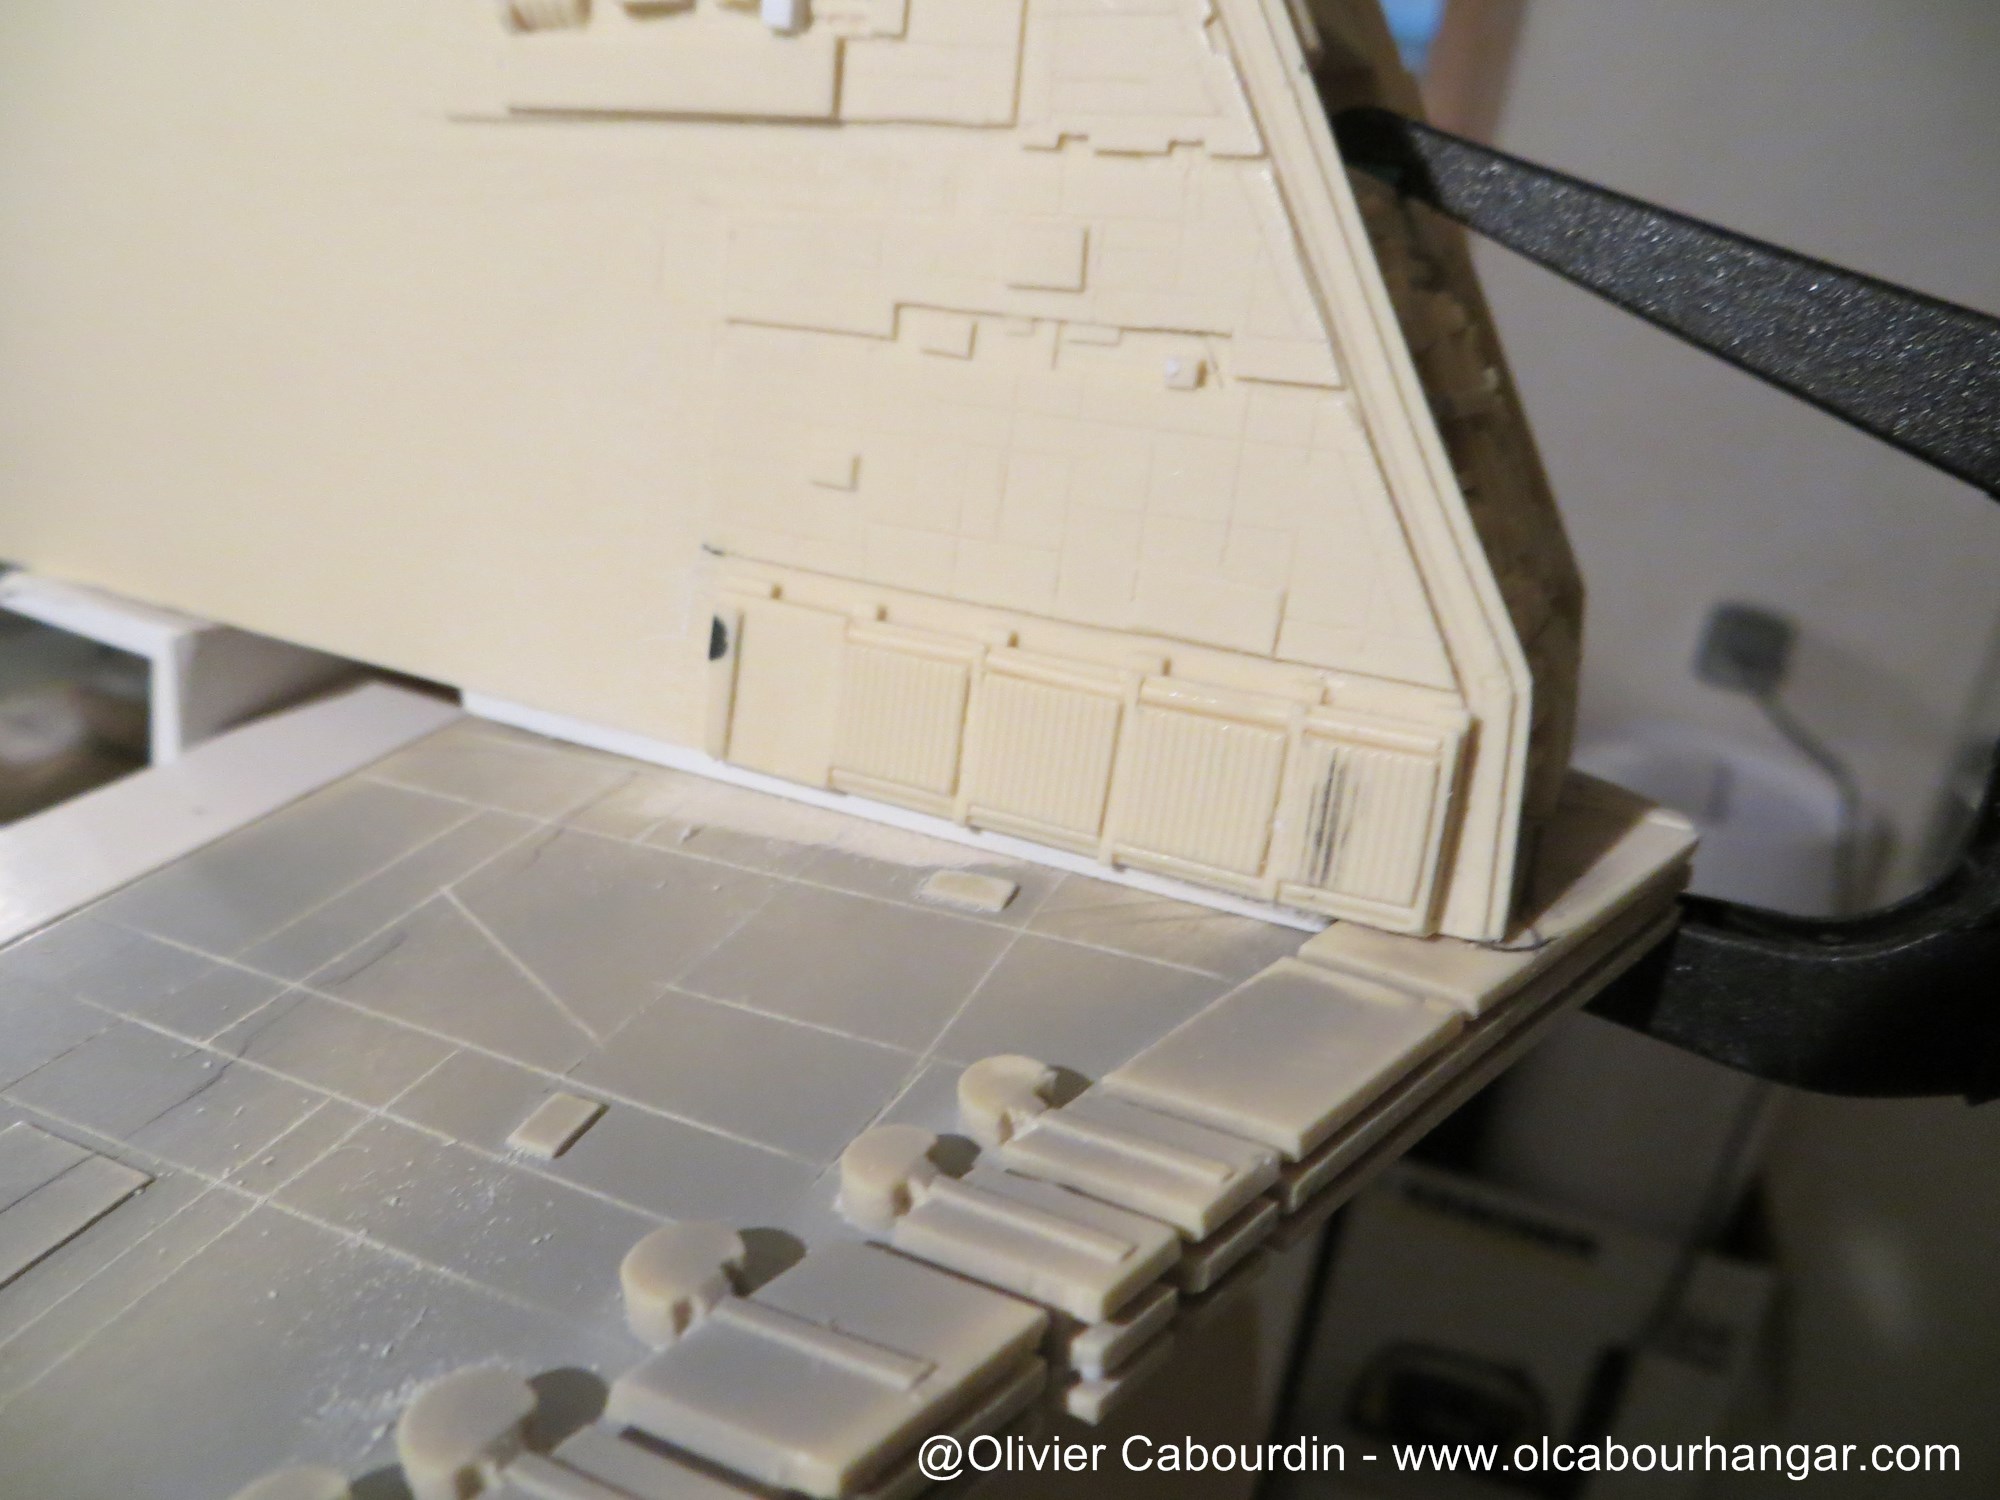
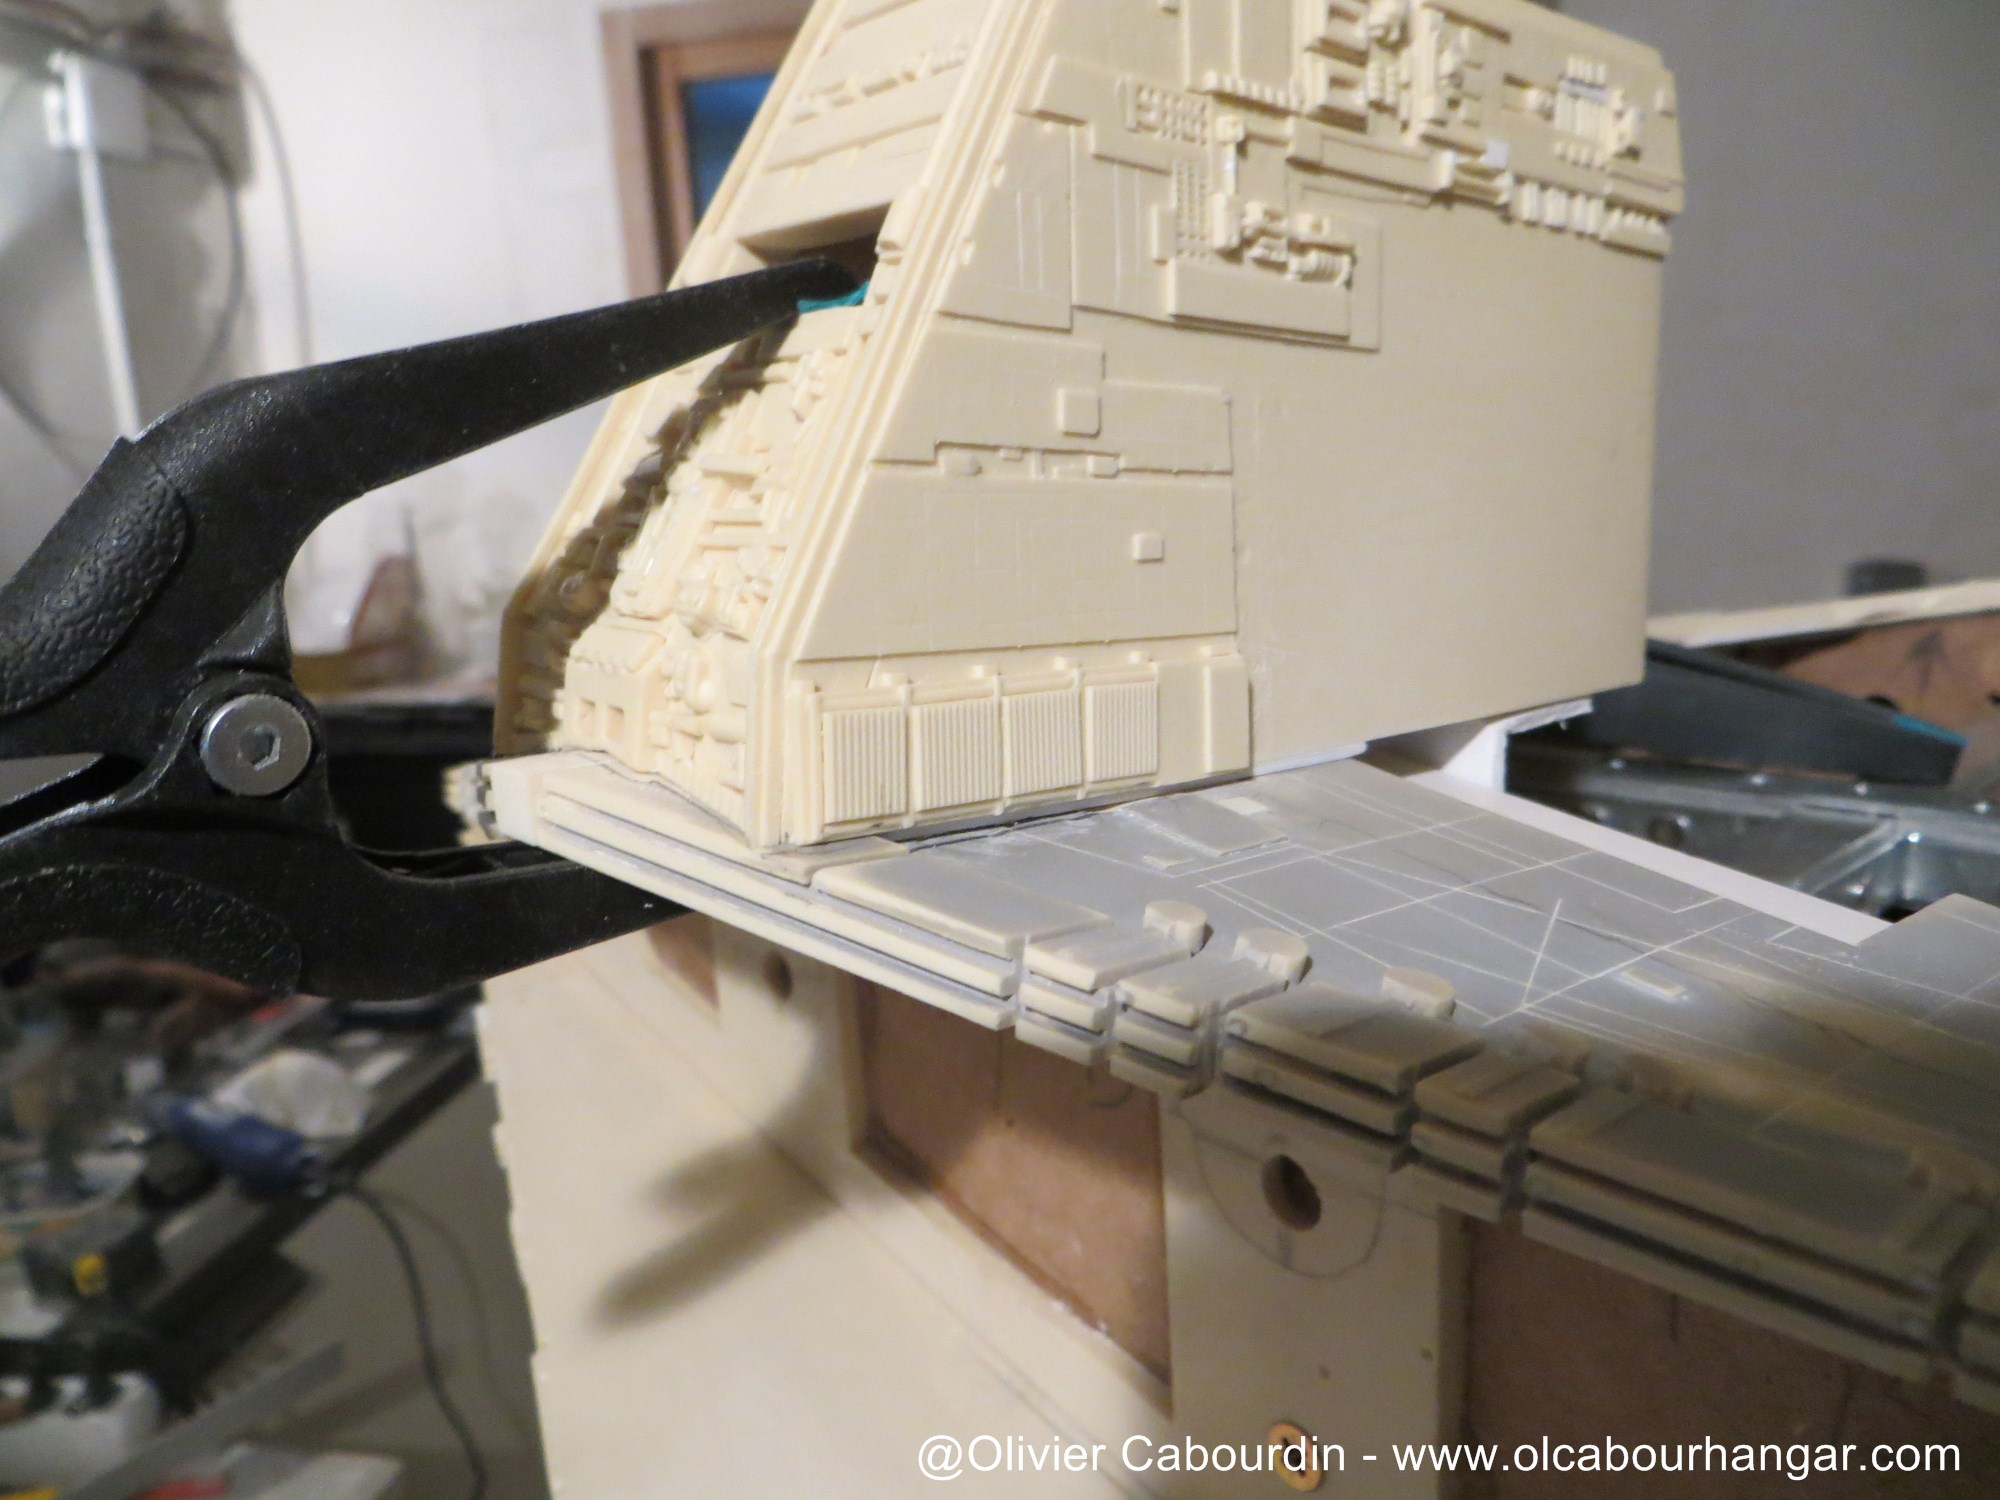
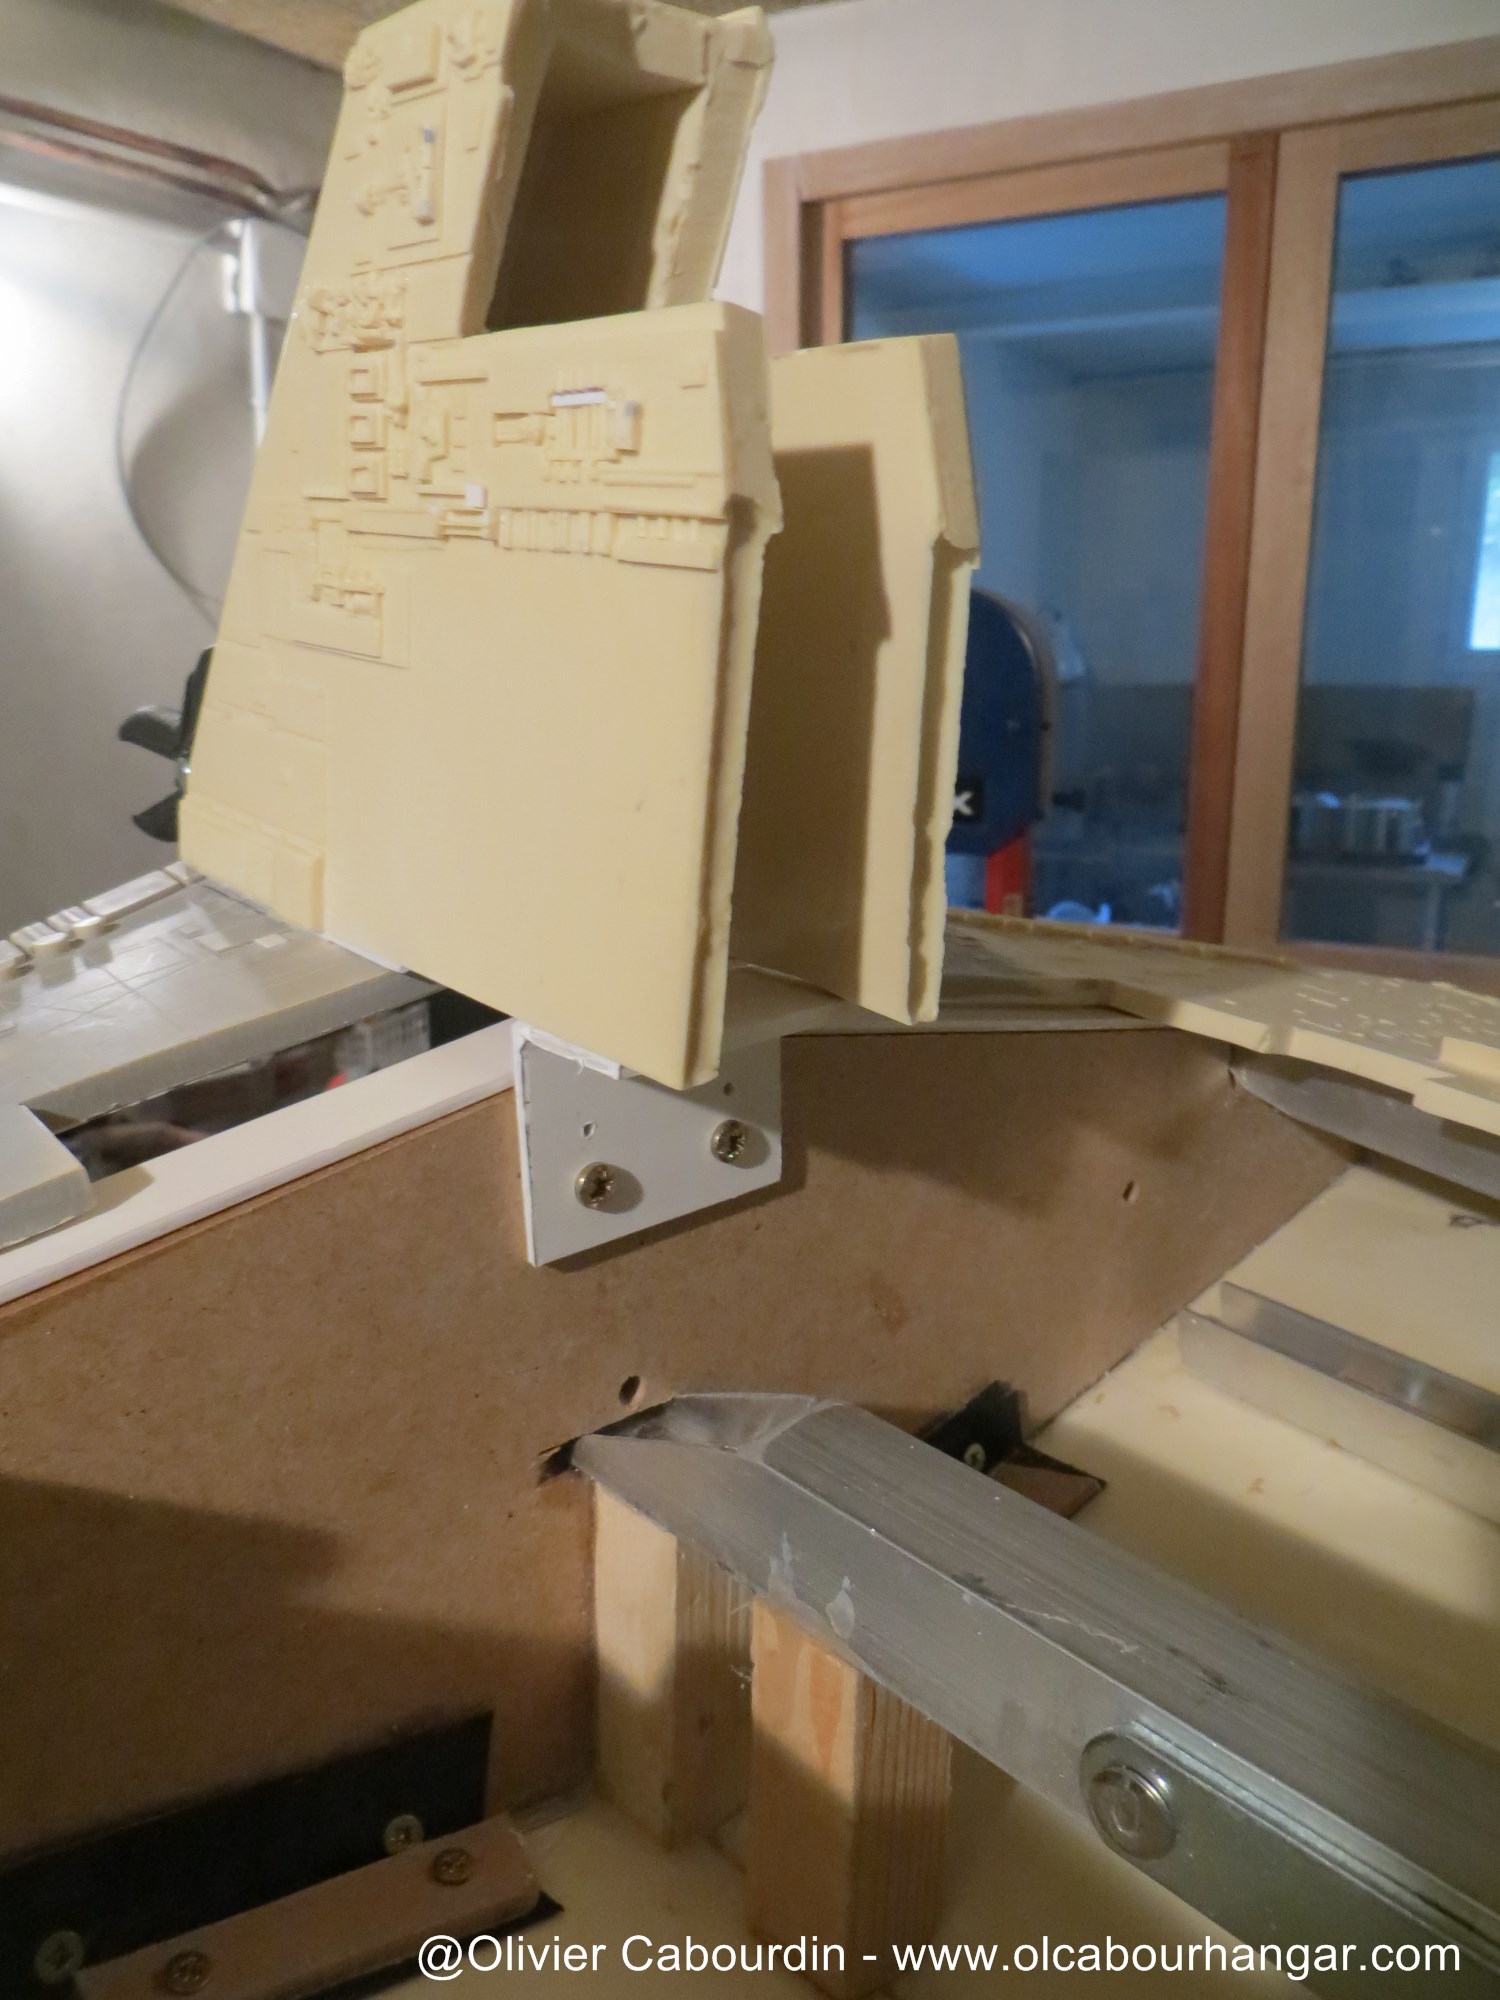
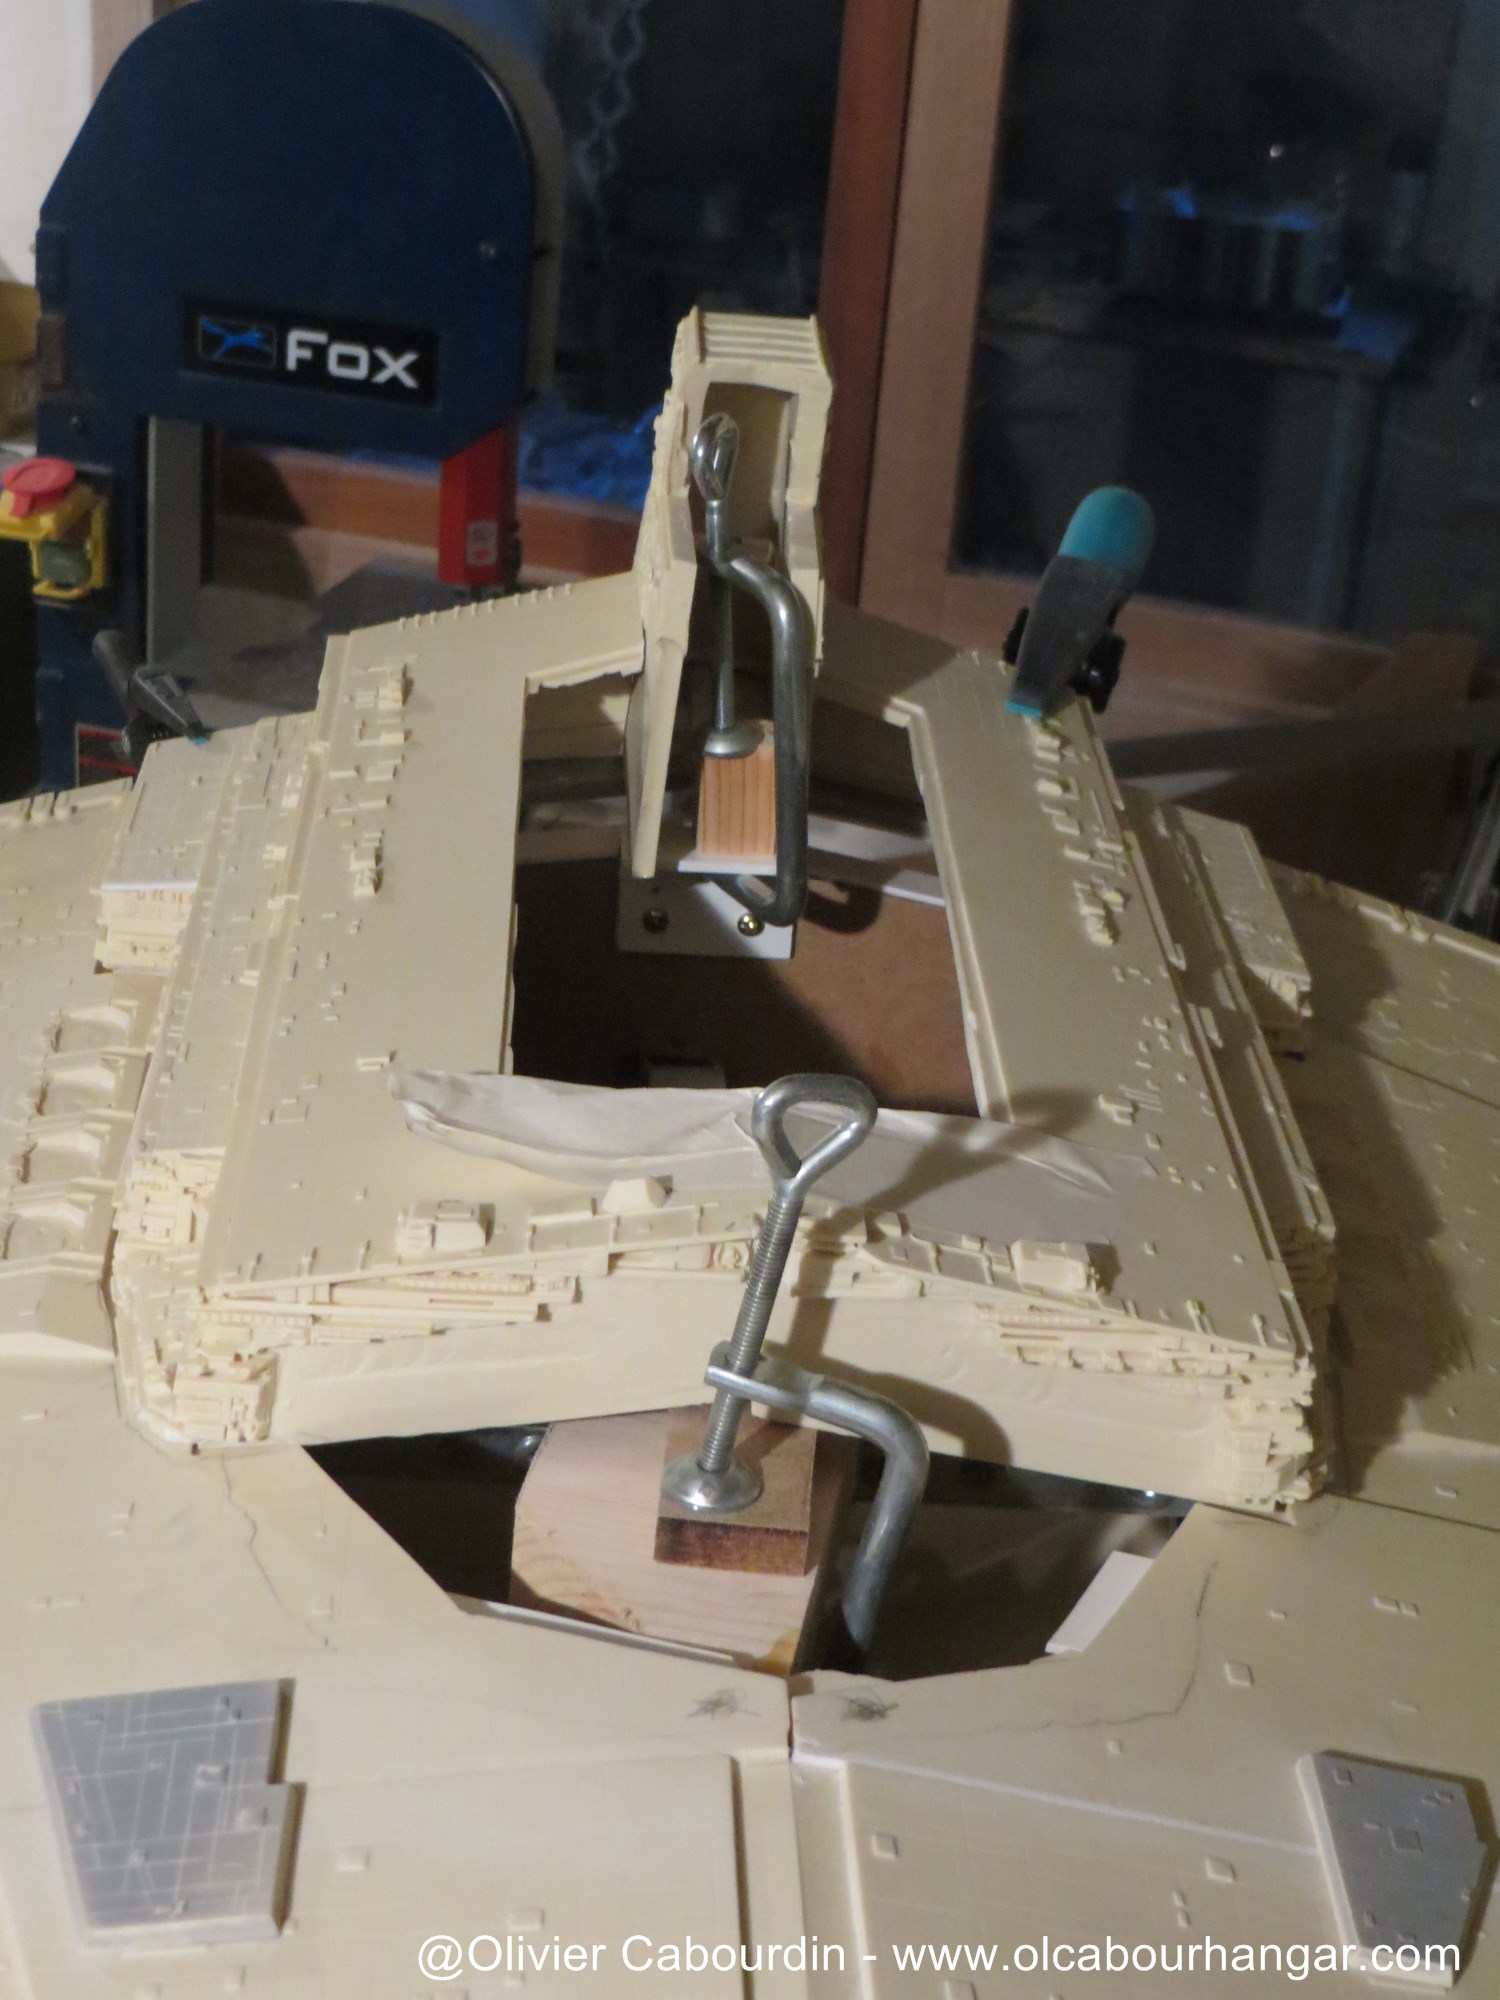
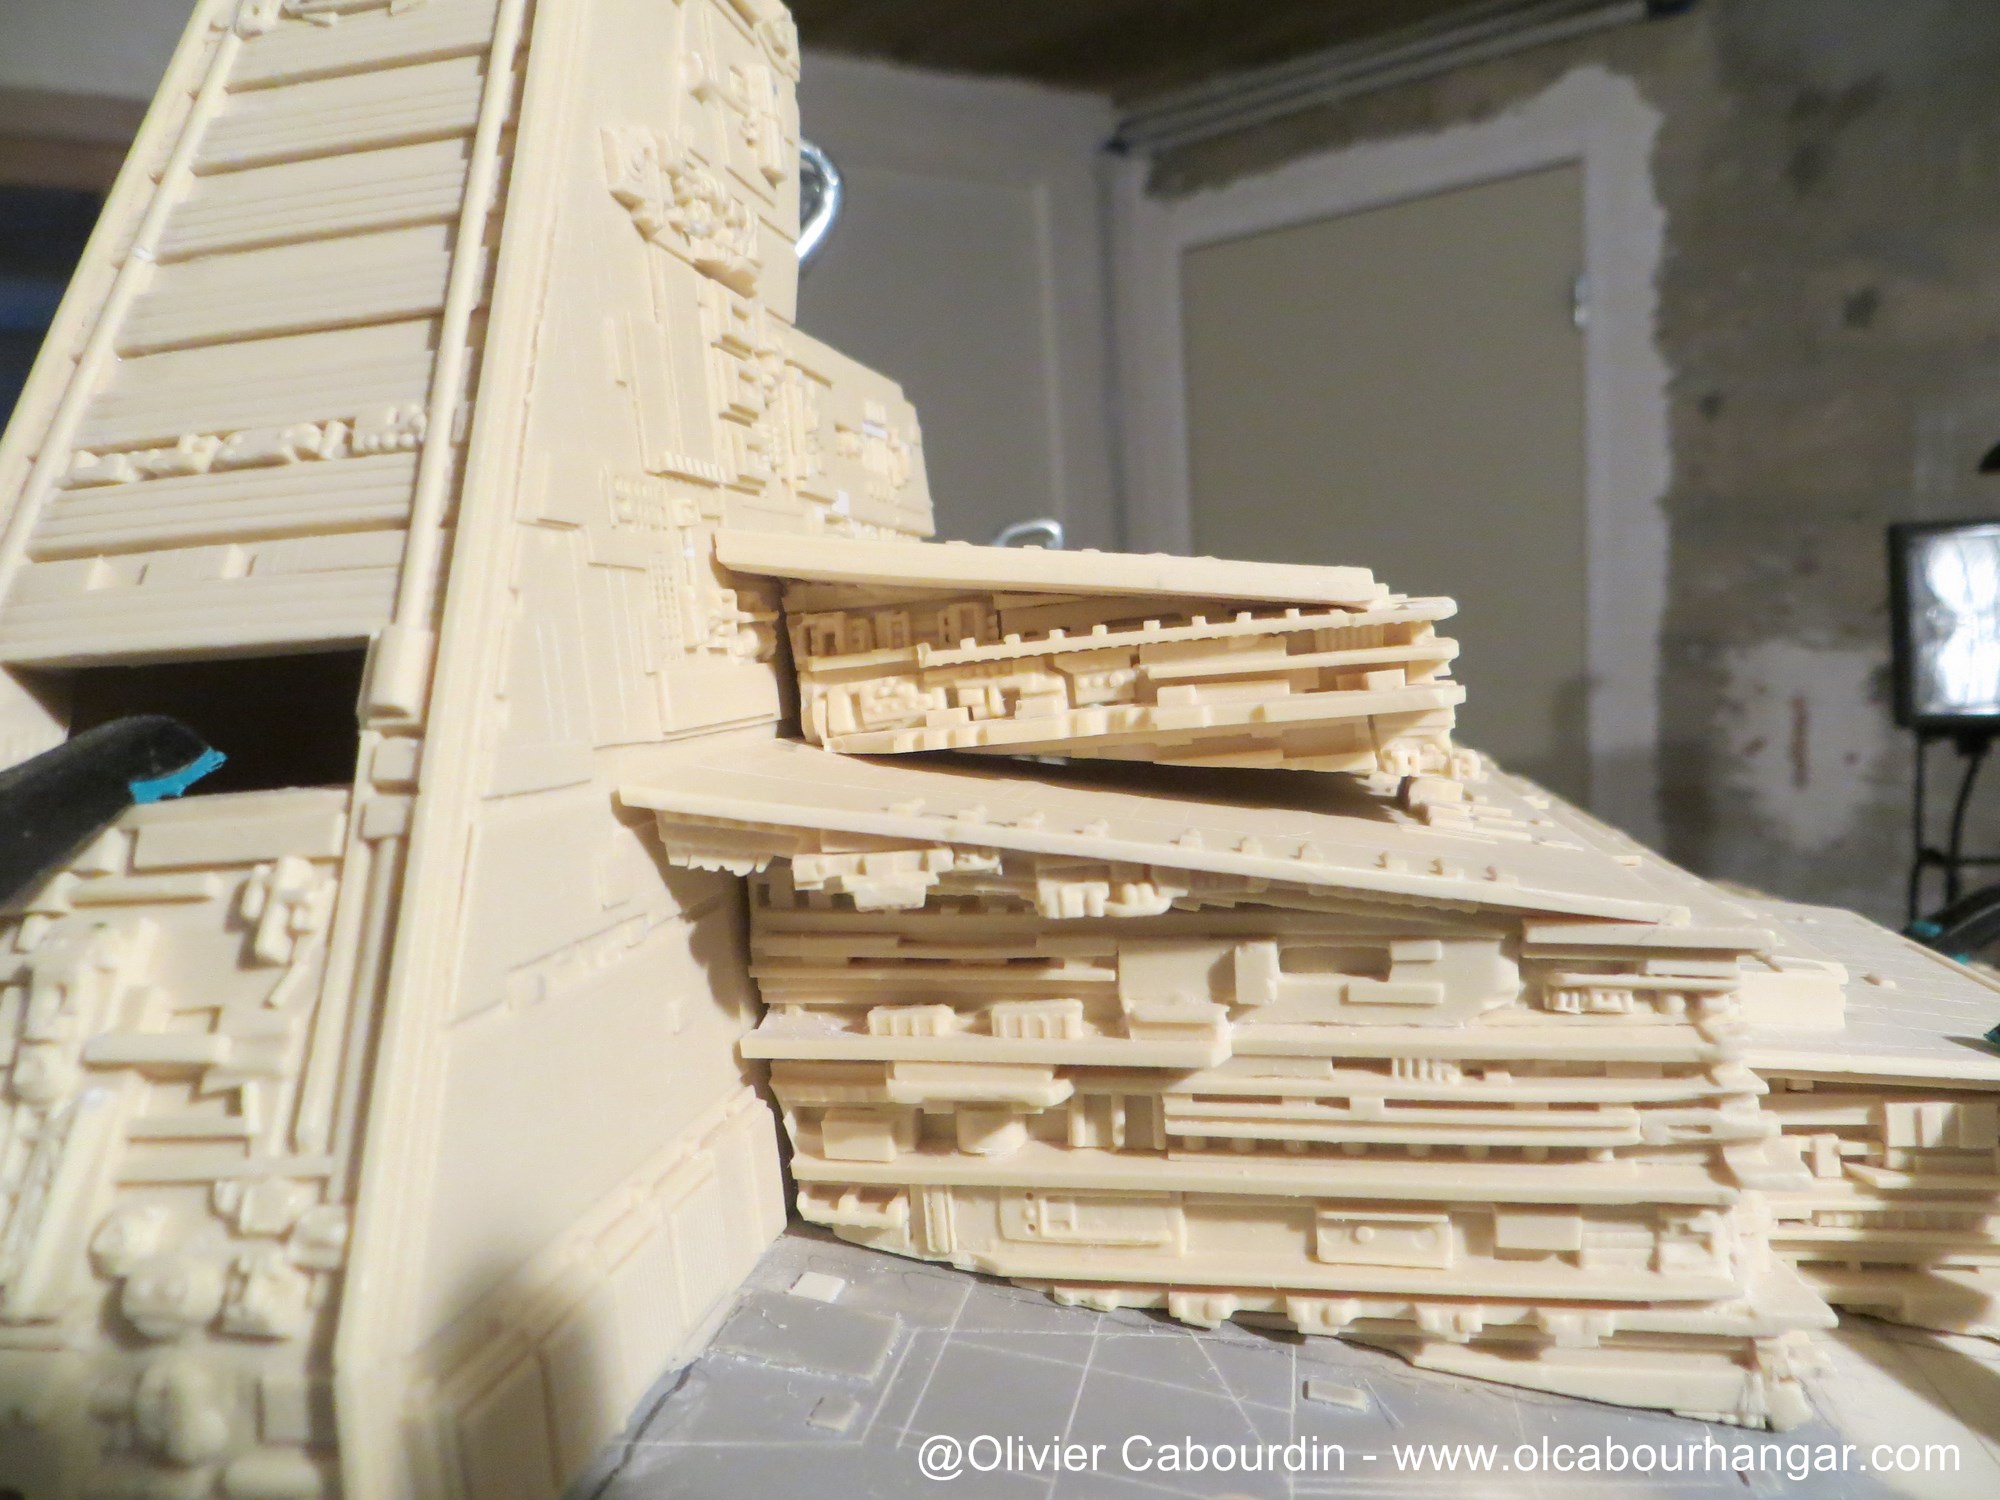
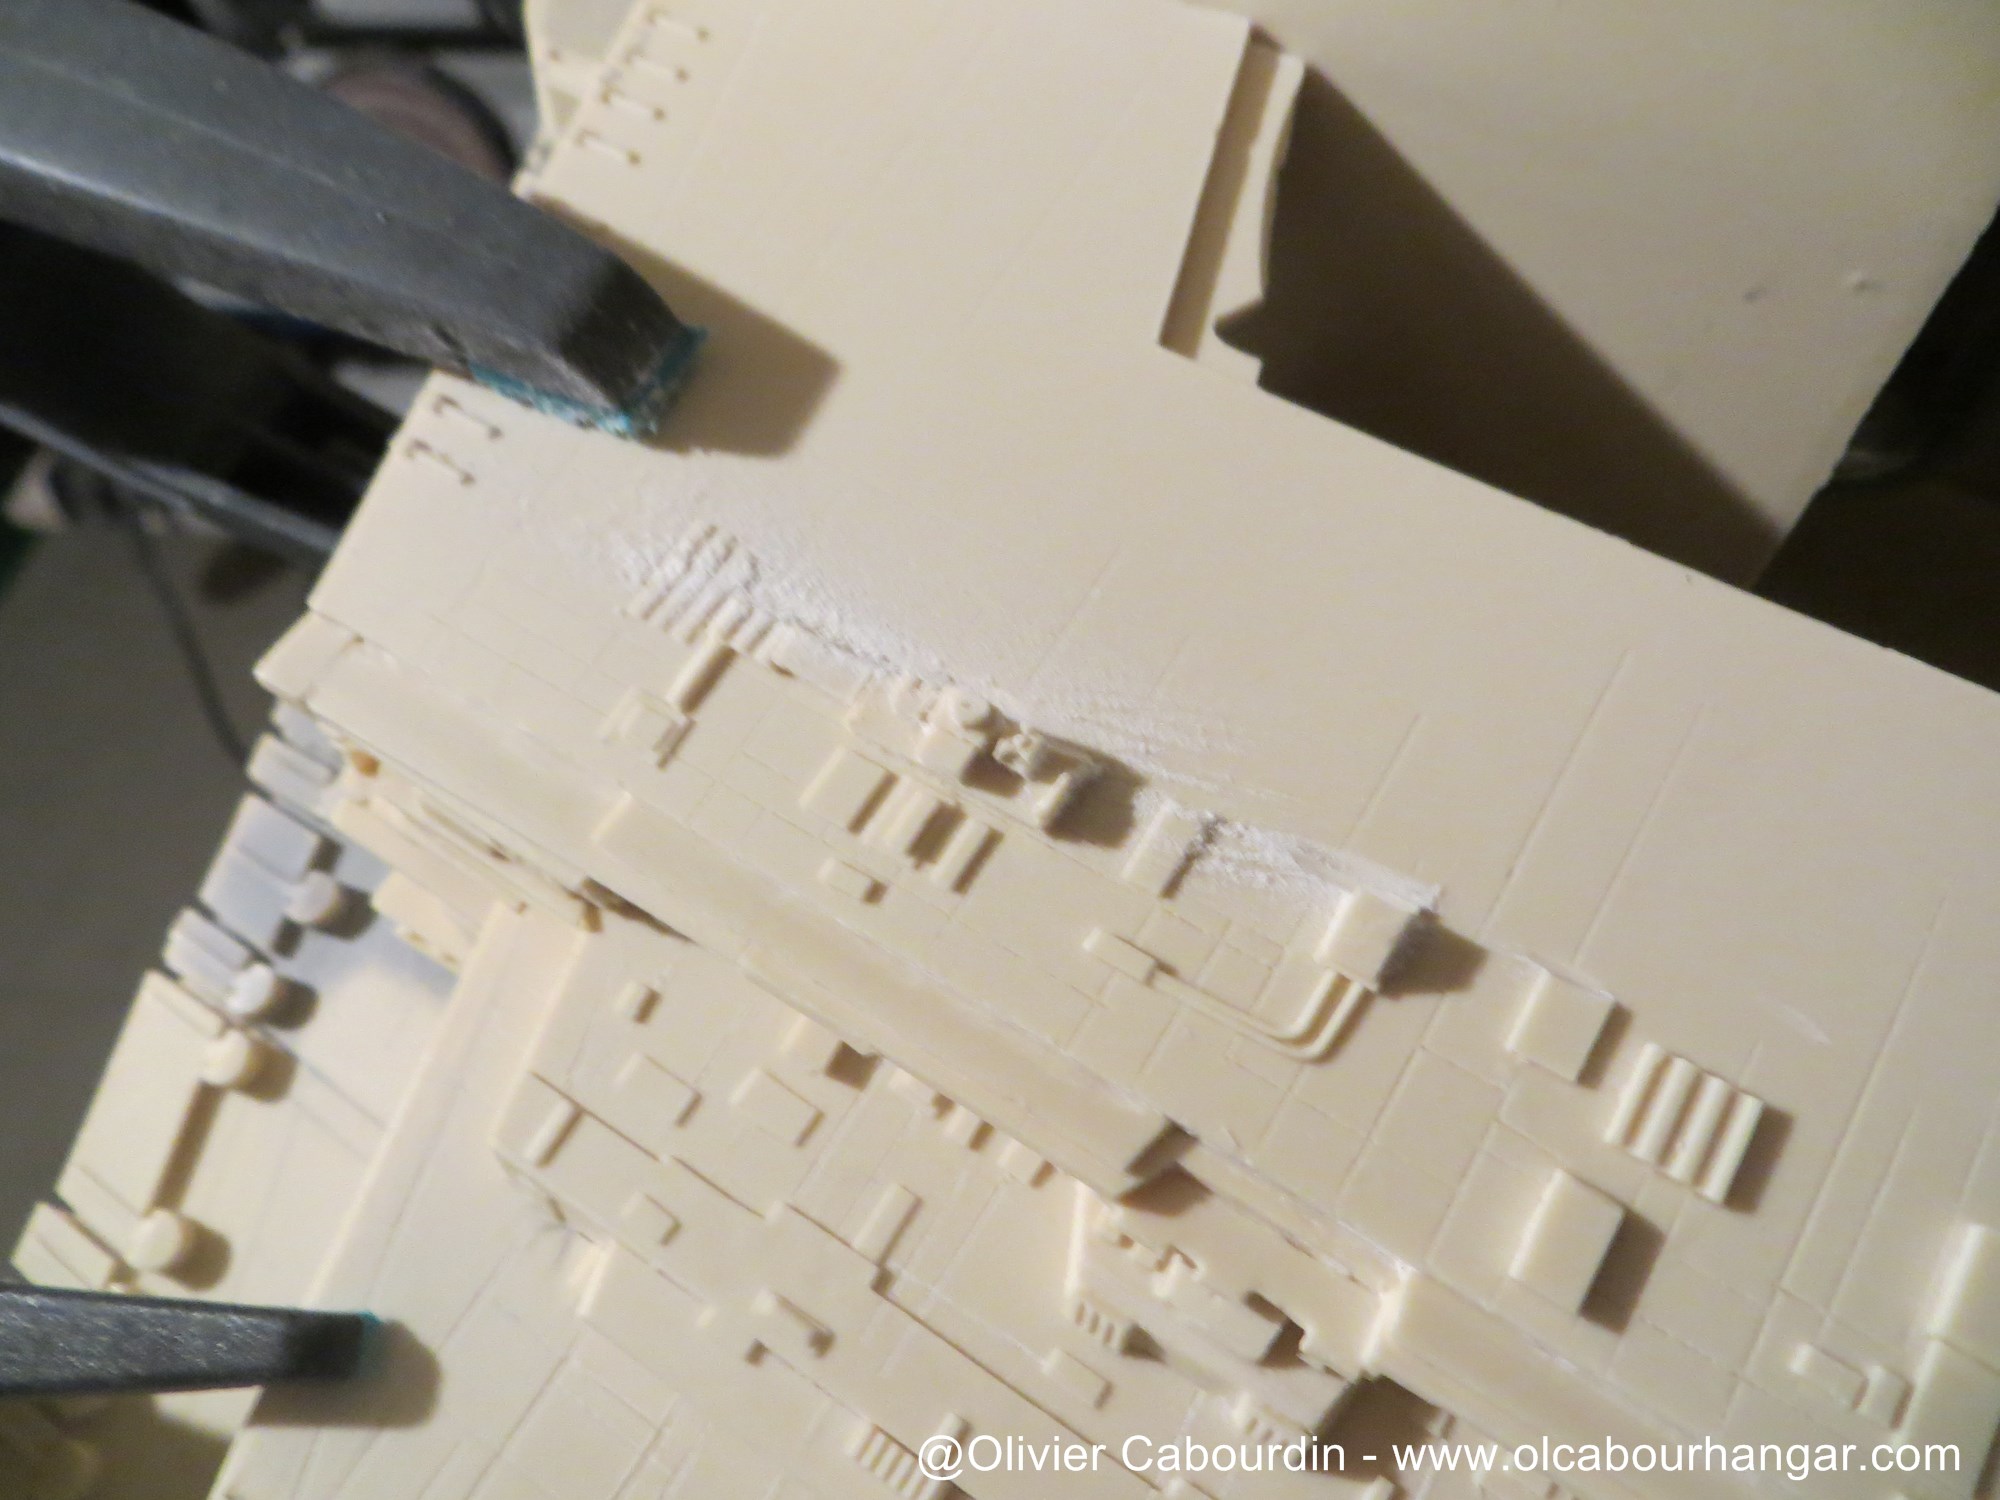
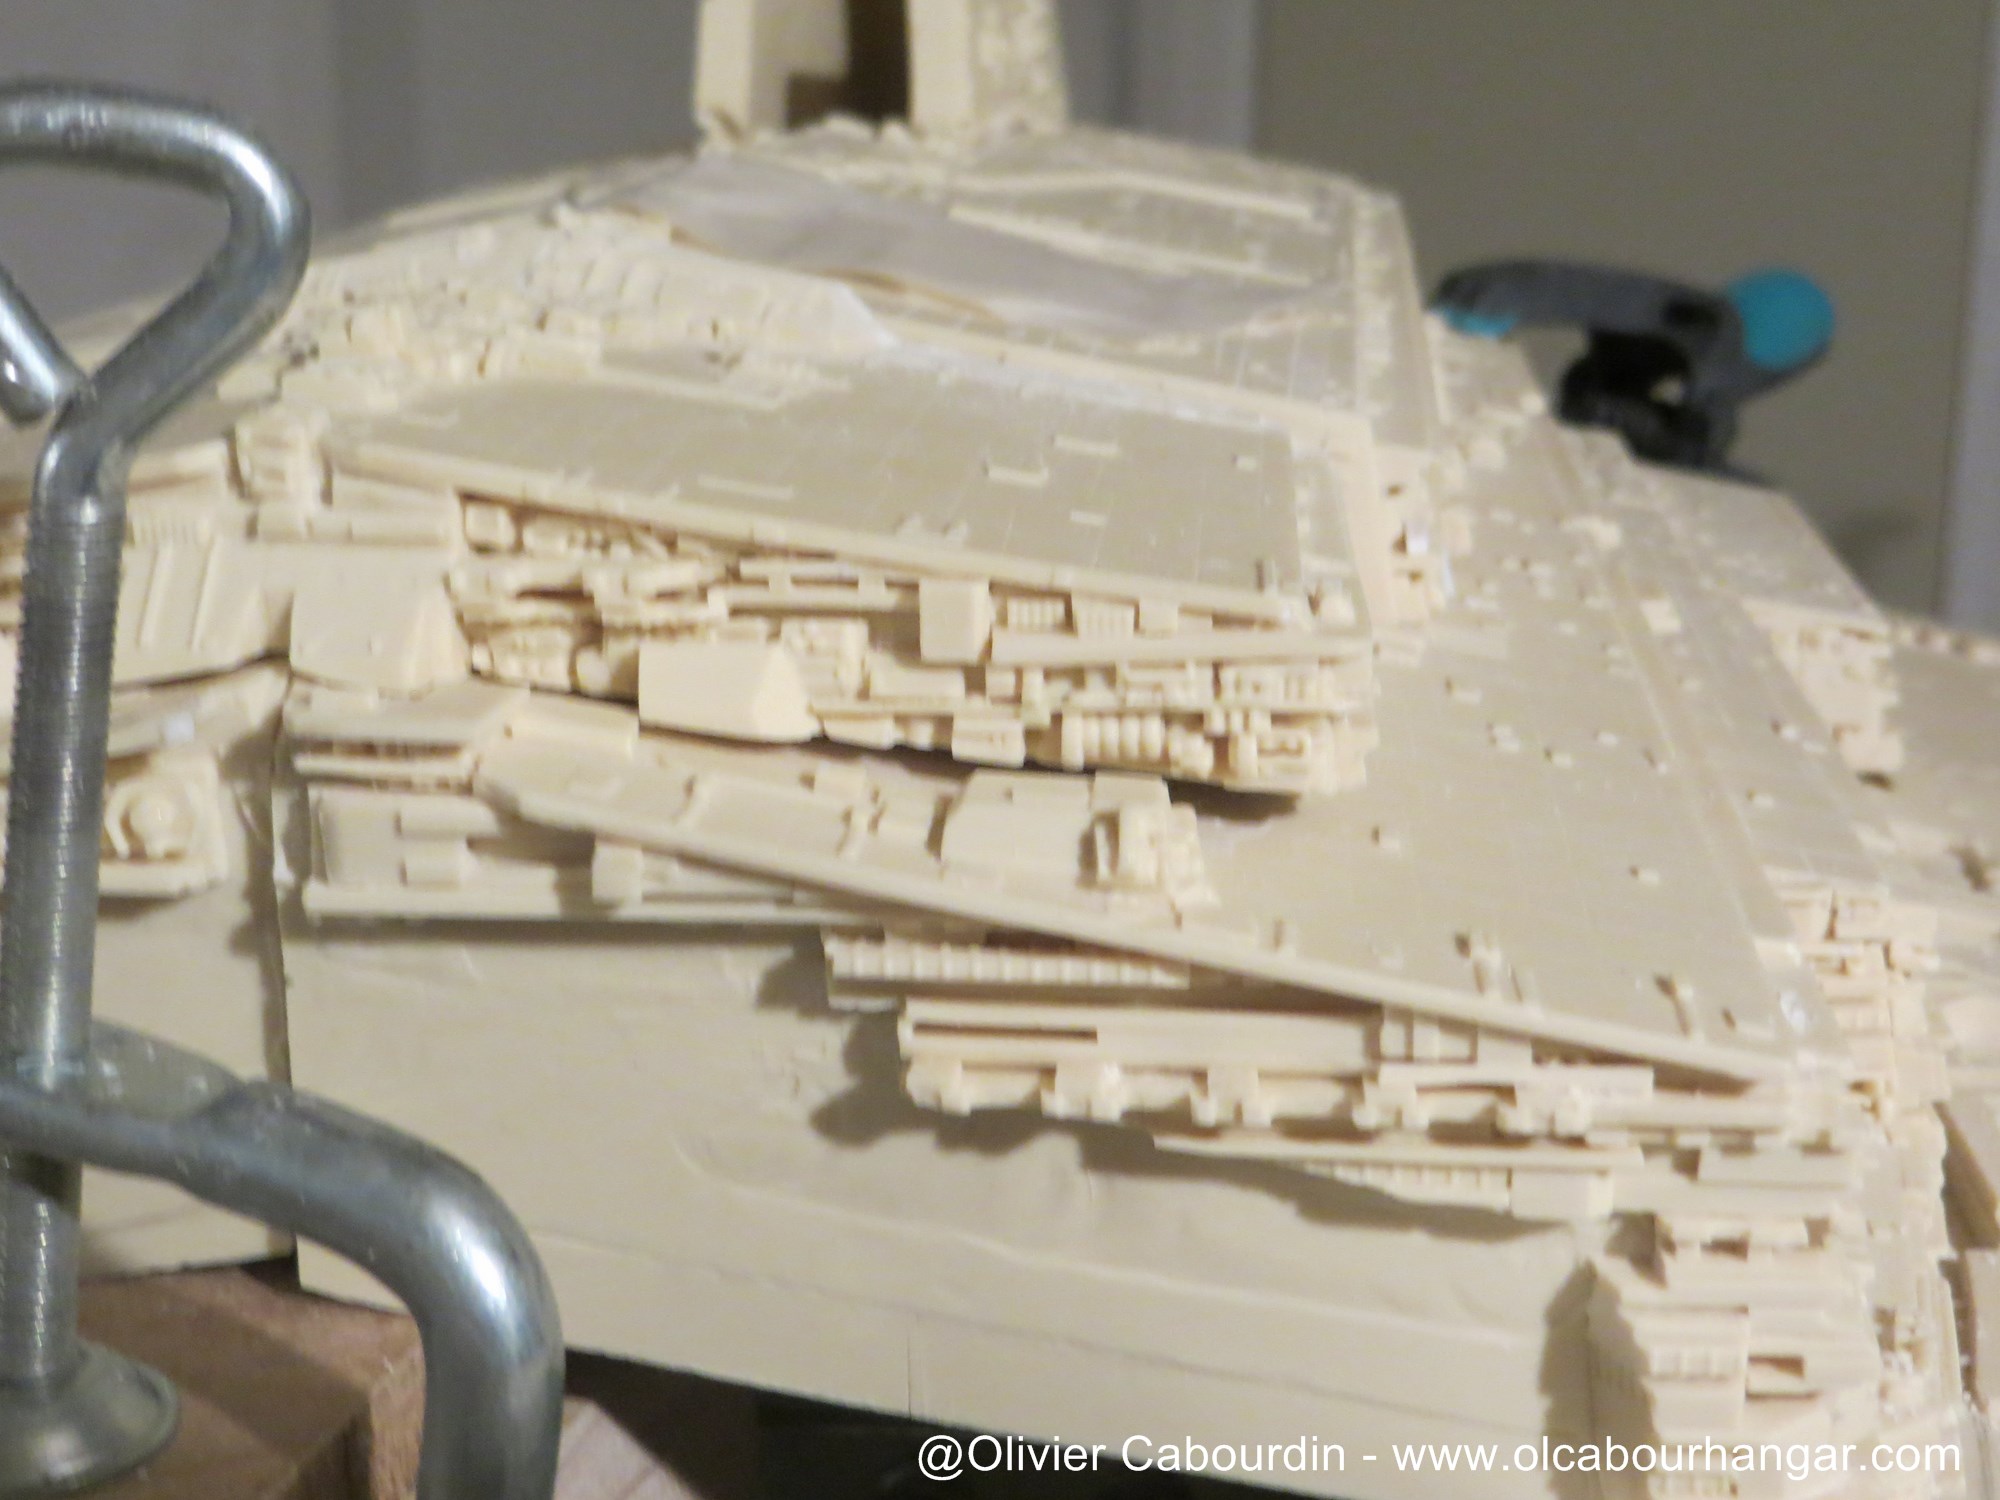
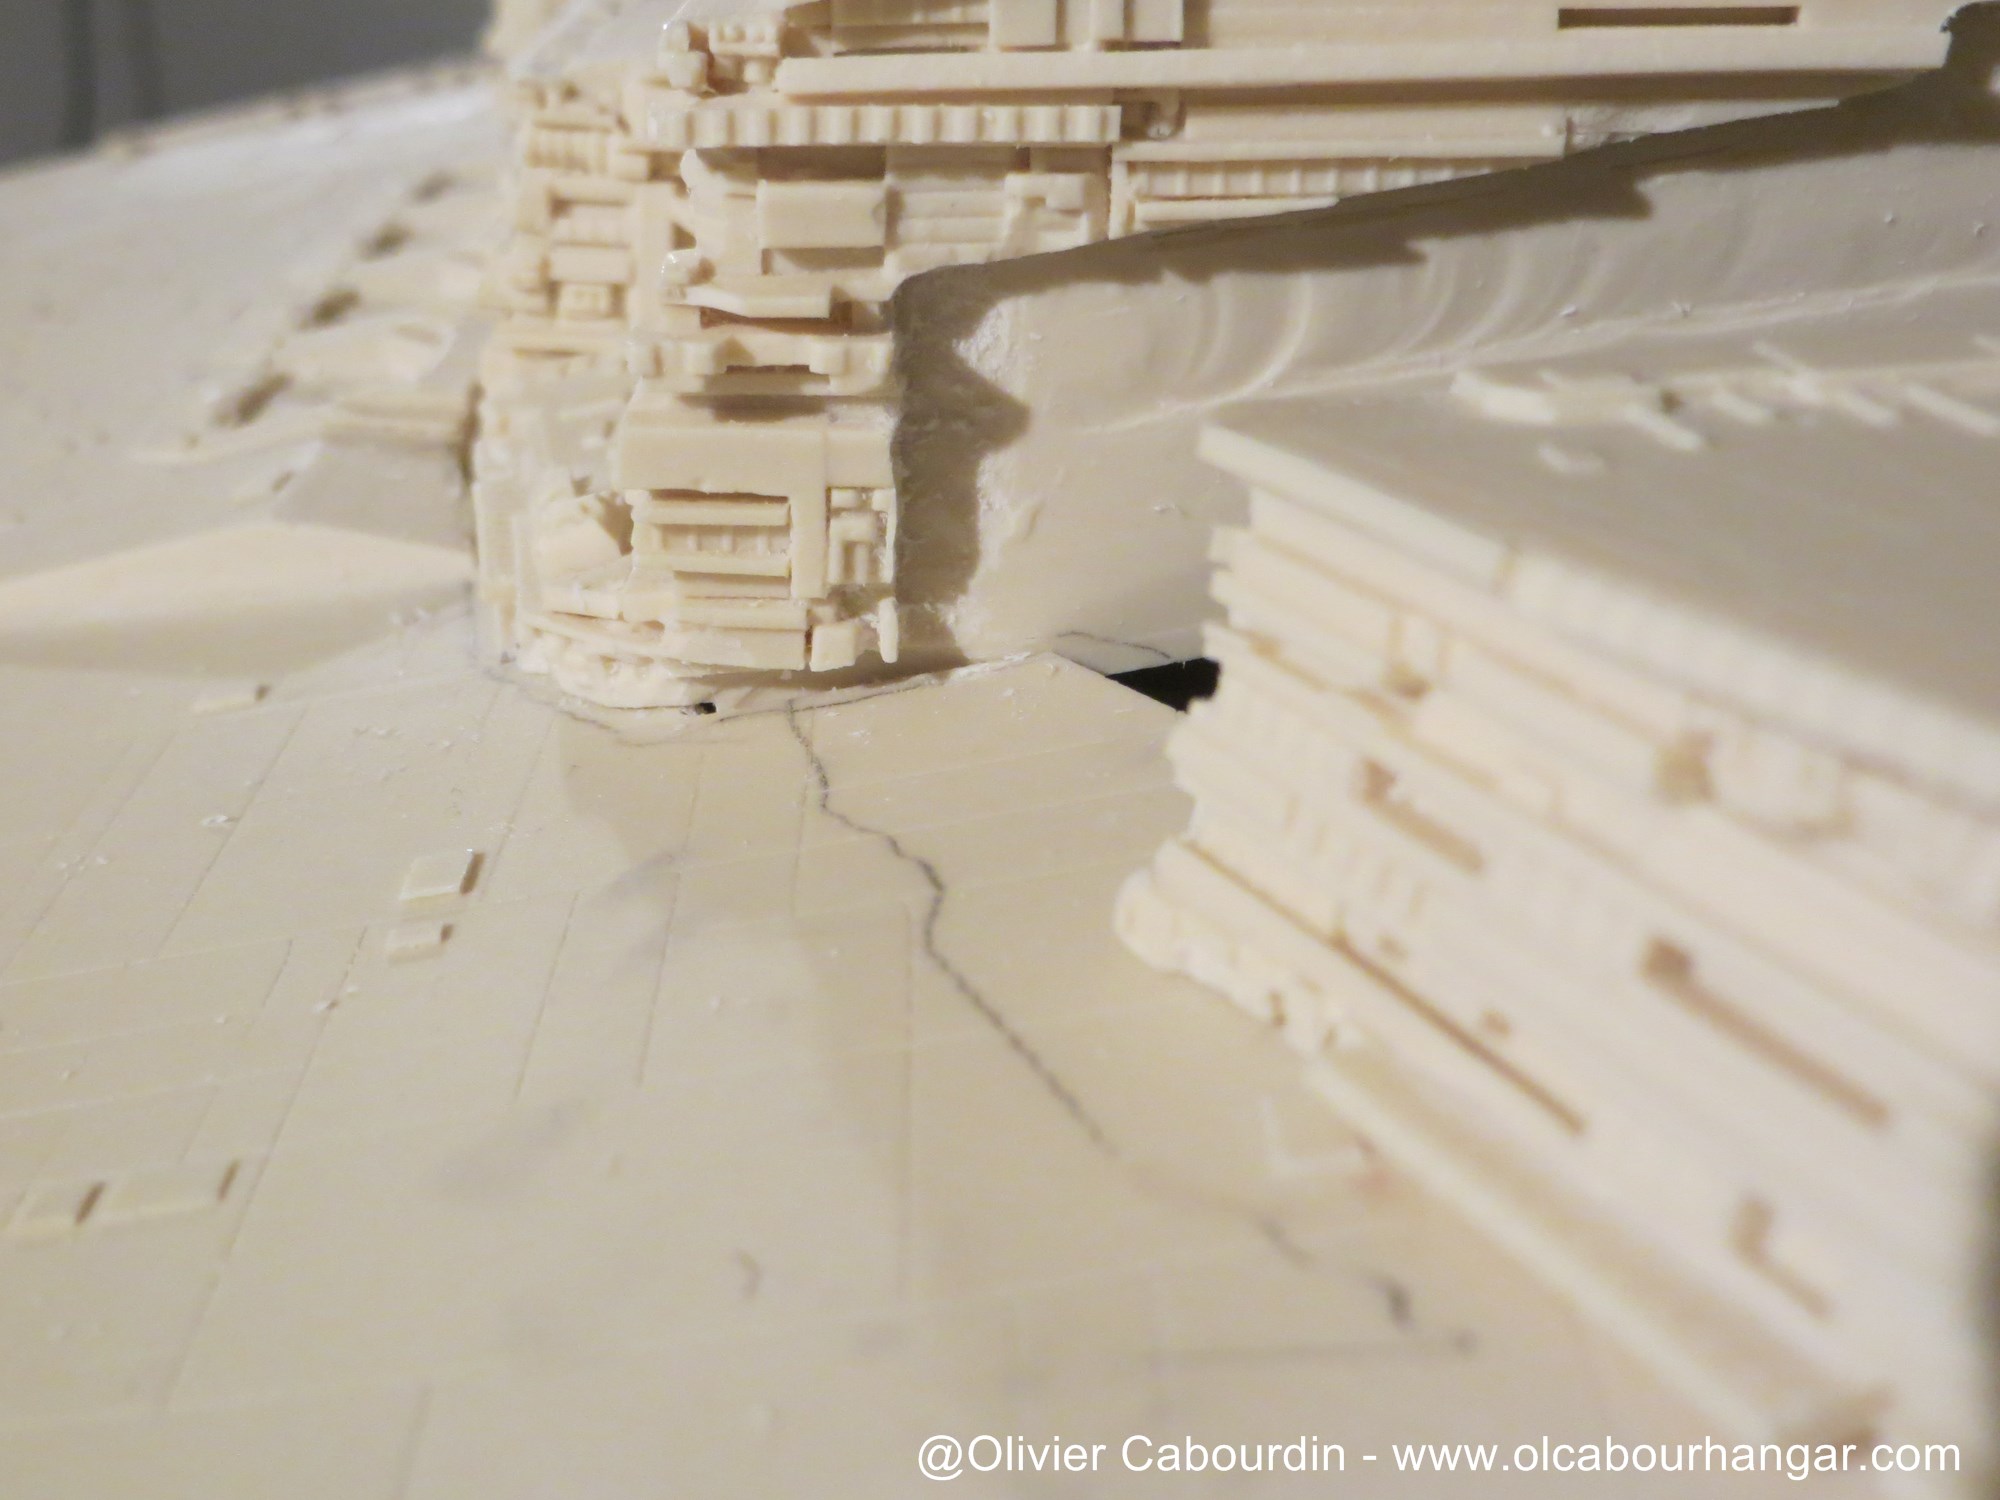
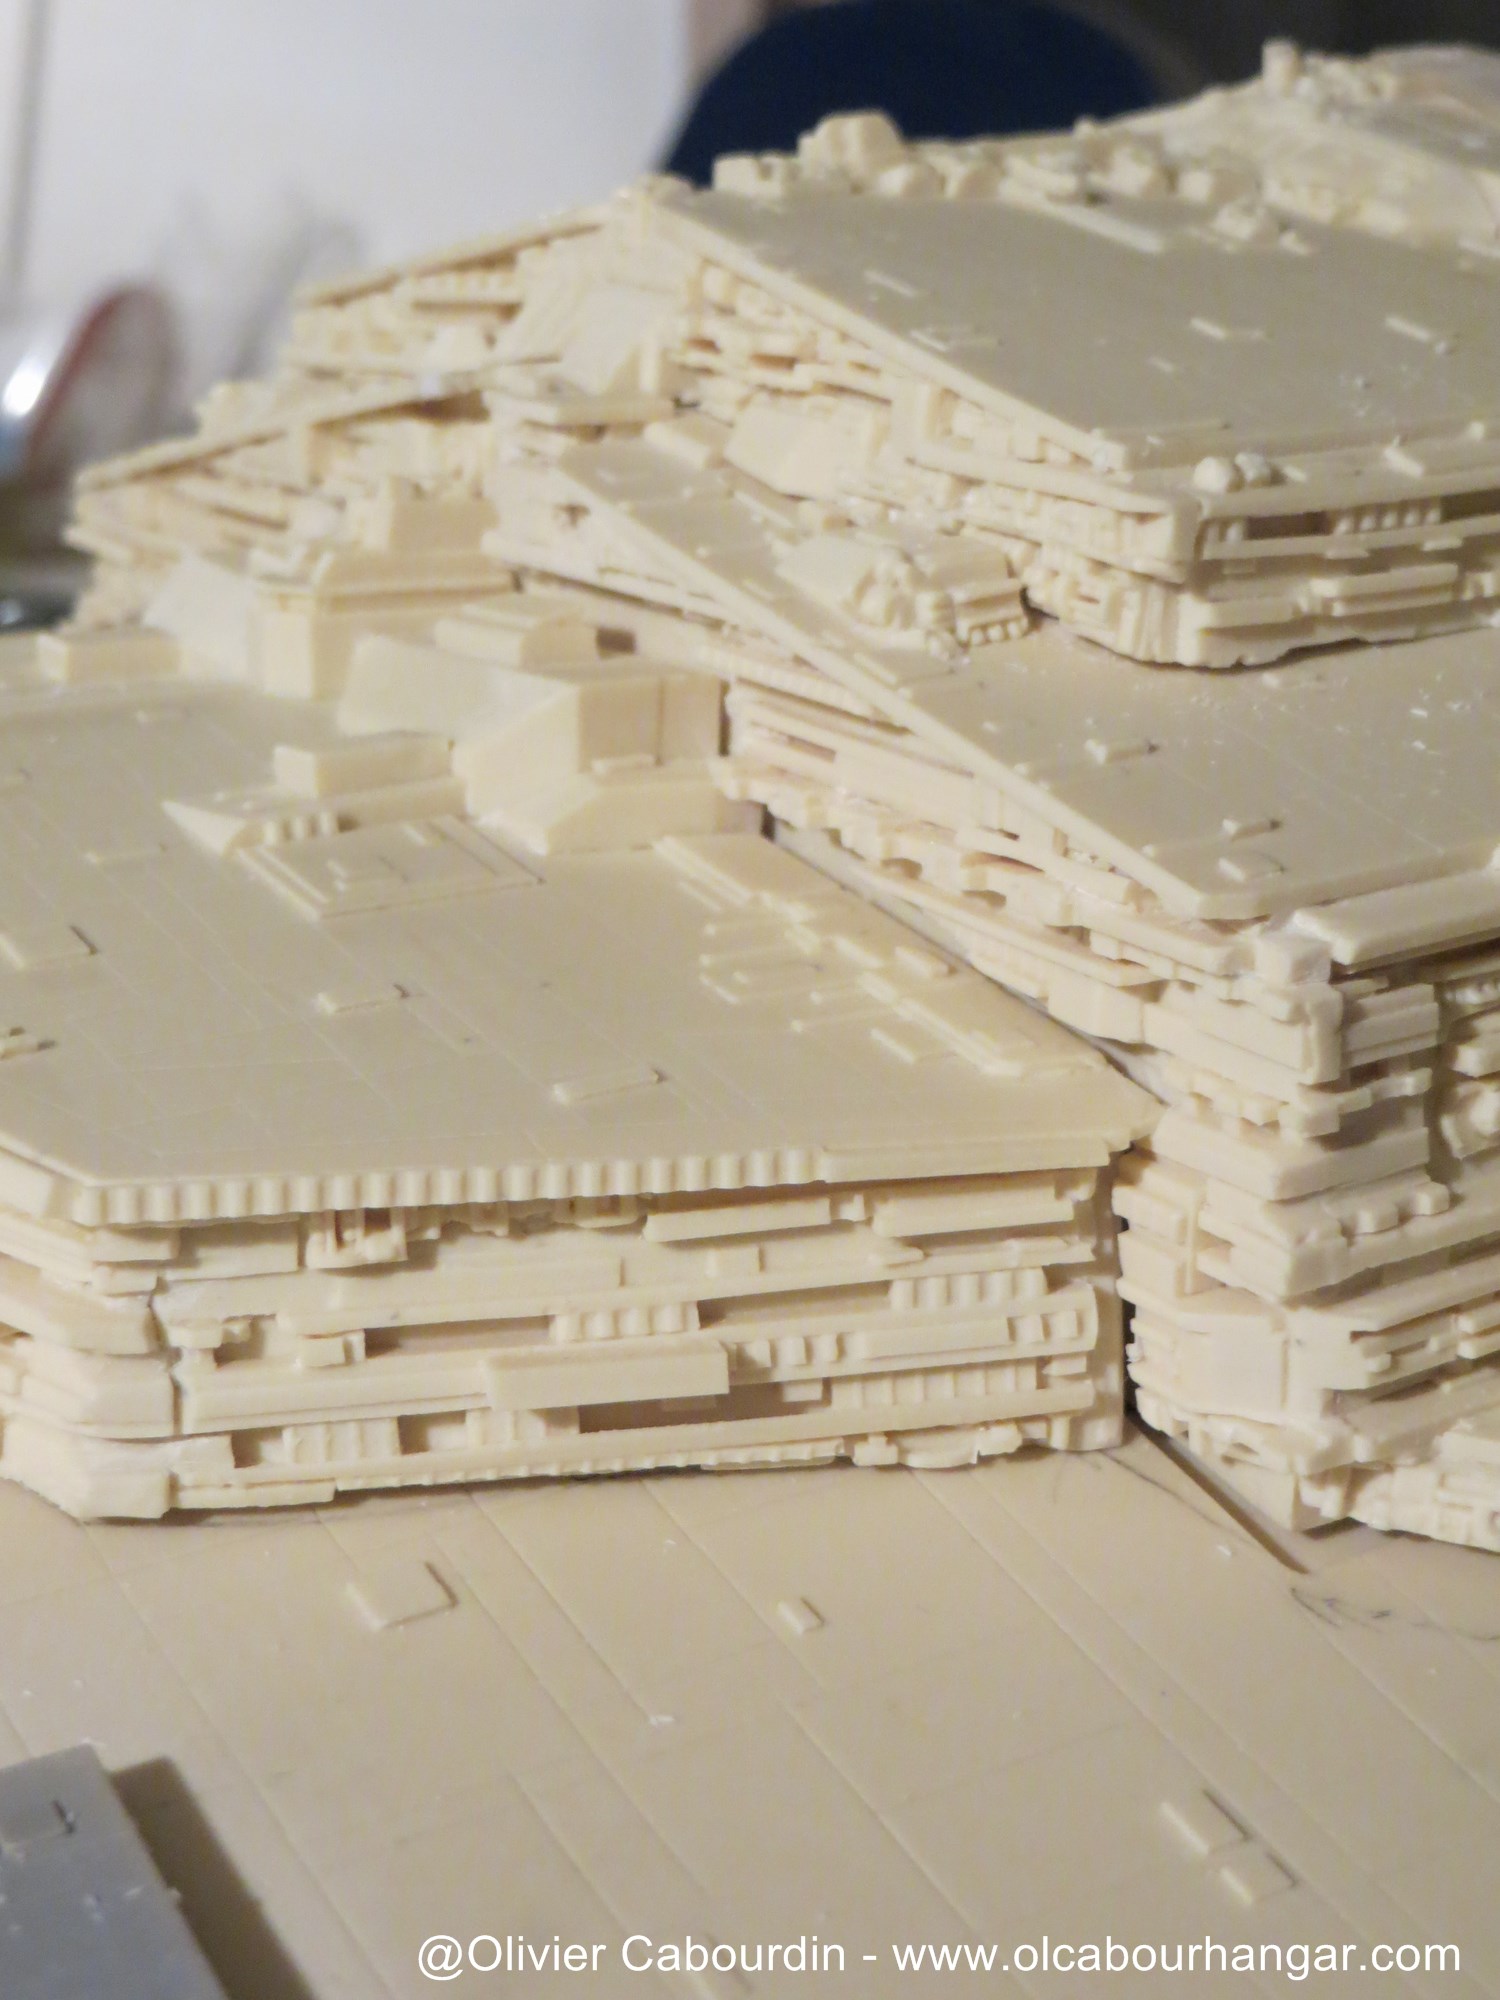
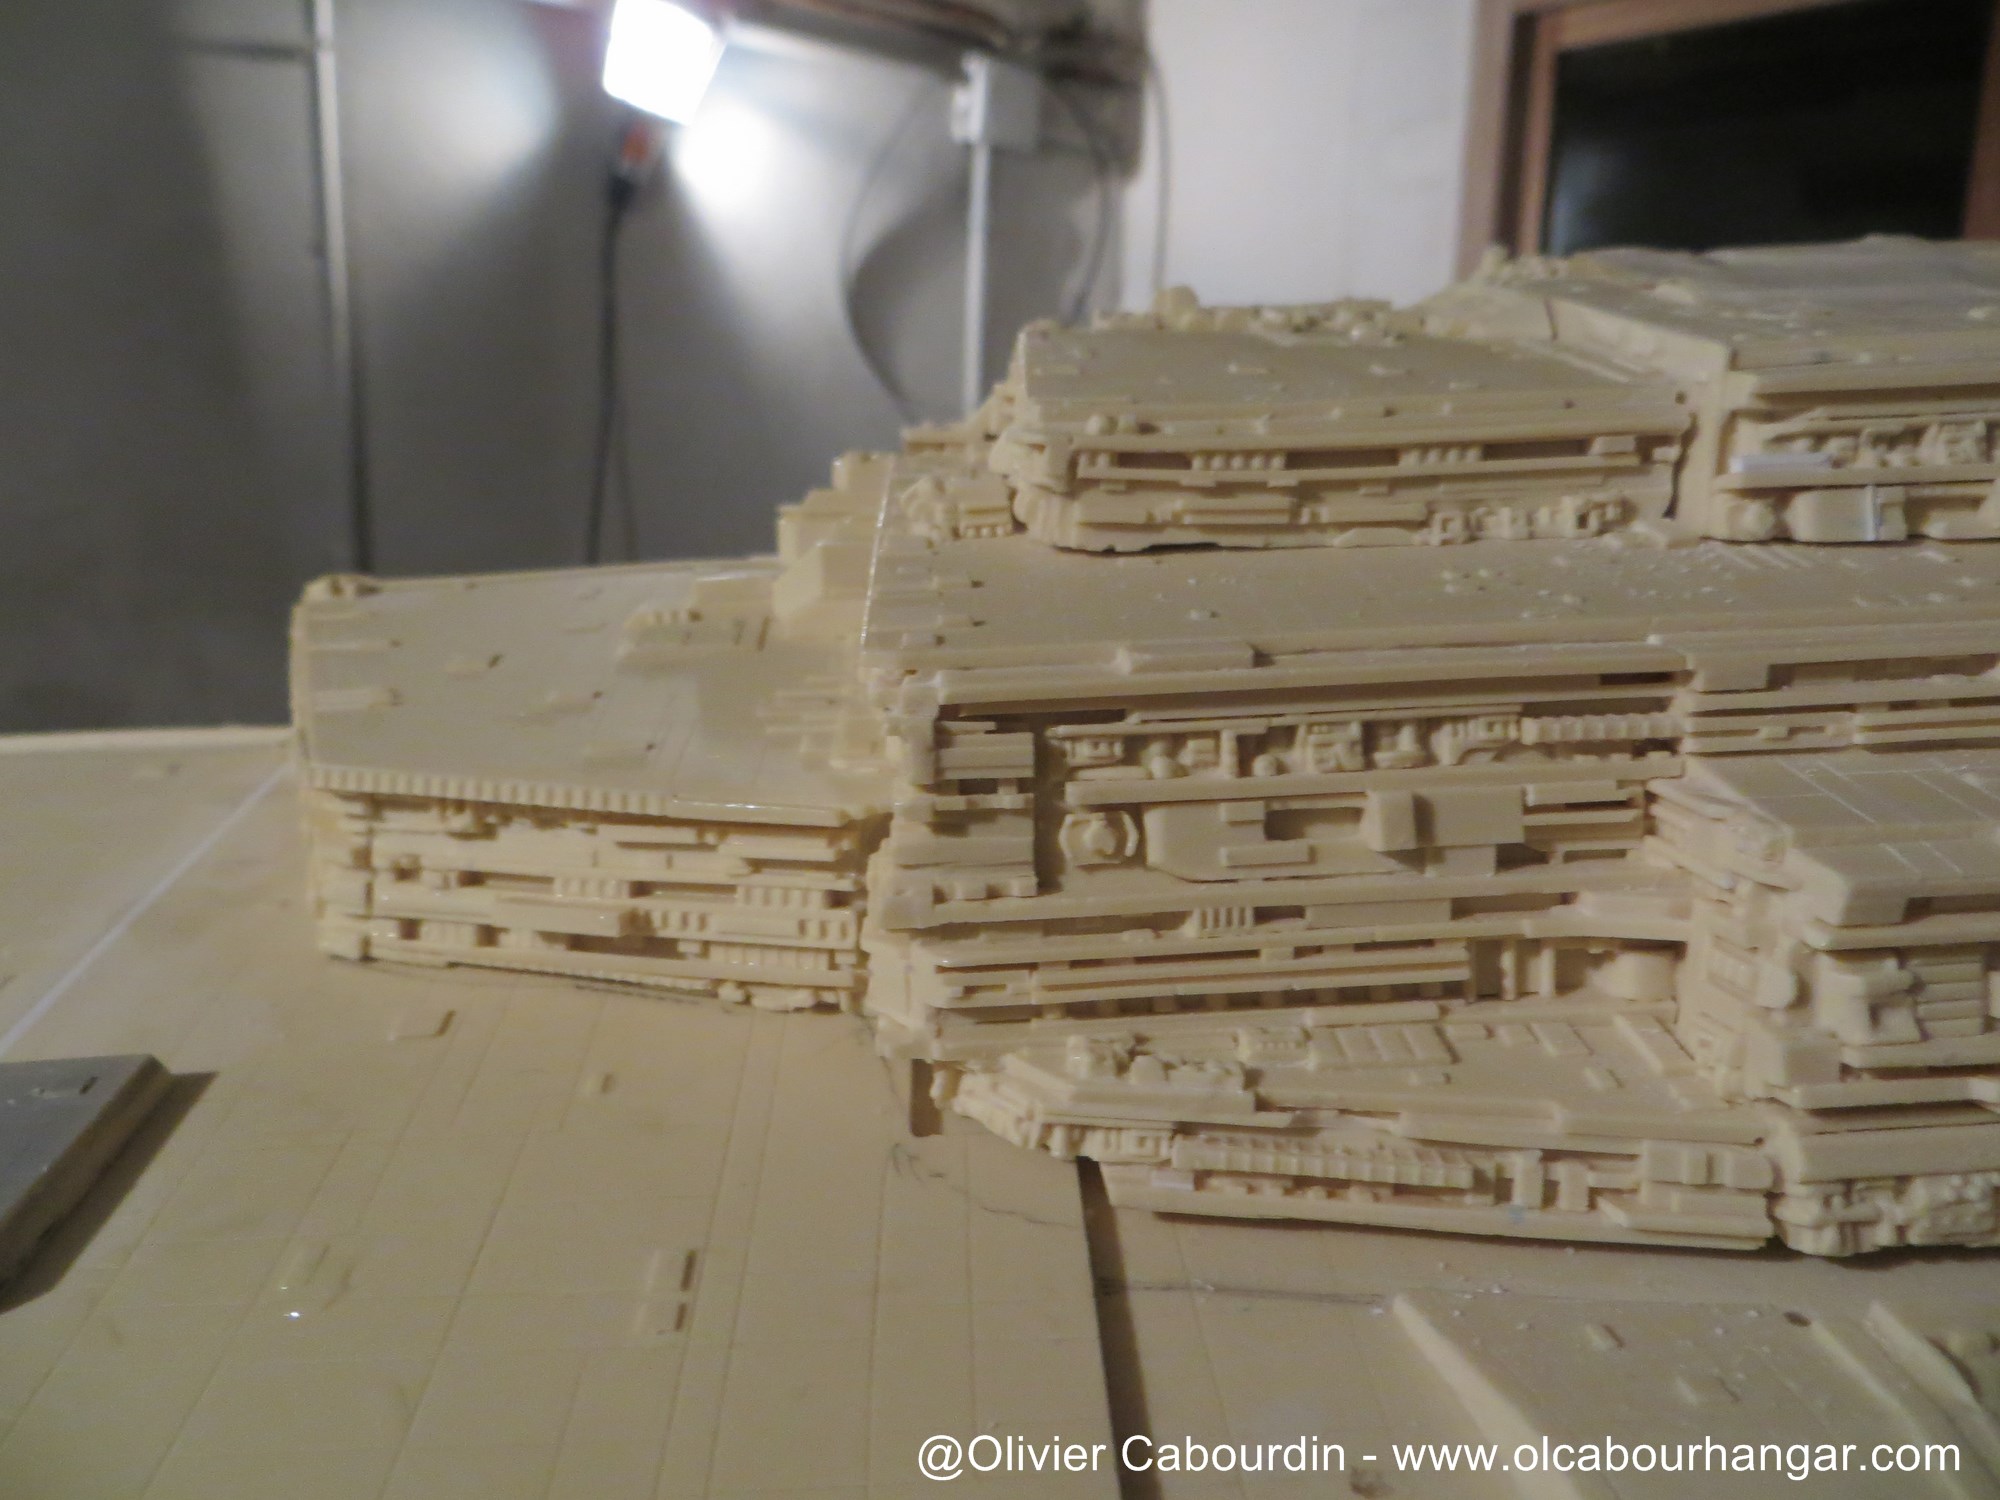
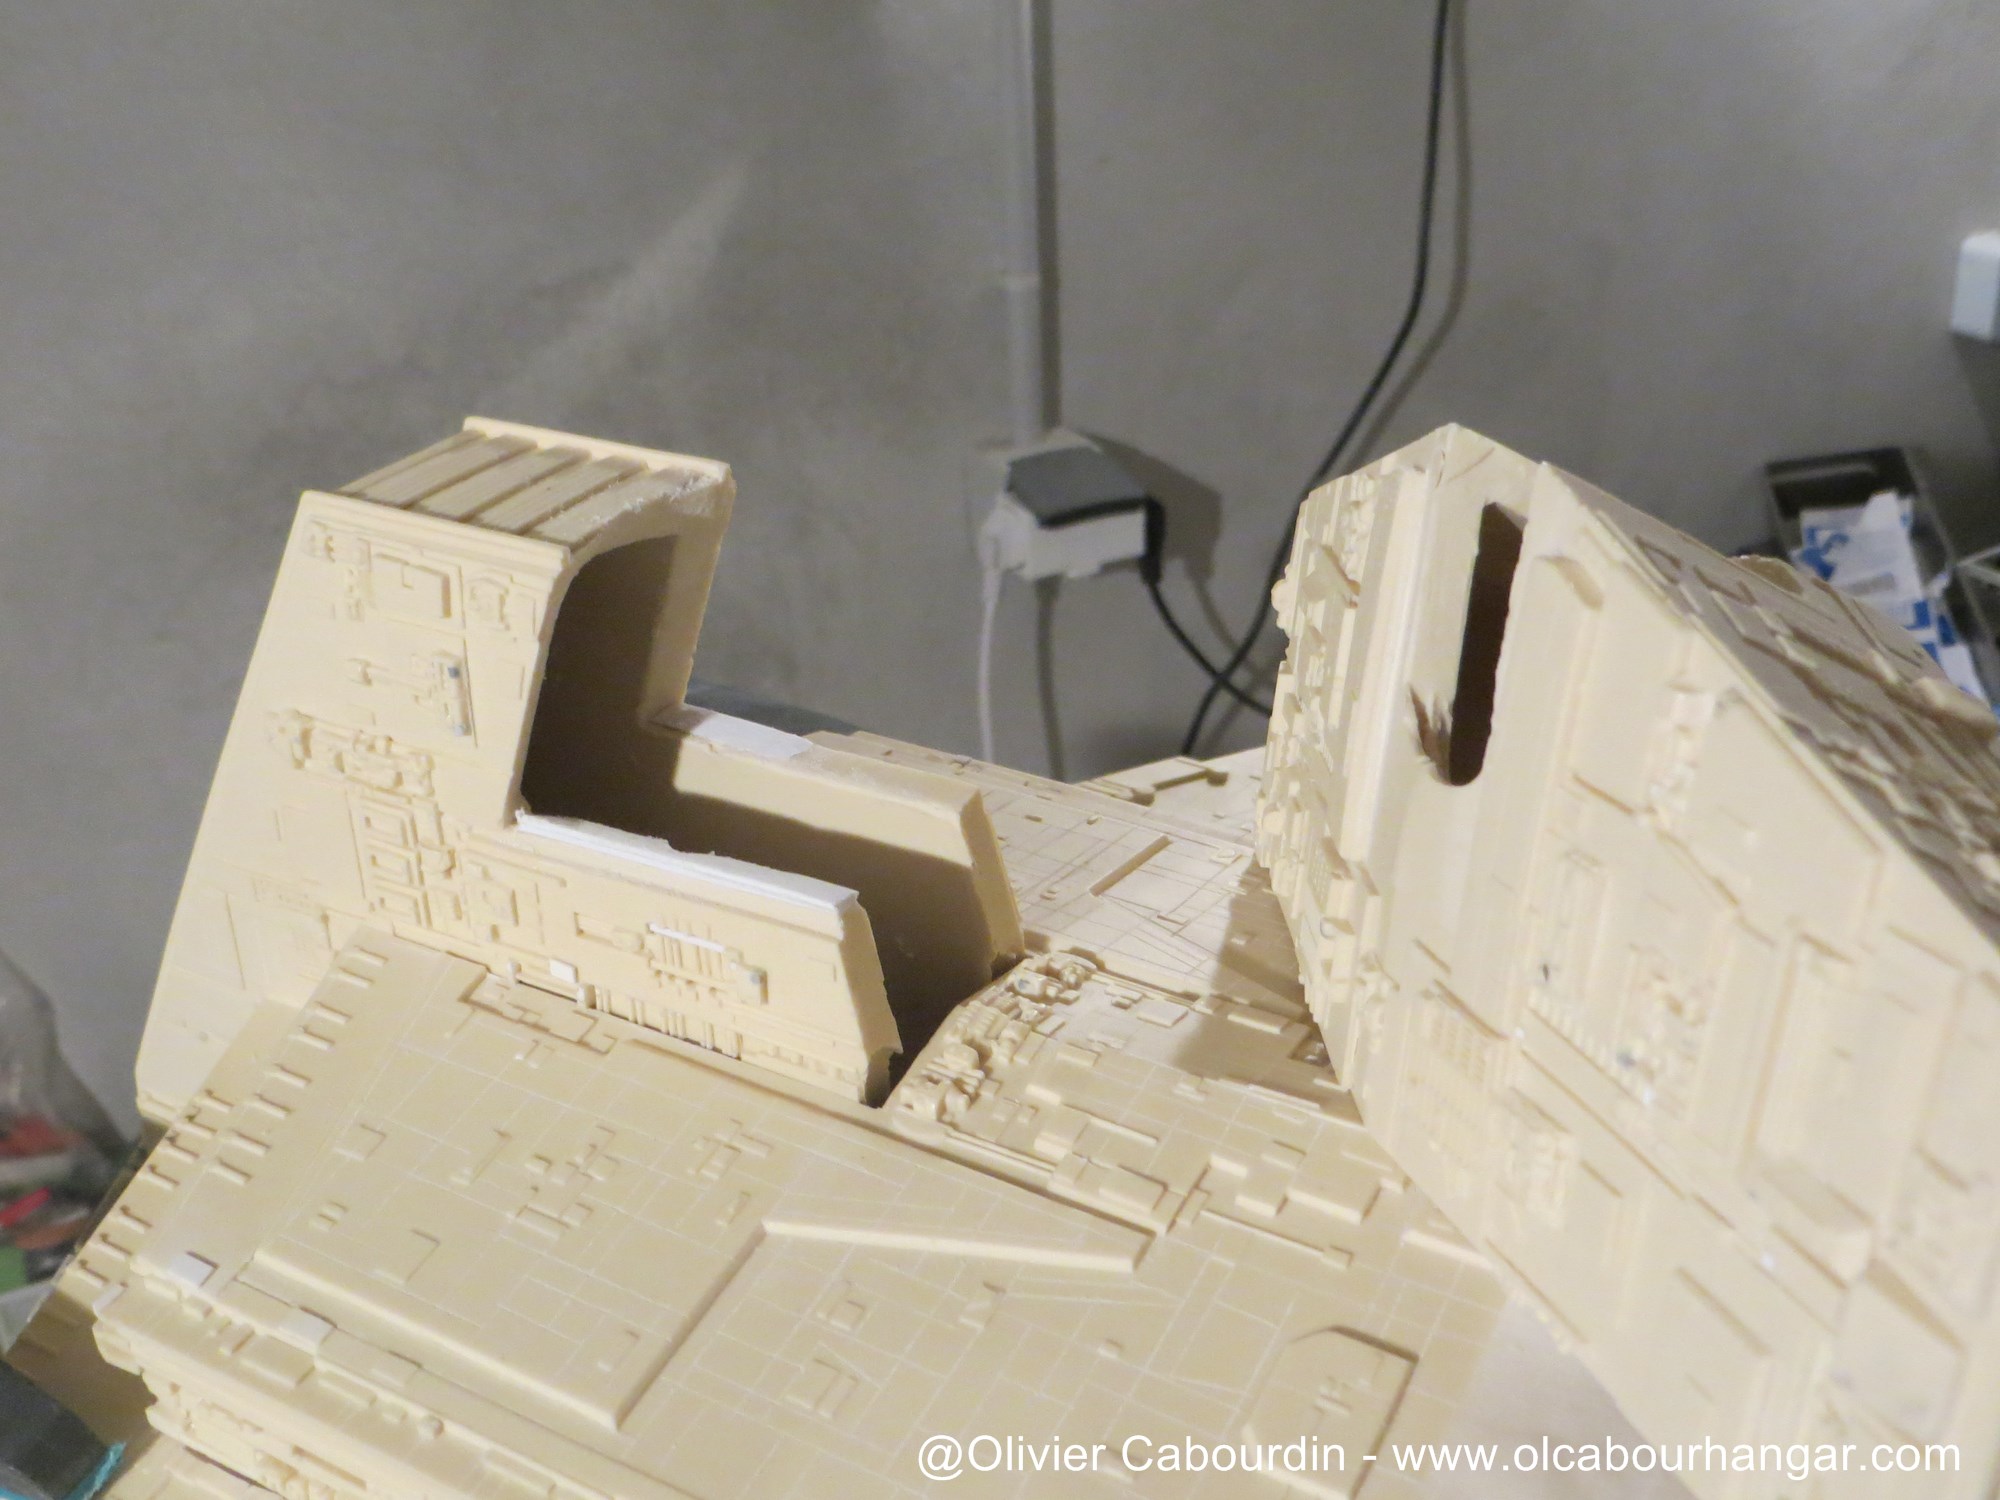
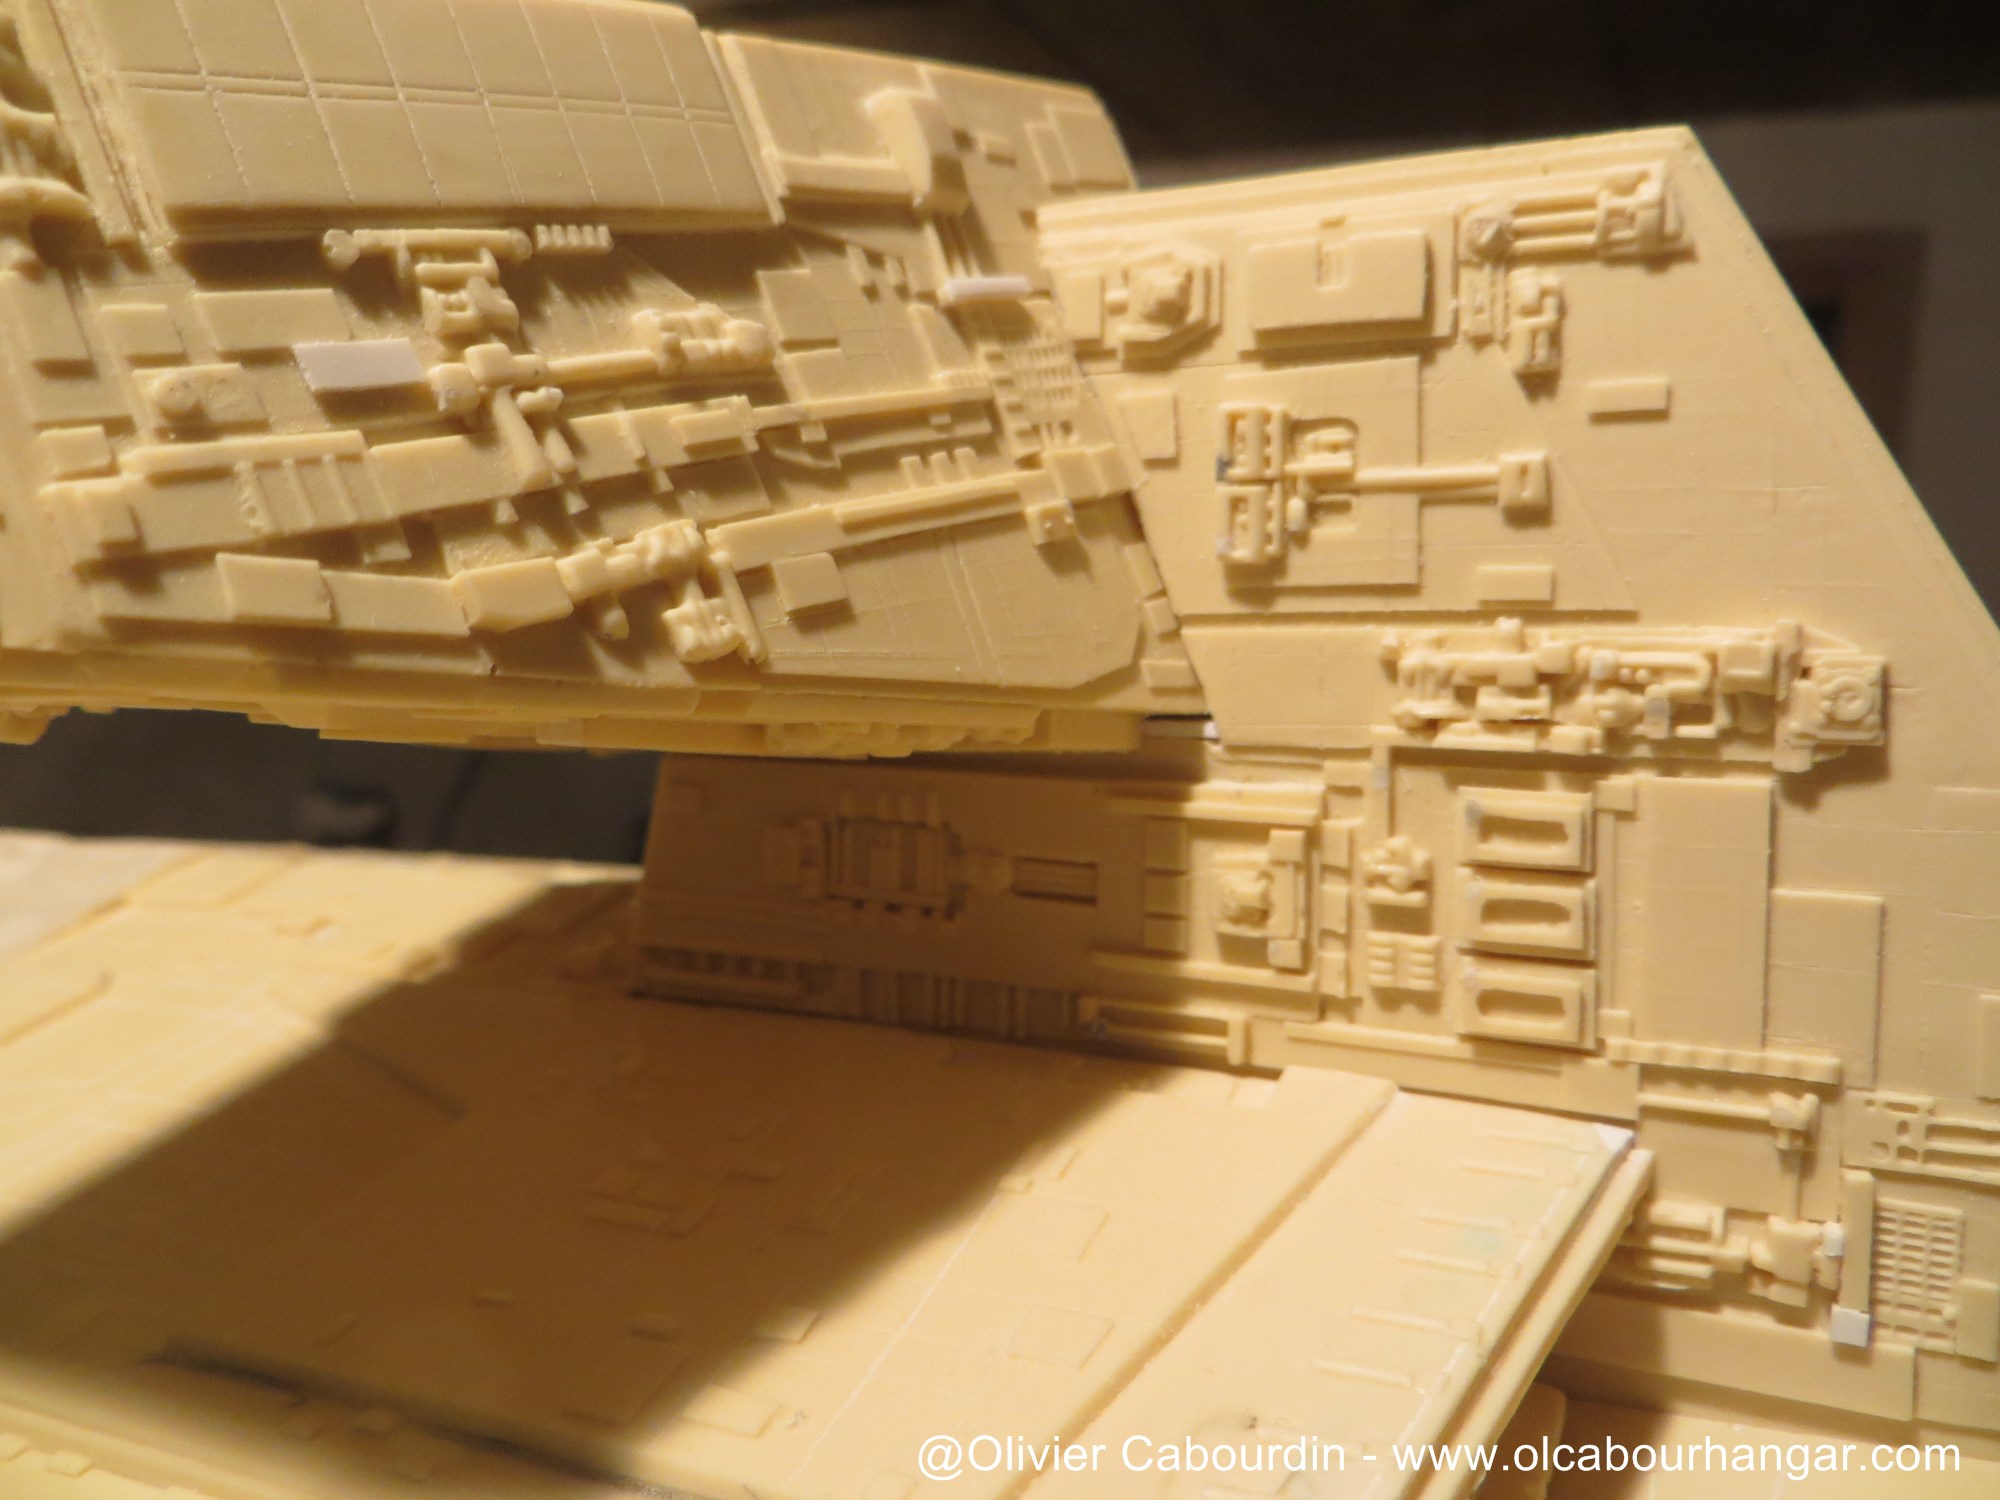
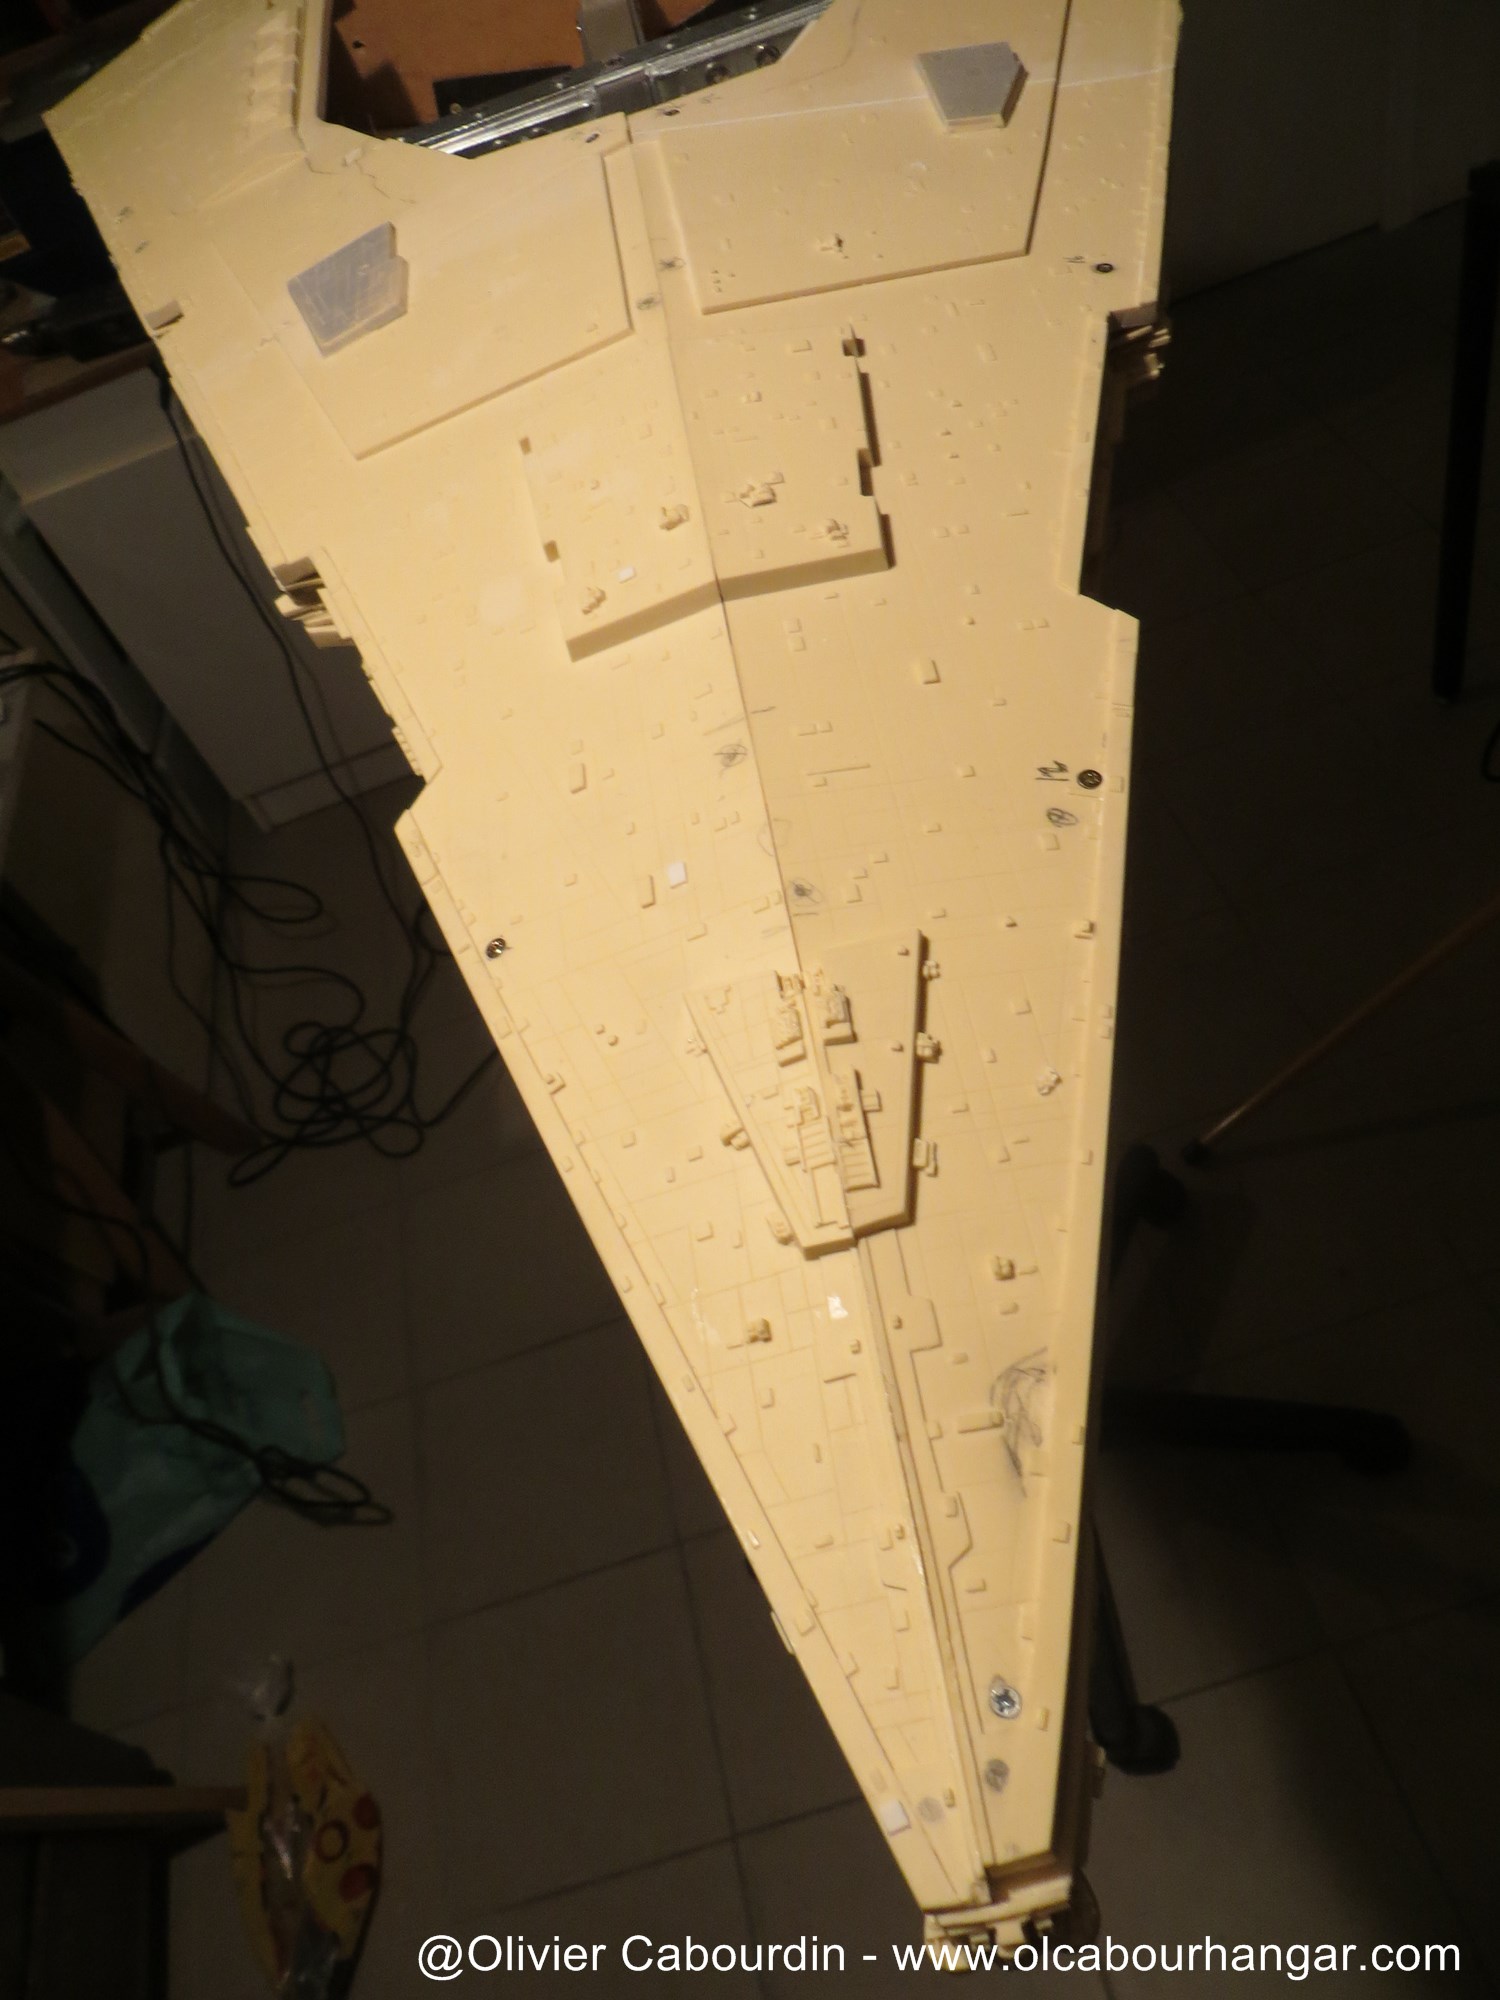
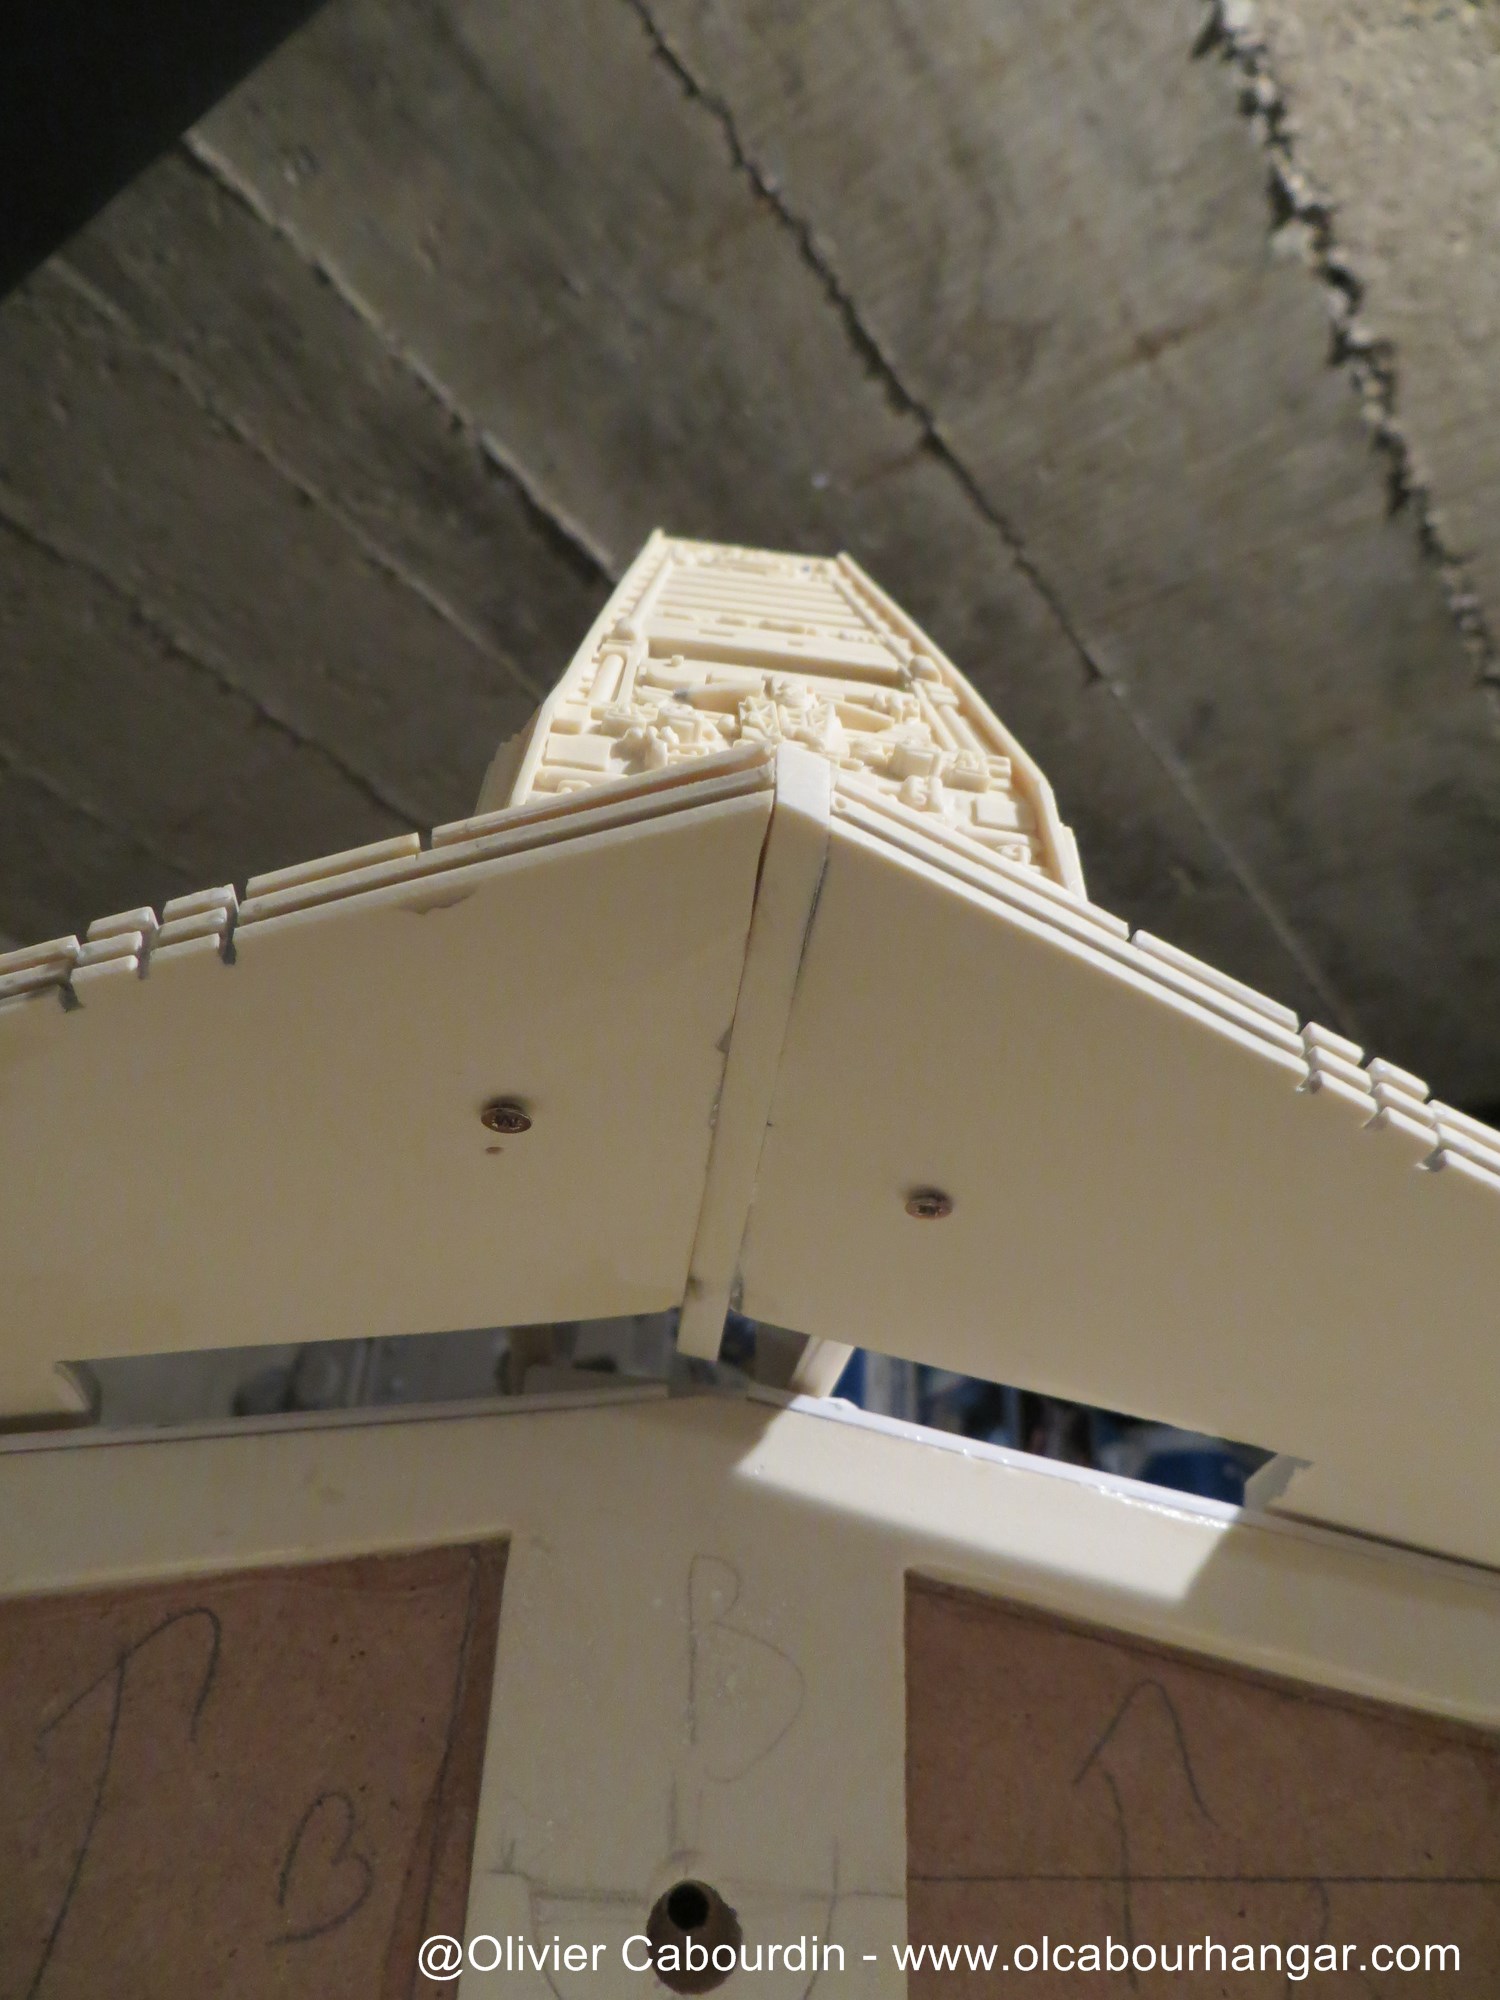
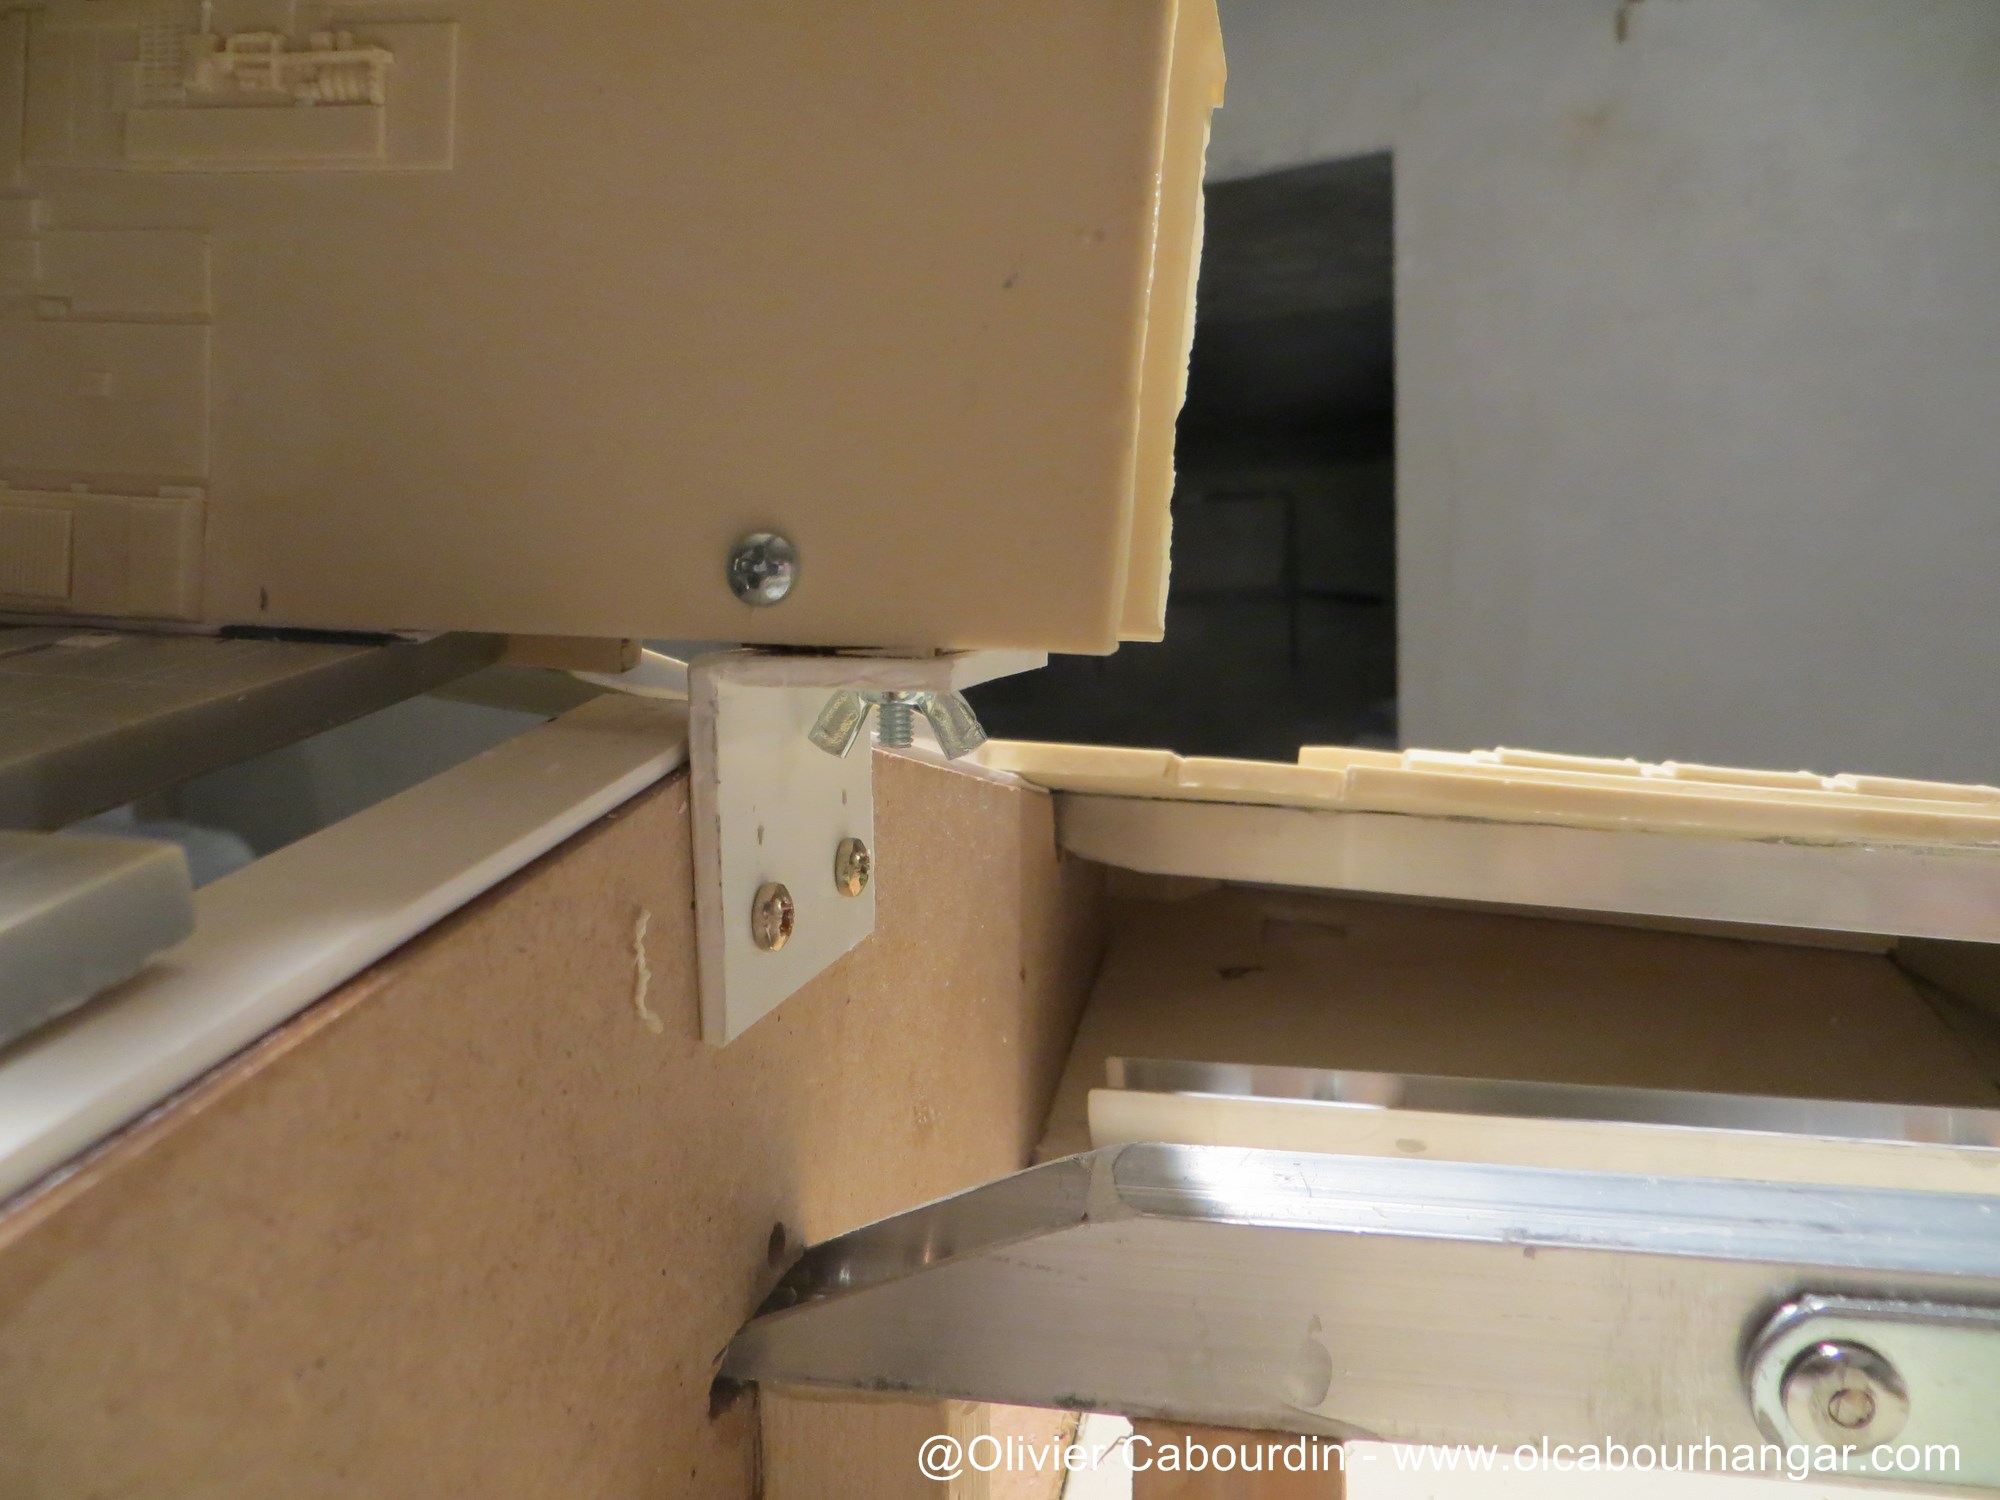
I'll just sit this tutorial out and check and double check those of others before even unpacking my kit fully ... though I already did notice some heavy warping going on on some plates of the main structure ... also what's the proper way to start with these resin kit parts . . . do you begin with rinsing them in soapy water as I may have read some where?
Chaim