Why do you think I've been focusing on the little details and taking my time bro? Don't want to run out of things to do before I get new parts!
Speaking of, I hate you guys.
Tom
Why do you think I've been focusing on the little details and taking my time bro? Don't want to run out of things to do before I get new parts!
Speaking of, I hate you guys.Now that I know about the notches I can not unsee them like you said. I still don't think it's a big deal as far as Deago goes but now I see them on the real models, the MR, and so on. May have to try to fix it now. I blame you all.
:lol
Tom
More light grey panels & black markings added...
http://i493.photobucket.com/albums/...fcde152001182d70c0afd504e3d07_zpspa5n992c.jpg
TIP: when adding the black dots & lines use a good quality fin line UNI pin .8 or .2 permanent marker...but even those can take forever to dry (if at all). So use a hair dryer on medium heat & not to close. If anyones using a marker that drys instantly....let us know!!!!;-)
Mine are permanent markers, but they don't dry quick on the Model weathered base, (ie;24hrs & still a little smudge) hense my hair drying the beggar ;-).


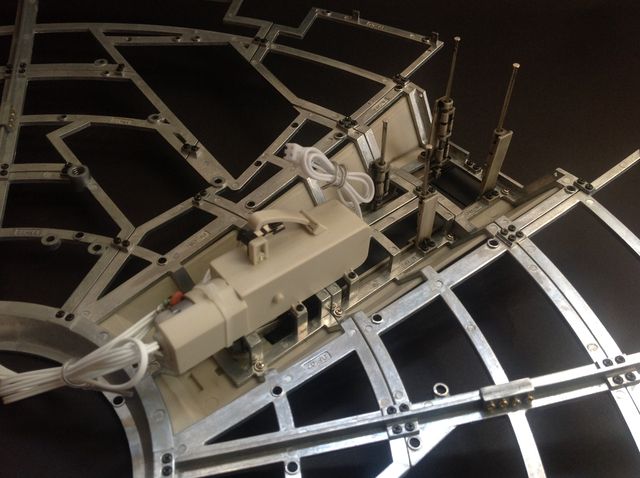
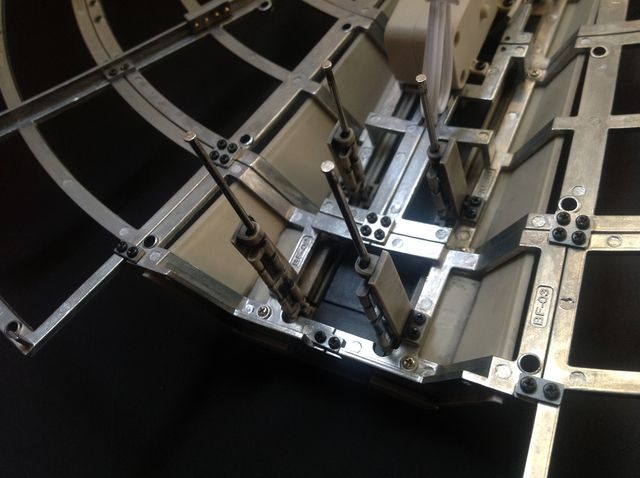
Maybe later you can reengineer to relocate it away from the ramp , even fishing string and pulley system from somewhere elseI am very disappointed that the frame and motor for this ramp is in the way of the pathway. They have that awesome interior with the corridor leading to the ramp and they didn't bother connecting them. Fairly disappointing...
Well, can't have it all! The builds good enough for me and has many extra features I'm happy with.... Really having fun today making the gun turret look detailed & interesting...
Maybe later you can reengineer to relocate it away from the ramp , even fishing string and pulley system from somewhere else
The structural integrity...is what I plan to reinforce next year...when I start mine....with additional strips of aluminum and screws.and jbweld..the boarding ramp was going to be a modification , that I already plan on working to relocate somehow....Yeah I was thinking about finding some way to do that once I get mine. But from what I have seen the major issue is the frame. I would be VERY nervous about modifying the frame of this thing because I don't wanna risk the structural integrity of it at all. I am going to definitely look into it once I get it though.
That l will watch with keen interest....nervously ;-)The structural integrity...is what I plan to reinforce next year...when I start mine....with additional strips of aluminum and screws.and jbweld..the boarding ramp was going to be a modification , that I already plan on working to relocate somehow....
once I resubscribe in the US in March.....I feel this modifcation is a needed thing for me , as the boarding ramp entrance , can coexist with the rest of the interior...but that's just me!!!
I am still observing and learning from others on this build , before starting anything for a while , I feel Patience , will be my most needed tool for this kit
