1/144th Prometheus scratch build

Looking good, besides the surform tool. Maybe a little less hardener in the bondo. Which will give you a little more working time to smooth it out. I know here in the summer ill stick the can in my old fridge for 30 minutes. Cools it down gives me more working time here in the heat . The smoother the bondo easier it is to sand and get the shape you want.
 
I thought, if there would be a guy who can build this model, it would be Al the IEDBOUNTYHUNTER or NylonGag for sure.
Al-san has enough knowledge, experiences and technique, and Gag-san does too.

This will be another legendary model like Al-san's Betty.

All the best, Katsu
 
Evenin All,


Thanks for stopping by and commenting


Got me one of those yella thingeez, thanks for the tip

Soooooooooooo, enough chit chat


Gave the top its first basic sanding
stuff%2520259.jpg


stuff%2520260.jpg


stuff%2520261.jpg


Did the same on the bottom but it didn't turn out as good as the top

stuff%2520263.jpg


stuff%2520266.jpg


stuff%2520267.jpg


Evened up the back

stuff%2520268.jpg


And the front

stuff%2520265.jpg


stuff%2520273.jpg


stuff%2520269.jpg


Cut and drilled the inner edge of the outer engine arms, then lag screwed these to the main assembly to mark out for cutting

stuff%2520274.jpg


stuff%2520275.jpg


Cut them out

stuff%2520277.jpg


stuff%2520278.jpg


Attached the inner arm supports

stuff%2520280.jpg


stuff%2520281.jpg


This is everything so far

stuff%2520283.jpg


stuff%2520284.jpg


stuff%2520287.jpg


Well, injested enough bondo dust for one day
Take care
See you soon
Gag
 
Subscribed!

You're doing such a smashing job, keep it up!

P.S. I have a copy of "Art of Prometheus" it's yours if you want it, just PM me your address (call it a pay it forward/ Christmas gift)


You are just too generous my friend, thank you so much.

PM sent

When an engineer builds a model, magic happens! :)


Ello mate, thanks for the kind words


Starting to see the overall shape of that model. Eager to see the next update:)

Glad you can see it mate, cuz i ain't got a clue what i'm doing


Awesomeeeeeeeeeeeeeeeeeeeeeeeeeeee!!!

Thaaaaaaaaaaaaaannnnnnnnnnnxxxxxxxxx


Well, ere we go folks,
welcome,

hold on tight for a fast ride,


the louder you screem the faster we go.............

Marked,
stuff%2520292.jpg


cut,

stuff%2520293.jpg


assembled and attached,

stuff%2520296.jpg

the basic outer profile of the side engine supports.

stuff%2520301.jpg


1/8" styrene sheet.

stuff%2520302.jpg


Chiselled away witth my shaping/scraping tool,

stuff%2520304.jpg


More plastic sheet,

stuff%2520305.jpg


More shaping/scraping,

stuff%2520306.jpg


Marked me radussssssses,

stuff%2520307.jpg


Cut with 6 flute carbide 1/8" , high helix end mill in me dremmel on top speed, knife, butter, etc ........


stuff%2520309.jpg


Radiusedid bottom edge,

stuff%2520310.jpg


stuff%2520311.jpg


Assembled,


stuff%2520312.jpg


https://lh5.googleusercontent.com/-
m7vS61r1QSg/VITssevbHDI/AAAAAAAASbY/TznB9zI3Kvs/s800/stuff%2520314.jpg

Added inner strip to support bottom surfaces

stuff%2520318.jpg


But that's for next time

Thanks for stopping by.
It means alot .
Gag
 
Really looking forward to any update. This thread (aka all your threads) are 100% education, inspiration & entertainment!
 
Ok.... here you are...whew ...!
I was jonesin' there for a bit....
Hope you had a great holiday Gag
Looking forward to following this
Cheers
 
Merry New Year,
Welcome everyone to 2015, I hope everybody had a fun and safe Christmas and New Years holiday and I wish you all the best for the coming year.


Thanks for the comments guys, much appreciated.

Yes Wibble i have seen them but thanks for the thought


Is that a Multistrada over by the monitor?


No, It's a Hypermotard 1098S, my bike of choice, my wife just got a Monster 796.


So too business,


Well, I only had two days of bench time over the holidays because my Mommy was visiting.
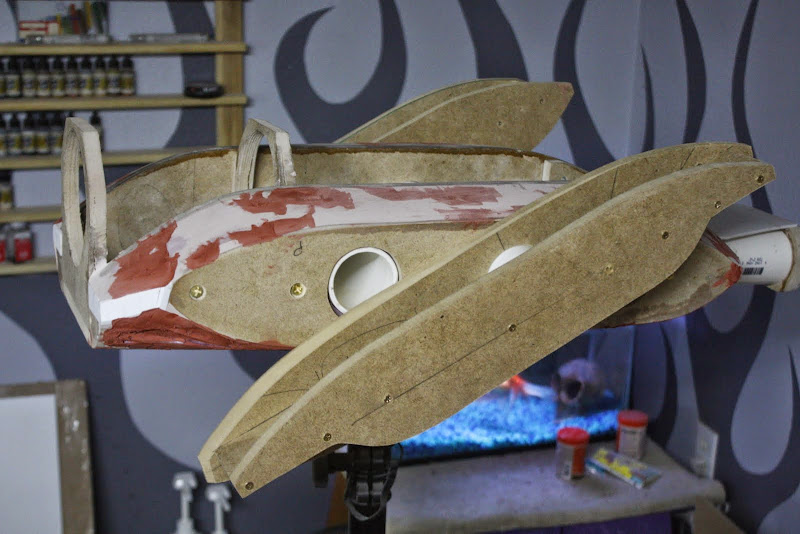
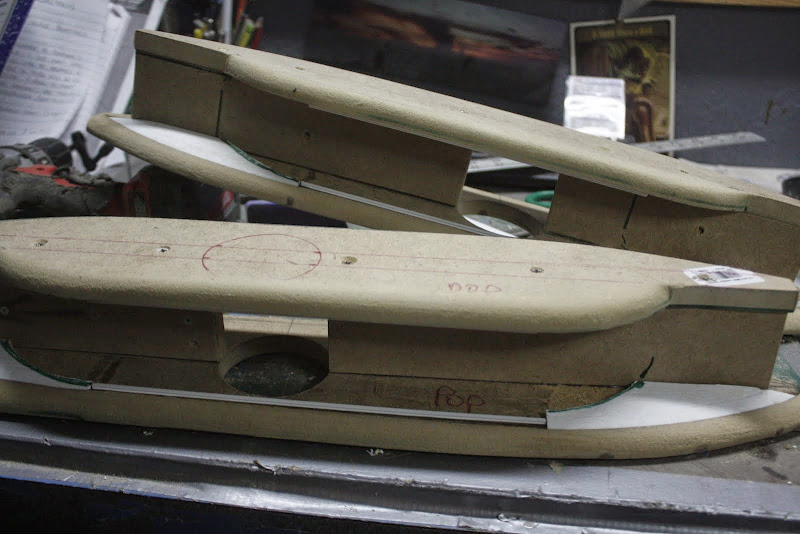
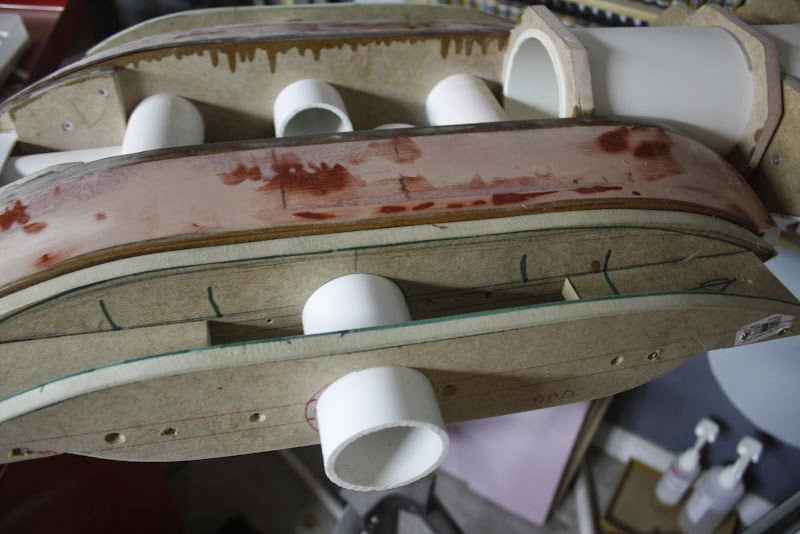
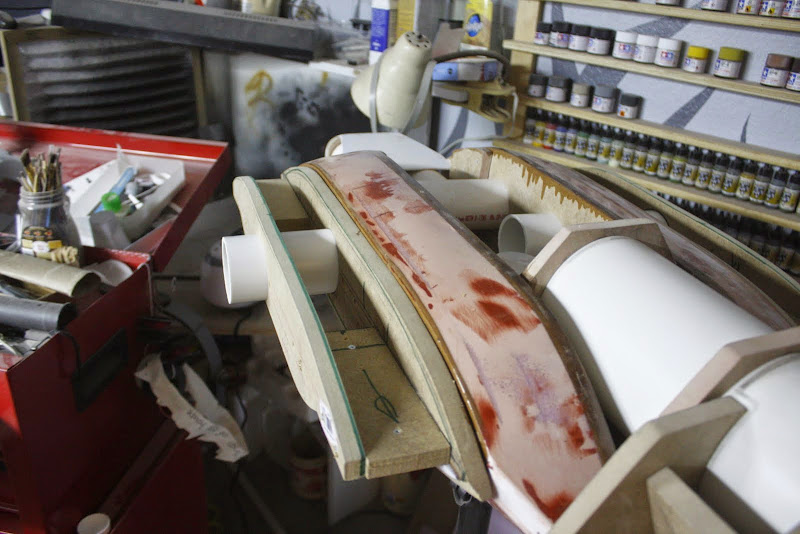
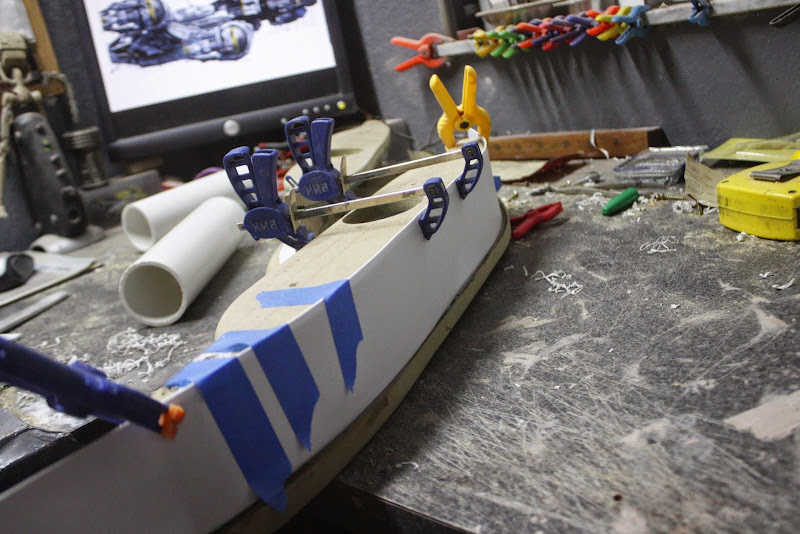
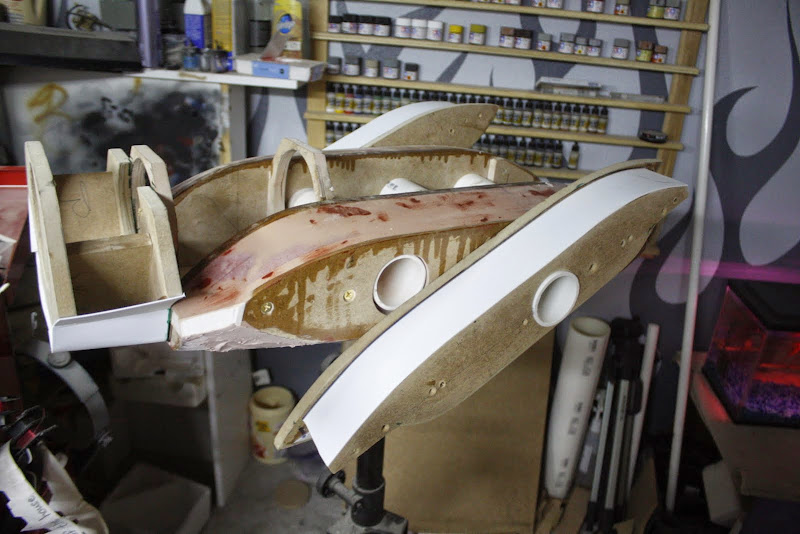
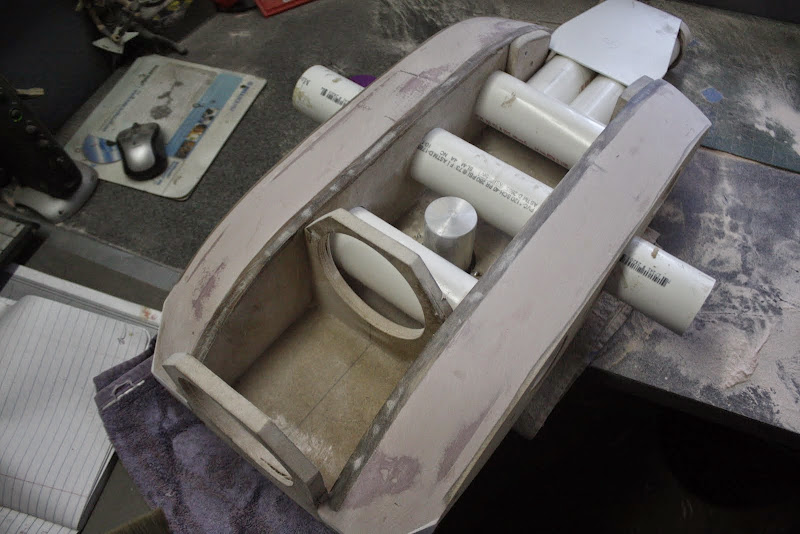
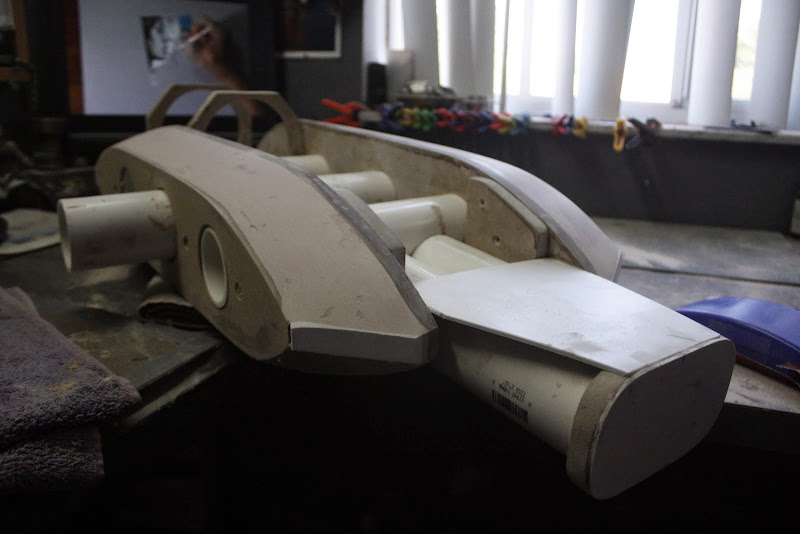
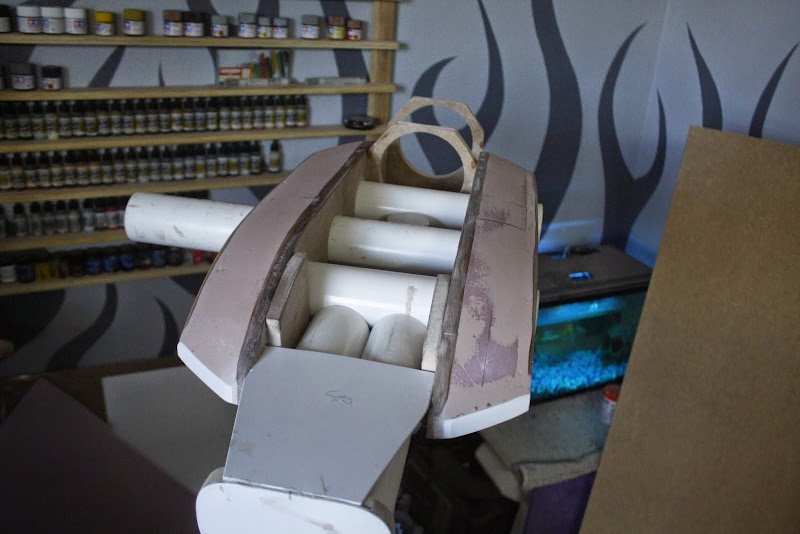
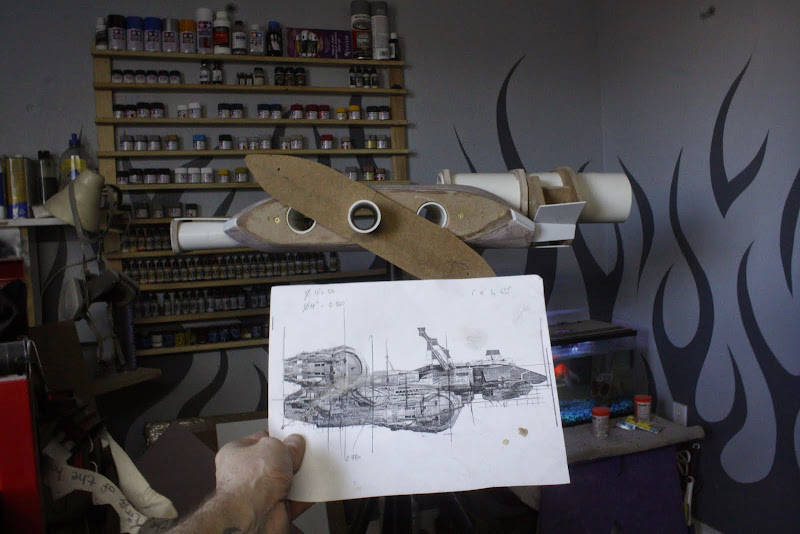
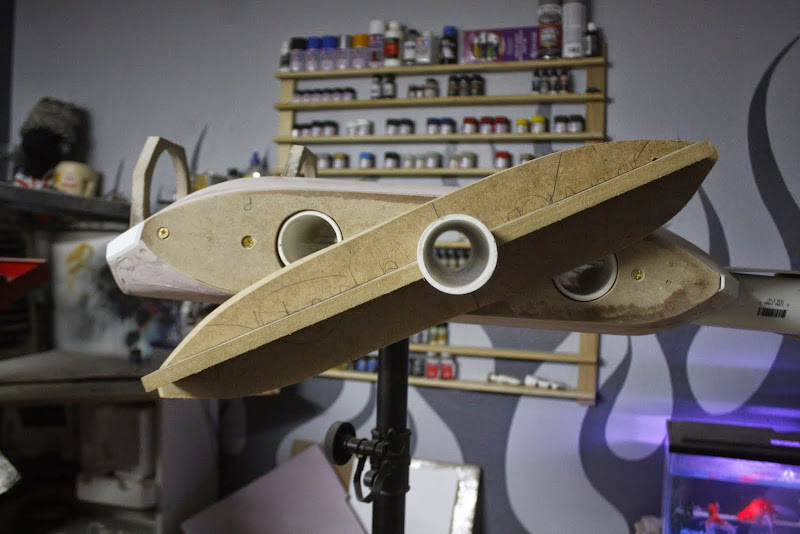
First, I cut the central pipe/bearing shaft and drilled holes in the outer panels of the engine support arms, this was so I could re-align and square up a bit, the side support arms. I will clean the pipe end flush later.

stuff%2520320.jpg


stuff%2520321.jpg


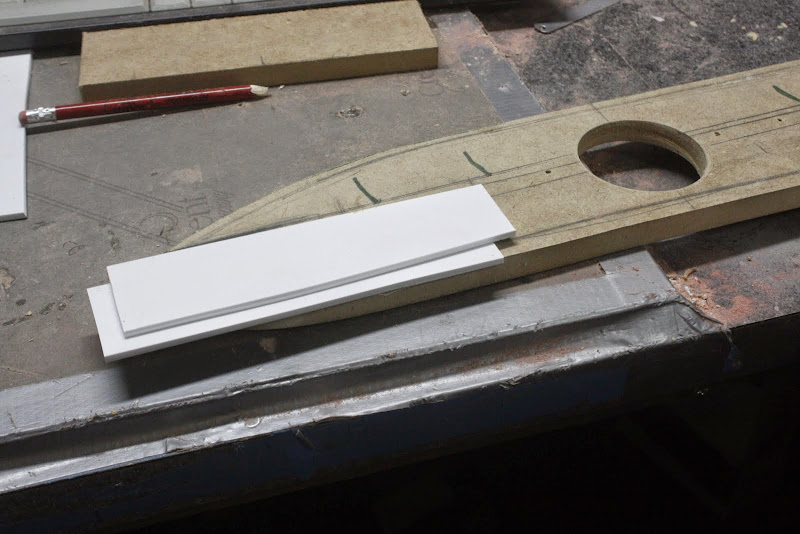
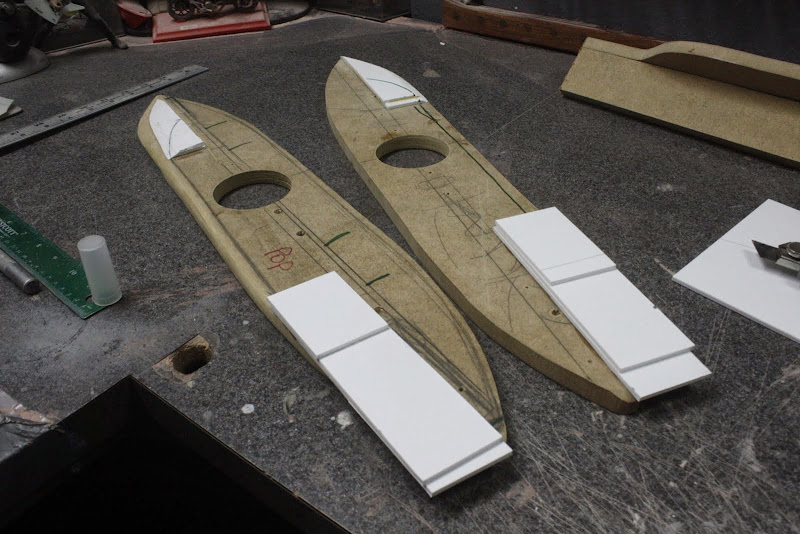
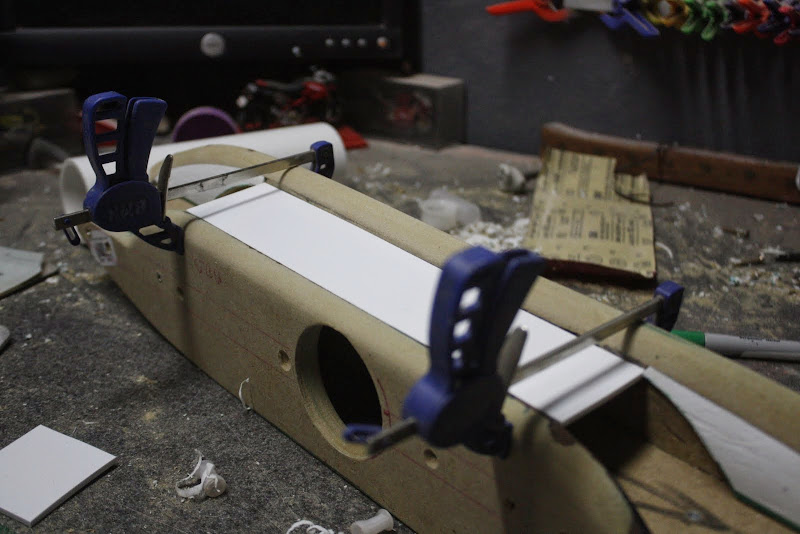
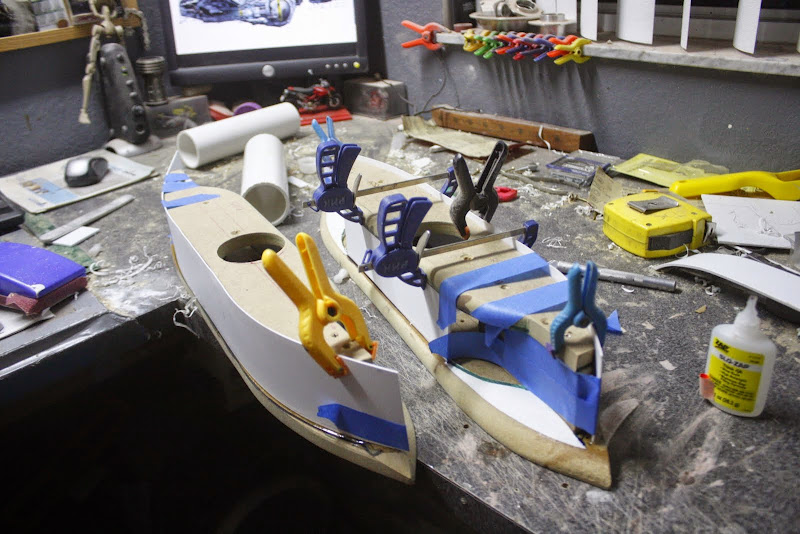
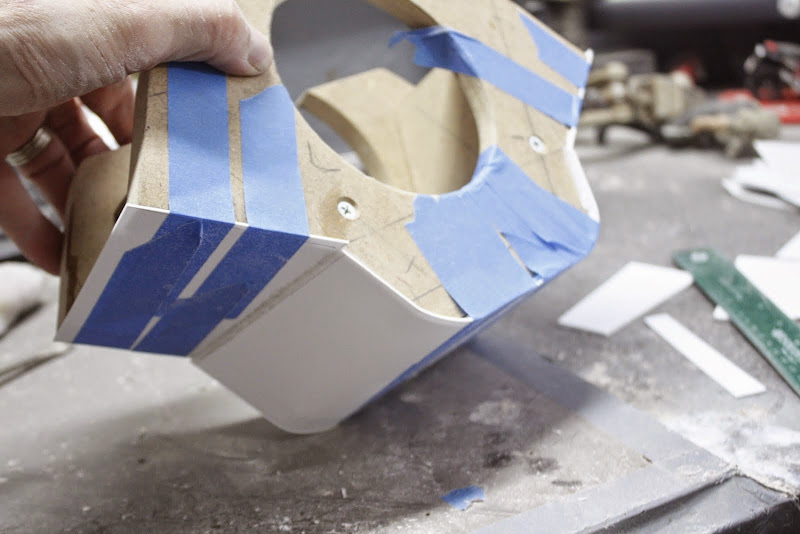
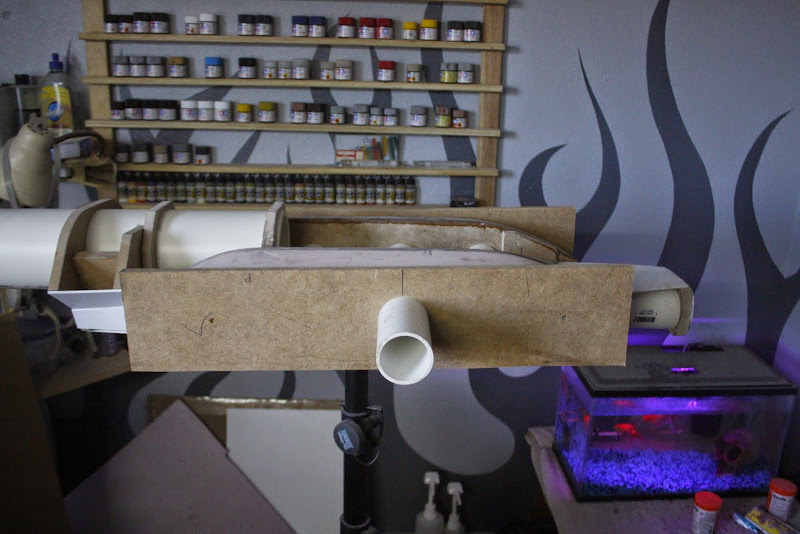
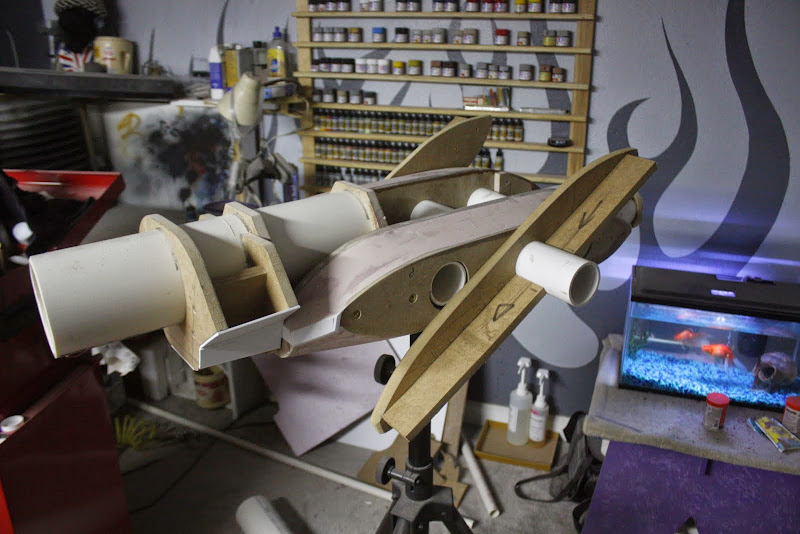
I then cut and glued a piece of 1/8" styrene to the bottom of the engine support arm,

stuff%2520323.jpg


stuff%2520325.jpg


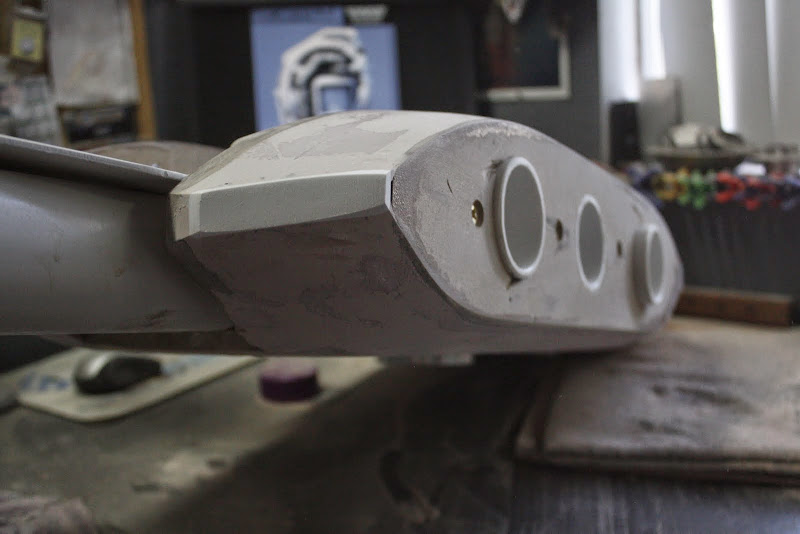
1.0mm on the top, oversized so it could be trimmed back,
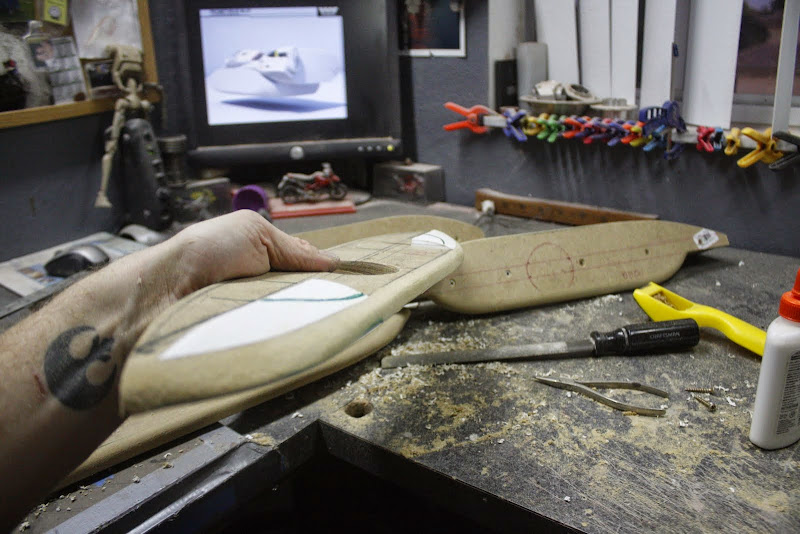
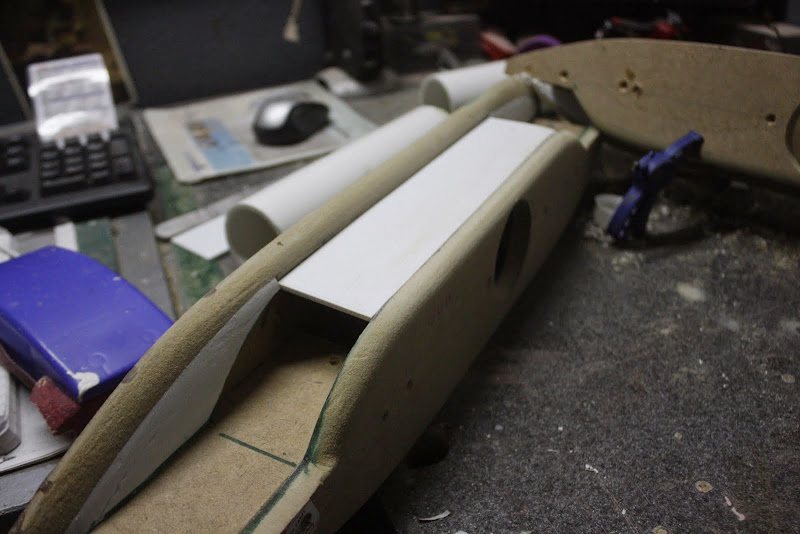
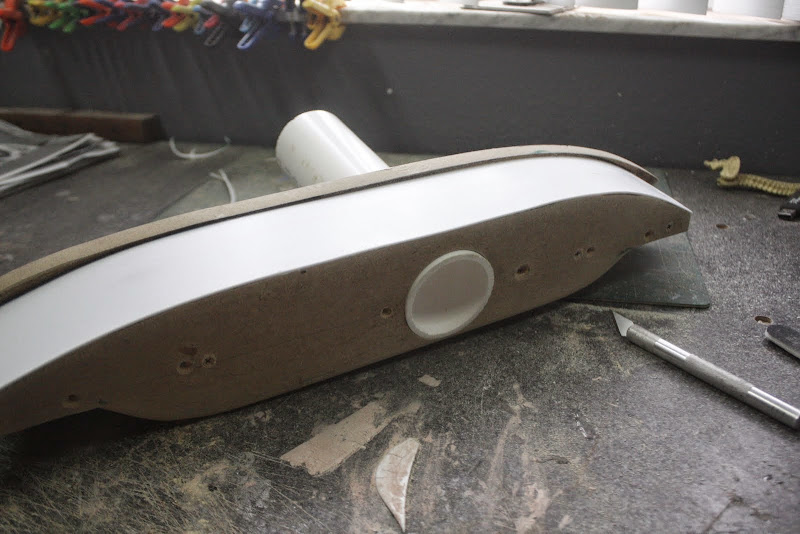
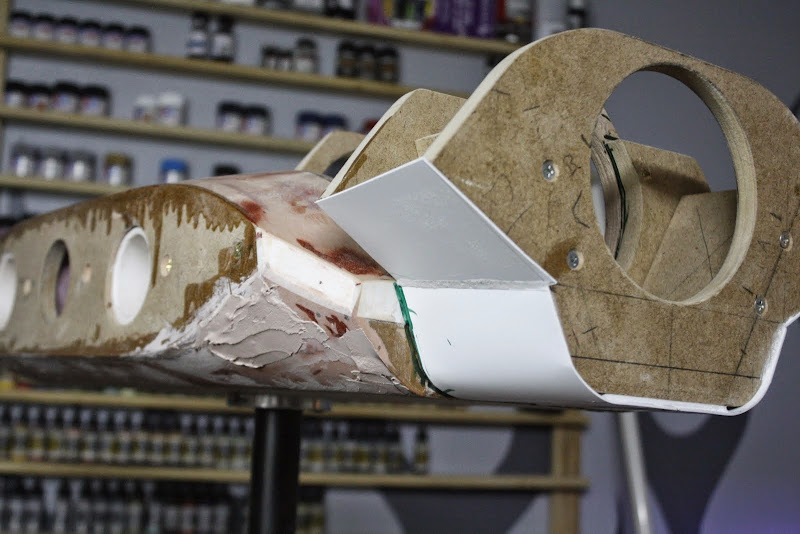
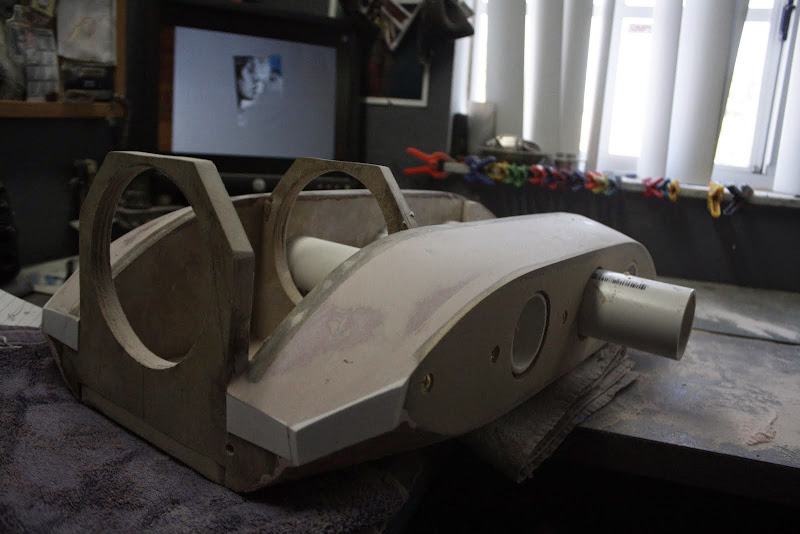
stuff%2520327.jpg


stuff%2520329.jpg


Trimmed,

stuff%2520334.jpg


stuff%2520335.jpg


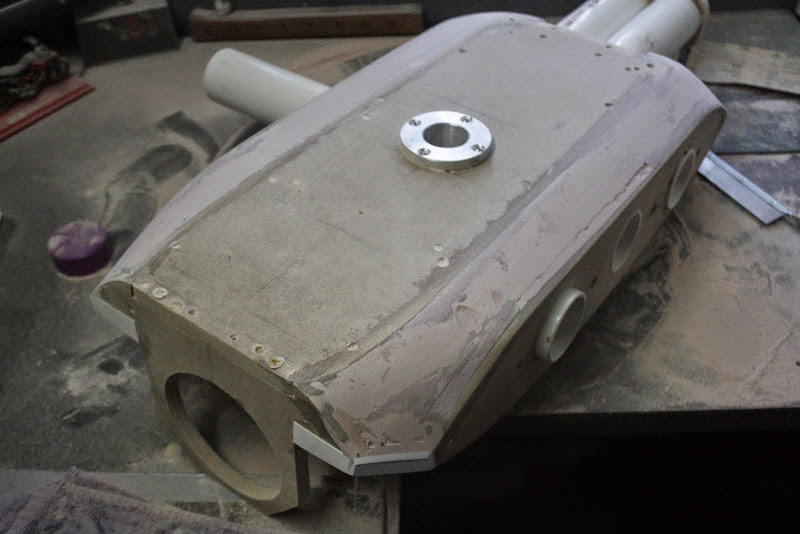
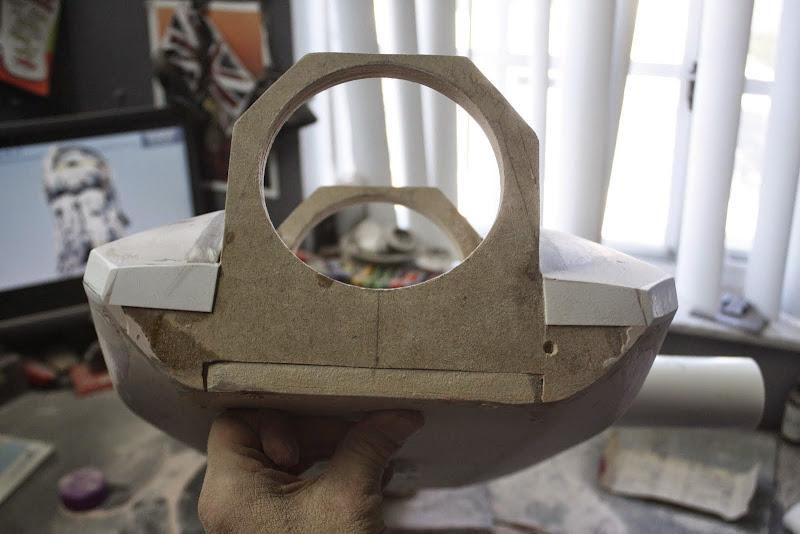
Replaced the underside of the neck piece with 1mm styrene,
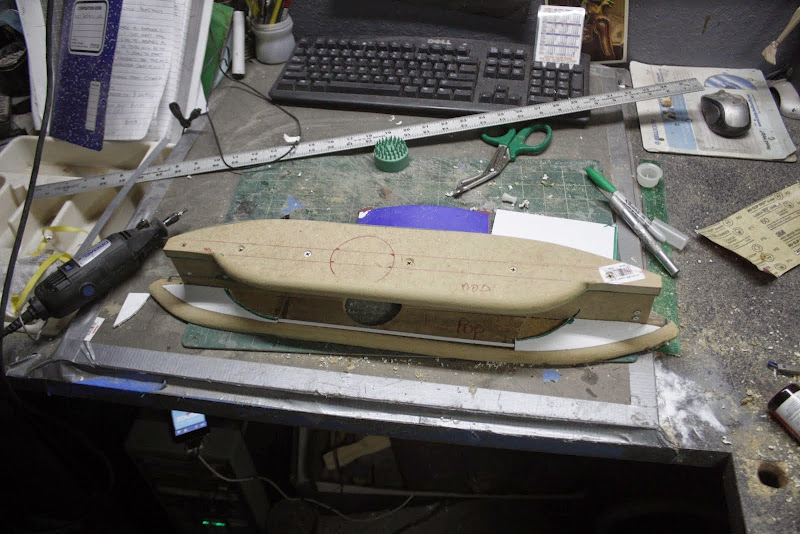
stuff%2520343.jpg


Screwed in place,

stuff%2520345.jpg


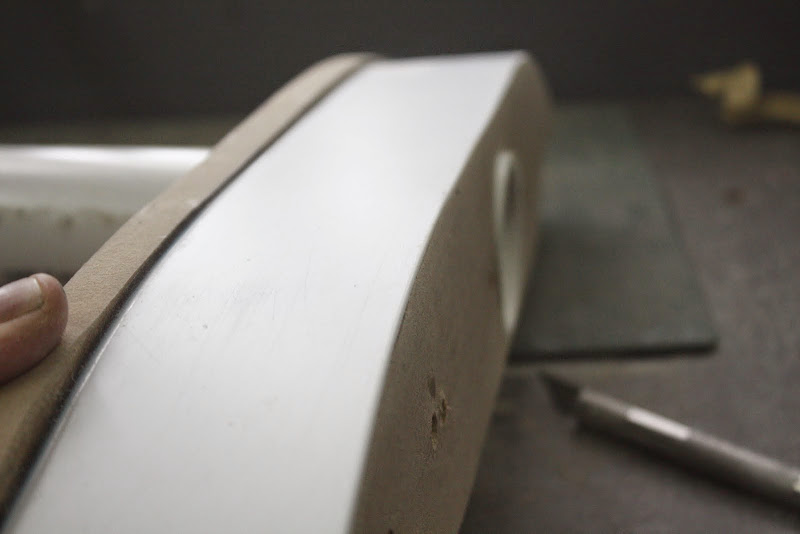
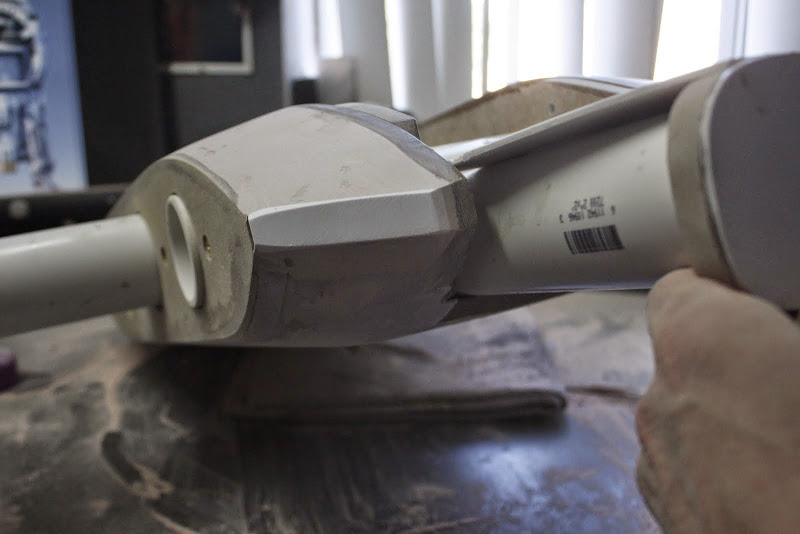
With engine support arms,

stuff%2520347.jpg


stuff%2520351.jpg


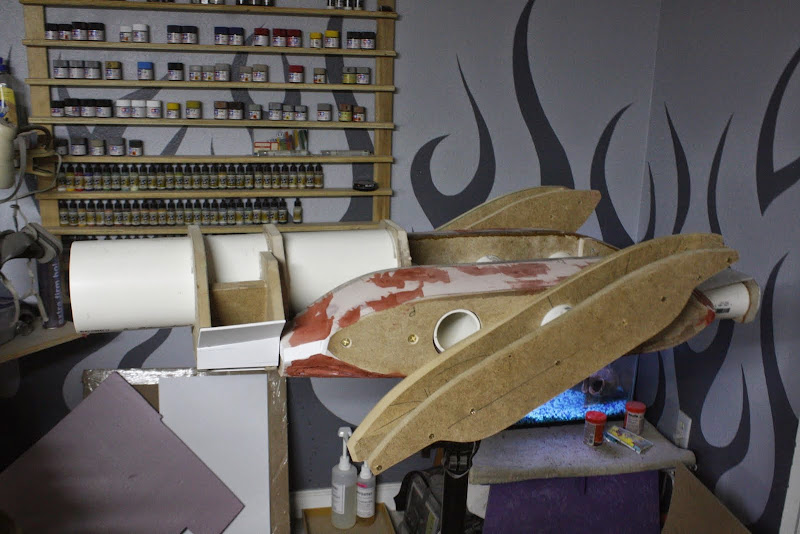
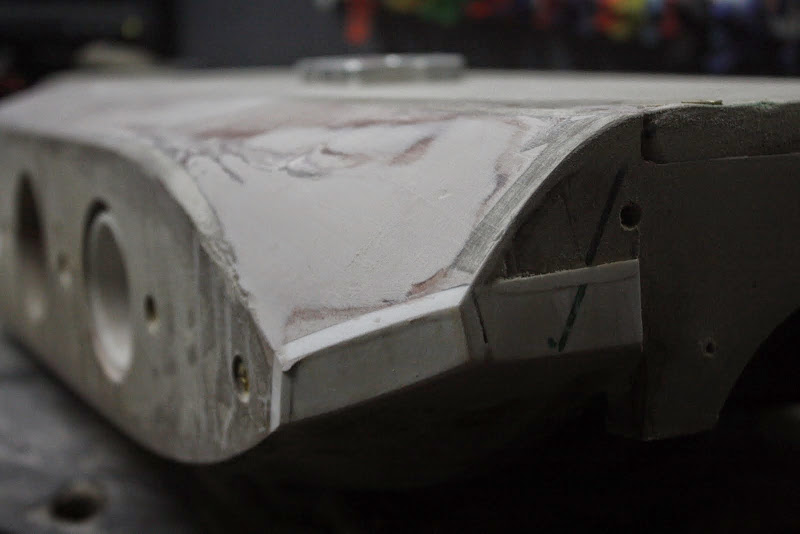
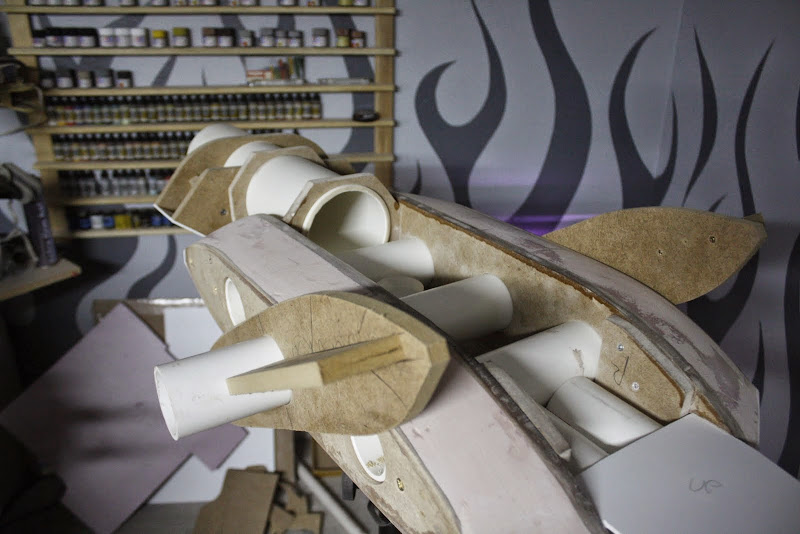
More filling and sanding and filling and sanding........

main%2520body%2520006.jpg


main%2520body%2520009.jpg


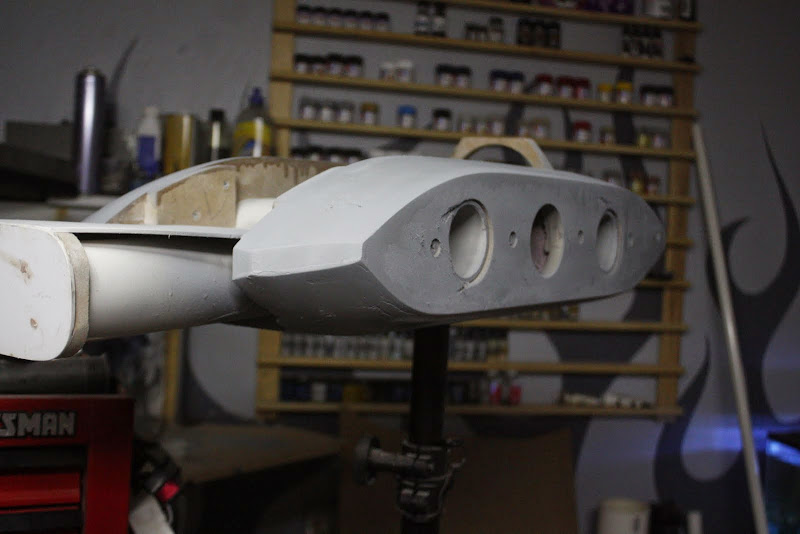
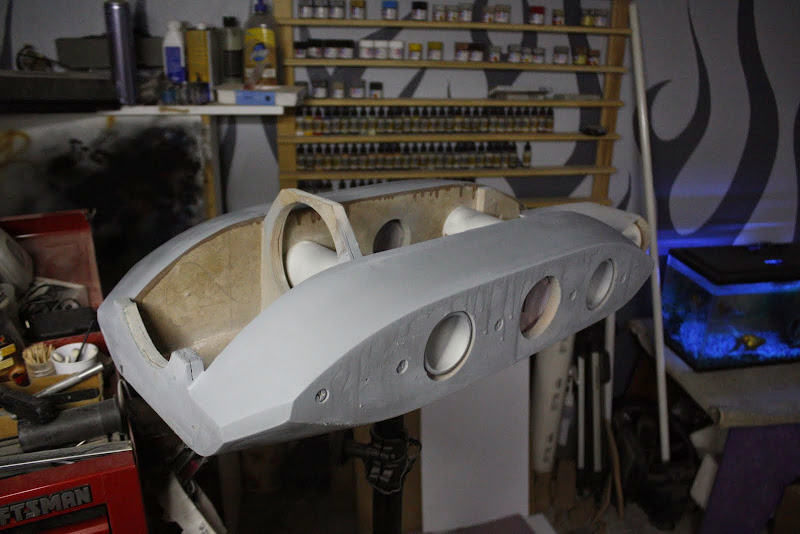
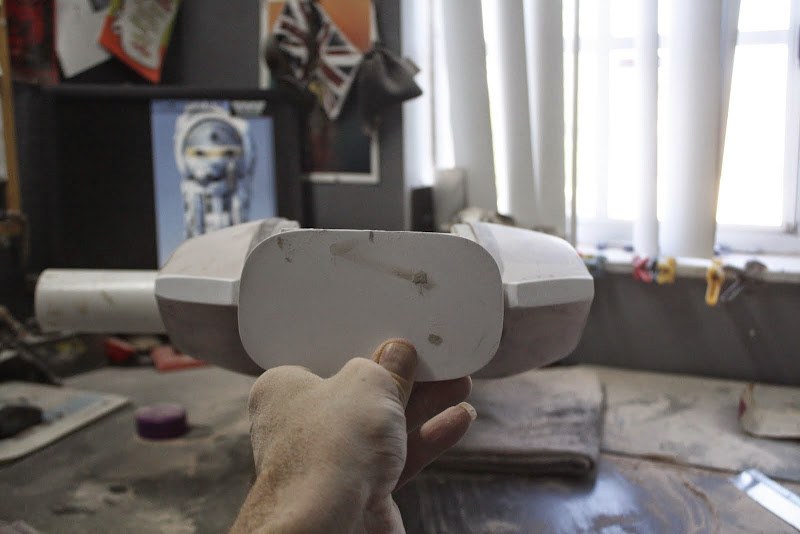
Then, dum dum daaaaa,............Primer

Mmmmmmmmmmmmmmmmmmmmmm Primer


main%2520body%2520012.jpg


main%2520body%2520016.jpg


main%2520body%2520014.jpg


That's all for now
Take care
Gag
 
I can't even imagine the stones one must have to start something like this!
Wow x 100000!
 
This thread is more than 6 years old.

Your message may be considered spam for the following reasons:

  1. This thread hasn't been active in some time. A new post in this thread might not contribute constructively to this discussion after so long.
If you wish to reply despite these issues, check the box below before replying.
Be aware that malicious compliance may result in more severe penalties.
Back
Top