IEDBOUNTYHUNTER
Sr Member
Coming along nicely. Keep the updates coming
Subscribed!
You're doing such a smashing job, keep it up!
P.S. I have a copy of "Art of Prometheus" it's yours if you want it, just PM me your address (call it a pay it forward/ Christmas gift)
Just wanted to give a MASSIVE shout out to BrandoMack for this incredibly Generous offer.
I received the book just before Christmas and have been studying it ever since, there are some great shots in the book. When i get to the cockpit details and other details i will be able to get lots of the information i need from the book.
Thank you so much my friend
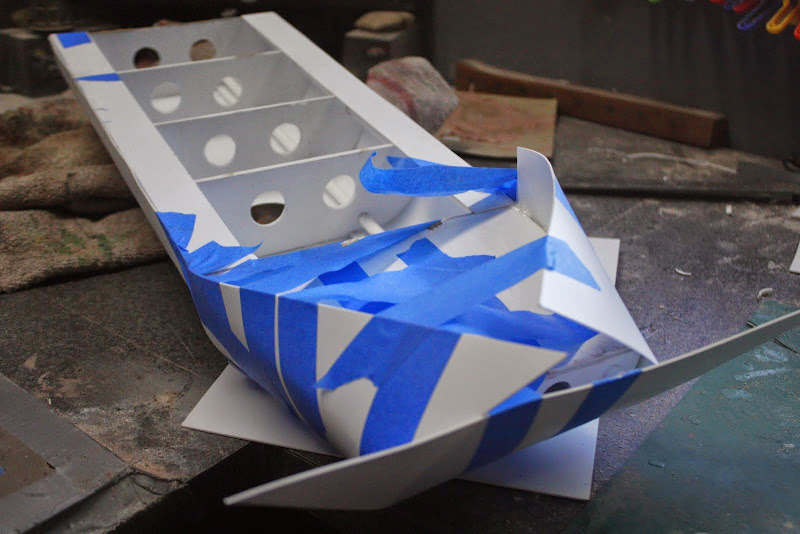
Toe
(Gag)


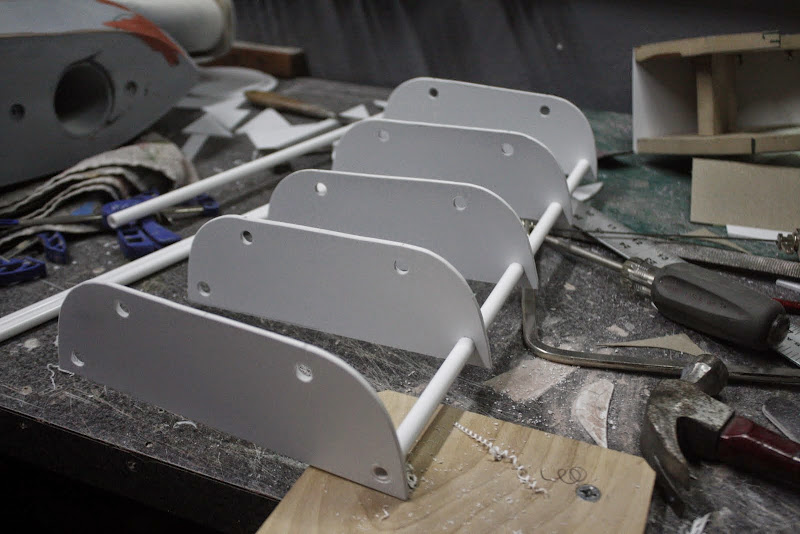


Toe,
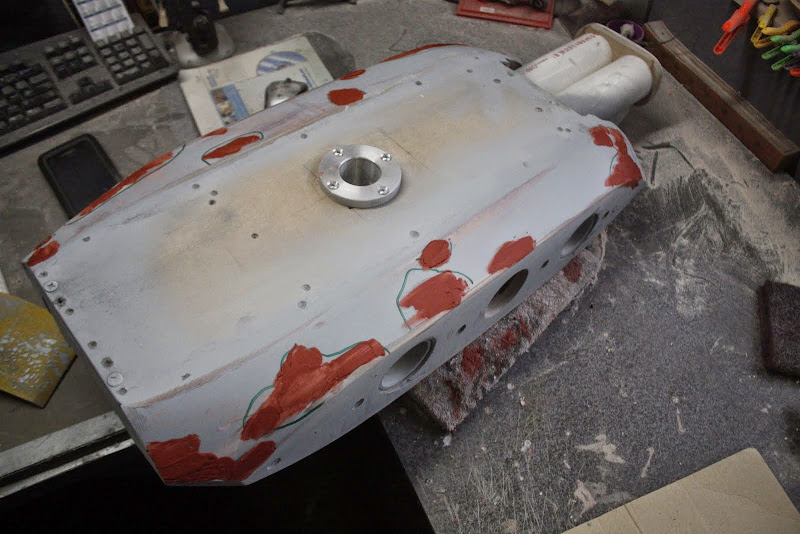
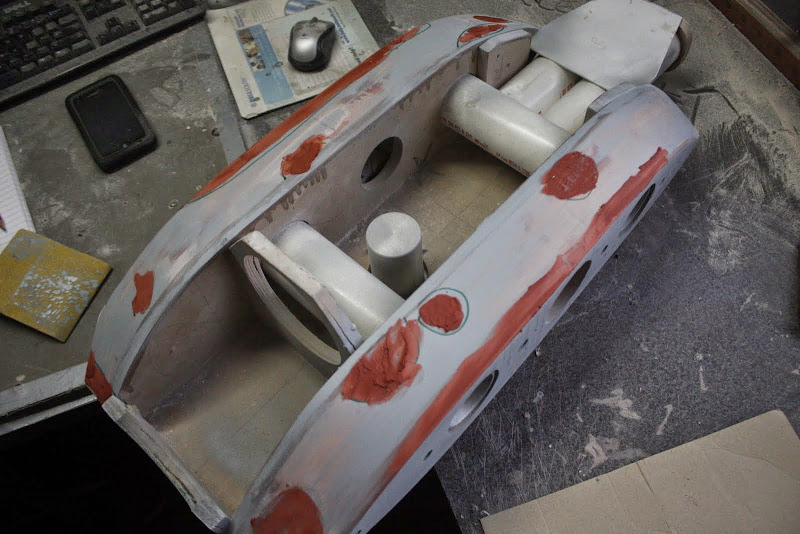
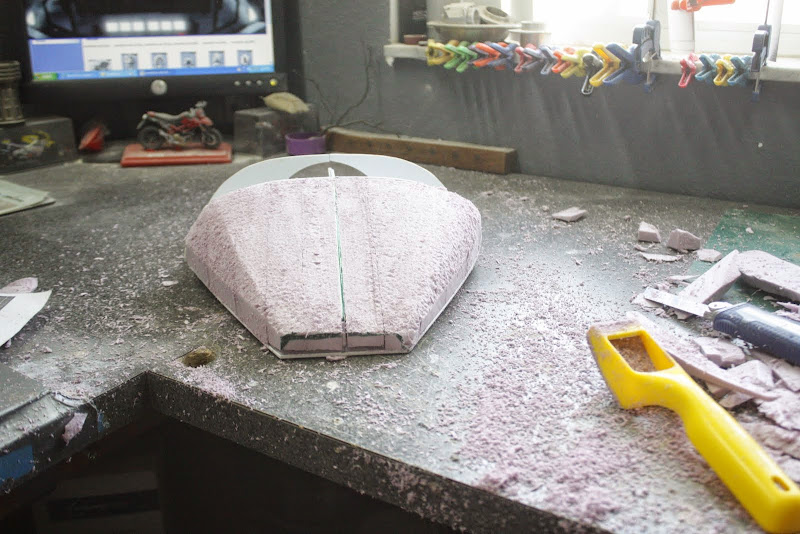
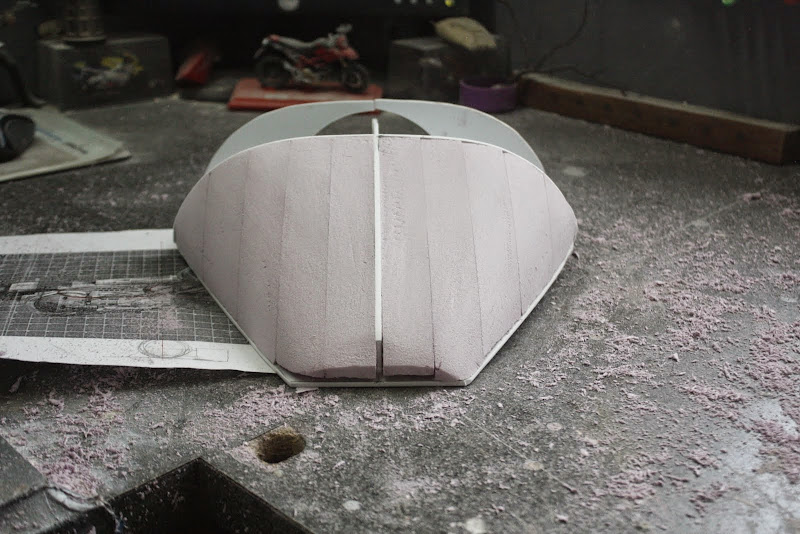
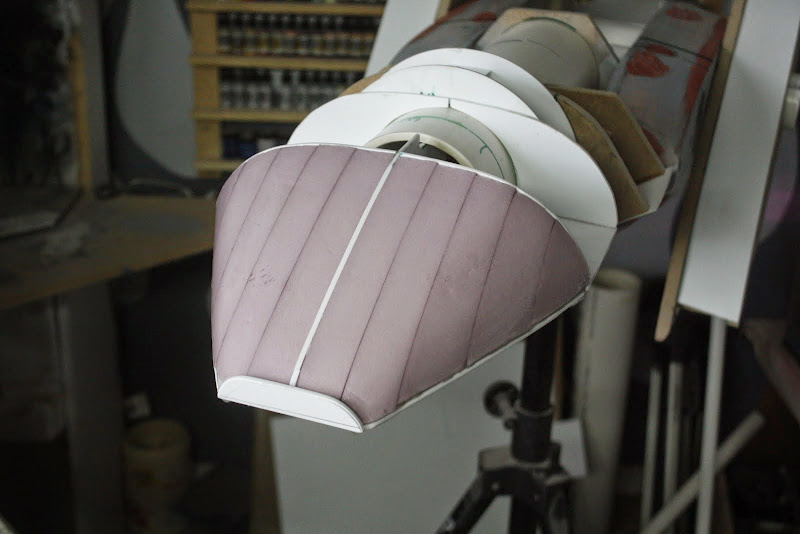
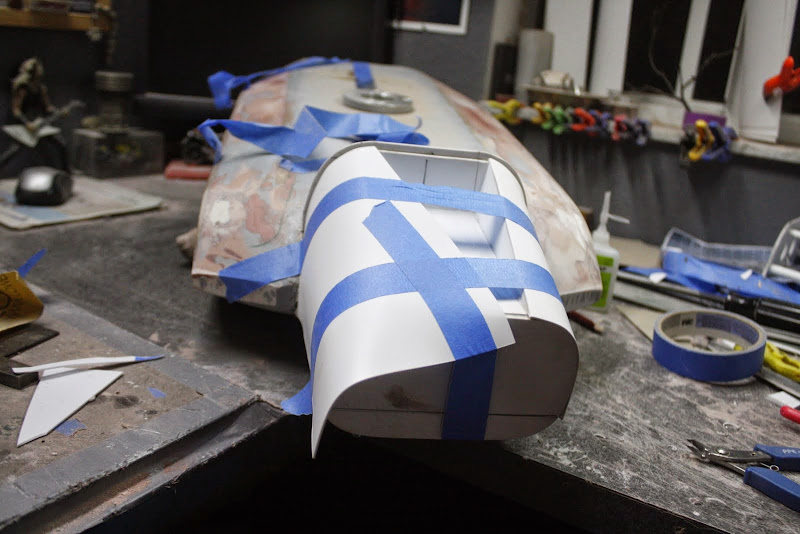
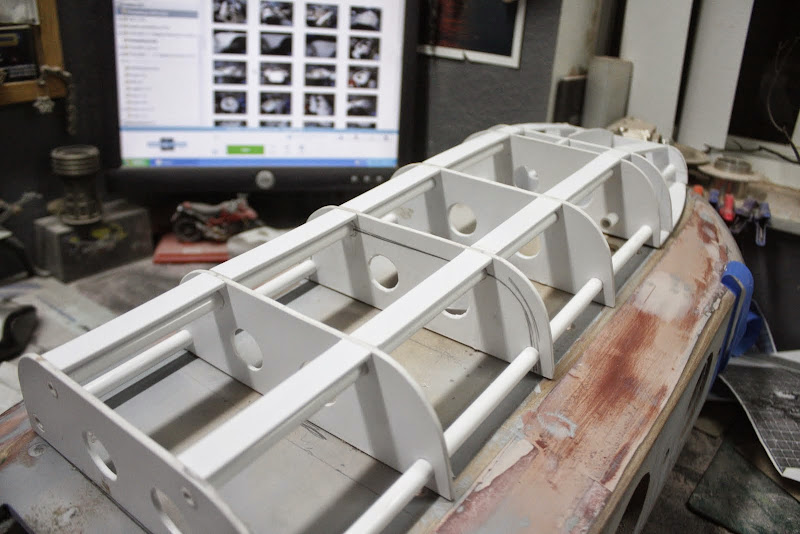
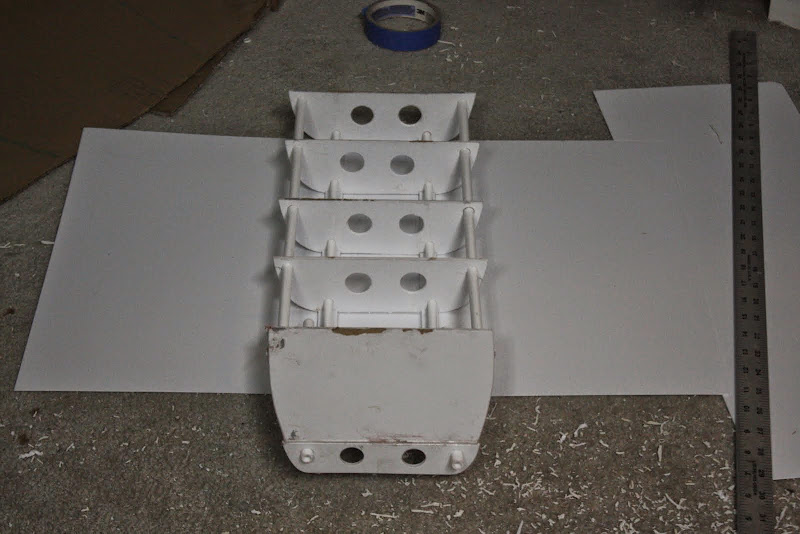
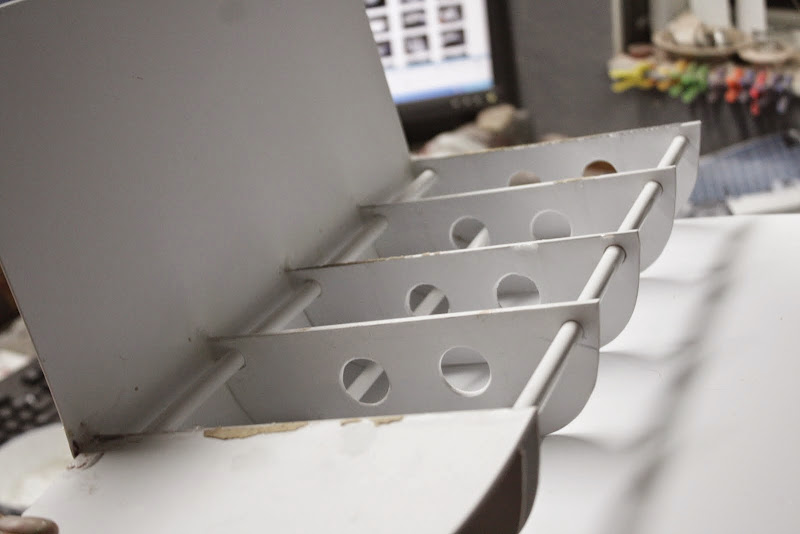
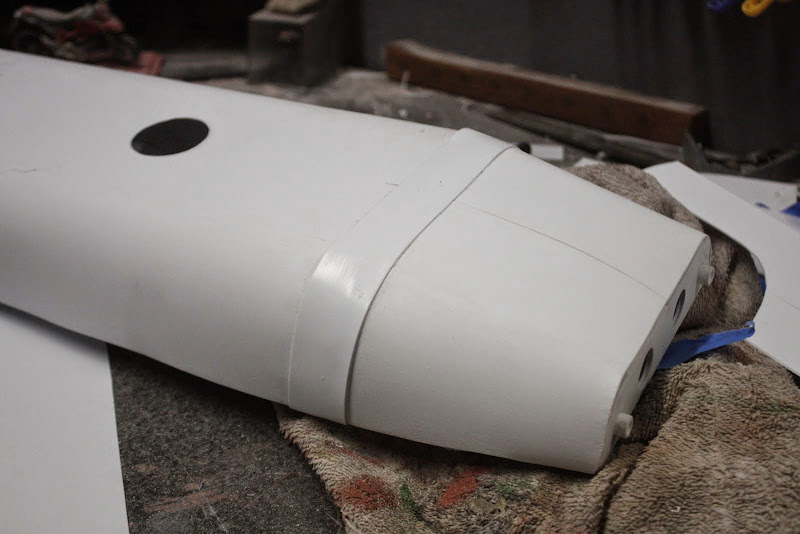
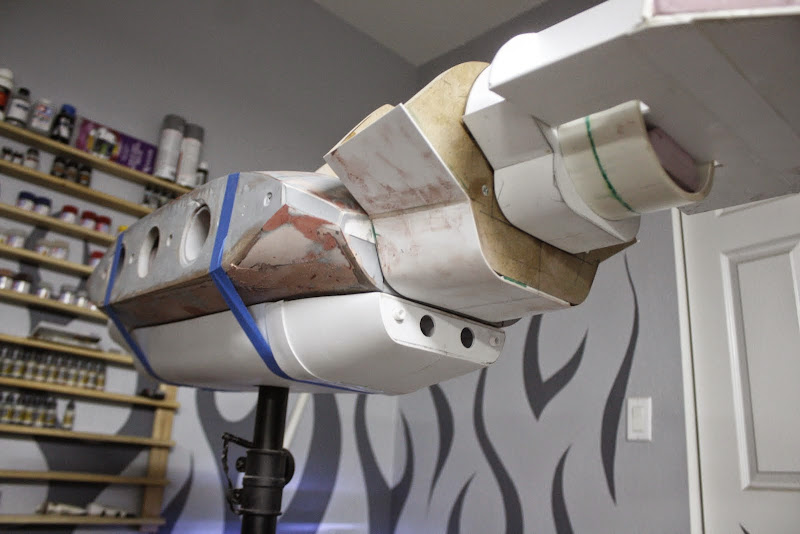
Nice. Your getting the hang of it now. I can see a big difference with your bondo. From when you first started. Great job.
Al
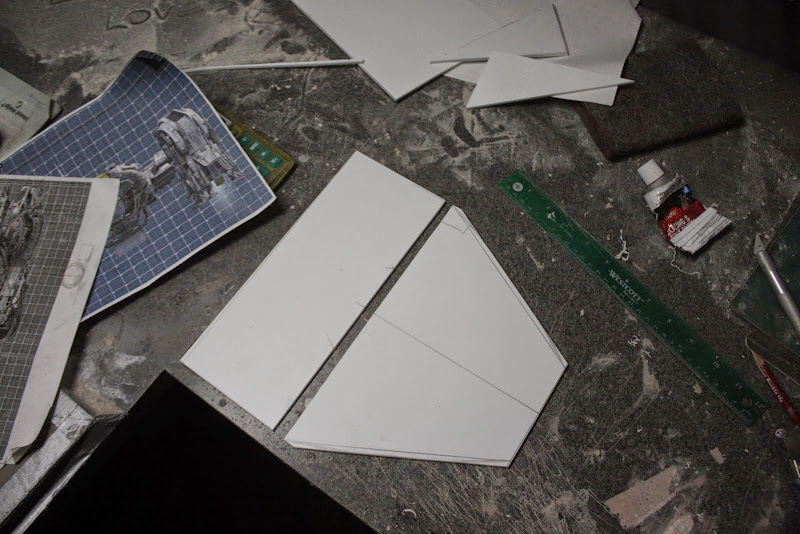
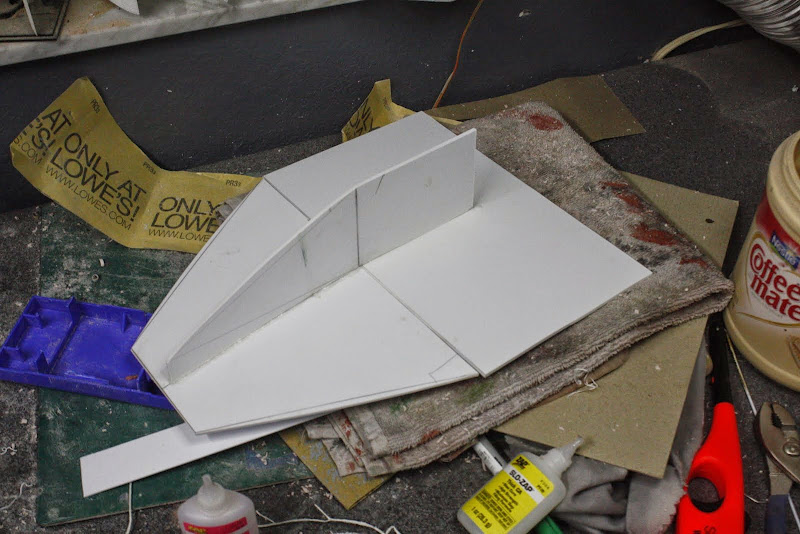
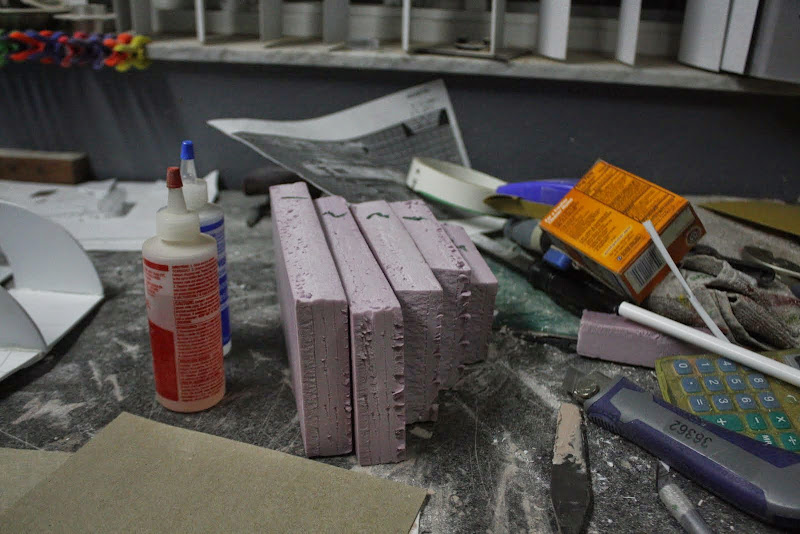
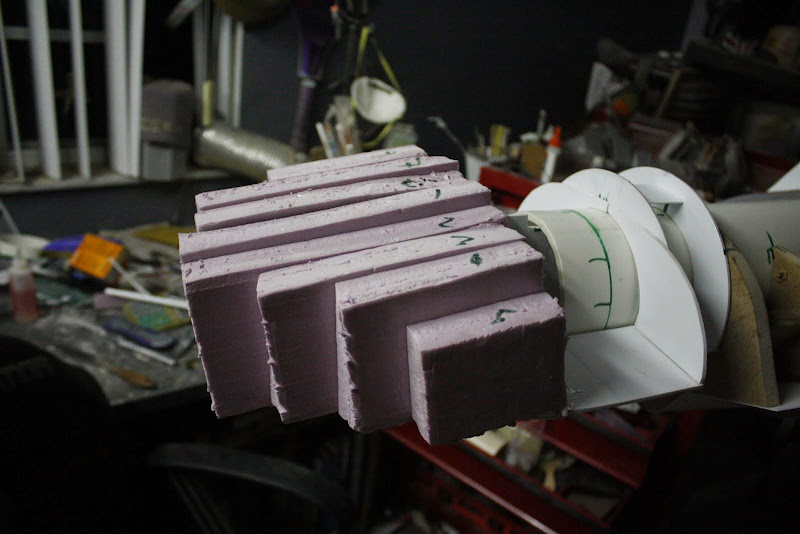
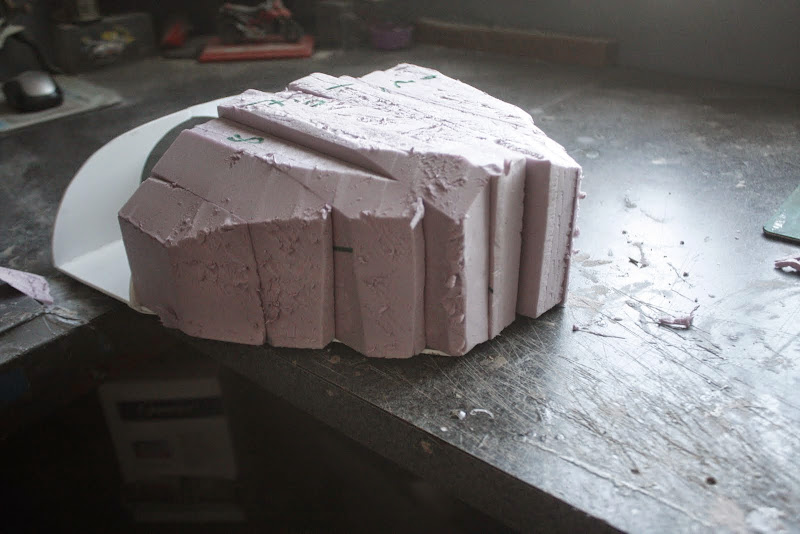
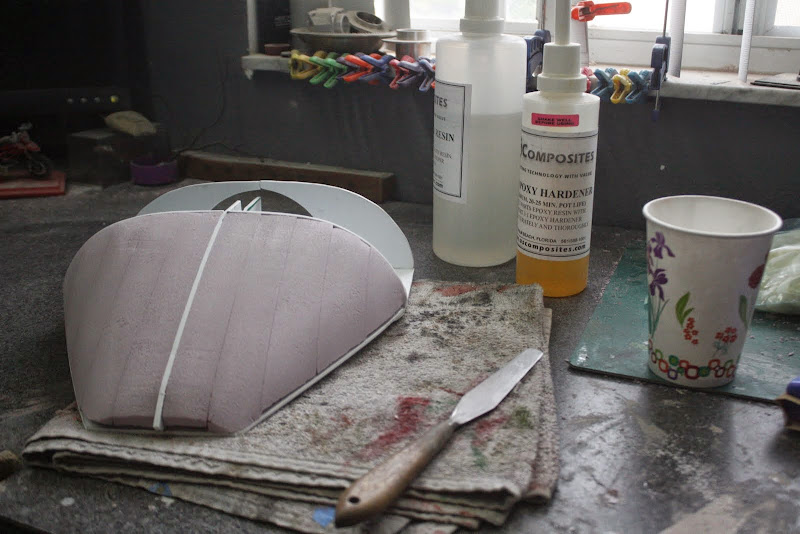
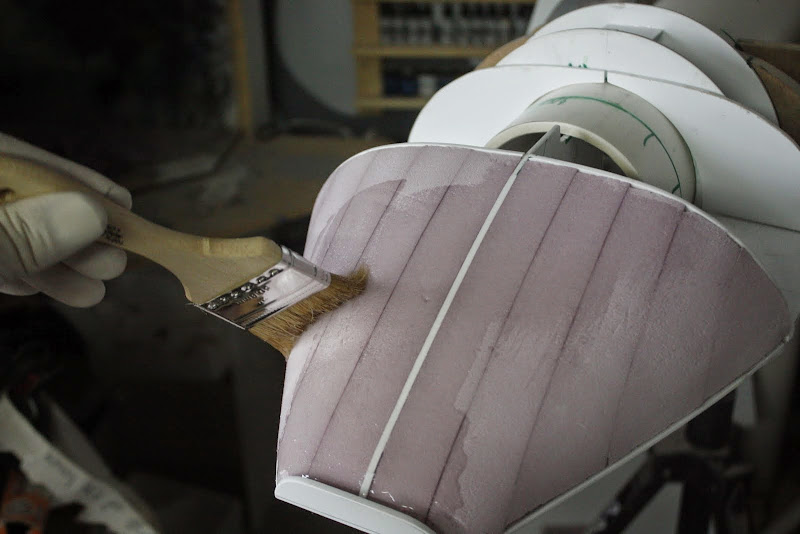
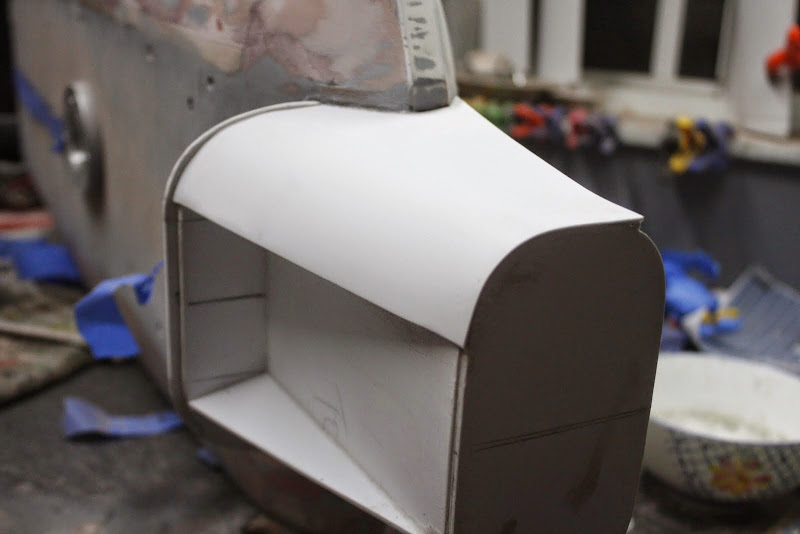
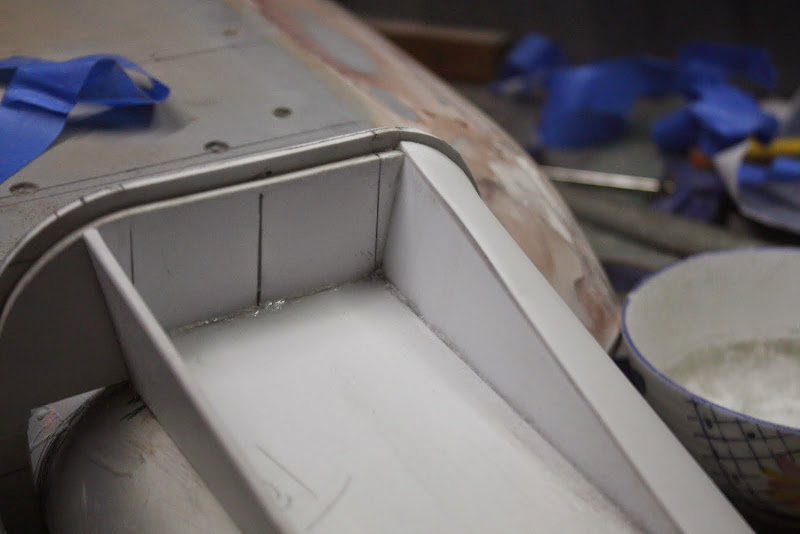
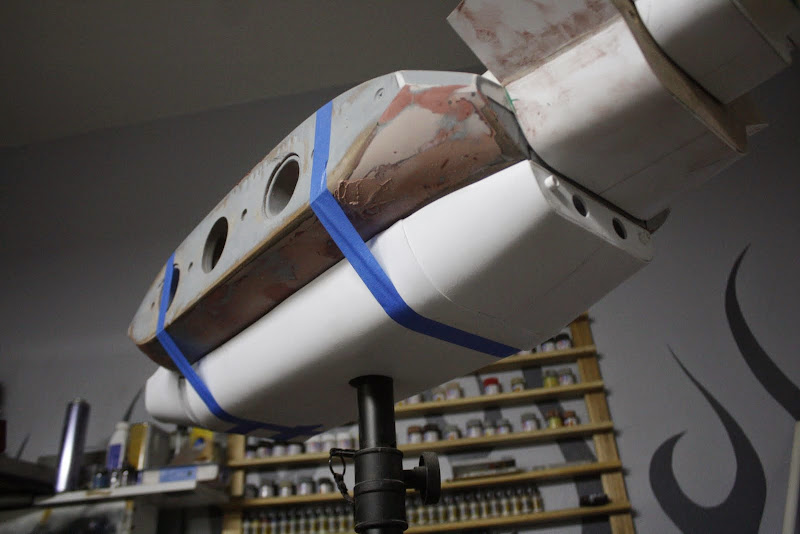
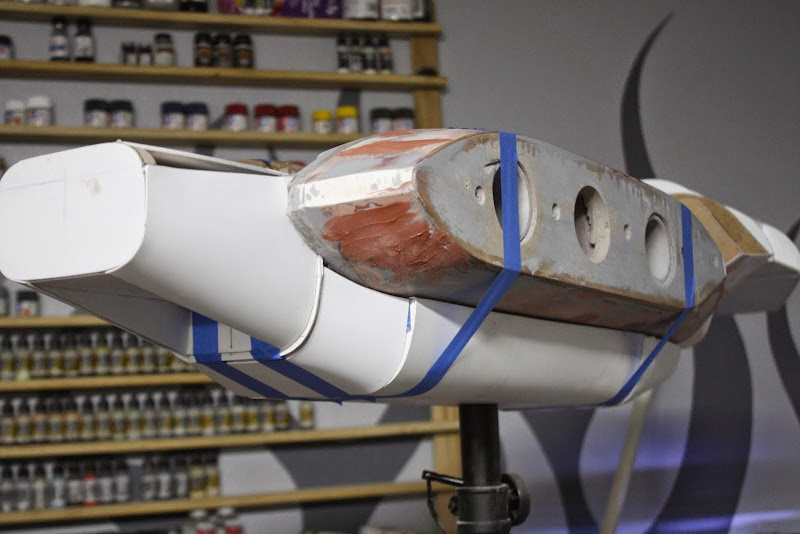
Great work. I love your technique with the pink foam. Remind me what you're sealing it with?
--Alex
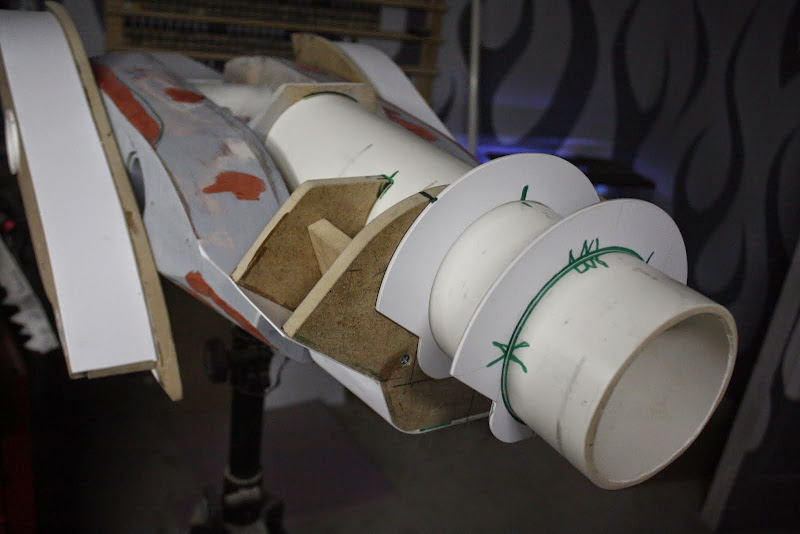
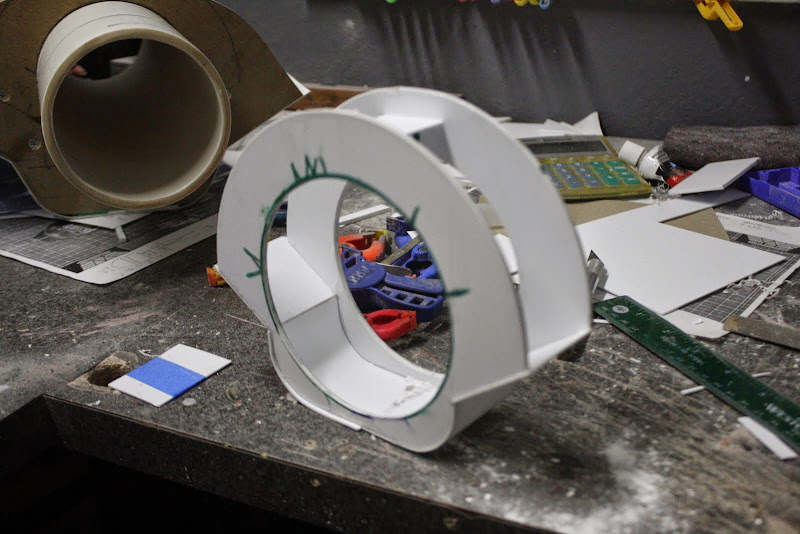
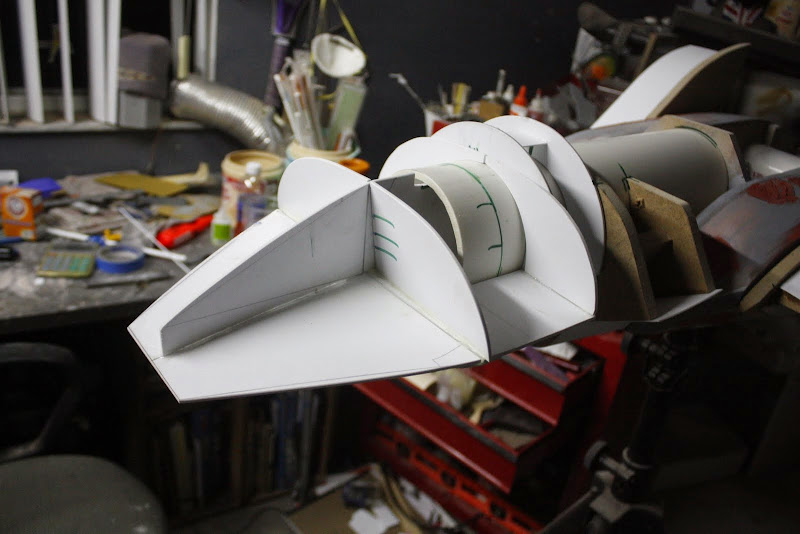
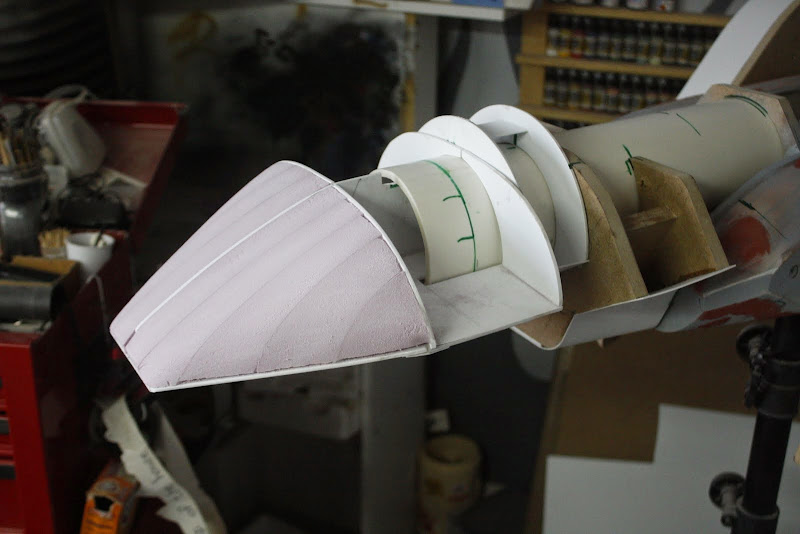
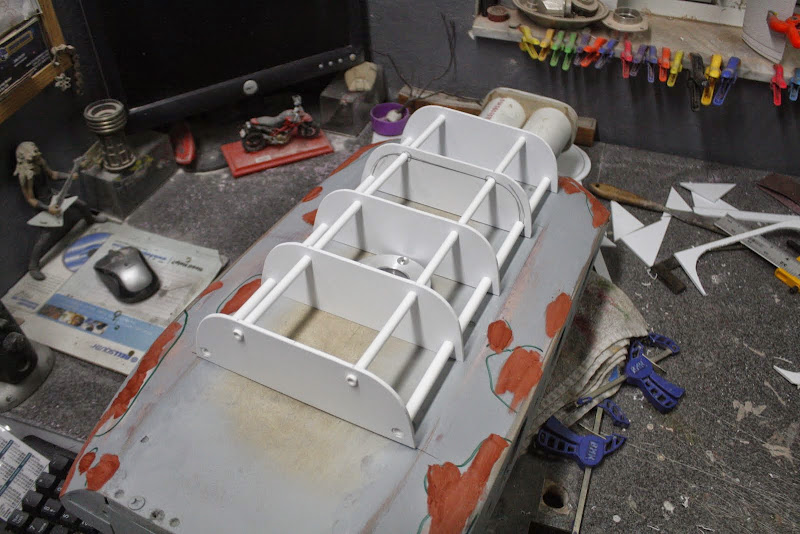
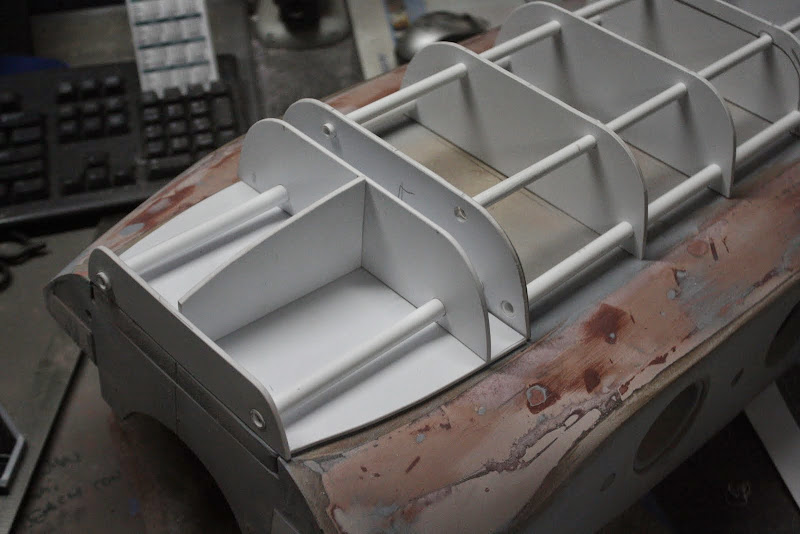
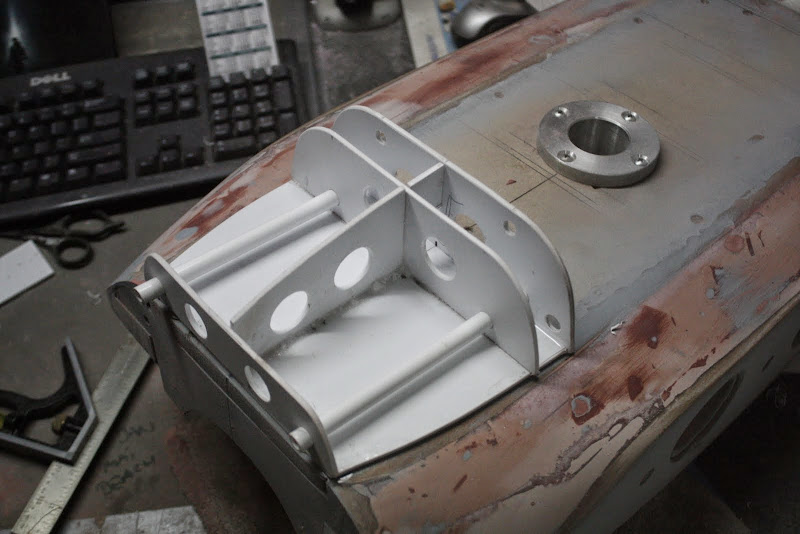
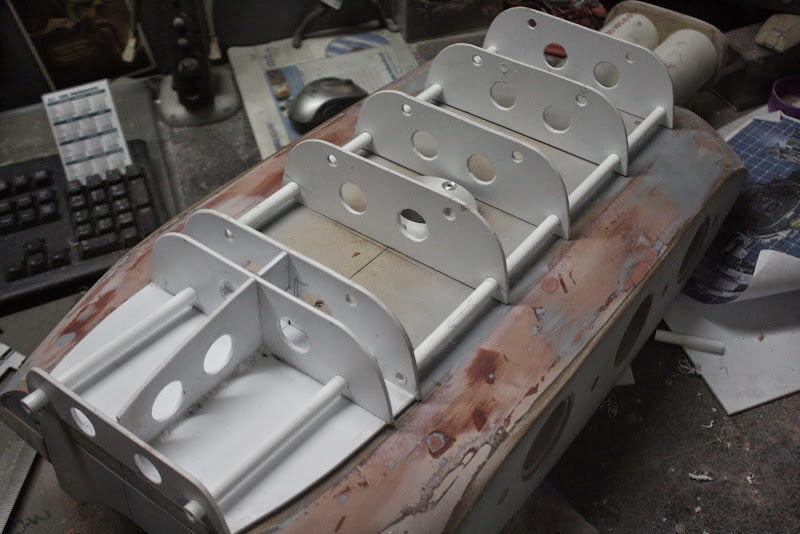
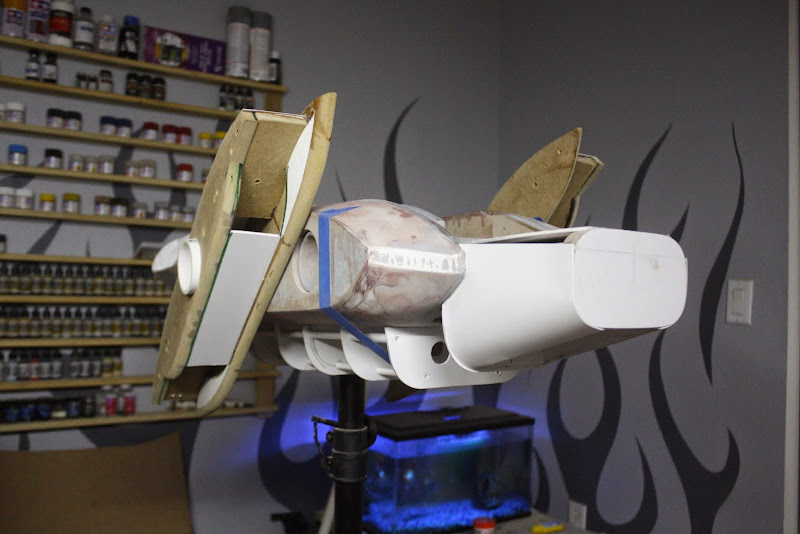
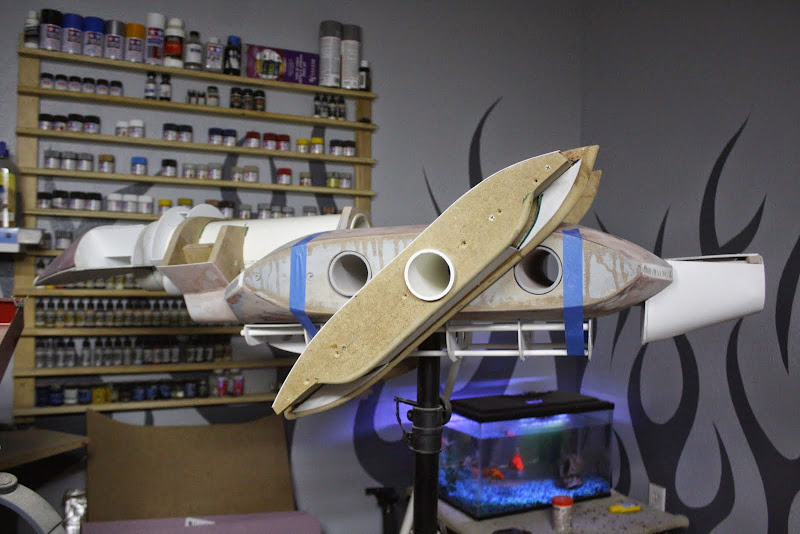
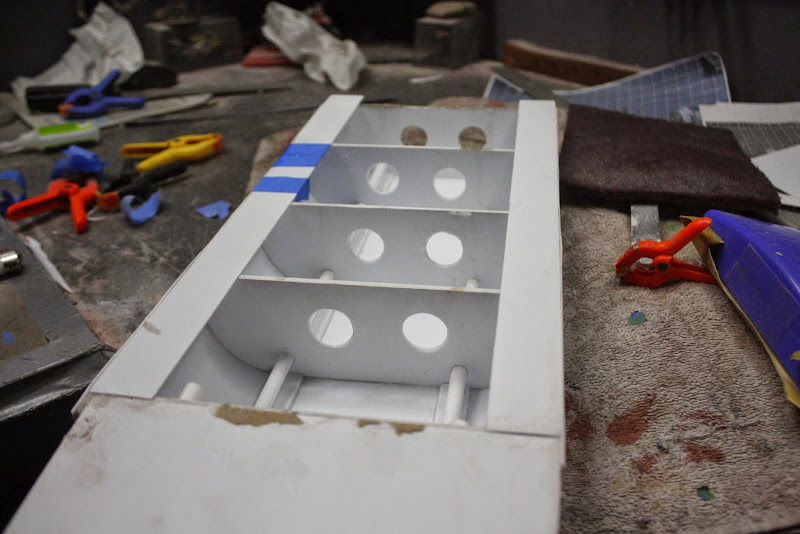
I see why you have such a heavy stand, this thing is going to be a beast to move around once it's done.


") ...
...