ScaleModelTech
New Member
Looking really good!
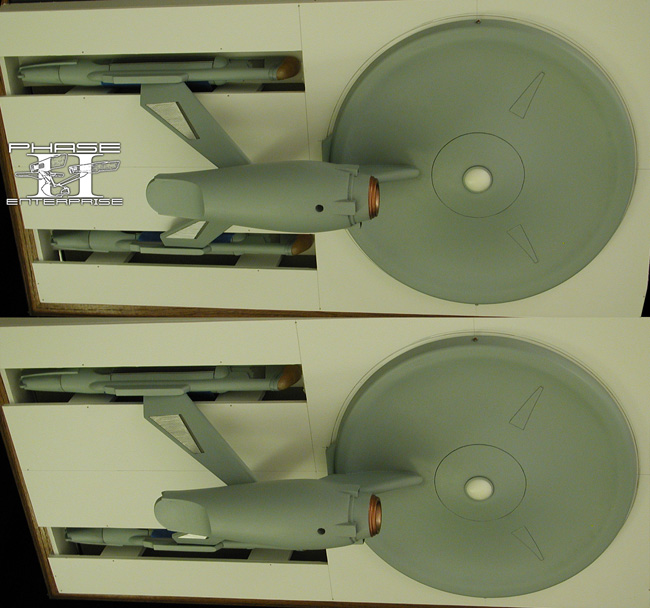

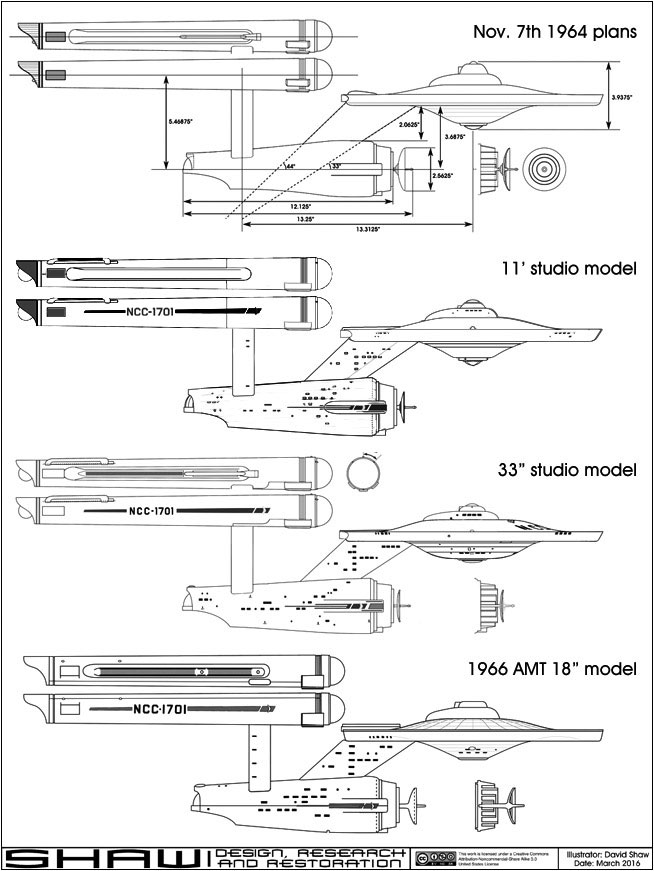
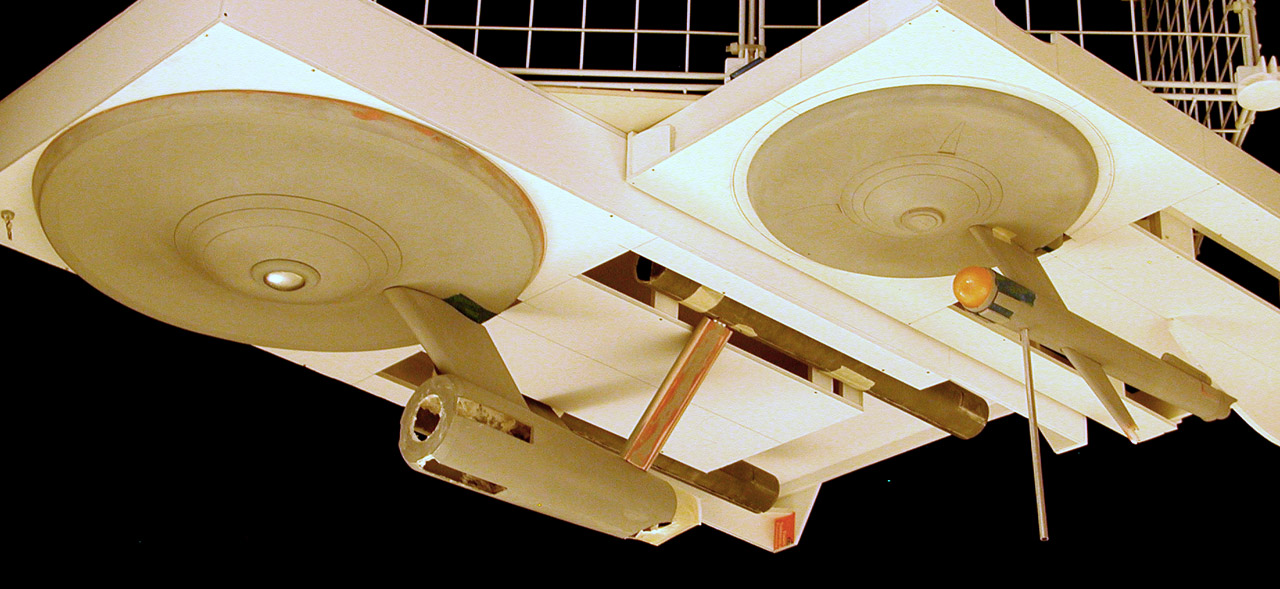
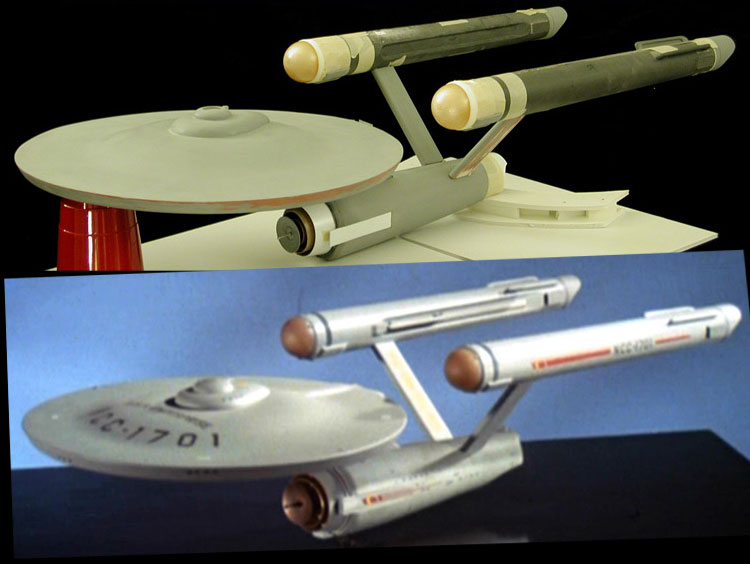
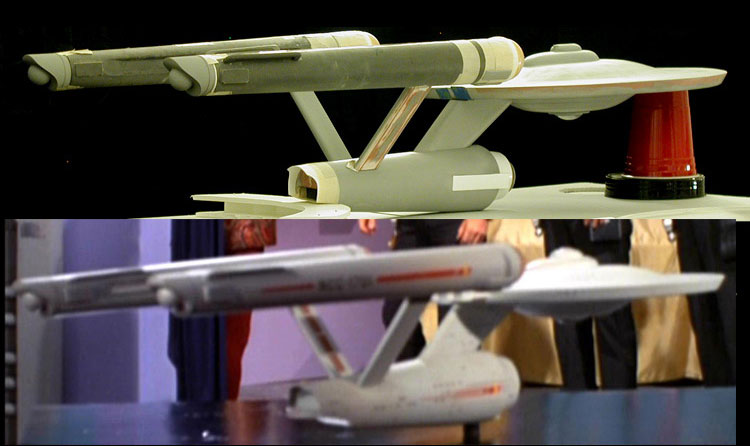
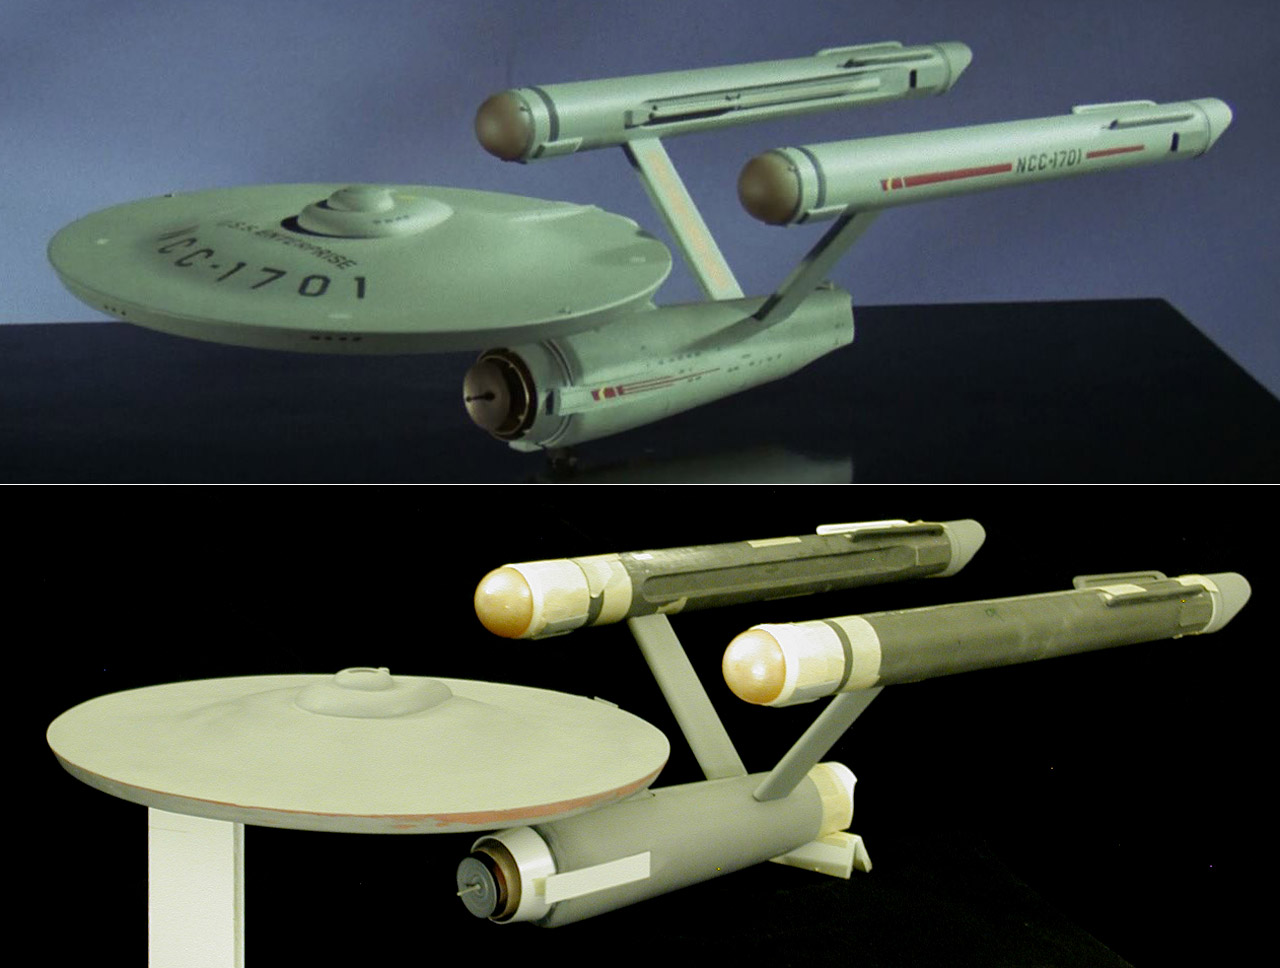
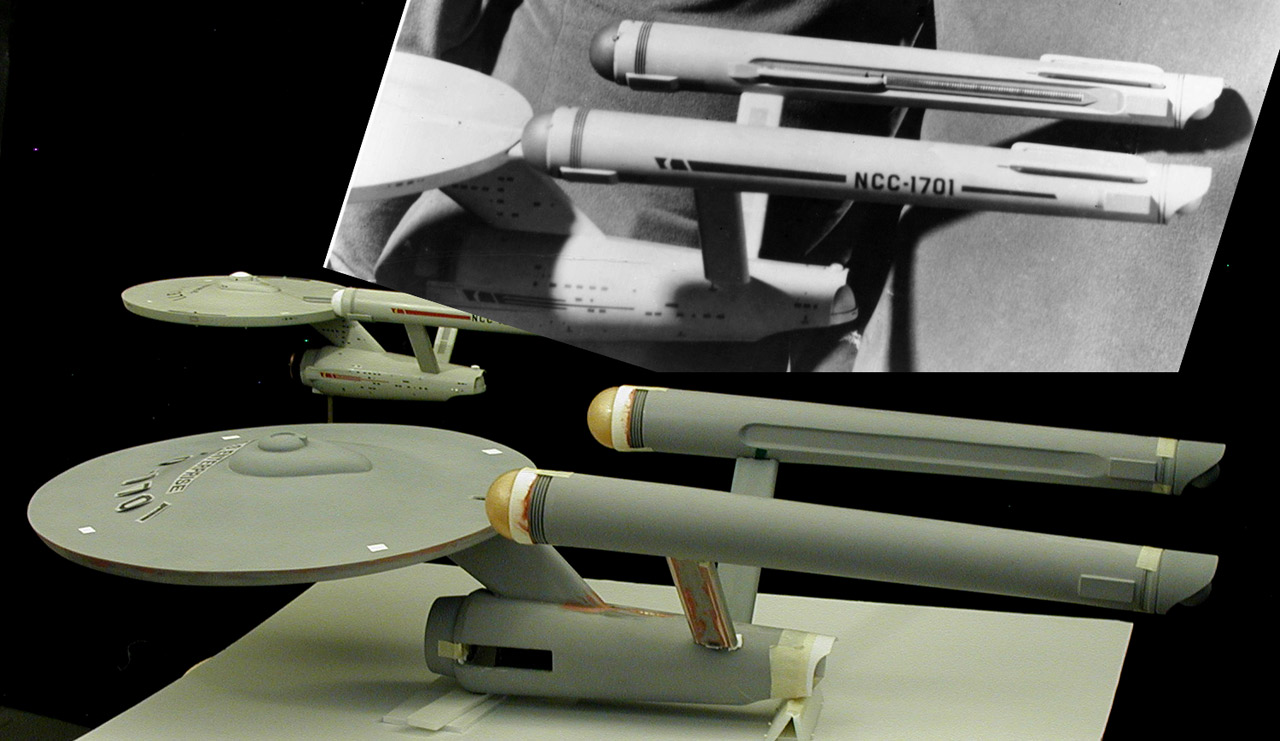
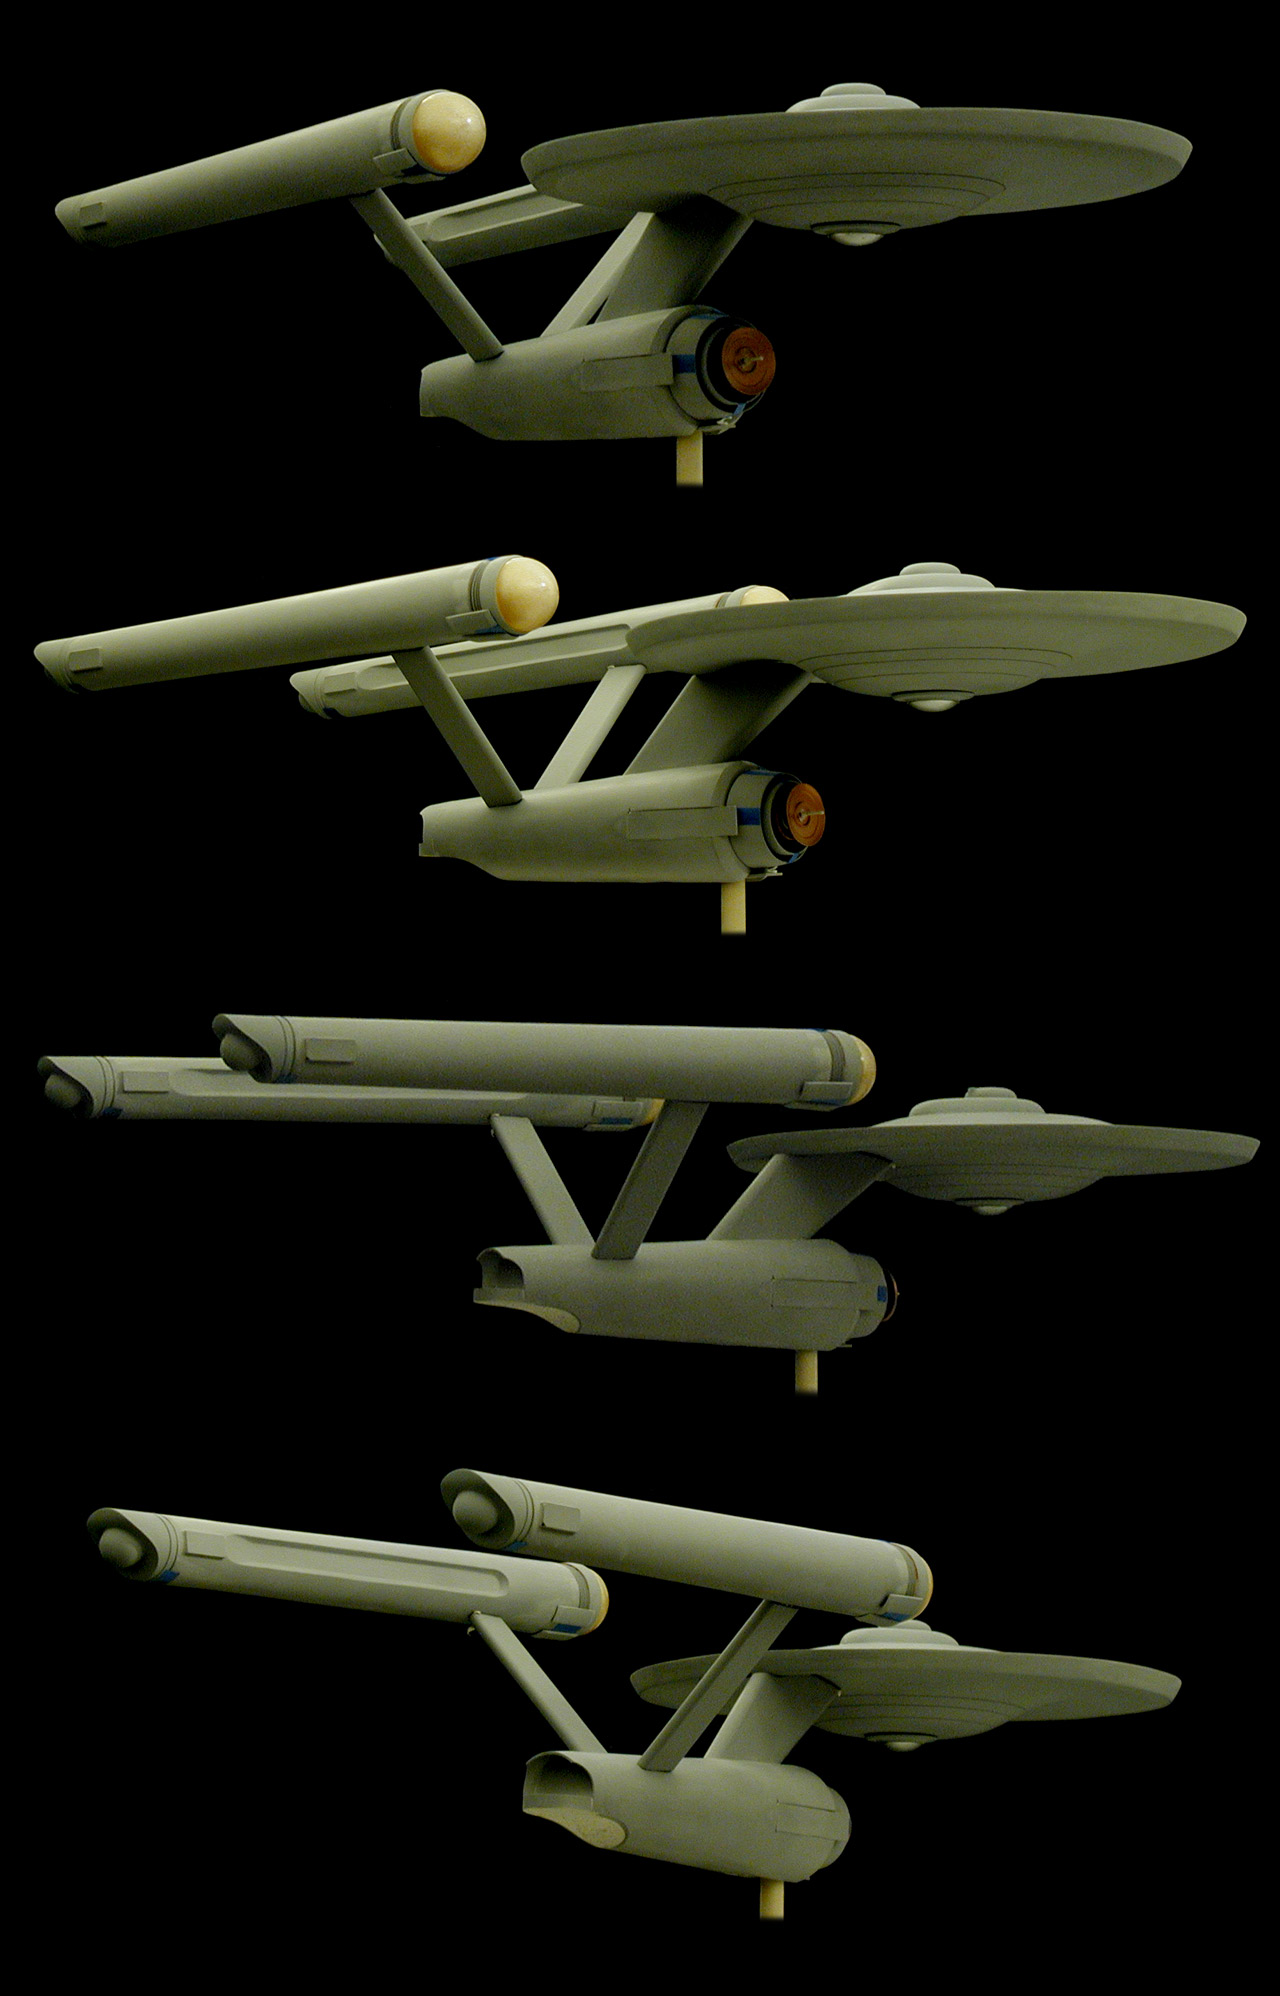
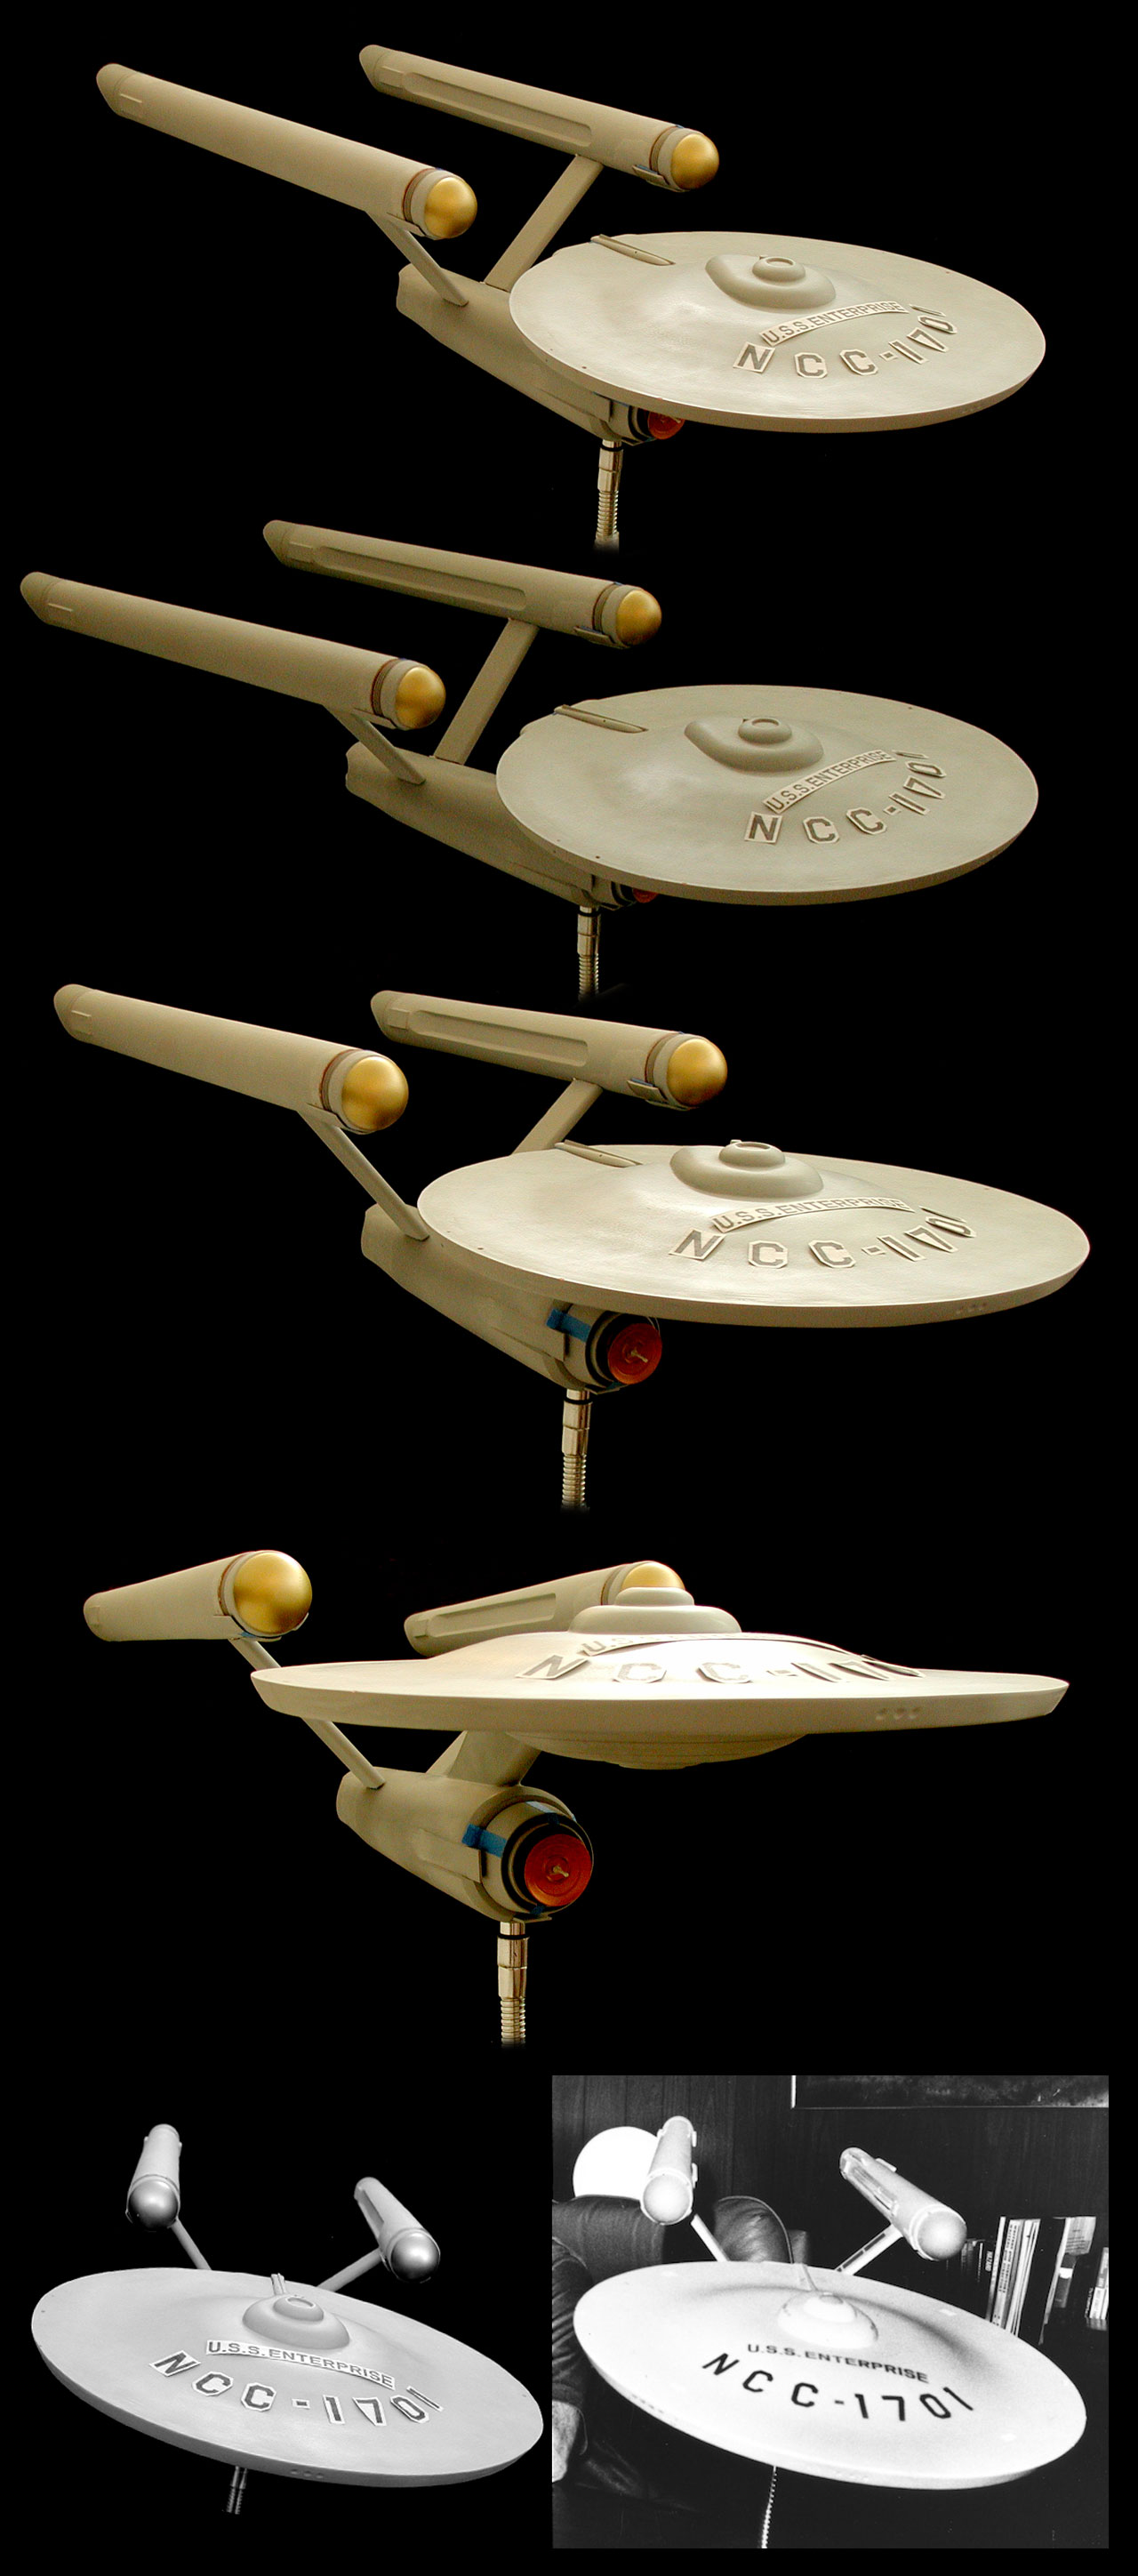
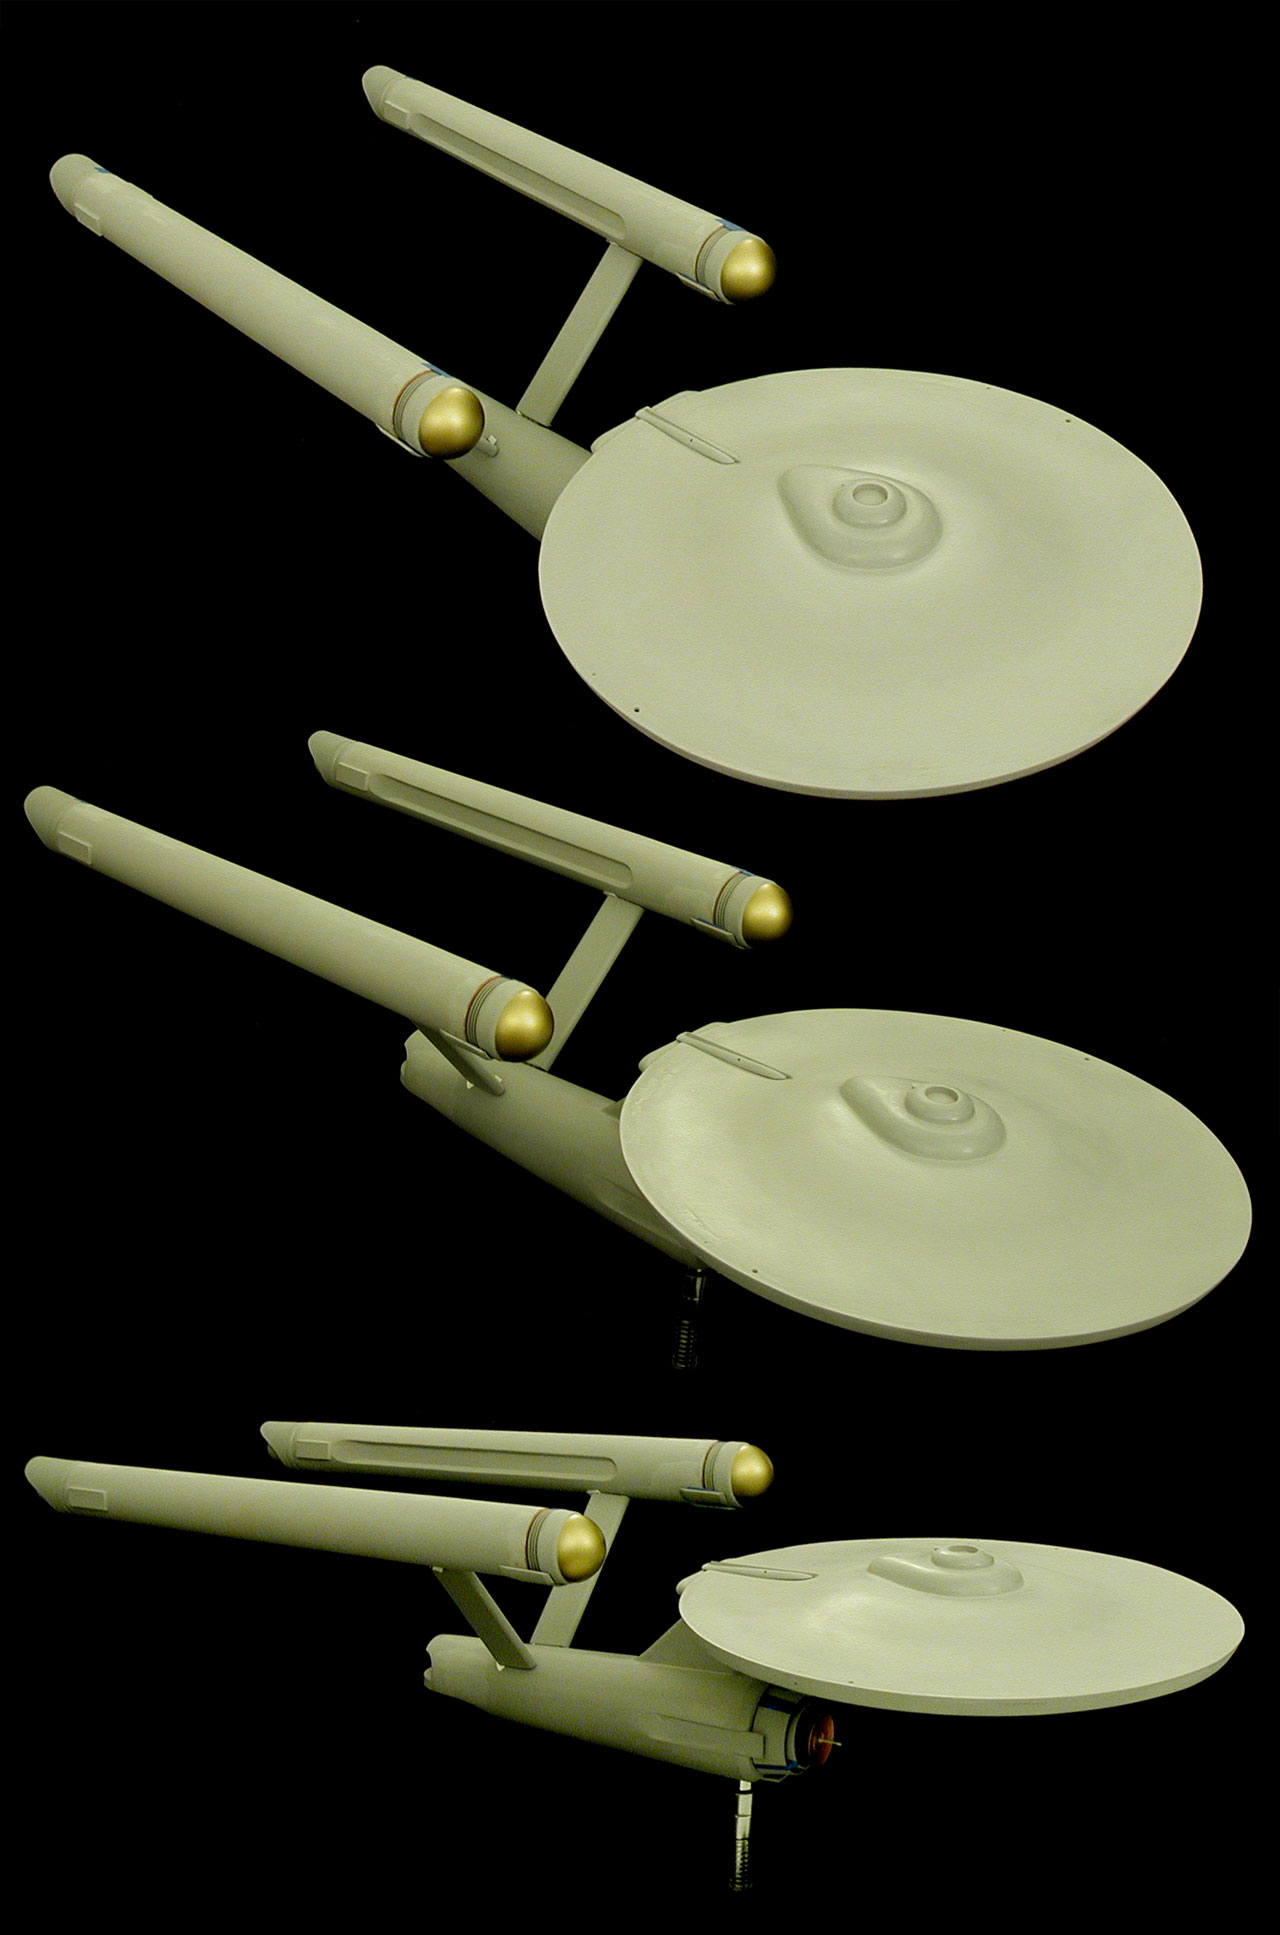
Well, for the 33 inch model, I think Datin started on turning the secondary hull before he got the November plans. For the 11 foot model, it might have been that the October contours were just easier considering how it was made. By the time the 11 foot model was started, it was already way behind schedule.I wonder why it was they never decided to pursue the curvier look.
Well, for the 33 inch model, I think Datin started on turning the secondary hull before he got the November plans. For the 11 foot model, it might have been that the October contours were just easier considering how it was made. By the time the 11 foot model was started, it was already way behind schedule.
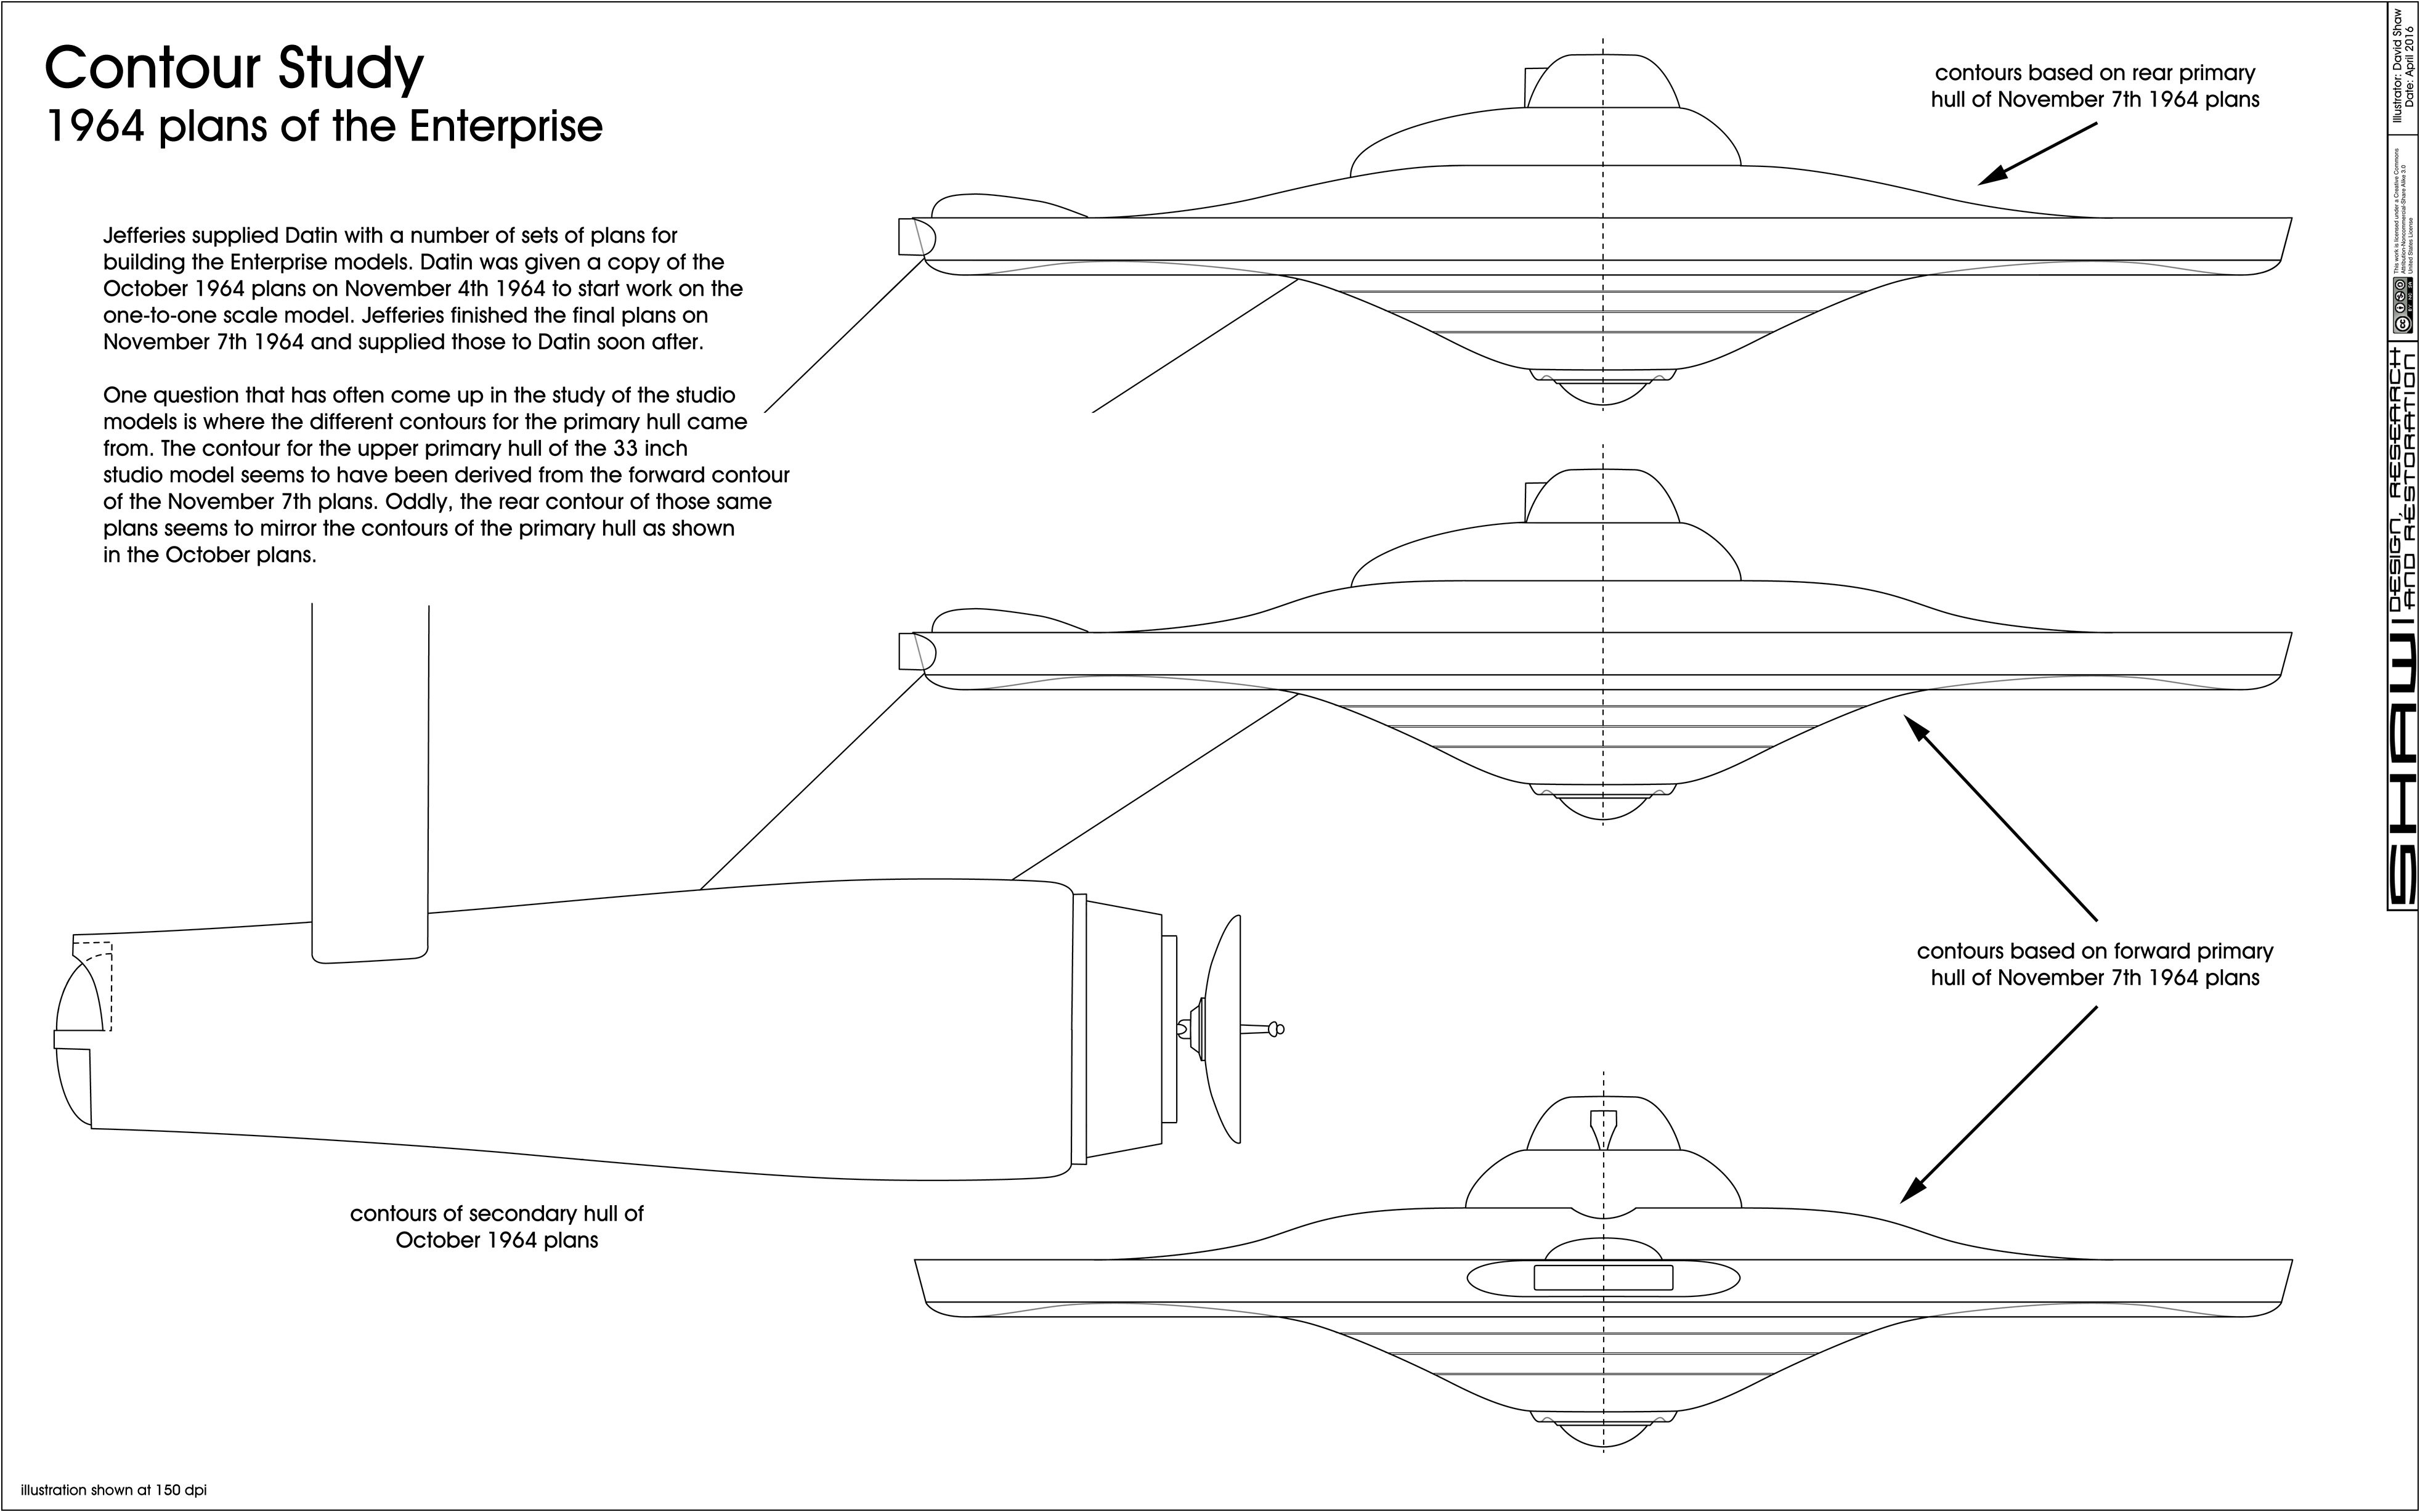
But for Jefferies (where the Enterprise was more a mental construct) he continued to push a more curvaceous secondary hull with each successive drawing of the Enterprise. The curves are more pronounced on his 1966 writers' guide diagrams than on the November 1964 plans, and his Phase II Enterprise diagrams and plans from 1977 are even more curvy.
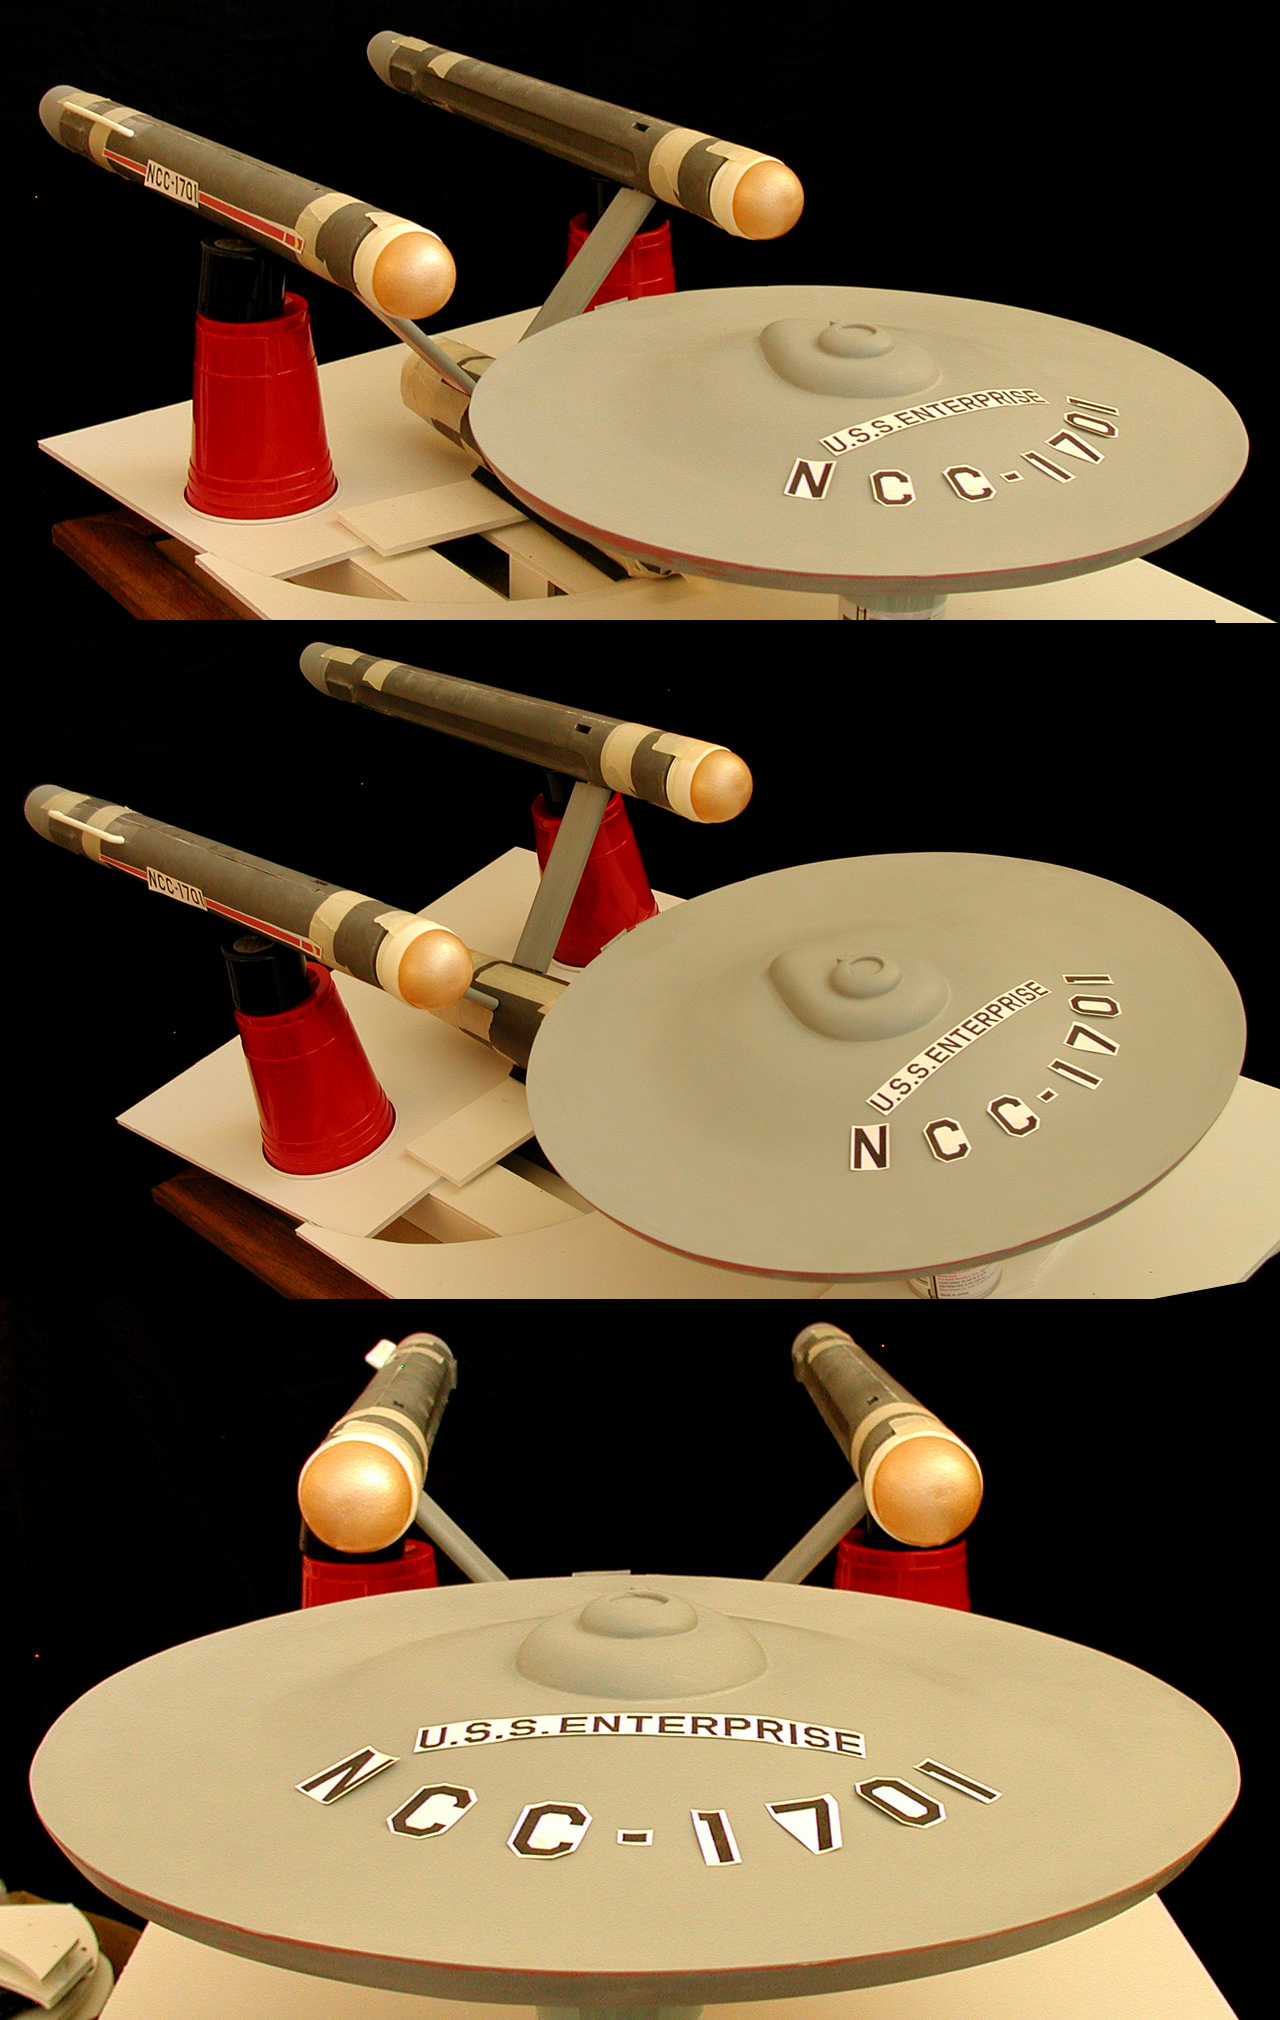
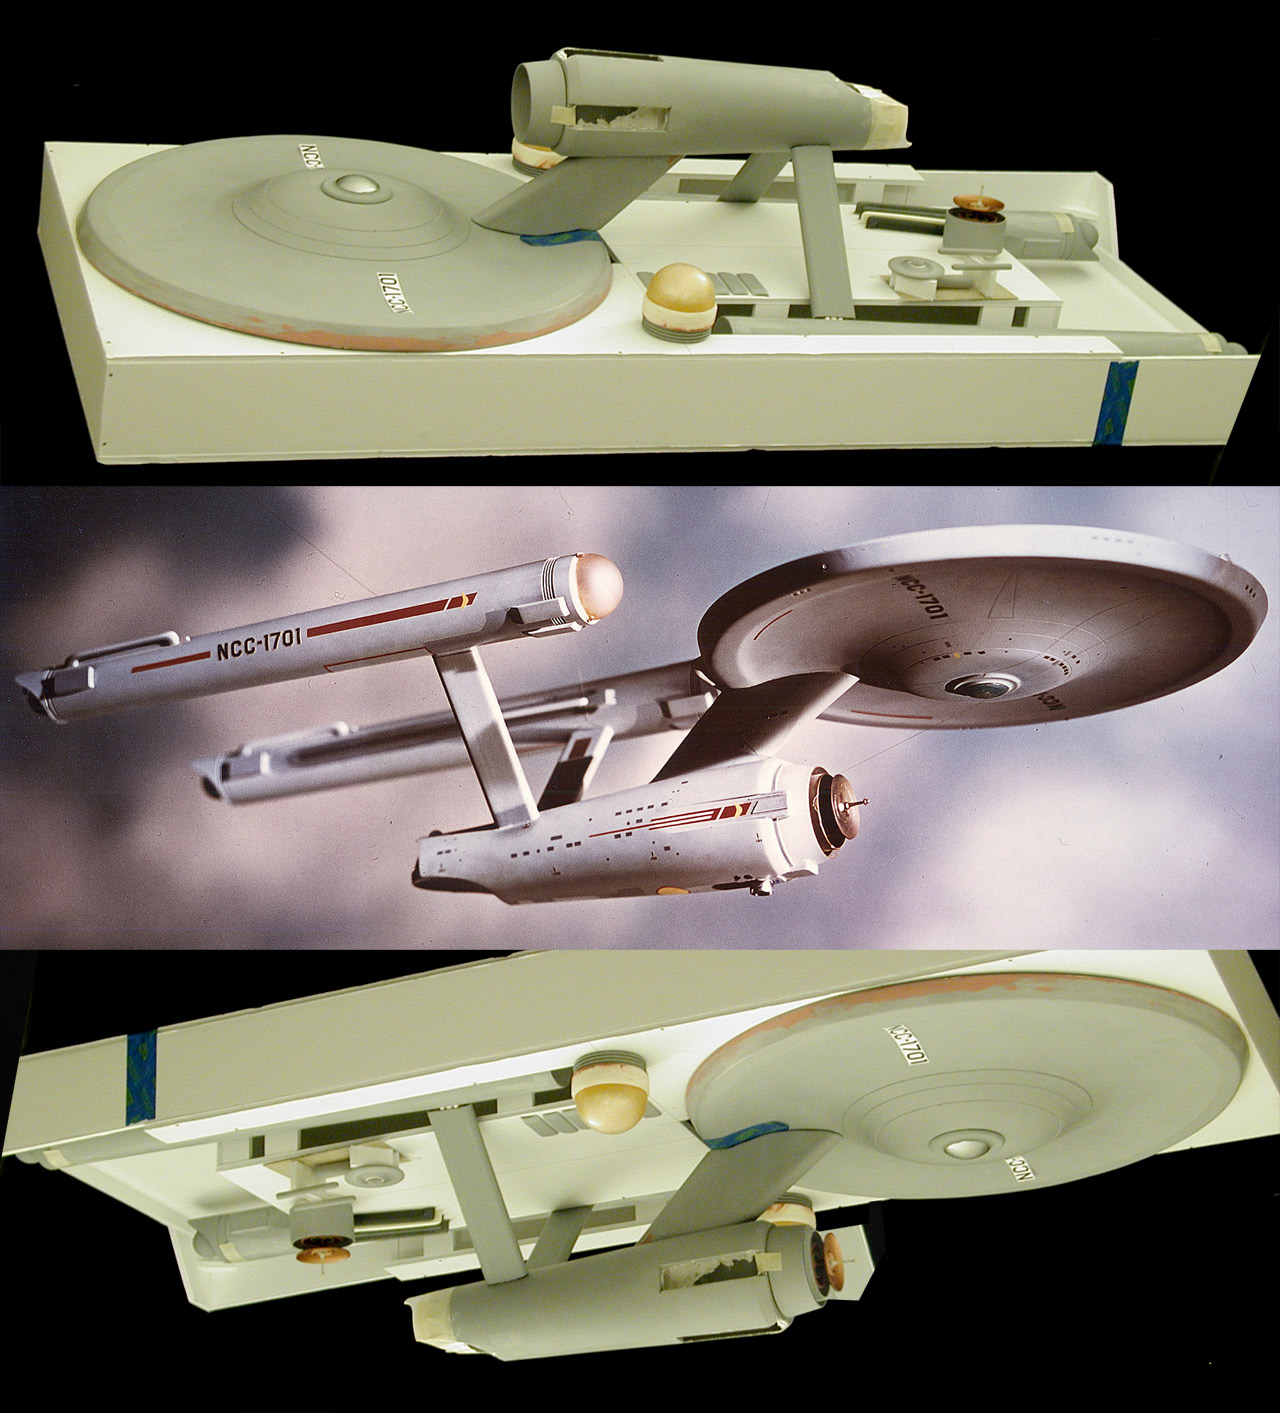
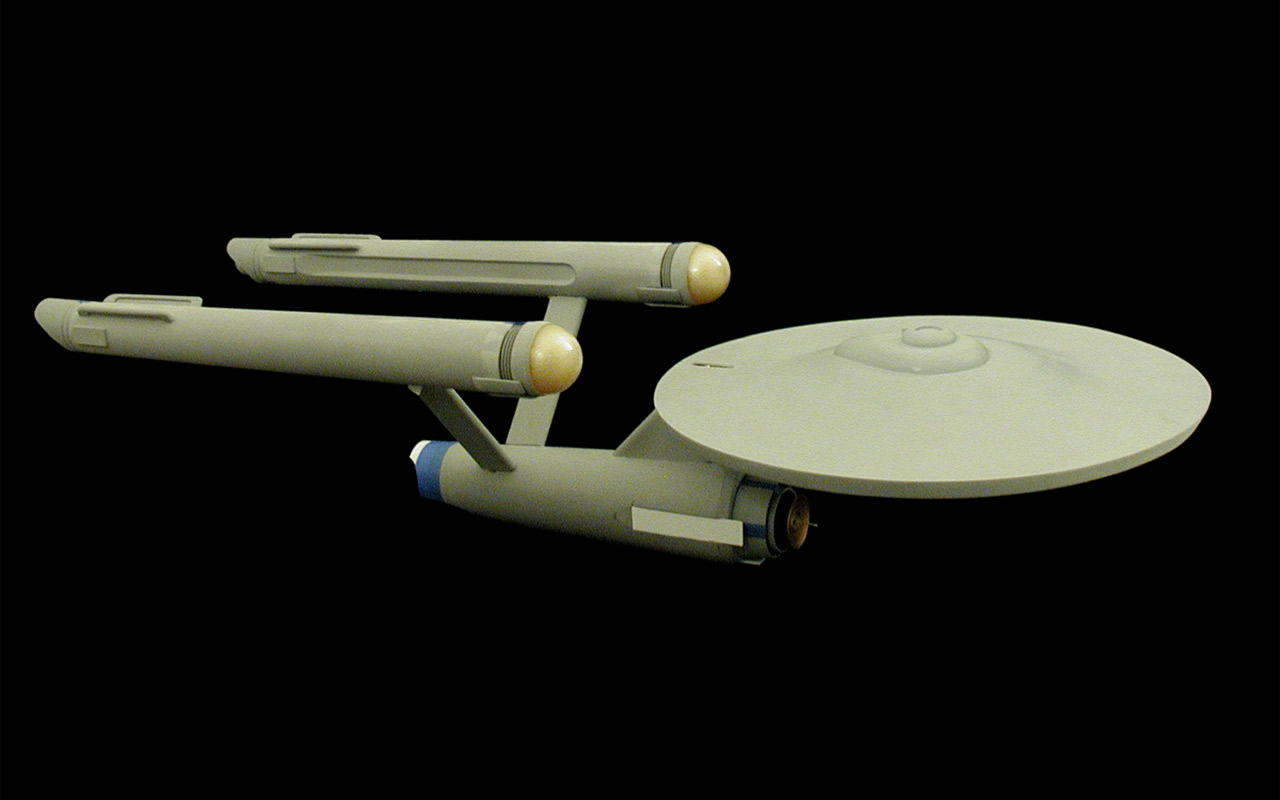
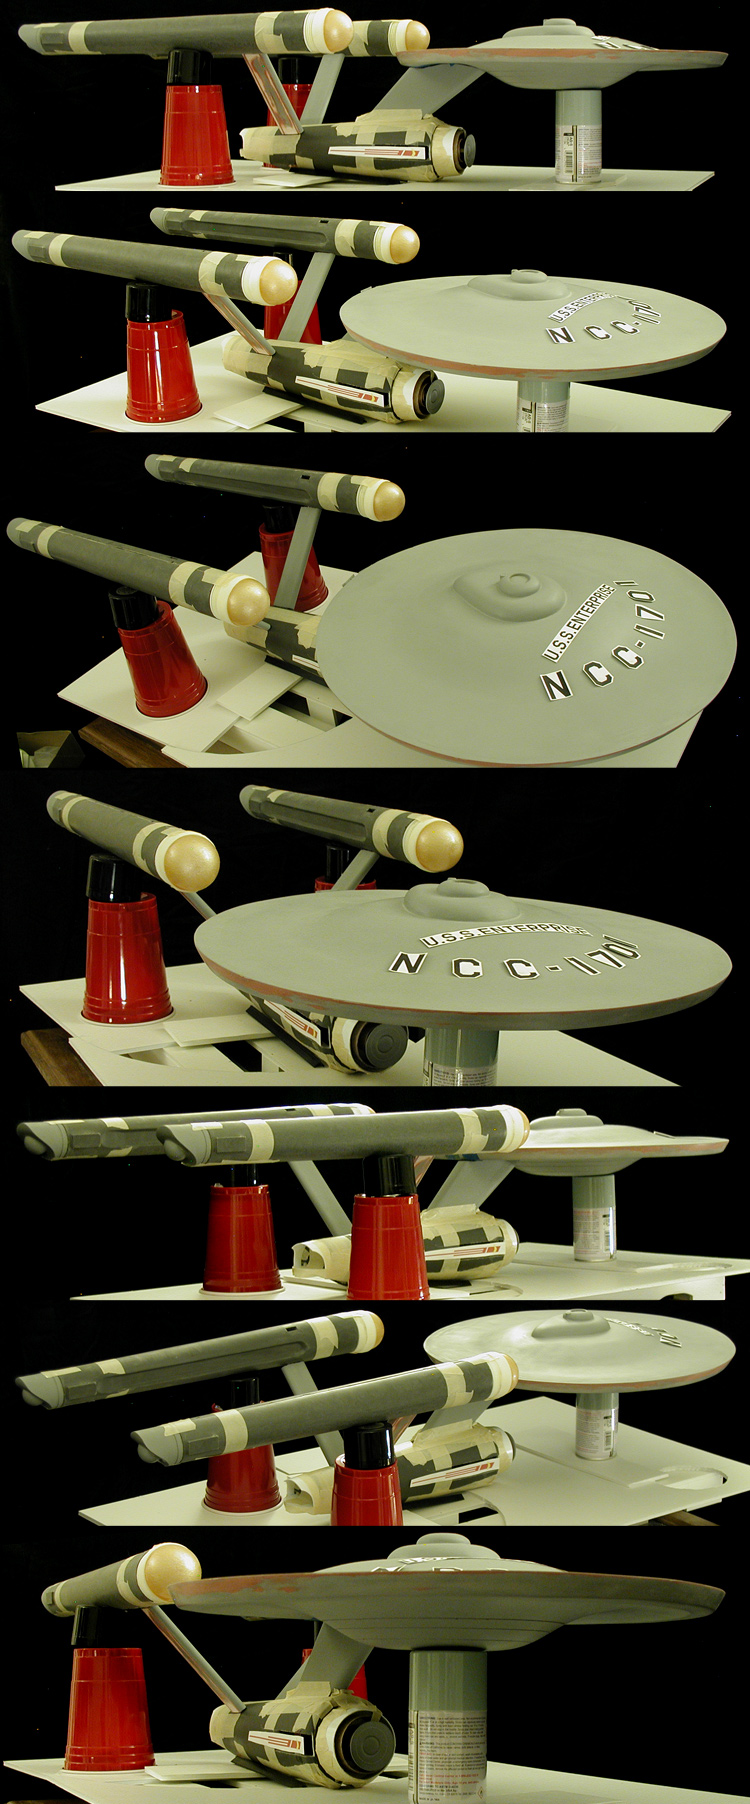
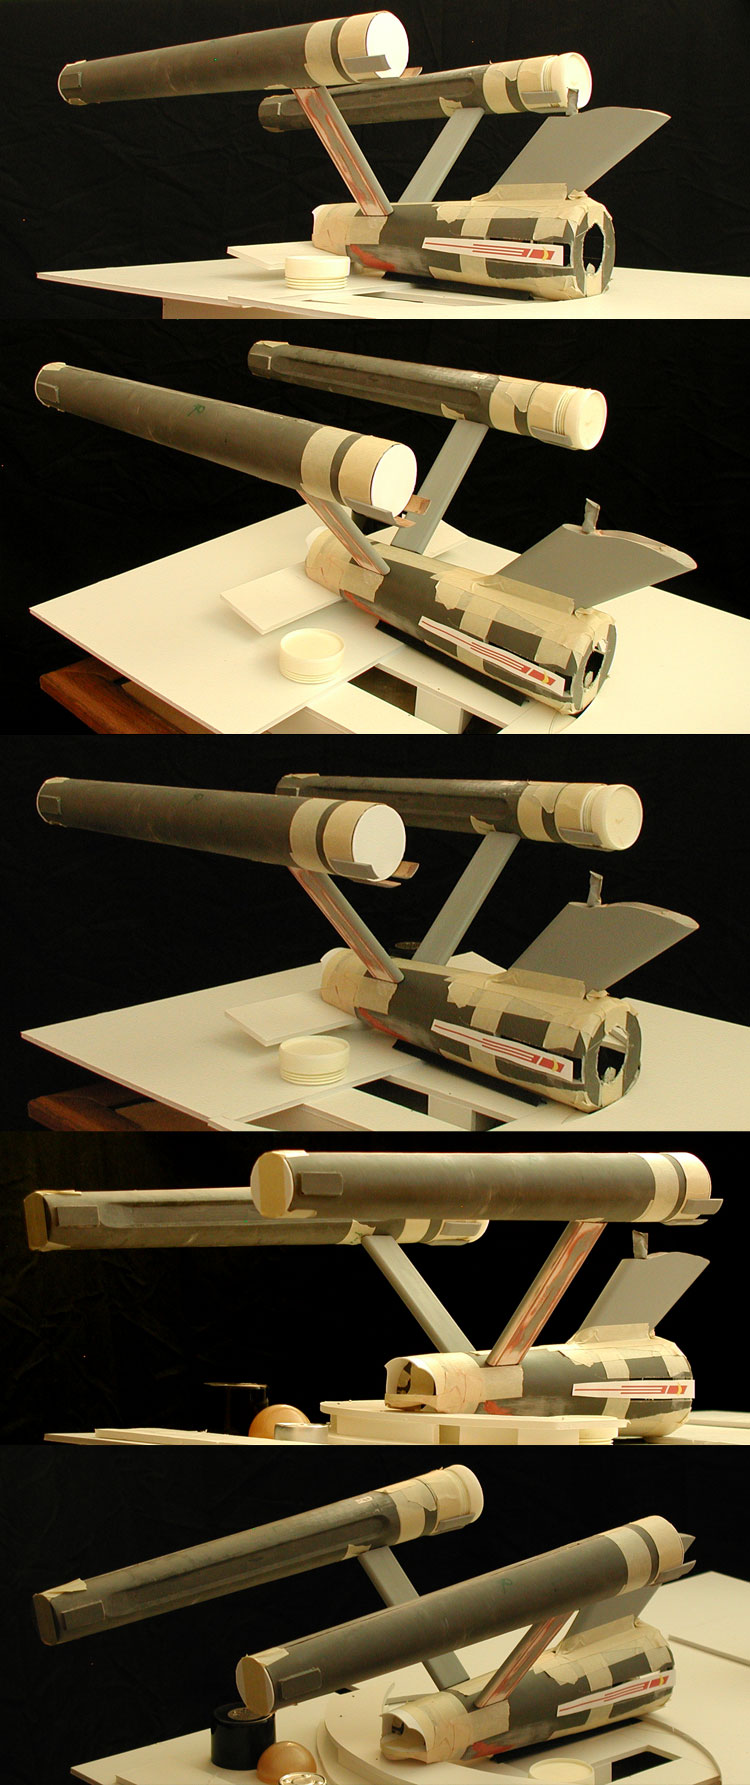
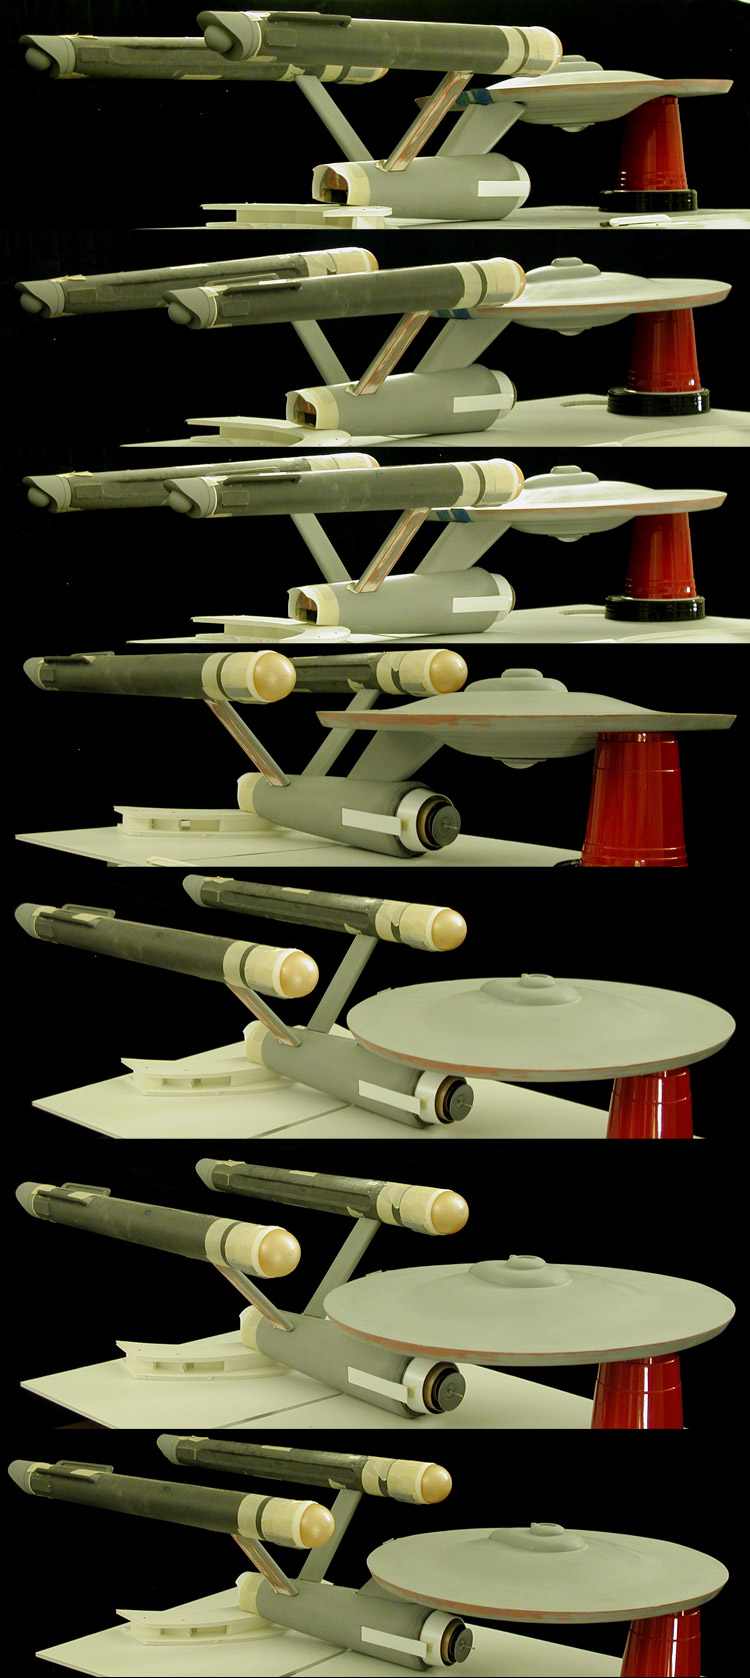
So I was working on one of my other projects (priming and sculpting masters, and hopefully soon making molds) and figured I'd throw in a hand full of smaller parts from the Enterprise that hadn't been primered yet. I know spraying parts with primer isn't exactly progress and I'm not trying to tease that anything has actually happened with this model (yes, I know it's been almost 9 months since the last significant progress on it was made), but having most of the model the same color helps to show how far along it is. I'm really hoping that once this model moves back to being the prime project again it'll move rather quickly towards completion.
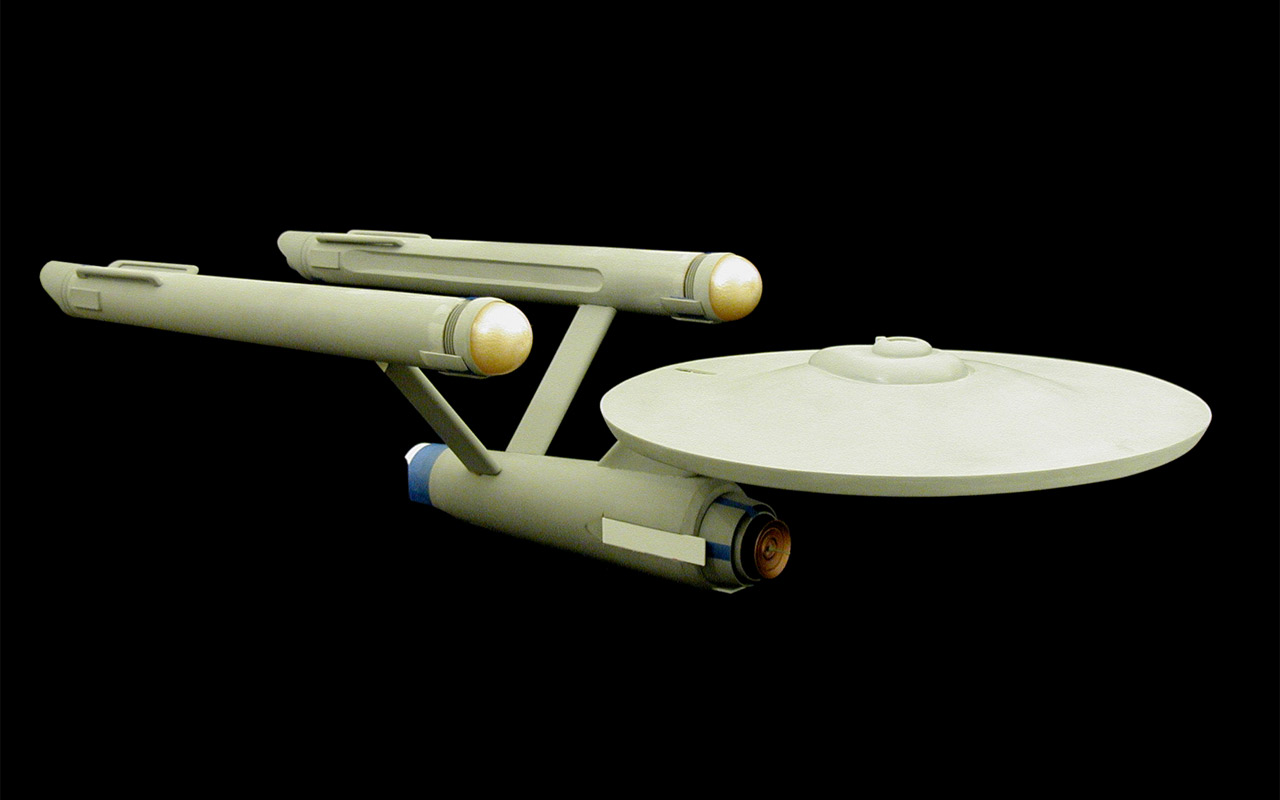
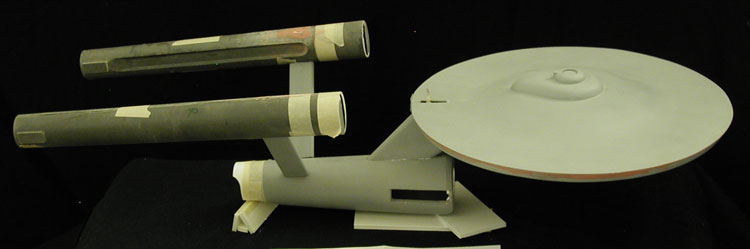
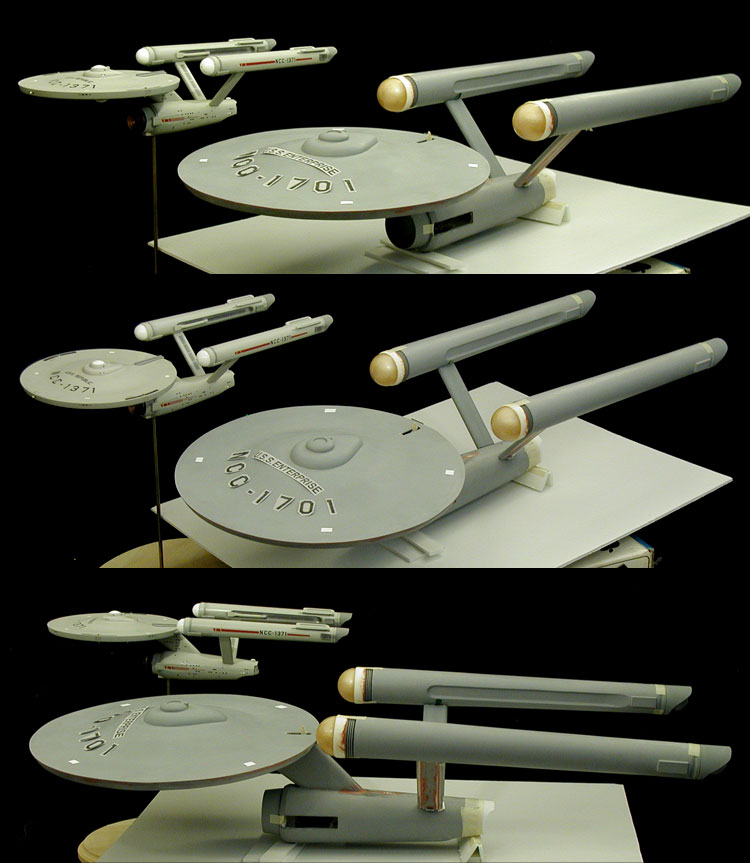
Anyways, a couple quick shots...
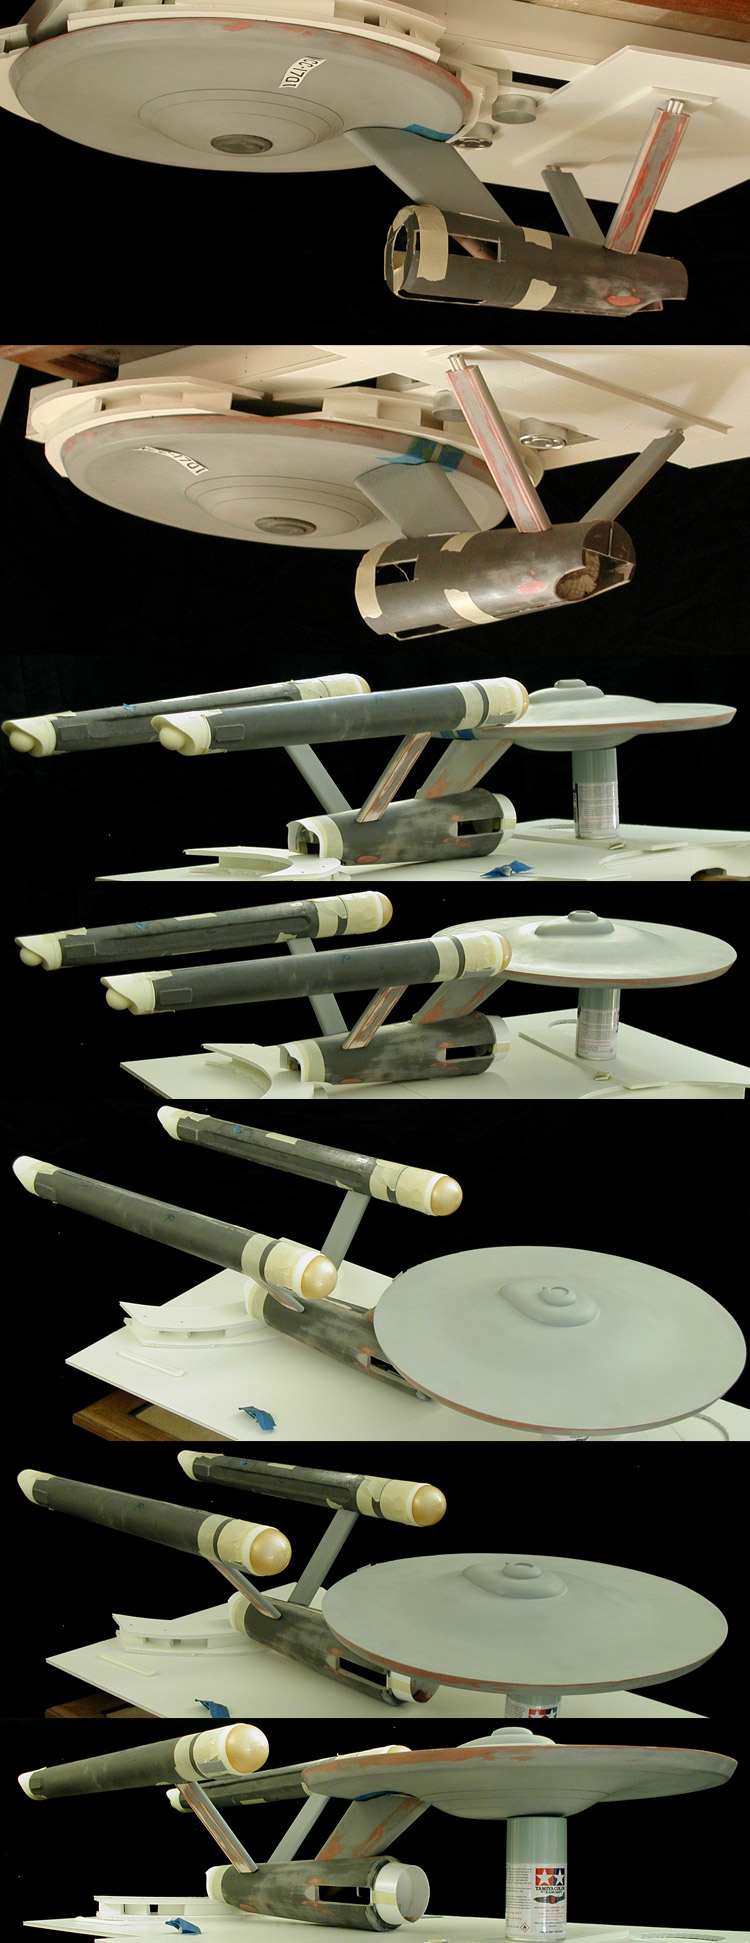
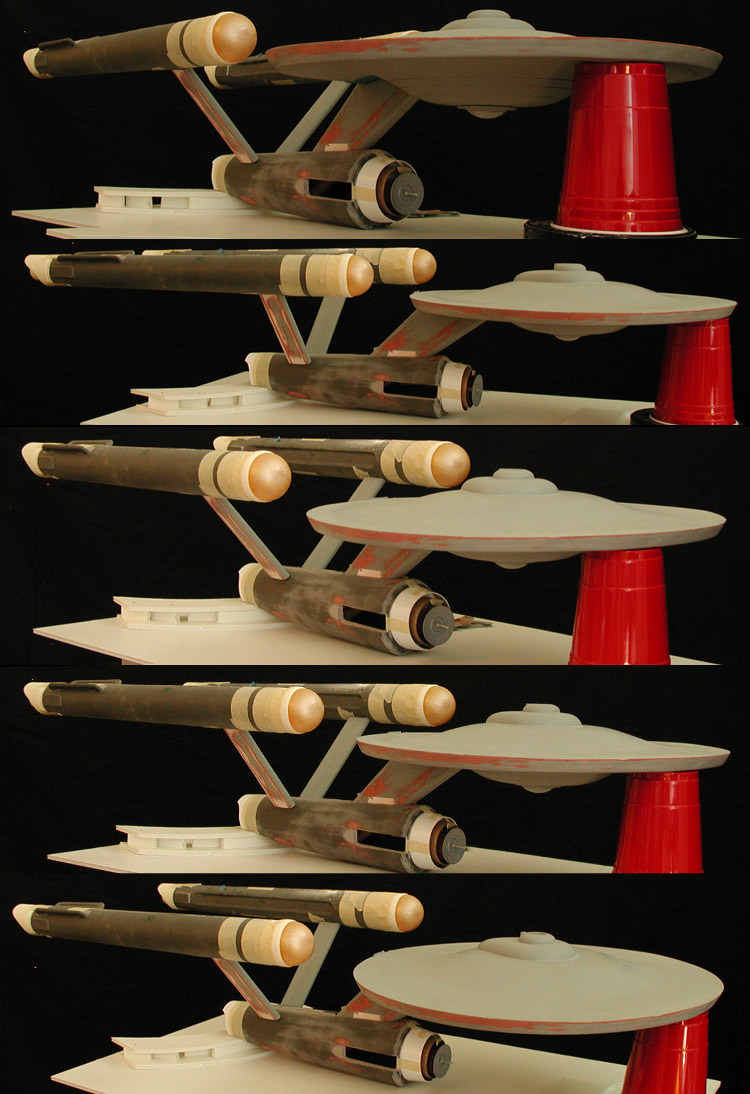
http://www.shawcomputing.net/racerx/trek_stuff/models/tos_33/1701_33in_059s.jpg
Click to enlarge
http://www.shawcomputing.net/racerx/trek_stuff/models/tos_33/1701_33in_060s.jpg
Click to enlarge
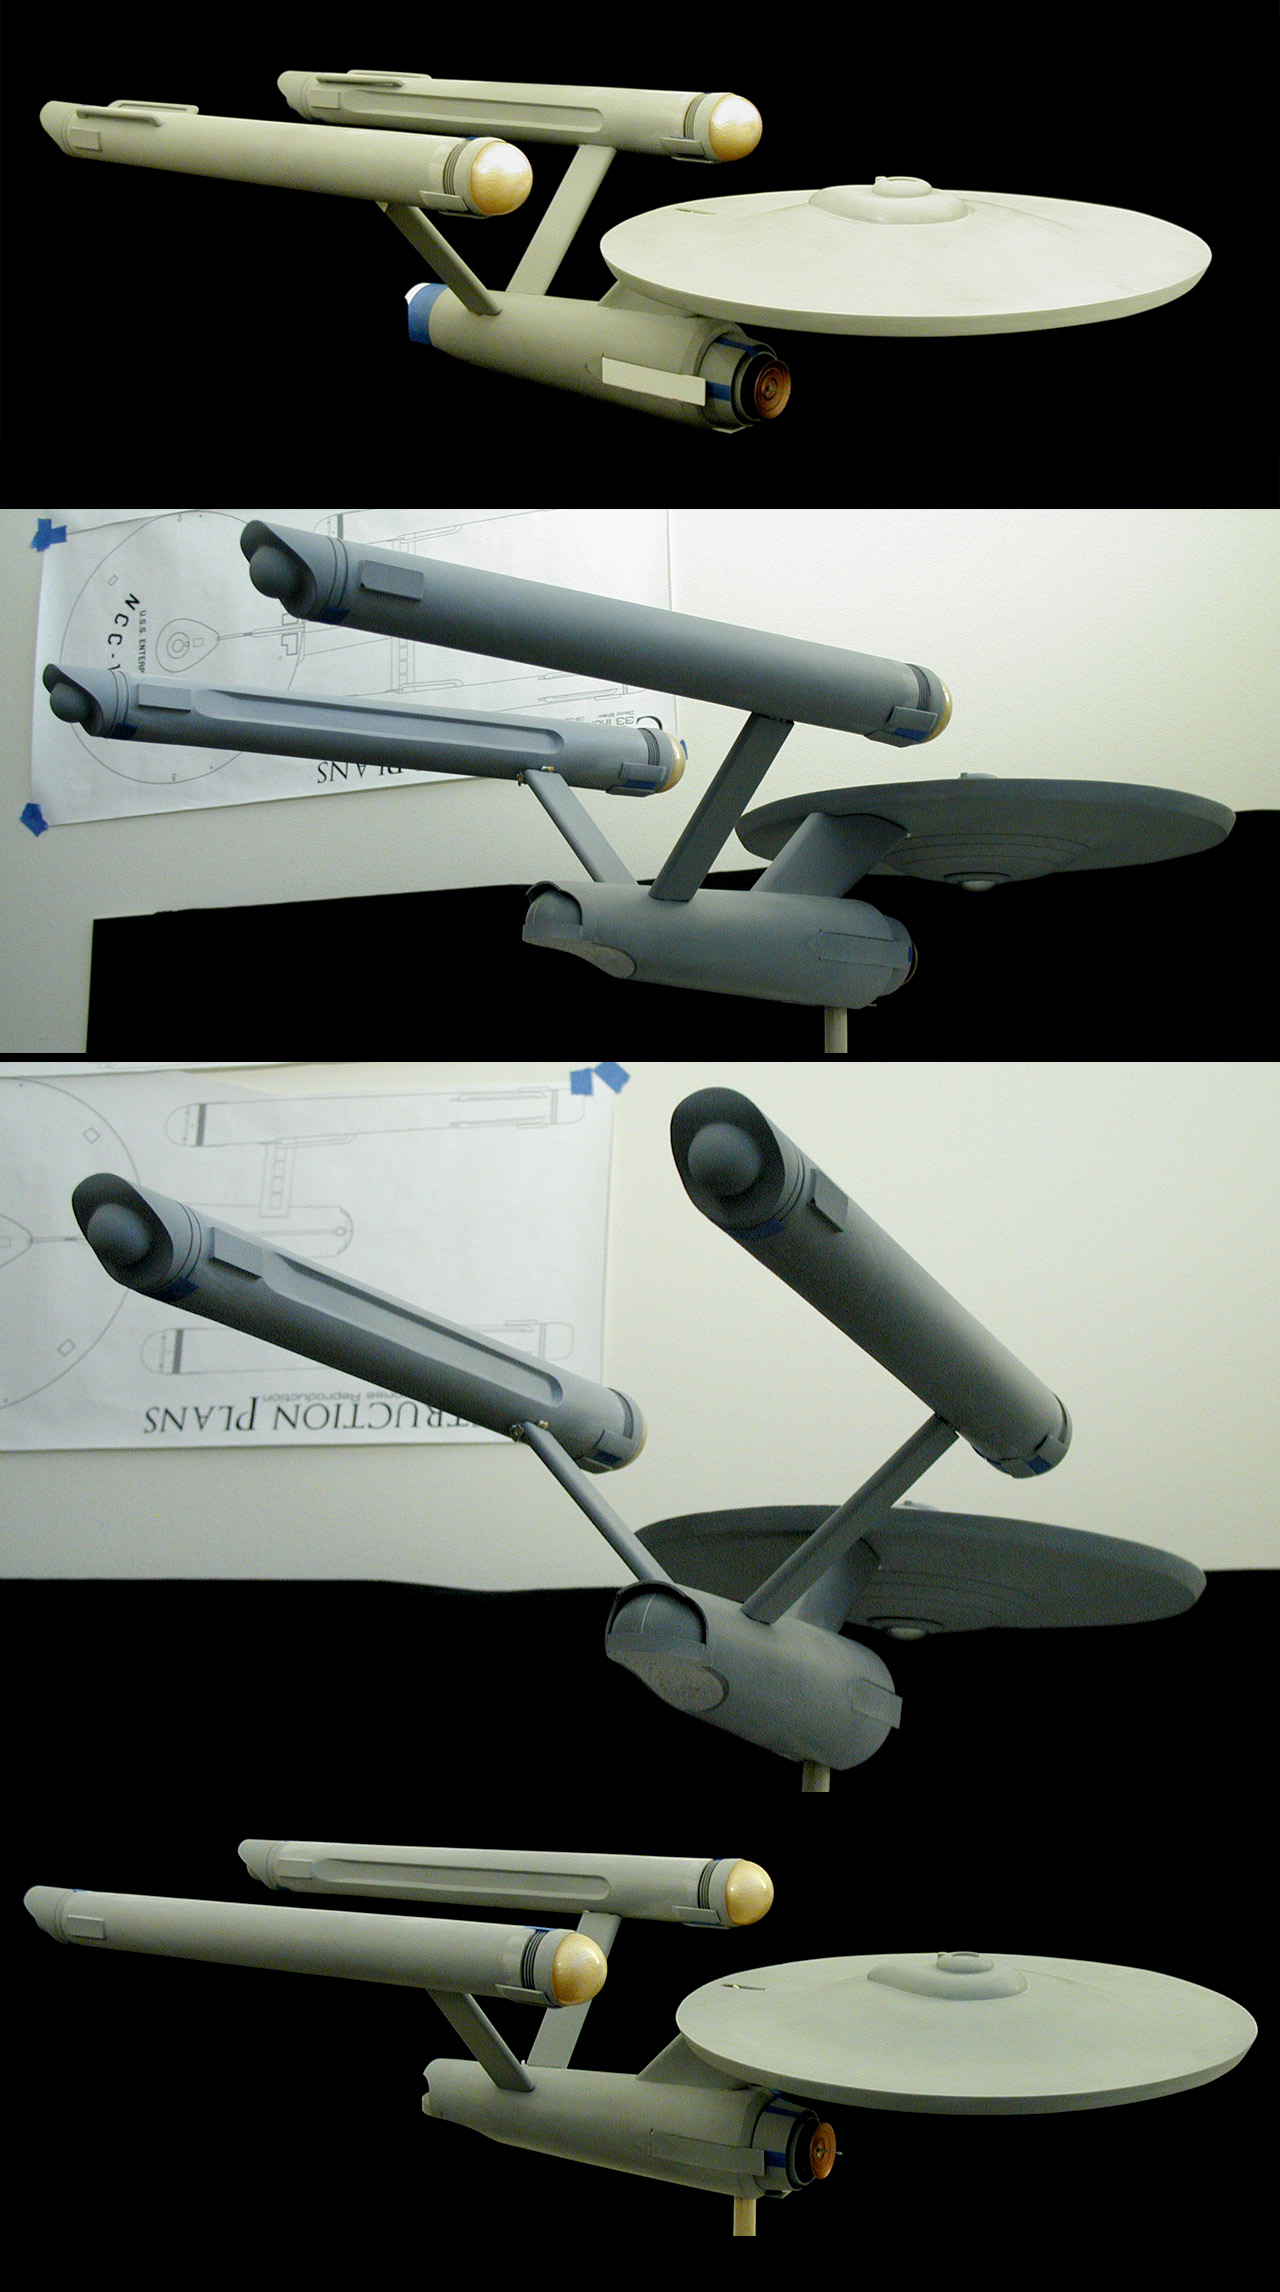
... everything is essentially taped in place, nothing is glued together yet (I'm no where near the point where I want to permanently attach any parts).
PaulYou know the old saying... if it doesn't kill you it makes you stronger. Well, it sure doesn't feel that way most days.And, here's hoping your RL concerns don't get out of hand for you.
Best of luck!