You are using an out of date browser. It may not display this or other websites correctly.
You should upgrade or use an alternative browser.
You should upgrade or use an alternative browser.
33 inch TOS Enterprise - Studio Scale Replica
- Thread starter Shaw
- Start date
Shaw
Well-Known Member
They're solid... the rest of the nacelles will be essentially hollow, so I'm not worried about them adding much weight.You slush cast those bussards hollow?
Shaw
Well-Known Member
Work continues...
The bridge and B/C deck structure are now a single piece (the dome in the images below is a stand in for sizing purposes). I've continued work on the rear nacelle end cap assembly and made quite a bit of progress on the front nacelle end cap assembly (now that I have nacelle domes). I've also started in on the lower sensor dome platform, intercooler and deflector masters.
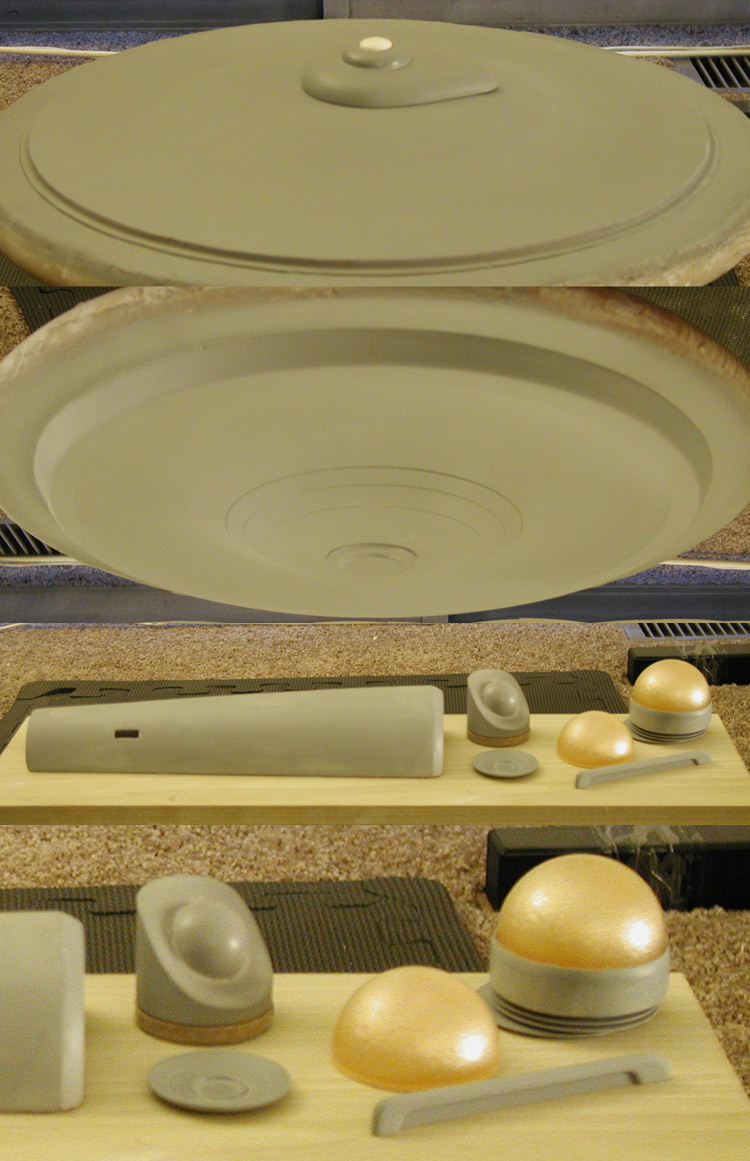
I've continued to work on the surface of the upper and lower primary hull masters, the secondary hull master and the nacelle masters, and I'm feel pretty good about their progress. I figure I'm not too far off from making molds from those.
The bridge and B/C deck structure are now a single piece (the dome in the images below is a stand in for sizing purposes). I've continued work on the rear nacelle end cap assembly and made quite a bit of progress on the front nacelle end cap assembly (now that I have nacelle domes). I've also started in on the lower sensor dome platform, intercooler and deflector masters.
I've continued to work on the surface of the upper and lower primary hull masters, the secondary hull master and the nacelle masters, and I'm feel pretty good about their progress. I figure I'm not too far off from making molds from those.
crackerjazz
Sr Member
Beautiful work, Shaw! ") thumbsup:thumbsup
thumbsup:thumbsup
thumbsup:thumbsup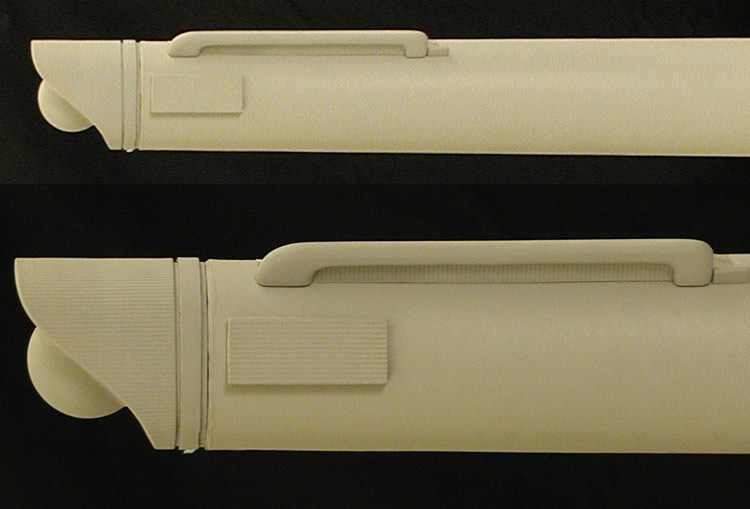
Shaw
Well-Known Member
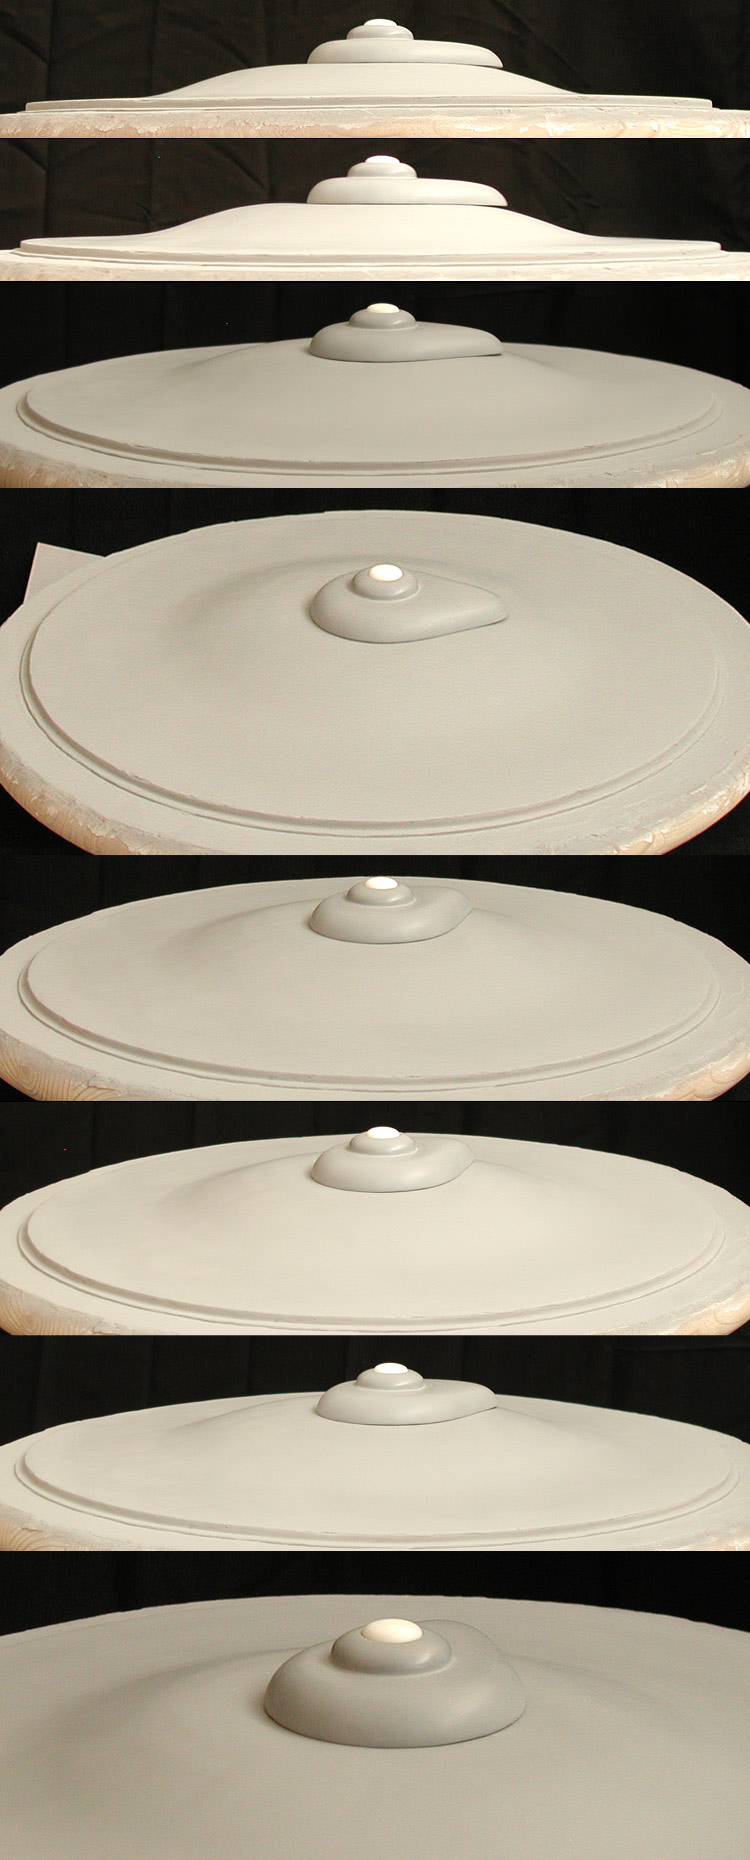
Here is a series of images of the upper primary hull with the bridge/B/C deck structure sitting in place to see how things are going with these parts...
And another series of the lower primary hull with the sensor dome platform (and a stand in dome) in place...
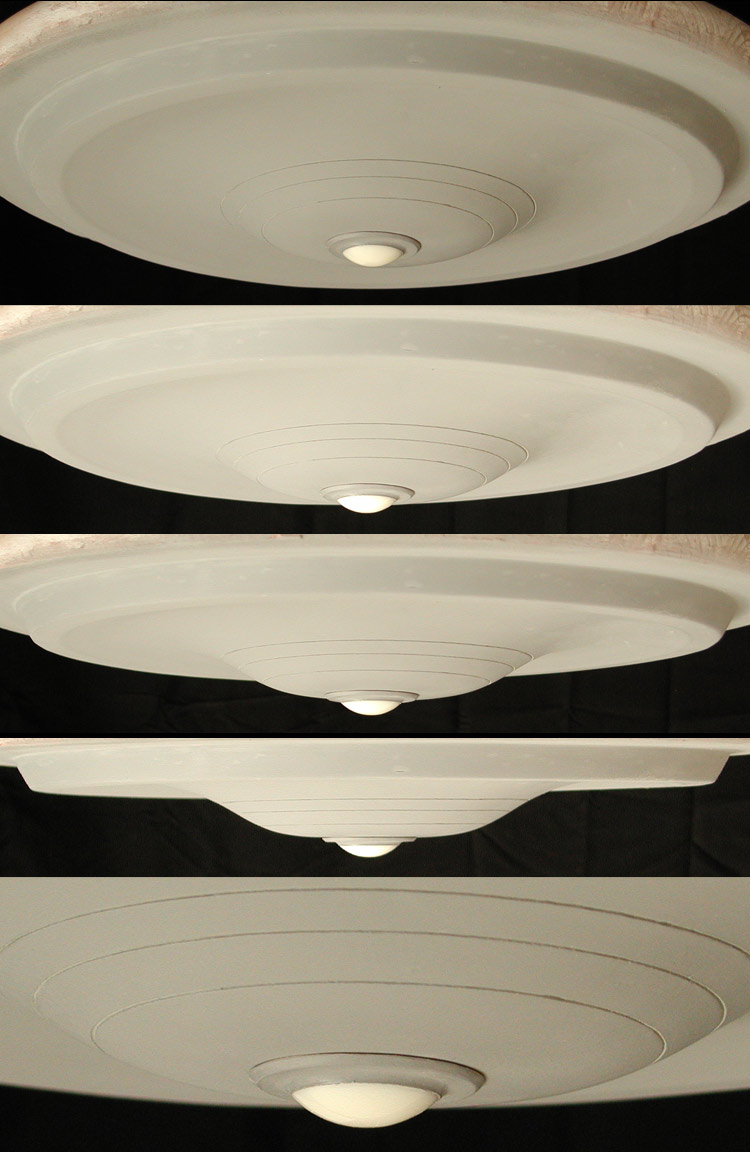
For both the upper and lower domes I'll be casting them in clear with a small amount of transparent green. I don't have transparent green dye right now, so I'll have to wait to actually make the final parts.
I think I'm almost ready for making molds of all these masters. There is just a handful of little things to fix/finish and they should be ready to go. Some aspects of the model just can't be done with the masters, so I need the final parts to go forward.
And another series of the lower primary hull with the sensor dome platform (and a stand in dome) in place...
For both the upper and lower domes I'll be casting them in clear with a small amount of transparent green. I don't have transparent green dye right now, so I'll have to wait to actually make the final parts.
I think I'm almost ready for making molds of all these masters. There is just a handful of little things to fix/finish and they should be ready to go. Some aspects of the model just can't be done with the masters, so I need the final parts to go forward.
So let me het this straight. You are " puttying, sanding, primering" over what is essentially plaster? How does it stick?
Thanks guys!
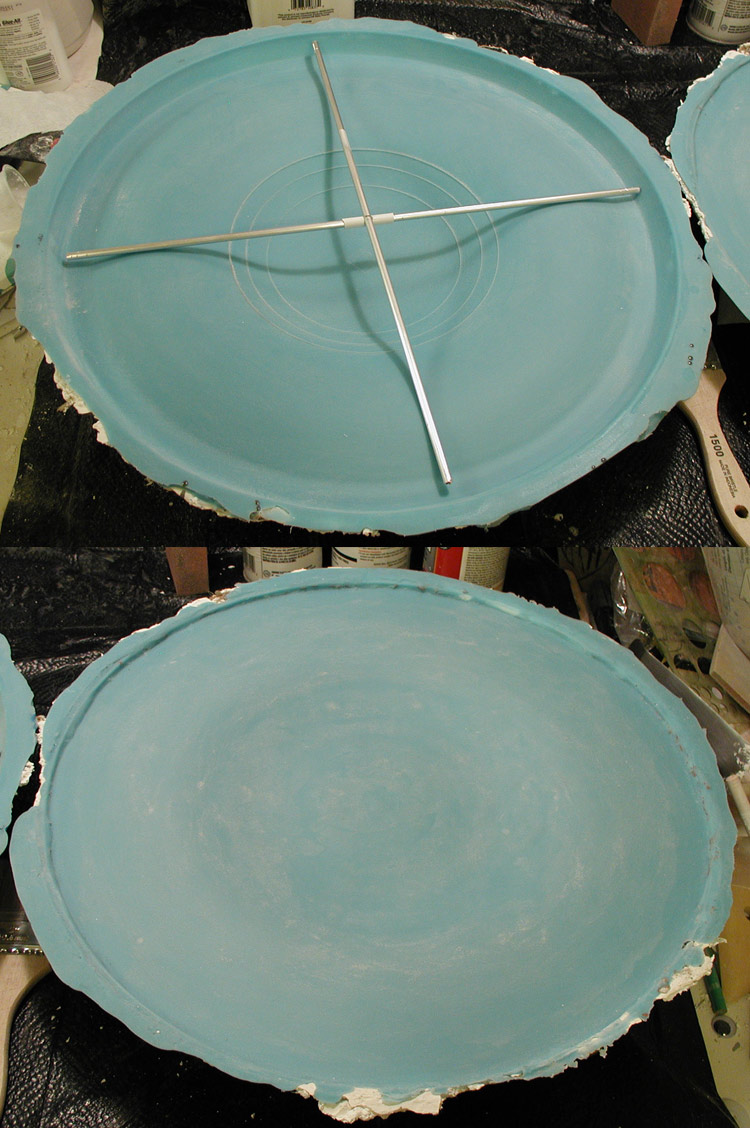
Recently I've been puttying, sanding, primering and then repeating the process... attempting to get the surfaces to the best state I can.
I also added in the engraved rings on the lower primary hull.
Shaw
Well-Known Member
So let me het this straight. You are " puttying, sanding, primering" over what is essentially plaster? How does it stick?
Once I get the surface to about where I want it, I brush on watered down Elmer's glue as a glaze coat. Once that dries it is ready to take primer and putty (I use Rust-oleum automobile primer and 3M's glazing & spot putty). When I'm ready to make a mold, I'll cover the surface with Krylon crystal clear.
But yeah, it works great. Masters I made over a year ago are all still in great shape and I've never had any bits of the surface pull away when masking. And the silicon rubber molds pull away perfectly too with no damage to the masters.
Shaw
Well-Known Member
Great job as always and as always; I always look forward to your progress!!!
Thanks!
I think you'll get a kick out of my side project. I know it is one of your favorite subjects.

Shaw
Well-Known Member
Thanks guys!
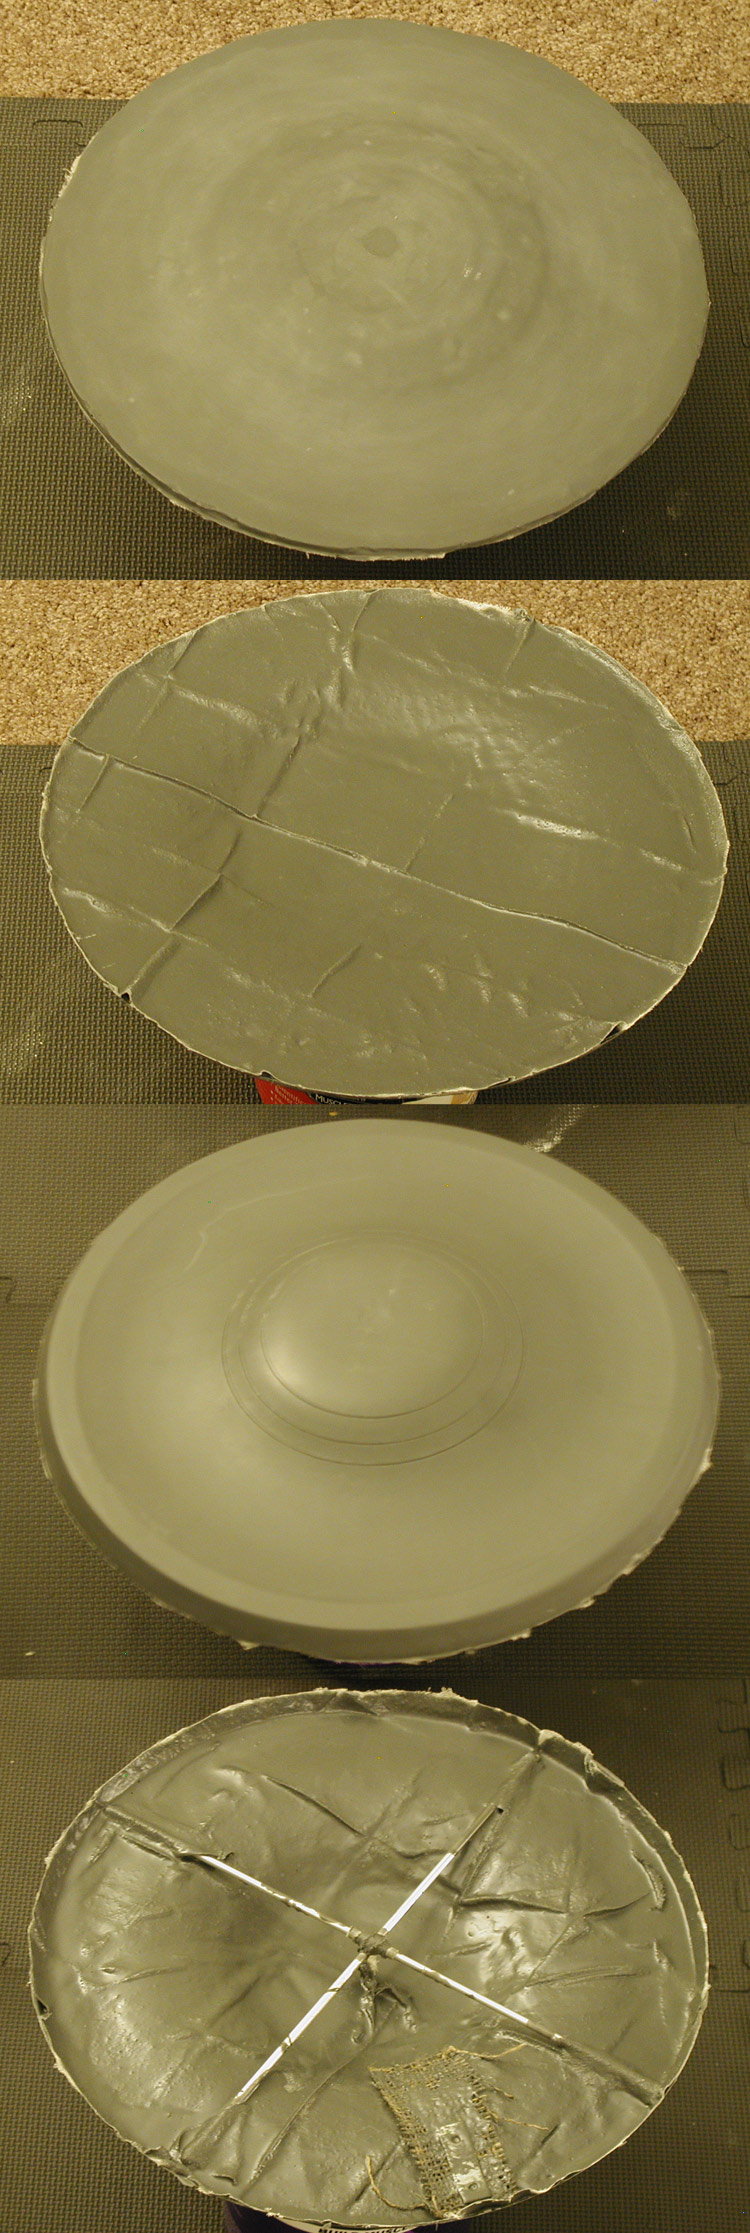
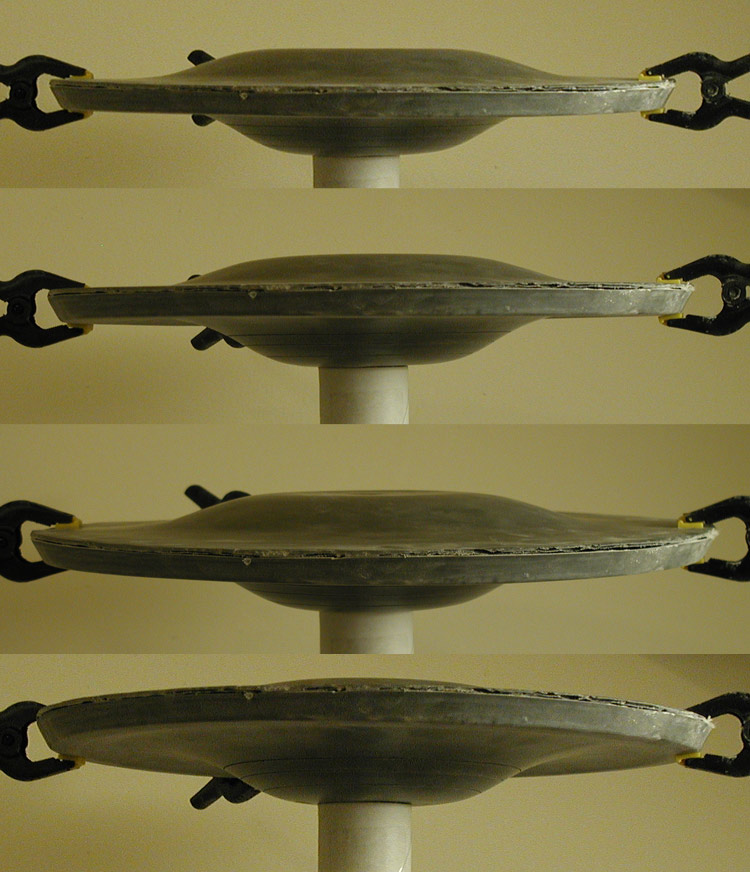
I finally have molds for both the upper and lower primary hull.
Hopefully I'll have parts by the end of this weekend. The nice thing is that I really don't need to get inside for anything, so I can close the primary hull up pretty quickly. The big issue with this would be getting a nice, sharp upper lip edge.
We'll see how things go.
Similar threads
- Replies
- 14
- Views
- 1,107
- Replies
- 2
- Views
- 457