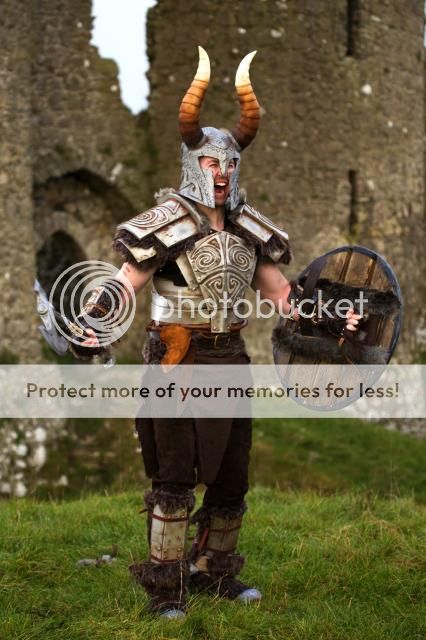
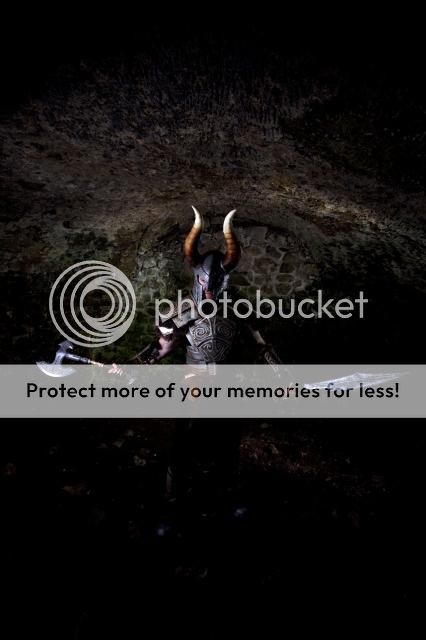
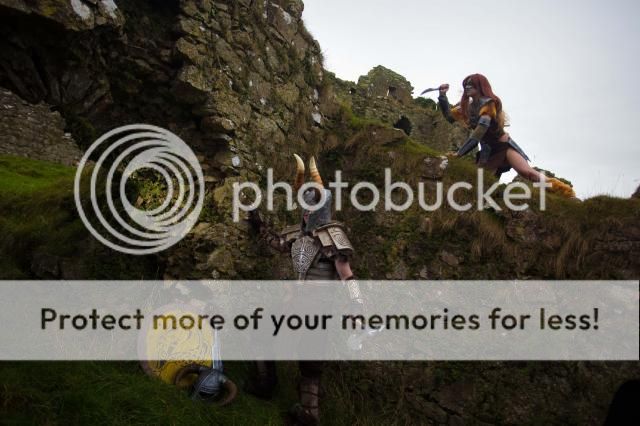
I thought I would update this thread with some pics of the mostly finished armor at the most recent photoshoot along with a better walk through of the build
Helmet/Armor/Costume/Shield by me
Sword is a modded 300 sword painted by me
Axe is Volpin Props axe assembled by me
Photos thanks to Grahamedia (https://www.facebook.com/Grahamediaireland?ref=br_tf) and Aela (https://www.facebook.com/HeartlessCosplay)
First pics!


Now my steps.
Helmets here (http://www.therpf.com/f62/helm-yngo...ics-last-page-203484/?highlight=helm+of+yngol) and http://www.therpf.com/f62/skyrim-ancient-nord-helmet-finished-167749/
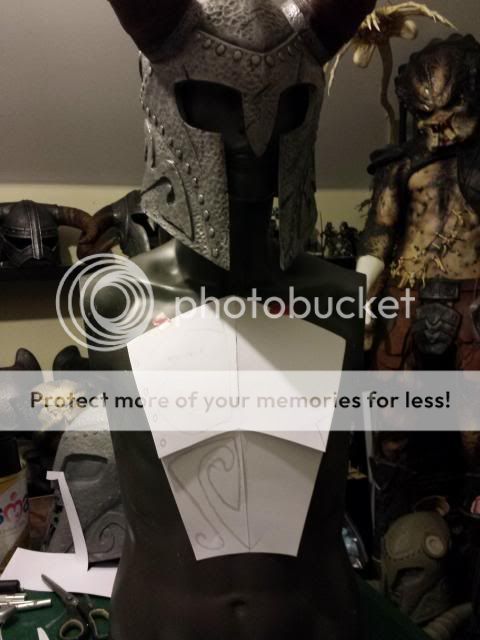
I did everything by hand (i.e drawing templates free hand and just doing test fits on the mannequin which was similar size).
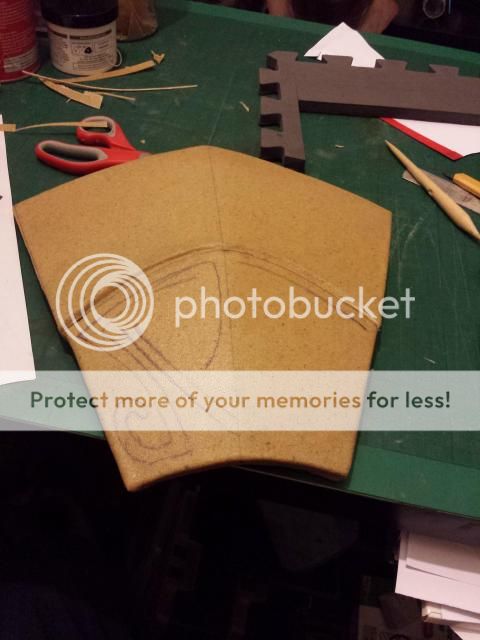
Before going any further I wanted to do a mock up using the bracer as I had never used foam or worbla or styrene in a build.
So again with paper templates I got the size I wanted and cut out the foam. I then heated the worbla and layed it ontop. Using several passes of the heat gun I was able to push the worbla into the foam edges with the end of a wooden sculpting tool and used a metal ruler to square up/flatten the outer edges of the armor while still warm to give it that clearer defined metal shape (did not want too soft of an edge). I then heated it all up and bent to shape and left to cool using tape to keep it bent.


I had some thick styrene around so free handed some scroll work and then heated it to match the curve and glued it in. It worked but was a pain so for all other work I used apoxie sculpt or foam with PVA glue (thinner styrene would work aswell)
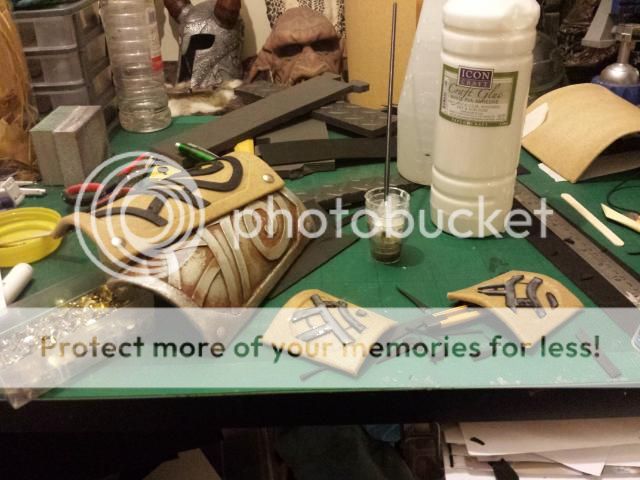
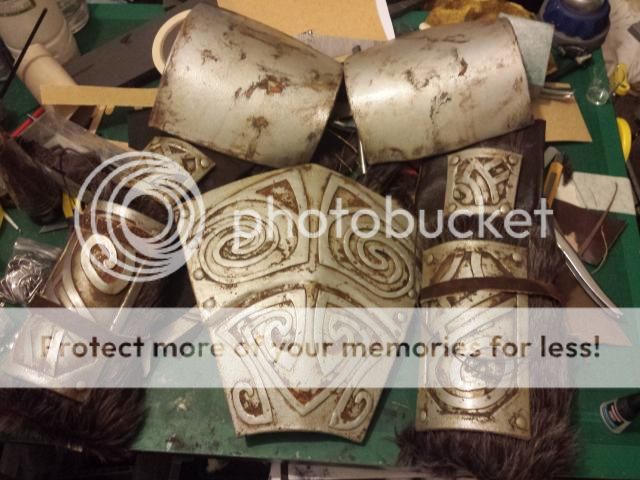
I then did a paint and weathering test to see how the materials held up.

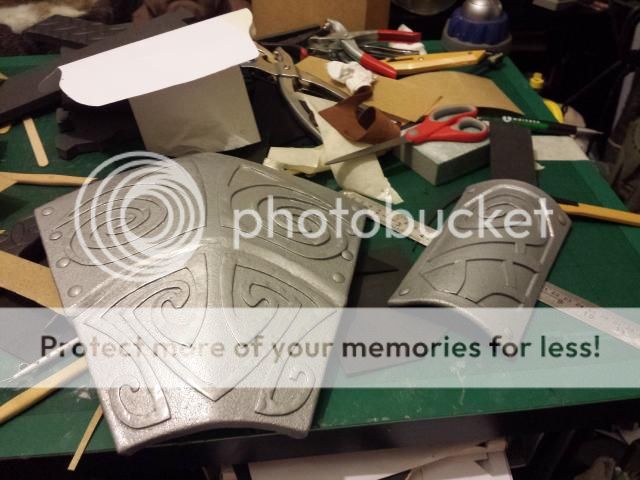
Next stage was to get back to the chest plate. Once I was happy I cut up the foam and cut the connecting edges at an angle so that the piece would not be flat (it has a high peak in the centre) and then glued them together with contact cement an once dry I started to shape using the heat gun. Once done I cut out my worbla template and again with several passes pressed it on. Took me 3 attempts as I kept trapping air bubbles so take your time. Thhe bottom rectangle and side 'wings' were done seperate and are attached with velcro so I can mod the size.

Detail work was done with furniture tacks for rivets and scroll work free handed with a pen then done in apoxie sculpt (first time using it but i love it!) Basic shape was laid out, edges then trimmed with a knife and then a rake to level the top and water used to smooth the top followed by another trimming and when dry a quick sanding to sharpen detail. I kept alot of pits just so it did not look perfect.


Failed ones

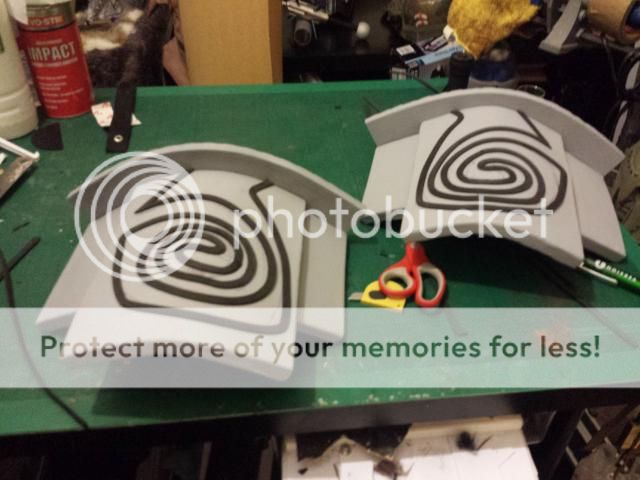
Next step was shoulder armor and I quickly learned not to glue it all when flat if I was going to be heating and curving this much as it would fail and waste time. So the parts were curved first (more than I needed as they would flex back) and taped together at the ends and then all glued with contact cement then layered with worbla then traced the pattern again and cut long strips of thin foam which i then layed down along the pattern


The rest of the armor was all done the same. The ribs I made with worbla and styrene but I want to redo them in just foam or leather as they don’t fit as tight or streamlined as they should. They are connected at the back with webbing and a cover of fur and leather and at the front with buckles


The fur on the waist was on a webbing belt and doubled back over to allow it to hang over the leather belt which had the brown linen stretched across it.
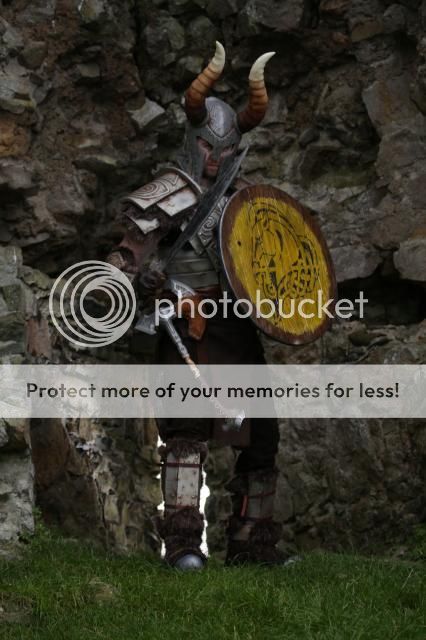
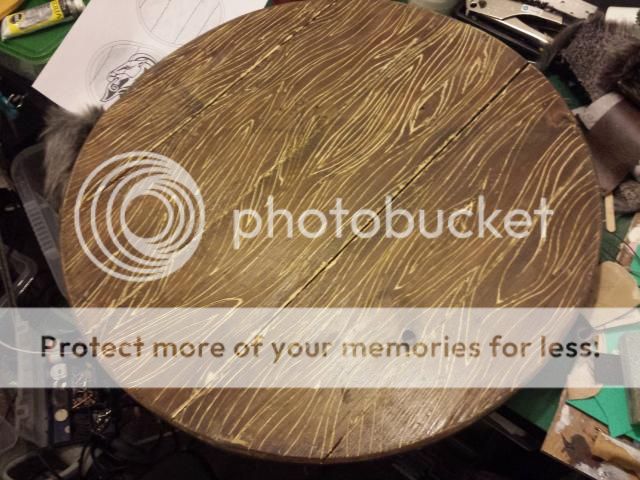
Shield was made from an old gate with an edge of worbla for a band (wanted a better edge in bondo with more shape but shield was done the night before the shoot). Stencil was from Volpins site and wood was an old gate cut with a jigsaw and sander then quickly engraved with a dremel by hand.
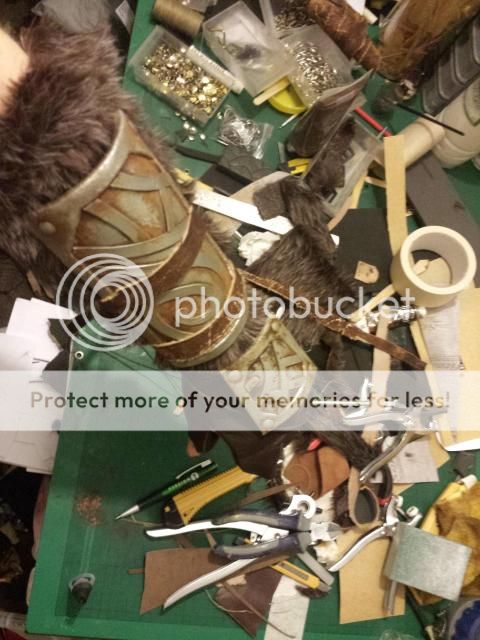
Armor is all held with Chicago screws, hot glue, clips and webbing aswell as leather straps. Rough straps were made using veg tan leather and roughly cut and the axe holder was veg tan wet to shape and done the day before.
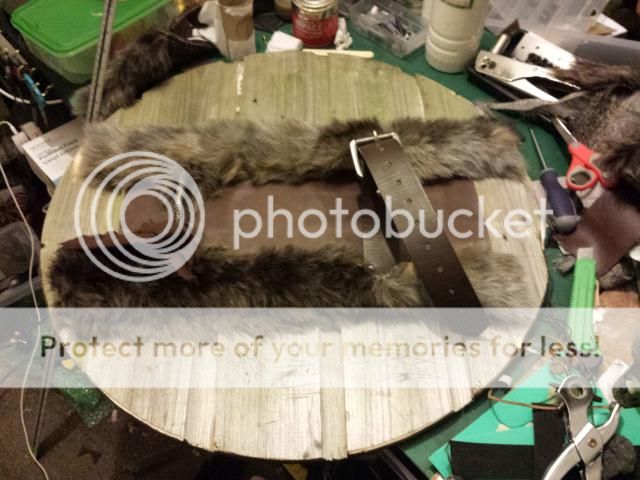


Tip, always cut faux fur from the back with a knife (ie the cloth holding it together) so that the edges don’t look perfect
Helmet/Armor/Costume/Shield by me
Sword is a modded 300 sword painted by me
Axe is Volpin Props axe assembled by me
Photos thanks to Grahamedia (https://www.facebook.com/Grahamediaireland?ref=br_tf) and Aela (https://www.facebook.com/HeartlessCosplay)
First pics!


Now my steps.
Helmets here (http://www.therpf.com/f62/helm-yngo...ics-last-page-203484/?highlight=helm+of+yngol) and http://www.therpf.com/f62/skyrim-ancient-nord-helmet-finished-167749/
I did everything by hand (i.e drawing templates free hand and just doing test fits on the mannequin which was similar size).

Before going any further I wanted to do a mock up using the bracer as I had never used foam or worbla or styrene in a build.
So again with paper templates I got the size I wanted and cut out the foam. I then heated the worbla and layed it ontop. Using several passes of the heat gun I was able to push the worbla into the foam edges with the end of a wooden sculpting tool and used a metal ruler to square up/flatten the outer edges of the armor while still warm to give it that clearer defined metal shape (did not want too soft of an edge). I then heated it all up and bent to shape and left to cool using tape to keep it bent.


I had some thick styrene around so free handed some scroll work and then heated it to match the curve and glued it in. It worked but was a pain so for all other work I used apoxie sculpt or foam with PVA glue (thinner styrene would work aswell)
I then did a paint and weathering test to see how the materials held up.


Next stage was to get back to the chest plate. Once I was happy I cut up the foam and cut the connecting edges at an angle so that the piece would not be flat (it has a high peak in the centre) and then glued them together with contact cement an once dry I started to shape using the heat gun. Once done I cut out my worbla template and again with several passes pressed it on. Took me 3 attempts as I kept trapping air bubbles so take your time. Thhe bottom rectangle and side 'wings' were done seperate and are attached with velcro so I can mod the size.

Detail work was done with furniture tacks for rivets and scroll work free handed with a pen then done in apoxie sculpt (first time using it but i love it!) Basic shape was laid out, edges then trimmed with a knife and then a rake to level the top and water used to smooth the top followed by another trimming and when dry a quick sanding to sharpen detail. I kept alot of pits just so it did not look perfect.


Failed ones

Next step was shoulder armor and I quickly learned not to glue it all when flat if I was going to be heating and curving this much as it would fail and waste time. So the parts were curved first (more than I needed as they would flex back) and taped together at the ends and then all glued with contact cement then layered with worbla then traced the pattern again and cut long strips of thin foam which i then layed down along the pattern


The rest of the armor was all done the same. The ribs I made with worbla and styrene but I want to redo them in just foam or leather as they don’t fit as tight or streamlined as they should. They are connected at the back with webbing and a cover of fur and leather and at the front with buckles


The fur on the waist was on a webbing belt and doubled back over to allow it to hang over the leather belt which had the brown linen stretched across it.
Shield was made from an old gate with an edge of worbla for a band (wanted a better edge in bondo with more shape but shield was done the night before the shoot). Stencil was from Volpins site and wood was an old gate cut with a jigsaw and sander then quickly engraved with a dremel by hand.
Armor is all held with Chicago screws, hot glue, clips and webbing aswell as leather straps. Rough straps were made using veg tan leather and roughly cut and the axe holder was veg tan wet to shape and done the day before.


Tip, always cut faux fur from the back with a knife (ie the cloth holding it together) so that the edges don’t look perfect
Last edited:
