Cardboard Iron ManMK 1 (Pic Heavy WIP)

TonySingh

Member


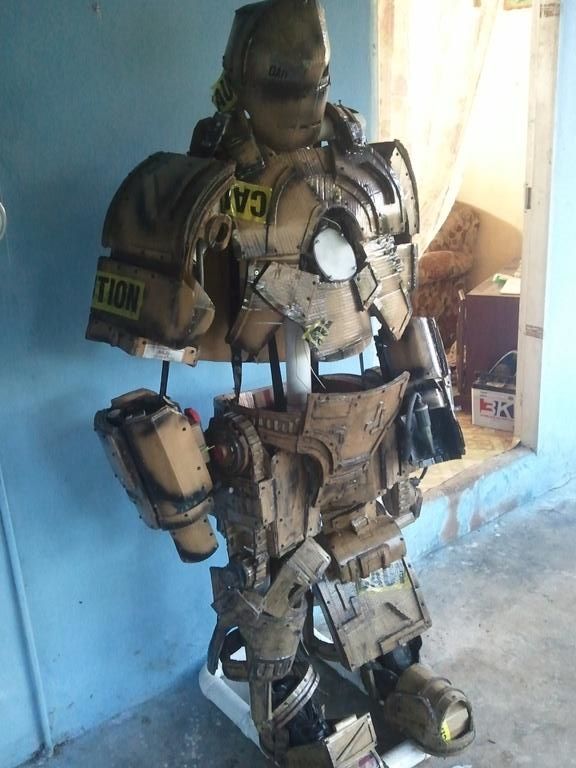
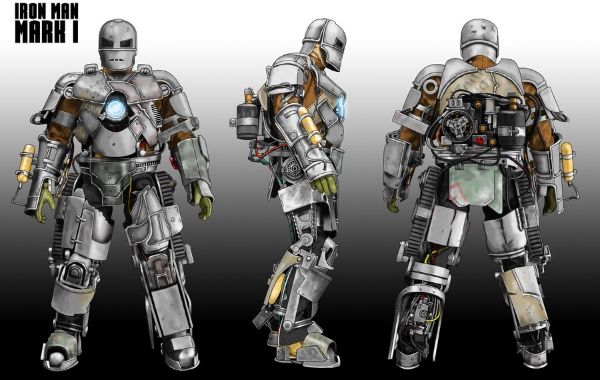
So,as the title says,Ive begun work on a Mk1 IronMan Suit to be made from cardboard. But, im keeping the over all look more to the suit so thats it recognizable.But alot of the finer details will not be a dead on copy over.
Mostly as i like keeping a little of my own touch to it ^^ cause it makes it mine and not another carbon copy. This will be for a convention that will be held in November and these will be the process as im going through it.

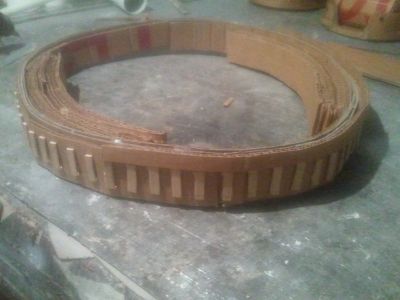
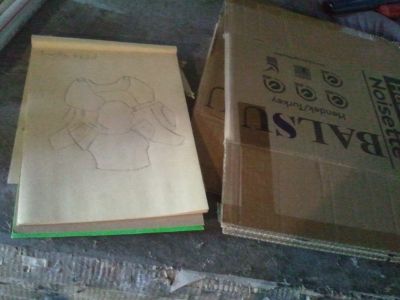
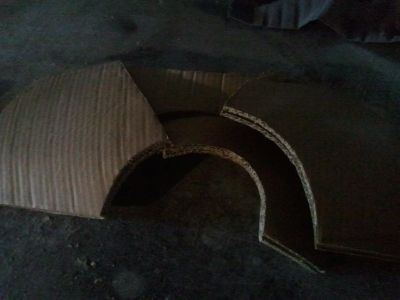
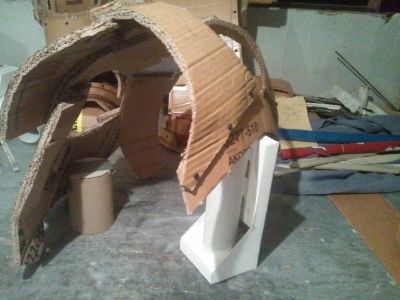
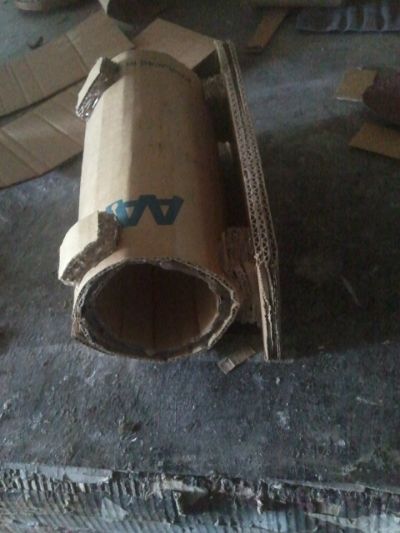
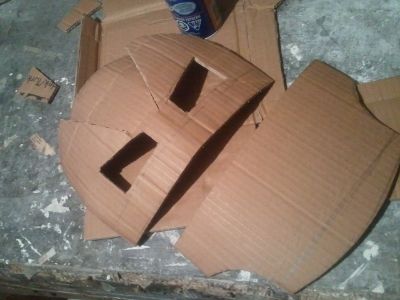
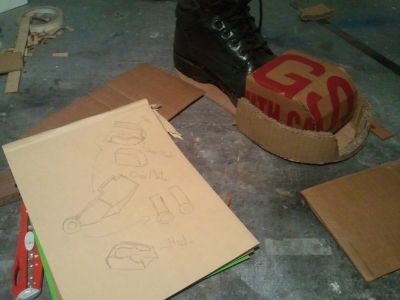
SO first off I decided to start from the boot come up, cause it it follows an actual boot inside it, so i started off with some draft cuts to form the cap
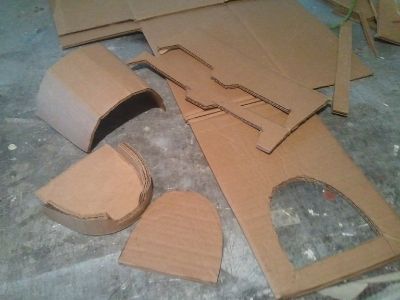

Here i sawed off some Mdf board to put below, i considered letting the boot fall flat and just build it around it, but...just wanted that extra 10%
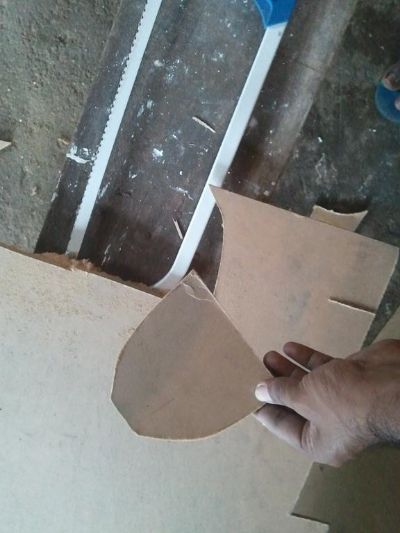

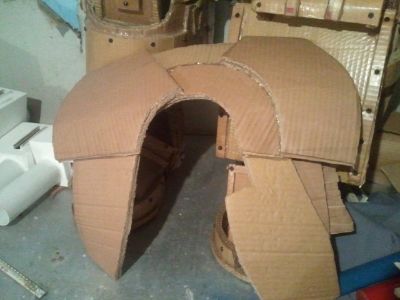
I started putting it together, using 2-3 layers make it about 3/4" thick and started forming it into shape.
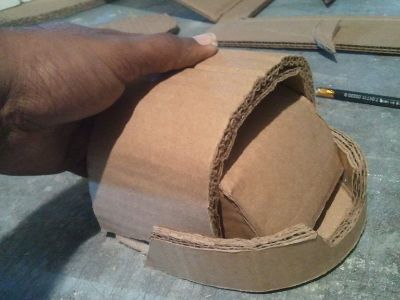

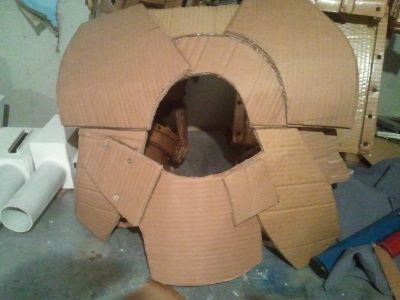
Worked on the heel after ...but i started to realise, making it in two pieces was a bad idea xp
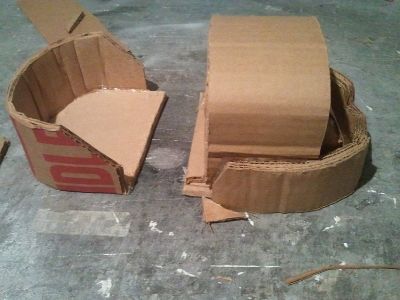


After a few tries, mostly cause i had to get the scale right, i finally worked it around an old work boot i had. Now that i had the scale right, i could work the rest of the armor in relation to the scale.
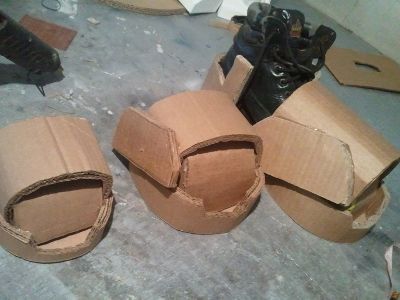


Now the real work begins. Working by eye watching and averaging the basic shapes by breaking them down into parts
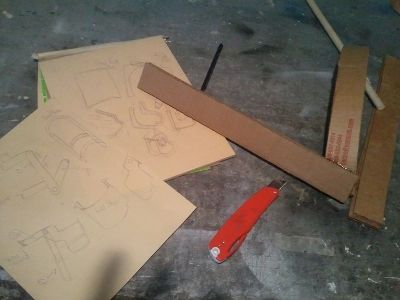

So I started on the basic shape and how i worked out it look like
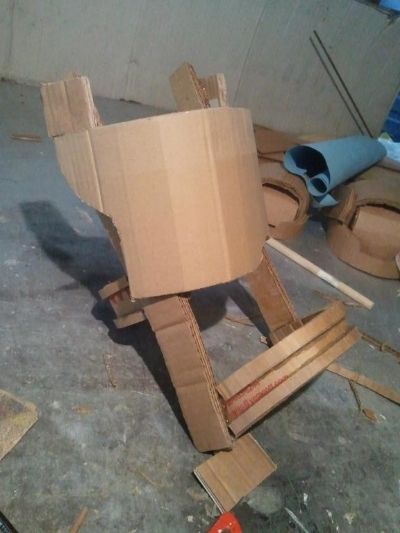

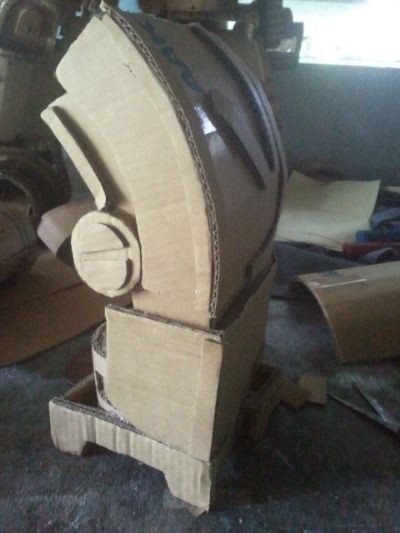
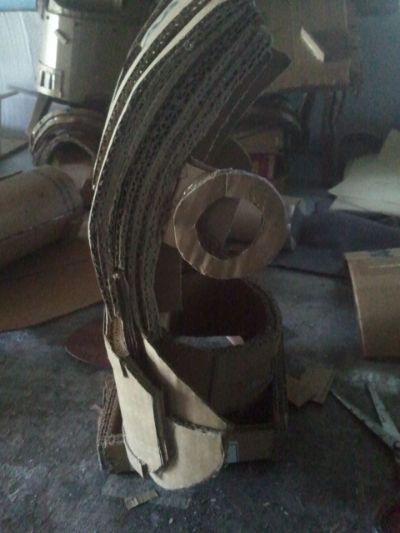
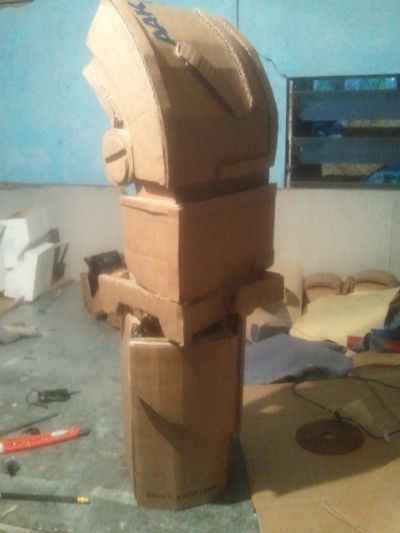
Pretty soon i got the lower leg to look the part.
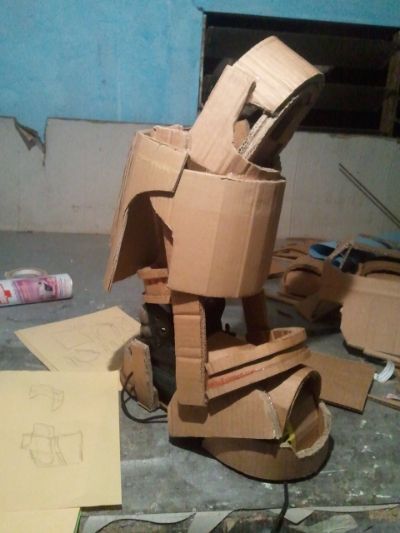

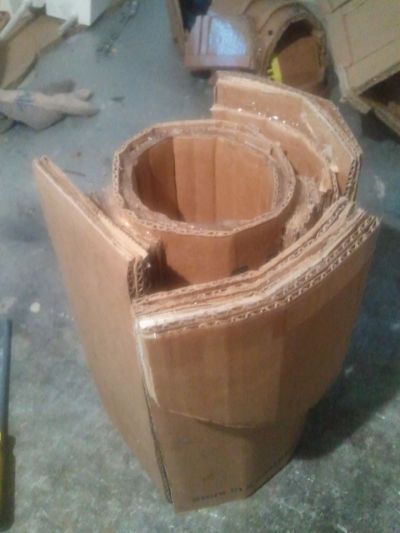
The thigh was pretty fun to work on beacuse of its gear steam punk like shape
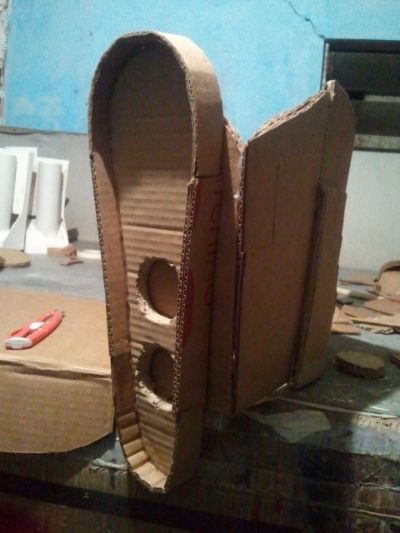

Pretty soon, i got the over all...but the real work was coming.
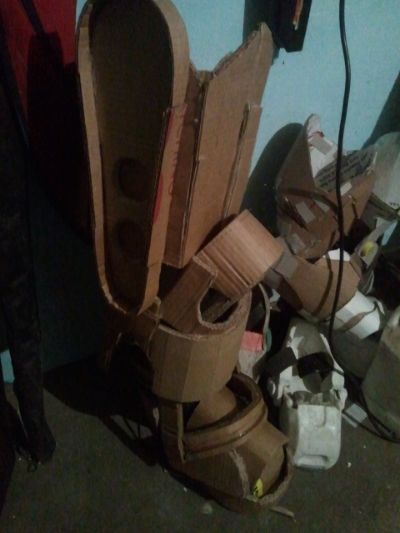

Sooooo like i know im not the neatest prop maker lol...but hey, if your not enjoying it.
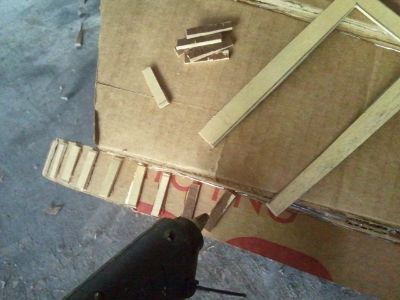

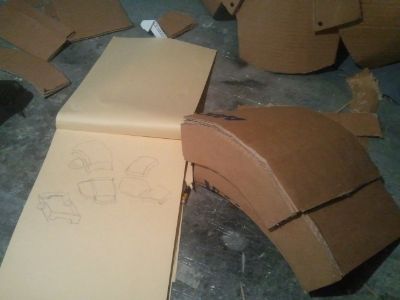
Drew up the rest of the sketch plans to work out what to do
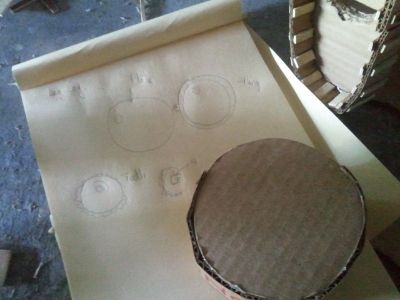

Felt really accomplished when it came out ^^....it loved how it looked for me personally
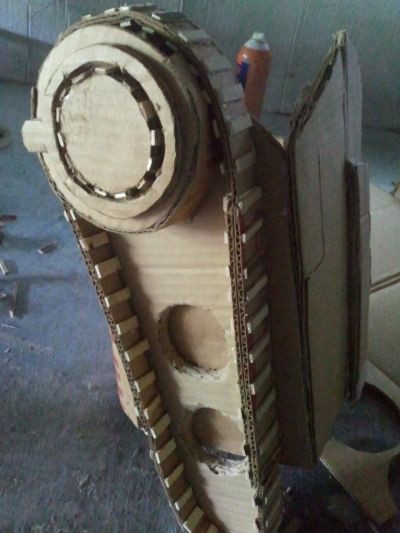

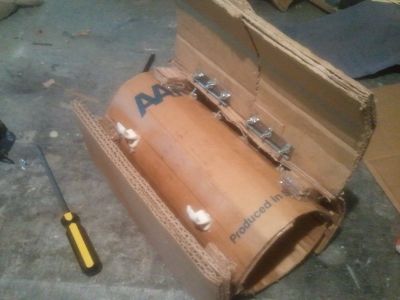
So i worked out some MDF board and some nuts and bolts. Used some Rattle can caps for the anchor and slapped it all together to make it work out in the end
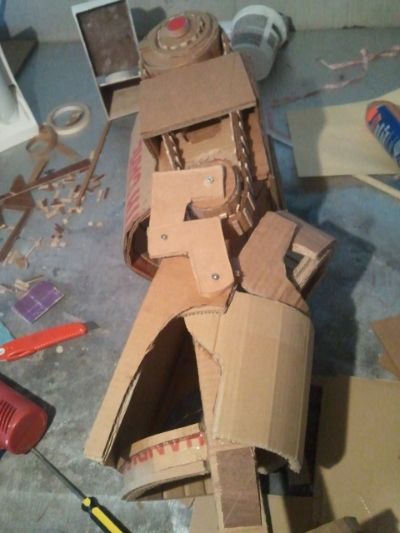

And thus the first leg was done....phew..XD.... so more to come soon
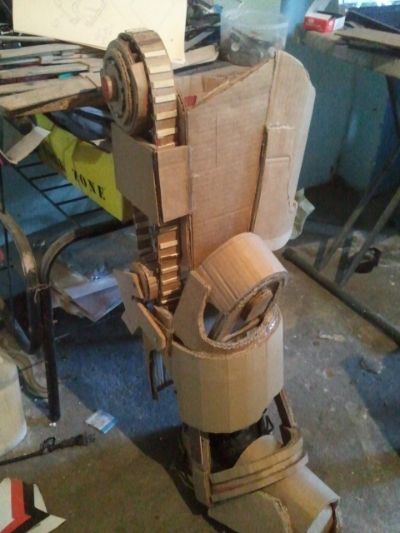


************************************PHASE TWO***********************************************

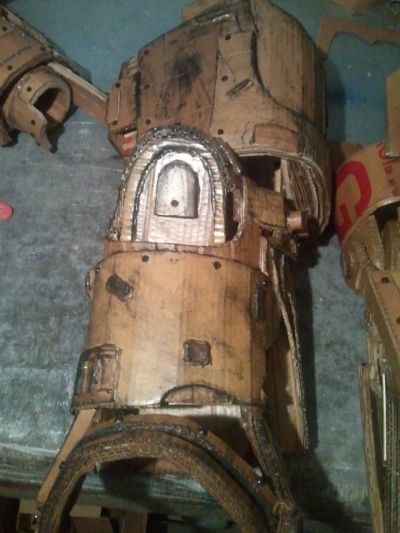
When i had finished the first leg, while it looked great, it looked a little plain, so i decided to add some little detailing like these Cupboard screws.
Which ended up looking like rivets
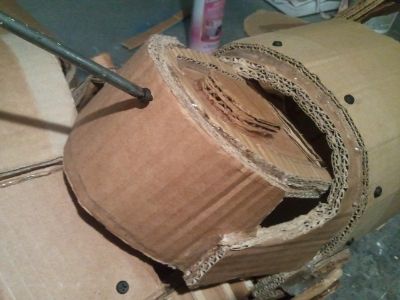

Which really made it pop for me ^^
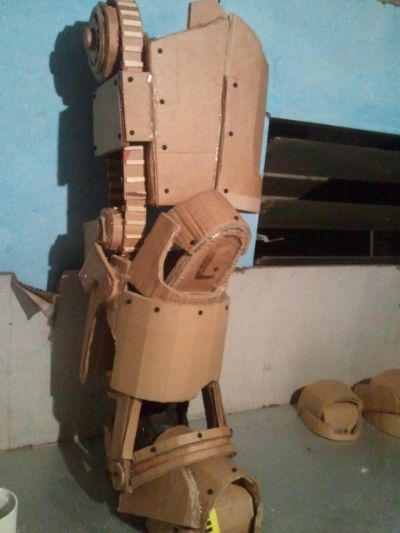

So Im getting started on the other leg, using the same method of breakdown and building it around the right boot

Though its well shown that this leg is vastly different from the left. making the linking mechanism to the lower half in advance was a bit tricky. But i managed to get it to swivel and rotate
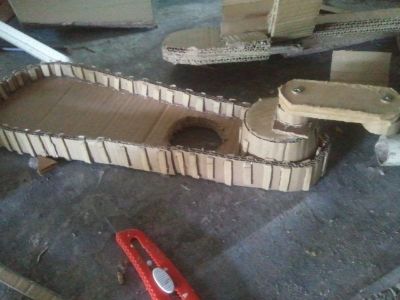

This is the finish overall for the right gear thigh
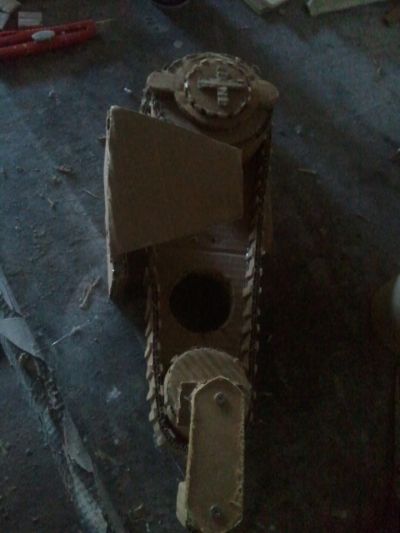


After a while though XD i started to ask myself WTF am i doing lol....
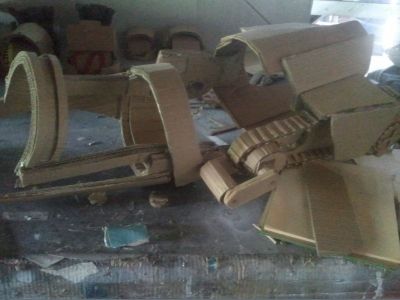

In the end....phew..><...took about 5 hours...but i managed to pull it all together, but i not skipping that i think i got a bit of the scale off a bit, since i didnt add the knee cap here, but when i get to it youll see what i mean.
 
Last edited:
agreed, looks badass. you planning on glassing it or something so that it doesnt degrade? looks like it would make a great statue after use!
 
agreed, looks badass. you planning on glassing it or something so that it doesnt degrade? looks like it would make a great statue after use!

Thanks guys, Just hoping it all hold together in the end.
As for keeping it from degrading, im using wood glue and water and giving it a couple coats and letting it air dry , i did a few tests before with it and it holds up really well, so later on youll see how it looks.
 
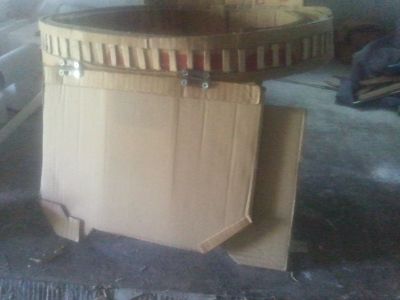
So going on phase 3 making the pelvis armor


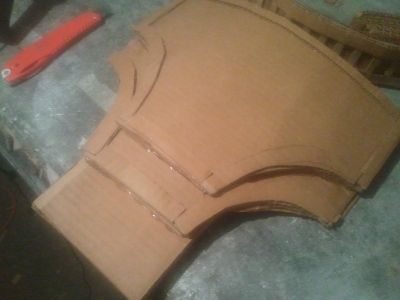
Front Guard


Rear Guard, but i was a bit suprised after I got it wrong since its more square in the back for all the mechanisms that mounted just above it...still...im going adhead with what i got


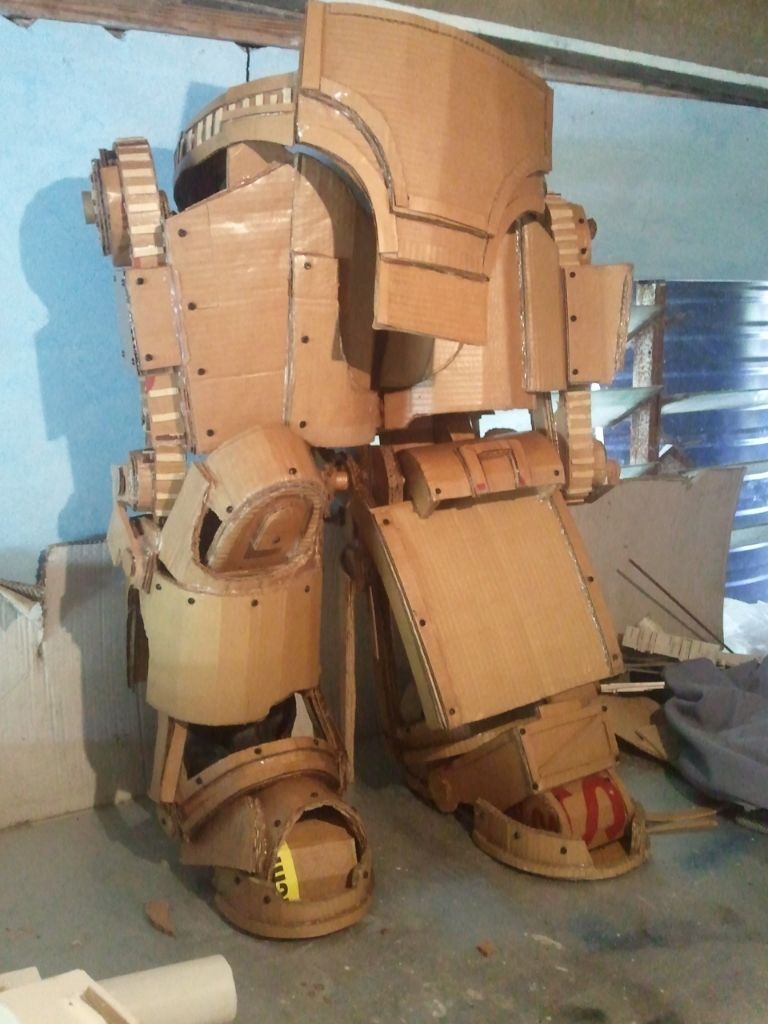
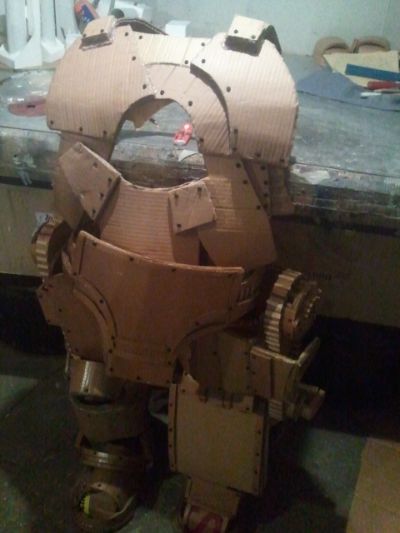
Well here is not the lower half, two parts are out of scale, the knee on the right, and the back plate of the pelvis, but overall im content. To keep it from wear and tear, I started coating it with a cream mixture of wood glue and water and giving it coats inside and out.

More to come soon.
 
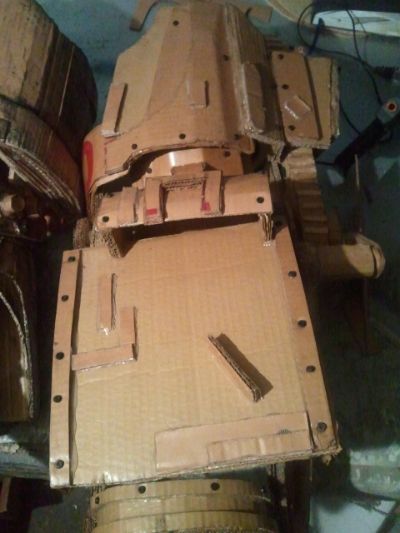
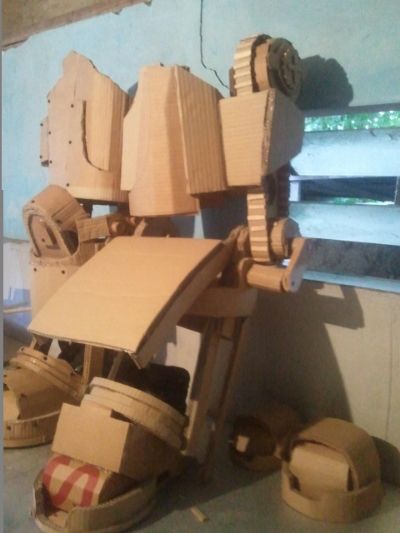
So Phase 3 was completed, Dealing with the chest and back in one shoulder mount build.

Worked up an idea on how the chest worked out to be.


One thing i didnt want to do was keep the chest flat, like the orginal was, as it looked flat welded , but to make it give a bit more art to it, i kept it beveled with alot of raises and falls


Started to take shape, but i realises i made a flaw in that having it beveled it made it so strong i couldnt get a bend that apperant from the side on the chest...so mines going to be flat..Xp


Front finished and phew...


Got the back in it was simple to make. not soo simple to curve into the shape as it kept tearing apart, so had to stick and hold in one inch at a time..


So...mounted in the screws..and propped it up for the look..^^...im happy.Over all, all i bought so far was just glue sticks and a few...hundred cupboard screws XD
 
Thank you for your comment x3 its great to work in budget builds~

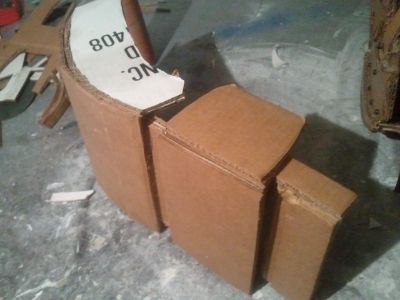
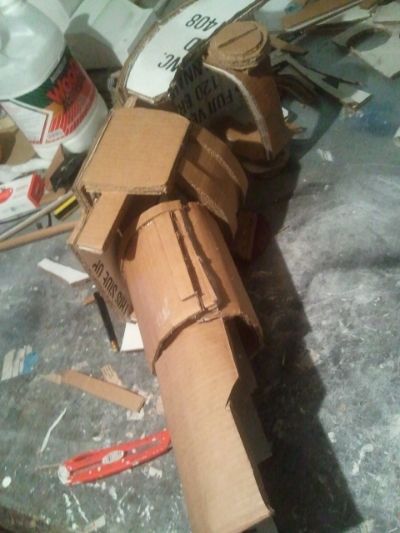
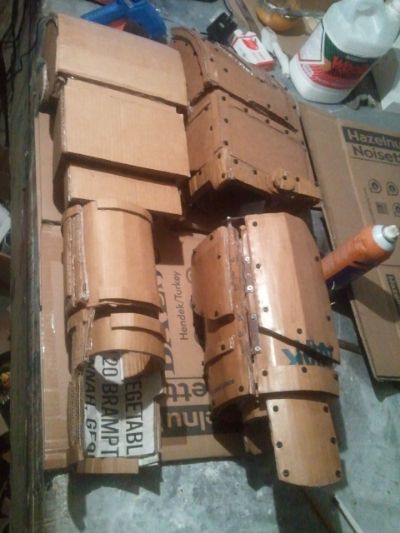
So moving on, to the arm heres the breakdown. The arm has so many things going into it it was a little time to get everything out...not sure if i got everything


But it isnt until you get down to it that you work out how you want it....The shoulder mount XD I already wanted to go into ramming some walls with it


the Flip side...@.@...the layer of cardboard here i lost count...


Once the top half was done it was time to get to the lower half. I made it just large enough to get my wrist


Got it going, and it came out preety good


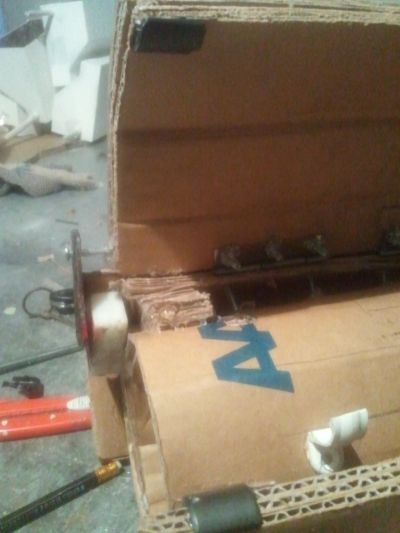
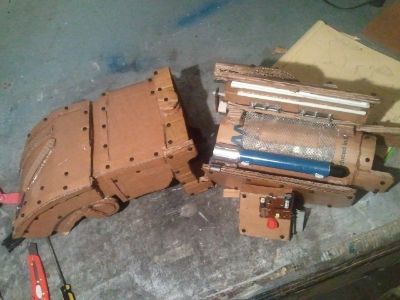
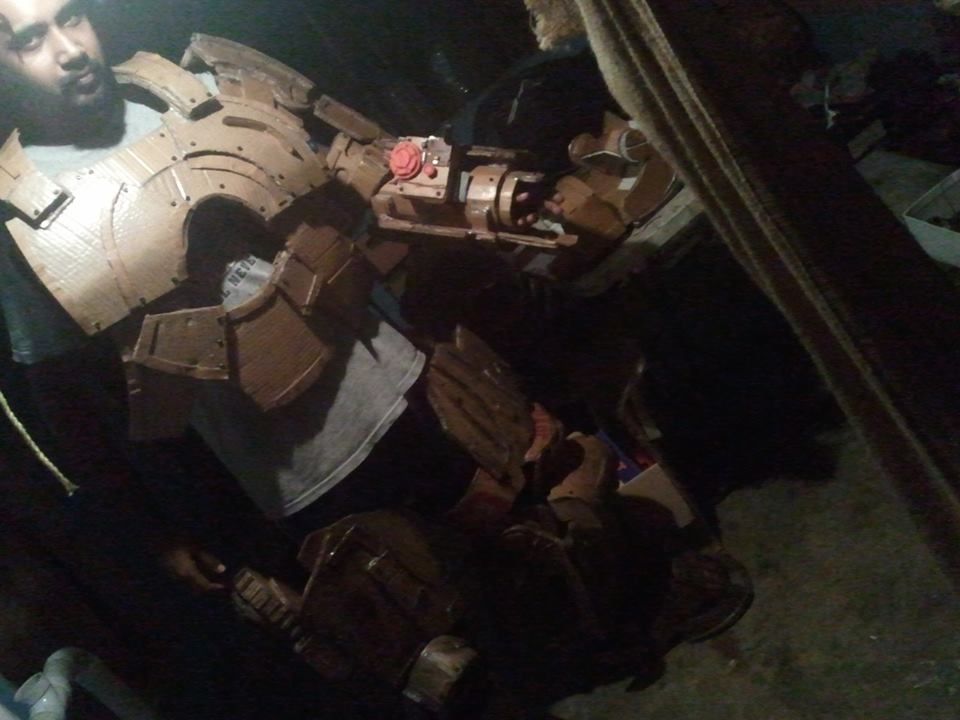
Now i planned adhead and didnt seal up the entire thing, since on his left arm there is a rocket launcher mounted on the lower arm. So i wanted to keep that part, and screwed in some hinges and sawed some pvc wall brackets to act as the mount for the missile.


I had some old toys that i had scrapped down for the engine and it had a wonderful two way switch that allows me to set it in reverse and forward. So i can use it to control the flap with it.


So this it the complete arm, for it to hold, i screwed in some straps between the pieces to hold them together.


And finally its complete, with all the trimmings even with the rocket XD ..I like blue >.>....


Coming up the Left arm.
 
noice. noice and more noice.

so i've got a question, where are you getting all this cardboard from??

also i just had a thought here, i'm not sure if you're planning on adding a "welded seam" look to the parts that were welded in the movie, but if you are then hot glue would work great, if you've ever tig welded before then all you have to do is literally imitate the movements needed and once you paint over the glue, it looks exactly like a weld!

Lol..i ask around alot of places like groceries, hardwares, and the street side markets. It helps if i show them what i work on, and they get just as excited lol.

As for the glue seam, i hit that exact idea around the same time. since it looked pretty good for it. However, im thinking of making it novelty this build and leaving it as cardboard, but to make have that look that it came from a cave I opted to smearing charcoal over it, which stained the hot glue into an actual welding.

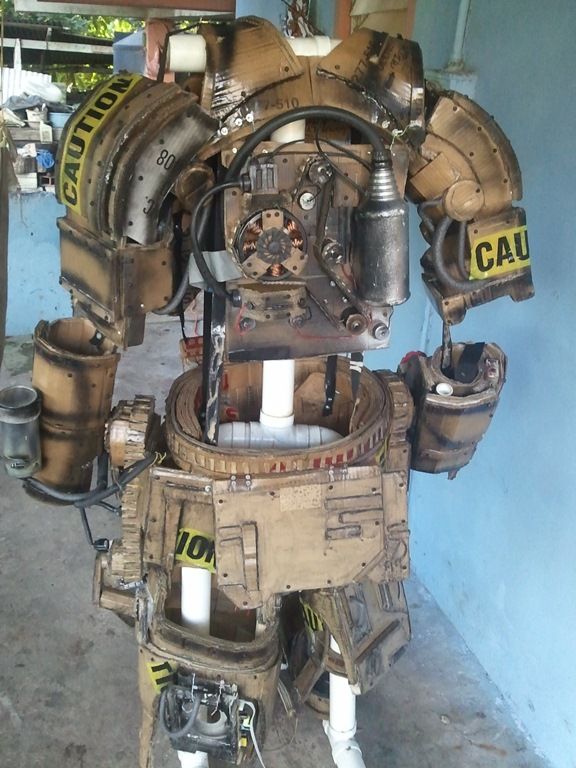
Here is it without weathering. Its coated in several layers of wood glue and water to keep it from degenerating, I worked with fiberglass in the past, but this holds up well for me and becomes so hard, i have use a hand drill if i want to make holes in it


Here is the other leg Weathered. Im taking a gamble and hope it looks ok. I like it personally though. After all it has to look like it was build in some grimy dirty soot filled environment...@.@..which...kinda describes my garage...


( Will be taking a short break from this build as working on another, will update as soon possible :
Current Build :http://www.therpf.com/f24/alphonse-elric-armor-cardbord-build-wip-224311/)
 
i didnt realize that it was you doing the alphonse build too, shouldve known! part of me wishes you'd do the steel look for this but it does look pretty sweet just as cardboard too with the weathering, good work!
 
So im back... and i really missed working on this build So i was eager to get going again.

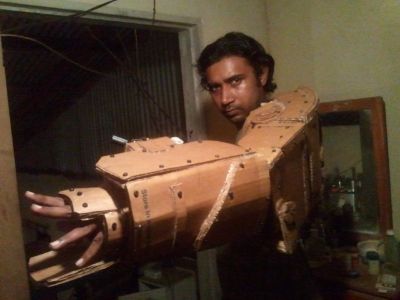
Heres the image of the the arm on me it freaks out anyone who sees it cause of its size lol


So i got started on the other arm now. Which was easier to do with the other arm done. and the top half is almost simlar


Thankfully this one doesnt have much elorbate props on it, but will be attaching the cannister and wiring once its be coated in glue to reinforce it


A few hours later both arms are ready.


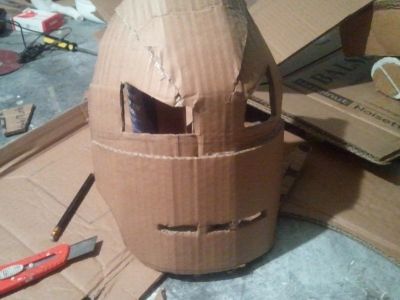
Thought id get started on the helmet..which always make me nervous.


But not to bad for a freelance build.


Thought before turn in i prop this up ^^.....this is by far my most favorite suit.. XD
 
OK so back on my MK1 Cardboard project, and finishing it up for next week :3

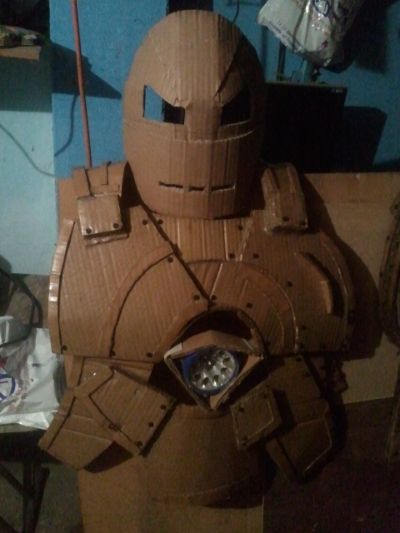
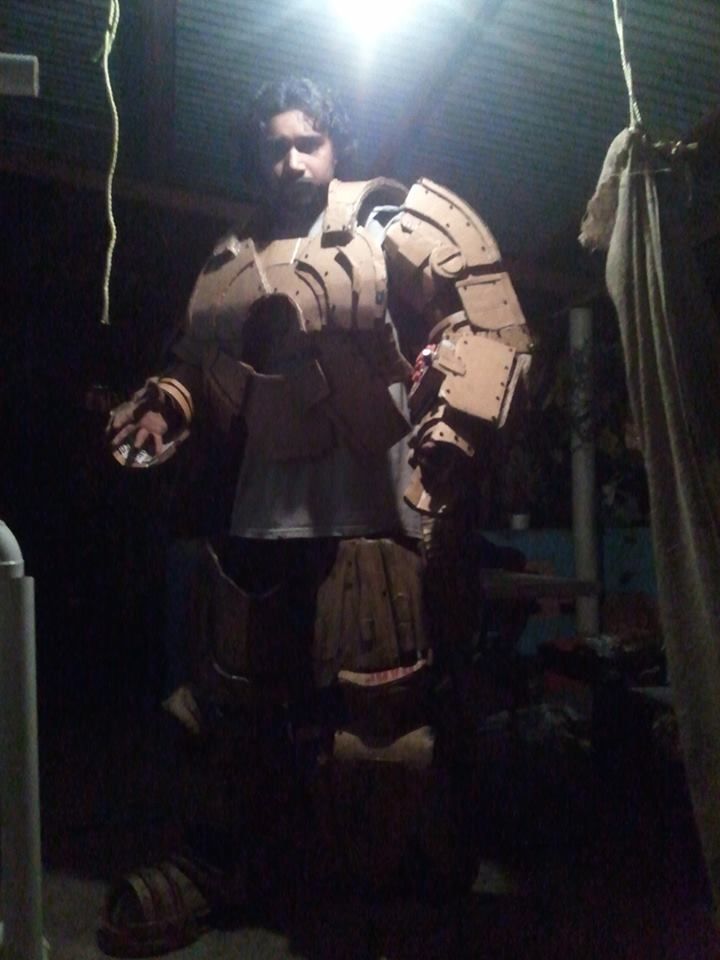
Here its is on me as is.


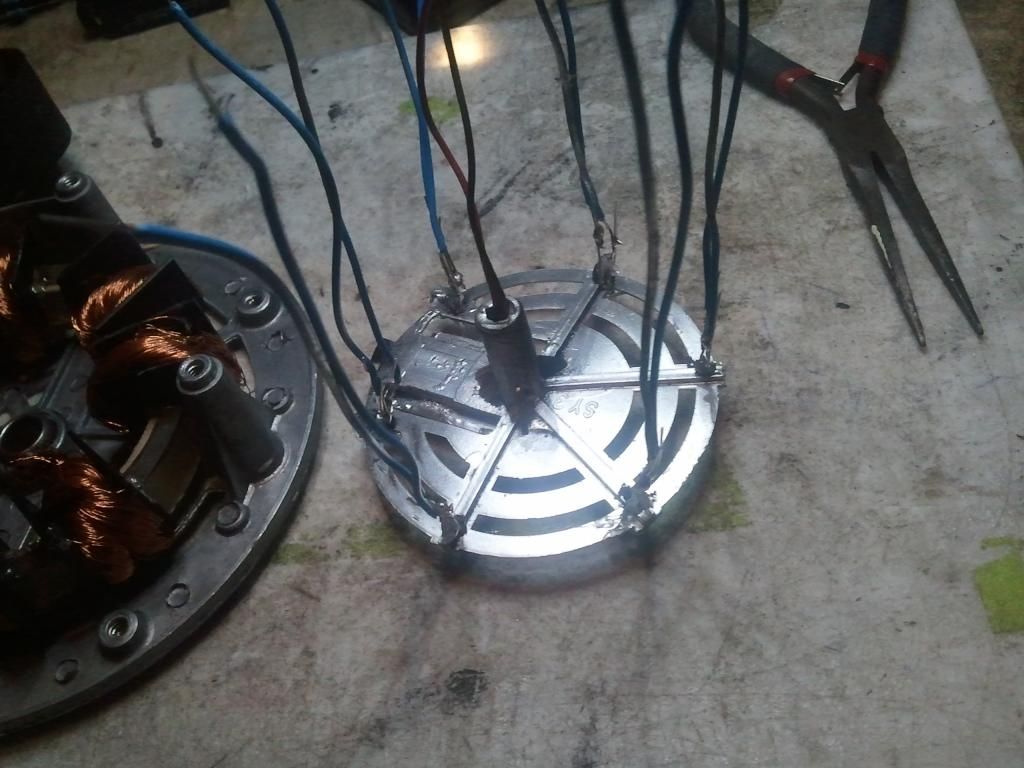
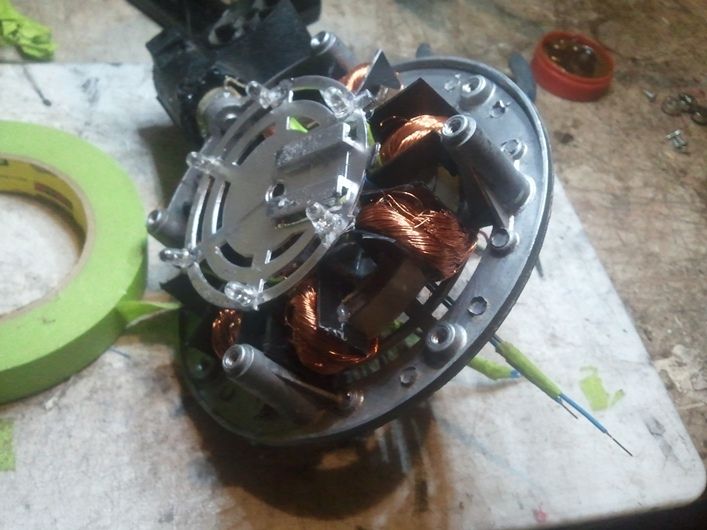
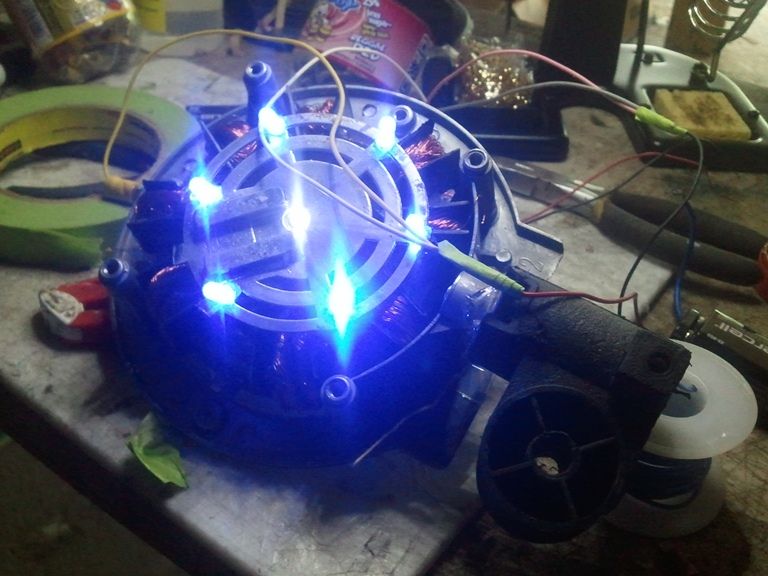
Next up the chest core Im not very good at one to one replication, and used what i had, in this case, was a scrap electrical stand fan a friend of mine was trowing out . RECYCLE POINTS~


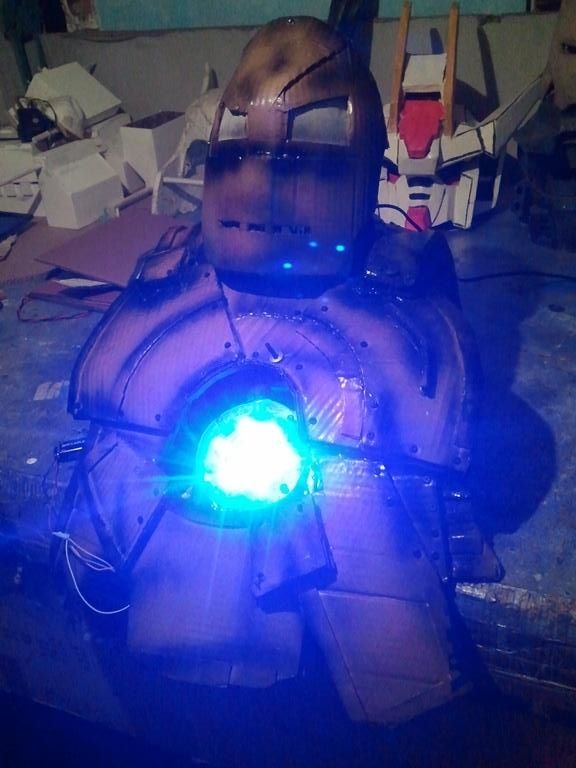
IF this doesnt pass for an MK1 reactor I dont know what will...@.@


Light it up :3


Installed. Though The helmet Im remaking. ;/ I got a bit lazy at it and need to work to make it come together.


And Finally to take it one step futher...
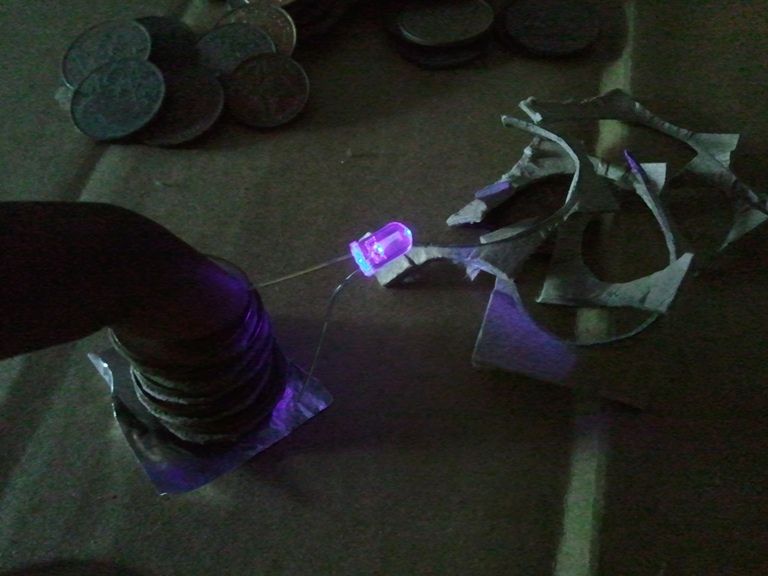
To make it a true cardboad Build Im powering up the Core...With Cardboard....and some pennies....
Behold. The Penny Battery


I need to make a bunch of cells to make up the volts, since one cell is about...5 pennies and it just manages to power 1 led. but ive left it overnight and it still lights. You can look up Youtube for (Penny Batteries) builds.

So the helmet and some the back plate is up next.
 
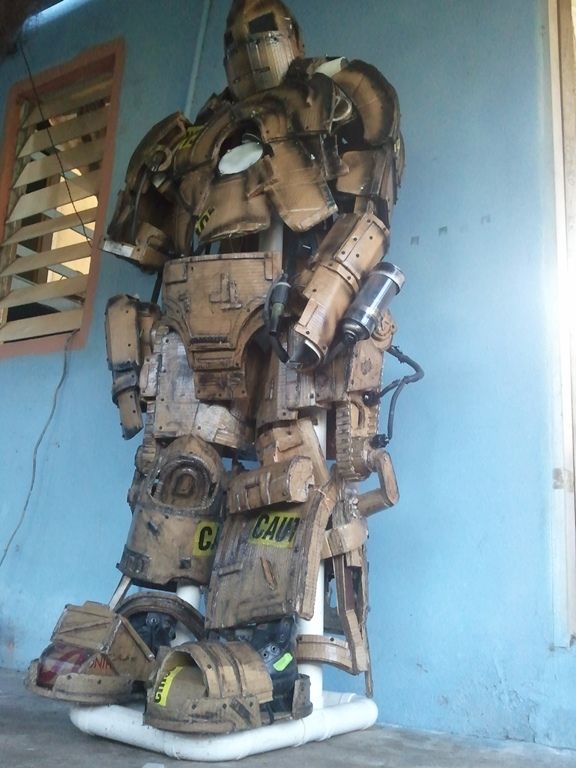
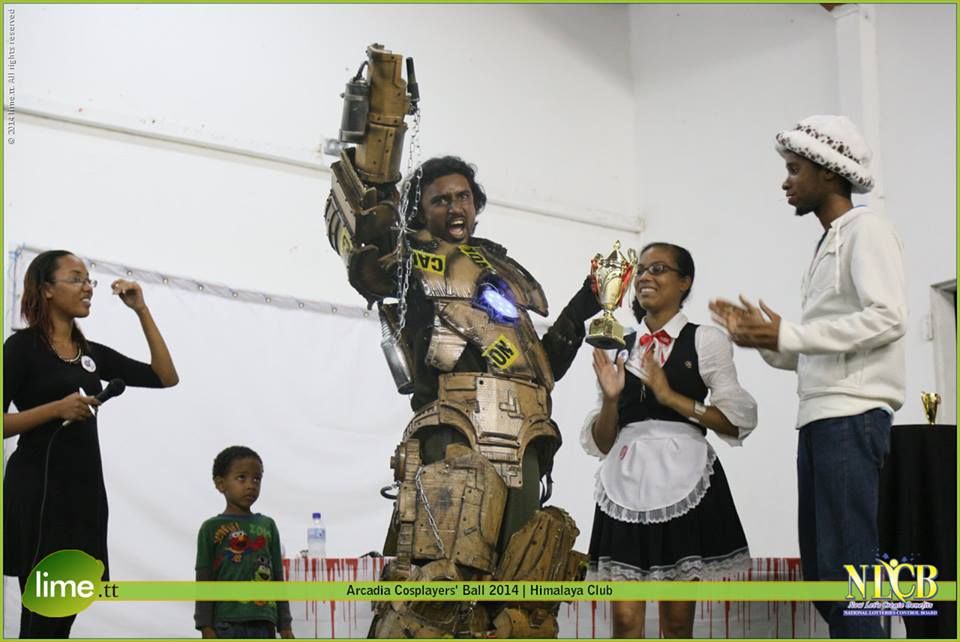
So at long Last Finished this cardboard build I had it finished since november. But didnt get around to posting it up due to time. But sadly i did over do it on the effects XD but hey..its was for the fun of it and to have my own little geek moment for a Armor Thats become my favorite.


And finally..would would have thought..Id gotten an award for it....heh.

..maybe for the most outrageous one.


Anyway. Its been wonderful through the process. But..time to do more polished work on the next one ^^..Thanks for following.
 
This thread is more than 9 years old.

Your message may be considered spam for the following reasons:

  1. This thread hasn't been active in some time. A new post in this thread might not contribute constructively to this discussion after so long.
If you wish to reply despite these issues, check the box below before replying.
Be aware that malicious compliance may result in more severe penalties.
Back
Top