Star Lord Build from scratch-ish...

Hey dansl,
Thanks for the nod - I think you'll find a lot of people here who have a lot going for them in the way of detailed work. Kevin Gossett has a pretty killer thread on his work here. From there, pretty much anyone commenting in higher-frequency will be good people whose work you can look at.

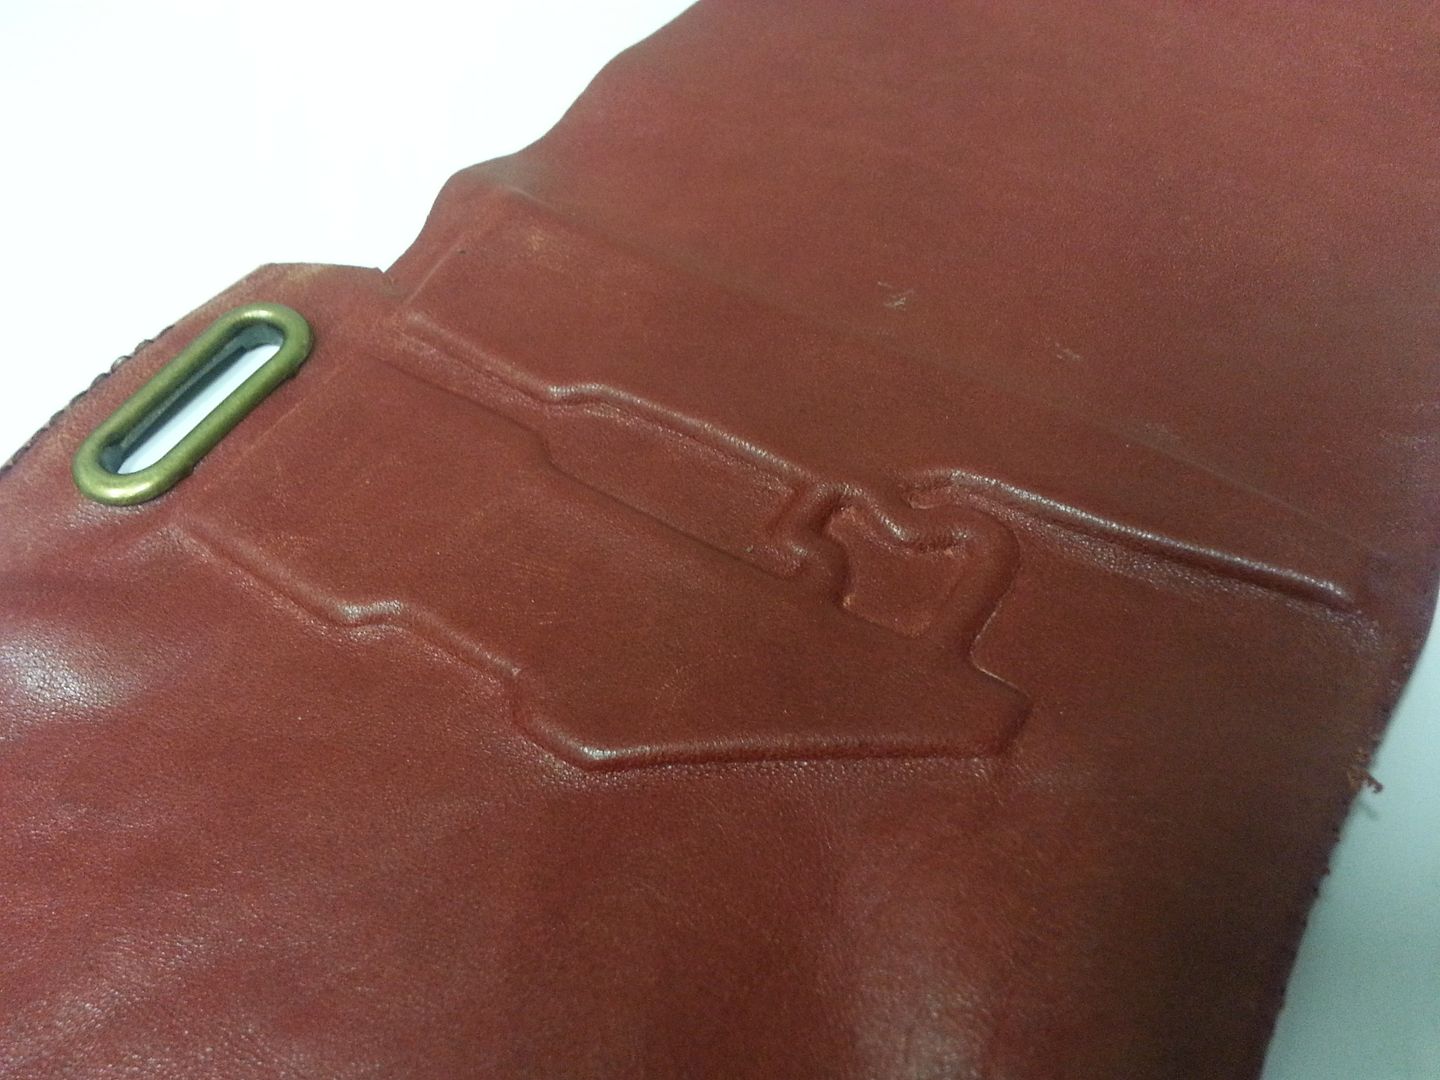
So far as outsourcing, I do an Interest run [INT] for the screeen-accurate Zipper and you can find that here.

So far as the Blasters, well, you've already read my thread. I was aiming for Weight Accuracy so my work in converting the Nerf gun was kind of pioneering.

Best of luck to you and just ask anyone for help...they're all great, here!

hey all, joined the other day as i'm looking to get a star lord costume together, although my skills in the costuming department are 0 lol, so will probably be sourcing stuff already done. @Staar Lord Maan glad to see you have as much attention to detail as i do! i've seen so many costumes and various items by people that just lack that eye for detail, being a perfectionist i'm finding it hard to get anything so will probably work with someone to build it.....or ask you :lol
@joatrash i've looked at loads of jackets and none are exact, the one staar lord maan posted is the jacket i'm looking at just because it has (as he mentions) a similar design snake skin i think even though it should be a printed design, and most importantly they have the colour transition at the back and bottom side bits. they don't have the slanted sleeve ends either but i'm in talks with them about that ;). Your reference to Danny's jacket on ebay, can you tell me what to search for or he's name on there so i can have a look please? There is a thread on here (called something like screen accurate star lord jacket) regarding the printed design someone has made looks perfect!
 
Last edited by a moderator:
wow that thread is awesome thanks for that :thumbsup i'll look through it now!

mods can delete this, i meant to edit to the below message but ended up posting original plus the amended one lol.
 
Last edited:
wow that thread is awesome thanks for that :thumbsup i'll look through it now!

I'll be keeping keen interest on your progress!
 
found a website of the costume designers/makers talking about various items and about the jacket, not sure whether you've read this?

http://fashionista.com/2015/03/superhero-costume-design

"It’s actually very basic cotton drill that has been ombré dyed and printed and waxed and then aged," she says. "So there’s a very basic fabric that we have made look like something else."
 
Last edited by a moderator:
Hello everyone, it's been quite a while since I have done anything with my build, (selling zippers takes a lot of logistics, sometimes), but I'm back with a video on the Boot Rockets.
I had started them a while back and for some reason, I thought I could re-start my band. That was a waste of time....sooo, here...watch this and enjoy the images!


AAaaannnd....


and for those of you who are looking for a way to add detail to your Boot Rockets, have a gander at this...then click play on the second video...

Better than guitar strings.JPG Fixed gimbal struts.JPG
 
Last edited by a moderator:
I post a lot of what I do on my Facebook page under the heading "Star-Lord/Peter Quill - COSTUME BUILD UPDATE #(insert number here)"
Once I get a few of them posted, I'll pop them up over here on RPF.

Build update #19 had four parts - (19, 19.1, 19.2 & 19.3) Here they all are


Star-Lord/Peter Quill - COSTUME BUILD UPDATE #19
Getting my fingers all black and silver, tonight...Black bits first...then the dry brushing...oh dang, forgot to hit the recesses on the head sink ports....back to it....
Boot Rockets Stage 1 paint.JPG

Star-Lord/Peter Quill - COSTUME BUILD UPDATE #19.1

Just a touch of paint to the recesses in the sink-chambers in the heat exchangers followed by some clever gluing of...oh damn...ran out of Krazy Glue...(runs to Lowe's for more)....where were we? Ah, yes...the Gimbal-Struts...(time lapse to this morning)...first-(and second)-cup Saturday and my work is cut out for me...
06 First cup Saturday.JPG 03 Strut Gimble 1.JPG 04 Strut Gimble 2.JPG
01 Heat sink paint 1.JPG 05 Outta glue.JPG 02 Heat sink paint 2.JPG

Star-Lord/Peter Quill - COSTUME BUILD UPDATE #19.2
CRAAAAAAAAAAP!!!! When dealing with 3D prints, one must remember how fragile these things are an to not exert pressure on weak spots. (for the most part, just read the images, this time...)
04.JPG 01 Craaap.JPG 05 Ready for the next step....JPG
02.JPG 03.JPG


Also, I devised a way to hold onto a tool by adding a little grip with tape and a segment of toothpick. Works like a dream, too...
Tool improvement 01.JPG Tool improvement 02 copy.jpg Tool improvement 04.JPG

Star-Lord/Peter Quill - COSTUME BUILD UPDATE #19.3
Boot Rockets - Stage 2 paint - 'Insomnia'.

I put my head on the pillow and my brain kept spinning, last night, so painting the Boot Rockets seemed like a good idea. I thought I'd let this dry and then hit the Ion Transducer Chamber/Fixed Gimbal-Struts with a bit of silver dry rubbing using a dry brush...took just about five minutes to dry, so I proceeded anyway...it's a horrible waste of paint, but as you can see on the Heat Exchangers, the black dry dabbing worked pretty well. Next step, the red and blue** metallic heat scarring using red and blue sharpies and a paper towel...awww screw it...I'm this close, anyway....might as well go for it. Bam... Done......'-ish'
1 Completed.JPG 2 Red Blue.JPG
3 Front Back.JPG 0 way too early.JPG

(...despite what the time on the phone says, at 2:45 AM...I think was finally ready to sleep....)


**I need to tune that red/blue blend a bit, but I was dead on my feet and thought I posted this before going to bed.


Lastly, I can't stress, enough, the importance of using a reference image while doing stuff like this. I didn't have one in front of me last night while I did the dry brushing and now, looking at the reference image below:
no pins_a.jpg
A friend of mine took this picture when the actual props were on display, somewhere a little while back. There seems to be more silver in the Fixed Gimbal Struts over the Transducer Chambers, so...yup...just a little more painting is in my future, here. @Kevin Gossett - I used a plastic model paint by Testors for the silver bits...I know it takes this stuff almost a week to 'gas-off', but I was considering hitting it with a gloss clear coat, (afterwards), to preserve it....thoughts?


no pins_a.jpg


Boot Rockets Stage 1 paint.JPG


01 Heat sink paint 1.JPG


02 Heat sink paint 2.JPG


03 Strut Gimble 1.JPG


04 Strut Gimble 2.JPG


05 Outta glue.JPG


06 First cup Saturday.JPG


01 Craaap.JPG


02.JPG


03.JPG


04.JPG


05 Ready for the next step....JPG


Tool improvement 01.JPG


Tool improvement 02 copy.jpg


Tool improvement 04.JPG


0 way too early.JPG


1 Completed.JPG


2 Red Blue.JPG


3 Front Back.JPG
 
Last edited by a moderator:
[Soooo...I was up until about 2:30 working on some of this stuff, just sayin']

You'll notice in the first image, the jacket that Chris Pratt wore. Take notice to the the Wet molding, there...
Glyph Patch.jpg

I have some rigid cutting mat plastic that I cut out to make this happen...
IMG_2923.JPG IMG_2924.JPG

...but I heard from someone, here, that leather is what was used, so it tried cutting some out of a half hide I had laying around;
IMG_3681.JPG IMG_3680.JPG


Nope...too thick.

So, in my sleep deprived stupor, I went for some of the crafting foam I picked up as stuffing for the leg holsters...
IMG_3690.JPG IMG_3689.JPG IMG_3688.JPG

WAAAAY too flimsy, although it makes for a good pattern to put onto a copier if anyone's interested!

Soooo I reassessed my trimmed and sturdy cutting mat material, noting how smooth the first picture looks.embossing. Occam's razor all over again, it seems. My original cuts were kind of crooked and outside the lines, so I went at it with a file and a razor blade to bring it 'round to accurate...or as close to it as I'll get with this difficult to cut material...
IMG_3683.JPG IMG_3686.JPG IMG_3685.JPG
IMG_3682.JPG IMG_3684.JPG IMG_3687.JPG

And so now I have three sets of these things, LOL!
IMG_3703.JPG

Does anyone have any tips or tricks on this kind of leather working? I'm planning on using E6000 as my adhesive.. Will that adhere to wet leather?

Glyph Patch.jpg


IMG_2923.JPG


IMG_2924.JPG


IMG_3680.JPG


IMG_3681.JPG


IMG_3688.JPG


IMG_3689.JPG


IMG_3690.JPG


IMG_3682.JPG


IMG_3683.JPG


IMG_3684.JPG


IMG_3685.JPG


IMG_3686.JPG


IMG_3687.JPG


IMG_3703.JPG
 
Last edited by a moderator:
For those of you who were curious where the images went for Post #130, (yeah, either scroll up or click that), I just reloaded them into that post so you can see what the hell I was talking about...Maaan i was tired that night.
 
Last edited by a moderator:
Thanks Soulinertia! So basically; go to town on this thing while it's wet...let it dry over night and then go to town on this thing with the glue. I don't have that bone tool to press the edges with, so perhaps the thick end of a good sturdy chopstick will have to do...besides, I don't know the name of that thing, anyway, heh!

E6000 works well. It's very flexible. That's what I used. I'd let the leather dry before applying it though.

http://i44.photobucket.com/albums/f33/GirlsofComicCon08/20140911_155427.jpg
 
Seeing as how I am finishing this jacket for a client, now, I thought I'd document my process, for not other reason than to show how a guy who doesn't know what the ***** he's doing pulled it off...with copious amounts of E6000, a cut up craft mat, scraps from my space gloves and blue painters masking tape...all without getting anything on my nice pants or Star Lord shirt! Let the image frenzy begin!

First of all, seeing as how I'm not making this from scratch, I had to shove a book into the sleeve so i could work with the flat surface I needed to trace the placards into the back side of the leather.
IMG_3707.JPG IMG_3704.JPG IMG_3706.JPG
IMG_3709.JPG IMG_3711.JPG IMG_3710.JPG

Next, I moistened the zone and let it sit for about twenty minutes...i found that this was useful for later on, as the leather drank it right up making it easier to mold.
IMG_3712.JPG

Remember at the beginning of my journey when i made the Gloves? Lesson #1 - KEEP YOUR SCRAPS. I used those bits to keep the E-6000 from getting all over the polyester lining of the sleeve. I covered all that with blue painter's tape, (which sticks quite will to the back of leather, by the way, but probably not a good thing to have for if this thing ever gets dry cleaned or soaked. Eventually, I peeled this stuff off and replaced everything with Gorilla Tape...
IMG_3715.JPG IMG_3714.JPG
IMG_3713.JPG IMG_3716.JPG

At the end of the day, for a guy with his head in the clouds from all those glue fumes...I think i did a pretty okay job...

[EDIT] - I wound up trimming a lot of that leather back around the smaller pieces. Also, took the blue tape off to do this. I *do* suggest using that blue tape when you're molding the wet leather, though. It keeps the glue from messing up the sleeve's lining. Lastly, when you rub the finished leather, take heed...you may rub the finish off like I did, so go slow and be patient. The repair work I did on the rubbed way portion can be seen at the bottom of this post in a Before/After shot.

IMG_3722.JPG IMG_3724.JPG
IMG_3730.JPG IMG_3718.JPG

Next time...the other sleeve and the valve hole...

valve.png
Yes, I said it...hole...god help me....

Repair work...
BEFORE............................. AFTER
Touch up needed....JPGTouch up achieved.JPG
As you can see, when I rubbed the leather raw with the end of a coated paintbrush (probably too small and pointy), I exposed a much lighter shade of red. Old English scratch remover (the dark stuff) Rubbed on with a paper towel worked great. The porous nature of the scratched leather picked up the oil whereas the finished leather allowed it to be wiped away. Bonus: It looks like a little shadowing, now!


IMG_3704.JPG


IMG_3706.JPG


IMG_3707.JPG


IMG_3709.JPG


IMG_3710.JPG


IMG_3712.JPG


IMG_3713.JPG


IMG_3714.JPG


IMG_3715.JPG


IMG_3716.JPG


IMG_3718.JPG


IMG_3722.JPG


IMG_3724.JPG


IMG_3730.JPG


valve.png


IMG_3711.JPG


Touch up achieved.JPG


Touch up needed....JPG
 
Last edited by a moderator:
Well damn...

While rubbing the rounded end of a paint brush against the leather, I managed to peel off the top layer of it. Anyone have any ideas on returning these worn parts to their former color and luster? Thanks.

OOPS.JPG
 
This thread is more than 6 years old.

Your message may be considered spam for the following reasons:

  1. This thread hasn't been active in some time. A new post in this thread might not contribute constructively to this discussion after so long.
If you wish to reply despite these issues, check the box below before replying.
Be aware that malicious compliance may result in more severe penalties.
Back
Top