The Definitive Peter Quill/Star-Lord Costume Thread

so i've been working on my orb and
IMG-20151014-WA0000.jpeg

but i got a problem:
IMG_20151014_142944.jpg

i glued the 4 parts together and ihave this massive gap in between all the parts :s i am guessing it is becaus of the glue i used, hot glue, but now what? i can pry the parts back loose but whet glue should i use then?

IMG_20151014_142952.jpg

also i use 6 magnets that have a 1kg strength but they cant hold the orb together :s any tips on that?
 
No matter how much I realign, it fastens like this instead. Incorrectly. I have measured and tried time after time, tried to straighten out the links, align them more to one another, it's always this. It worked before. I don't get why it won't fasten correctly any longer. It seems the zipper points are bending upwards with the zip, rather than inside the hole, as intended.

Examine the zipper pull. The brass (or whatever mixture they used) is very soft and the zipper pull bends "open" after a while, widening the gaps and therefore stopping the links from aligning. You may need to press it closed with a pair of pliers.
 
Examine the zipper pull. The brass (or whatever mixture they used) is very soft and the zipper pull bends "open" after a while, widening the gaps and therefore stopping the links from aligning. You may need to press it closed with a pair of pliers.

Much thanks for the replies. I did just that actually; removed the slider and pressed down on both sides a few times to make certain it would zip. Sadly, at best I got two links and no more. I have no clue what actually happened to its mechanism, but after just a few times, the soft brass bent then broke.

So, I'll have to be content with either a non functioning zipper that is still aesthetically pleasing, a replacement, or perhaps, an even more cost-effective, a replacement slider.

But since it's such a rather unique specimen of zipper, would it need its exact same slider to still function, or would any replacement of equal size work just as well? From all my examinations, it does not appear any more different than most other sliders of its size variant.
 
Last edited:
I got it on Ebay, I assume from someone also on here months ago, nor is it that from Chinese site that was posted. It looks the same as what everyone else has that I've seen.

In any case, just from how thick the links are, it's nowhere near as versatile as a normal zipper. I must have it crooked. I'm going to try and upload a picture very soon to elaborate my problem with it.

EDIT: Pic added.
View attachment 539887
No matter how much I realign, it fastens like this instead. Incorrectly. I have measured and tried time after time, tried to straighten out the links, align them more to one another, it's always this. It worked before. I don't get why it won't fasten correctly any longer. It seems the zipper points are bending upwards with the zip, rather than inside the hole, as intended.

There's definitely something off about that. Hopefully the teeth haven't been damaged, because while this zipper does have a pretty stiff pull, I've never had it not go together like in your image.
That pull looks awfully small though. It may just be the angle of the pic, but check the back of it and see if there's a number on it. It should be '8'. If it isn't, that's your problem.
 
I just got some fun pictures:

g2j8C3v.jpg


KI0nlRI.jpg


The colors in these pics might not be exact, but overall I'm pretty happy. A couple very small details still to be changed, too.
 
There's definitely something off about that. Hopefully the teeth haven't been damaged, because while this zipper does have a pretty stiff pull, I've never had it not go together like in your image.

The original KCCs in the batch I ordered when I first discovered the zipper all had slightly soft zipper pulls. (I'm assuming it was the same with the screen used jackets.) My "experimental" copy did that after a while and I fixed it with pliers. If I remember correctly, when Star Lord Maaan started doing his runs a few months later, the factory redesigned the pulls to be stronger. But yeah, the pull does look small in the photo, plus the tape seems to have been coated with something.
 
There's definitely something off about that. Hopefully the teeth haven't been damaged, because while this zipper does have a pretty stiff pull, I've never had it not go together like in your image.
That pull looks awfully small though. It may just be the angle of the pic, but check the back of it and see if there's a number on it. It should be '8'. If it isn't, that's your problem.

It was an 8. Checking, it says "Pagoda 8" on it, and keep in mind, it did zip fine before I put it back on. Mine always had a very hard pull, from what I recall. Where could I possibly find the softer pull variety? Also, would any size 8 suffice as a replacement? That I am still debating with. I know a zipper guy that I can talk to, but I would have to bring the zipper in and go through the huge expanse of sliders he has laying around.


On a more interesting note, I stumbled upon this. For anyone looking for a Star Lord helmet on the super cheap, and for those good with your hands, this might be of serious interest:
This is part 4 of a step-by-step tutorial, and it's made solely out from the cheapest material possible: cardboard, glue and spray paint, and it looks expertly crafted. I did my own as well; not as good as his, but very fine given the price. I will upload pictures soon.

If this intrigues you, you might enjoy the rest of his channel; this guy has built so many expertly crafted props out of cardboard, it's truly amazing. I wish he would sign up on the forum, because he has a lot to offer.

His next project is a full Iron Man suit... from cardboard.
 
Last edited by a moderator:
That's cool. What are the dimensions on that device???


I don't know how useful this will be, but here it is anyhow:

View attachment 540340

I found these for $1.50 at my local Lowe's while looking for plumbing components to build my boot rockets. They light up when you push the little button in the center; They were originally designed as keyring flashlight carabiners, bt they're almost precisely the right size and shape for the boot rocket controls.

I figure with either duct tape, silver painted cut balsa wood inserts, or modeling clay, one could fill in the gap in the carabiner, and have a pretty good instant rocket control solution.

I intend to cap off the part of the light that points outwards, and do some work on the faceplate as well (maybe color it somehow if I'm feeling especially adventurous), but for $1.50 apiece I thought they made a decent alternative to the 3D-Printed solutions, if you're willing to sacrifice a little accuracy in exchange for cheap good-looking durability.
 
Despite the zipper, I think I've finally finished working on my own jacket and I'd like to share it.

Now, I've taken a different route than everybody else, both in end result and, most assuredly, in actual process in alteration.

Screen accuracy was never my intended goal here; I am one fascinated by an interesting jacket and Quill's drew my attention; if only from a culmination of many differing factors: The unique design, the deep shade of crimson reds intermingled in differing tones (any shade of red is always my top choice color-wise), and lastly, the unique touches that then further accentuate the reds.
Think of mine more as Star Lord Inspired; it's very much my own jacket.

While I wouldn't mind a wholly SA version (just for the design), back when I started on this, I don't believe I knew of Magnoli or even Danny's jackets, so I made due with this variety. I chose a slightly different one than the most common found on Ebay.

My method of approach was quite a bit more unorthodox than any of your touted professionals here are probably used to. I actually used leather/pleather spray shoe dye/paint; very akin to just spray paint, readily available online or at any shoe working place. While I can't say it's perfect up close, and is still rough in certain places (I need to fix the lining, due to my somewhat messy approach) it's still overall quite nice; nor is it like anyone will ever examine it with a fine magnifying glass, and it's even nicer worn. (No pics of that just yet).

I do wish I could've done screen printing or some kind of pattern like that, but it's impossible with my means and on faux leather.

As you can see from the valve and patch sides, I've instead placed a few things more relevant to me: my red Fire pin (something I've always wanted to put on a jacket. I just needed to find the right one), and above that, a tribute to my first love in storytelling, Berserk. In place of the valve, another pin from a favorite game of mine.

1017151510b.jpg
1017151510a.jpg1017151509.jpg1017151510c.jpg
Now if only I could repair the zipper.
 
I don't know how useful this will be, but here it is anyhow:

View attachment 540340

I found these for $1.50 at my local Lowe's while looking for plumbing components to build my boot rockets. They light up when you push the little button in the center; They were originally designed as keyring flashlight carabiners, bt they're almost precisely the right size and shape for the boot rocket controls.

I figure with either duct tape, silver painted cut balsa wood inserts, or modeling clay, one could fill in the gap in the carabiner, and have a pretty good instant rocket control solution.

I intend to cap off the part of the light that points outwards, and do some work on the faceplate as well (maybe color it somehow if I'm feeling especially adventurous), but for $1.50 apiece I thought they made a decent alternative to the 3D-Printed solutions, if you're willing to sacrifice a little accuracy in exchange for cheap good-looking durability.

I picked one of these up today to check it out.

Almost $3 at my local Lowe's store.

It lights up a cool whitish/bluish light. The cover is clear plastic. When you hit the button to turn on the light. There is a very mild edge-glow effect that brings the light back into the body. I don't know if it's enough to light up like the real deal.

Still, it does very much resemble the thing. I could imagine someone making something of it, especially if they could move the light into the body.
 
long time lurker on the RPF and this thread. just thought i'd share the boots i just finished for halloween... they are far from perfect, but i think they came out pretty dang well for a first timer. thank you all for the vast knowledge base you've created and shared here.

IMG_0640.JPGIMG_0637.JPGIMG_0642.JPGIMG_0643.JPG
 
Very nice! I'm working on the boots now. Just about done with the covers and trying to decide if I want to actually drill holes in the back of the boot base or get some vinyl to put the studs into. I kinda hate to ruin a perfectly good pair of boots that could be re-used for their "sole" purpose. :lol
 
Heat gun. If you hit it with a heat gun, the hot glue will melt before the print. Then you can either separate it or push it tighter.

so i've been working on my orb and
View attachment 540583

but i got a problem:
View attachment 540581

i glued the 4 parts together and ihave this massive gap in between all the parts :s i am guessing it is becaus of the glue i used, hot glue, but now what? i can pry the parts back loose but whet glue should i use then?

View attachment 540582

also i use 6 magnets that have a 1kg strength but they cant hold the orb together :s any tips on that?
 
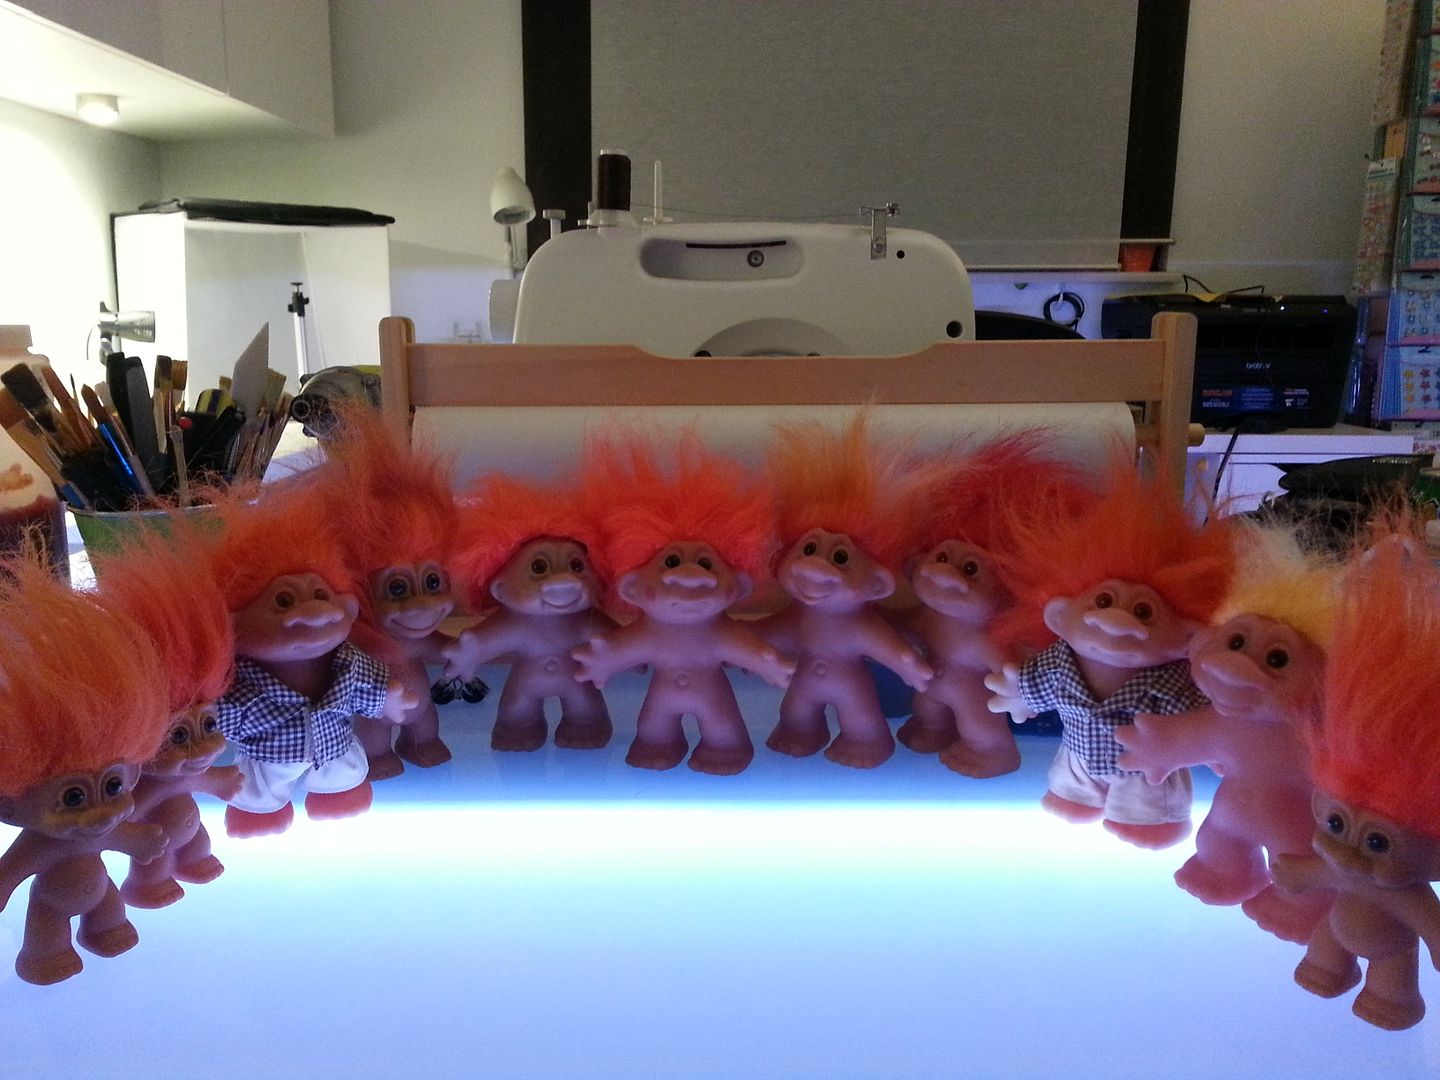
Same here I want one of those trolls XD

���� I want one

also my orb update;

i took them back apart and glued the rims on first then inserted the magnets from the inside this is first coat of paint using ( as you can see) inox metalic paint
IMG-20151113-WA0003.jpeg

IMG-20151113-WA0005.jpeg
 
Last edited:

Your message may be considered spam for the following reasons:

If you wish to reply despite these issues, check the box below before replying.
Be aware that malicious compliance may result in more severe penalties.
Back
Top