You are using an out of date browser. It may not display this or other websites correctly.
You should upgrade or use an alternative browser.
You should upgrade or use an alternative browser.
2-1B Surgical Droid
- Thread starter flthymcnsty
- Start date

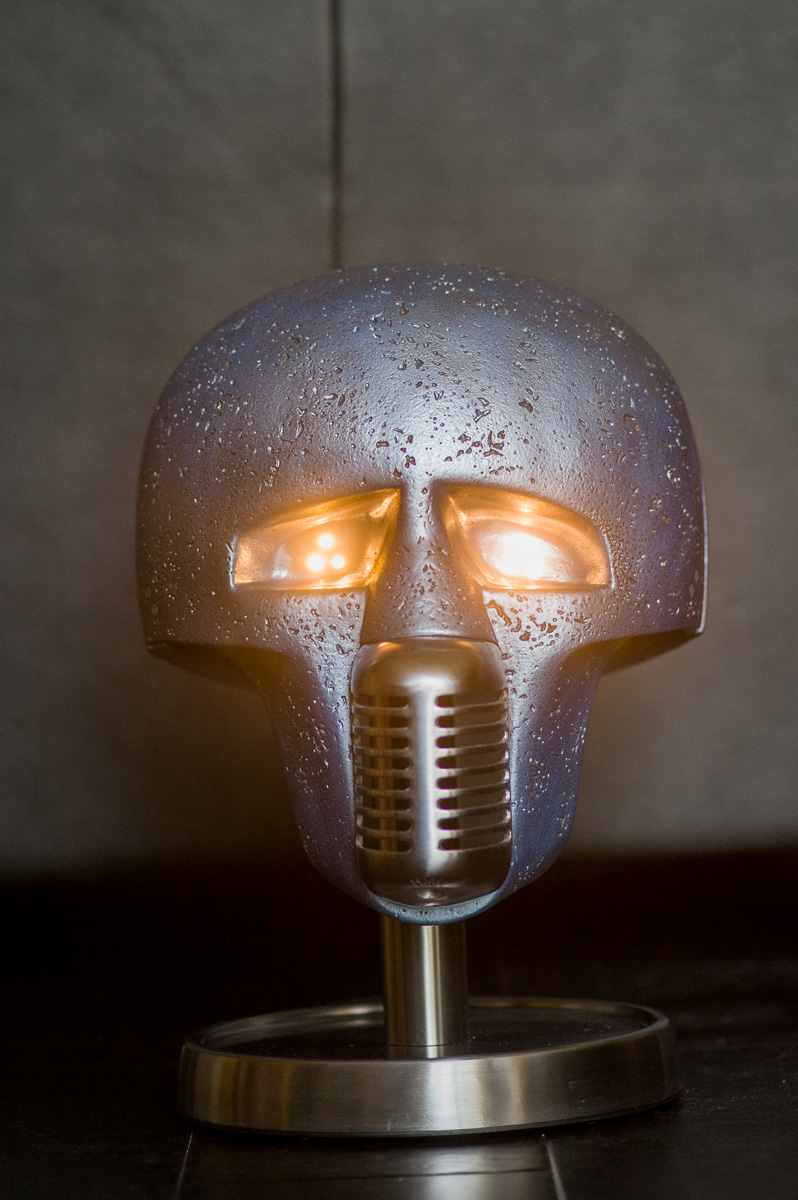
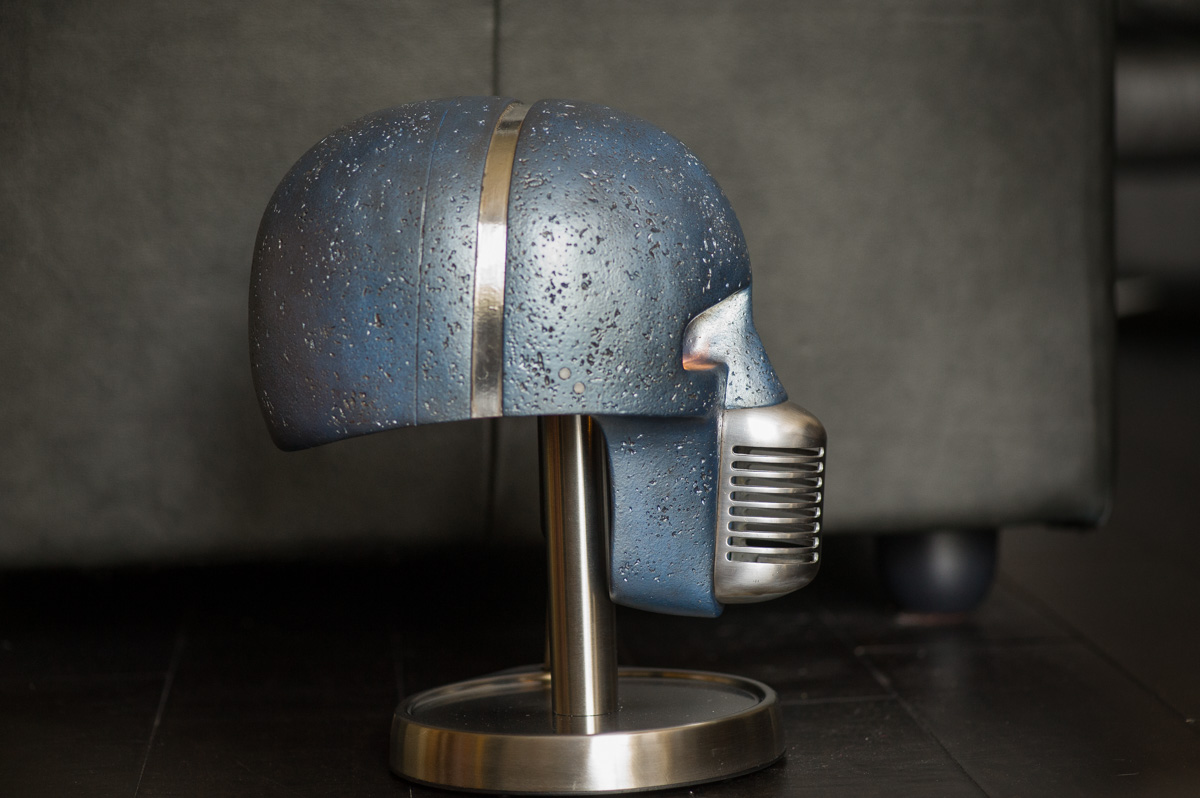
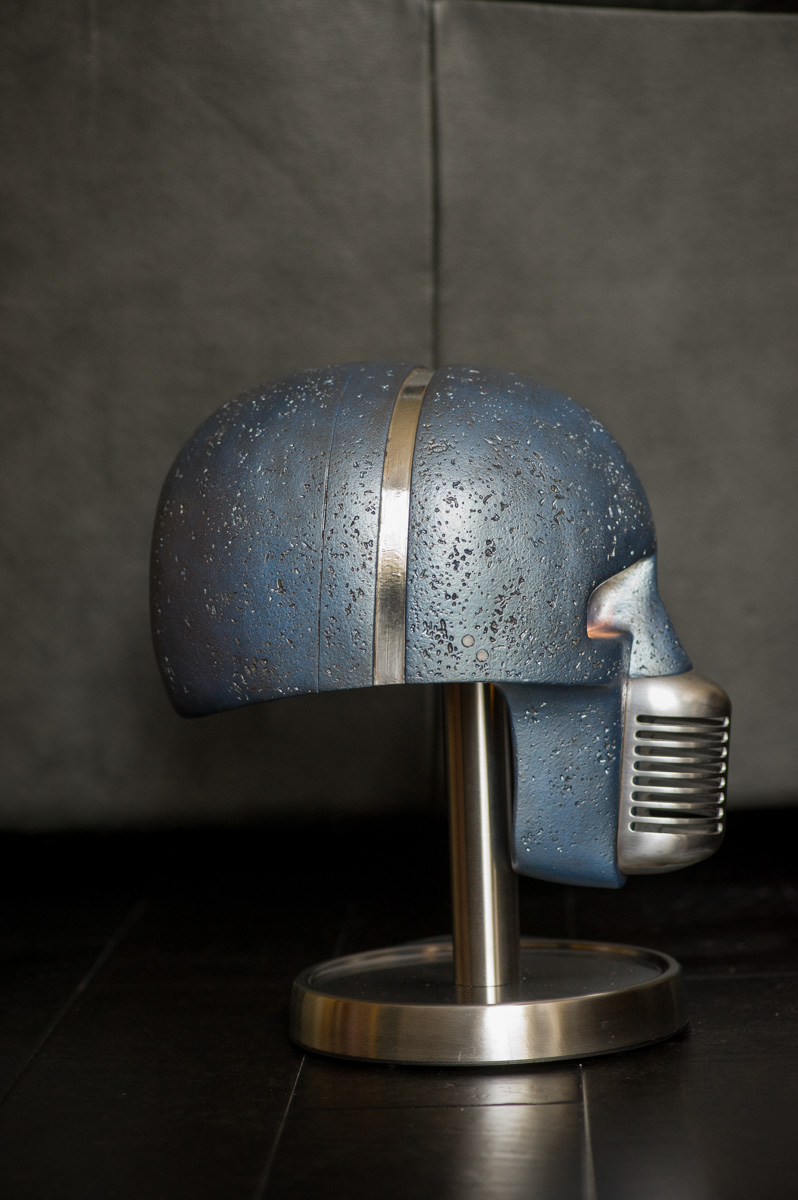
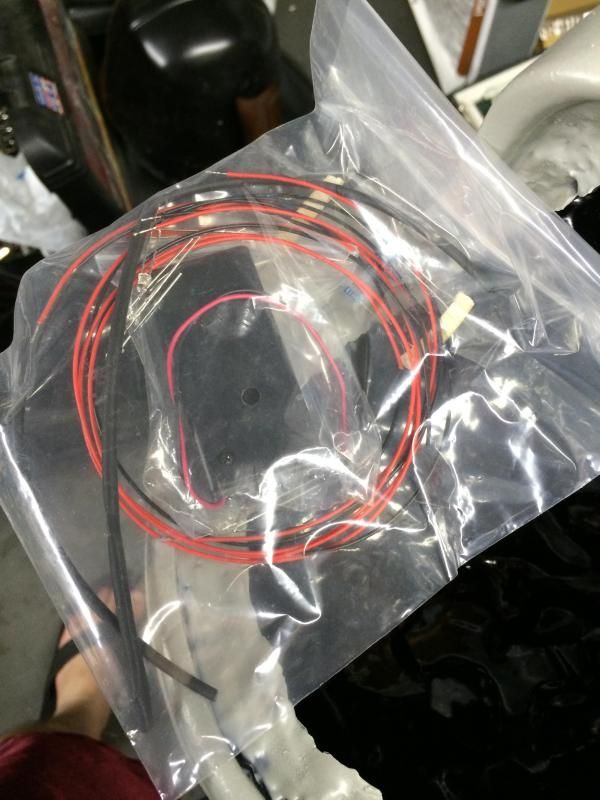
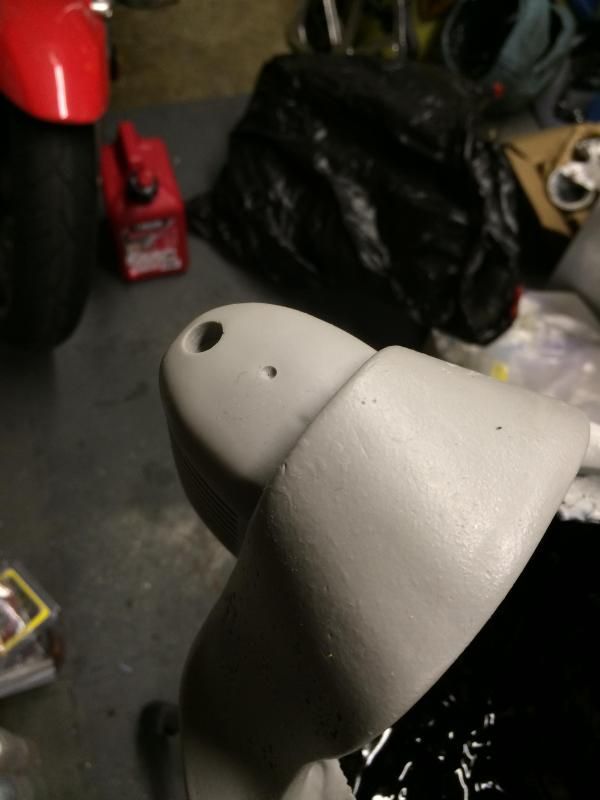
painted mine, cleaned inside edges, drilled, and wired mine today. I found two colors that can be found at O'Reileys or Autozone: Duplicolor Light Blue Metallic and Avondale Blue
These first are with mostly the base... and later pics after wiring for the final color. I think it's pretty close. ^_^
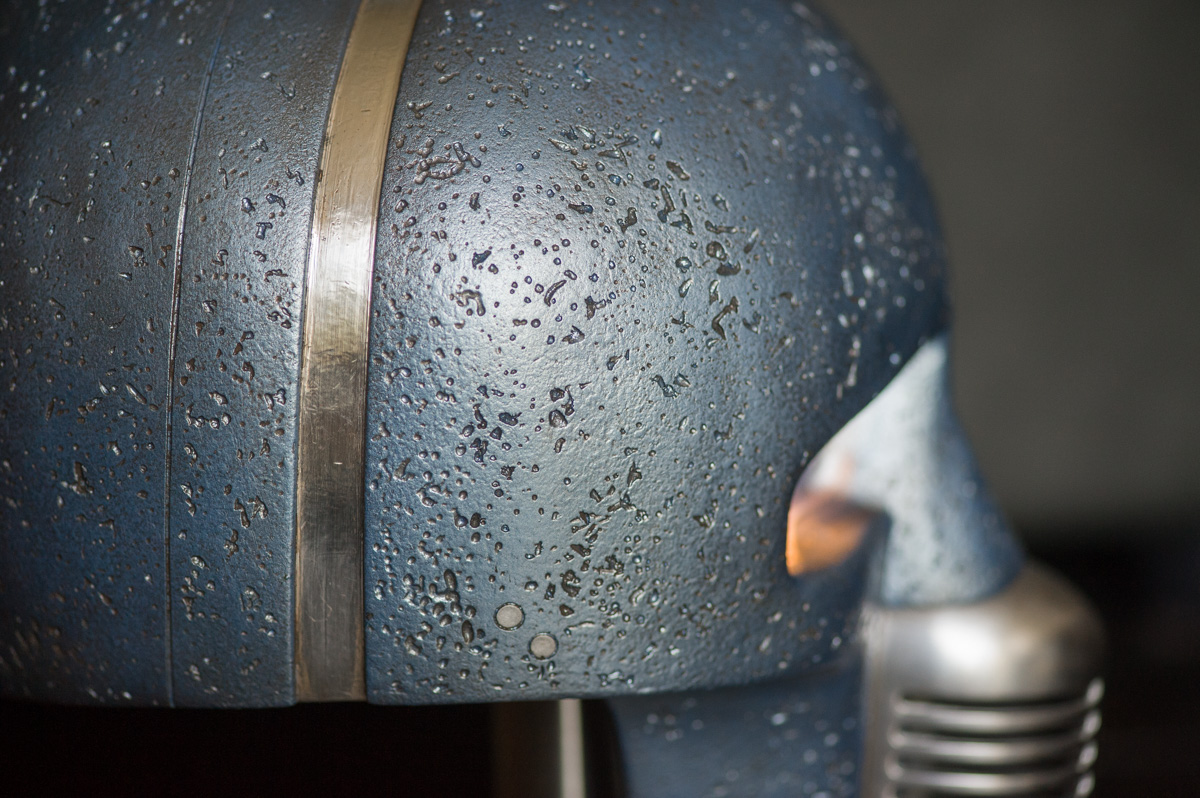
Not pictured is aluminum tape on the alice band, but I think I'm going to copy Dan and do a strip of thin AL stock instead. Also gonna machine the side dots tomorrow... and a dirt/weathering wash.
Then I'll tackle the tube and mic insides.
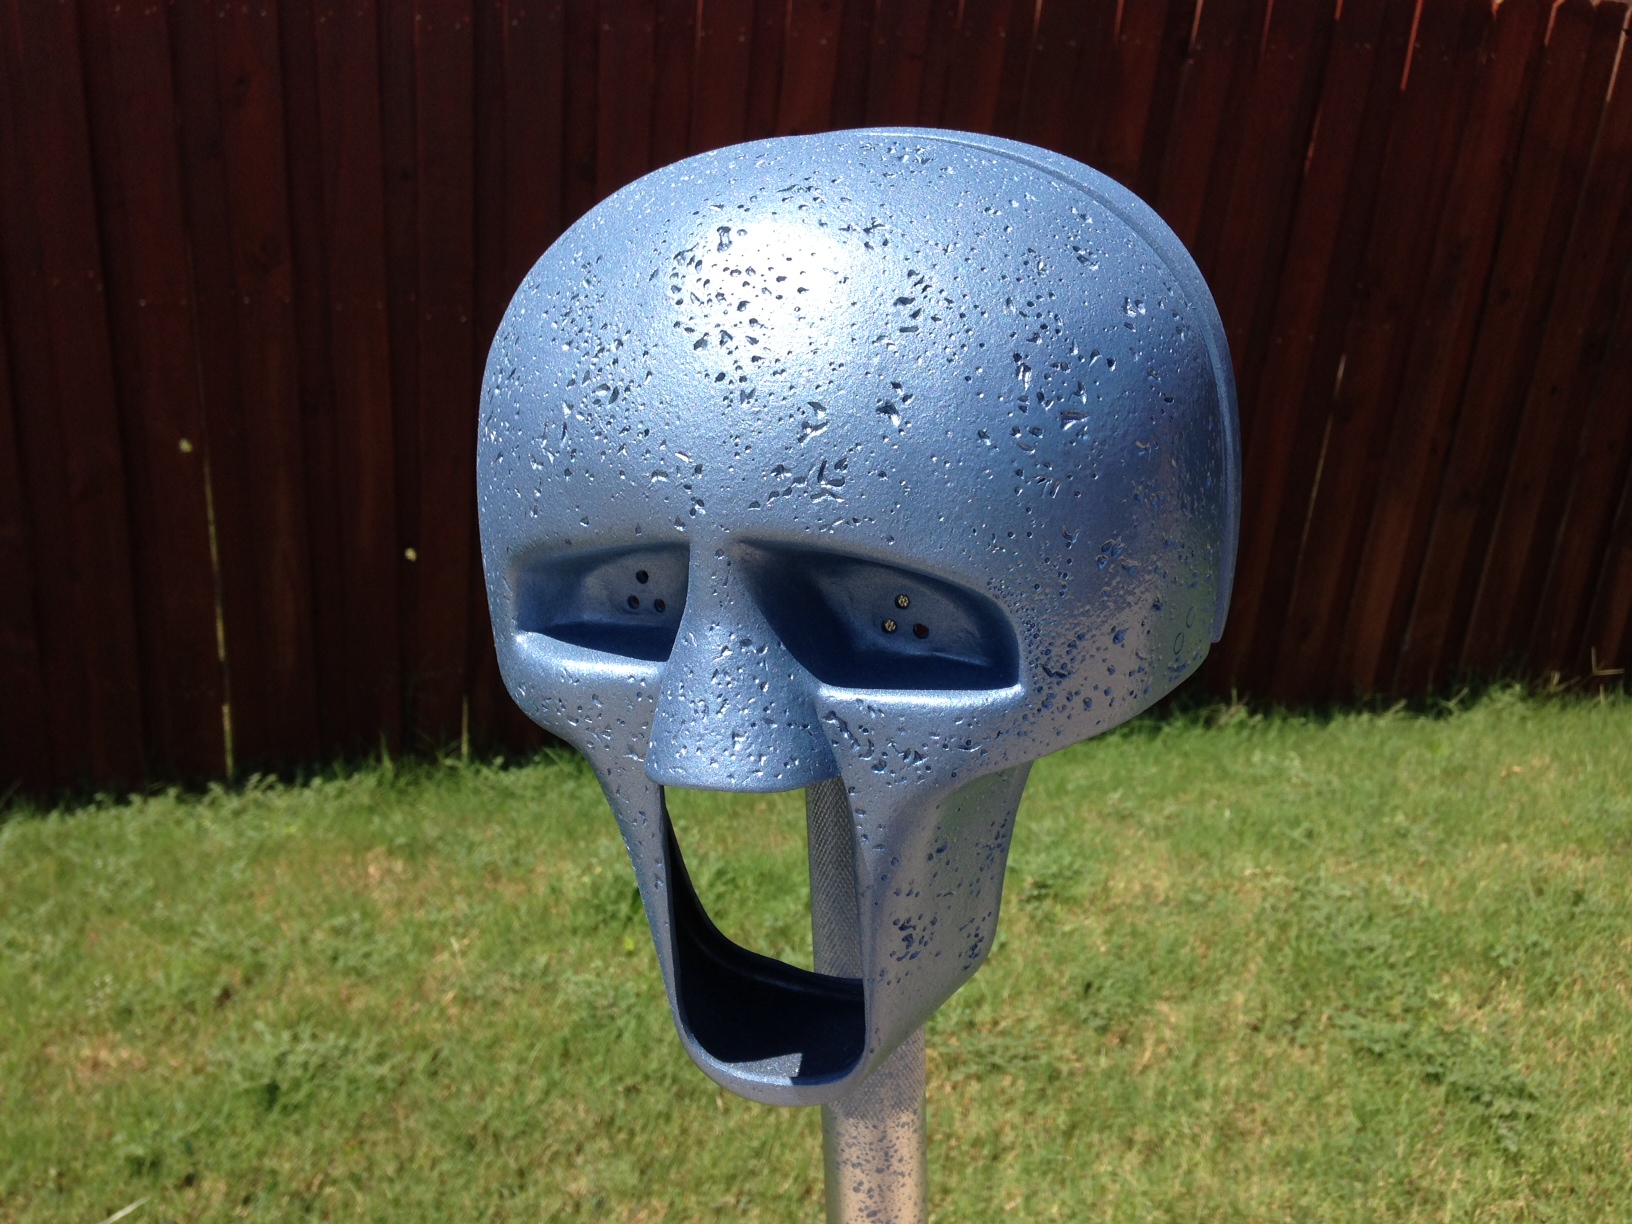

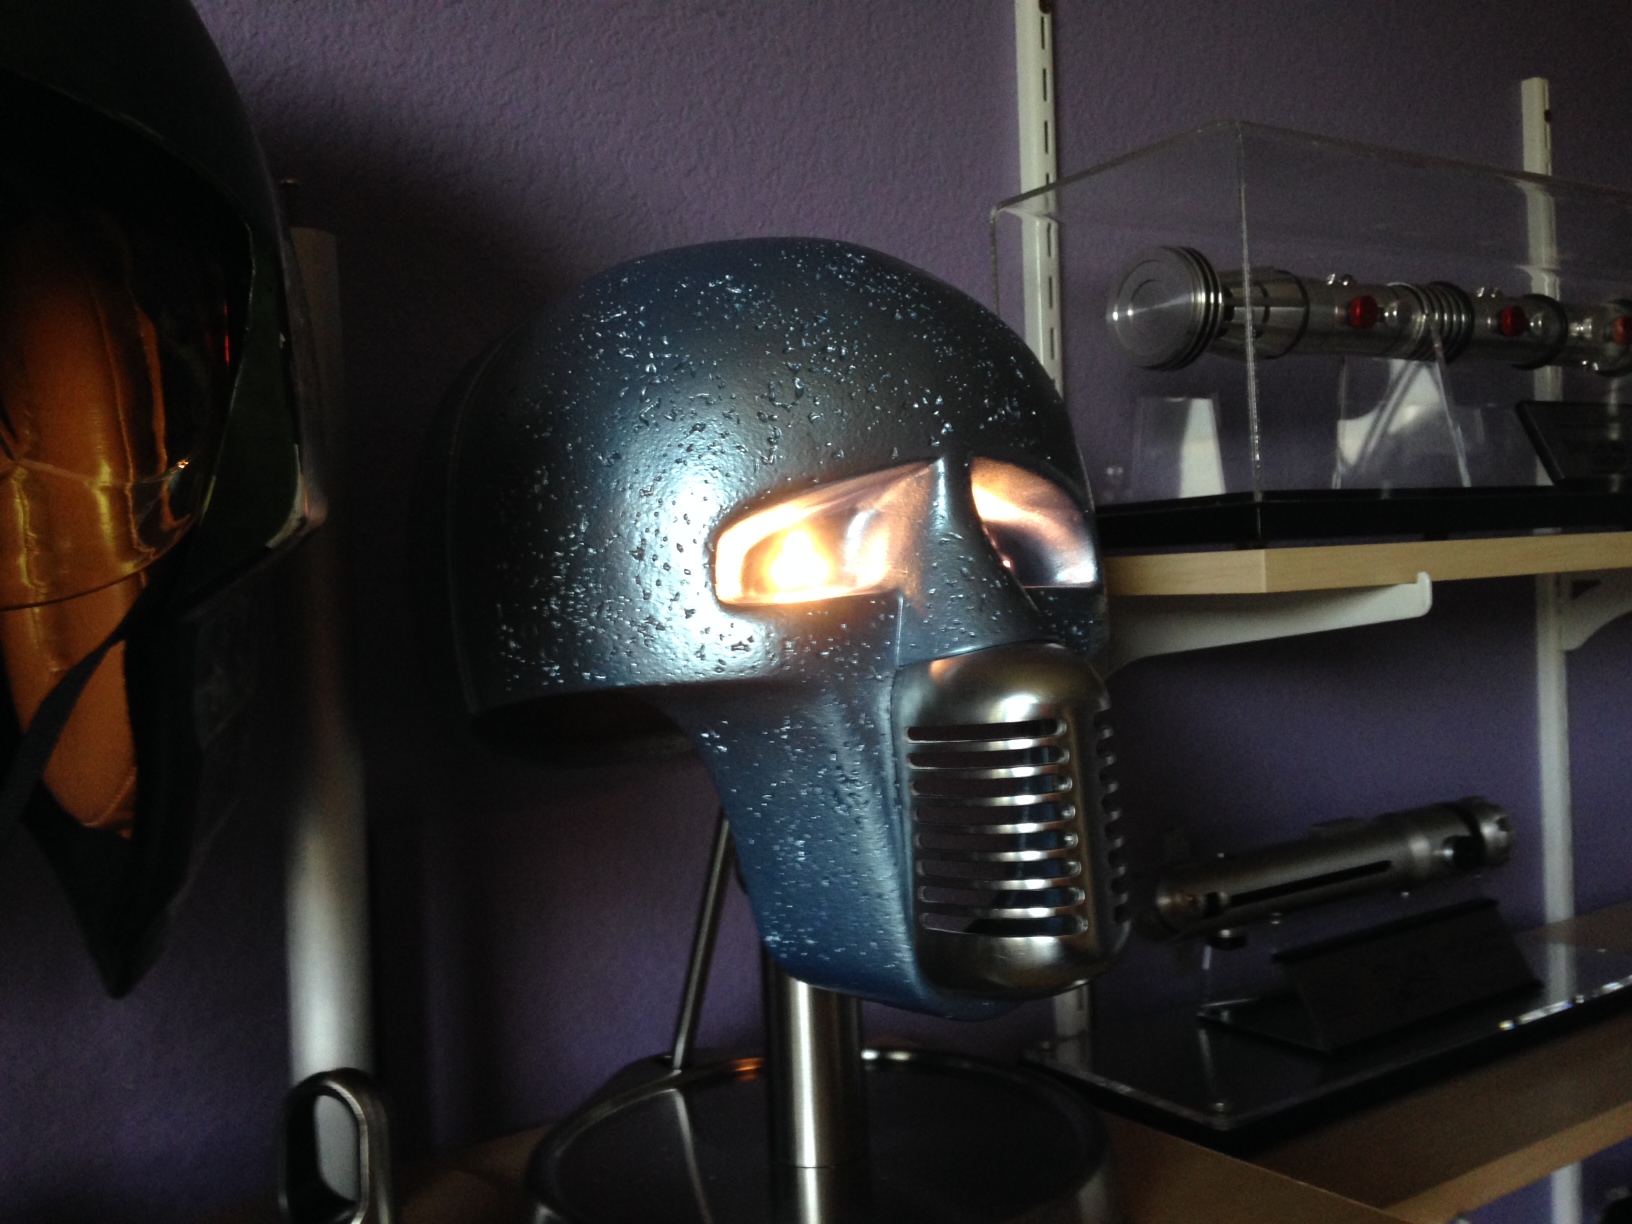
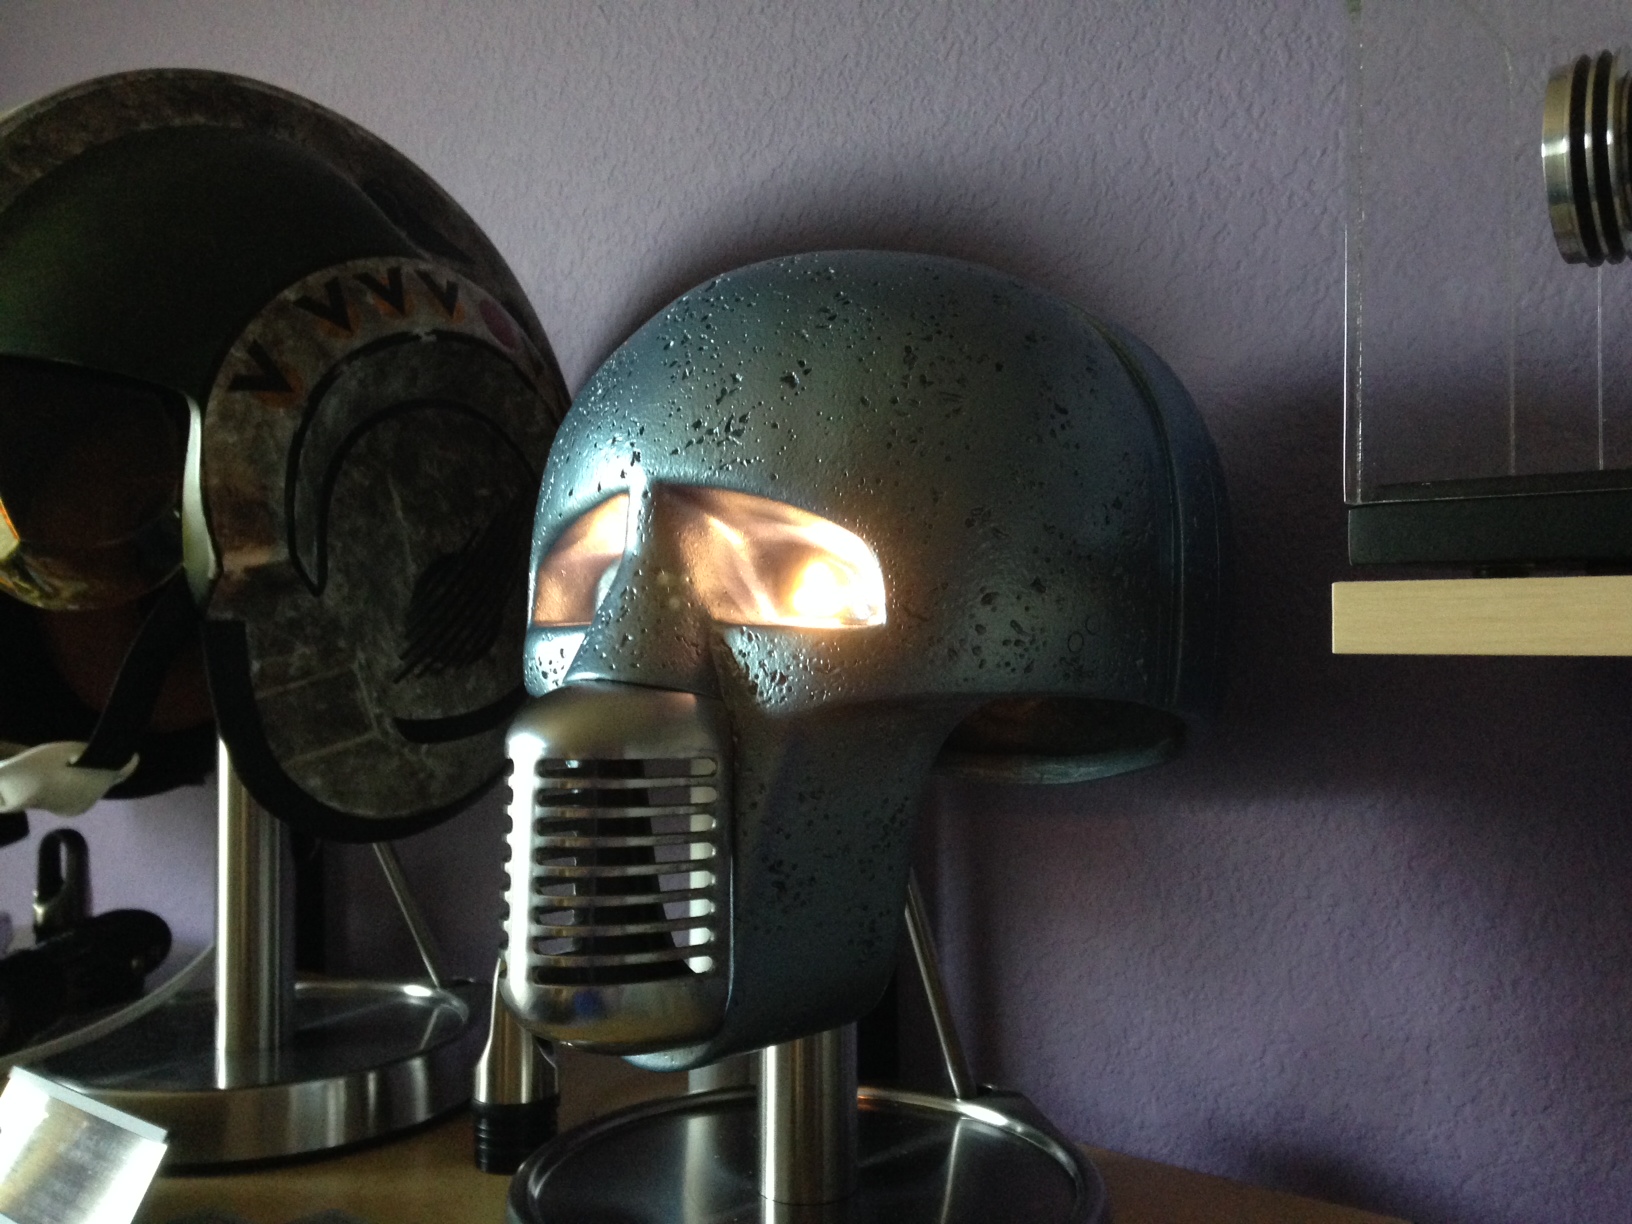
Also... tomorrow I'll take pics with something other than my phone..
These first are with mostly the base... and later pics after wiring for the final color. I think it's pretty close. ^_^
Not pictured is aluminum tape on the alice band, but I think I'm going to copy Dan and do a strip of thin AL stock instead. Also gonna machine the side dots tomorrow... and a dirt/weathering wash.
Then I'll tackle the tube and mic insides.
Also... tomorrow I'll take pics with something other than my phone..
nice one scott, looks maybe a little too dark, how about a misting of silver? (nice scooby btw)
i could not find the shade of paint dan used at my local car place, all they have was a touch up brush thing.
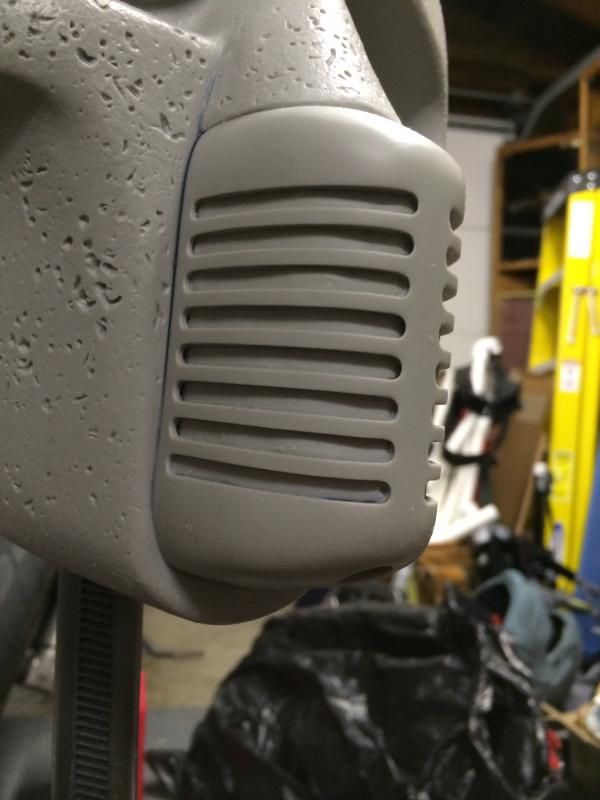
you guys are making real neat jobs at cutting out those mics.
clinton, i used a dremel with a cutting disc for the majority of the mic removal. then a sanding drum attachment for closer in work, the thin areas around the nose was done by hand with sand paper. it needs a steady hand so probably best to go slow with the nose part. keep putting the real mic (if you have one) up to check progress. its easier to take away than add resin")
i could not find the shade of paint dan used at my local car place, all they have was a touch up brush thing.
you guys are making real neat jobs at cutting out those mics.
clinton, i used a dremel with a cutting disc for the majority of the mic removal. then a sanding drum attachment for closer in work, the thin areas around the nose was done by hand with sand paper. it needs a steady hand so probably best to go slow with the nose part. keep putting the real mic (if you have one) up to check progress. its easier to take away than add resin
Wickedreamz
New Member
Thats awesome...great work!
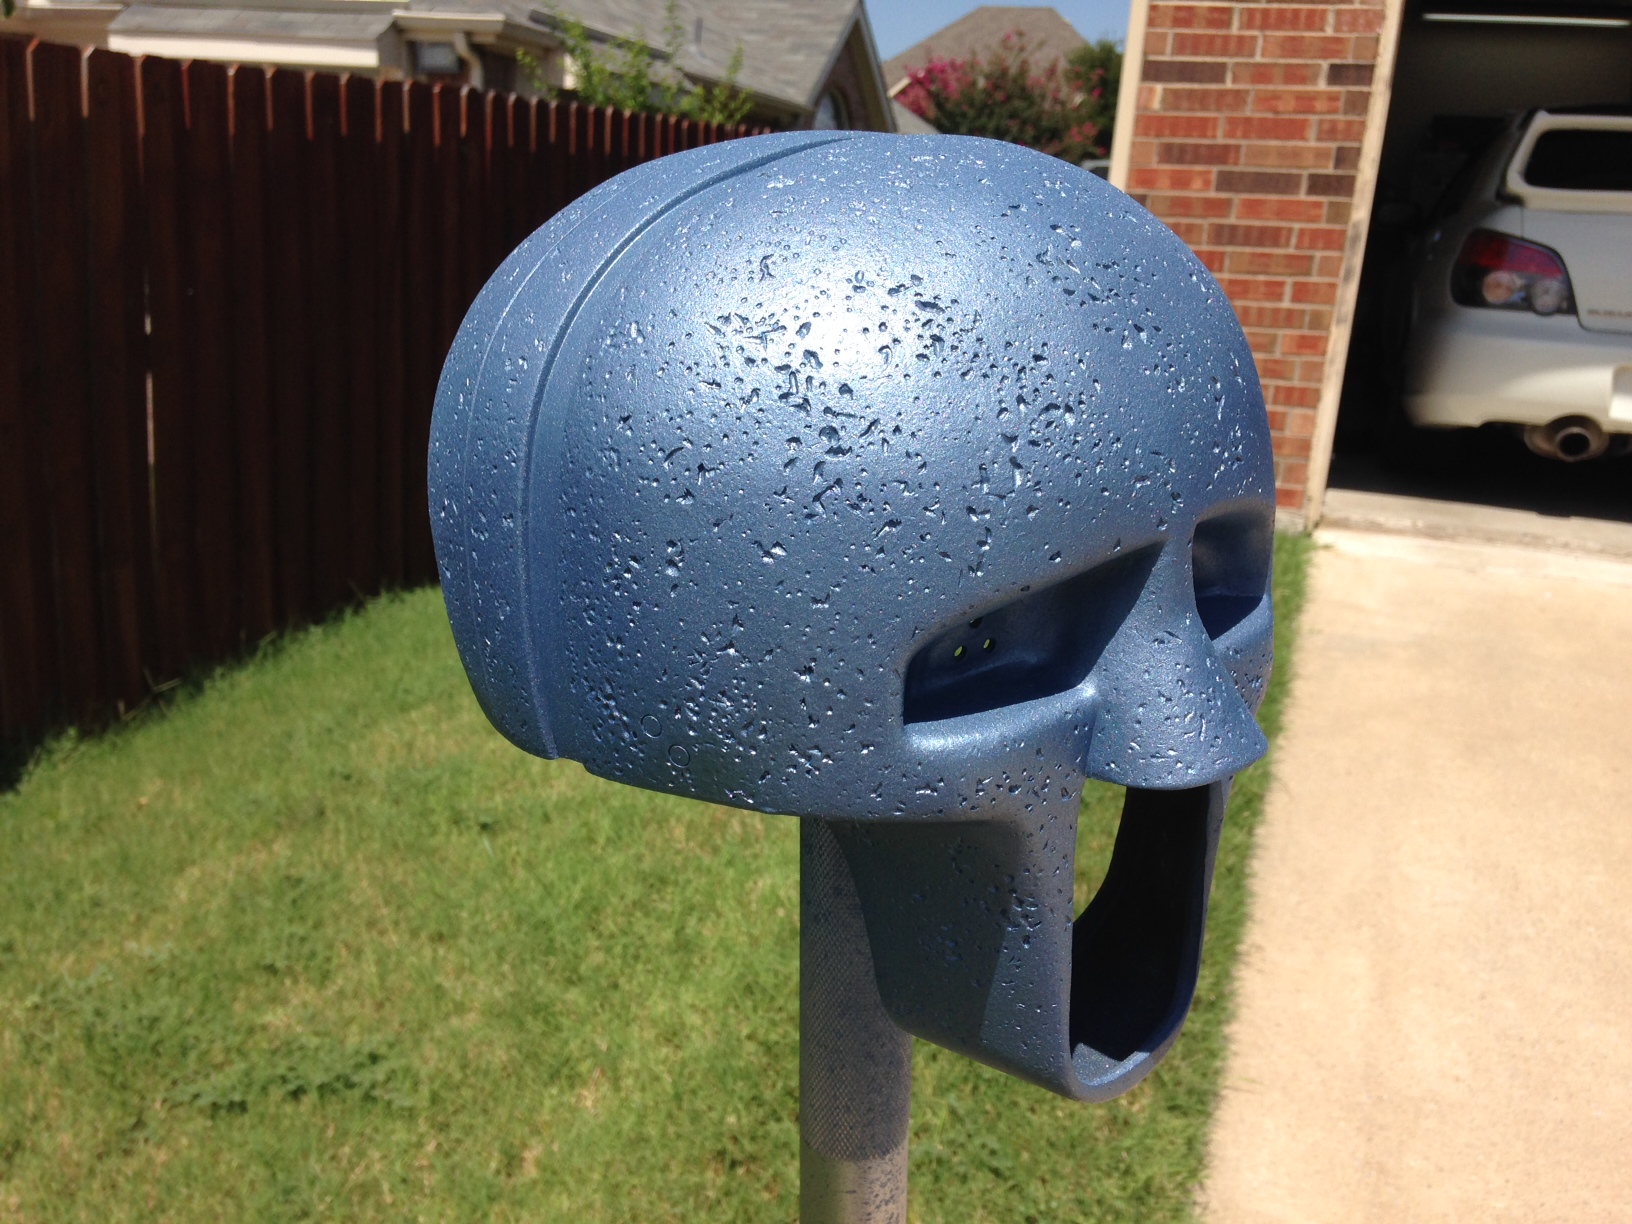
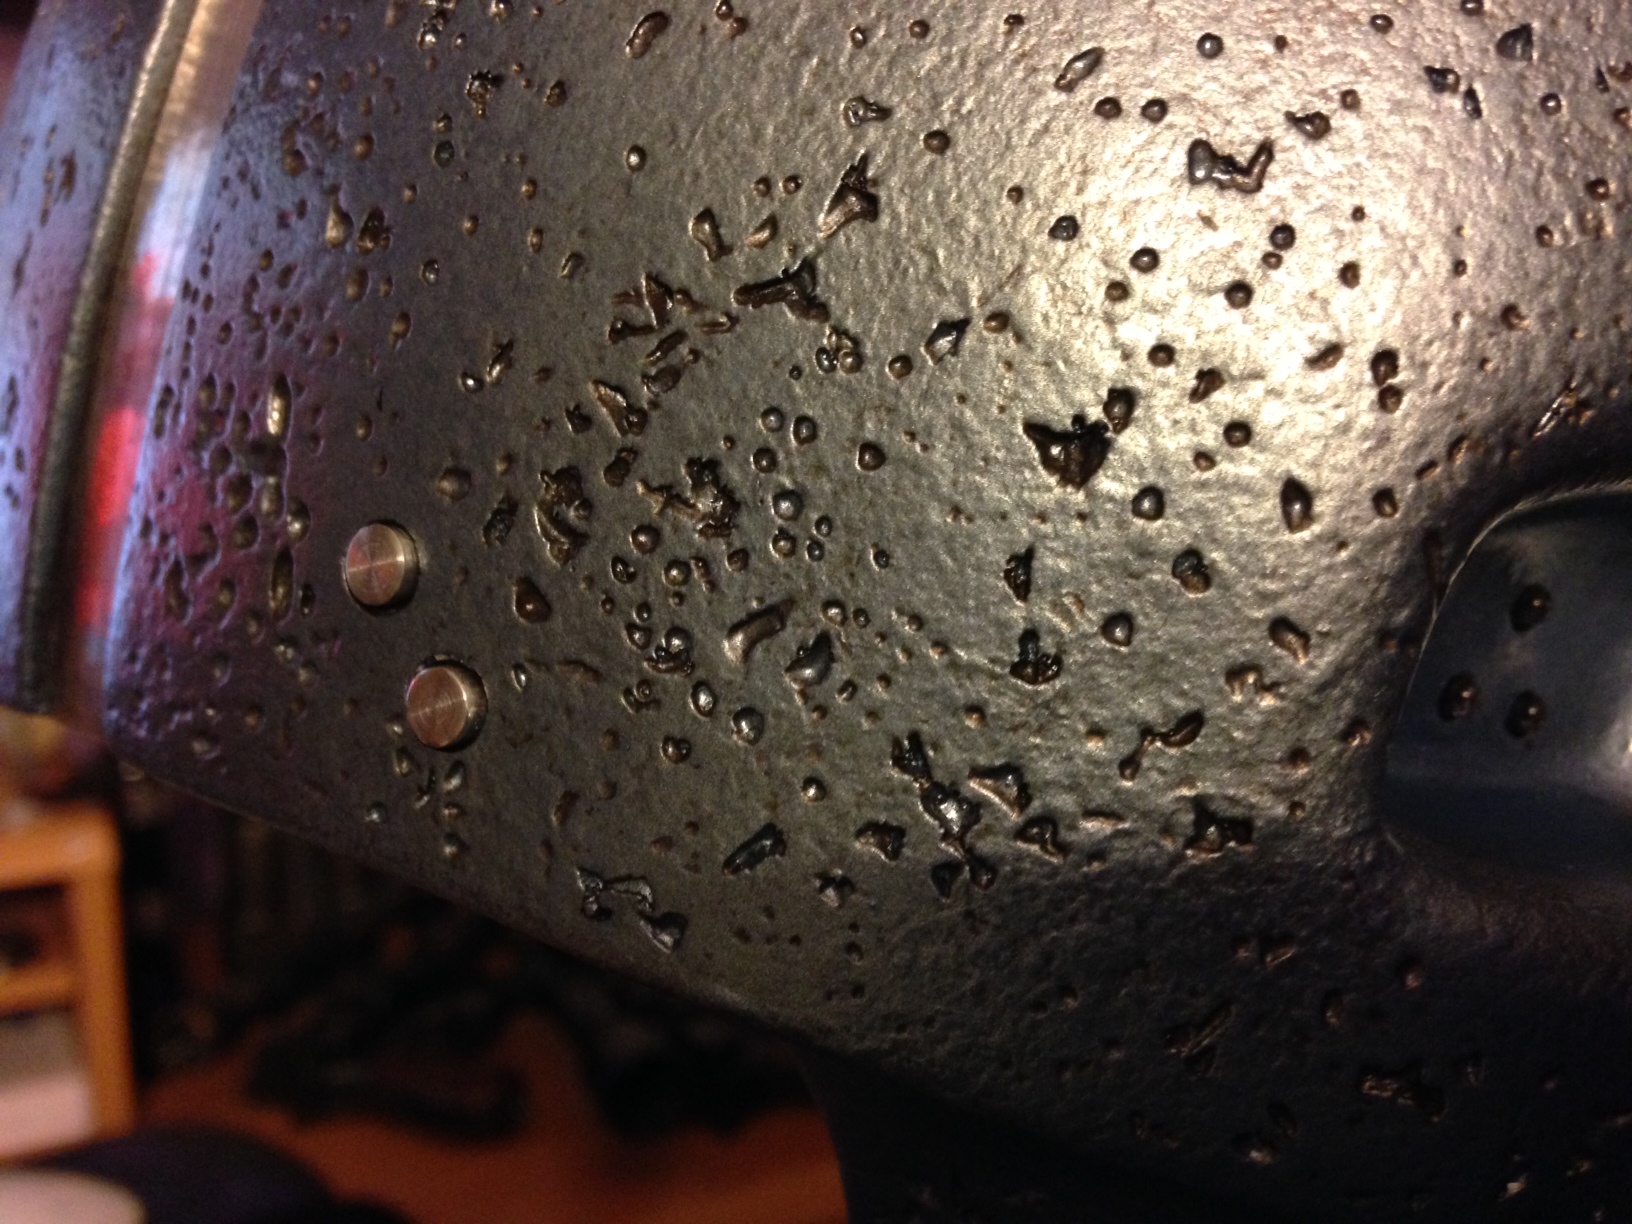
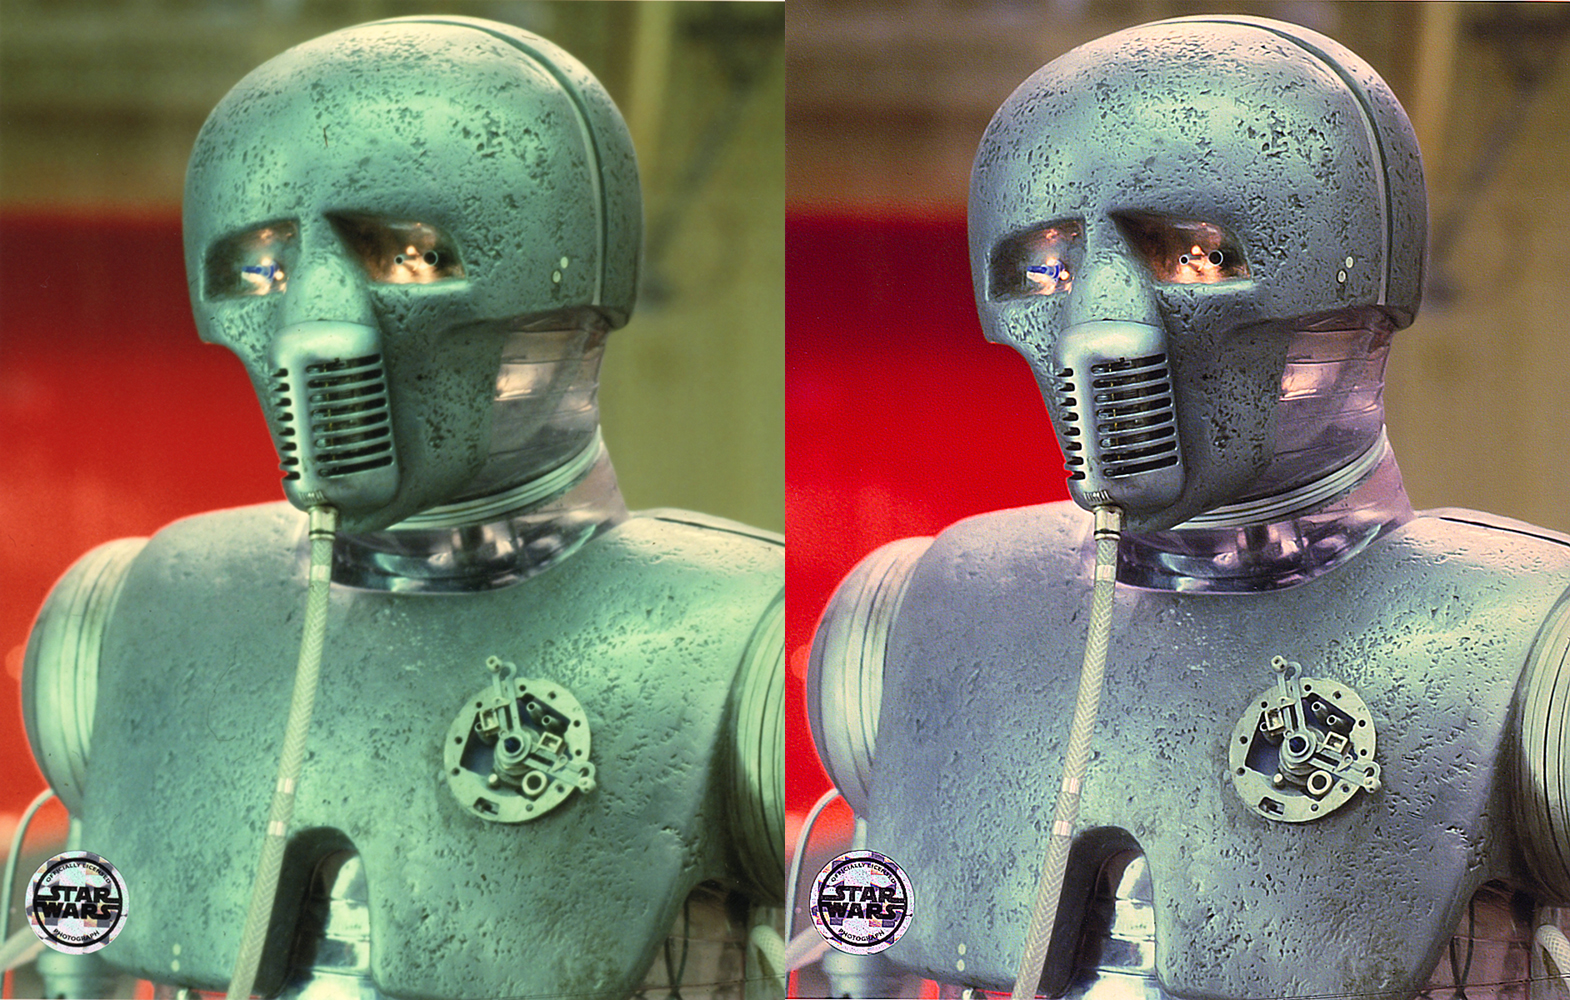
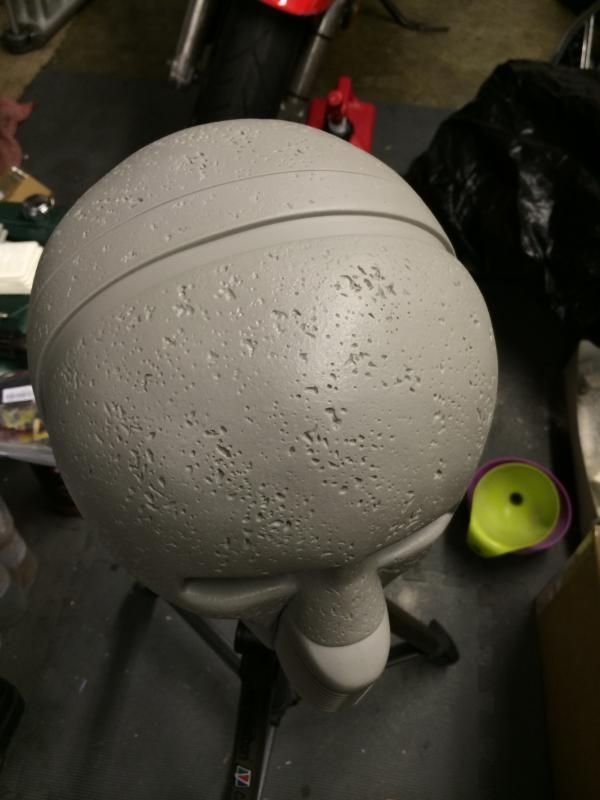
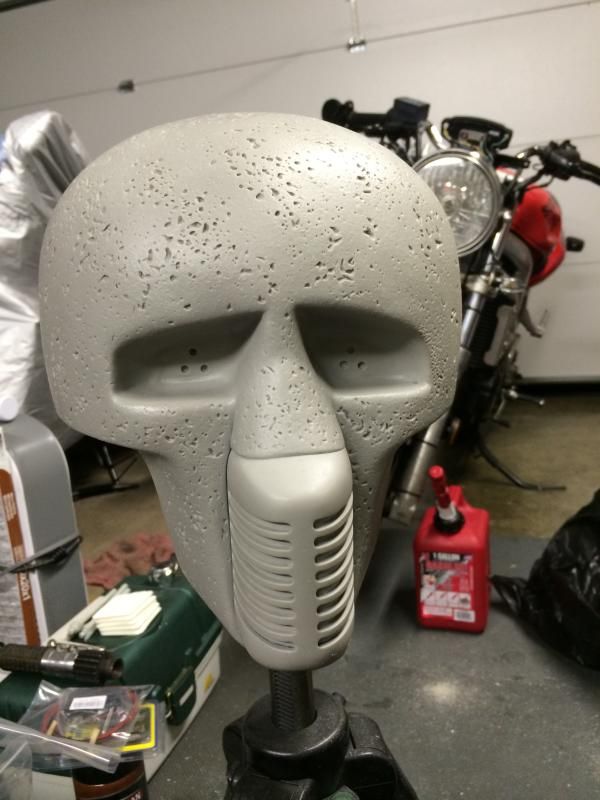
Thanks to Dan for the weathering/wash tips. I may have overdone it a bit and there's definitely some dirty droid action going on. But I like it.
Pics are still a little more blue saturated than real life... Real life looks more silvery....

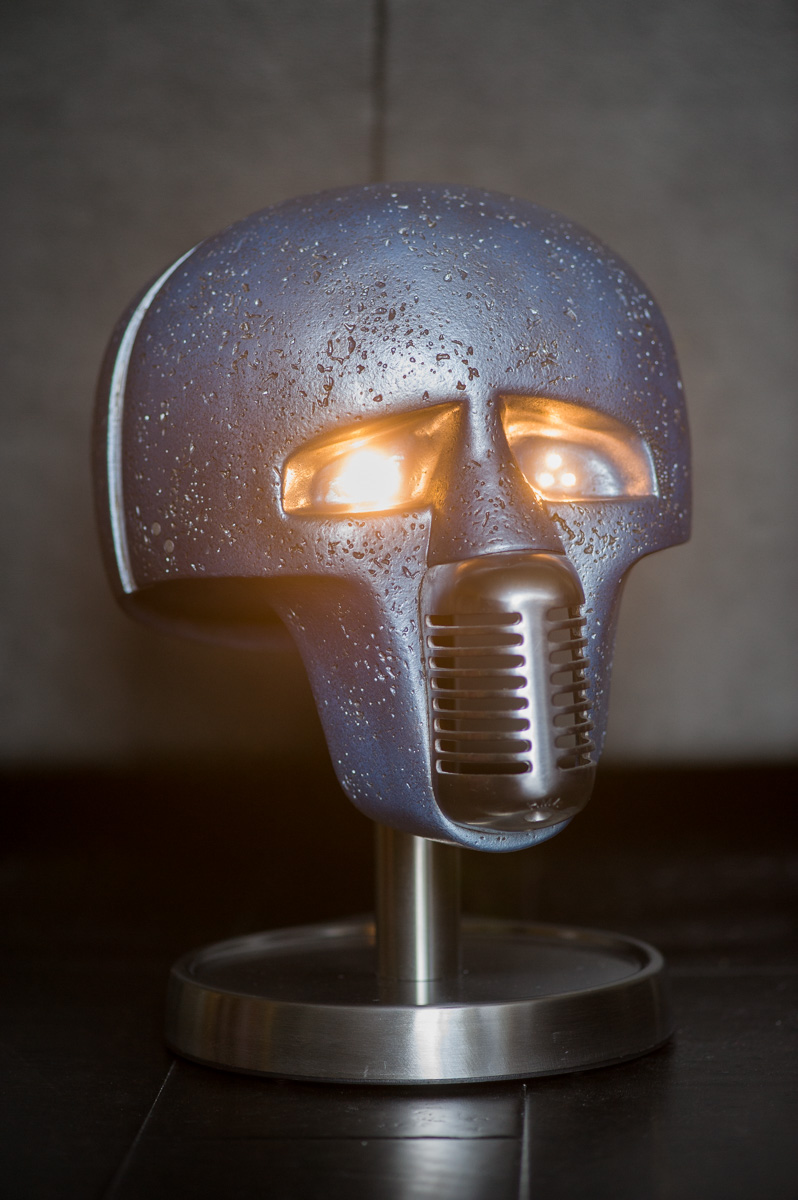
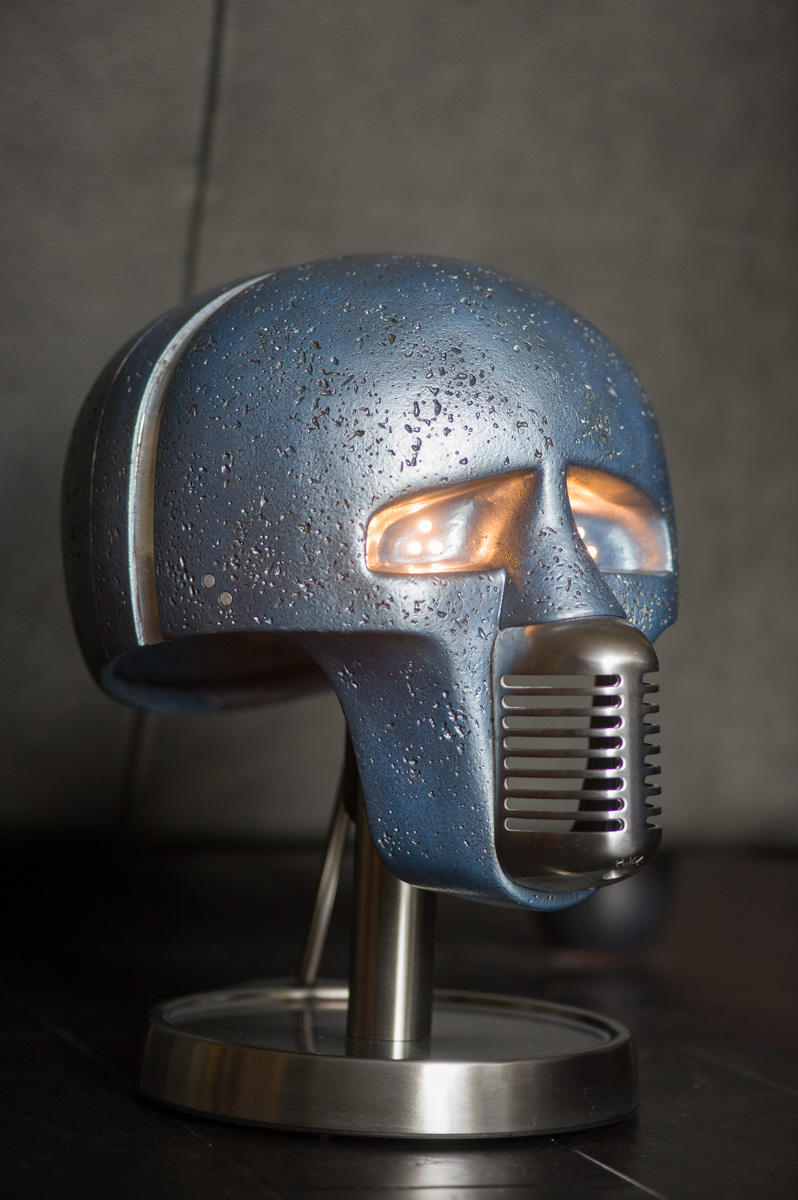

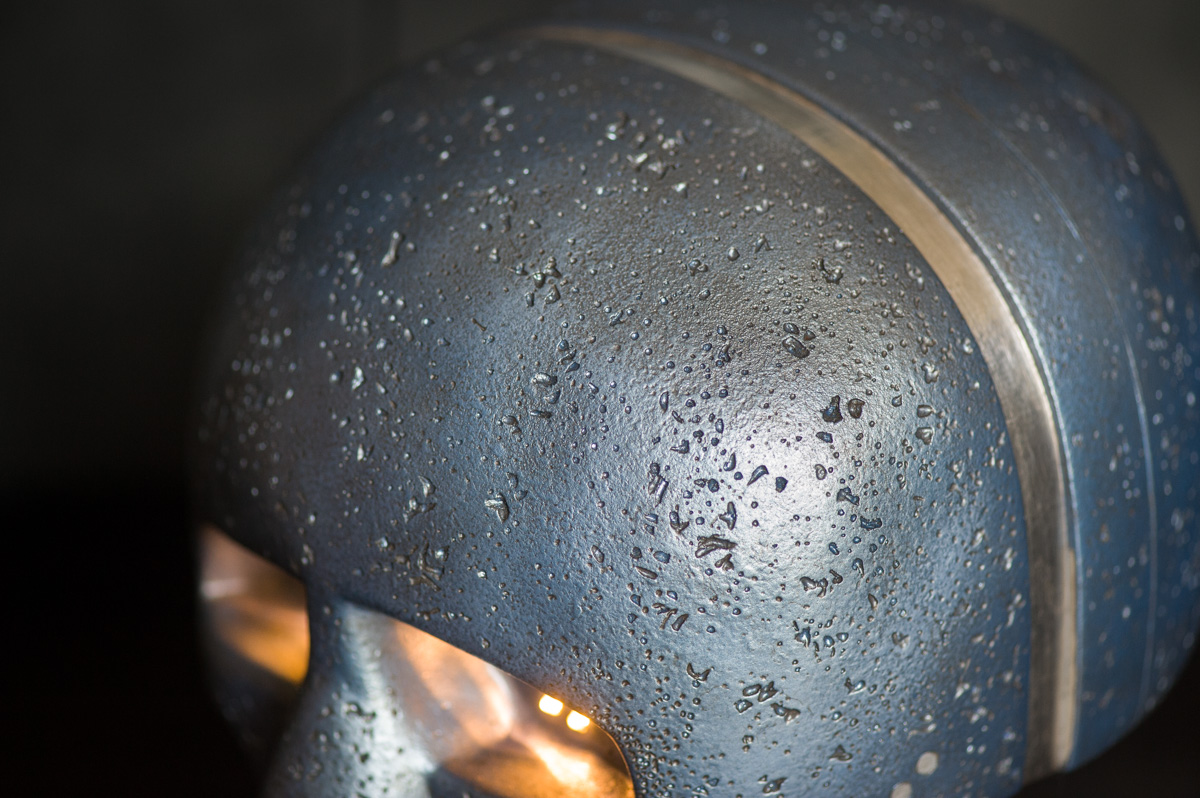
You can really see where the paint soaked up more of the wash than other spots... Hey it's my first time. ^_^
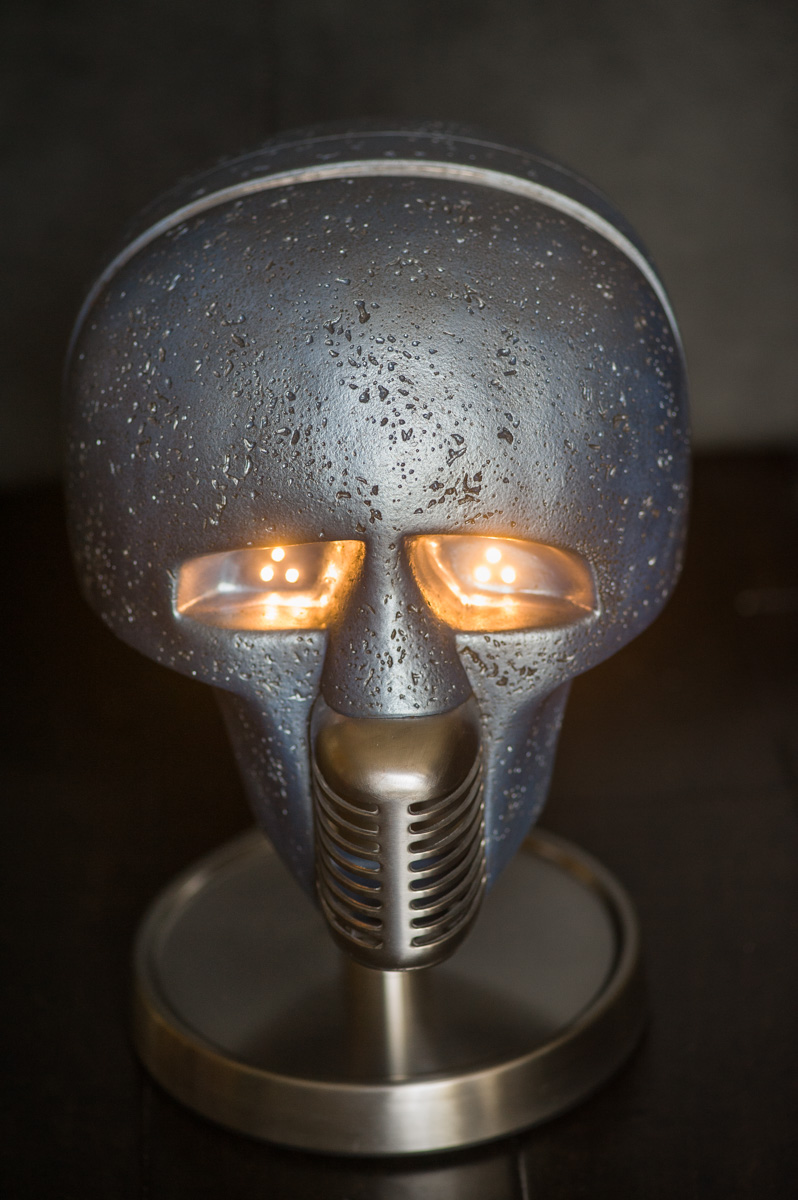
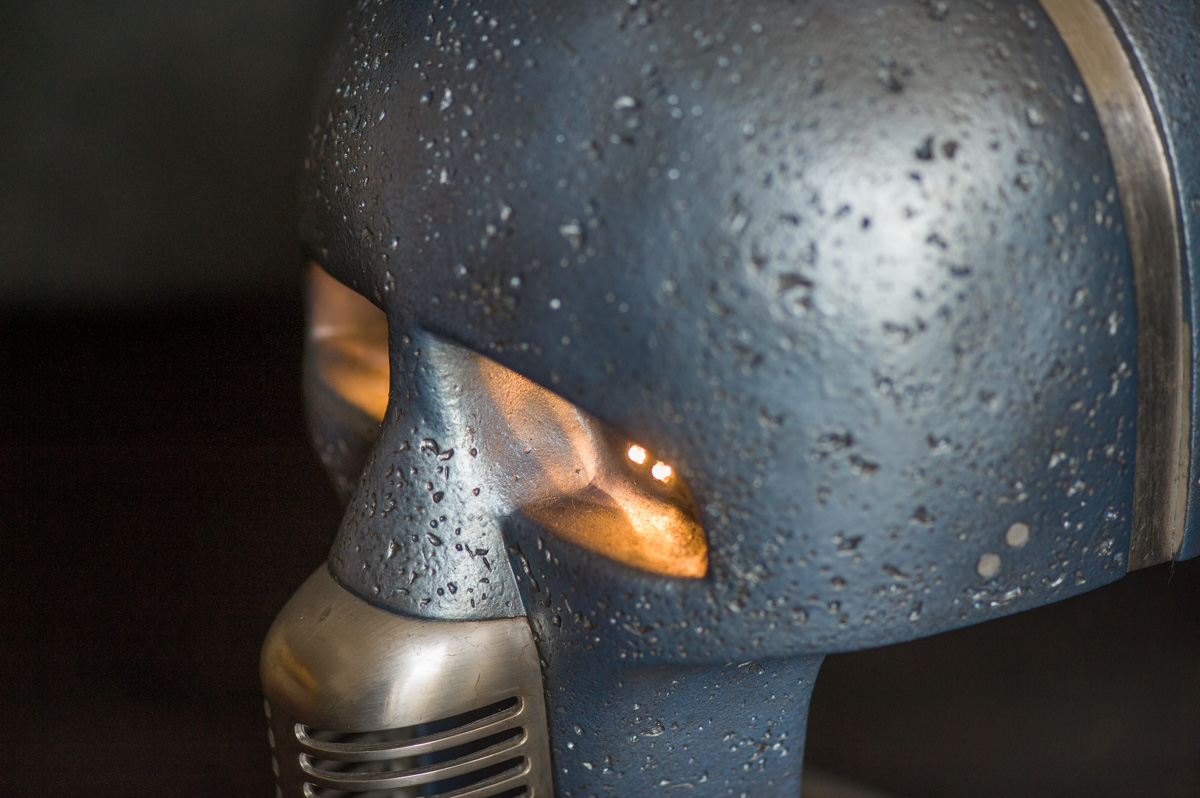
Very porous... that wash came out more hardcore than I thought. At firs I though it was too light.. ^_^
Pics are still a little more blue saturated than real life... Real life looks more silvery....
You can really see where the paint soaked up more of the wash than other spots... Hey it's my first time. ^_^
Very porous... that wash came out more hardcore than I thought. At firs I though it was too light.. ^_^
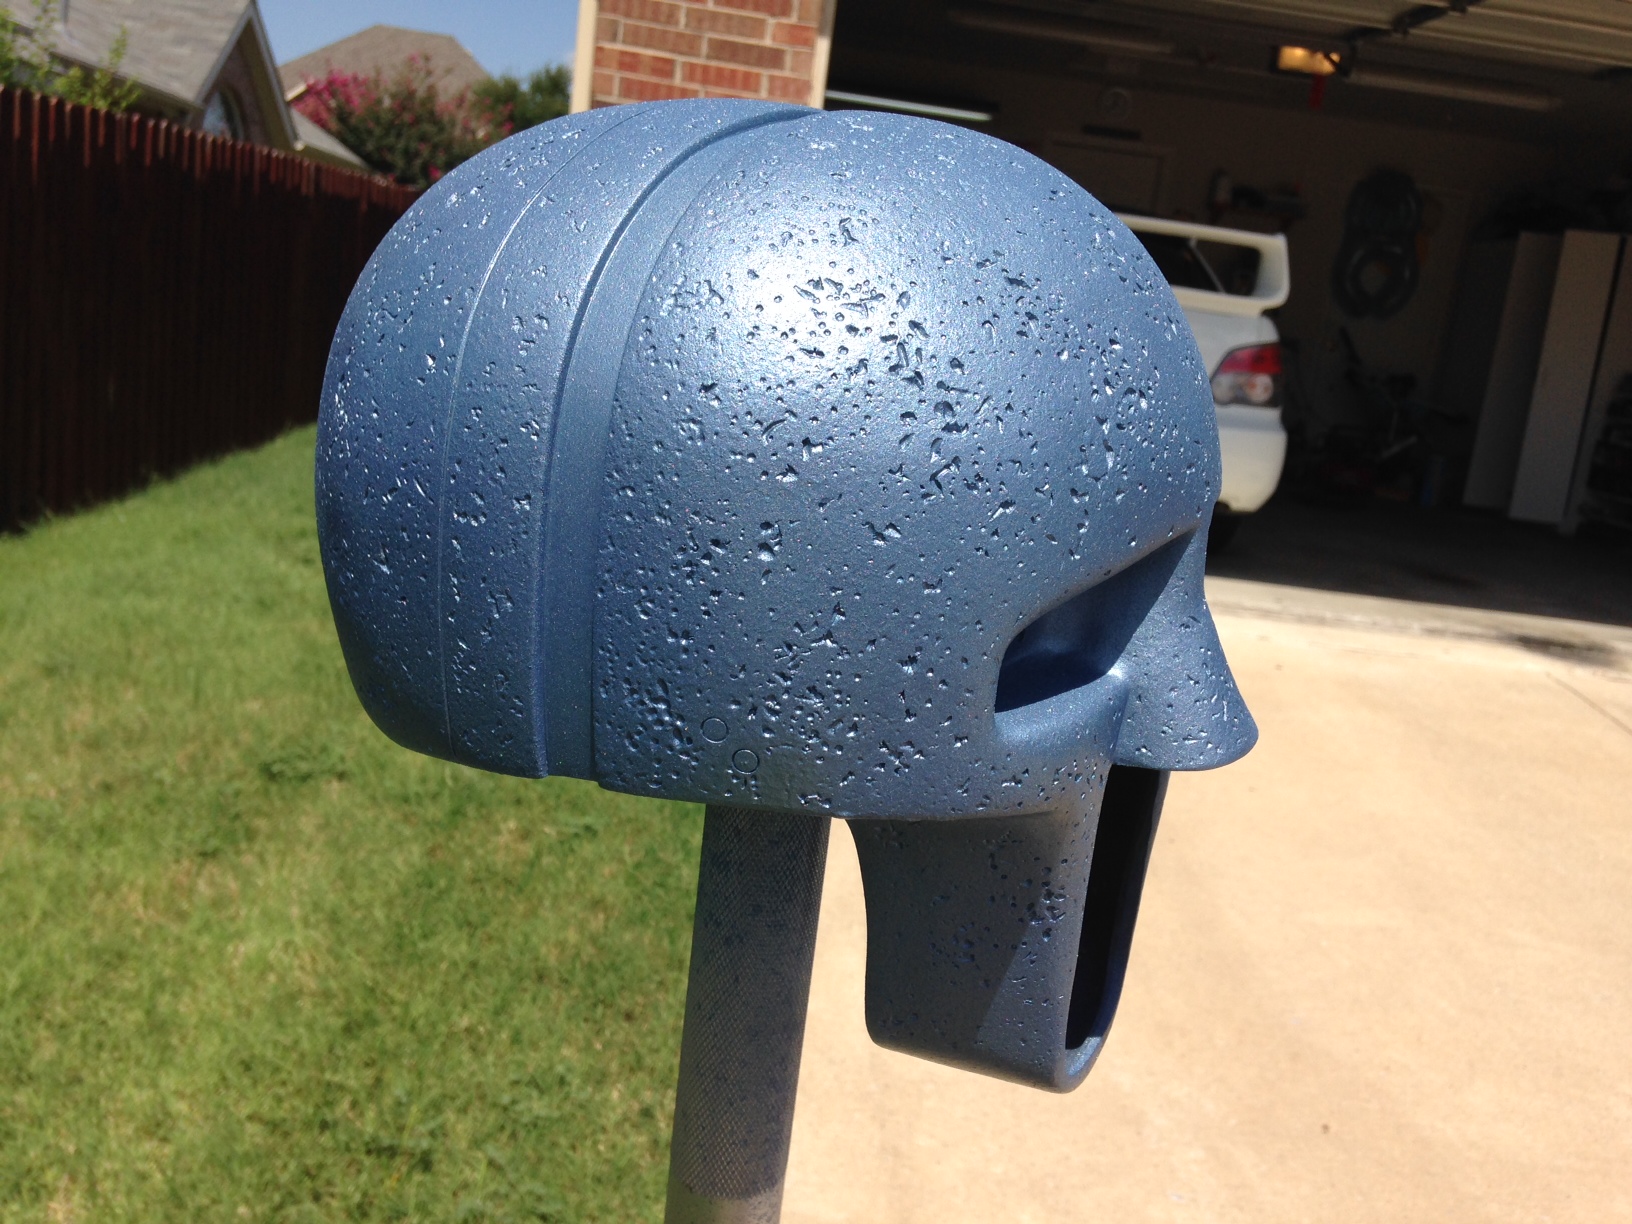
I didn't prime it at all... not a lick.
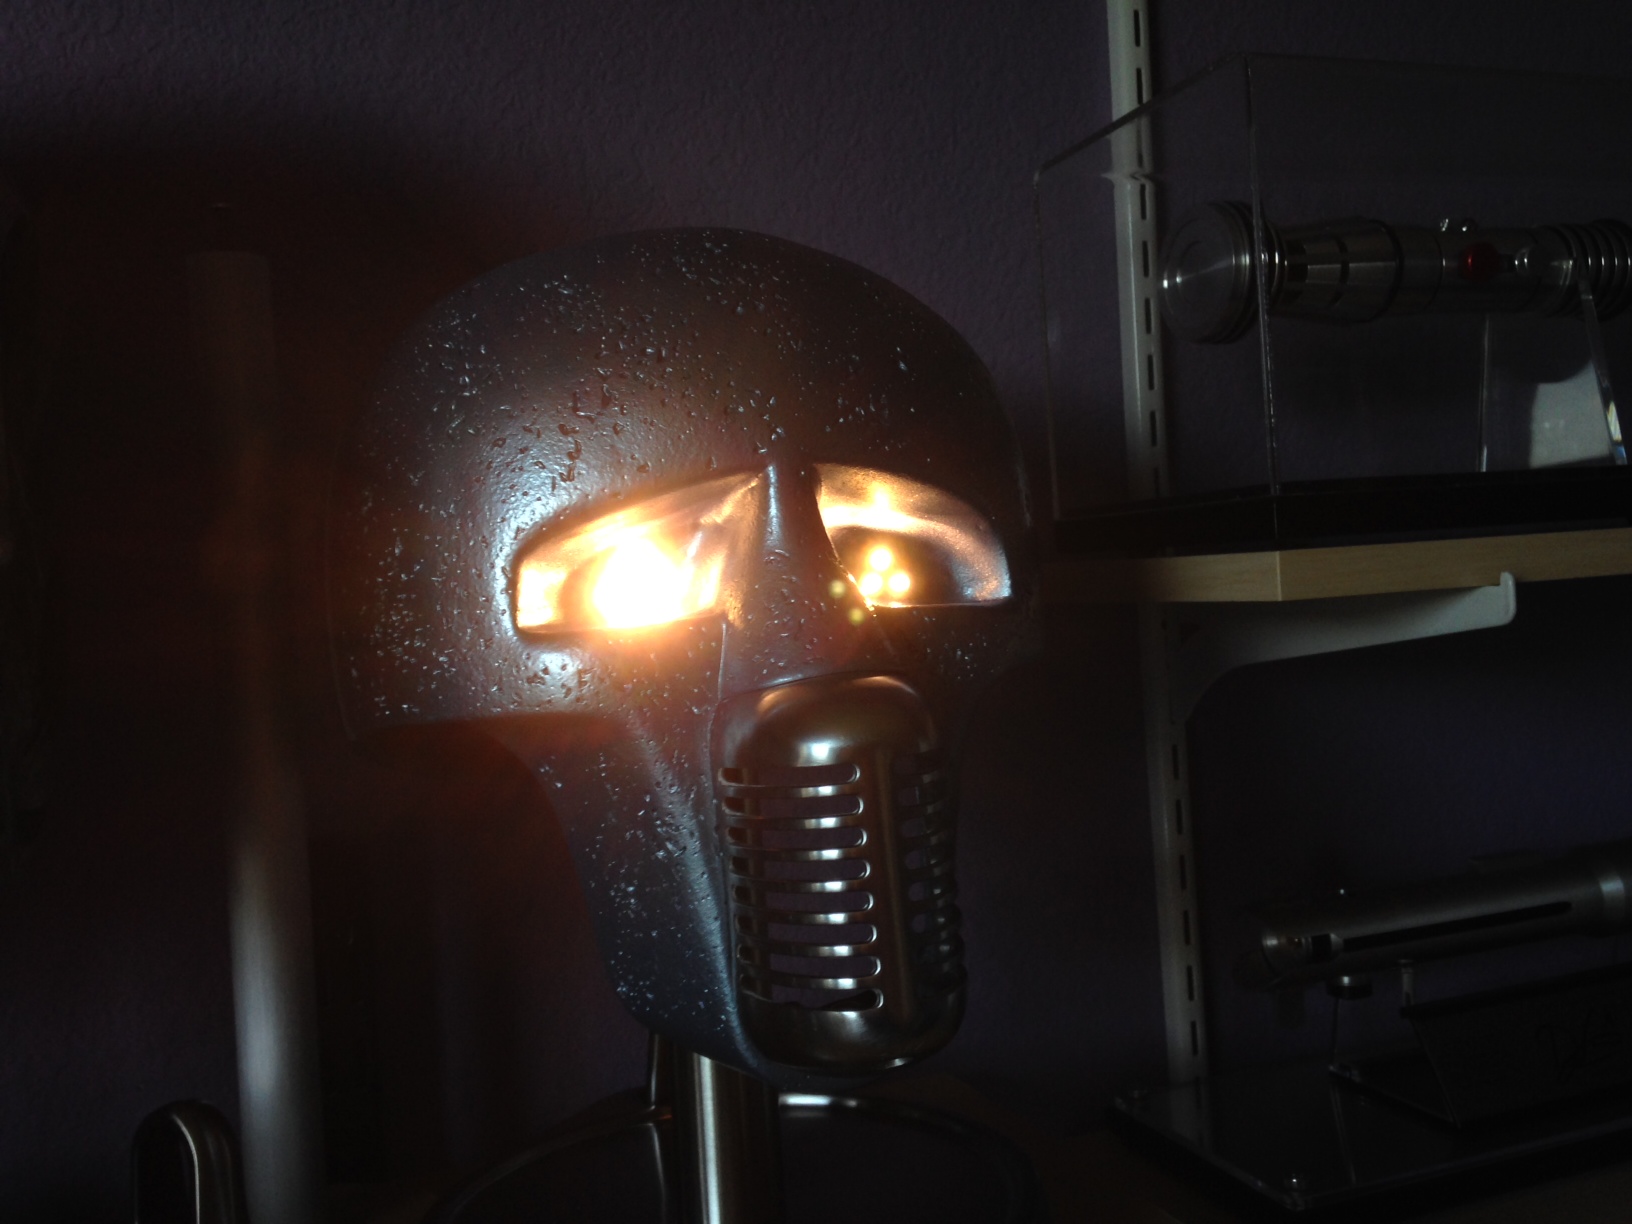
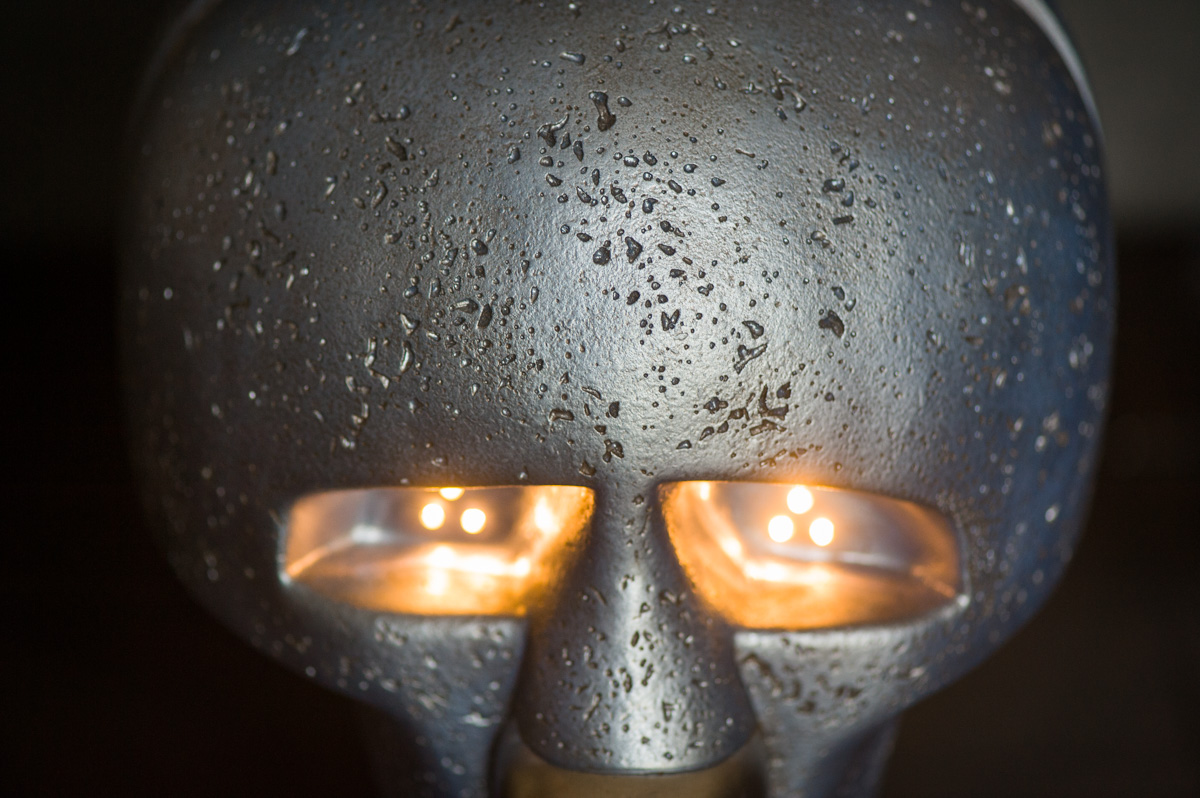
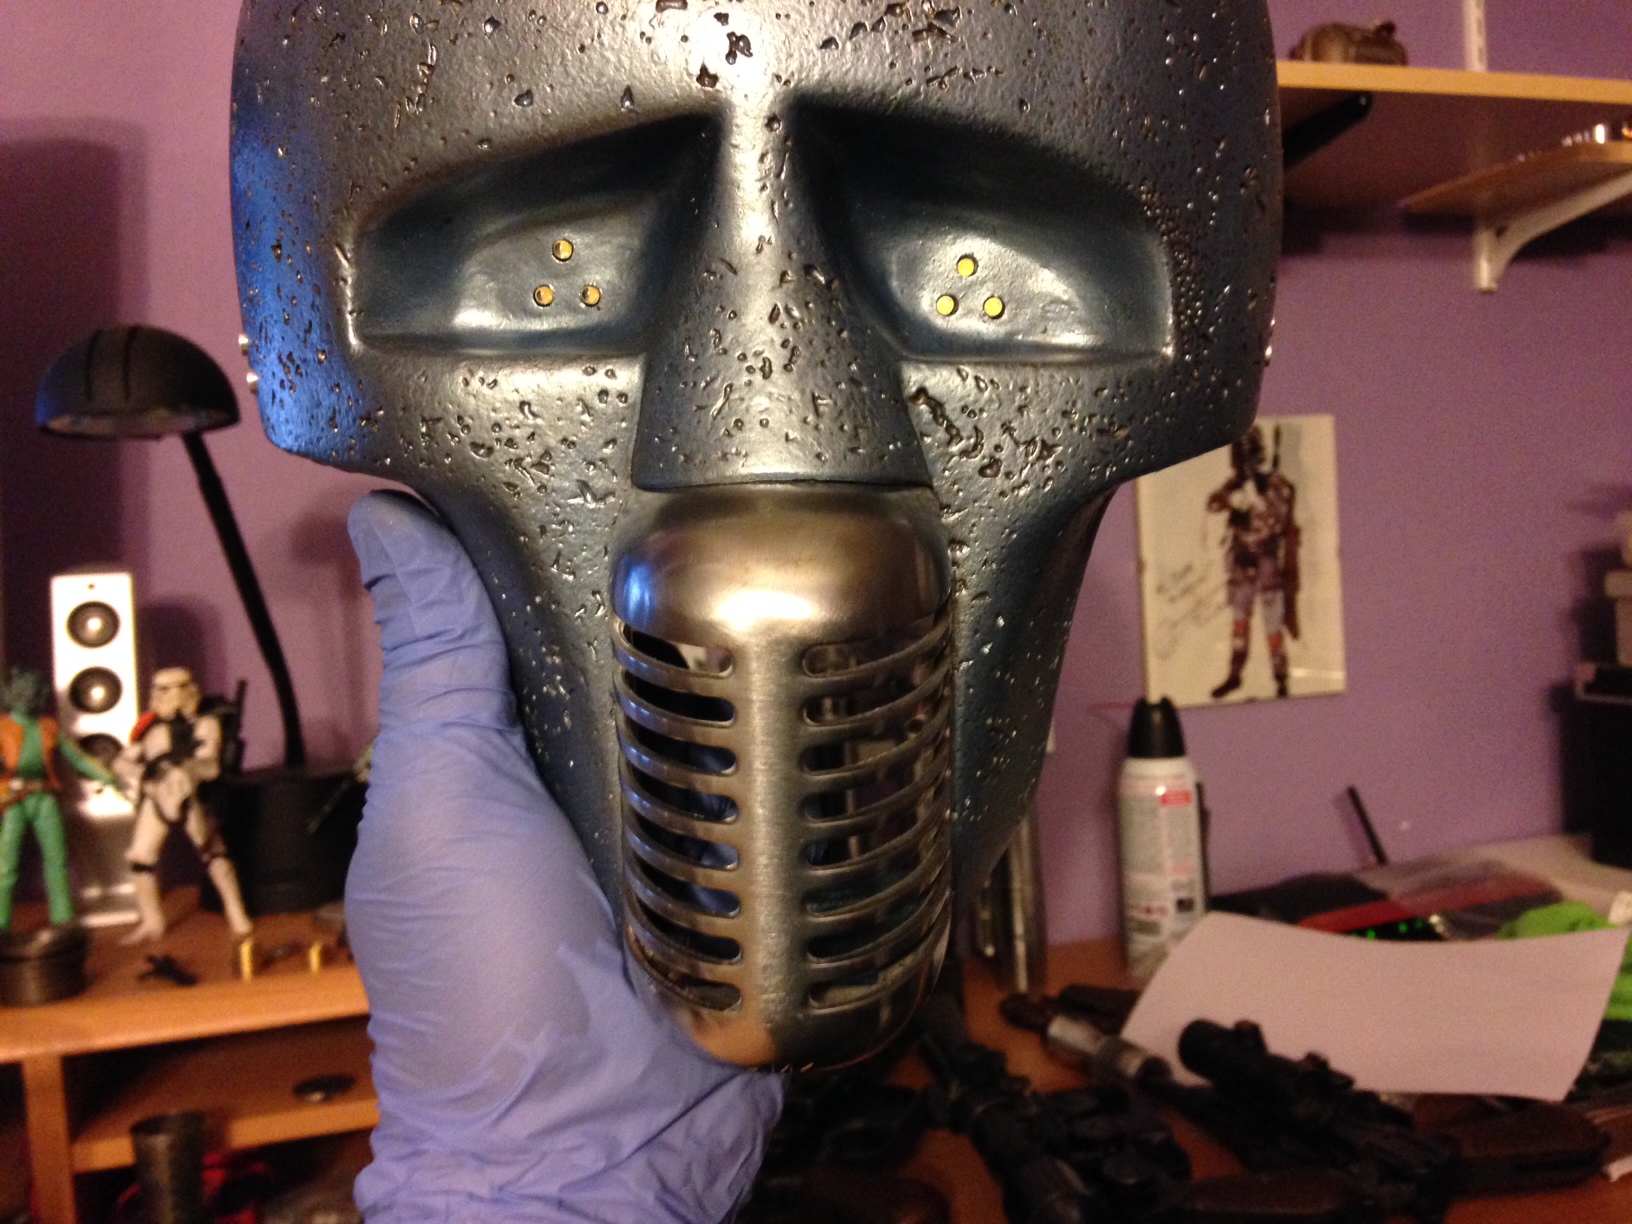
I wired them parallel... resistors on the positive leads. So each positive wire from the leds has a resistor...
So one eye's LEDs (3) positive and negatives are about 2-3" long... Then all three positives are soldered together to one longer lead. Same with negative. Then the two sets of positive leads are joined with the one positive lead from the battery box. Same with negatives. You have two wires running to battery box only. Simple but tedious.
Also these are BRIGHT.
I think Dan's is an Aldi paper towel holder... and My paper towel holder was from Bed Bath Beyond.
I can't find any Aldi in Dallas with the euro paper towel holders, so mine cost $20 after 20% off coupon. I have 3.
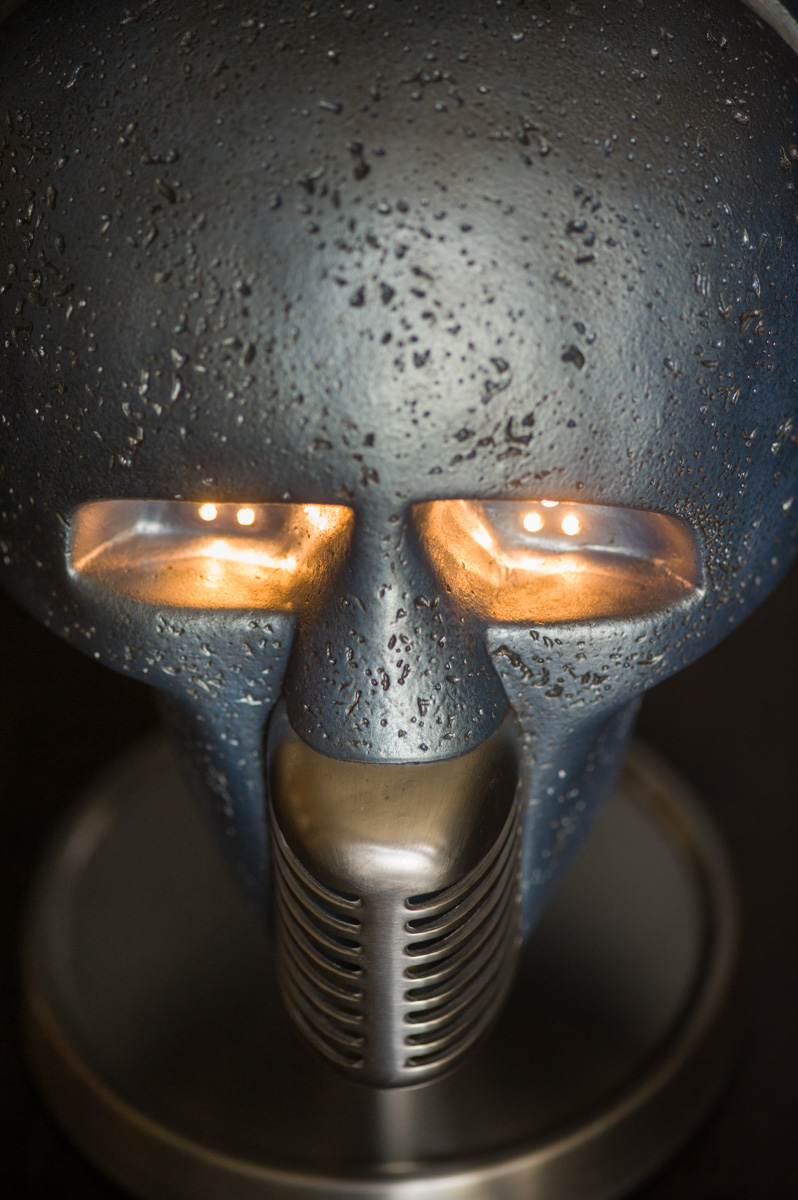
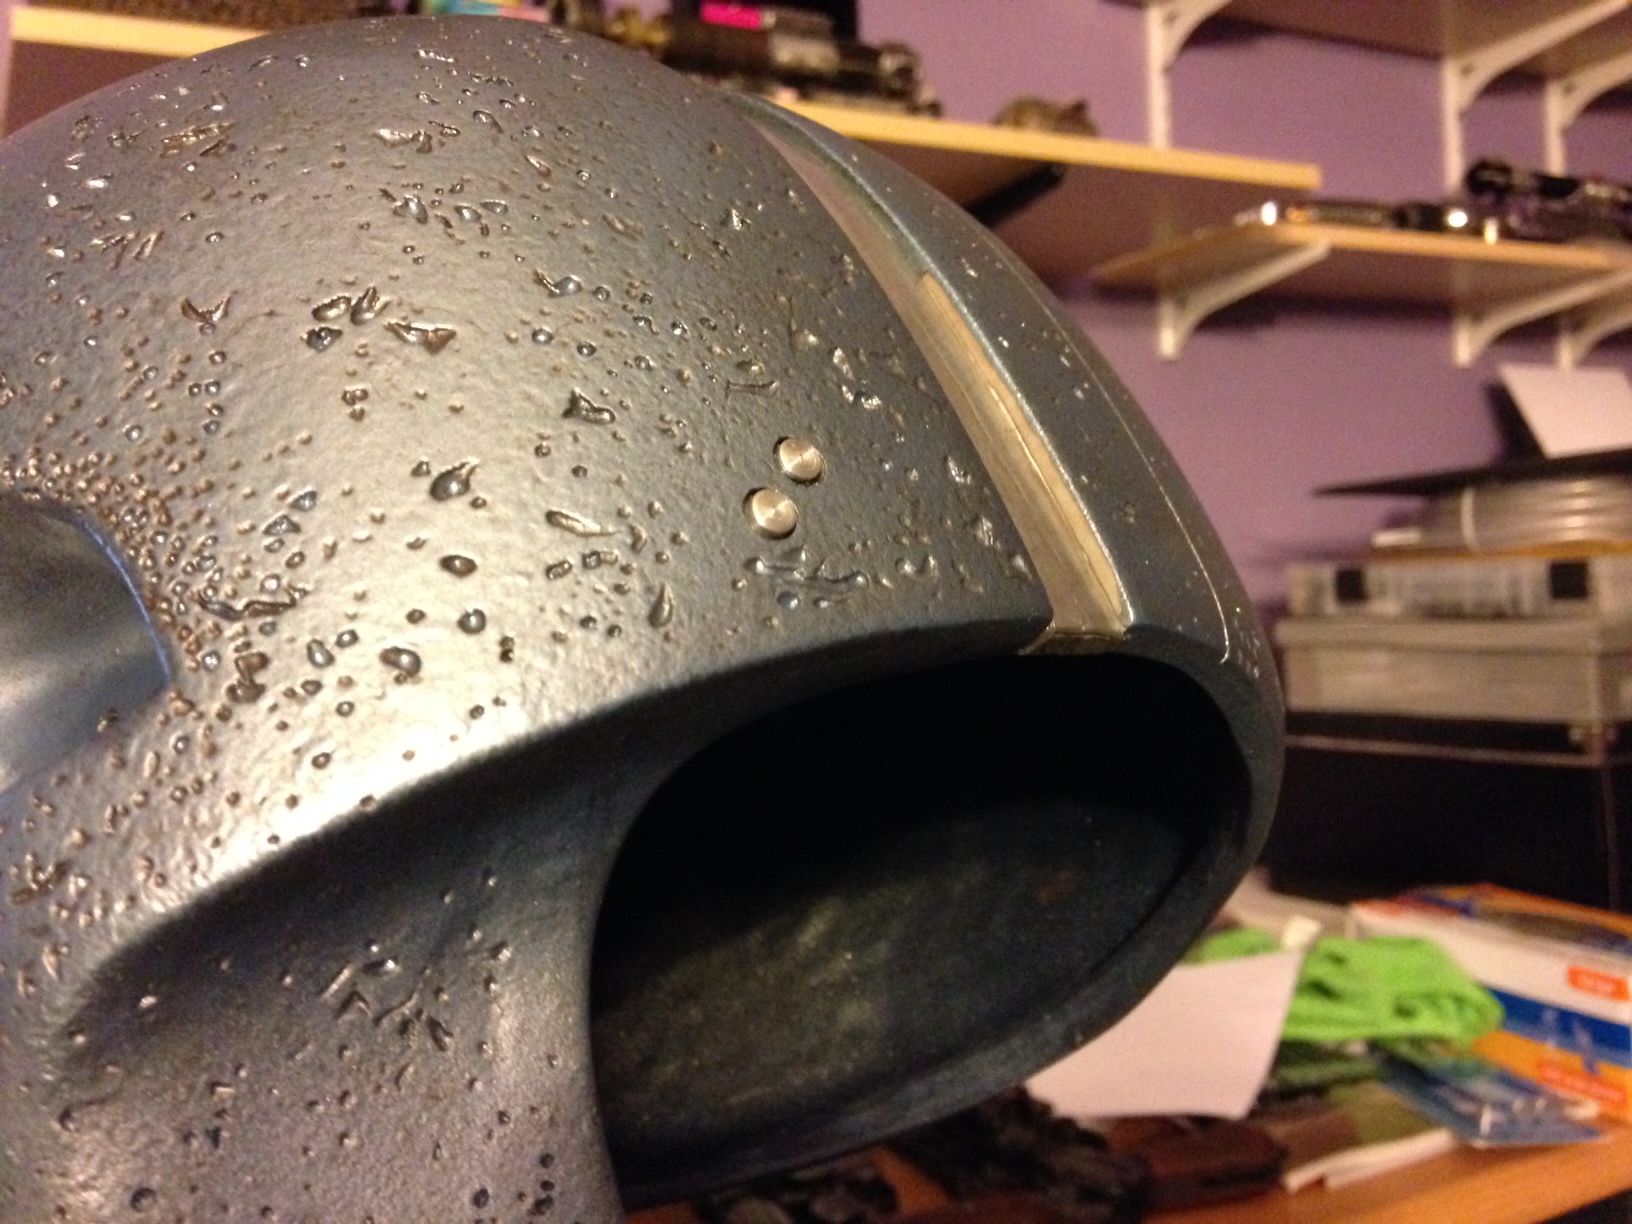
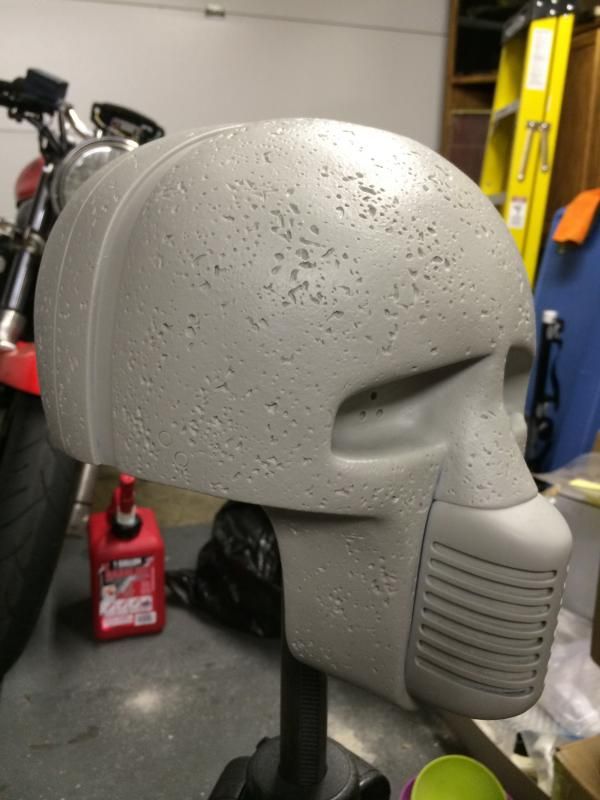
Tonight I machined and fitted the side dots. I have them sticking out a little as I see in the movie, but they're adjustable to suit my taste.
I wired them parallel... resistors on the positive leads. So each positive wire from the leds has a resistor...
So one eye's LEDs (3) positive and negatives are about 2-3" long... Then all three positives are soldered together to one longer lead. Same with negative. Then the two sets of positive leads are joined with the one positive lead from the battery box. Same with negatives. You have two wires running to battery box only. Simple but tedious.
Also these are BRIGHT.
I think Dan's is an Aldi paper towel holder... and My paper towel holder was from Bed Bath Beyond.
I can't find any Aldi in Dallas with the euro paper towel holders, so mine cost $20 after 20% off coupon. I have 3.
Tonight I machined and fitted the side dots. I have them sticking out a little as I see in the movie, but they're adjustable to suit my taste.
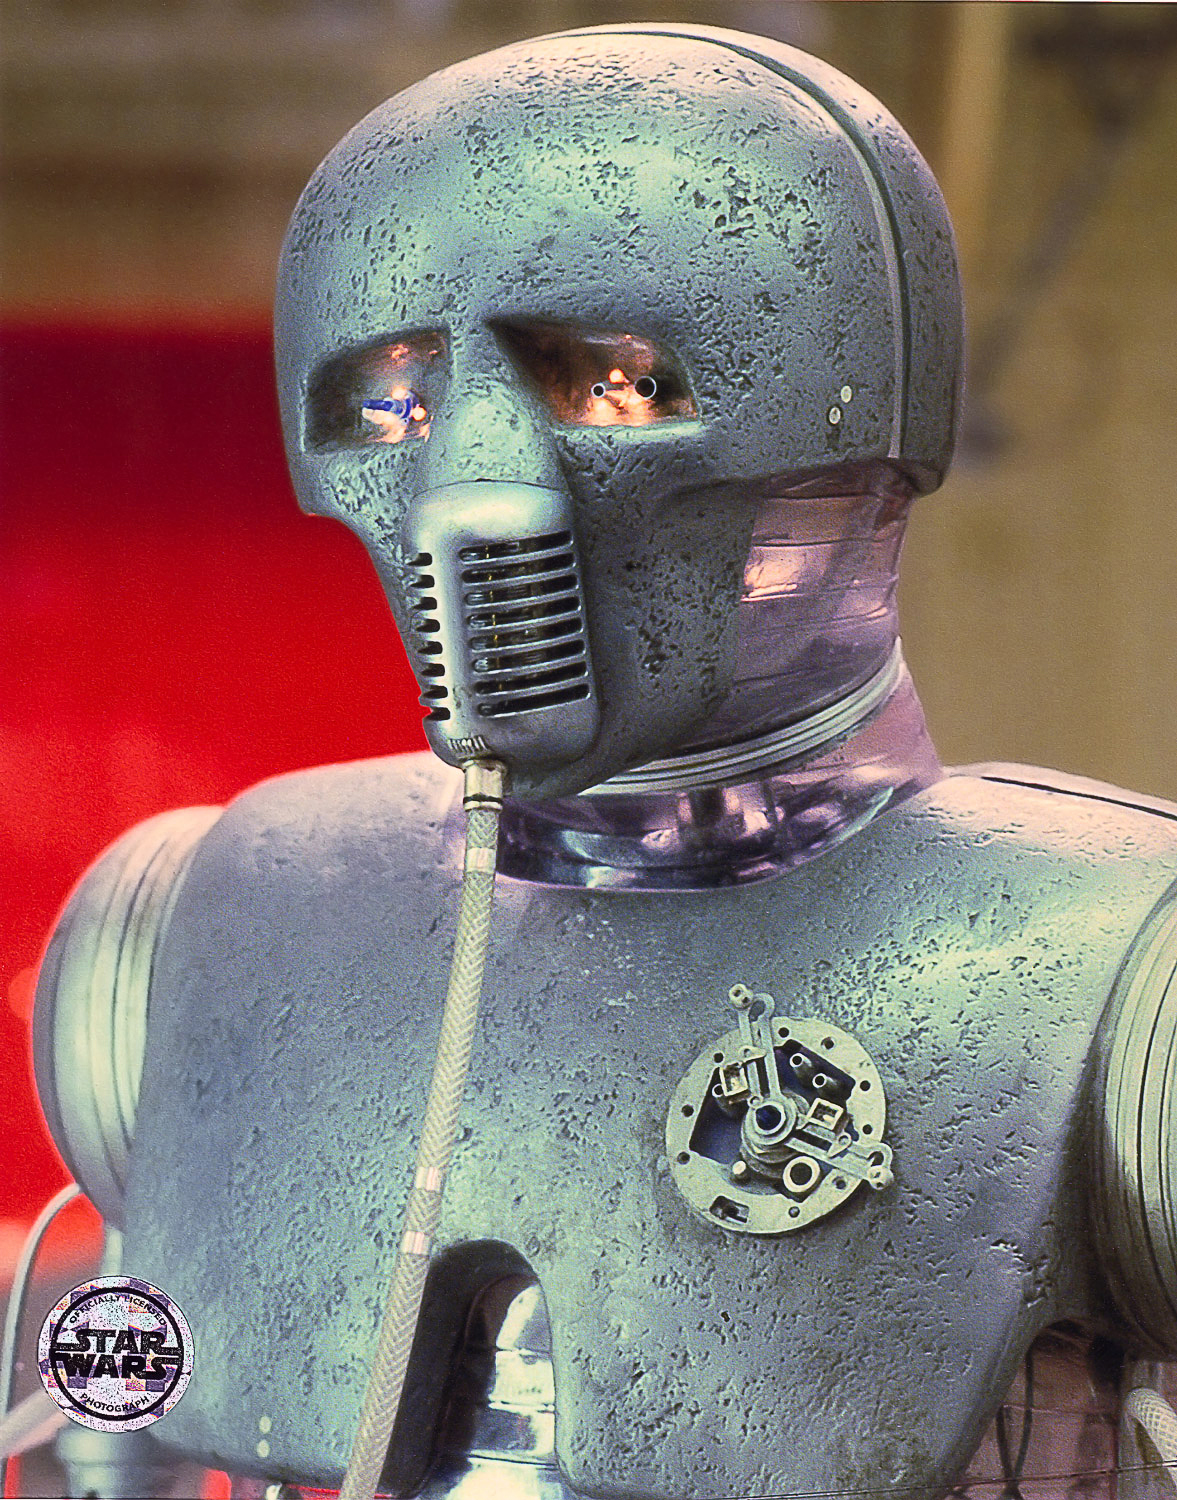
Thanks for posting scott, i knew i had not imagined the mic interior.
i did my first one like the shot above, loads of wire curved down the center. it must have been edinburgh that i saw it when it was on display.
whats happening on its right eye, can't really make it out?
-z
i did my first one like the shot above, loads of wire curved down the center. it must have been edinburgh that i saw it when it was on display.
whats happening on its right eye, can't really make it out?
-z
Last edited:
Been meaning to post this up but this is a very nice kit guys and very greatful to have the electronics included. They aren't complicated which should help out a lot of builders out there, but very appreciated to not have to go out and get all the components.


mikajedi
Well-Known Member
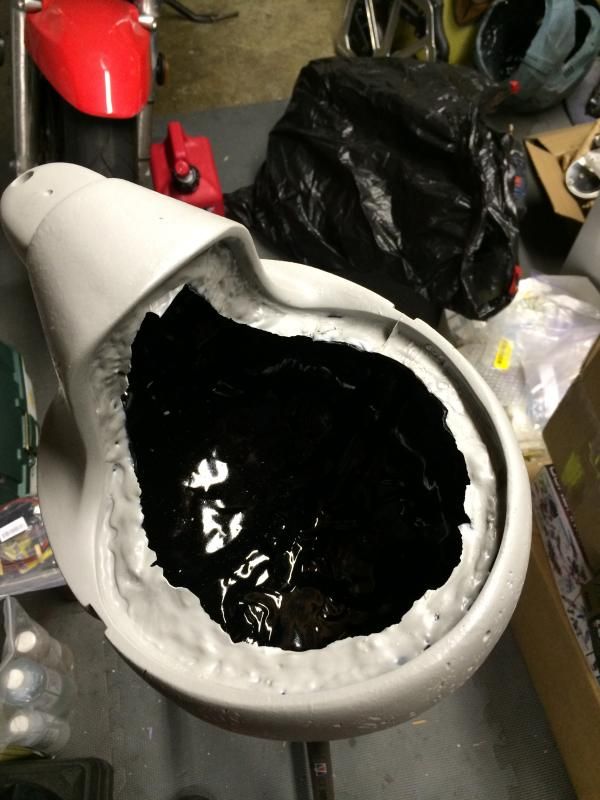
Today, I went to the supermarket and I bought a big bottle of water but this was not only to drink.
This was also to create a clear neck to my 2-1 B droid.
Even If this is not the correct shape, It's not that bad.
I have also painted a little bit inside to have a slight weatered effect
Now the droid head is more massive and I prefer it like that.

This was also to create a clear neck to my 2-1 B droid.
Even If this is not the correct shape, It's not that bad.
I have also painted a little bit inside to have a slight weatered effect
Now the droid head is more massive and I prefer it like that.

Last edited:
Similar threads
- Replies
- 2
- Views
- 631
- Replies
- 3
- Views
- 391
- Replies
- 17
- Views
- 1,722