Moebius B-9 Lost In Space Robot X 3

How did you bend those those tiny tubes? I have mine now and wondering how i am even going to cut the to length they are so thin!
 
How did you bend those those tiny tubes? I have mine now and wondering how i am even going to cut the to length they are so thin!
I cut them with an X-acto knife, the flat bladed one so I could chop them, then I used a needle nosed pliers to bend open the ones that got a tiny bit flattened.

Also, I was about to prime the exterior and I saw some things. Not 'flash' exactly, but little sharp edges & uneven mould lines.


Just an FYI.
*breaks out the ultra-fine sandpaper*
 
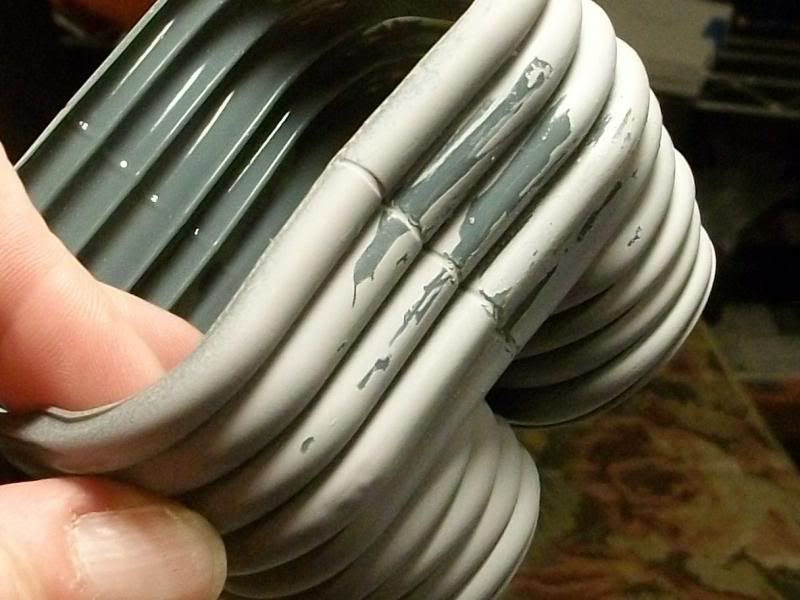
Okay my B9 bros, I had a breakthrough here. I was banging my head trying to figure what to paint the vinyl parts with. I tried straight acrylic, but after drying it peeled off SO easily it was ridiculous. And you KNOW that means in time it would simply crack & flake off. So then I tried automotive primer (you know, the really smelly stuff)...

and if you look at the fourth ring down, you see that even with a lot of scraping it barely came off. THAT was the ring I briskly SANDED with fine sand paper to test that approach. I'll now sand the entire thing, every square mm, and re-paint it with the automotive primer.
THEN, I can paint with acrylic to get the exact shades I'm looking for! And I can also create the first season wrinkles with different thicknesses & brush strokes (I did another heat test with a brand new hotter hair dryer, & still no good results. I'm pretty certain at this point a heat gun would shrink it down badly) . It's a win.
Now, oh joy- more sanding. My favourite thing.:facepalm
 
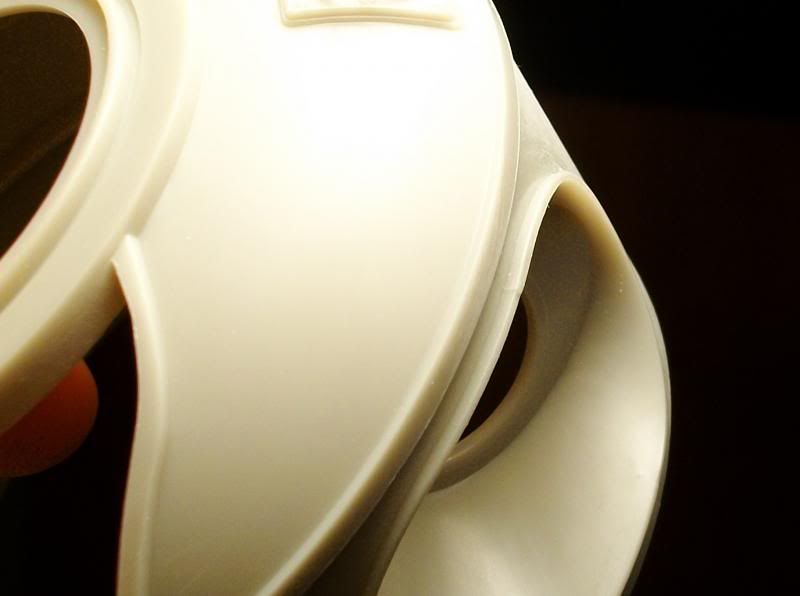
How do you intend to get any form of lighting between those two top plates?
I make it up as I go. I might sand spots in between the two plates to make the necessary space for the LEDs... one dude actually sanded the LEDs themselves, but I'm not too comfortable with that.
 
Im looking at using LED tape, i should be able to rig a flasher circuit and i have plenty of that stuff around. Ill have a better look tomorrow once i start getting some paint onto these parts.
 
I make it up as I go. I might sand spots in between the two plates to make the necessary space for the LEDs... one dude actually sanded the LEDs themselves, but I'm not too comfortable with that.

Actually LEDs file/sand down pretty well. Handy for odd sized holes and slots. Rough them up with sandpaper to give them a frosted look and you get a less distinct dot of light. Carefully drill them and slip in an optic fibre if necessary. Just don't get too close to the anode and cathode inside.
 
I was dreading sanding all the vinyl parts, but I did the big leg pieces, then I had an idea... so I got some Scotchbright scrubbies & Comet and viola!

I'd still have had to sand the deeper spots in the upper legs, but this saved hours on the rest of it.
 
So, for the first season look I had to chop out part of the leg bellows & epoxy putty replacement areas. When cured, I hope to carve & sand them to the correct shape.


I'll know by tonite if this is the perfect answer or not...
 
The answer is...

No, it won't work.
freak.gif

I started filing the grooves and the epoxy putty pieces popped right out. This is NOT vinyl. It's a really oily pvc of some kind. EPOXY putty *should* stick to almost anything. BUT. I have another trick up my sleeve.

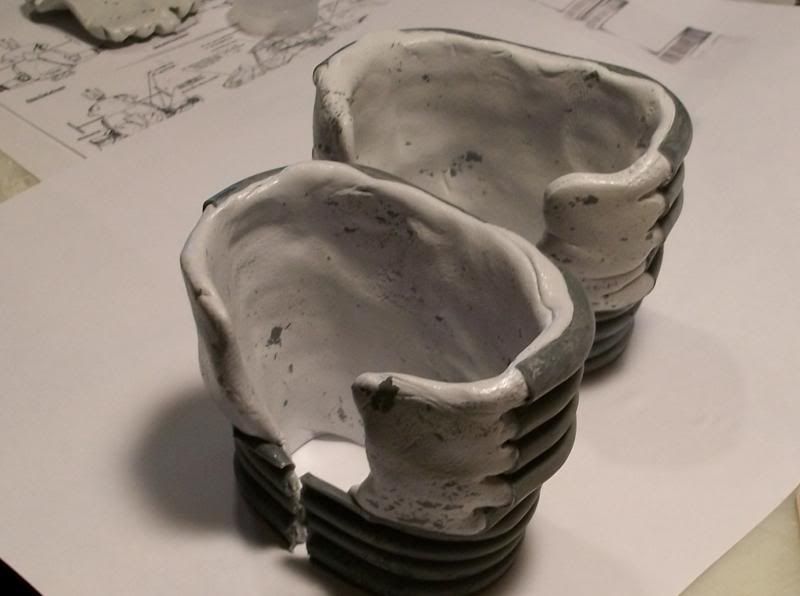
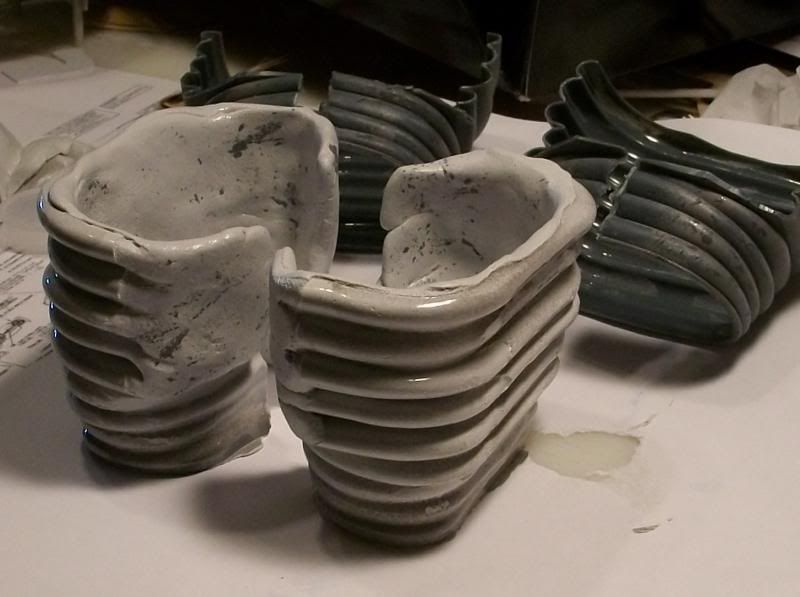
Okay, I simply cut the leg bellows in half, used them as moulds & filled with epoxy putty, being careful to spread the 'moulds' out a bit to compensate for the interior/exterior difference,


And voilà!


Now it's just a little sculpting and gluing the halves together when I get them looking right!
 
This thread is more than 9 years old.

Your message may be considered spam for the following reasons:

  1. This thread hasn't been active in some time. A new post in this thread might not contribute constructively to this discussion after so long.
If you wish to reply despite these issues, check the box below before replying.
Be aware that malicious compliance may result in more severe penalties.
Back
Top