SankaraRaider
Well-Known Member
Hi all,
I'm almost done finishing a facehugger kit, and wanted to share the progress with you.")
For many years I'd wanted a cool life-sized facehugger in my growing collection of replica props. I knew of several great replicas out there, and my biggest wish was getting one representing the look from the original ALIEN.
The Halcyon kits looked awesome, but they were getting hard to find, and at a reasonable price. And I wasn't sure if I could do the kit justice with my assembling and painting skills, and with only brushes to use.
For a while I considered buying one of the many Asian recasts of these kits floating around on the bay, they are quite affordable and it wouldn't be the end of the World if I messed up.
But I kept looking for an original kit...
And one day last year, a complete kit finally showed up which didn't cost a fortune. I immediately bought it.
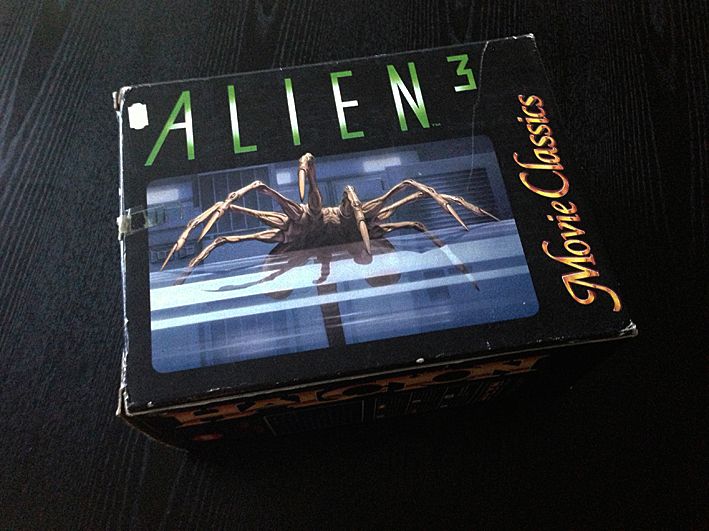
It wasn't from ALIEN though, but from ALIEN³ which I actually didn't mind.
'Cause I love the third movie, and as a little bonus, there's a queen embryo included in this kit as well.
The seller had begun trimming the parts, some of the tail parts were trimmed too heavily and was missing the pieces that would hold them together when glued. But I fixed that by epoxy-gluing some of the trimmings onto them.
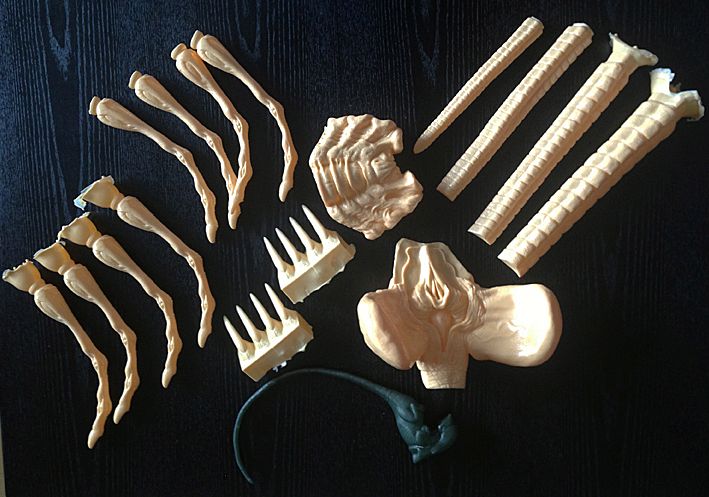
Here's the box and all the separate parts with instructions:
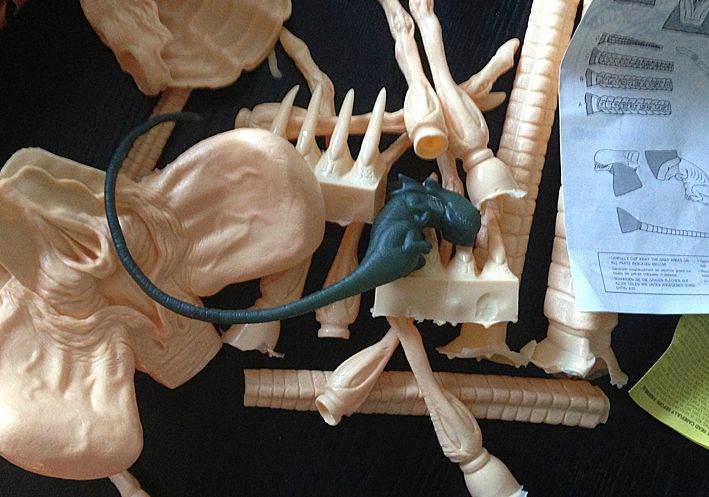
The queen embyo was unfortunately already glued together. If it wasn't I would have filled it with cotton, to keep it from being so floppy. But more on that later.
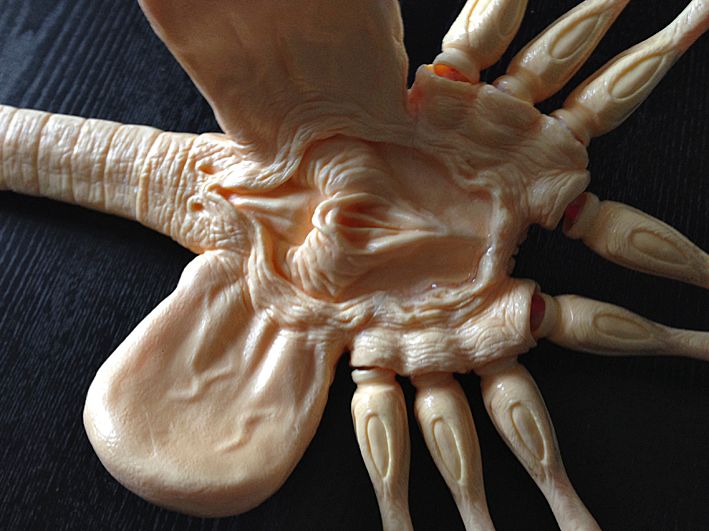
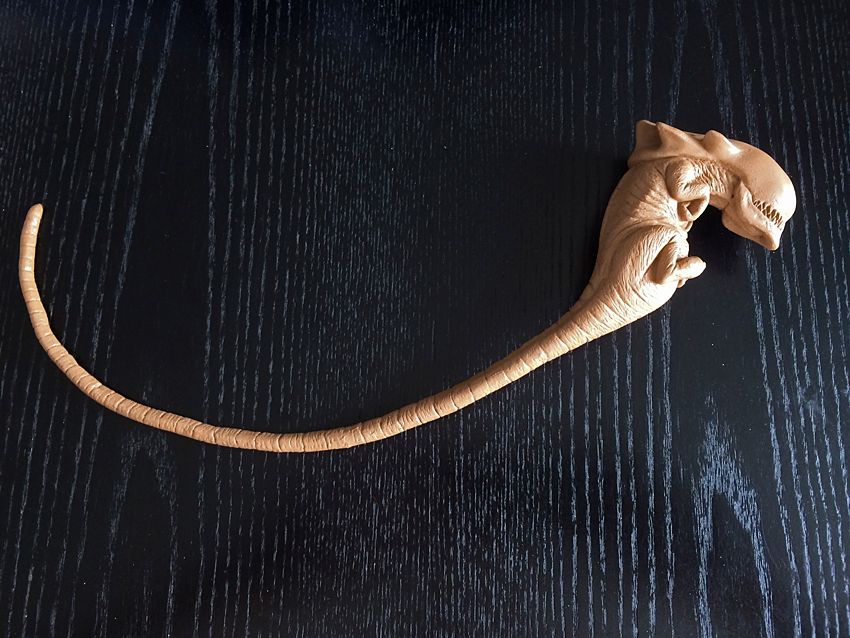
I started by trimming the remaining parts of the facehugger. And did a little test fitting:
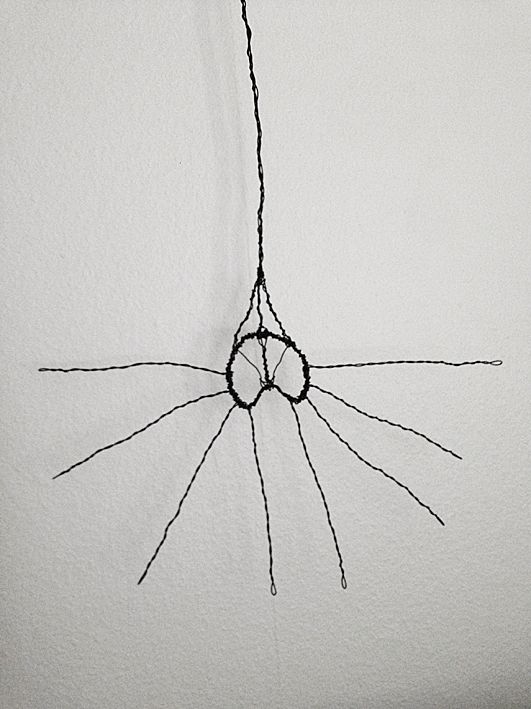
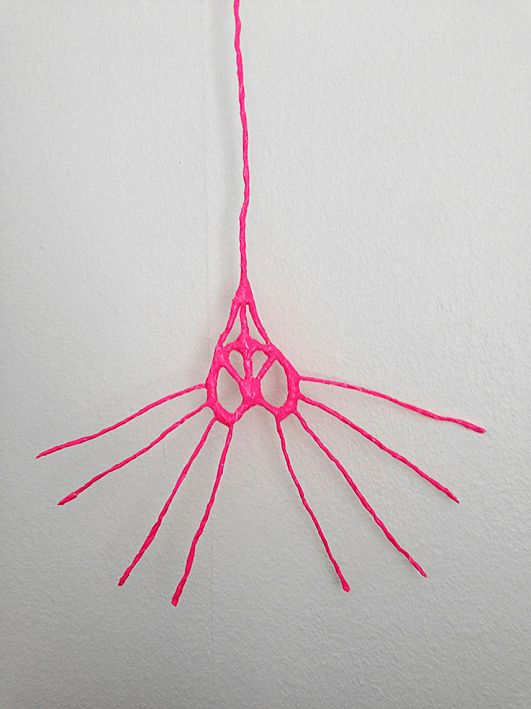
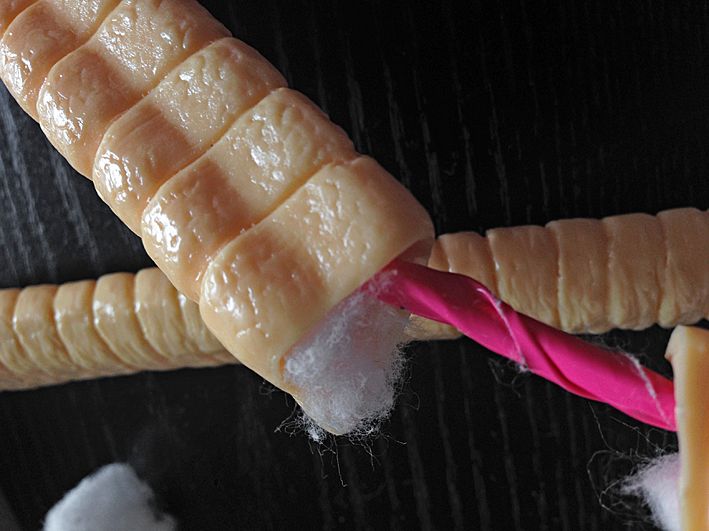
To add a bit of sturdiness to the creature, strength to the tail and a little mobility to the fingers, I created a skeletal structure out of garden wire.
To minimize the risk of the wire damaging the vinyl in any way, and just to give it some volume, I wrapped the wire in duct tape:
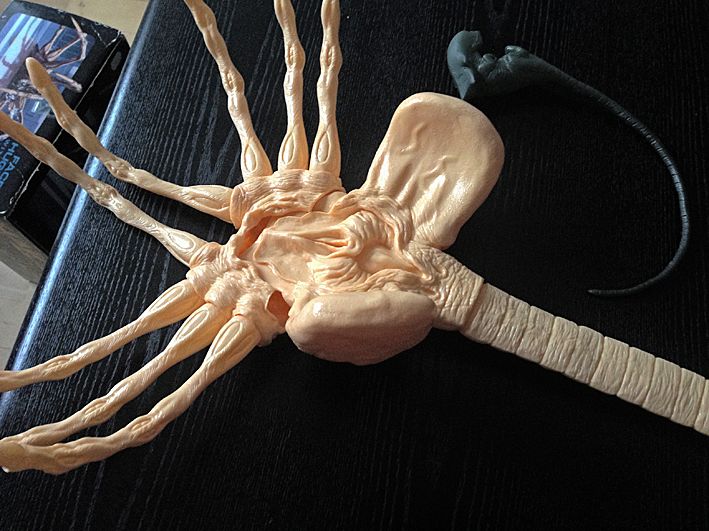
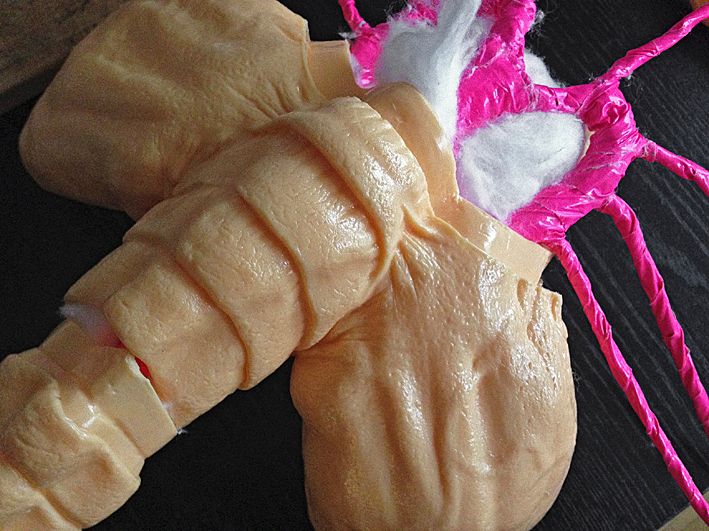
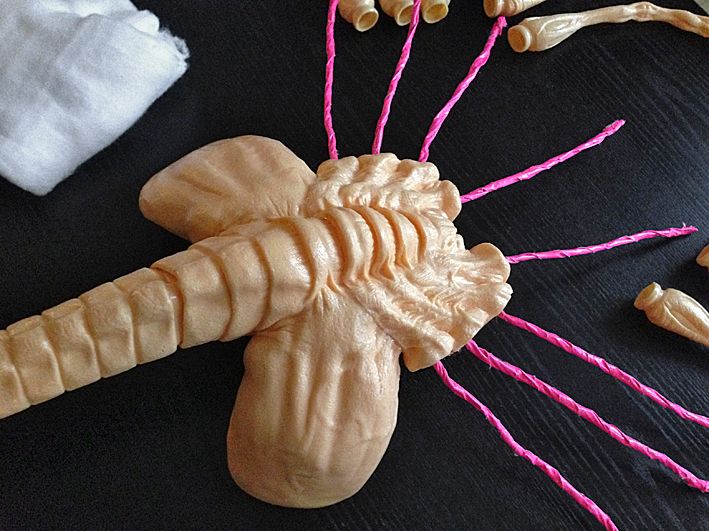
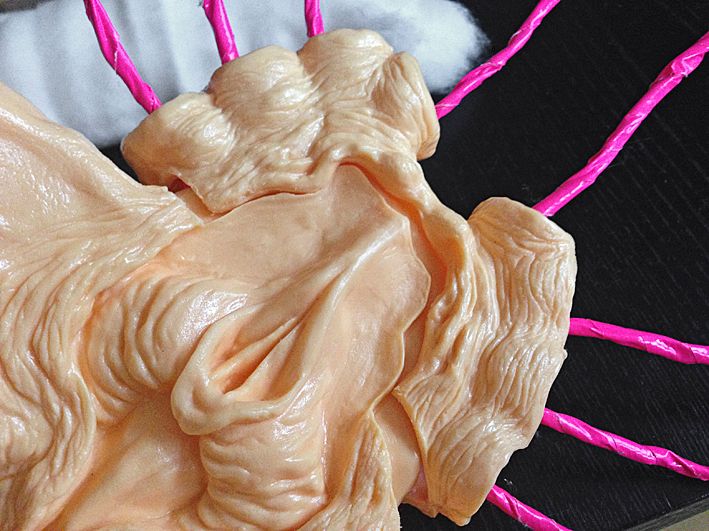
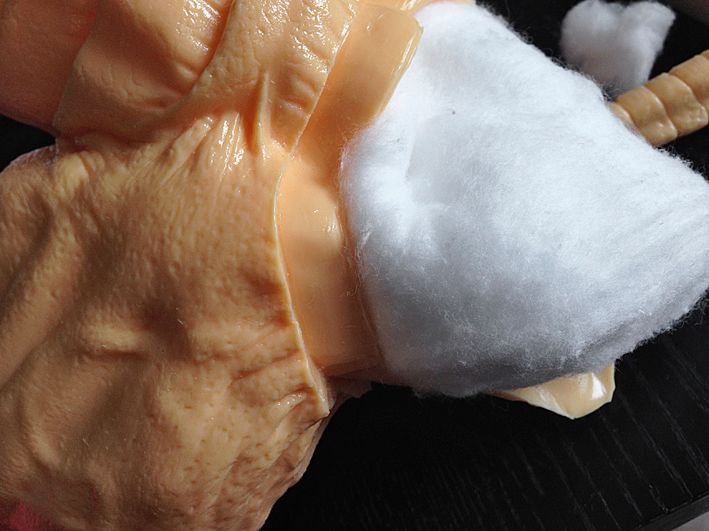
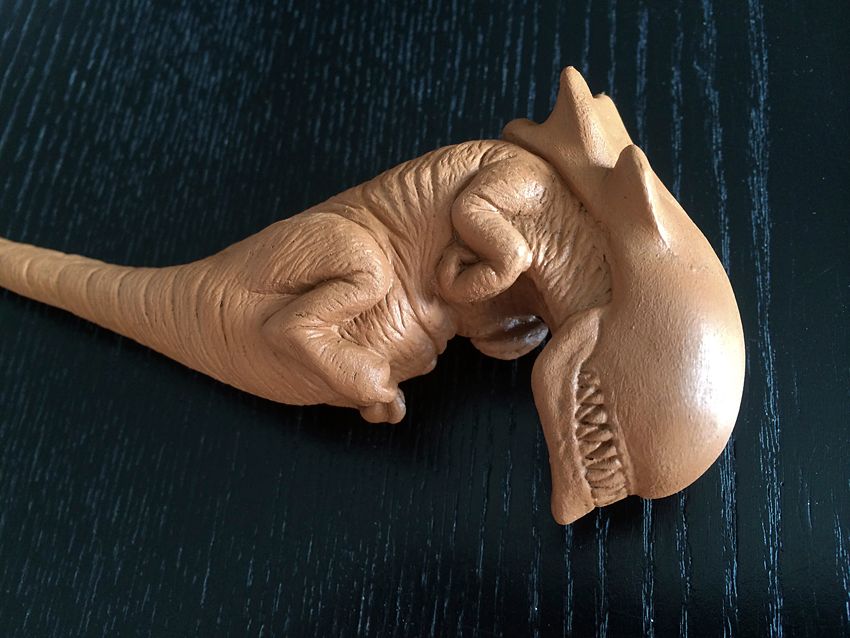
I then fitted the skeleton inside and stuffed every part of the facehugger with cotton, to give the facehugger some weight and density, before gluing the body pieces together:
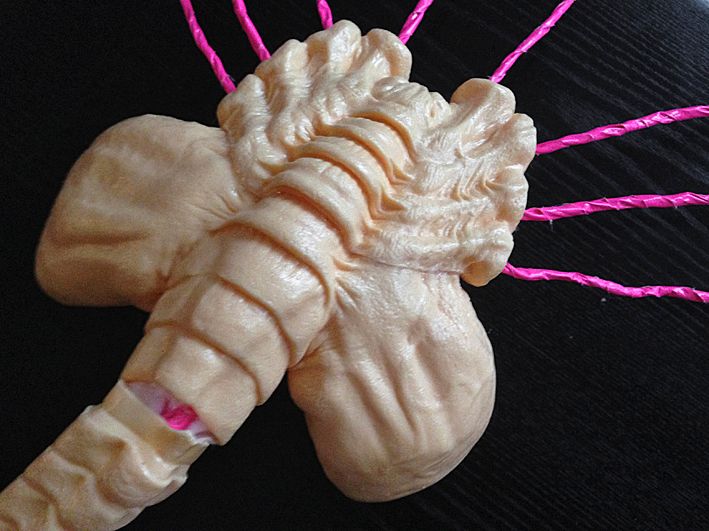
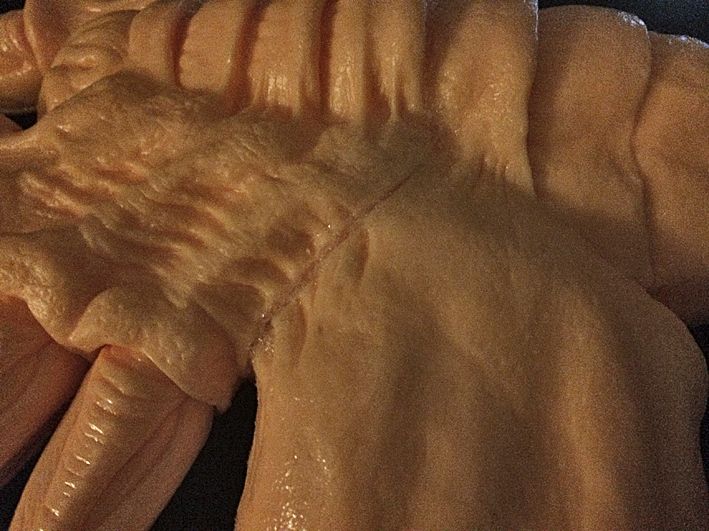
There was a little gap between the upper and lower body piece, this was filled with epoxy:
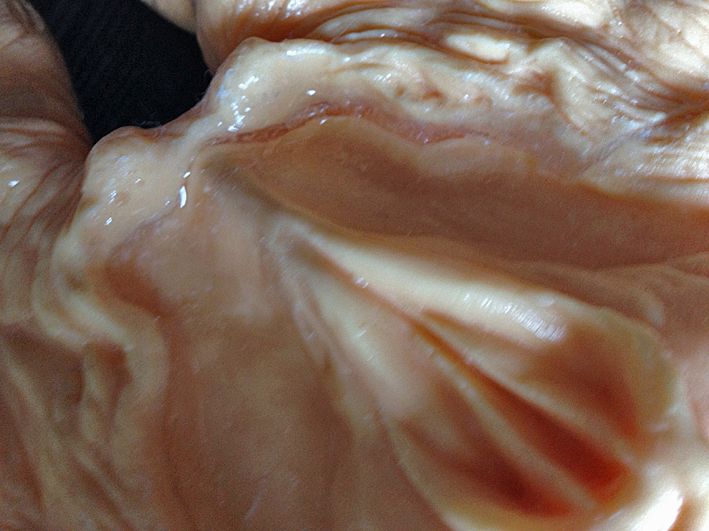
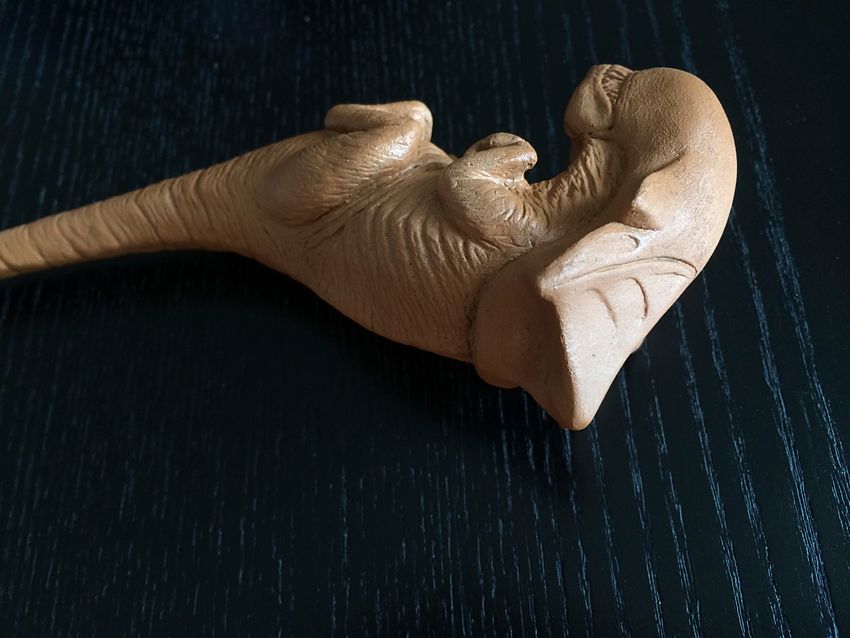
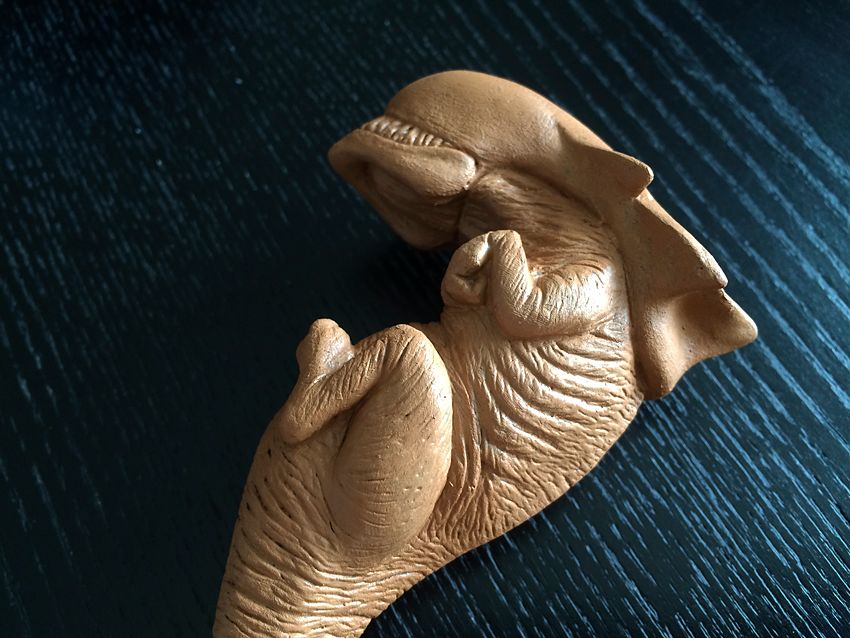
A little sculpting was needed to hide the otherwise obvious seamline:

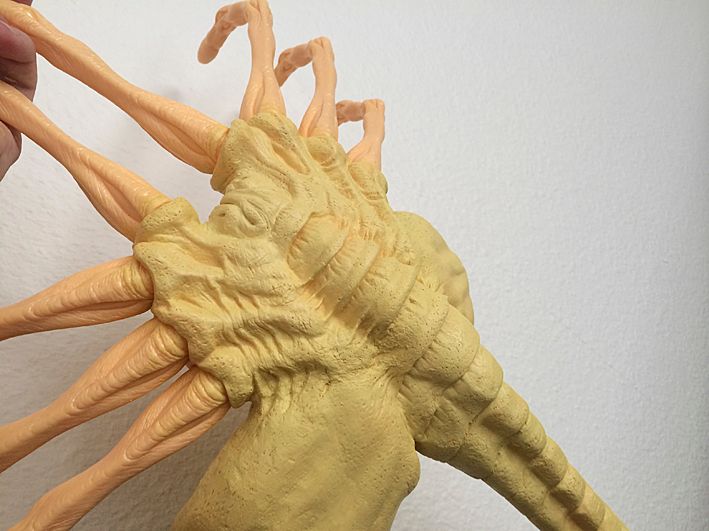
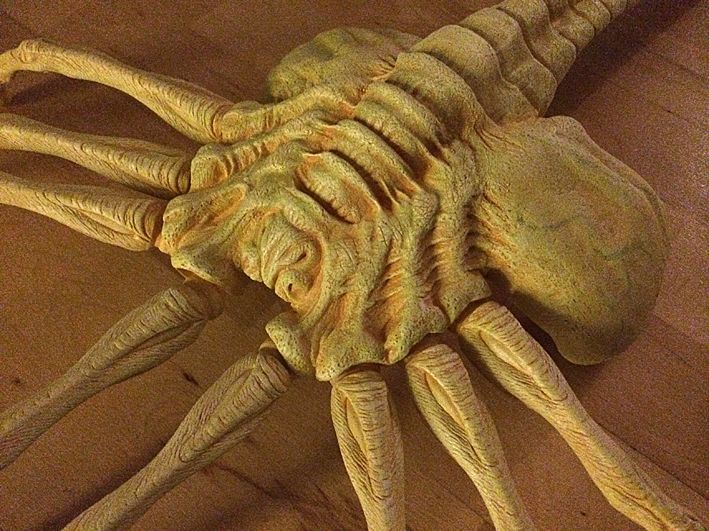
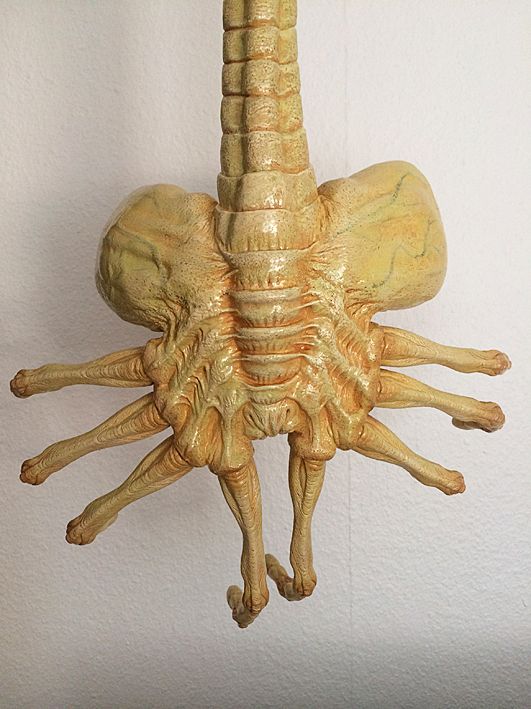
And here it is after the first base coat of paint:
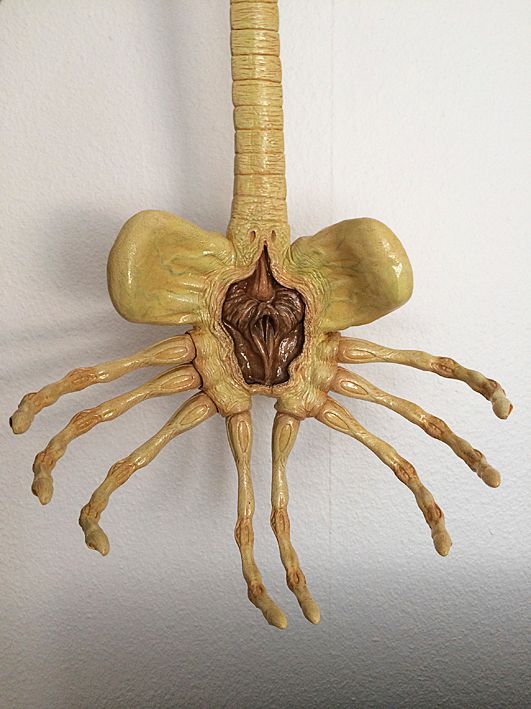
I then began building up layers. Some shading, adding blood veines and so on. My goal was to match the colors of the facehugger from ALIEN, and then add the details that make the ALIEN³ facehugger stand out from the others (mainly the knuckle areas)
(These pictures were taken late at night, so the details doesn't really show well)

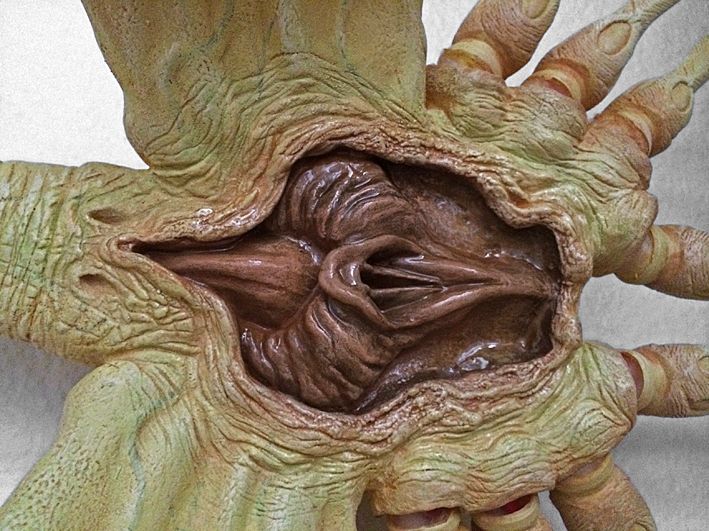
The inside/mouth area was then painted to match the clams-look of the original:
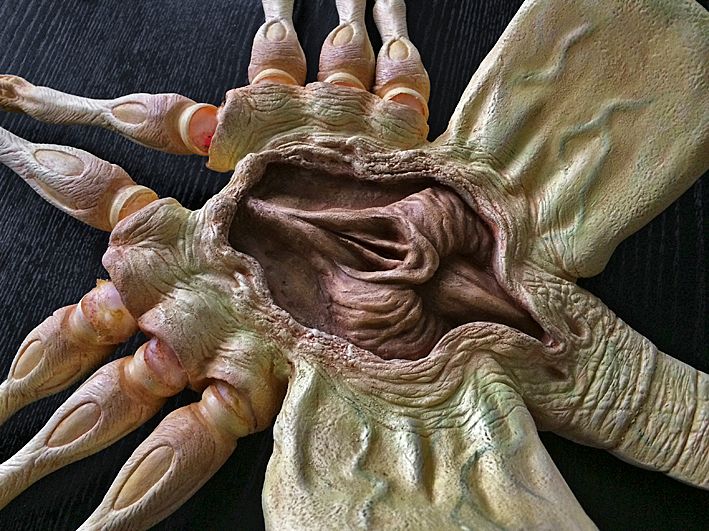
More high-lighting and also added a greenish hue to it:
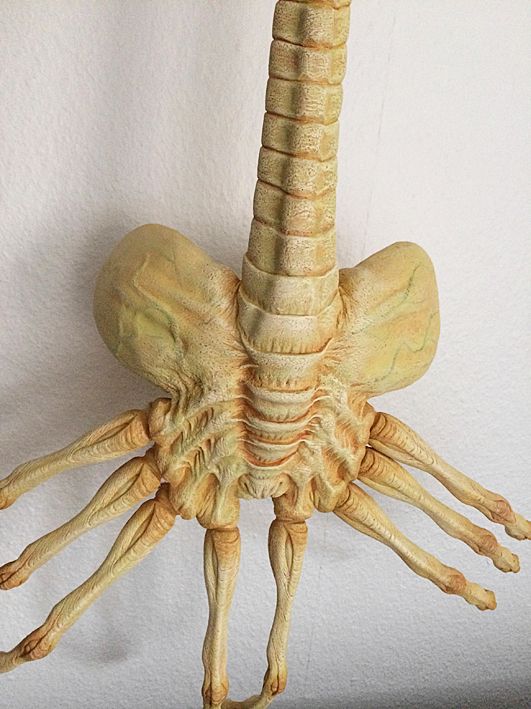
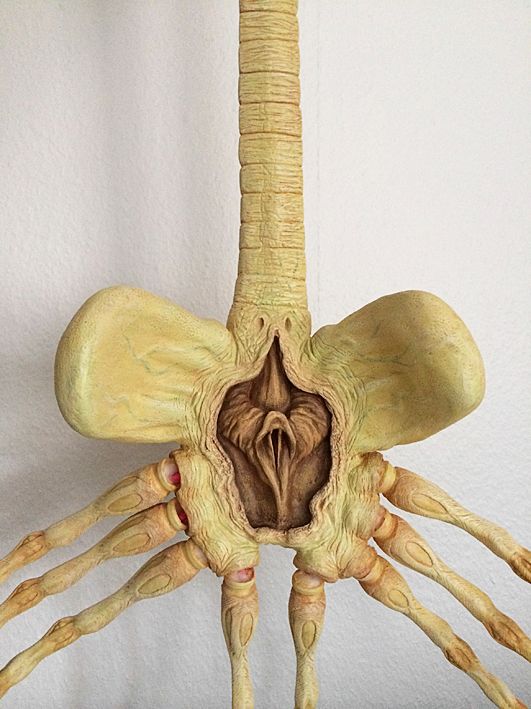
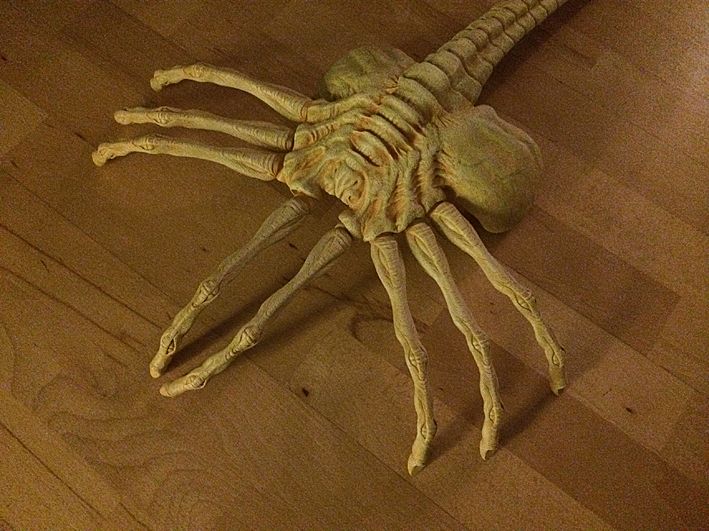
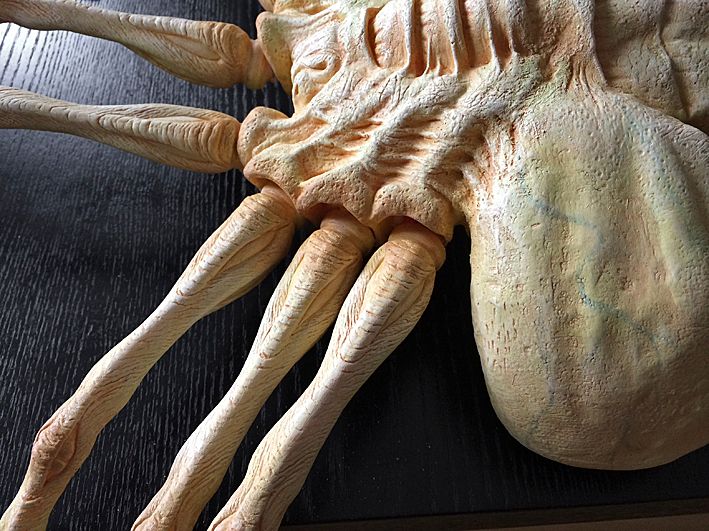
To protect the paintjob and make the colors pop, I began clear coating the facehugger. The original facehugger also has a very shiny look to it, so it also added some screen-accuracy to it:
And that's basically it for the paintjob of the facehugger.
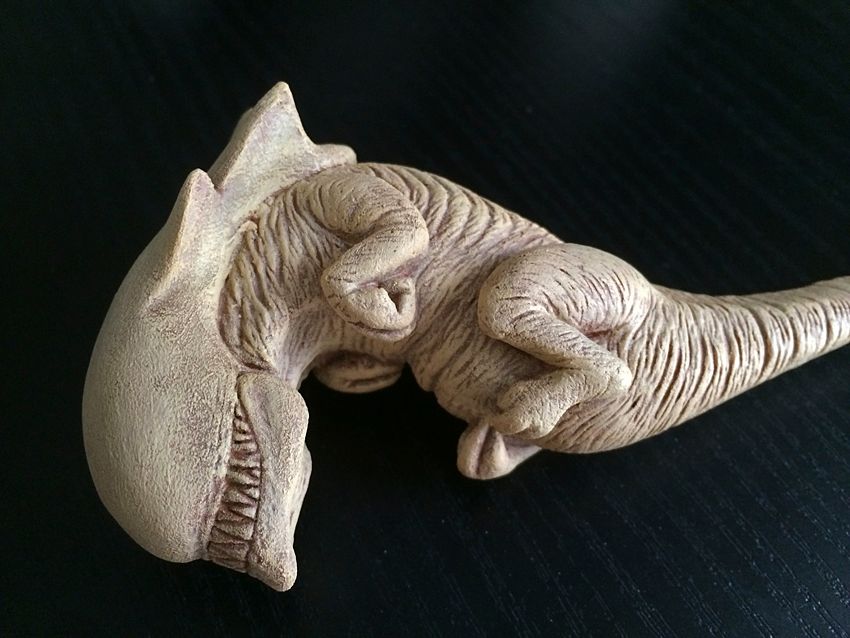
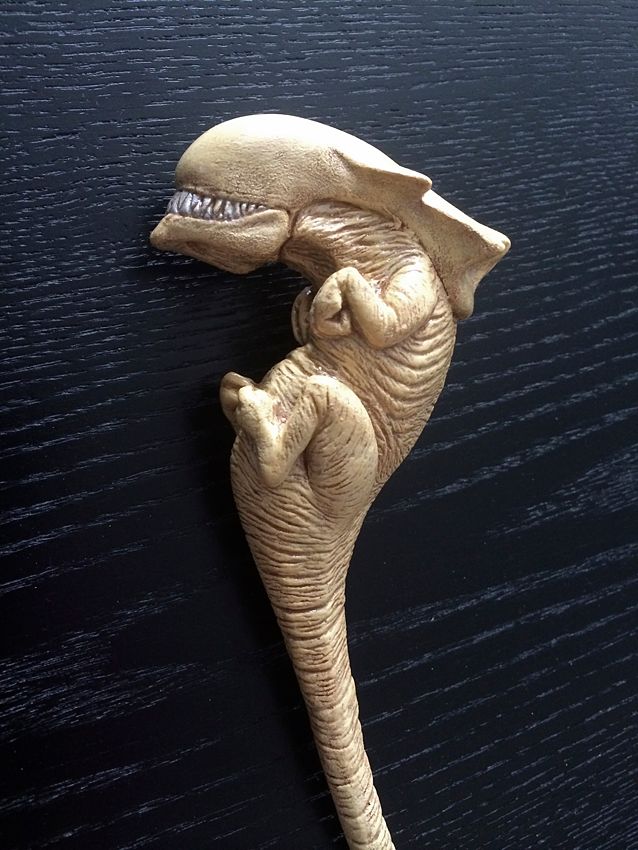
Next, I moved on to do the embryo:
First off, I have no idea why it is, that some licensed queen chestbursters are painted grayish/black, and the instructions with the Halcyon kit also suggest that it should be painted likewise. The original embryo made for the X-Ray scene with Ripley and any other chestburster is flesh in color. It makes no sense that it should be black, then turn flesh when it pops out of the victim and then turn black again when grown to adult size. So I went with the flesh-toned color scheme.
I started out with giving it a dark beige/brownish coat.
Then a lighter one highligting the features and wrinkles in the embryo. I softened the high-lights by drybrushing and giving it a mild wash until I was satisfied with the look. I then gave it a clear coat, to protect the paint and give it a realistic slimy look.
I then went a little 'freestyle'. As i wanted to bring out the teeth a bit. The original prop had flesh-colored teeth, and the fully grown queen has tranparent teeth. But I went with metallic ones, like the regular ones have. And I think it looks quite alright:
As I mentioned earlier, I would have filled it with cotton like the facehugger, so it wouldn't feel like a punctured tennis ball when holding it.
But I didn't want to risk breaking the soft vinyl, so I left it like this. And it's actually not that bad.
Well, that's it for now.
Hope you guys like what I did with the Halcyon kit. I think I could have obtained a lot of the details much faster and maybe better if I had used an airbrush instead of regular brushes. But I don't have one, and no experience with one whatsoever.
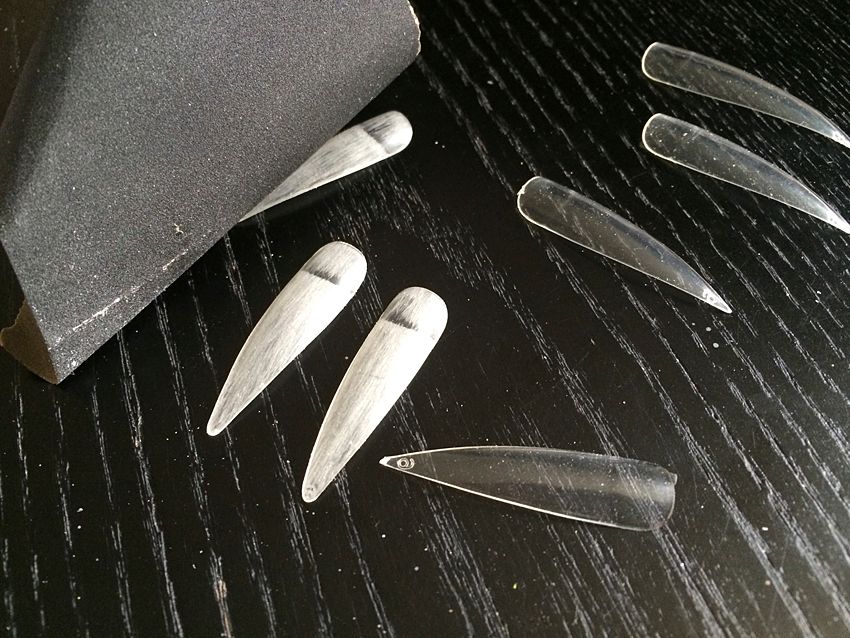
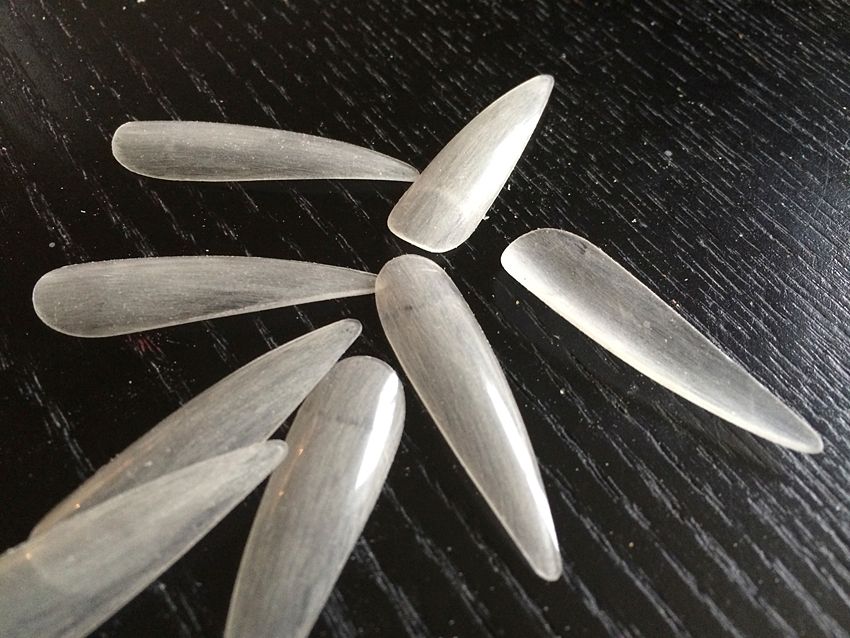
Next up, I'll update with a little manicure project..
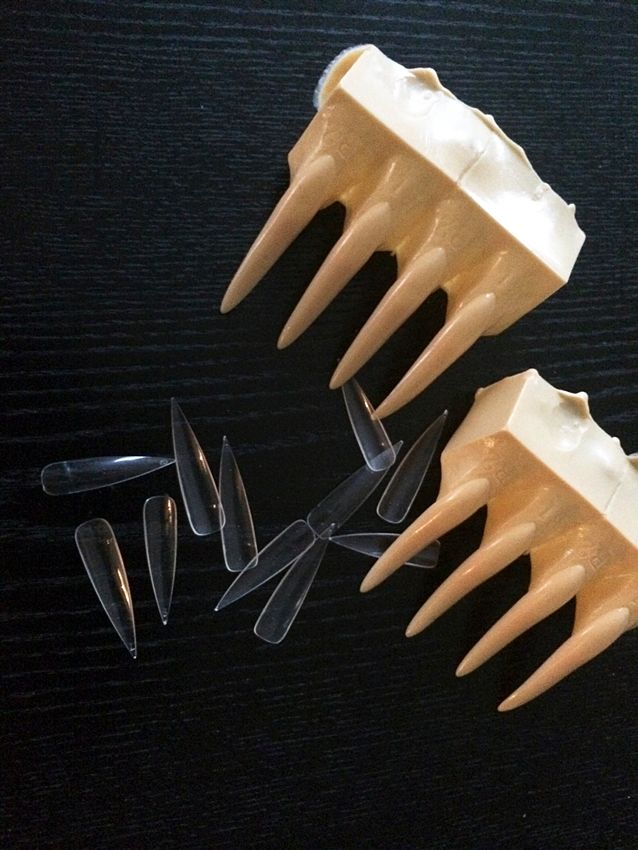
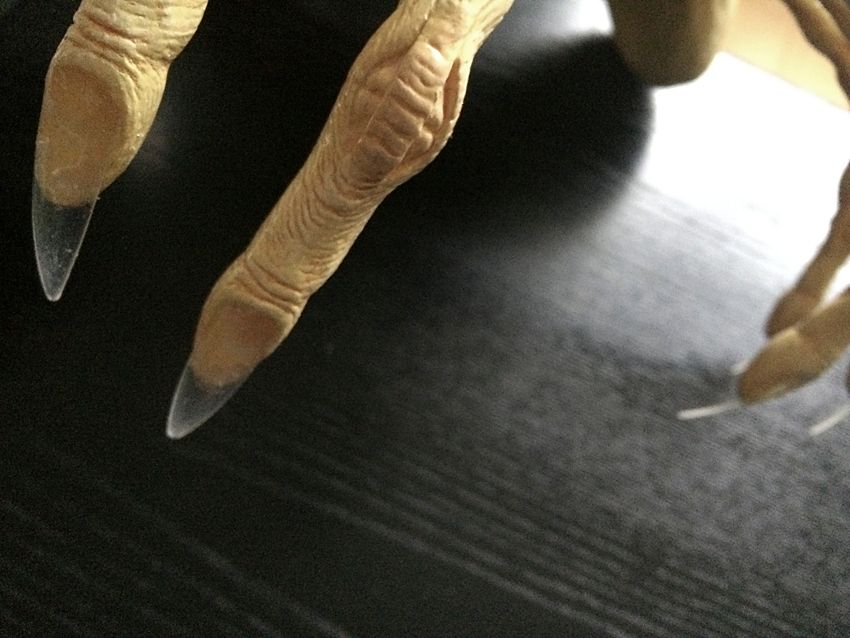
I'm not quite happy with the facehugger's nails, that came with the kit.
If compared to what's shown on screen, the nails weren't that long. (although way longer than the earlier facehuggers)
The floppiness of the vinyl nails also takes a bit of the realism out of an otherwise great prop replica.
I've bought some nice acrylic ones, which should look a lot more realistic, once customized a bit..
Thanks,
K-Indiana
I'm almost done finishing a facehugger kit, and wanted to share the progress with you.
For many years I'd wanted a cool life-sized facehugger in my growing collection of replica props. I knew of several great replicas out there, and my biggest wish was getting one representing the look from the original ALIEN.
The Halcyon kits looked awesome, but they were getting hard to find, and at a reasonable price. And I wasn't sure if I could do the kit justice with my assembling and painting skills, and with only brushes to use.
For a while I considered buying one of the many Asian recasts of these kits floating around on the bay, they are quite affordable and it wouldn't be the end of the World if I messed up.
But I kept looking for an original kit...
And one day last year, a complete kit finally showed up which didn't cost a fortune. I immediately bought it.
It wasn't from ALIEN though, but from ALIEN³ which I actually didn't mind.
'Cause I love the third movie, and as a little bonus, there's a queen embryo included in this kit as well.
The seller had begun trimming the parts, some of the tail parts were trimmed too heavily and was missing the pieces that would hold them together when glued. But I fixed that by epoxy-gluing some of the trimmings onto them.
Here's the box and all the separate parts with instructions:
The queen embyo was unfortunately already glued together. If it wasn't I would have filled it with cotton, to keep it from being so floppy. But more on that later.
I started by trimming the remaining parts of the facehugger. And did a little test fitting:
To add a bit of sturdiness to the creature, strength to the tail and a little mobility to the fingers, I created a skeletal structure out of garden wire.
To minimize the risk of the wire damaging the vinyl in any way, and just to give it some volume, I wrapped the wire in duct tape:
I then fitted the skeleton inside and stuffed every part of the facehugger with cotton, to give the facehugger some weight and density, before gluing the body pieces together:
There was a little gap between the upper and lower body piece, this was filled with epoxy:
A little sculpting was needed to hide the otherwise obvious seamline:
And here it is after the first base coat of paint:
I then began building up layers. Some shading, adding blood veines and so on. My goal was to match the colors of the facehugger from ALIEN, and then add the details that make the ALIEN³ facehugger stand out from the others (mainly the knuckle areas)
(These pictures were taken late at night, so the details doesn't really show well)
The inside/mouth area was then painted to match the clams-look of the original:
More high-lighting and also added a greenish hue to it:
To protect the paintjob and make the colors pop, I began clear coating the facehugger. The original facehugger also has a very shiny look to it, so it also added some screen-accuracy to it:
And that's basically it for the paintjob of the facehugger.
Next, I moved on to do the embryo:
First off, I have no idea why it is, that some licensed queen chestbursters are painted grayish/black, and the instructions with the Halcyon kit also suggest that it should be painted likewise. The original embryo made for the X-Ray scene with Ripley and any other chestburster is flesh in color. It makes no sense that it should be black, then turn flesh when it pops out of the victim and then turn black again when grown to adult size. So I went with the flesh-toned color scheme.
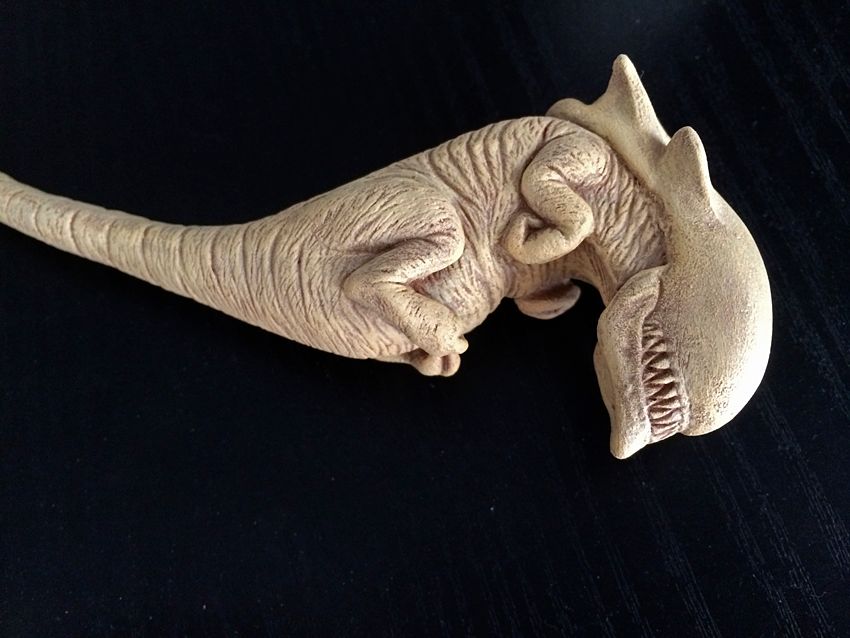
I started out with giving it a dark beige/brownish coat.
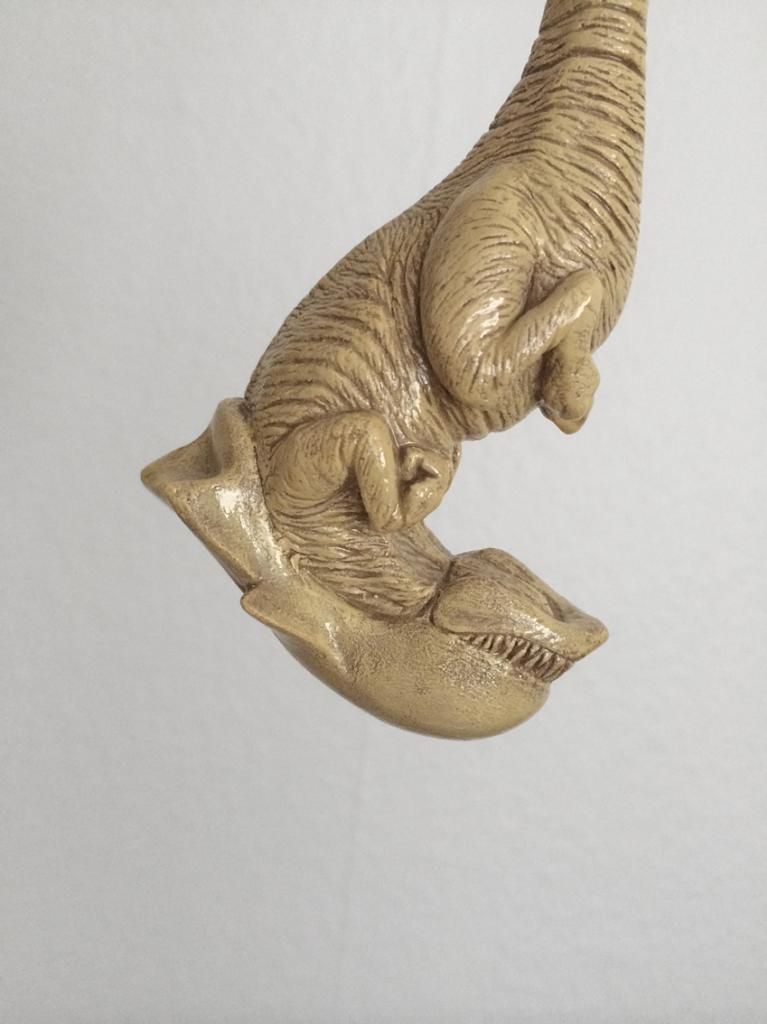
Then a lighter one highligting the features and wrinkles in the embryo. I softened the high-lights by drybrushing and giving it a mild wash until I was satisfied with the look. I then gave it a clear coat, to protect the paint and give it a realistic slimy look.
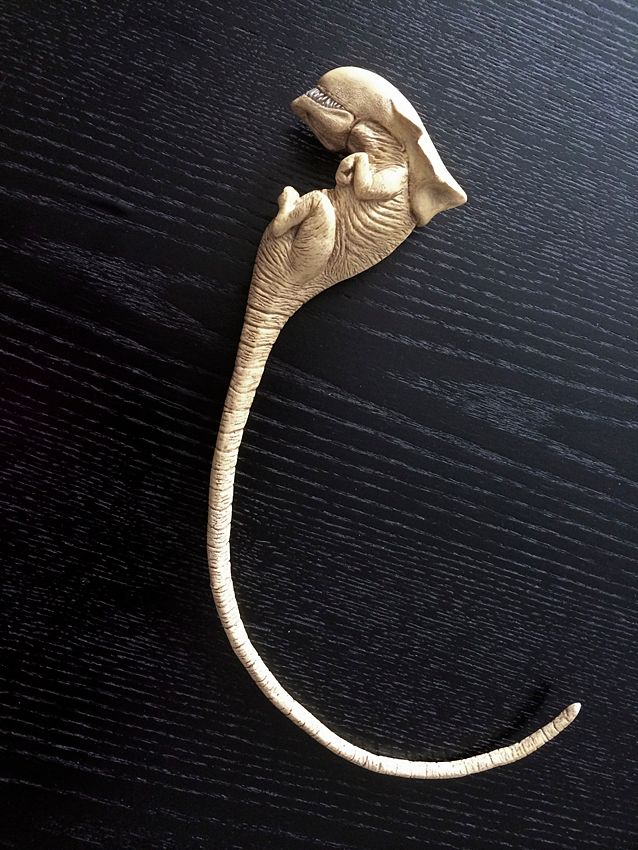
I then went a little 'freestyle'. As i wanted to bring out the teeth a bit. The original prop had flesh-colored teeth, and the fully grown queen has tranparent teeth. But I went with metallic ones, like the regular ones have. And I think it looks quite alright:
As I mentioned earlier, I would have filled it with cotton like the facehugger, so it wouldn't feel like a punctured tennis ball when holding it.
But I didn't want to risk breaking the soft vinyl, so I left it like this. And it's actually not that bad.
Well, that's it for now.
Hope you guys like what I did with the Halcyon kit. I think I could have obtained a lot of the details much faster and maybe better if I had used an airbrush instead of regular brushes. But I don't have one, and no experience with one whatsoever.
Next up, I'll update with a little manicure project..
I'm not quite happy with the facehugger's nails, that came with the kit.
If compared to what's shown on screen, the nails weren't that long. (although way longer than the earlier facehuggers)
The floppiness of the vinyl nails also takes a bit of the realism out of an otherwise great prop replica.
I've bought some nice acrylic ones, which should look a lot more realistic, once customized a bit..
Thanks,
K-Indiana
Last edited: