Team Fortress 2 Heavy Minigun Build (3D printed, IMAGE HEAVY)

... Is this going to be a go-to kind of costume for you for a while?

We'll see. I went through quite an effort to build Vera for my Jayne getup last year at Phoenix Con, but I only wore it once after that (to Tucson Con for one day). Now, my Vera(s) hang on the wall (one at home and one at the office). And I've also built a complete full-scale Ecto Containment Unit along with my complete GB getup for use with my charity work (AZGB).
I just tend to latch onto a project and go full-bore until it's really sweet. I don't know if I'll use the Heavy getup after Phoenix Con or not. I really like building things, and with my limited time, I just build one thing at a time until it's as done as I want it (usually too many hours and too much time and money).

In the end, I think it will really depend on the reception I get and how much fun I have in it. If I have fun running around blasting with the minigun while shouting in a Russian accent and it results in lots of smiles, then I'll probably use it more. :)
 
Very very cool. Although I have no idea how to make it any other way than you did, don't you think, now you've seen the strobing effect, that it would have been easier to go with one light and a plate with holes that rotate in front of the light? But maybe that would have meant a very bright light needed at the stationary part, I dont know.

Your way is certainly cooler!
 
... don't you think ... that it would have been easier to go with one light and a plate with holes that rotate in front of the light?...
Possibly, but I really, really wanted each barrel to fire, full light. I didn't think there was any other way to get full intensity, instant on and off of each barrel than to do it with LEDs and a dynamic contact. I was afraid any other way would lead to a fast fade in/out or lower intensity.

In the planning stages, I devised a compressed gas venting system centrally located in the barrel assembly to vent gas with the strobing lights as the barrel assembly spun to emulate more realistic muzzle flash... but I decided not to get that elaborate on this build. ;)
 
This could be amazing ! can't wait to see the final reveal :)

*gets popcorn*

3oin
 
I love the Heavy in TF2! Your gun looks great!
I'm not surprised that the tiny motor you had wasn't able to spin the barrel assembly, and you are wise to go with bigger motors. More Torque!
I suspect the little one would have burned out from the strain pretty quickly considering the mass it had to overcome when starting up.

Can't wait to see it done!
 
I love the Heavy in TF2! Your gun looks great!
... I suspect the little one would have burned out from the strain pretty quickly considering the mass it had to overcome when starting up. ...

Yeah... my new motors showed up... they're substantially bigger AND I'm going to see how one does, but I'm probably going to design a rig to run both motors in tandem to share the load... I want to leave nothing to chance. :)
 
UPDATE!


One of my best friends bought me the Team Fortress 2 Heavy doll! (action figure, whatever)
This should help provide me even better reference with the tiny gun it came with. :)
375766_10151994027703457_1903980089_n_zpsb78751d9.jpg


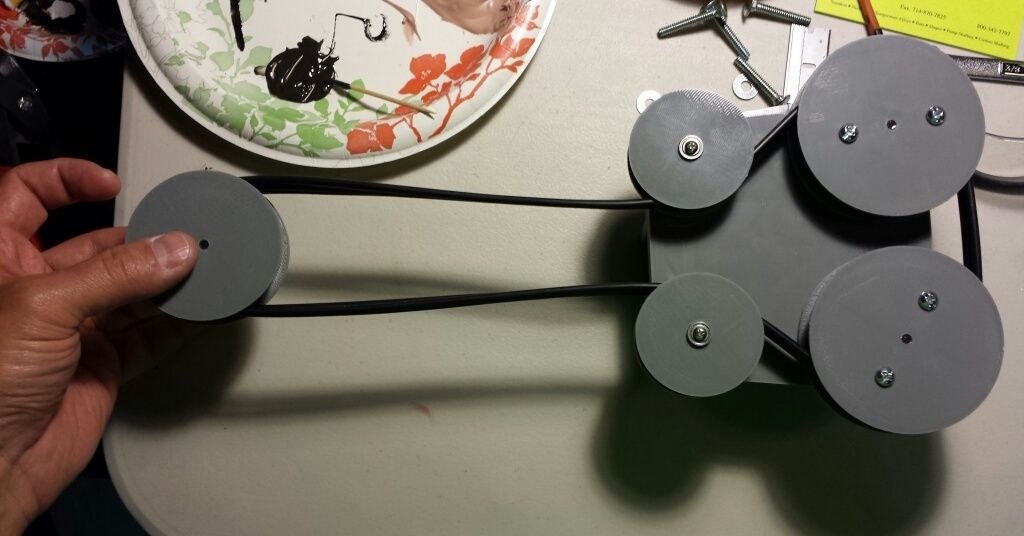
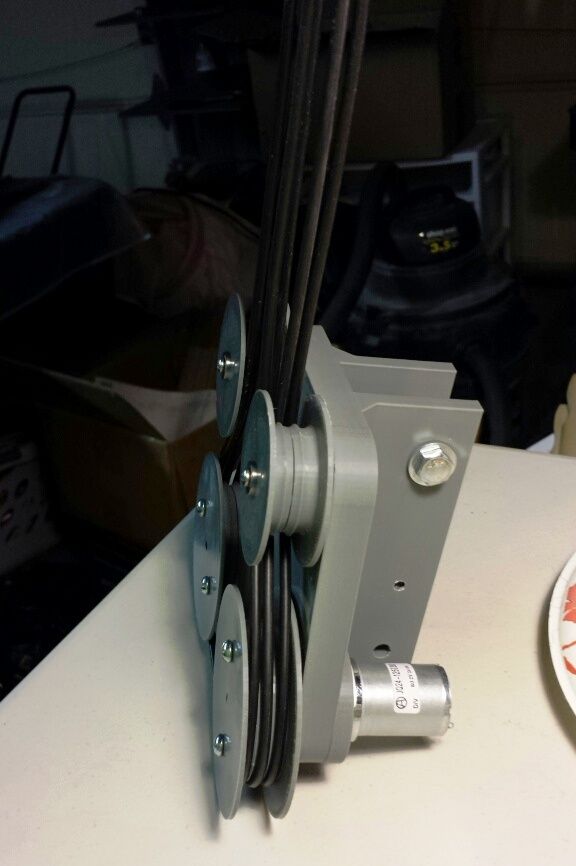
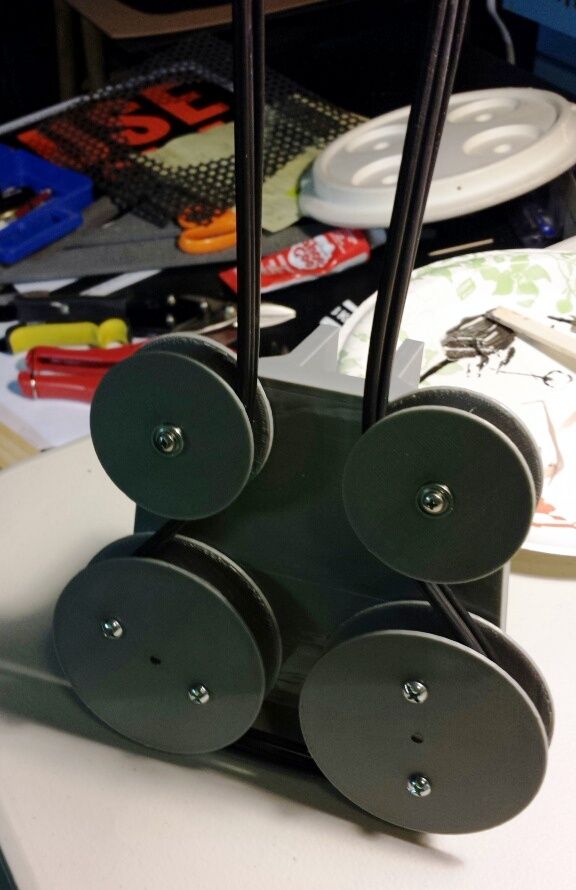
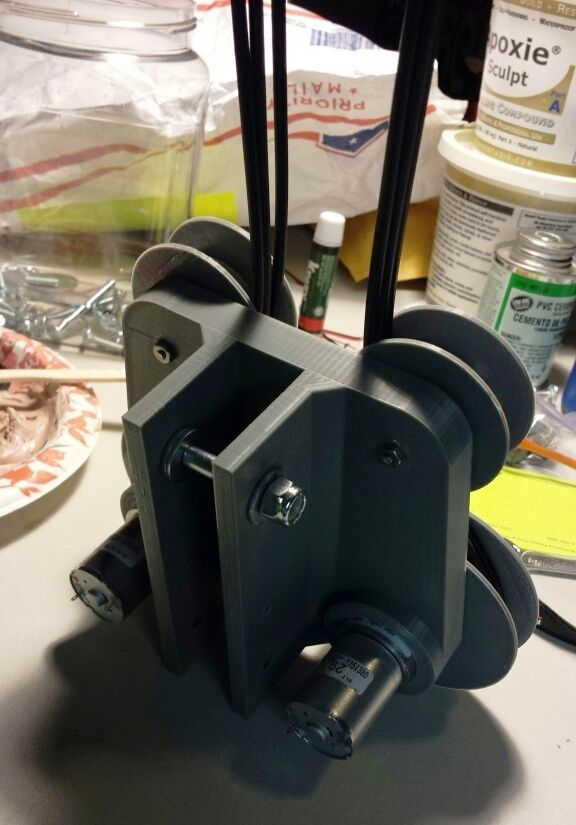
Since I've decided to run TWO motors to drive the barrel, I needed to devise a mount that not only holds 2 motors, but also holds 2 tensioning pulleys to keep the belts aligned with the slot in the barrel assembly.
Here's the bracket
MotorMountAssy1_zps038717b3.jpg

MotorMountAssy2_zps54c5d509.jpg


The bracket will hold two 300 RPM motors, but I've also bumped up the motor pulley size to increase the barrel speed just a bit. :)


Here are the tension pulleys (two of them riding on tiny ball bearings will guide the belts between the drivers and the barrel assembly pulley.
TensionPulleySMALL_zps4af356e9.jpg


Also, here's a demo of the sound kit, if anyone even cares. ;)
 

Attachments

  • 375766_10151994027703457_1903980089_n_zpsb78751d9.jpg
    375766_10151994027703457_1903980089_n_zpsb78751d9.jpg
    227.9 KB · Views: 88
  • 375766_10151994027703457_1903980089_n_zpsb78751d9.jpg
    375766_10151994027703457_1903980089_n_zpsb78751d9.jpg
    227.9 KB · Views: 91
  • 375766_10151994027703457_1903980089_n_zpsb78751d9.jpg
    375766_10151994027703457_1903980089_n_zpsb78751d9.jpg
    227.9 KB · Views: 96
  • MotorMountAssy1_zps038717b3.jpg
    MotorMountAssy1_zps038717b3.jpg
    50 KB · Views: 207
  • MotorMountAssy1_zps038717b3.jpg
    MotorMountAssy1_zps038717b3.jpg
    50 KB · Views: 213
  • MotorMountAssy1_zps038717b3.jpg
    MotorMountAssy1_zps038717b3.jpg
    50 KB · Views: 184
  • TensionPulleySMALL_zps4af356e9.jpg
    TensionPulleySMALL_zps4af356e9.jpg
    65.6 KB · Views: 212
  • TensionPulleySMALL_zps4af356e9.jpg
    TensionPulleySMALL_zps4af356e9.jpg
    65.6 KB · Views: 207
  • MotorMountAssy2_zps54c5d509.jpg
    MotorMountAssy2_zps54c5d509.jpg
    38.8 KB · Views: 199
  • MotorMountAssy2_zps54c5d509.jpg
    MotorMountAssy2_zps54c5d509.jpg
    38.8 KB · Views: 106
  • MotorMountAssy2_zps54c5d509.jpg
    MotorMountAssy2_zps54c5d509.jpg
    38.8 KB · Views: 209
  • TensionPulleySMALL_zps4af356e9.jpg
    TensionPulleySMALL_zps4af356e9.jpg
    65.6 KB · Views: 227
Last edited by a moderator:
What is the spec on the speaker if you don't mind me asking?

Speaker is rated 20 watt, 8 ohm.

Amp is 7 watt.

I can't wait to hook the amp up with the speaker mounted. I've got a secret surprise on where/how I'm going to mount the speaker... I'm hoping it will serve to let out a good amount of sound while being pretty camouflaged. ;)
 
Speaker is rated 20 watt, 8 ohm.

Amp is 7 watt.

I can't wait to hook the amp up with the speaker mounted. I've got a secret surprise on where/how I'm going to mount the speaker... I'm hoping it will serve to let out a good amount of sound while being pretty camouflaged. ;)

Where did you find that speaker?
 
UPDATE


Started drilling the barrel assembly for mounting to the handle and ammo can.
20140308_120819_resized_zpsd09ef40a.jpg

With some adjustments to the front bearing holder to make it clear the carriage bolt heads.
20140308_120830_resized_zps5ac2a824.jpg


20140309_155515_resized_zpsfa7c8c4d.jpg

20140309_164312_resized_zpseb95df18.jpg


Prepared the front of the ammo can.
20140308_121450_resized_zpse7f326b3.jpg


Started finishing up the handle (3/4" PVC with 1" PVC "sleeves" to keep OD nominal).
20140308_121200_resized_zps385d49a7.jpg

Same trick with the frame.
20140308_120917_resized_zpsef7203f3.jpg


Motor bracket is coming along nicely.
20140308_120940_resized_zps2eac0c68.jpg

20140308_120950_resized_zpsf7bb3c66.jpg


I'm going to mount a small project box on the rear handle with all the switches, so I can operate everything with my right hand while holding the prop.
20140308_121105_resized_zpsa46b8d0f.jpg


If you want the full effect of what I got done... watch the video here!
 

Attachments

  • 20140308_120819_resized_zpsd09ef40a.jpg
    20140308_120819_resized_zpsd09ef40a.jpg
    284.5 KB · Views: 91
  • 20140308_120819_resized_zpsd09ef40a.jpg
    20140308_120819_resized_zpsd09ef40a.jpg
    284.5 KB · Views: 85
  • 20140308_120819_resized_zpsd09ef40a.jpg
    20140308_120819_resized_zpsd09ef40a.jpg
    284.5 KB · Views: 86
  • 20140308_120830_resized_zps5ac2a824.jpg
    20140308_120830_resized_zps5ac2a824.jpg
    290.2 KB · Views: 89
  • 20140308_120830_resized_zps5ac2a824.jpg
    20140308_120830_resized_zps5ac2a824.jpg
    290.2 KB · Views: 93
  • 20140308_120830_resized_zps5ac2a824.jpg
    20140308_120830_resized_zps5ac2a824.jpg
    290.2 KB · Views: 91
  • 20140309_155515_resized_zpsfa7c8c4d.jpg
    20140309_155515_resized_zpsfa7c8c4d.jpg
    314.4 KB · Views: 87
  • 20140309_155515_resized_zpsfa7c8c4d.jpg
    20140309_155515_resized_zpsfa7c8c4d.jpg
    314.4 KB · Views: 90
  • 20140309_155515_resized_zpsfa7c8c4d.jpg
    20140309_155515_resized_zpsfa7c8c4d.jpg
    314.4 KB · Views: 90
  • 20140308_121450_resized_zpse7f326b3.jpg
    20140308_121450_resized_zpse7f326b3.jpg
    286.7 KB · Views: 96
  • 20140309_164312_resized_zpseb95df18.jpg
    20140309_164312_resized_zpseb95df18.jpg
    300.7 KB · Views: 102
  • 20140309_164312_resized_zpseb95df18.jpg
    20140309_164312_resized_zpseb95df18.jpg
    300.7 KB · Views: 100
  • 20140309_164312_resized_zpseb95df18.jpg
    20140309_164312_resized_zpseb95df18.jpg
    300.7 KB · Views: 86
  • 20140308_121200_resized_zps385d49a7.jpg
    20140308_121200_resized_zps385d49a7.jpg
    245.9 KB · Views: 80
  • 20140308_121200_resized_zps385d49a7.jpg
    20140308_121200_resized_zps385d49a7.jpg
    245.9 KB · Views: 82
  • 20140308_121200_resized_zps385d49a7.jpg
    20140308_121200_resized_zps385d49a7.jpg
    245.9 KB · Views: 81
  • 20140308_121450_resized_zpse7f326b3.jpg
    20140308_121450_resized_zpse7f326b3.jpg
    286.7 KB · Views: 97
  • 20140308_121450_resized_zpse7f326b3.jpg
    20140308_121450_resized_zpse7f326b3.jpg
    286.7 KB · Views: 92
  • 20140308_120917_resized_zpsef7203f3.jpg
    20140308_120917_resized_zpsef7203f3.jpg
    215.6 KB · Views: 88
  • 20140308_120917_resized_zpsef7203f3.jpg
    20140308_120917_resized_zpsef7203f3.jpg
    215.6 KB · Views: 79
  • 20140308_120917_resized_zpsef7203f3.jpg
    20140308_120917_resized_zpsef7203f3.jpg
    215.6 KB · Views: 81
  • 20140308_120950_resized_zpsf7bb3c66.jpg
    20140308_120950_resized_zpsf7bb3c66.jpg
    260 KB · Views: 80
  • 20140308_120940_resized_zps2eac0c68.jpg
    20140308_120940_resized_zps2eac0c68.jpg
    232.6 KB · Views: 87
  • 20140308_120940_resized_zps2eac0c68.jpg
    20140308_120940_resized_zps2eac0c68.jpg
    232.6 KB · Views: 88
  • 20140308_120940_resized_zps2eac0c68.jpg
    20140308_120940_resized_zps2eac0c68.jpg
    232.6 KB · Views: 94
  • 20140308_121105_resized_zpsa46b8d0f.jpg
    20140308_121105_resized_zpsa46b8d0f.jpg
    338.9 KB · Views: 85
  • 20140308_120950_resized_zpsf7bb3c66.jpg
    20140308_120950_resized_zpsf7bb3c66.jpg
    260 KB · Views: 83
  • 20140308_120950_resized_zpsf7bb3c66.jpg
    20140308_120950_resized_zpsf7bb3c66.jpg
    260 KB · Views: 77
  • 20140308_121105_resized_zpsa46b8d0f.jpg
    20140308_121105_resized_zpsa46b8d0f.jpg
    338.9 KB · Views: 90
  • 20140308_121105_resized_zpsa46b8d0f.jpg
    20140308_121105_resized_zpsa46b8d0f.jpg
    338.9 KB · Views: 85
Last edited by a moderator:
UPDATE!


My twin motor rig is complete!


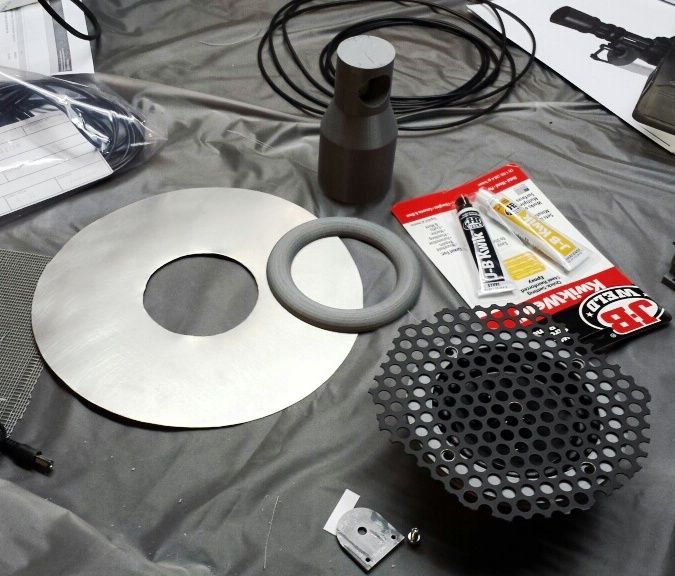
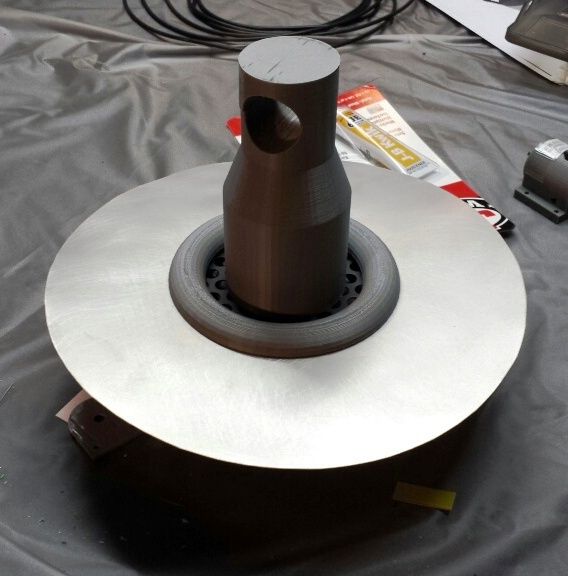
Also, I'm getting close to painting and assembling the ammo can and thought I'd share my method of mounting the speaker in the front of the can in a way that hides it while letting the sound out. :)
I'm going to hide the speaker behind perforated steel sheet... and I'll mount the ammo can nipple to the sheet with a single bolt from behind. It will provide a nice dark void around the nipple where the speaker can breathe.


Can't wait to get back to work!
 
UPDATE!


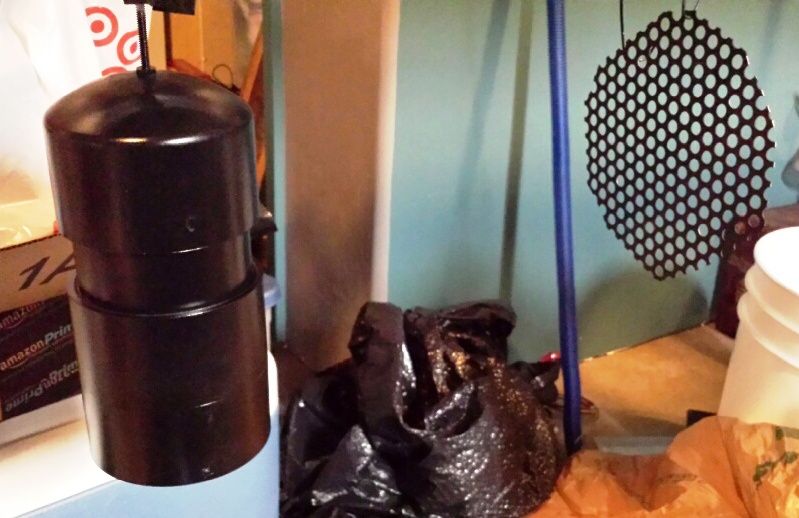
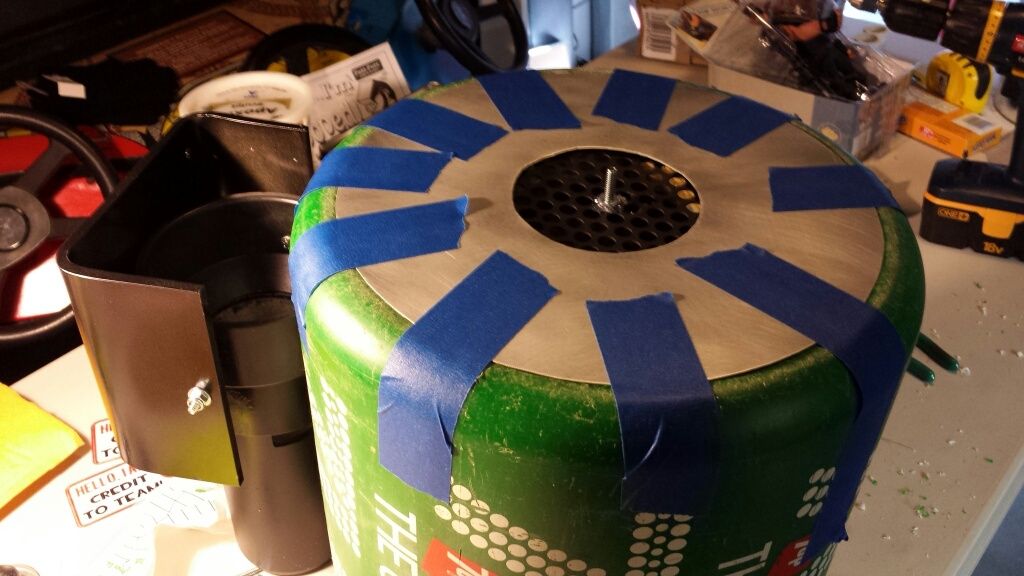
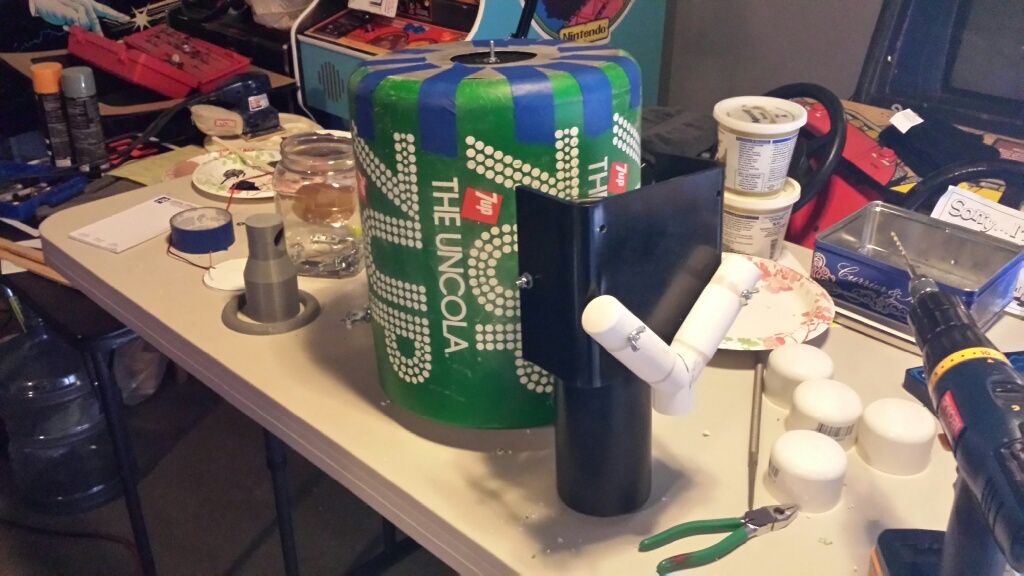
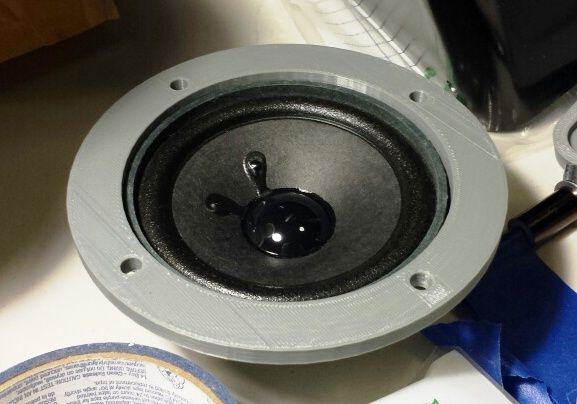
Speaker installed in ammo can (7-up cooler)


Aluminum flashing installed with Shoe Goo on end of cooler... to be Bondo'd and blended into cooler structure for clean lines after flashing is wrapped around the cooler also (need to make iconic riveted flap/seam on side of can)


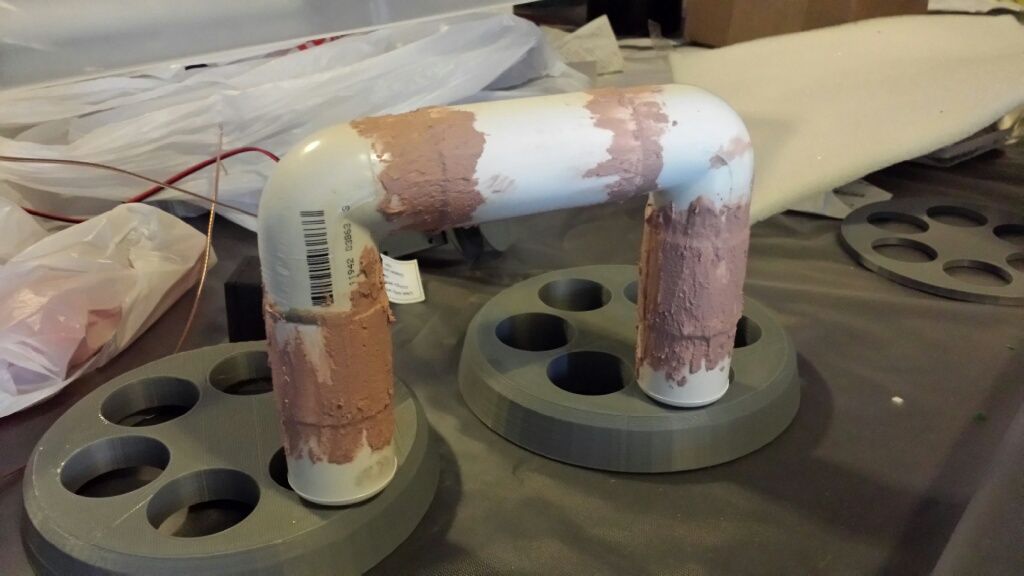
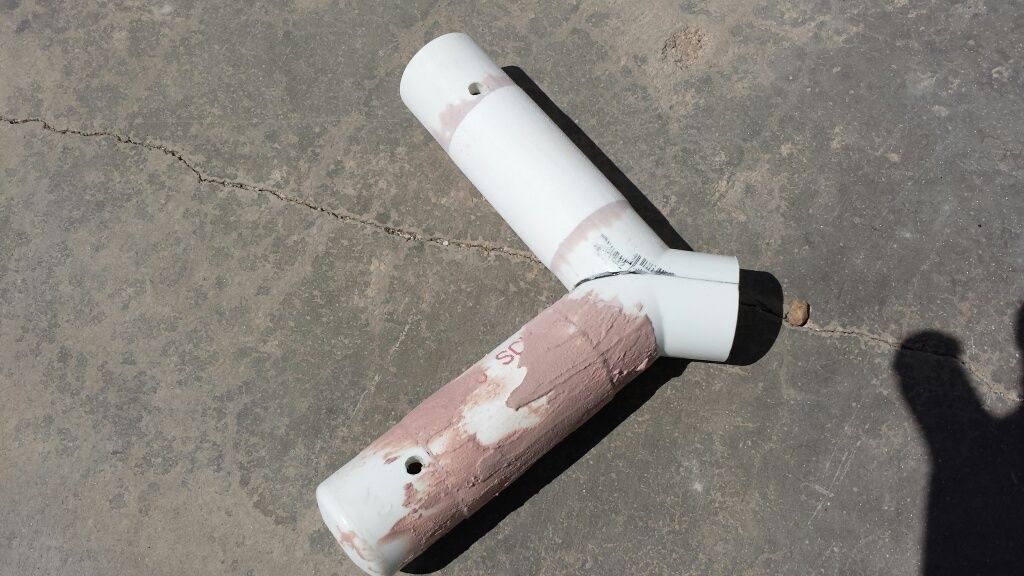
Handle and Frame will be made from 3/4" PVC sleeved in 1" PVC... then Bondo'd to make the structure a fairly uniform size


Assembly, so far... looking good. :)


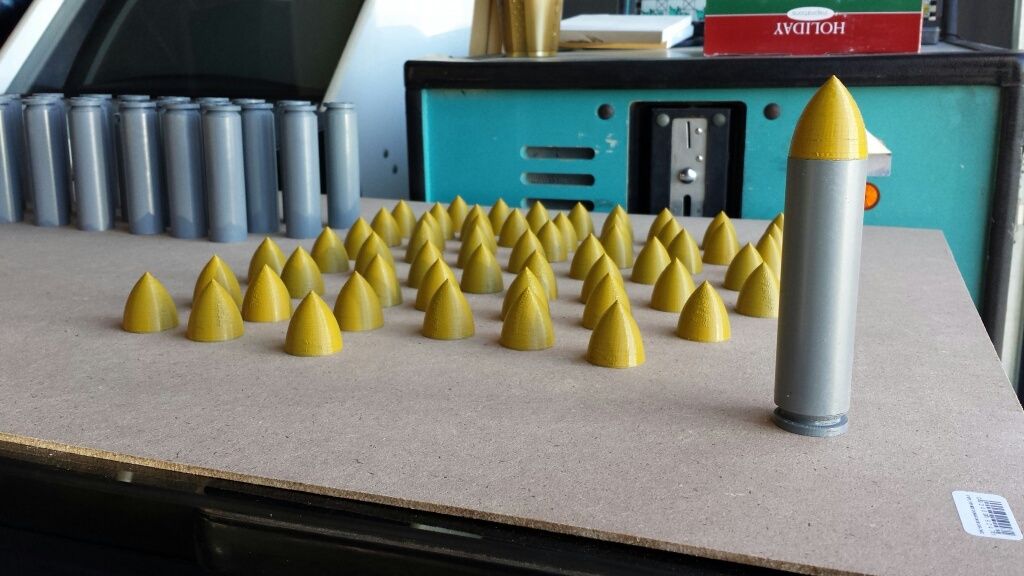
Bullets for bandolier/ammo belt part of my costume


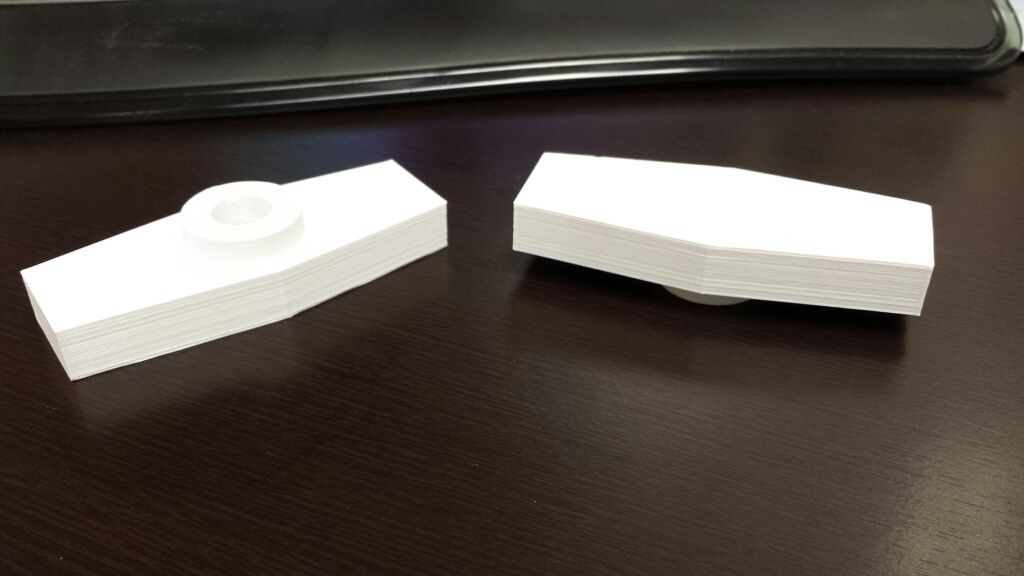
"Wingnut" parts for handle assembly (one per side of bent aluminum plate)


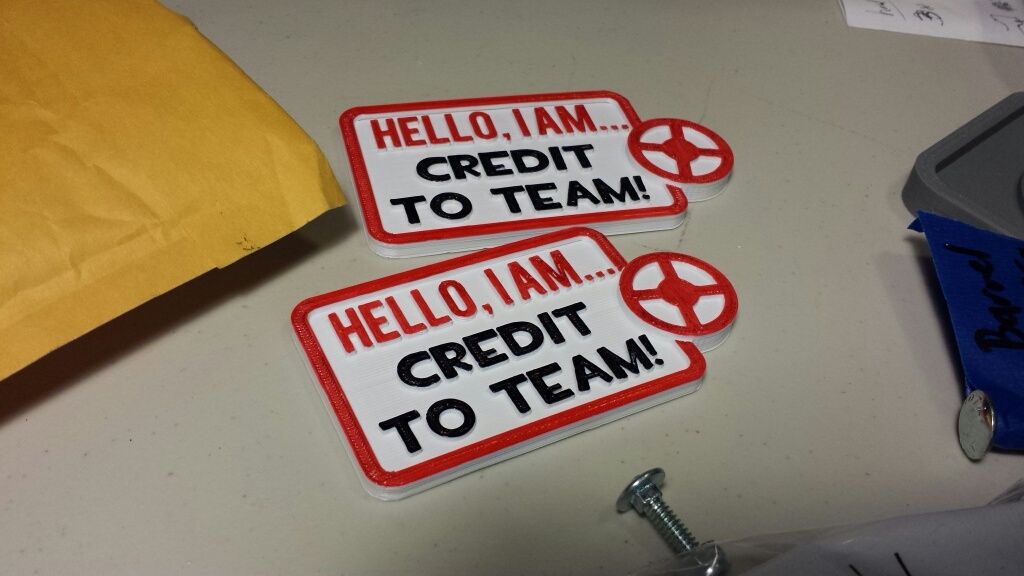
Oh, and for fun, I made these nametags for anyone teaming up with me at Phoenix Con in a TF2 crew


That's it, for now.
 
This thread is more than 8 years old.

Your message may be considered spam for the following reasons:

  1. This thread hasn't been active in some time. A new post in this thread might not contribute constructively to this discussion after so long.
If you wish to reply despite these issues, check the box below before replying.
Be aware that malicious compliance may result in more severe penalties.
Back
Top