The Nylon Gag MK2 F1 Magneto Skimmer

Outstanding. My only gripe s that:


should be "would have said" or "would've said."

It's just that everything in this thread is gold, so I have to point out the one thing you got wrong... so your head doesn't inflate too much...

:lol

Keep up the good work! And don't let those pedantic grammar jerks get you down!

--Alex

Did you understand it, good.

Thanks again Mom
 
My RPF'ers,

Thank you so much for stopping by my friends, it really does mean a lot that you stop by to say hi, thanks
Making very slow progress but I know that this section defines the main profile, so it has to be right,
Any hooooooooooozzzzzz your father, Luke ::)
We have pic's people,
Glued the tank hull to the ship hull,
Picture%2520151.jpg


Fixed it to me snout just to see,


Picture%2520149.jpg


Cut out the 'Tea tray",

Picture%2520152.jpg


Some Chamfer action,


Picture%2520153.jpg


Fitted with rod to hide the join and aid filling the radius


Picture%2520155.jpg


Bottom, oh err misses........

Picture%2520157.jpg


Pinch and glue the nose, to be filled and sanded later


Picture%2520159.jpg


Your basic dry fit to test stuff


Picture%2520160.jpg


Picture%2520161.jpg


A coat hanger for the bottom profile, ...............maybe.


Picture%2520163.jpg


Marked,


Picture%2520165.jpg


Drilled,


Picture%2520166.jpg


Screwed,


Picture%2520167.jpg


Picture%2520169.jpg


Another dry fit, back,

Picture%2520170.jpg


Plan


Picture%2520171.jpg


Side


Picture%2520172.jpg


Alot of jiggery-pocker at the moment, still trying to fix the proportions, from seeing these pictures it's too thick, just like me. ;D


Adjustments required,
Next time,
Take care

Gag
 
I have yet to make any models that use screws to hold them together. I feel that when I do, I'll have graduated to the next level.

Believe me, watching your work here (and katsu-san's) really makes me wanna push myself to do greater things.

Excellent work!

--Alex
 
I'm sure I've said this before, but I'm blown away by your "vision". The build is definitely starting to look the part.
 
Incredible work! Have you considered a paint color? I'm thinking metallic candy apple red with some strategic sooty exhaust weathering? But whatever you choose will most likely be mind blowing! Love this!
 
Afternoon everyone,
Thanks for stopping by,

Got to get ready to go out to dinner so it's gunna be fast,
Still thought it looked thick after this mock up,

Picture%2520179.jpg


Decided that the underside shape needed to be finalized and thought the tea tray was to big, so i removed it.
Maked and cut some sheet

Picture%2520181.jpg


First glued the parts on the tank hull

Picture%2520184.jpg


Cleaned the nose sides then glued the front flat to the nose

Picture%2520189.jpg


Then the sides

Picture%2520194.jpg


And along the hull line

Picture%2520195.jpg


New profile without tea tray

Picture%2520196.jpg


Picture%2520197.jpg


Cleaned up


Picture%2520199.jpg


Picture%2520203.jpg


Filled ready to be sanded

Picture%2520207.jpg


That's it for today
Take care
Gag
 
Wow, Gag and Katsu-san have new builds on the go- I feel left out!

I'll just have to show you my new secret project after it's finished and installed at the Royal Observatory, Greenwich...

Meanwhile, I'll have to live vicariously by watching your builds!

;)
 
Ello Folks,

Cheers chaps,


Been at the bench since 10:30 am, got quite a lot done today.


Sava look then.


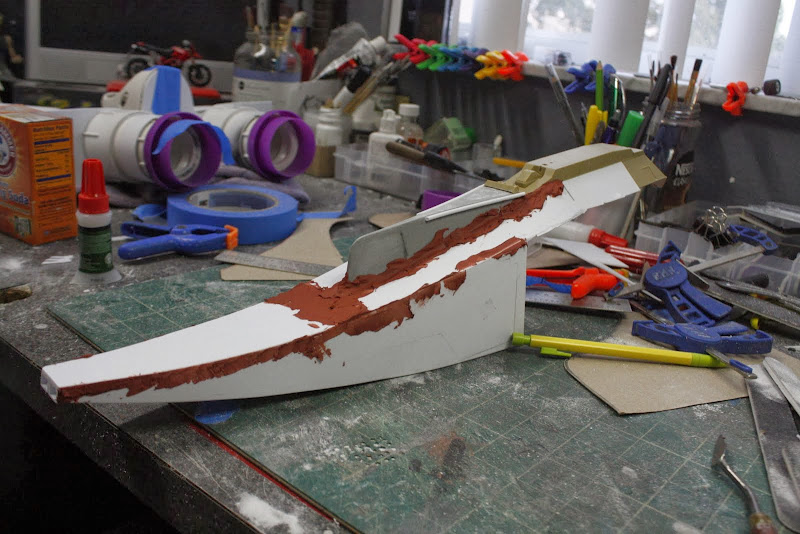
Sanded back the red filler in the week and gave it another smear with the squadron putty,


Picture%2520208.jpg


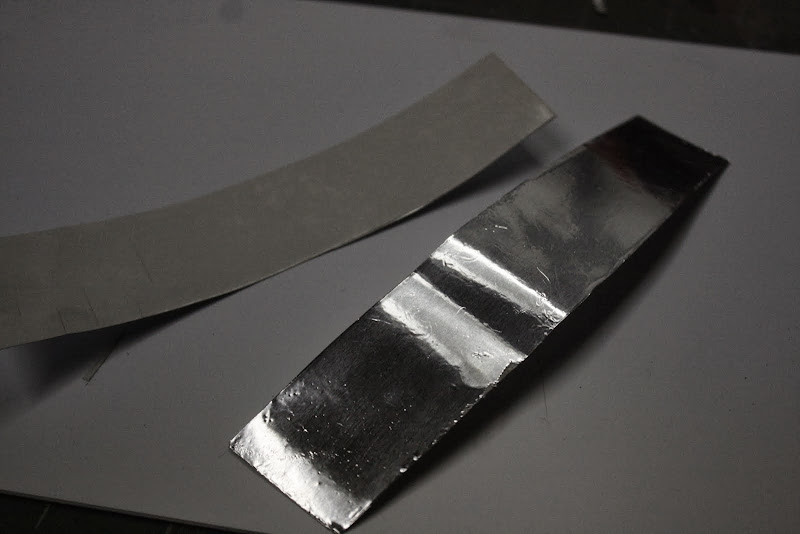
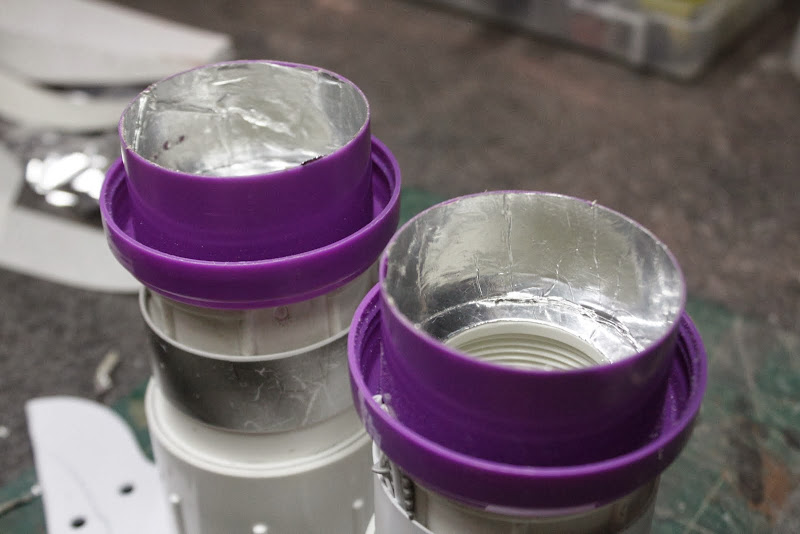
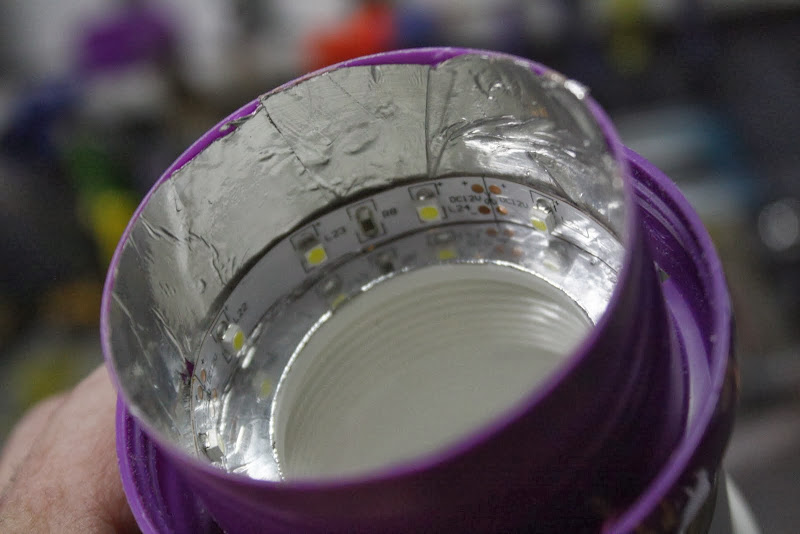
Aluninium foil and double sided tap.

Picture%2520215.jpg


Picture%2520212.jpg


Picture%2520217.jpg


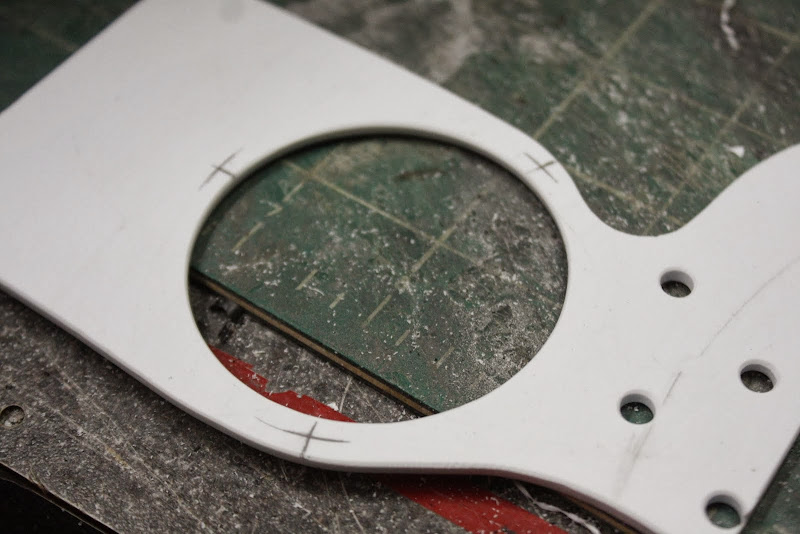
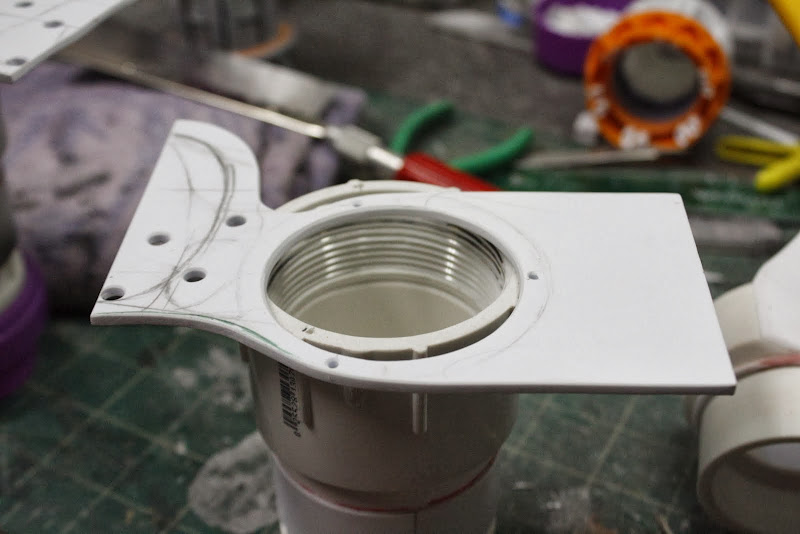
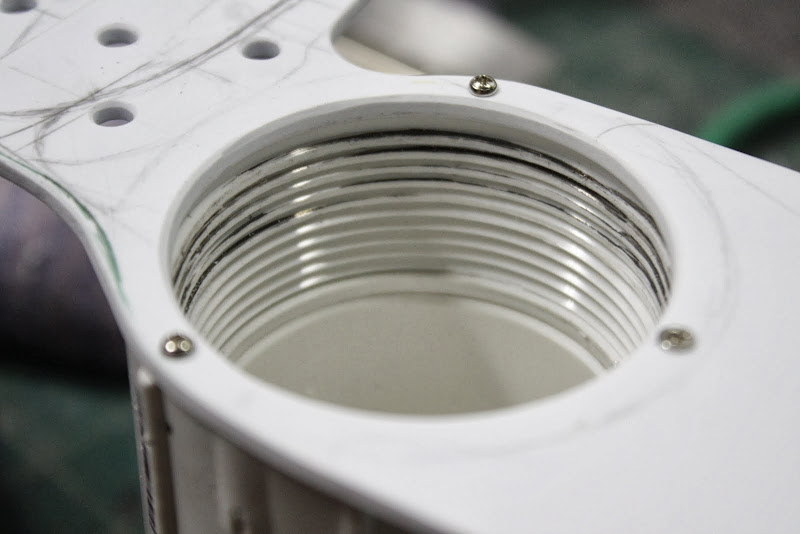
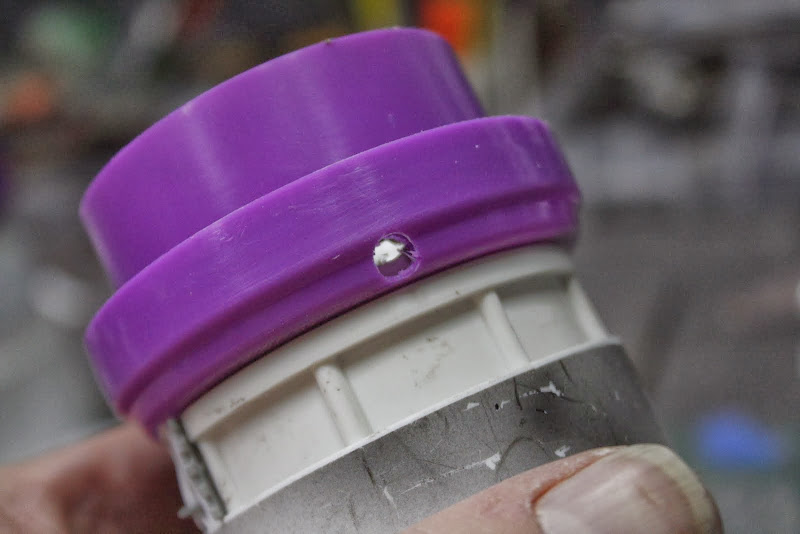
Cut a hole in the detergent cap,

Picture%2520218.jpg


Soldered and installed 6" of white LED tape,

Picture%2520219.jpg


Hooked up to a 9V battery

Picture%2520221.jpg


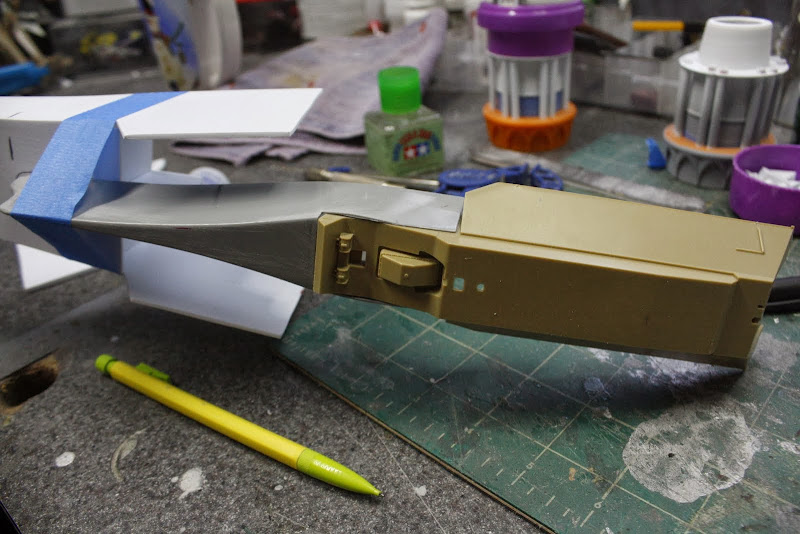
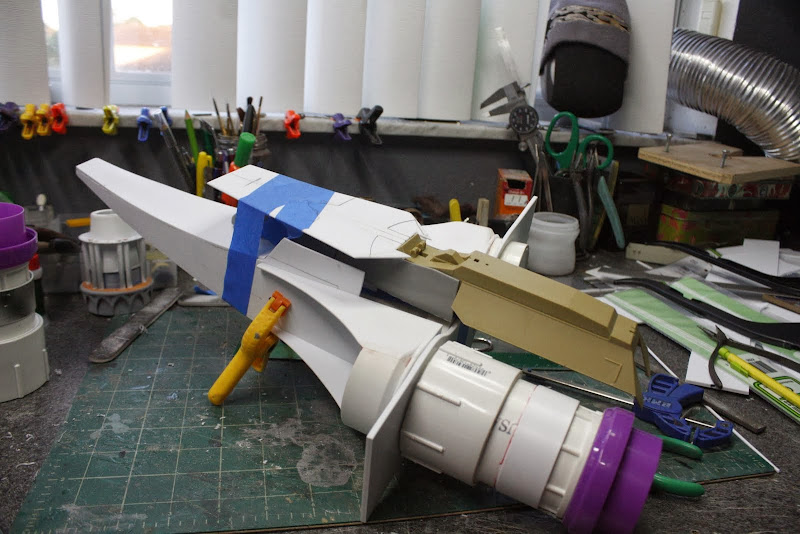
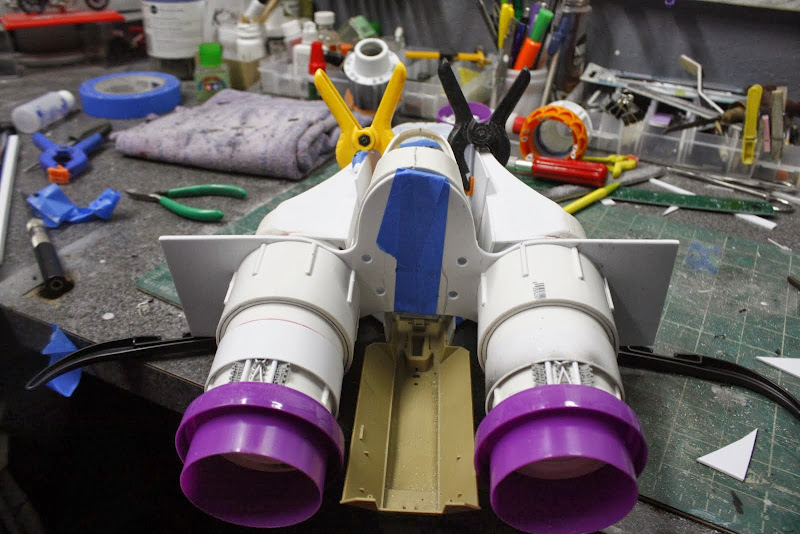
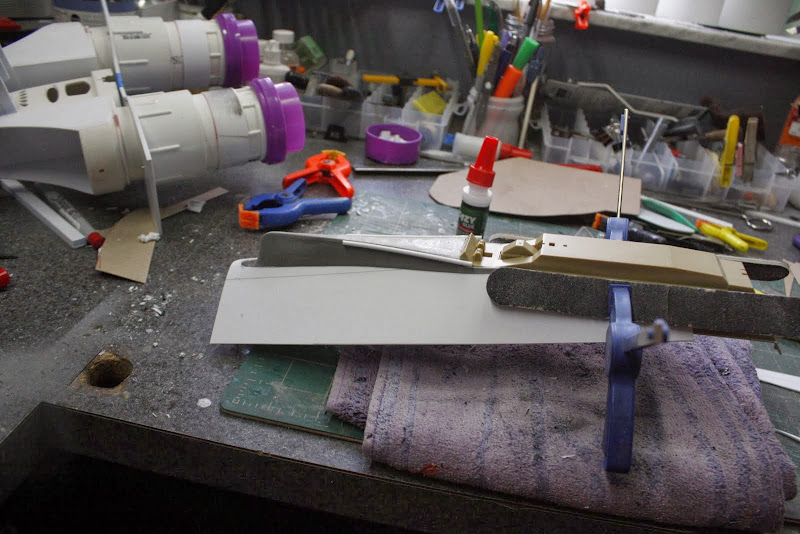
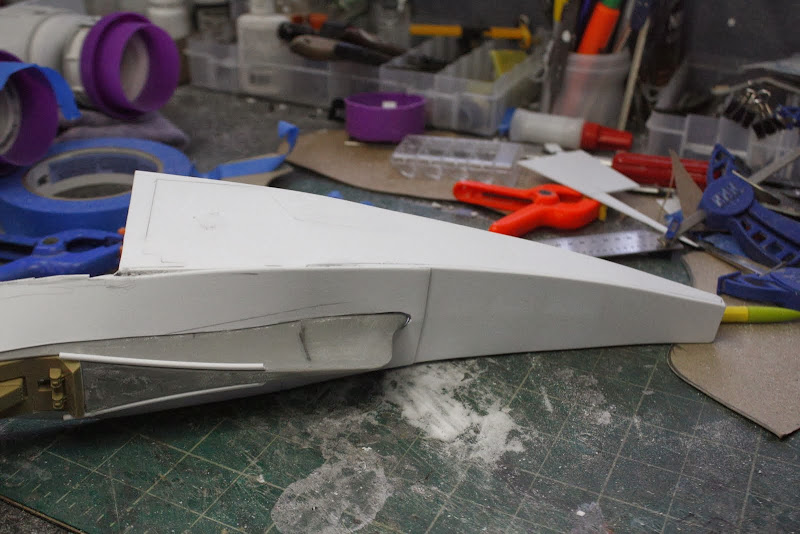
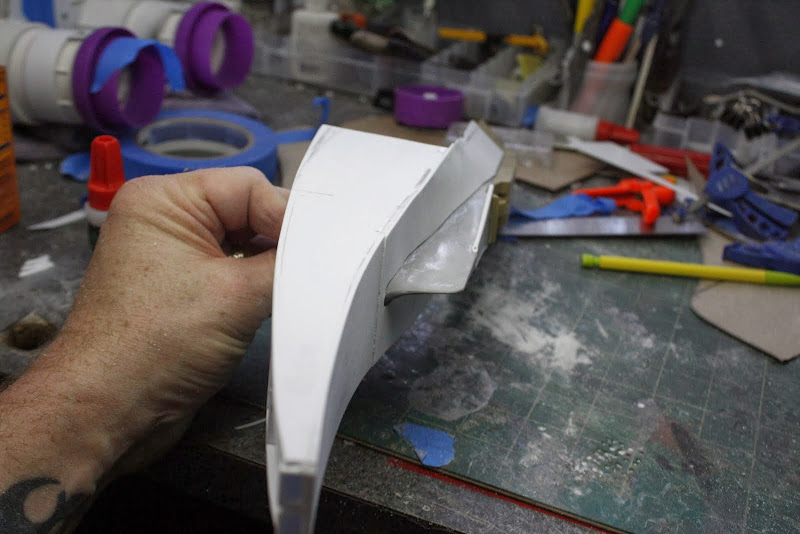
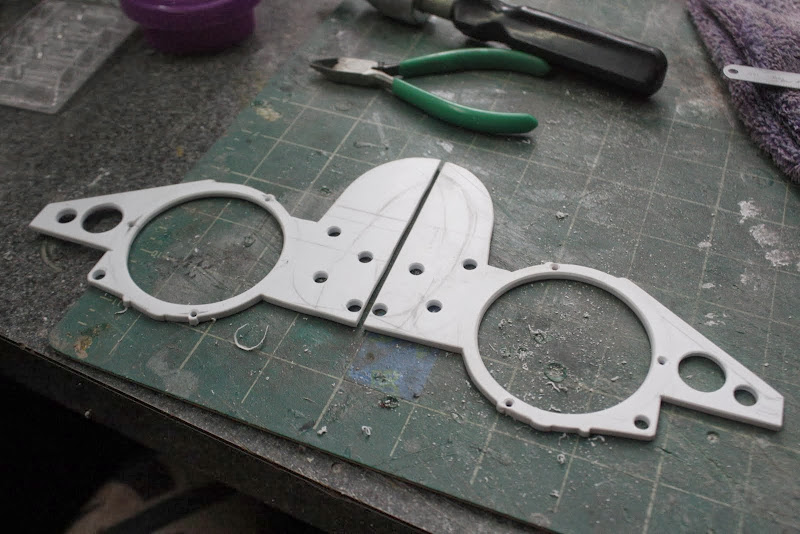
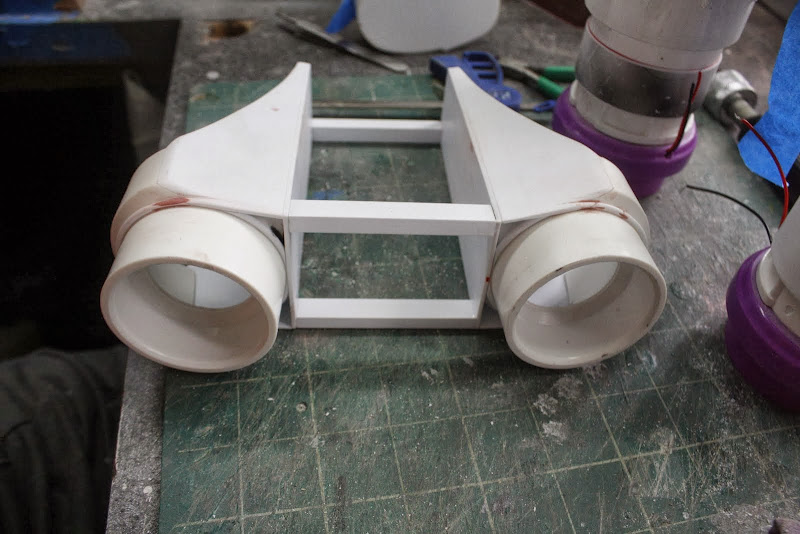
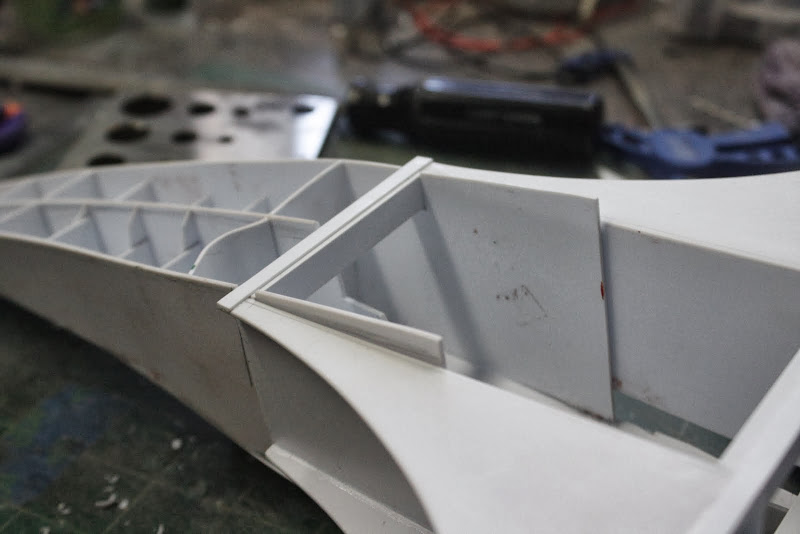
Then started to blend the inner structure piece to the engine cover,

Picture%2520227.jpg


Punched some holes,

Picture%2520229.jpg


Picture%2520231.jpg


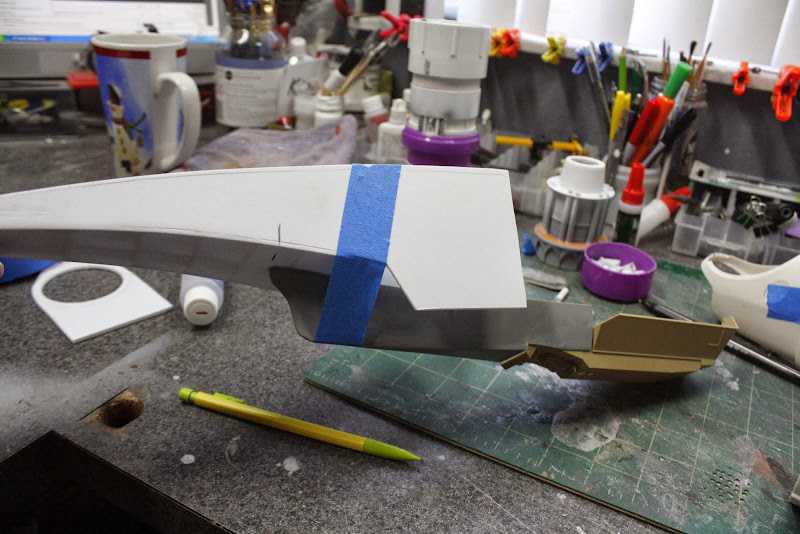
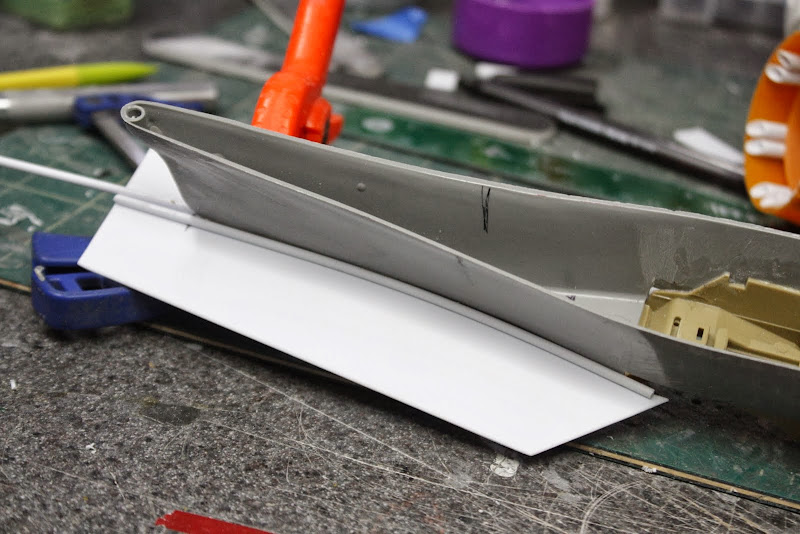
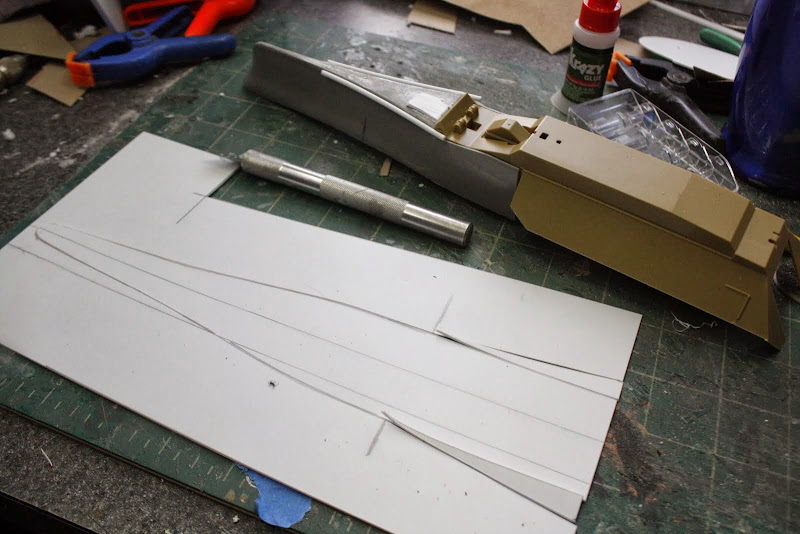
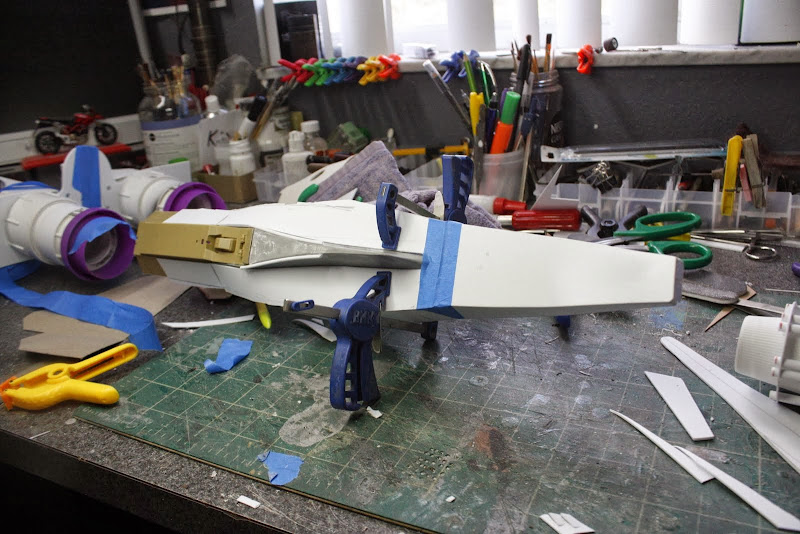
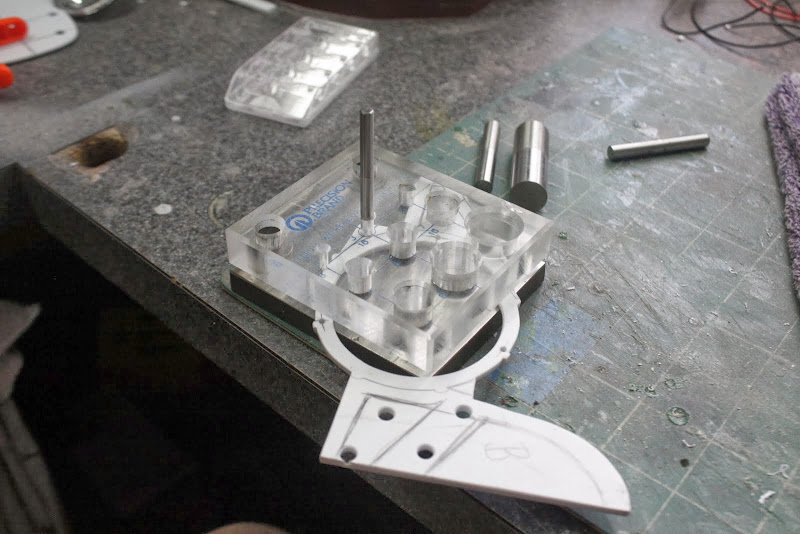
Then it was back to the main profile, first i finalised the width with spacers,

Picture%2520234.jpg


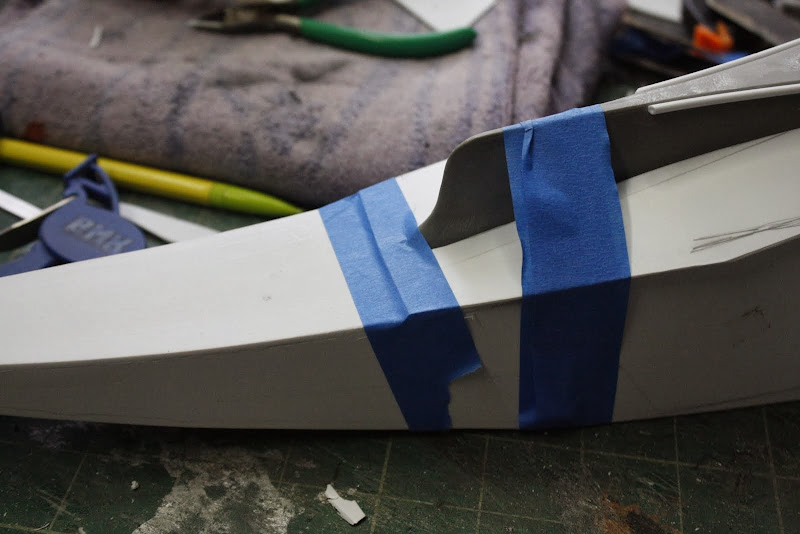
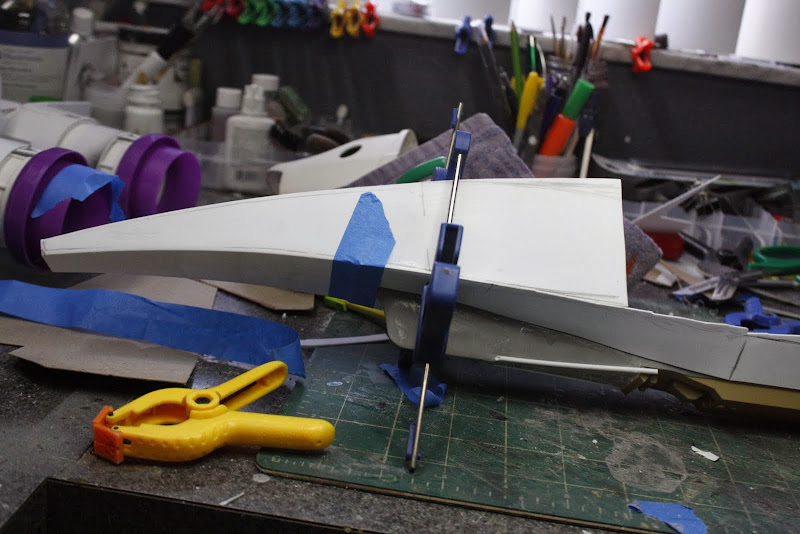
Got creative with my heat gun and a clamp, to even up the plan view of the nose section

Picture%2520237.jpg


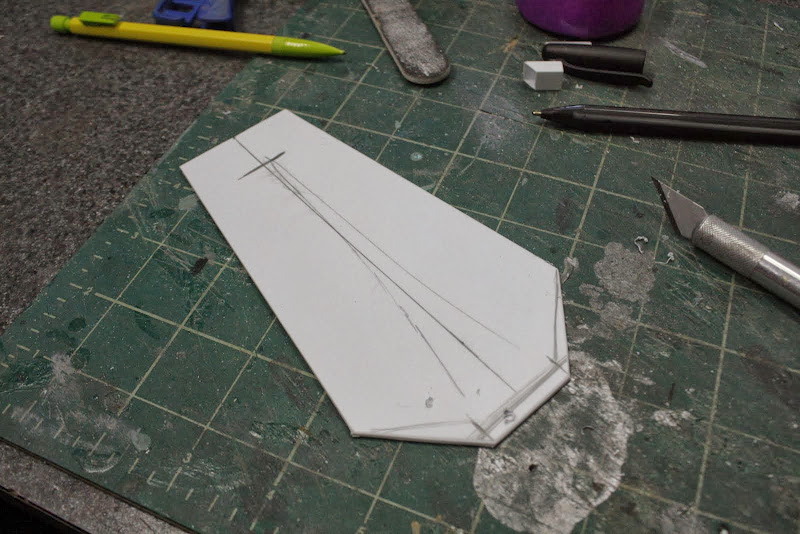
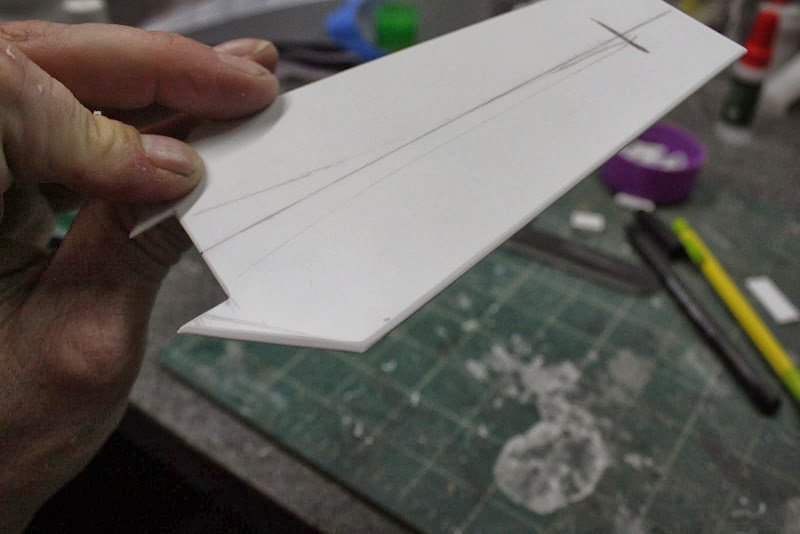
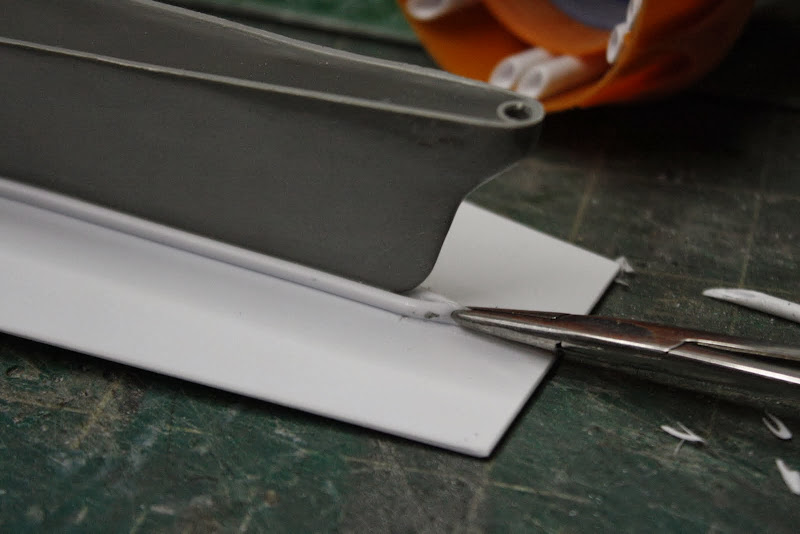
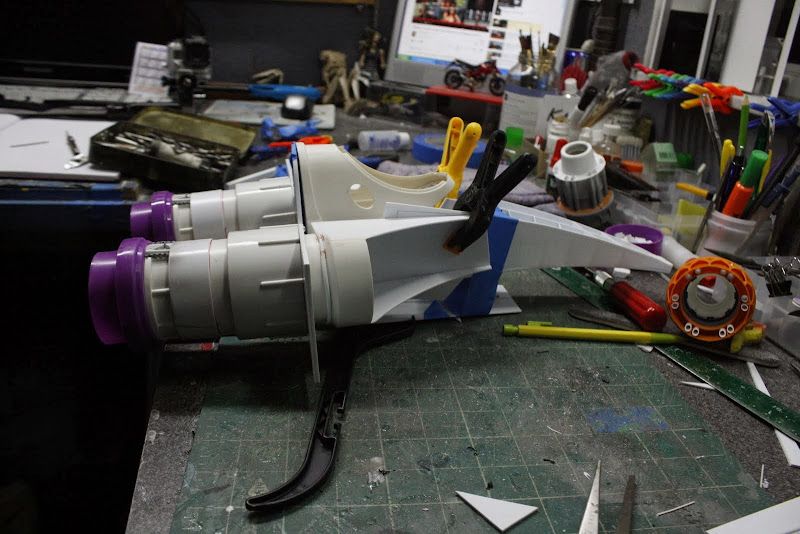
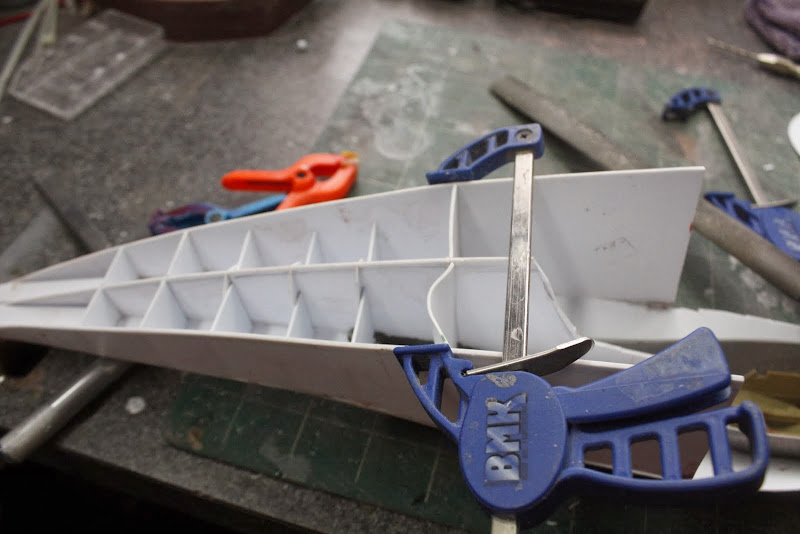
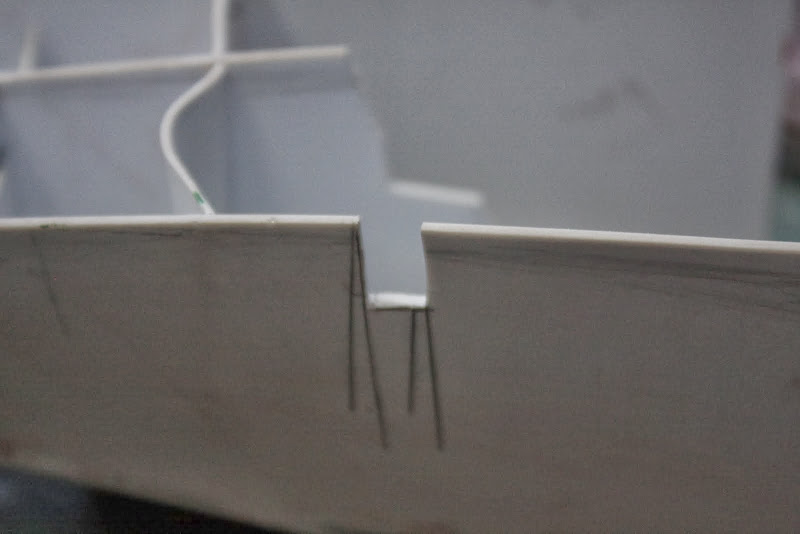
Cut notches in the sides of the tub

Picture%2520241.jpg


Dry fit everything together,

Picture%2520242.jpg


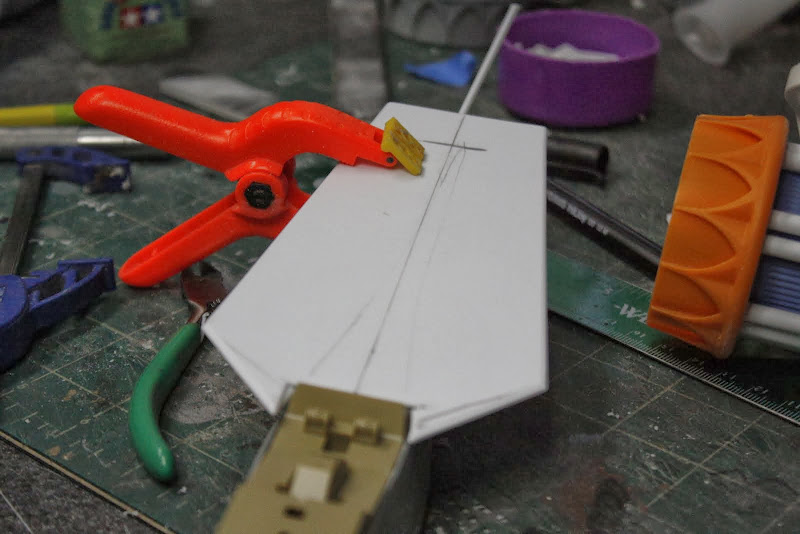
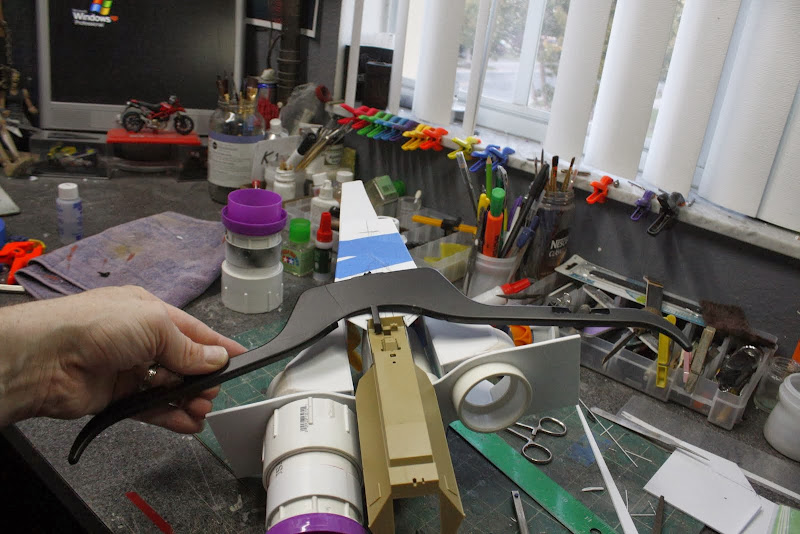
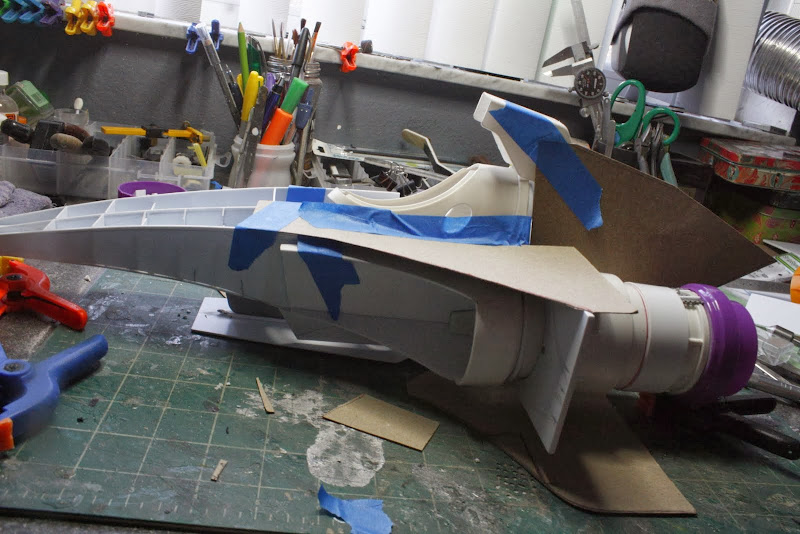
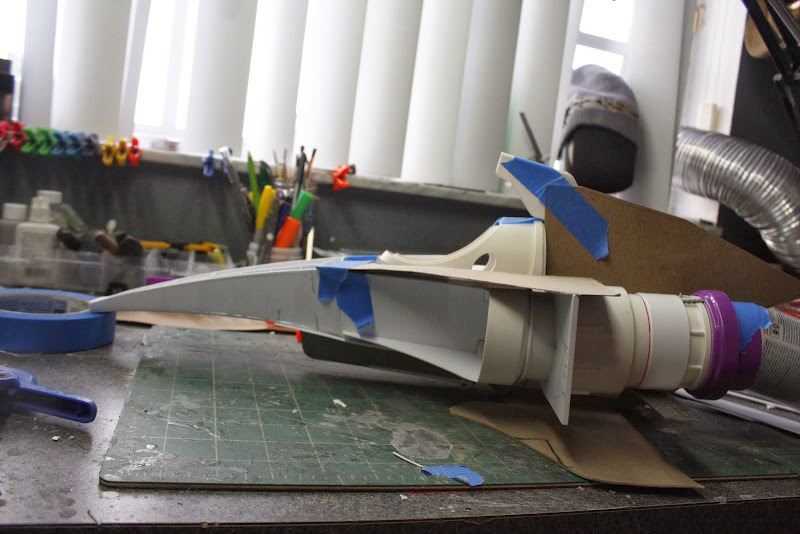
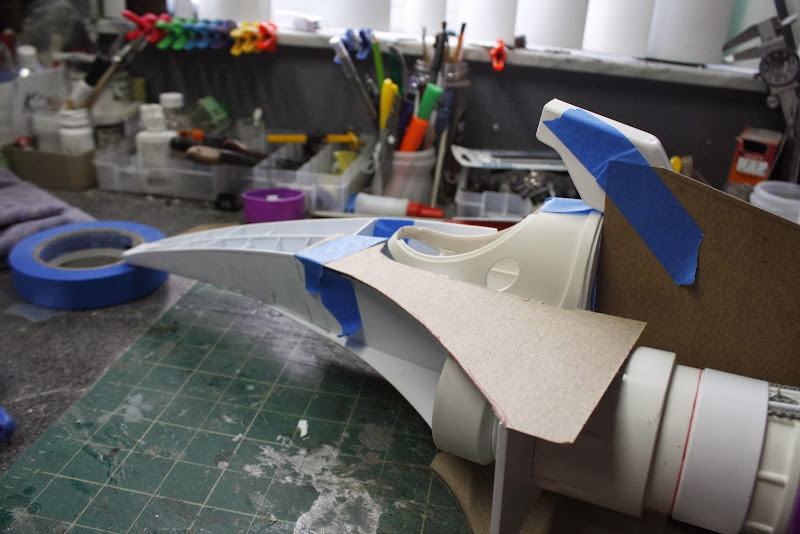
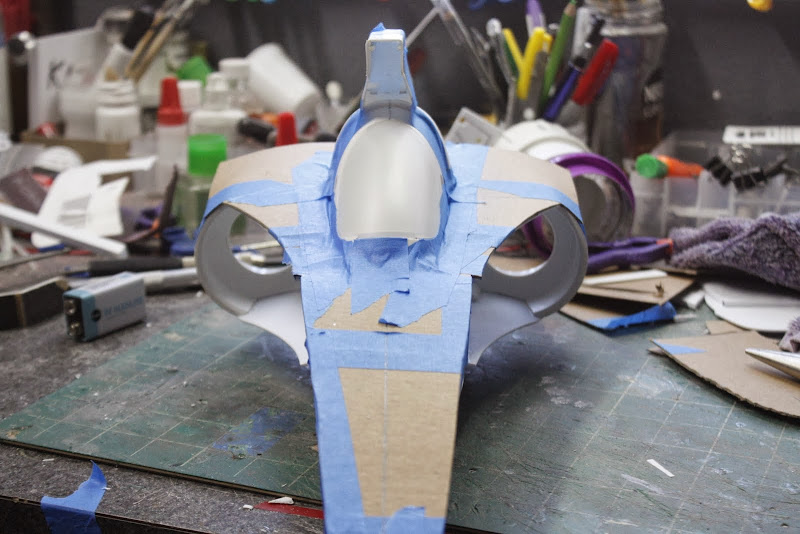
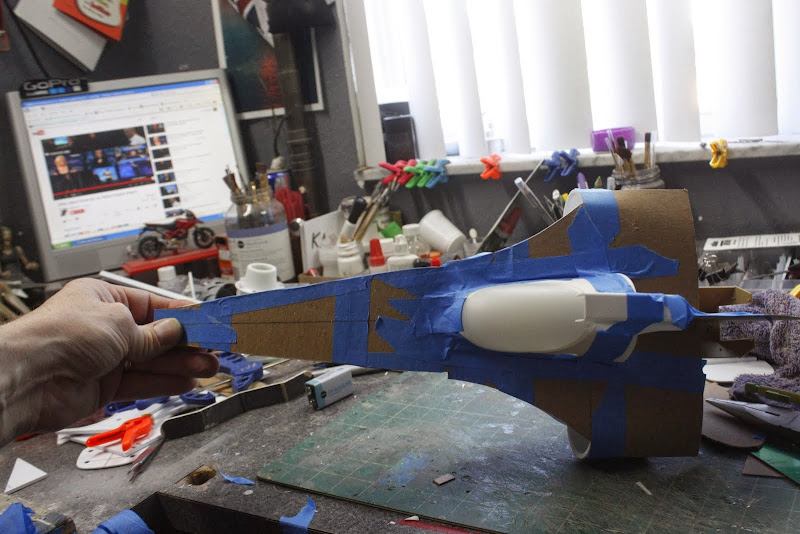
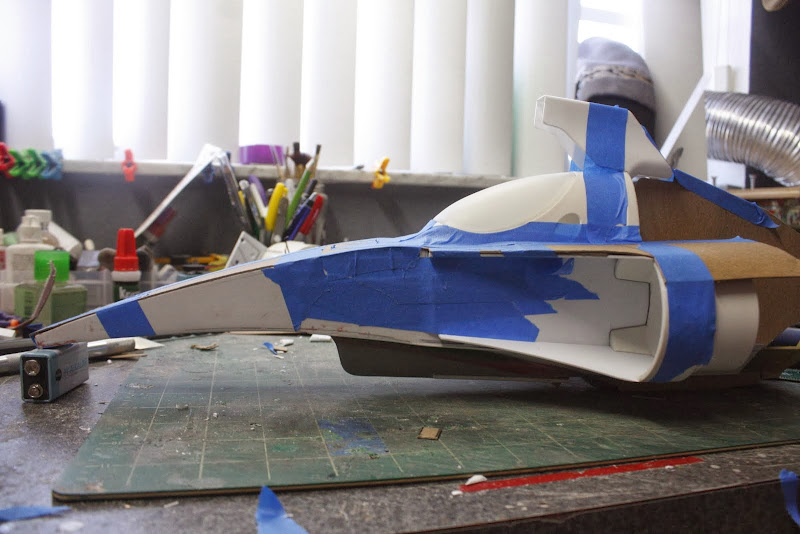
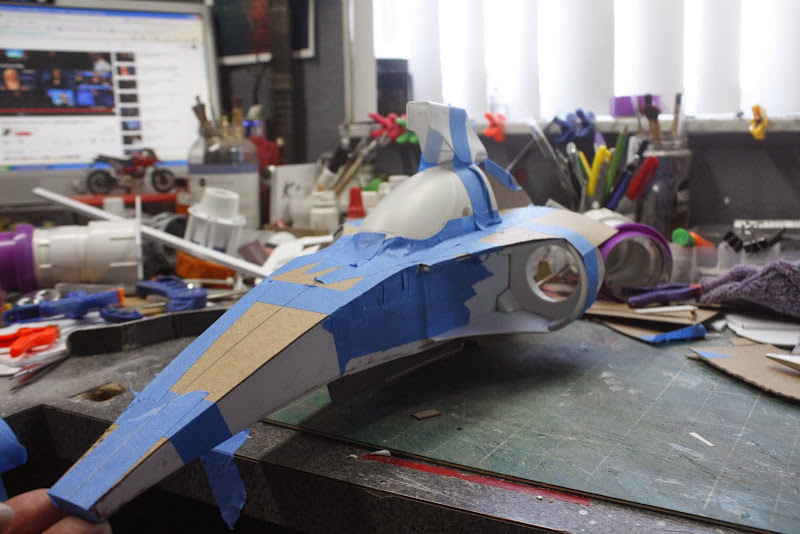
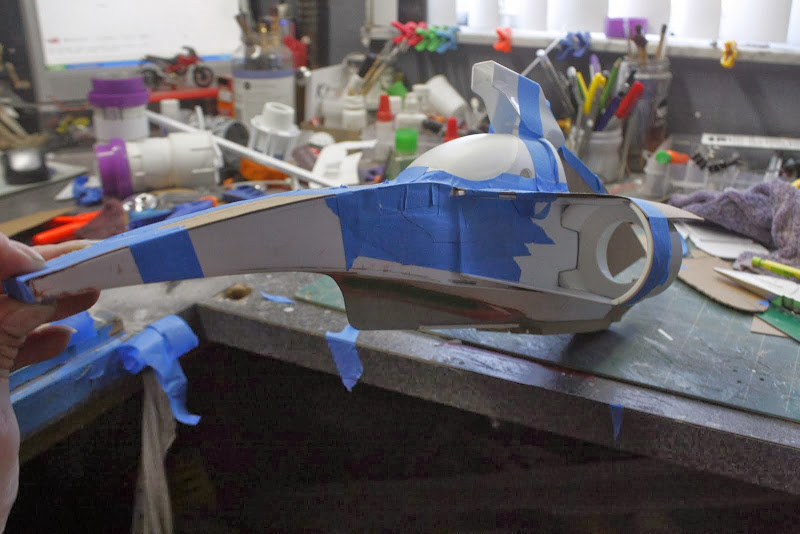
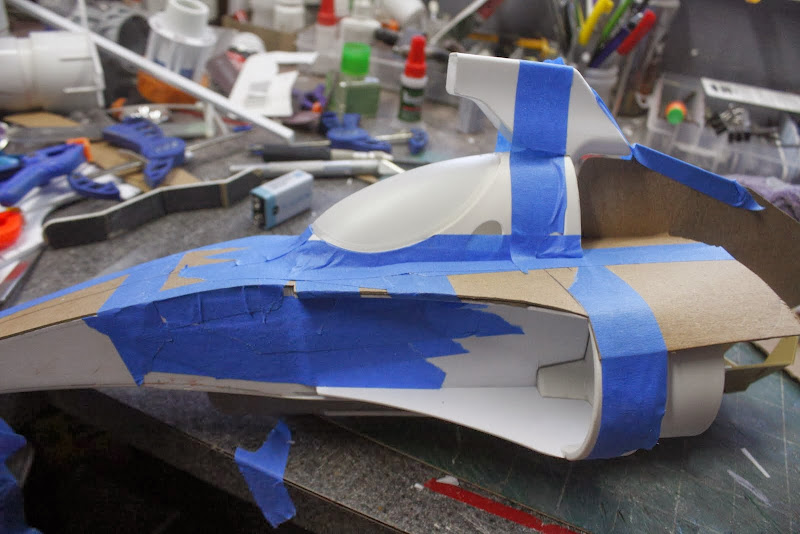
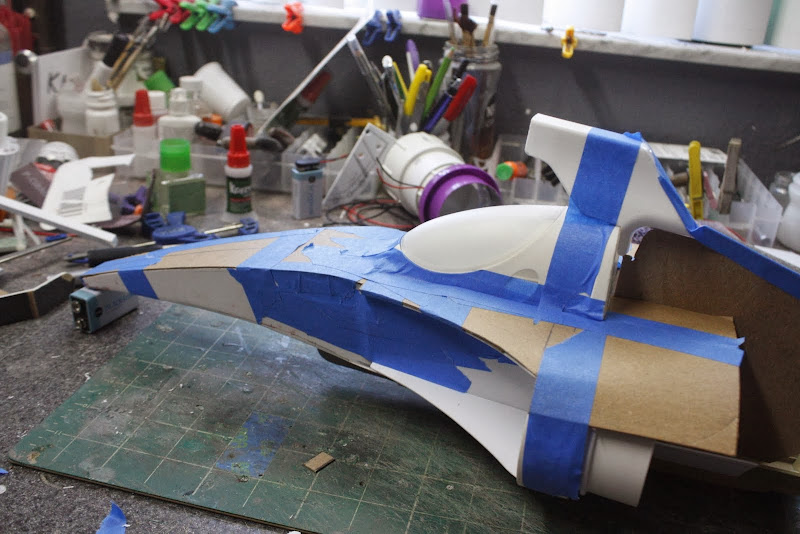
After much fiddling about with the profile and the final position of the cockpit tub, did a mock up with cardboard and tape and the windscreen blank in position and the top intake.

Front,

Picture%2520245.jpg


Top,

Picture%2520248.jpg


Side,

Picture%2520244.jpg


3/4

Picture%2520247.jpg


Picture%2520249.jpg


Picture%2520251.jpg


Picture%2520243.jpg


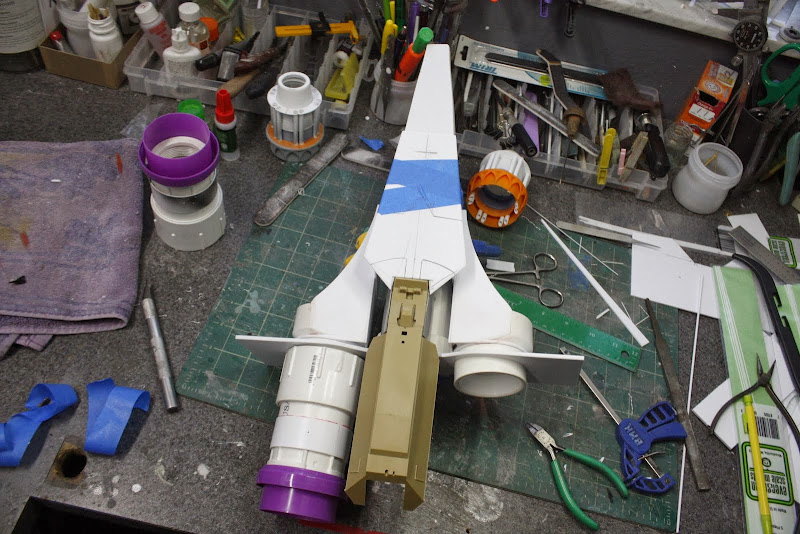
It's still very rough but I'm getting there, It looks a bit too 'A" wingy to me. so i'll have to try again.

What do you guy's think of the profile?
Till next time,
Take care
Gag
 
This thread is more than 7 years old.

Your message may be considered spam for the following reasons:

  1. This thread hasn't been active in some time. A new post in this thread might not contribute constructively to this discussion after so long.
If you wish to reply despite these issues, check the box below before replying.
Be aware that malicious compliance may result in more severe penalties.
Back
Top