Oblivion Jack Harper's Pistol - Build Thread (Pic Heavy!)

Excellent work on the holster. Is the inside of the holster coated with a linen fabric or something so as not to wear down the paint job on the pistol?? Just waiting for pay here on the 15th and i will shot you a PM for a decal set. I am hoping to a mast enough Jedi skills to do the electronic set you you did or at least come close to it. Take care.
 
Hi Soulinertia,
I saw your pistol and your work is amazing. However, your pictures are no longer visible. There is a photobucket message in their place. Can I ask where you got the Oblivion font you used in your pictures?? I have looked everywhere and had no luck finding that font anywhere. Thanks. Mick
 
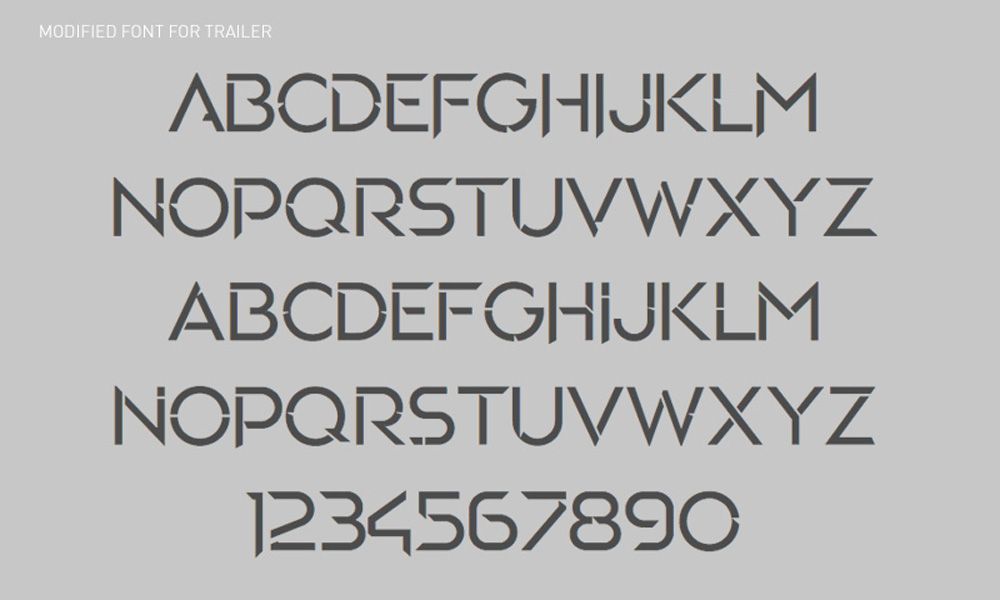
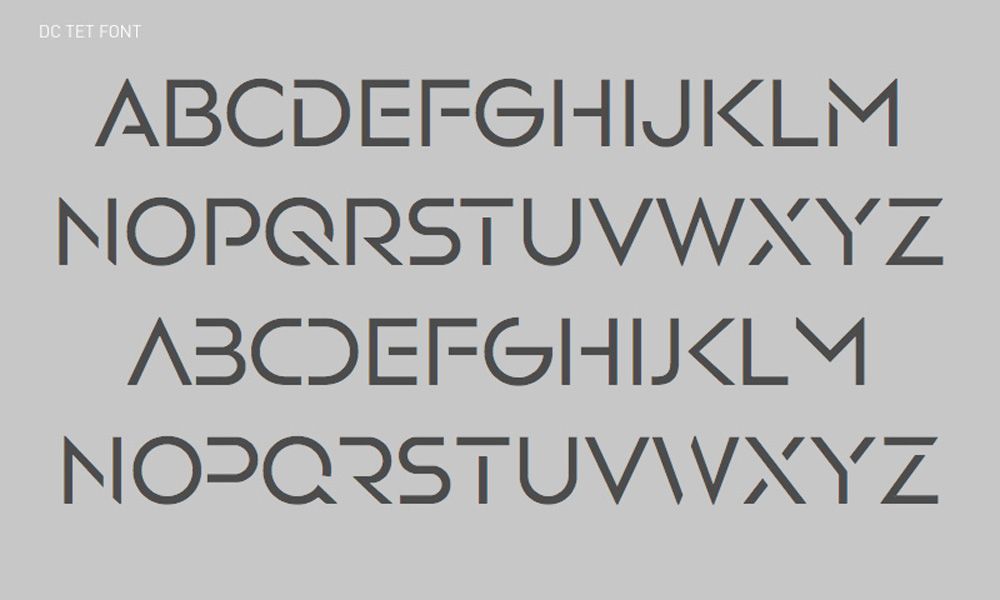
Yeah, I need to get a new account or host my pics somewhere else. They should all return in about a week. Guess I got so many hits it exceeded the allowed bandwidth. As for the font. I actually used a combination of fonts created by Danny Yount who worked on the film. I don't think there is a downloadable font file out there. I had to mod a few things on these and create my own vector art files to get what I wanted. Hopefully they will be of help to you!

DannyYountDCTETFont.jpg


DannyYountDCTETmodfontforopeningsequence.jpg
 
Thank you for such great pics. Your work is fantastic, it really looks great and seeing the process and creativity used was actually pretty inspiring for a newbie to prop building like myself.
 
I was waiting for the pics to come back up...and WOW it was worth the wait. Cant wait to receive my pistol and decals. Its been many years since I have painted a kit [of any kind] but seeing this just makes me more eager...thanks
 
This does look really nice. The only thing I would do differently is to make the switch more inconspicious. Having a big silver thing on the buttplate is a bit odd, you could put a small push button behind one of the black buttons near the muzzle and have it completely hidden.

Just a thought.
 
I agree, the button is pretty crude. Just working with what I had on hand though. If I had a long enough drill bit I probably would have went in from the barrel and if it wasn't a solid piece of resin I would have approached it from a completely different perspective.
 
The producers called and they want their prop back asap:D Kidding aside, beautiful job all around; now, on to the costume;)
 
Just a general question on drilling out for the LED's. Im considering drilling out from the barrel and thinking to either drill the bore out, or completely drill out the barrel and replace with aluminium tube (also to possibly hold batteries and use metal barrel as a capacitive touch switch). Im just wondering how the material is to drill and interested if anyone else has tried this.

Thanks, Jim.
 
Your big challenge with boring out the barrel will be hollowing out the deeper recesses in the middle of the gun. You only have maybe 2-2.5mm to work with on either side so getting it absolutely perfectly centered is essential if you want to swap barrels. You could also use a dremel, but there's a question of if you can get that far in with it.
 
right, just drilling the bore might be the way to go and having checked back through the posts, its thought that the original barrel was not metal. The 19mm bore is big enough if I want to use it as battery holder. Was planning to use a bench drill & jig to get accurate, but realise it will still be tight.
One other thing I was considering was boring it out all the way back to the LED's, taking out the trigger area. This could enable the replacement of a functioning trigger. This may be more trouble than its worth, but just looking at possibilities.

Jim
The screen guns were entirely 3d printed, so no metal barrel. When you drill, don't forget to empty out the bore hole from time to time so that the resin inside doesn't press against the side walls and crack (no-brainer but I thought I'd remind you anyway). I supposed that a functional trigger could be made, but you would probably have to cut off the trigger guard to be able to hollow out the trigger area.
 
This post is very helpful when I build my pistol, thanks for the pictures and the decal! My pistol still need a dull coat, I just have it a clear coat to seal the decals in. I also plan to weather it some more with rub'n'buff, but I'm quite happy with it now.

ImageUploadedByTapatalk1397096369.319282.jpg
 
Last edited:
Use a thinner drill bit and get as much of an angle as you can from both sides. They will meet in the middle, (also at an angle). It takes some trial and error to pull the wire through. A flashlight helps to see whats going on on the other side.

- - - Updated - - -


Also, I forgot to mention; that's a real clean build Kevin. Looks great :thumbsup
 

Your message may be considered spam for the following reasons:

If you wish to reply despite these issues, check the box below before replying.
Be aware that malicious compliance may result in more severe penalties.
Back
Top