You are using an out of date browser. It may not display this or other websites correctly.
You should upgrade or use an alternative browser.
You should upgrade or use an alternative browser.
1/50 scale Planet Express Ship, Futurama
- Thread starter Volpin
- Start date
Volpin
Sr Member
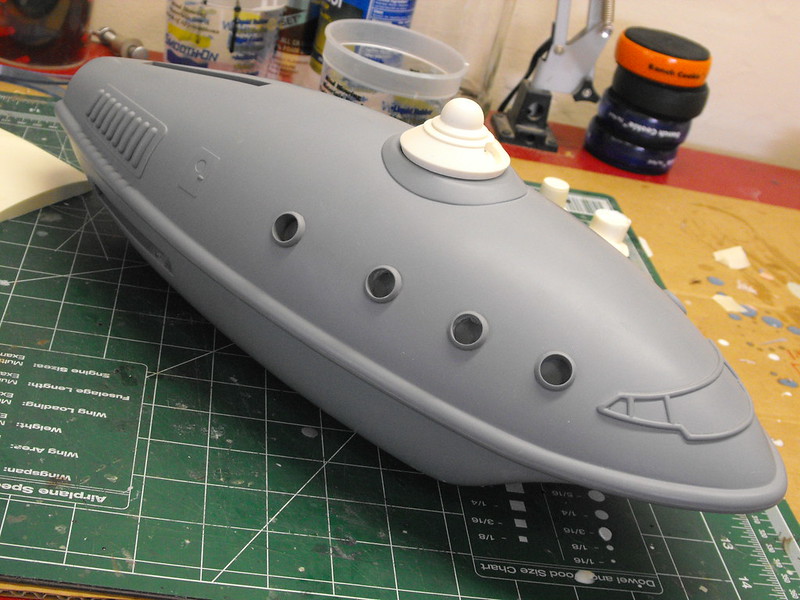
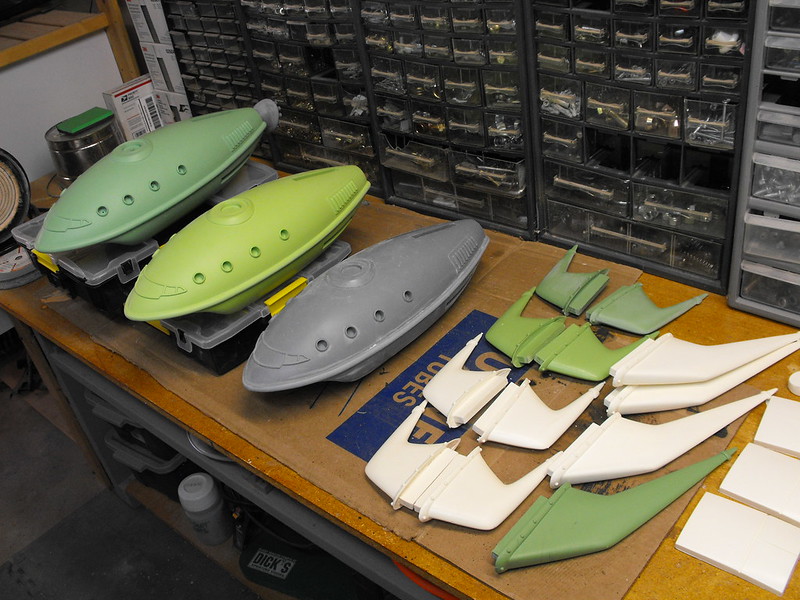
Cast parts! Here's the main hull. Thickness is about 1/4 to 3/8" all around, and pretty good coverage over sharp corners as well.
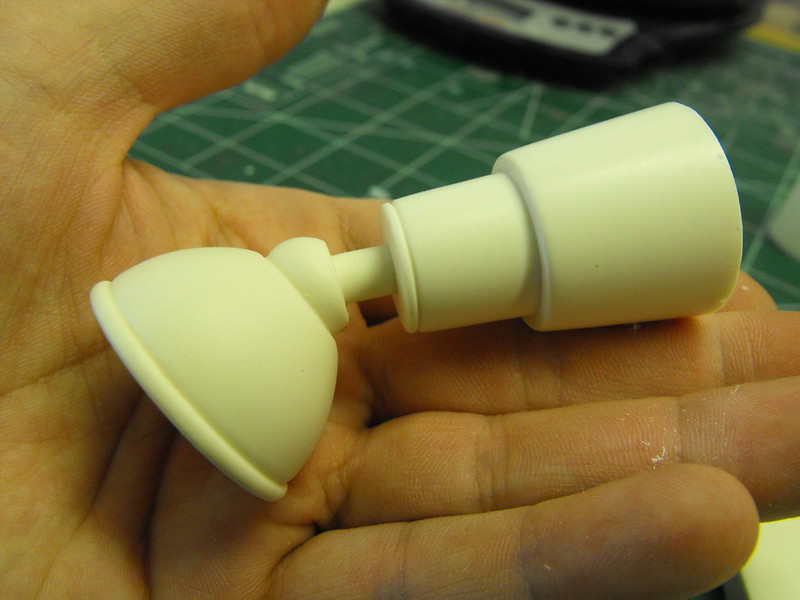
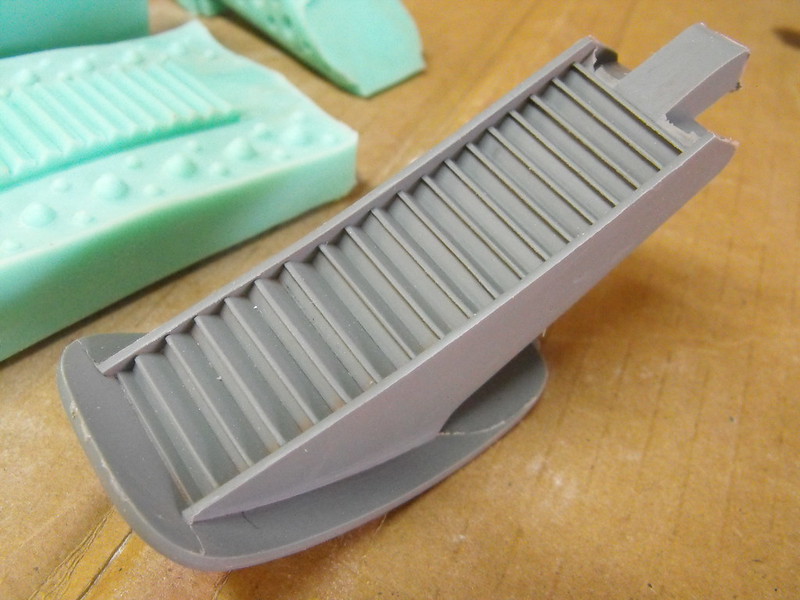
The engines. Super happy with this one, no air bubbles at all in the little thruster nozzles. This was the first casting and the mold seam is slightly pronounced there, but I think subsequent ones will come out cleaner.

Other bits:
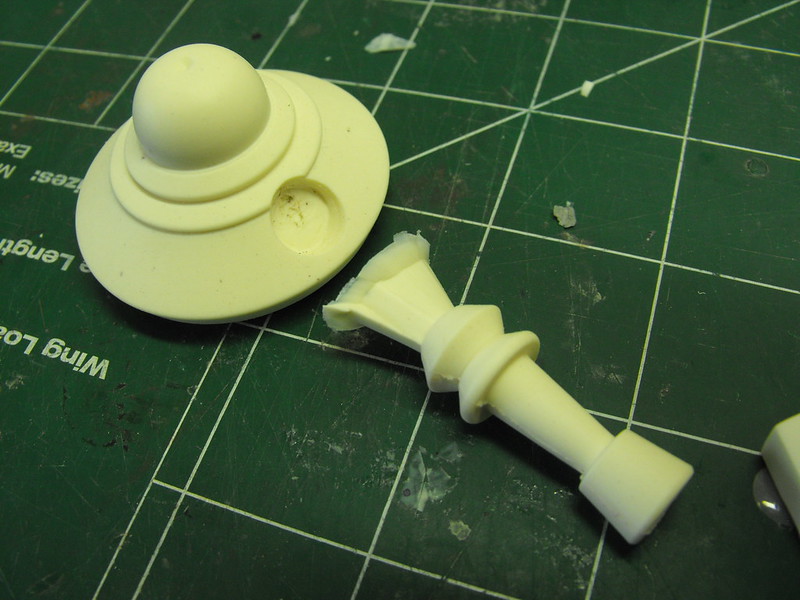
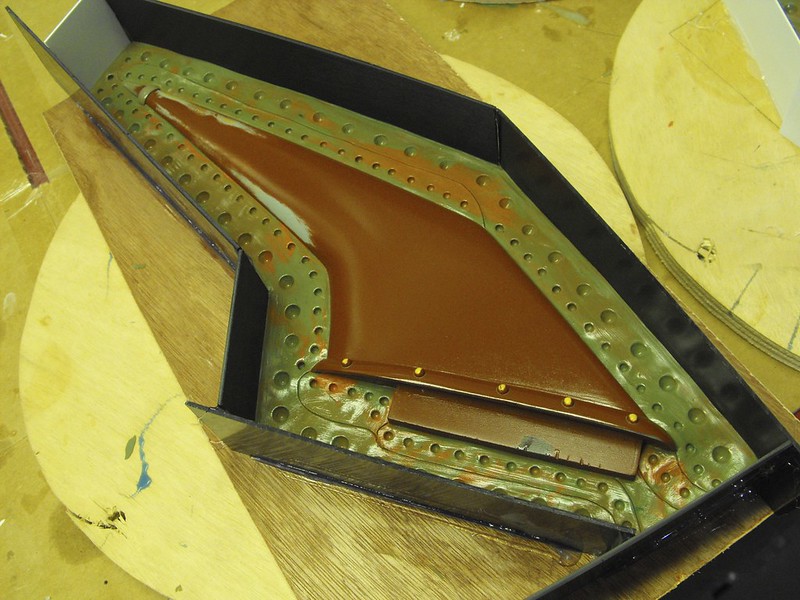
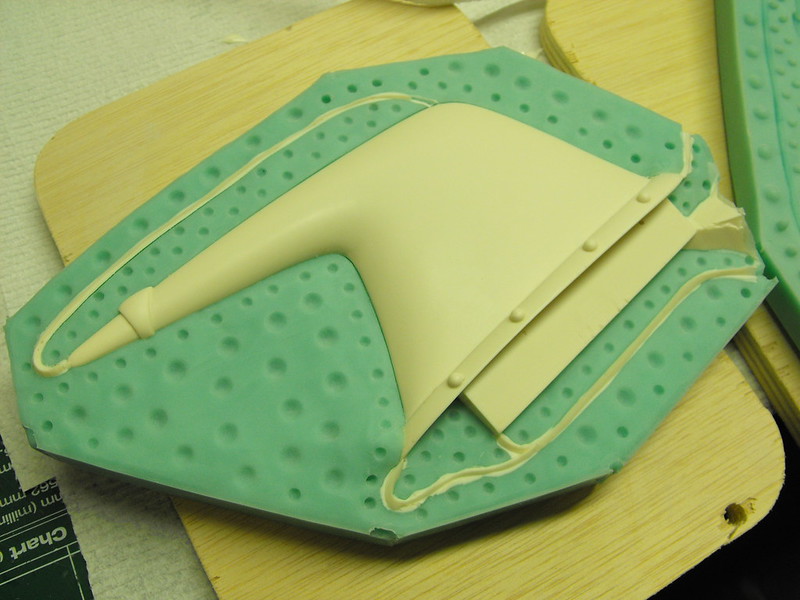
Fins are clayed up and first pour happened about an hour ago, tomorrow I'll be dumping the other halves.
The engines. Super happy with this one, no air bubbles at all in the little thruster nozzles. This was the first casting and the mold seam is slightly pronounced there, but I think subsequent ones will come out cleaner.
Other bits:
Fins are clayed up and first pour happened about an hour ago, tomorrow I'll be dumping the other halves.
CelticWarrior
Well-Known Member
Looks amazing. Cant wait to see it painted up with leds.
Volpin
Sr Member
As big as this thing is it would be cool to see a "part-two build" of the cock-pit... I can just see Bender at the wheel with his feet on the console while Leela has Fry in a head-lock in the back-ground. LOL!You are an awesome modeler.
Hah, thanks! While it would be cool to have a realistic cockpit, I'm not sure my miniature skills are up to the challenge. For the builds I'll be completing, the "windows" will be opaque. Maybe in the future if I go nuts I might give it a shot.
Casting parts is going quite well. Fin molds are all done and I've worked out the casting kinks to get repeatable good clean pulls. I don't know what I did before I had a pressure casting chamber.
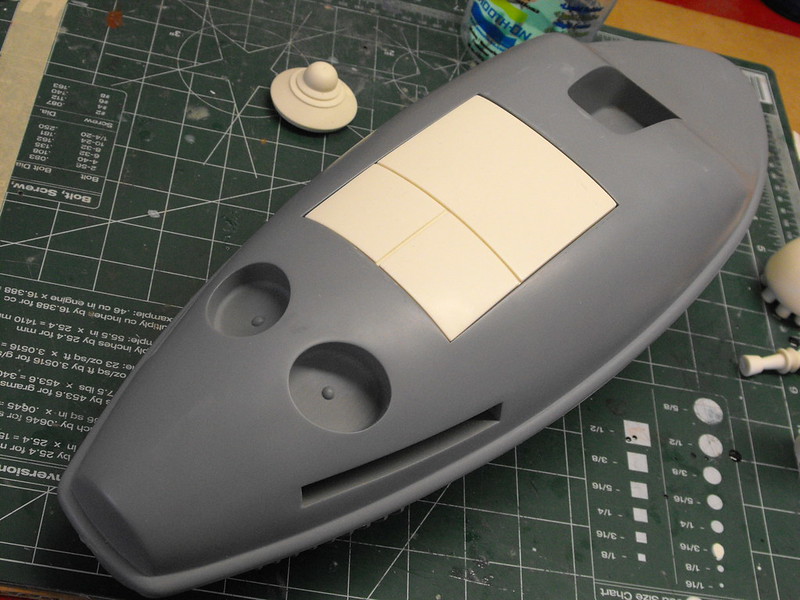
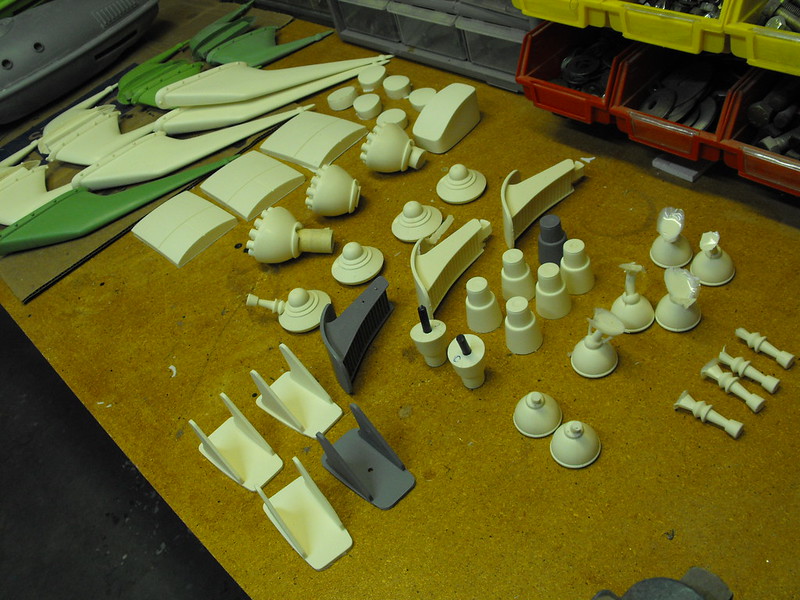
Here's a full set of accessories on the gray hull I pulled earlier.

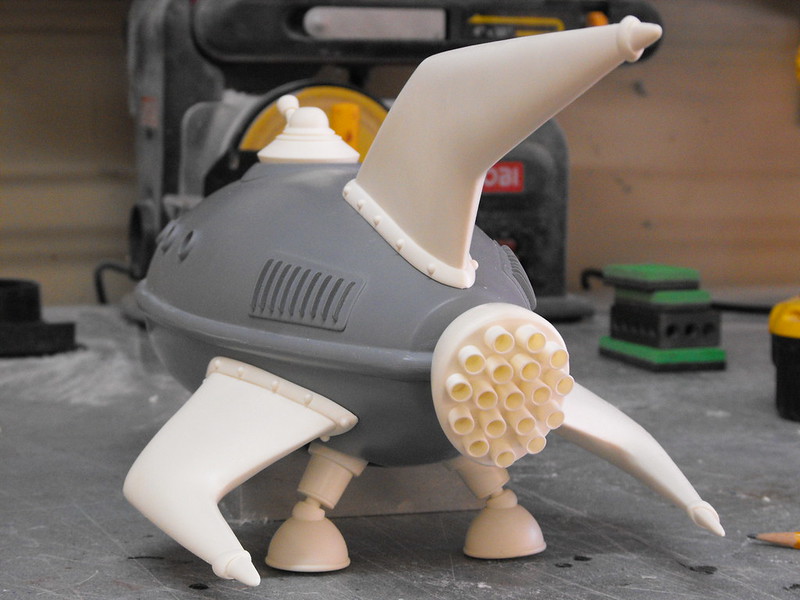
I also messed around with some resin dye a bit, because I've had it sitting around forever and figured why not.

Last bits to mold are the front landing strut/stairs and mounting plate. That's a 4-part mold so it'll be a few days before I've got copies, but progress is happening!

Darph Bobo
Sr Member
Simply gorgeous!
Volpin
Sr Member
Very cool! I had the small Skyhook kit almost done when it took a nose-dive off the bench. I haven't had the heart to repair it. Maybe I'll just wait for one of these instead. Very nice work, and I love the casting photos.
I've seen those in my research. Is Skyhook a company that distributed them, or an individual like me? Always curious about that.
I'm curious in seeing some more info on that four part mould you're making! Great progress.
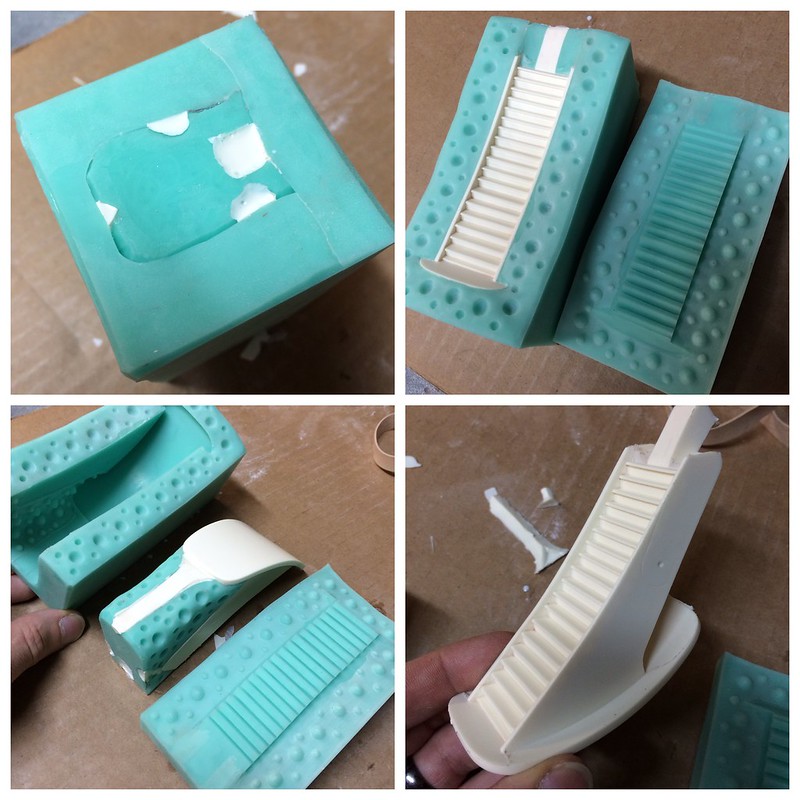
Here ya go! Overly long explanation, but I eventually went with a three part when I figured out the large block didn't need a split seam to remove the plug. From top left, first photo shows the assembled mold with a cured casting. The large square hole is the pour spout and the smaller three are vents
Second photo shows the first part removed to expose the stairs. I kept seams away from here because they'd be awful to clean up later.
Third shot is the mold mostly disassembled. The stairs still have the plug inserted, which fills in the backside of the landing strut and forms the vent for the trailing edge of the landing strut pad.
Last shot is the finished casting with all silicone parts removed. No cleanup yet (just snapped the vents off) just straight from the mold.
More stuff!
Made a set of landing gear plugs so I can build an "in flight" variant. Pretty happy with the tolerances on the seams, just need to make sure they aren't too tight to allow assembly once the parts are painted.

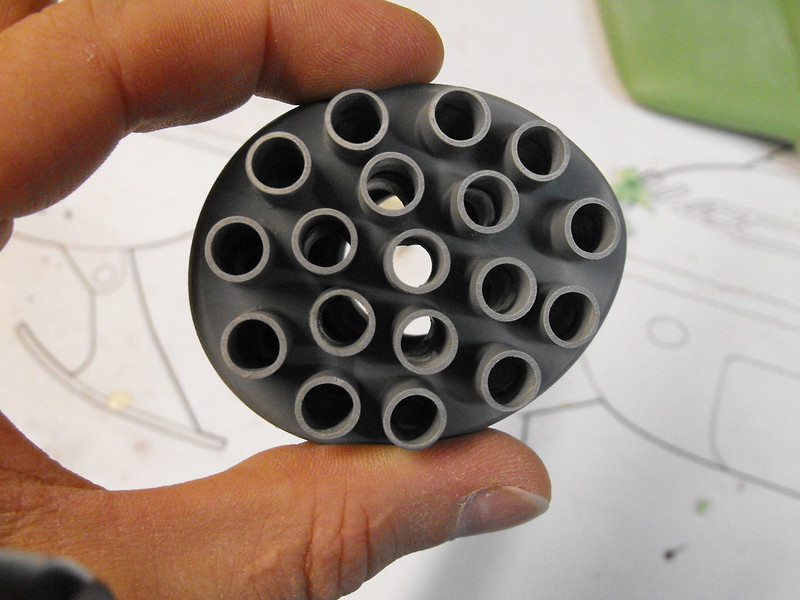
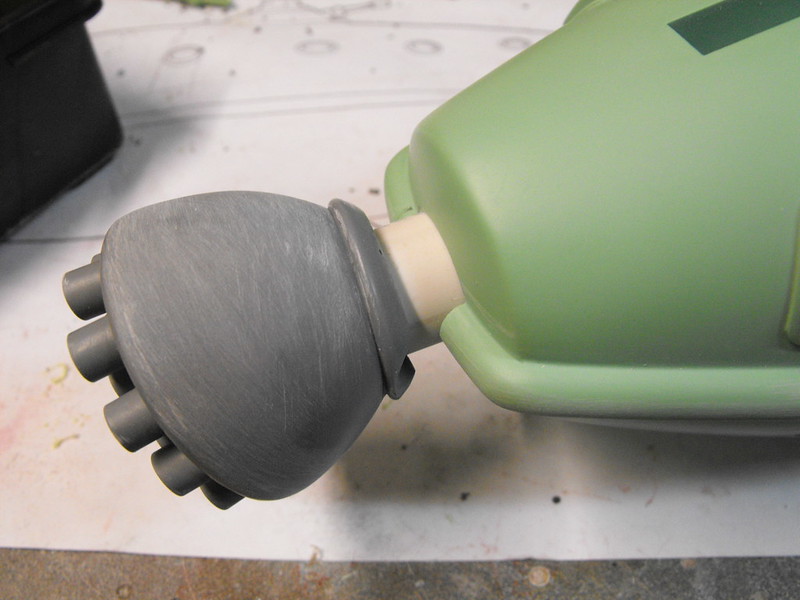
Drilled out all the thrusters on the engine. Found the best way to do this was to use a bit the exact ID of the tube and allow it to find center on it's own. All holes were drilled about 3/4" into the engine, then the backside was opened up with a dremel tool. The engine itself mounts to the body with some 1" PVC.
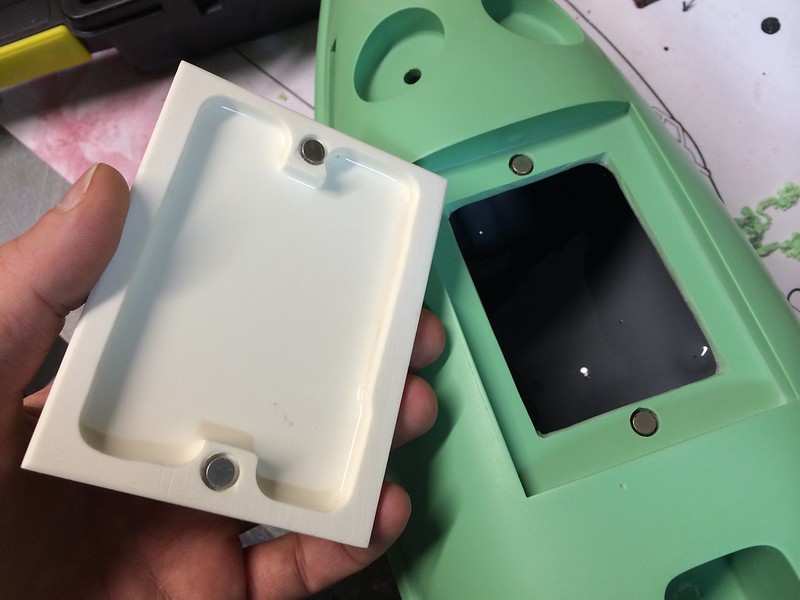
Other mounting solutions, the lower bay doors with some magnets to hold them in place. The electronics will live in this recess so magnets will make it easier to install and access them.
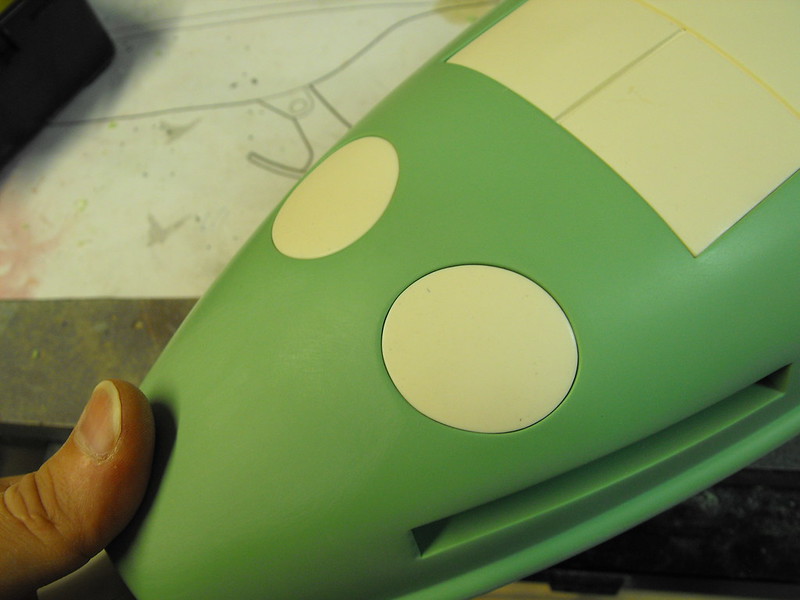
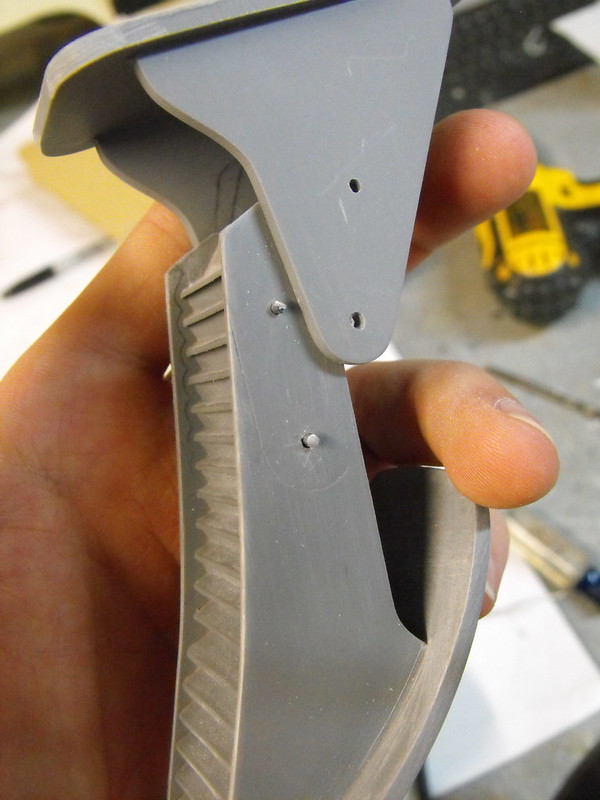
Front strut held in place with two pins. A small dome will cover these holes from the outside.
First finished assembly. A little filler in a few spots and some primer, then it's time for paint!
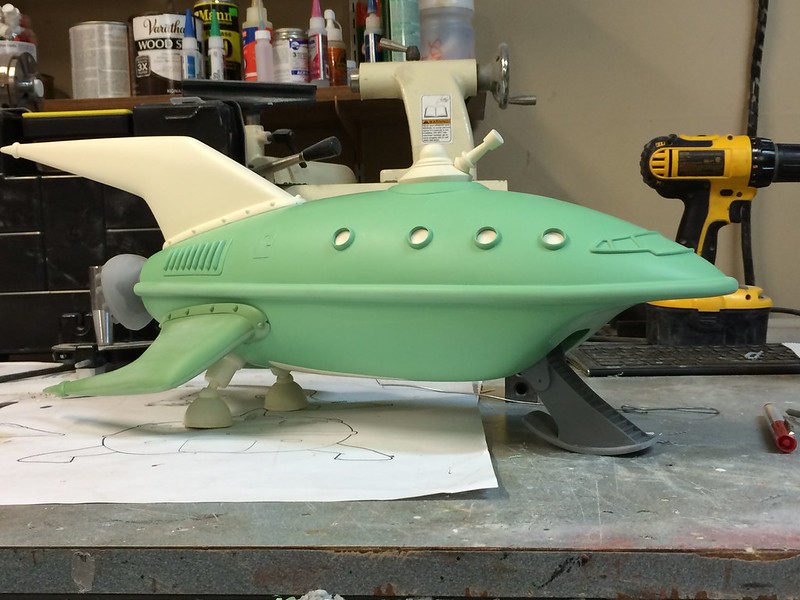
Now I just have to prep the two other ships in the same way and get them ready for primer too.
I know people are really curious about kits, and I'll make mention of that when the time comes, but my plan is to get these to my original three clients before offering any parts up for public sale. (Also I don't normally post in the modeling forum but I know in the props section talking about sales outside of the JY is generally frowned upon. Are there different rules here? People seem a lot more open about sales conversations)
I've seen those in my research. Is Skyhook a company that distributed them, or an individual like me? Always curious about that.
Skyhook is a garage resin company. Here's there page with the Planet Express:
Skyhook Models -Science Fiction Resin Kits-
BeastOfTheDeep
New Member
Fry: "I can't swallow that!"
Farnsworth: "Well then, good news! It's a suppository."
Sorry, I just had to:
Any news for the new year on this Volpin?
Farnsworth: "Well then, good news! It's a suppository."
Sorry, I just had to
:Any news for the new year on this Volpin?