Blade Runner Blaster Airsoft Build FINALLY FINISHED!

ItalianNinja86

Sr Member
RPF PREMIUM MEMBER
Yup the titles is just as you've read but before I start to post photos let me start by saying this.

In 2008 I found the RPF for the first time while looking for a replica of this blaster at the time the RPF
still had a 4 openings a year (or something like that) for new members to join. So having missed the opening for the time period
when I was looking I put it out of mind a year later in 2009 I got my chance and joined still looking for a good replica the ones on
Ebay that I saw in between my first look and joining the RPF didn't impress me and what random forums articles I saw seems to come the to same consensus Coyle was the way to go and if not a Coyle then a RickRoss PKD-1 kit was the next best thing for budget reasons.So it shouldn't come as a surprise that the first prop I got was the Rickross still in my collection and still one of my favorite pieces even though I now own a Coyle.

But what does that have to do with this build thread well everything actually as this prop I guess could be considered my holy grail.
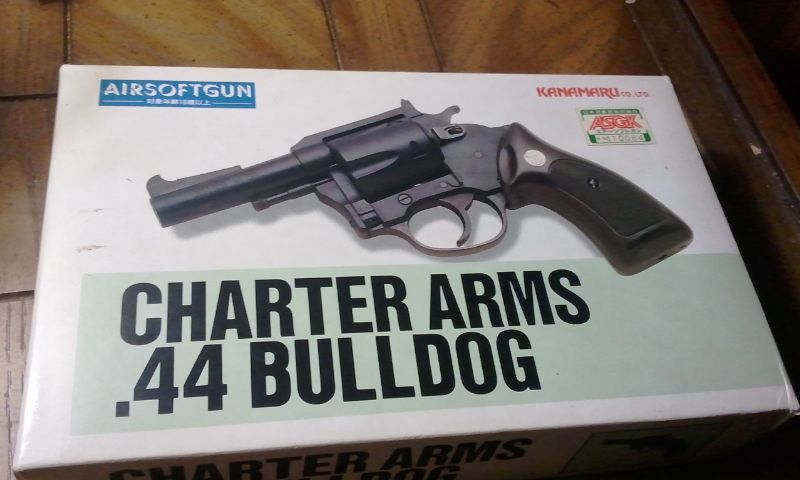
I always wanted a complete collection of this blaster starting with the PKD-1. but I knew I wanted a shooter in that collection and the idea of owning the actual firearms and having built while a true grail piece for any collection will for ever be out of my reach so an airsoft would be the next best thing for me.However the only two airsoft models I know of were the Hartford and the Elfin launcher models and both and rare as hen's teeth. But late last year I got lucky A member here post an auction for one of the rare Kanamaru .44 Bulldog airsoft pistols and it ended before I got to bid. Hoever I took a chance and asked the person if it was still available and it was so I got it immediately one half down one half to go.

How to go about the styre parts. Obviously I could try and get a real one but it would be expensive to buy and to cut down, sidkits at the time were being held on to like gold (how that changed a few months later) then it hit me Coyle. I already had one of Rich's wonderful models so I got in contact with Rich only to find out that just as he was gearing up for a new run he had retired due to health reasons so down the drain that went. I knew I wanted high end metal pieces for this gun to look and feel as real as possible but still be as harmless as a kitten thats were the Tomenosuke Pro kit came into play once orders opened I jumped on it and now a few months later with kit in hand I have the pieces required to build an airsoft version of this gun more accurate then the Hartford blaster even.

So now that this big long rambling and self congratulatory rant is out of the way to next update or two will involve the tearing down of the bulldog what needs to be modified on it, and how I'll go about it. So sit back and lets enjoy this ride together cause this will be a first for me.

Next update The Kanamaru Bulldog overview and tearing it down.
 
Last edited:
Re: Blade Runner Blaster Airsoft Build

Is the Tomenosuke Pro kit incomplete? I haven't been reading the thread. I thought it was just unassembled.


-MJ
 
Re: Blade Runner Blaster Airsoft Build

its unassembled I'm just taking the parts I need and putting them on the Kanamaru bulldog instead of on the provided frame
 
Re: Blade Runner Blaster Airsoft Build

Everything but the frame is metal on the Kanamaru the frame is I think some kind of ABS plastic. as for the reason why well I always wanted one that can shoot but the Hartfords are hard to find and expensive (not that this hasn't been :lol) plus I like the challenge and this is my first real build also having to track down the real weapons can be expensive let alone having to modify them plus I have no real experience with a real fire arm so this is a nice happy median for me :). plus I just wanted to do something fun and different from the usual build threads going on right now for this kit.
 
Re: Blade Runner Blaster Airsoft Build

I happen to be one of the few people who have produced quite a number of 'safe' firing blasters , from either Airsoft or PFC ( Plug Fire Cap) I would have suggested a Coyle Kit rather than a Tomenosuke as that is predominantly a model kit and does not have at it's heart a Bulldog frame as Rich 's Blaster does . You Japanese "donor" will need to be cut down extensively , trigger , hammer, barrel, ejector rod to name but four , the last being the most tricky as if you get it wrong ! -- Game over ! if you don't believe me just read the posts ! measure twice -- cut once !! Your frame is not metal as its a legal requirement there so that it could never be re-engineered to fire real ammunition. Good luck with your build .
 
Re: Blade Runner Blaster Airsoft Build

Hey propsjonnyb thanks for the insight please post away whatever you feel like sharing that you think might be helpful.

This is new to me so whatever can help me from making a mistake is appreciated.
 
Re: Blade Runner Blaster Airsoft Build

First update is a quick one right now

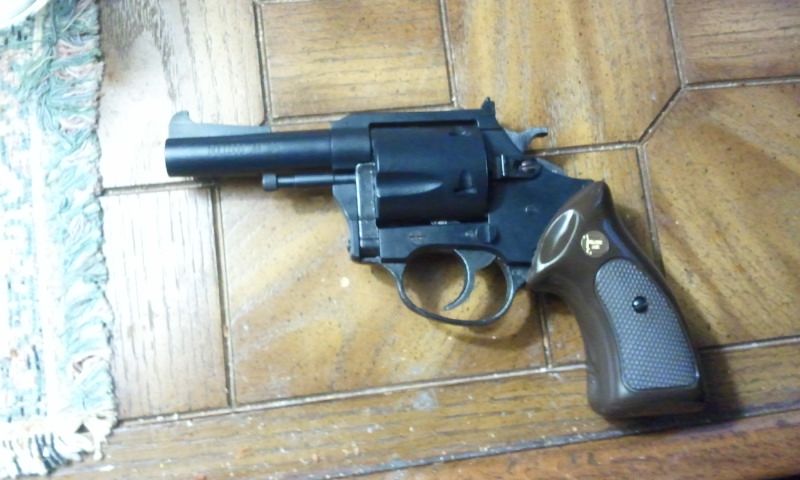
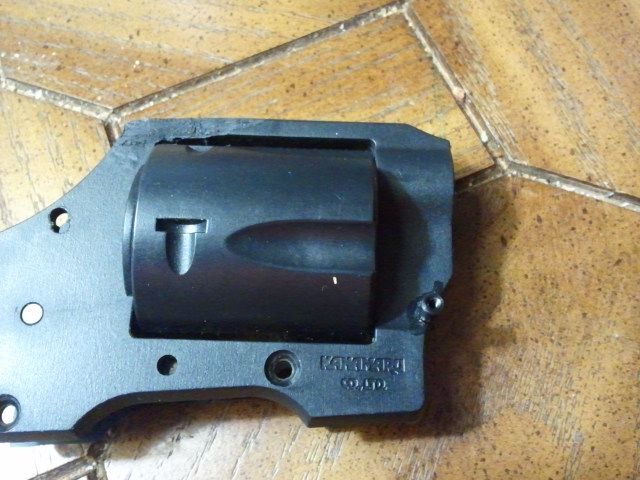
UPDATE 1: the Kanamaru Charter Arms .44 Bulldog


its a truly remarkable little airsoft gun for being I guess almost 30 years old at this point.

With an ABS plastic frame, plastic cylinder that folds out on one side to load, and a lot of meal pieces (hammer, trigger, the swig arm and I believe the frame for the grip are all metal) giving this gun a great weight and feel.

It was a shame doing to it what I had to do but surprisingly as you will see its a very simple airsoft gun to take apart.

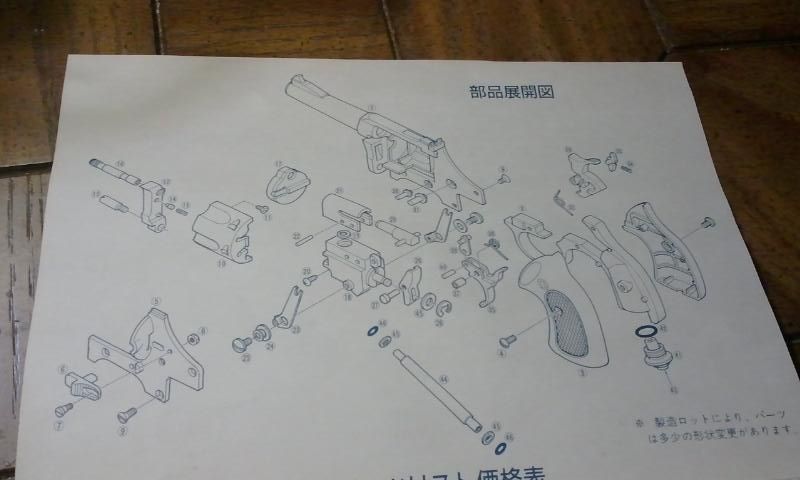
It even comes with a blown up diagram showing what parts go where


This made taking it apart easy and putting it back together while a little different once I make the modifications required
should be just as easy.

Next time breaking down the dog
 
Re: Blade Runner Blaster Airsoft Build

Glad you have the strip down diagram, first thing strip the gun to the frame completely ! replace the triggers ( one real one dummy) with the correct ones, file down the hammer ( I used Rich's hammer as a template so I'd know how much to remove, replace barrel with correct threaded one, again using Rich's Blaster parts as templates, drill - tap and dye all connection points on the frame as everything had to bolt to the frame, or it's connection piece in order to hold everything together . fit replacement handle to gun frame , fit replacement trigger guard, file and sand smooth any irregularities so the frame matched the Charter Arms Bulldog frame , again I used Rich's to copy from. Now the most difficult - you have to cut and bob the ejector mechanism , so it fits into the shroud and still works after you've shortened it . once you've done that it's mostly cosmetic, attach the shrouds left and right, fit the outer handle and grips and butt plate , add sight rod and binding posts , etc re fit ammo box with LEDs'
Since I had great success electroplating pewter ( using my own developed process) I plated all the nickel parts and 'gun blued' the remainder , I coated all the metal parts with jade oil to protect them , then finally polished the grips with metal polish, this will leave the white residue once you polish up the grips - job done !! sound's easy when you write it done in a few lines , but nearly four months of work from donor to fully functioning working prop . If you need any more help advice, I'd be more than happy to help if so PM me please .
 
Re: Blade Runner Blaster Airsoft Build

Sorry for the delay

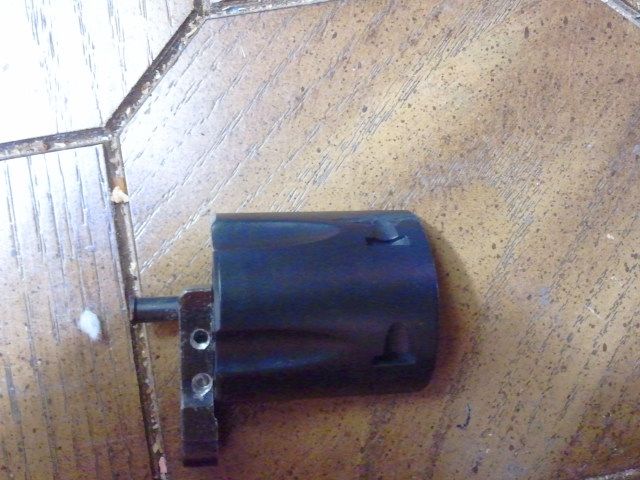
Update 2: tearing down in order to rebuild

in all honesty the Bulldog tears down really easy few simple screws and its in pieces but I'll let the pictures do the talking (with some words written by me :p)


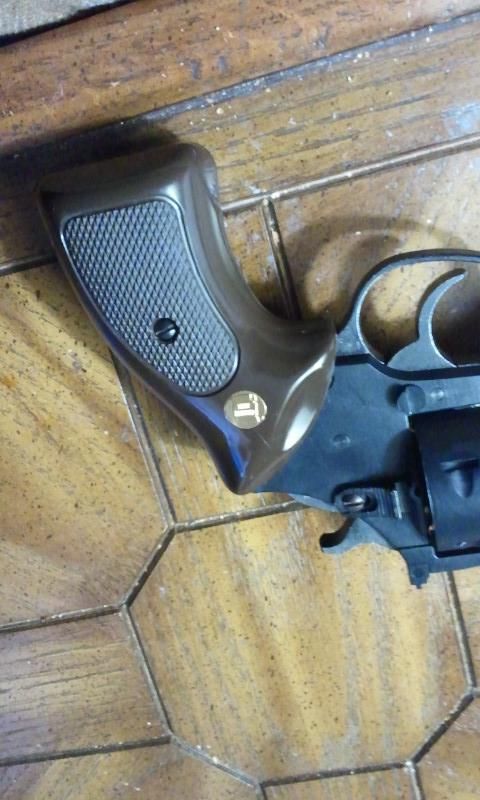
First off the grips are removed


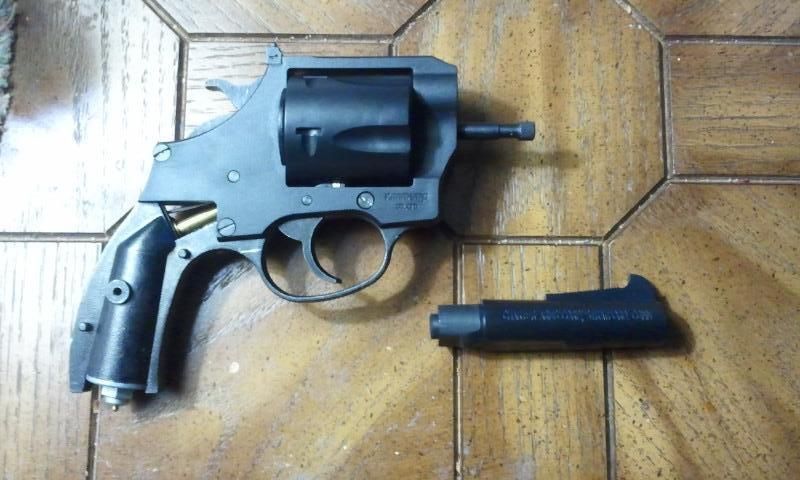
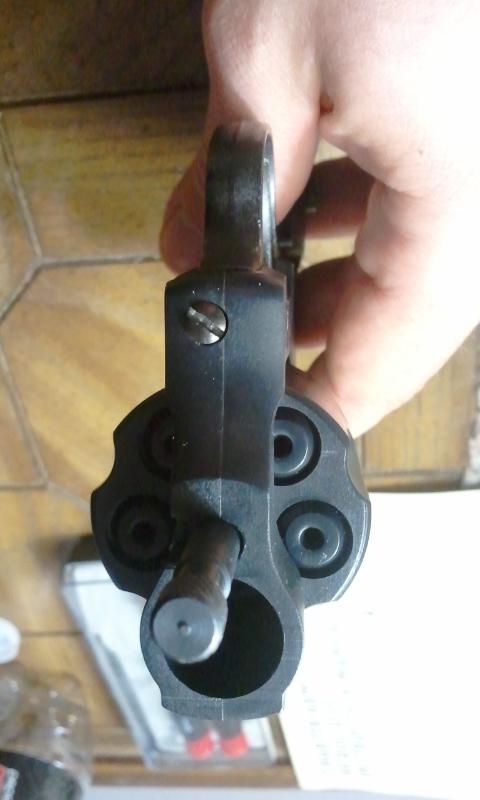
Now some may think it bad but since I knew what I wanted to do to this thing when I bought it I consider it lucky that the glue holding the barrel was loose and easily allowed me to take it off with out any damage to the barrel of frame.

also in the above picture you'll notice three screws holding the grip to the frame this is repeated on the other side as well this brings us to the next step.


remove the screw holding the swing arm in place. but be careful theres a small spring in the arm that goes up against the cyclinder cover. This screw also holds the front of the grip to the body of the air gun.


Once the swing arm is off you can remove it,the ejector rod, and the side cover. There's also a screw in the cover holding the ejector rod and arm to the side cover so remove those also.

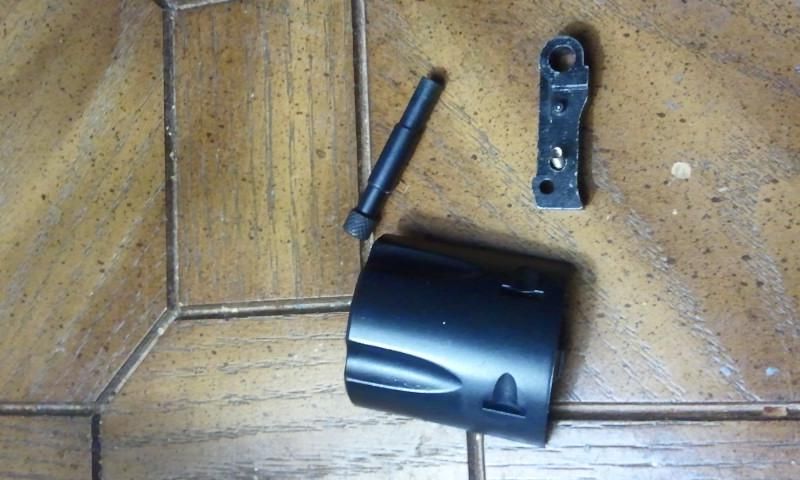
Doing so should break the side whole assembly down like this:

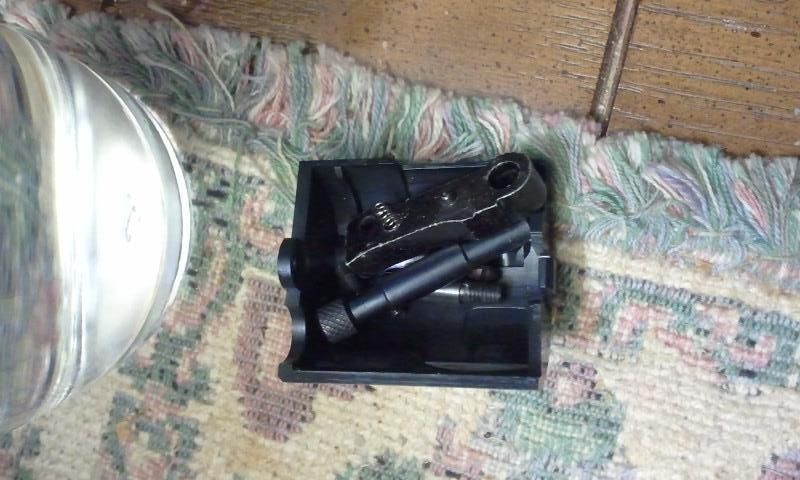
See the little spring I mentioned earlier (the blurry silver thing) do not lose this piece as it is a p.i.a. to find when dropped

Do what I did and use the side cover to hold all small pieces for now:


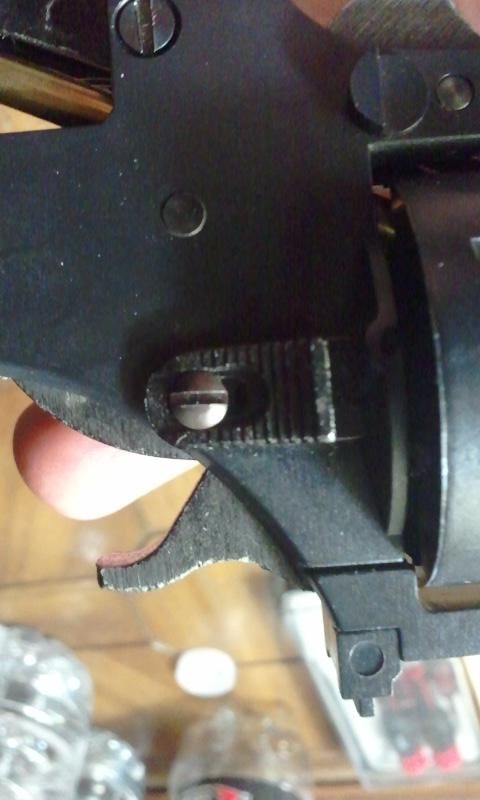
Also now is a good time to remove the screw holding the side latch

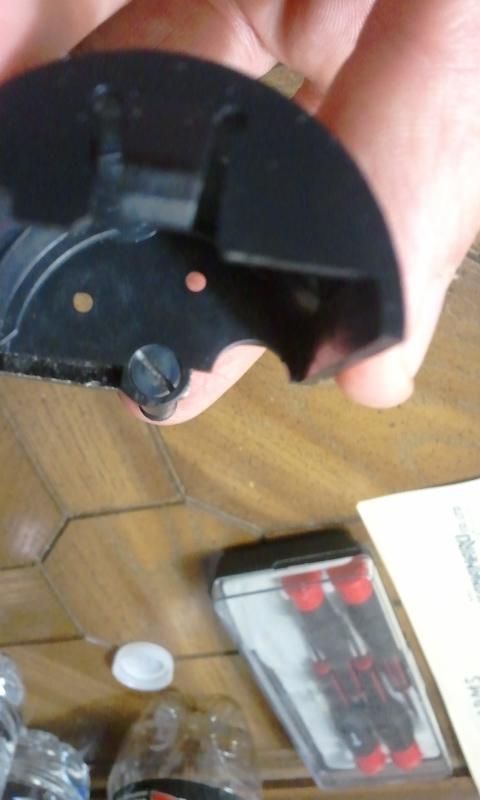
Be careful however cause on the other side is a small gold color threaded washer embedded into this side cover of the frame (make sure this stays in place or make sure to work over a surface where it will be easy to find if it does fall out).

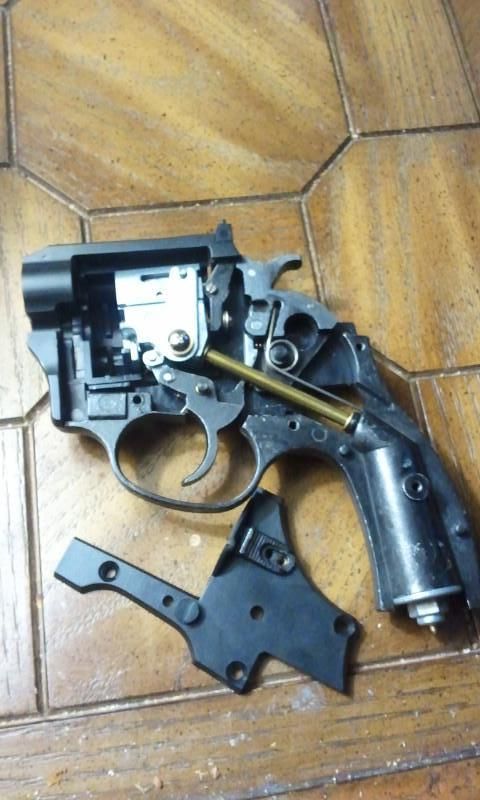
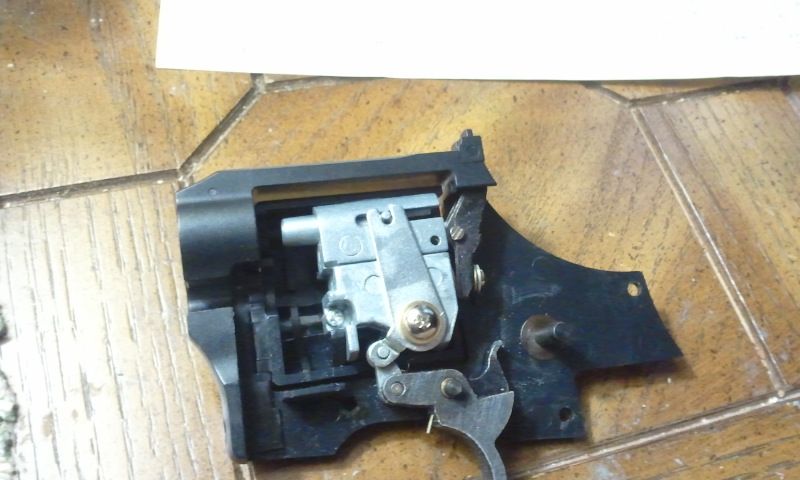
Remember how I told you there were six screws holding the grip to the body well now is the time to remove them and in doing so a side panel should slide right off showing the inner workings like so:


Alright folks I'm off for a late night run at the gym so look for part two of my tear down either later tonight or most likely tomorrow where I'll cover removing the grip gas tube and hammer among other things.
 
Re: Blade Runner Blaster Airsoft Build

From your last photo, you'll need to grind/sand down the handle until it matches the inner grip frame of the bulldog , reason for doing this is so the outer frame (which has the amber grips and butt plate attached to it)will allow the inner to fit inside perfectly, which bolts on so tap and die fixing points . you'll have to grind off the trigger guard, till it matches the Bulldog, then attach the 'new' wider trigger guard and the dummy fake additional trigger . Again drill tap and die cut the fixing holes into the frame. , I'd also smooth off the face plate , and die stamp the serial no. in the Blaster position on the other side.
 
Re: Blade Runner Blaster Airsoft Build

Update 2 part 2: the Tear Down Continues

When I last left off it was on this image:


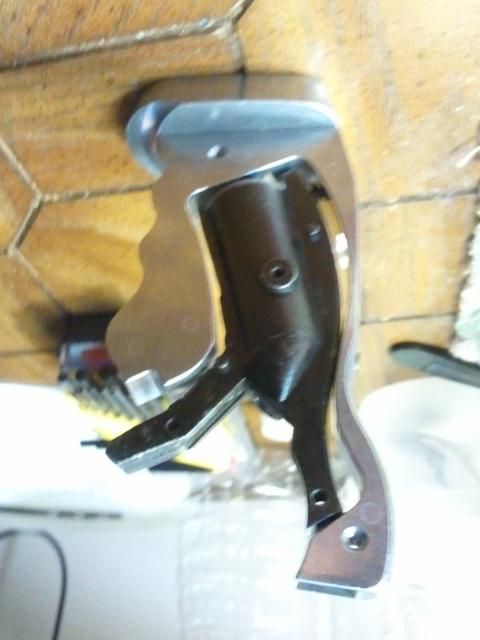
Why repost this image. Simple this picture single handedly shows all the major points inside the gun. From here we can see where the hammer sits, the trigger sits, the main spring for the hammer and how its sits on both hammer and grip, and finally the gas pipe.

First remove the spring be careful not to damage it in anyway or lose it when it comes out of its setting.

Next remove the three screws on the opposite side (you'll notice the three big holes in the side cover these repeat on the other side) this will allow you to remove the grip frame from the body.

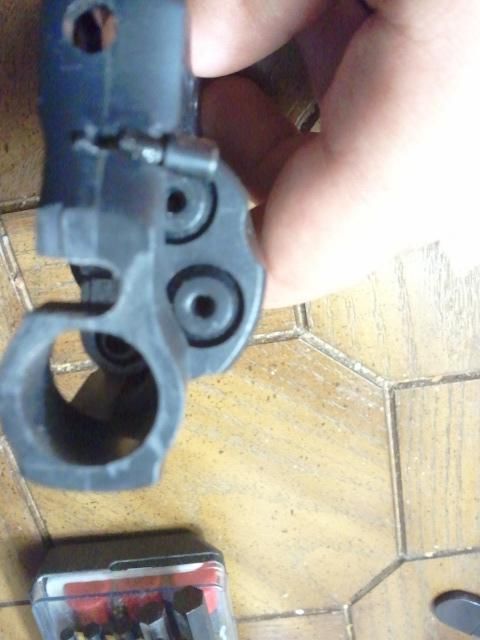
Once the grip is removed carefully slide the gas pipe out of the grip (simple pull on it LIGHTLY) and make sure not to lose the O rings inside the holes.

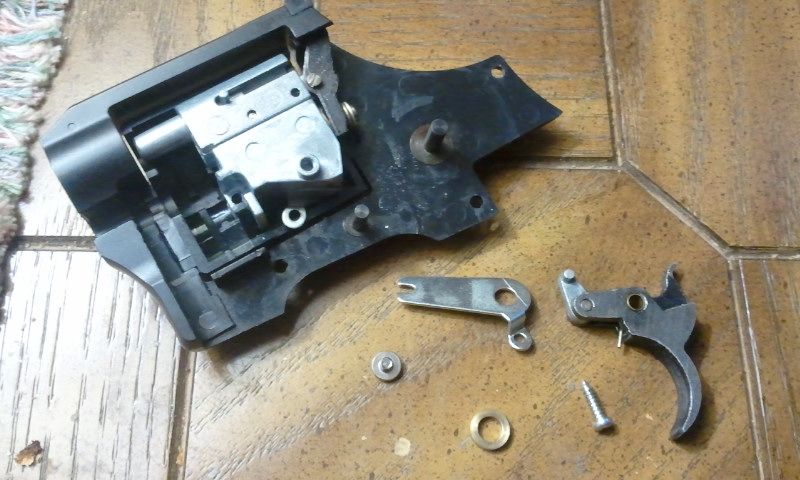
Finally you can take the hammer off leaving the gun looking like this:


Next remove the trigger


you can see the trigger is held by an arm which works the bolt of the gear box this is repeated on the other side of the gearbox as well but luckily only this arm needs be removed to take the trigger out.

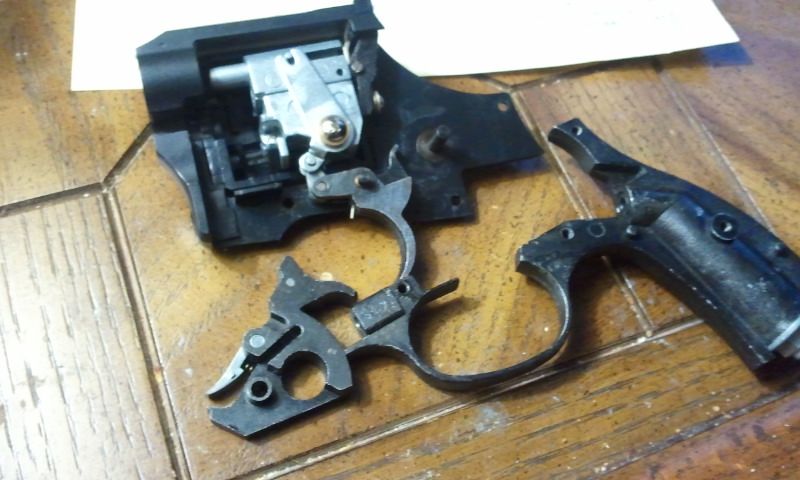
unscrew the arm screw and carefully take it out (it's a lot shorter then you think) next take the brass washer off, then finally carefull lift of the arm and remove the trigger.

it should break down like so:

You may notice an extra screw thats because it holds the gear box in place however I believe the gearbox is also epoxied into place.

And thats all for now folks next update will probably be another quick one showing how I'll outline the new shape for the parts mainly the hammer, grip frame and the sight ramp of the gun body.

So stay tuned smae bat time same bat channel.
 
Re: Blade Runner Blaster Airsoft Build

Wow!,that's some work you got in store there.Better ask a pretty penny if you ever part with it.
 
Re: Blade Runner Blaster Airsoft Build

Very nice work so far, you are doing great. Your airsoft build makes me want to convert a real 44 bulldog which I do have. HMMMMMMMMMM racprops parts might do it, time to give Richard a call ;)
 
Re: Blade Runner Blaster Airsoft Build

GOOD NEWS EVERY ONE

its been a while but work on this project has taken a huge leap forward look a few updates over the weekend
 
Re: Blade Runner Blaster Airsoft Build

And the first of updates leading to the end game so without further ado I give you

Update 3: The Return of the Build

the last up date will show you where we left off so take a minute and review I'll wait

...

all caught up...wonderful lets begin


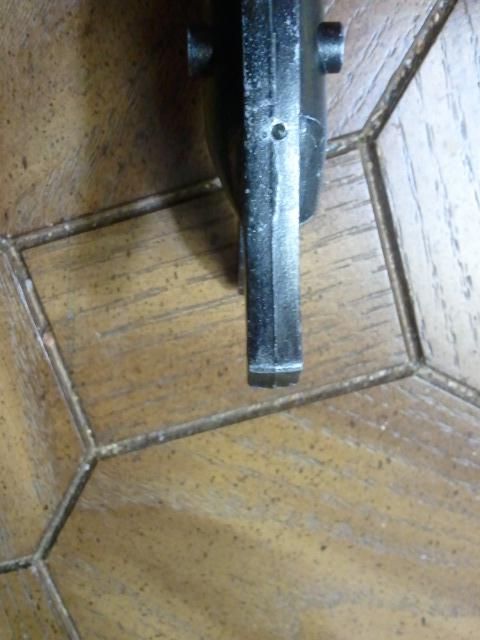
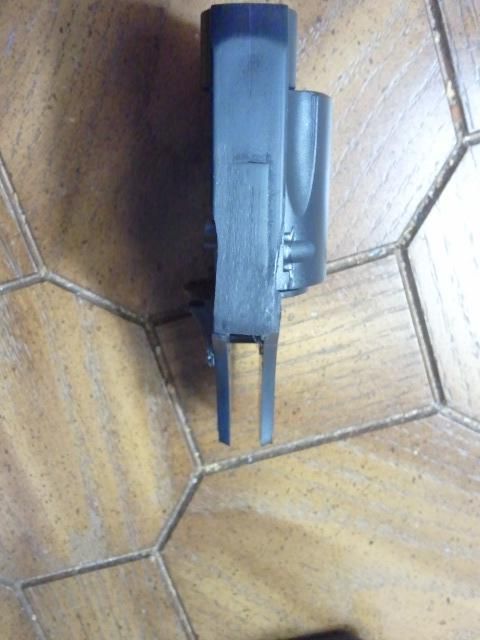
I removed the trigger guard quick and easy Then after fitting it into the frame realized it was slightly to wide so I had to cut it down some in order to fit in the tomenosuke outer frame this took the longest and was a major pain in the ass and slightly nerve wracking cause I was guessing how deep to cut it .


Drilled the hole for the front frame screw quick and clean drilled and tapped


Then came the rear frame screw this was more nerve wracking then triming the grip down because if I drilled to deep I puncture the air tank then its completely fubar.

Took forever cause I took my time with it but managed to make it through with no mistakes tapped it and it was done


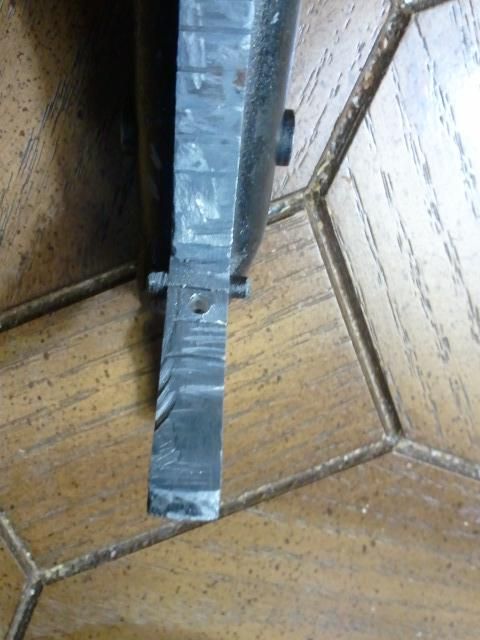
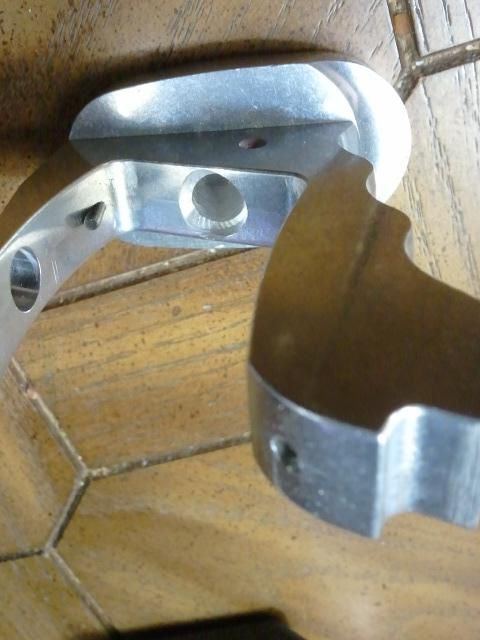
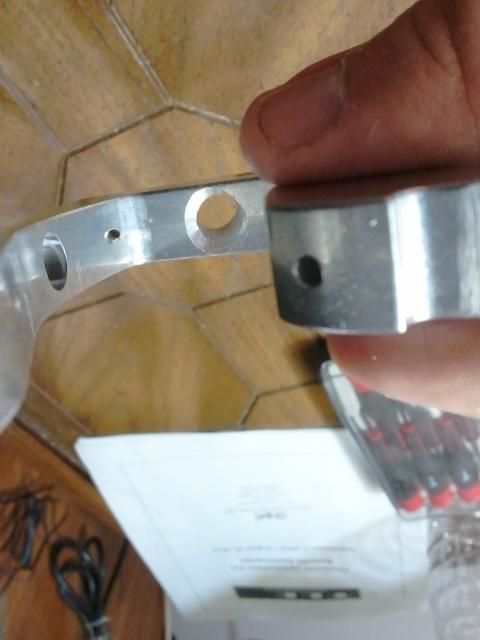
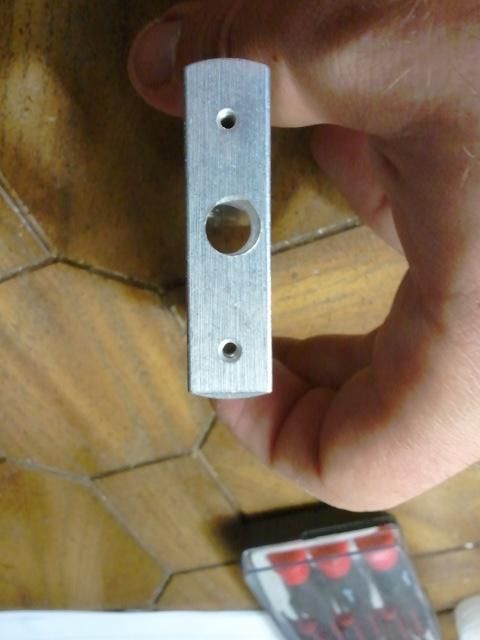
Then it was time for the first major modification to the Tomenosuke kit I had to drill the bottom of the frame to fit the air valve used three bits of various sizes to get the hole right the biggest bit being the biggest pain since I had to drill from inside the frame in order to make the hole deep enough the work (unlike the other two bits which where used from the outside bottom of the from)


Another shot of the hole from an angle showing how it looks


And another shot this time from the bottom of it showing that it runs all the way through the frame


and after all that work we end up with this. The completed grip.

Next up Body modification and you
 
Re: Blade Runner Blaster Airsoft Build

Update 4: The Fellowship of the Body Modifications

Nothing much to really report on this section other then a few straight forward changes


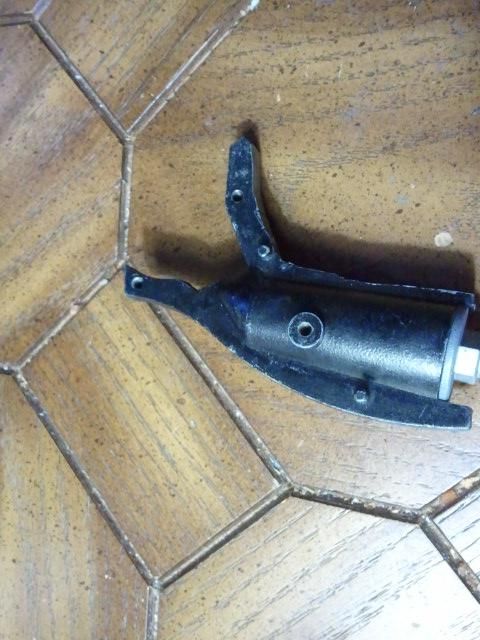
removed the rear sight and had to sand down thw sides of the rear frame so hat the bolt end cap would both fit around the body and also clear when pulled back.


had to route a hole in the front in order to fit the post so that the right side covers had a place to sit. I know it looks crooker in this pic but the parts sit straight and flush to the body.


This pic just shows what it looks like in profile and notice how the post is much straighter when viewed like this.


Side cover holes drilled out on the swing arm for the left side cover one screw wasnt long enough but I have a few on order which should be here Saturday.
 
This thread is more than 8 years old.

Your message may be considered spam for the following reasons:

  1. This thread hasn't been active in some time. A new post in this thread might not contribute constructively to this discussion after so long.
If you wish to reply despite these issues, check the box below before replying.
Be aware that malicious compliance may result in more severe penalties.
Back
Top