Archive&Future
Sr Member
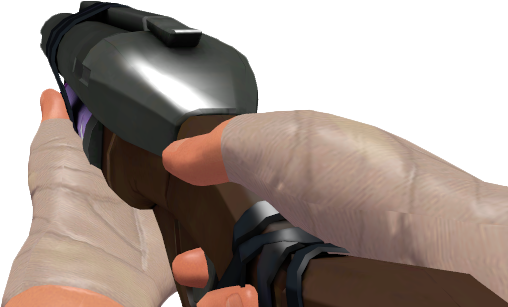
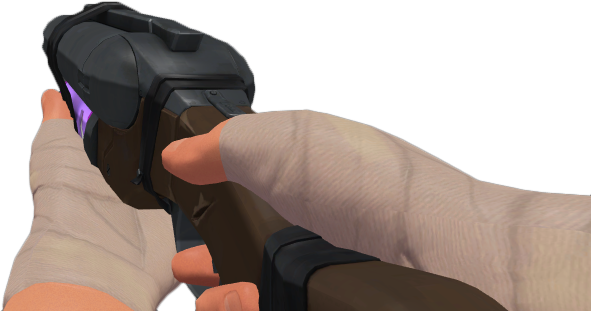
Force-a-Natures.
Force-a-Nature everywhere. Or at least that's what it can feel like when trawling through the swathe of scout cosplays that are scatter(gunned)ed throughout the internet.
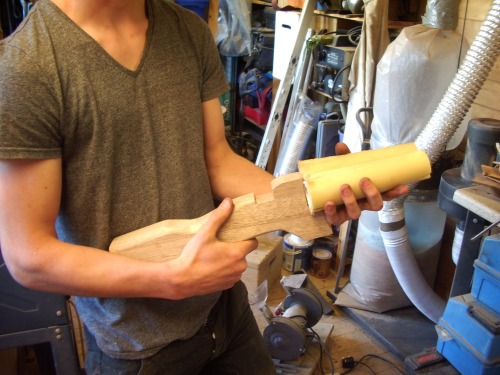
So I and my friend John (partner in crime..?) have decided to embark upon a joint project: a pair of Soda Poppers.
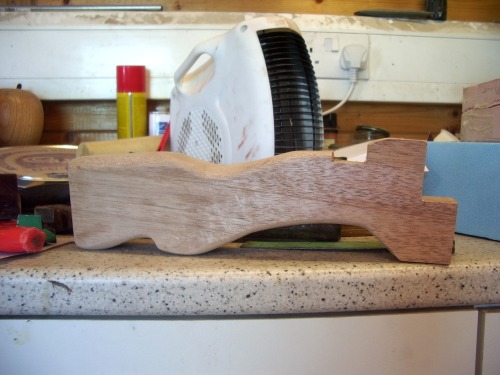
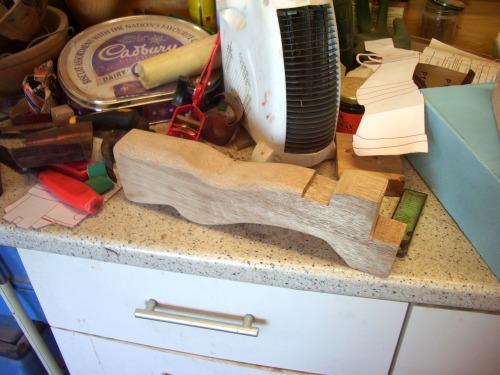
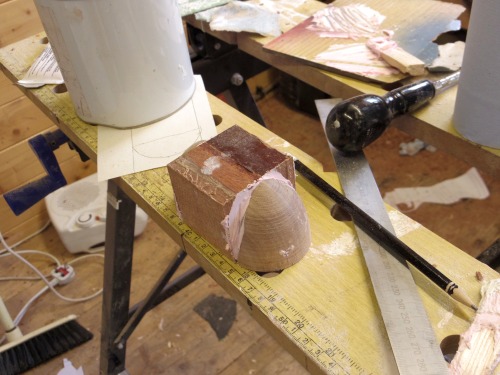
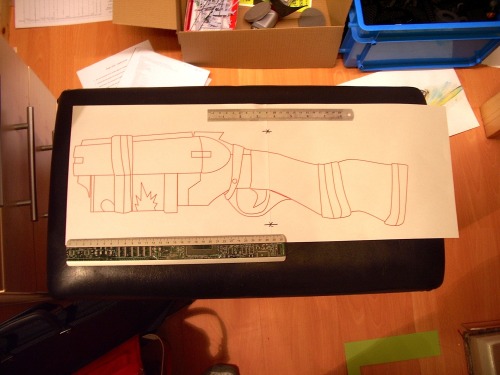
Okay well, the deal with John and me is generally that I do all the technical work and about half of the actual making, while he gets hold of half of the materials and he does the other half of making. As such, I shelled out some doh on molding materials, and he got hold of a block and a bit of mahogany, with which we shall make the stock. I started off by making a dirty 1:1 diagram in Inkscape
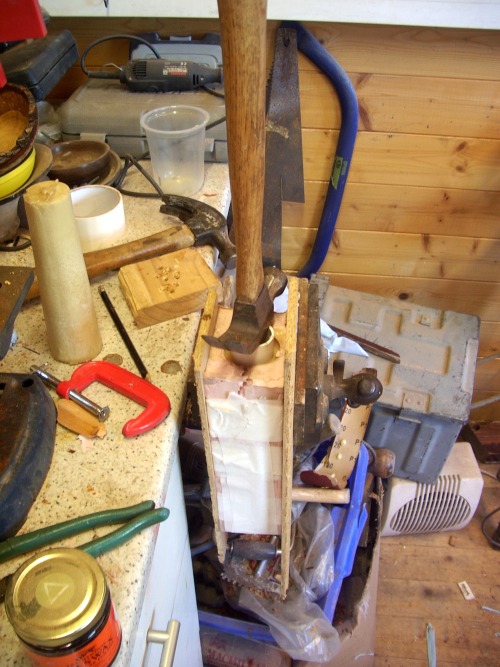
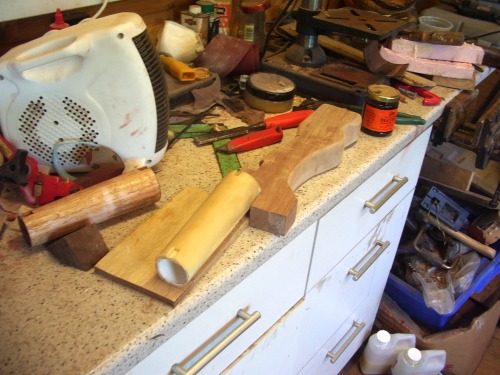
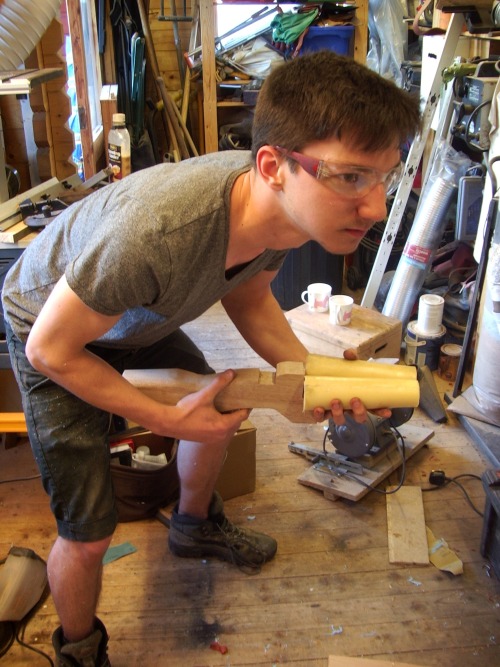
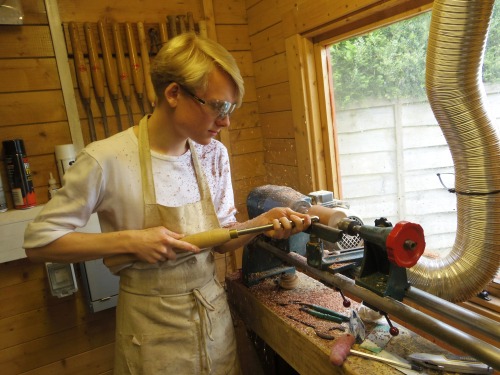
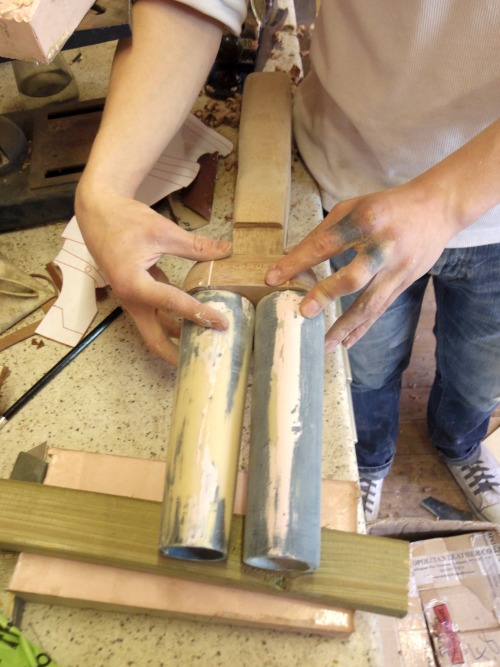
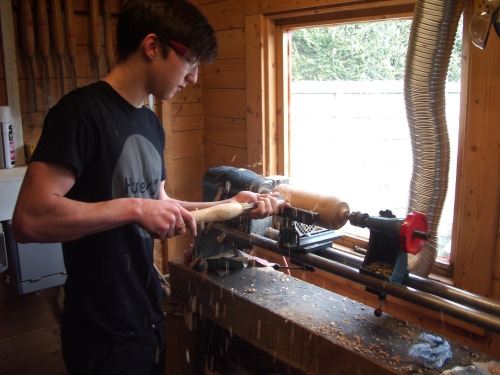
John then turned a block of oak to create one barrel.
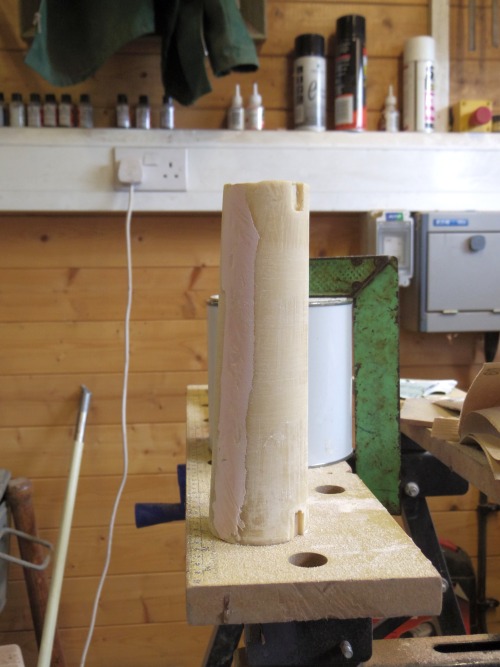
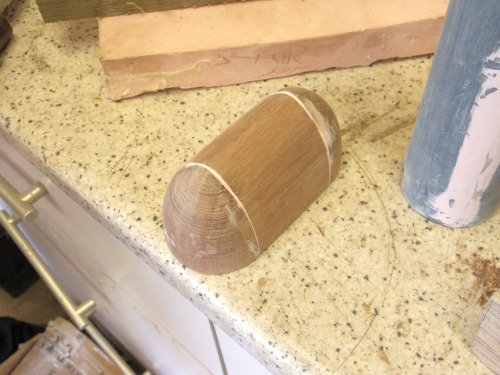
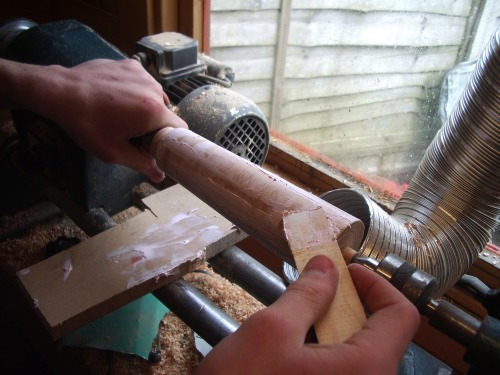
Which was then covered in two very thin layers of bondo (with sanding inbetween)
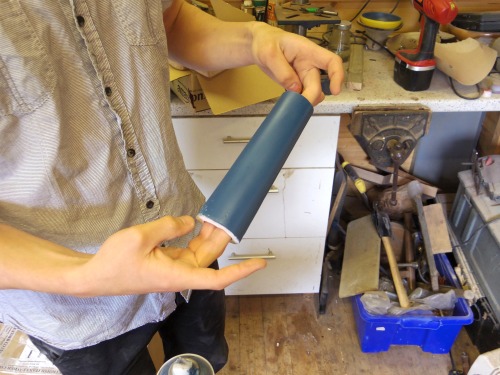
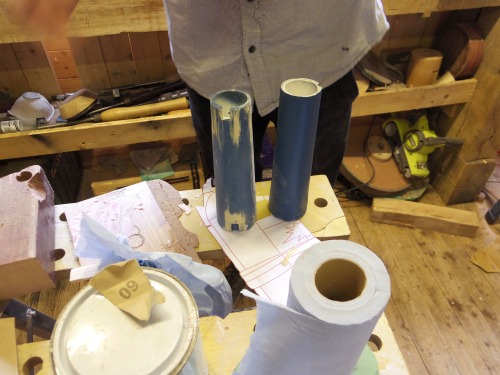
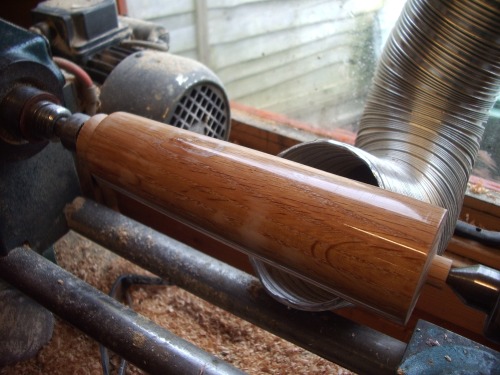
And then waxed
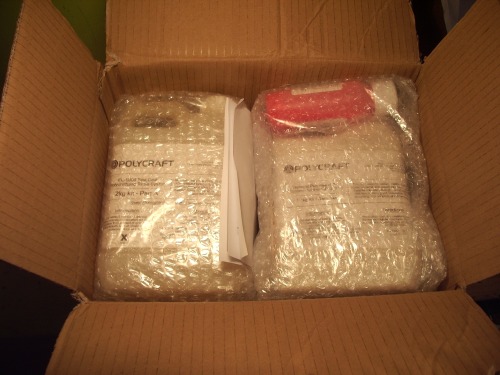
Some days later... my order from MB fibreglass arrived!
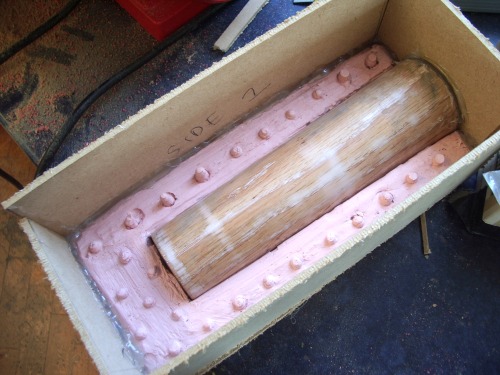
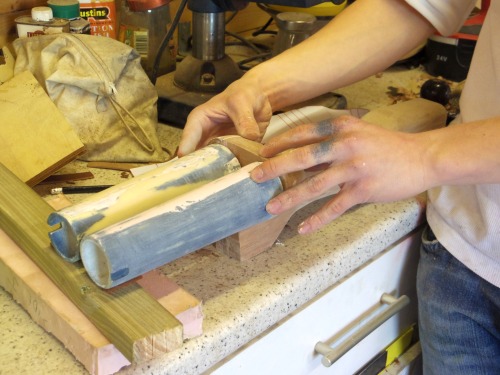
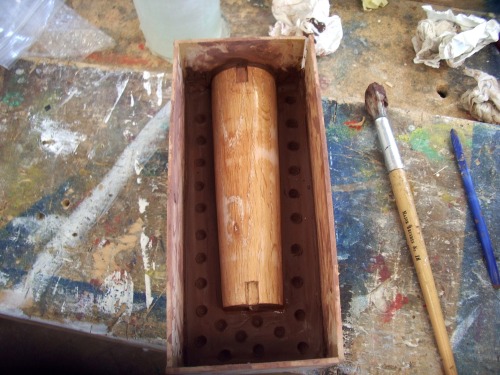
Then today, John made an MDF mold box, after which Diva and I made a clay..thingy..with the master embedded in it
Now, this is my first time ever with any kind of molding silicone, and so a lot of this is very very far from good. My only hope is that it actually works
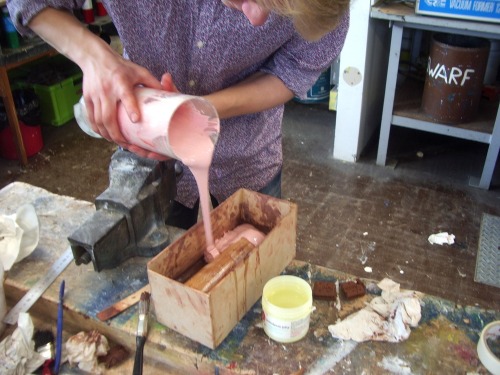

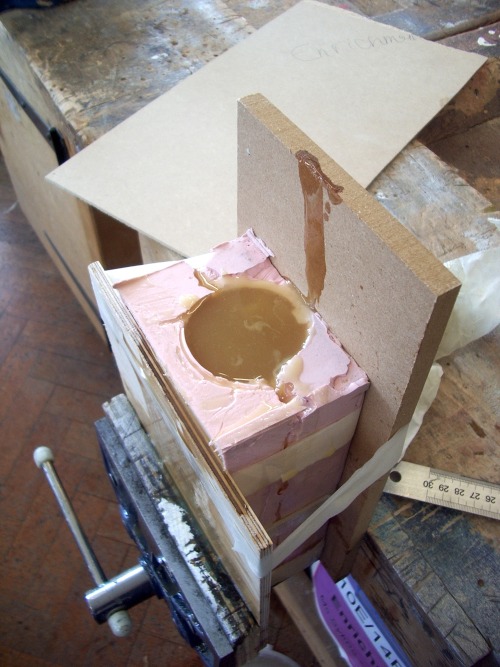
The pour was good up until the dregs of the mix came out; badly mixed and full of bubbles. I only hope that it will still work
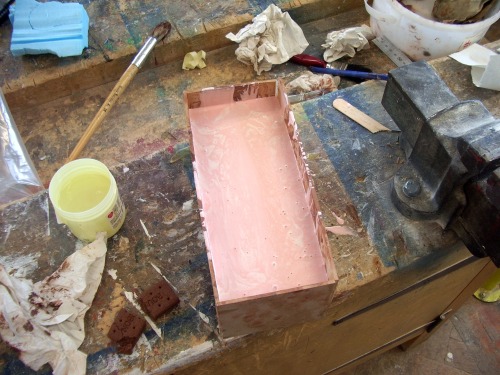
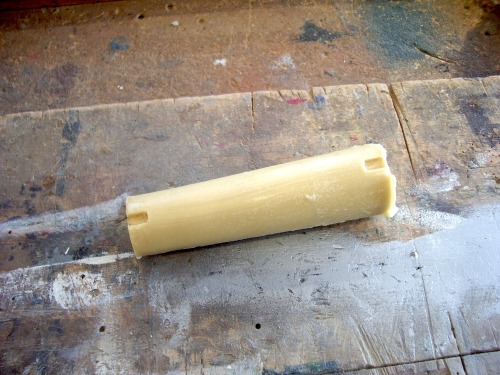
I still can't quite take in that that was a whole bottle used for just this half of the mold!
[Stating up front: we will be making a pair of these guns, on for John and one for me. As you can imagine, we will be making molds for a lot of parts of this gun; and as such there is a possibility of kits in the future, should there be enough interest.]
Force-a-Nature everywhere. Or at least that's what it can feel like when trawling through the swathe of scout cosplays that are scatter(gunned)ed throughout the internet.
So I and my friend John (partner in crime..?) have decided to embark upon a joint project: a pair of Soda Poppers.
Okay well, the deal with John and me is generally that I do all the technical work and about half of the actual making, while he gets hold of half of the materials and he does the other half of making. As such, I shelled out some doh on molding materials, and he got hold of a block and a bit of mahogany, with which we shall make the stock. I started off by making a dirty 1:1 diagram in Inkscape
John then turned a block of oak to create one barrel.
Which was then covered in two very thin layers of bondo (with sanding inbetween)
And then waxed
Some days later... my order from MB fibreglass arrived!
Then today, John made an MDF mold box, after which Diva and I made a clay..thingy..with the master embedded in it
Now, this is my first time ever with any kind of molding silicone, and so a lot of this is very very far from good. My only hope is that it actually works
The pour was good up until the dregs of the mix came out; badly mixed and full of bubbles. I only hope that it will still work
I still can't quite take in that that was a whole bottle used for just this half of the mold!
[Stating up front: we will be making a pair of these guns, on for John and one for me. As you can imagine, we will be making molds for a lot of parts of this gun; and as such there is a possibility of kits in the future, should there be enough interest.]
Last edited:
 Keep updating!