thd9791's Yoda Lightsaber

thd9791

Master Member
RPF PREMIUM MEMBER
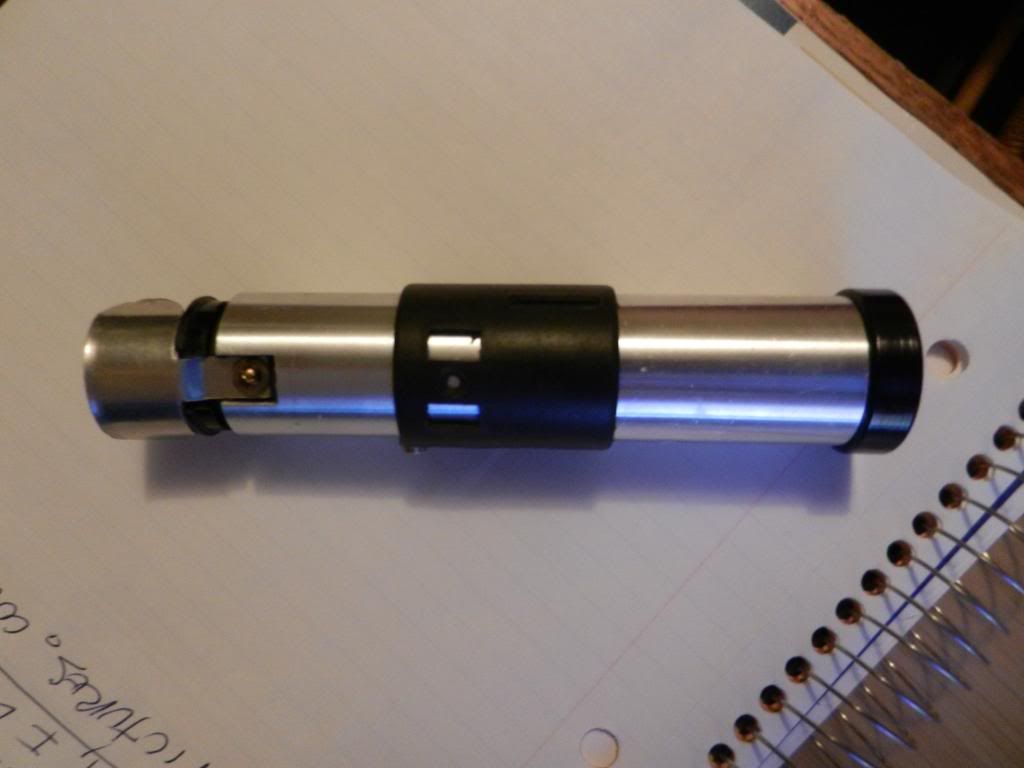
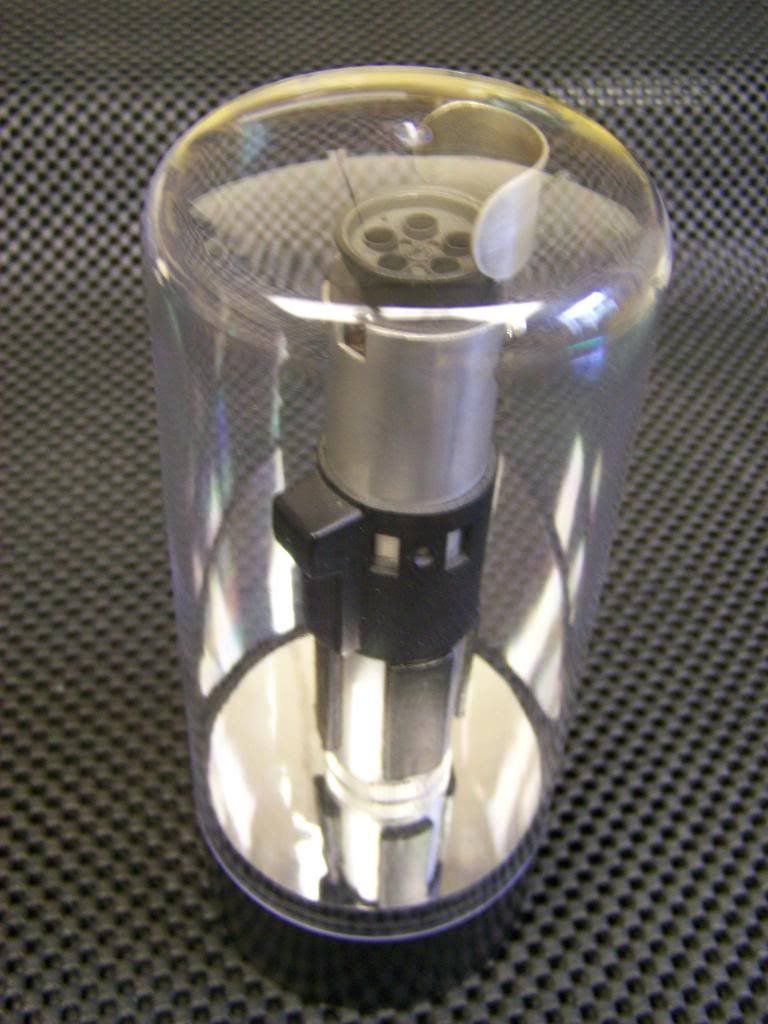
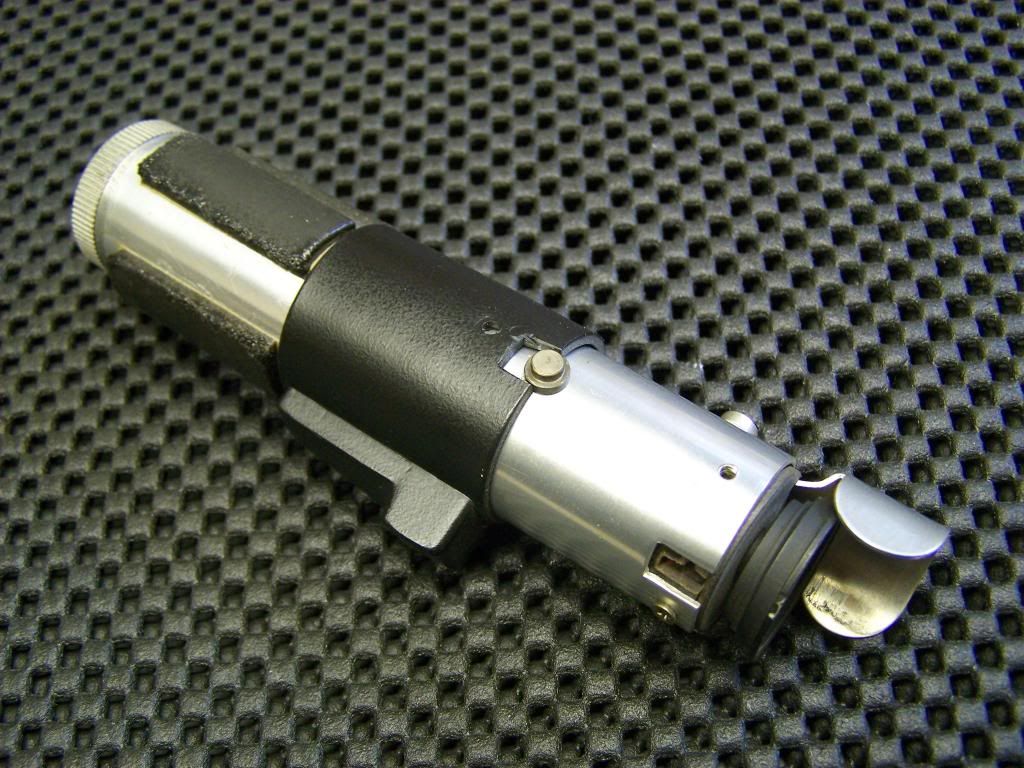
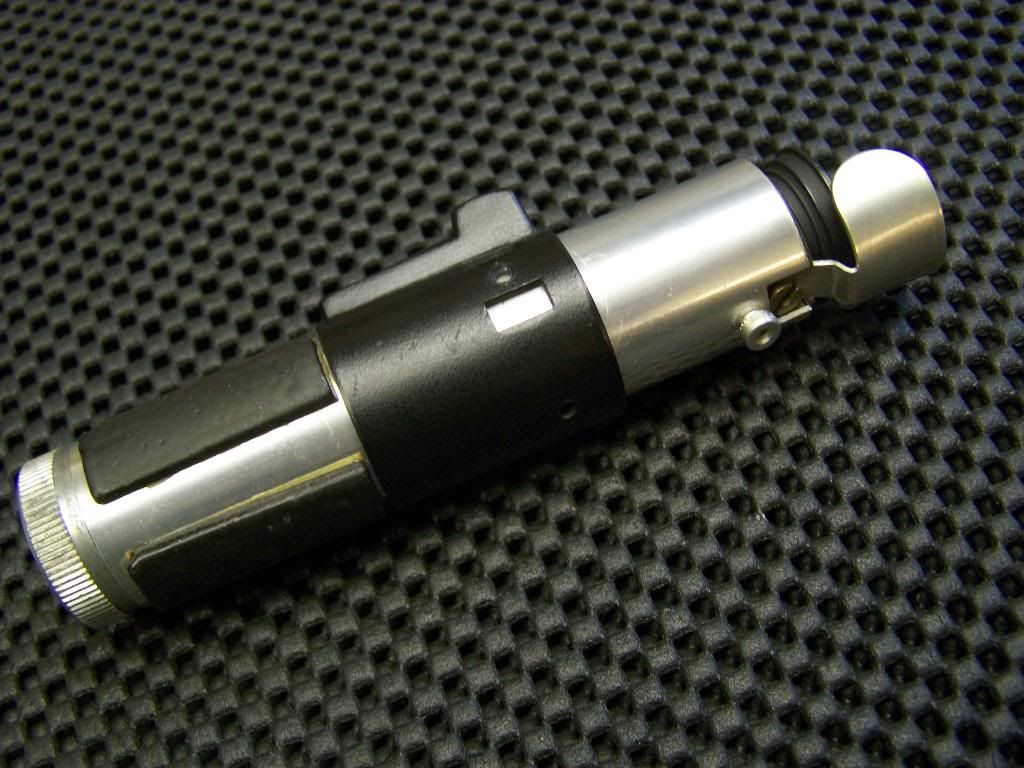
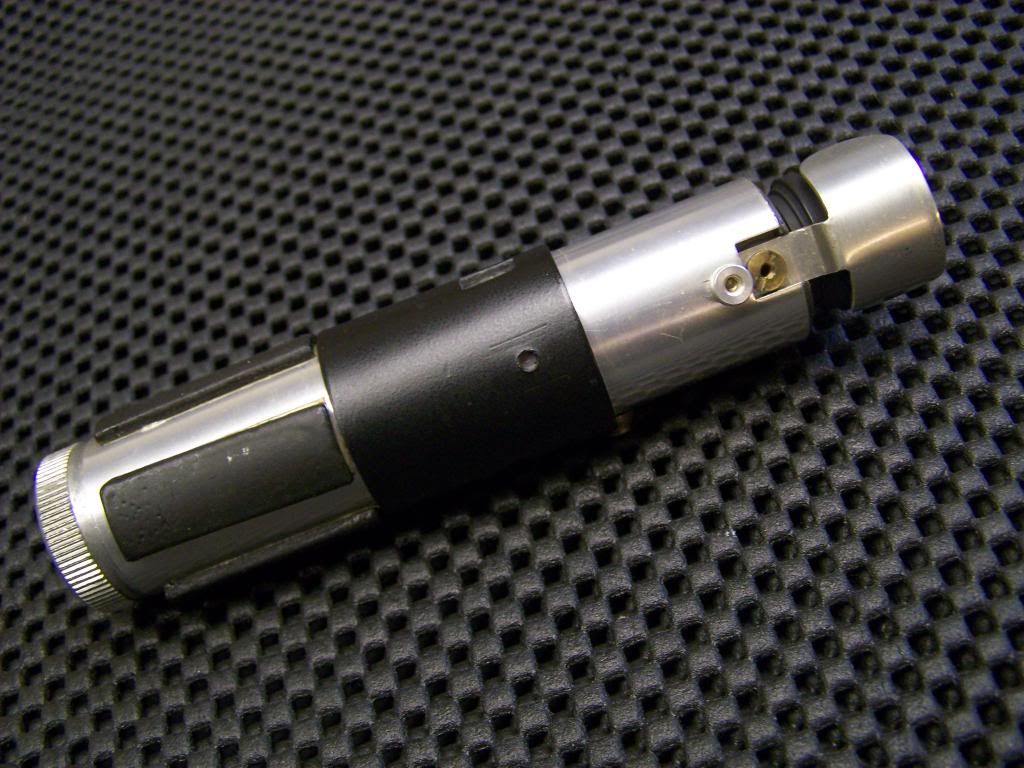
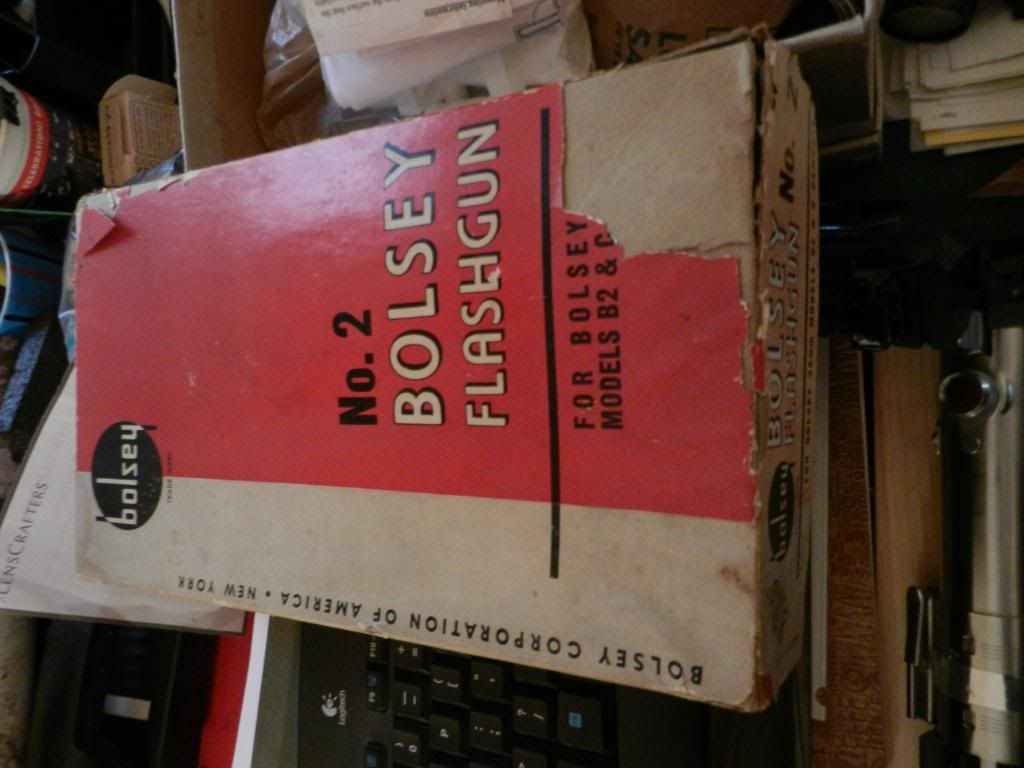
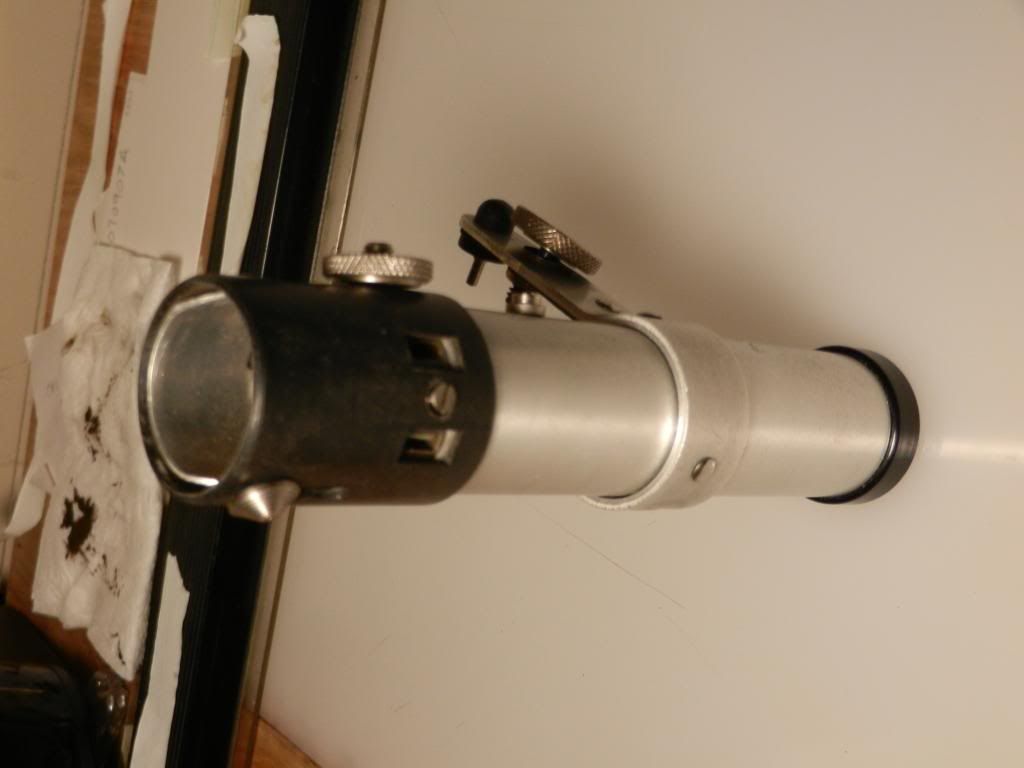
so, we finally got one! It's not the exact model, but close enough for me.

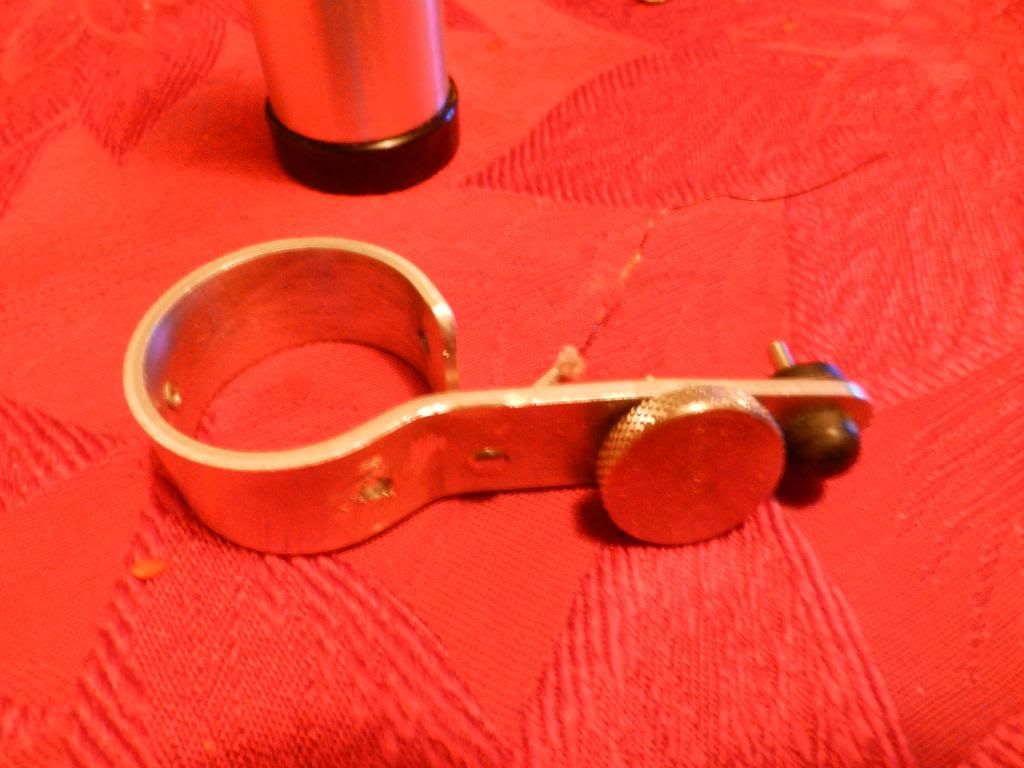
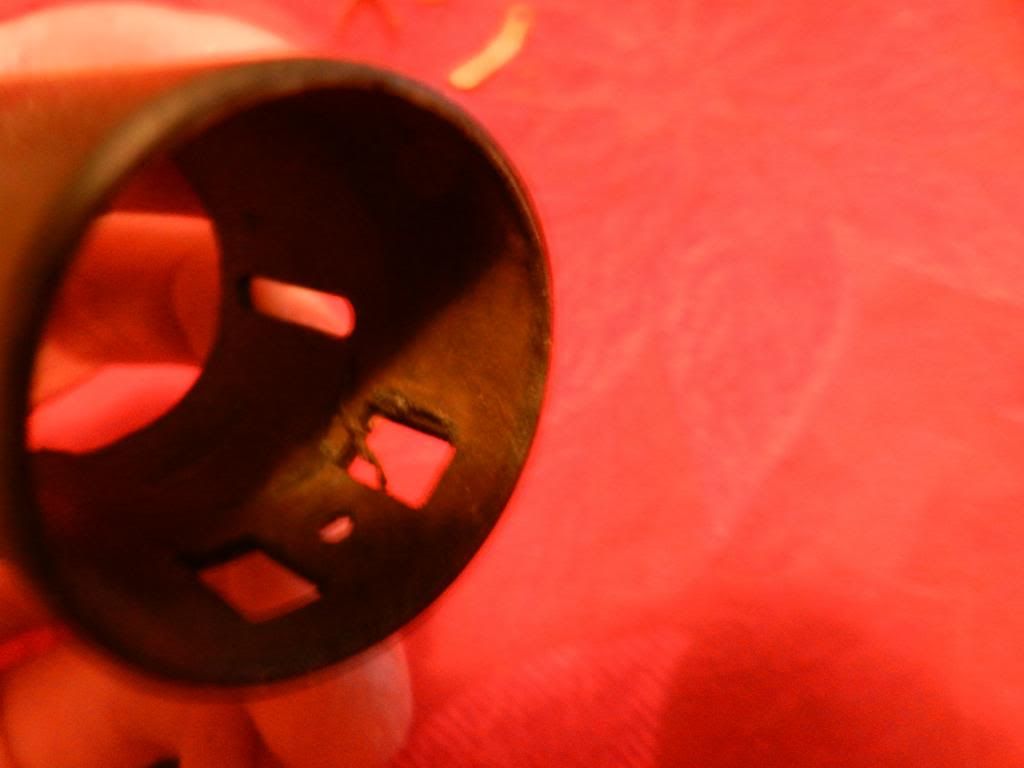
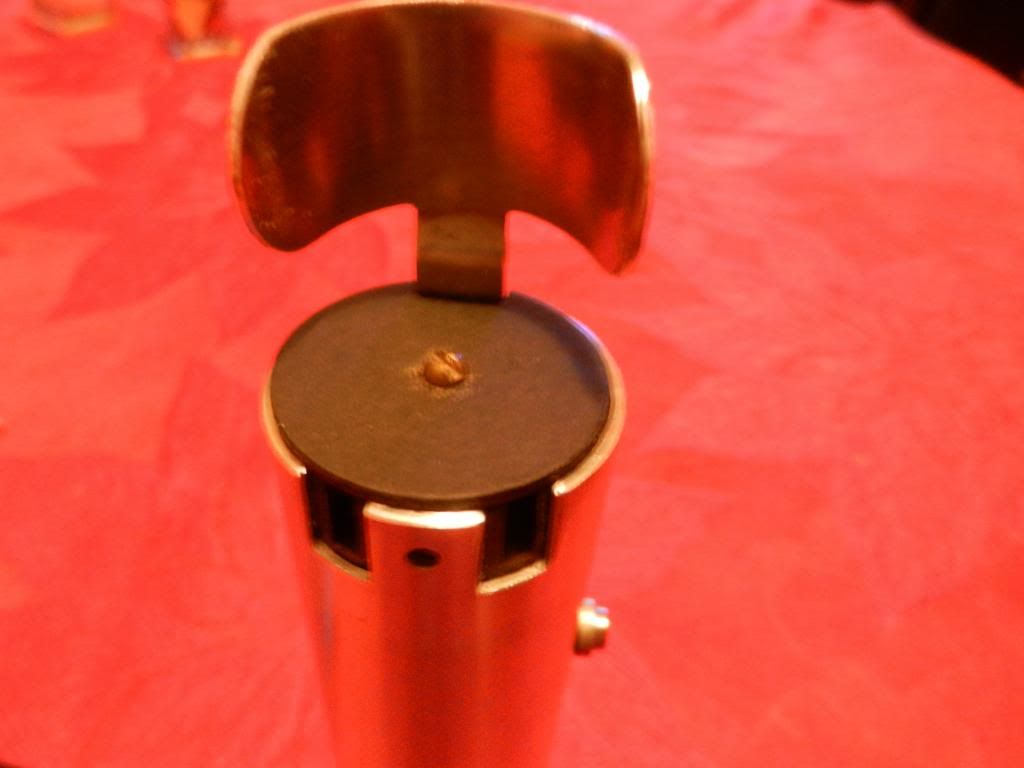
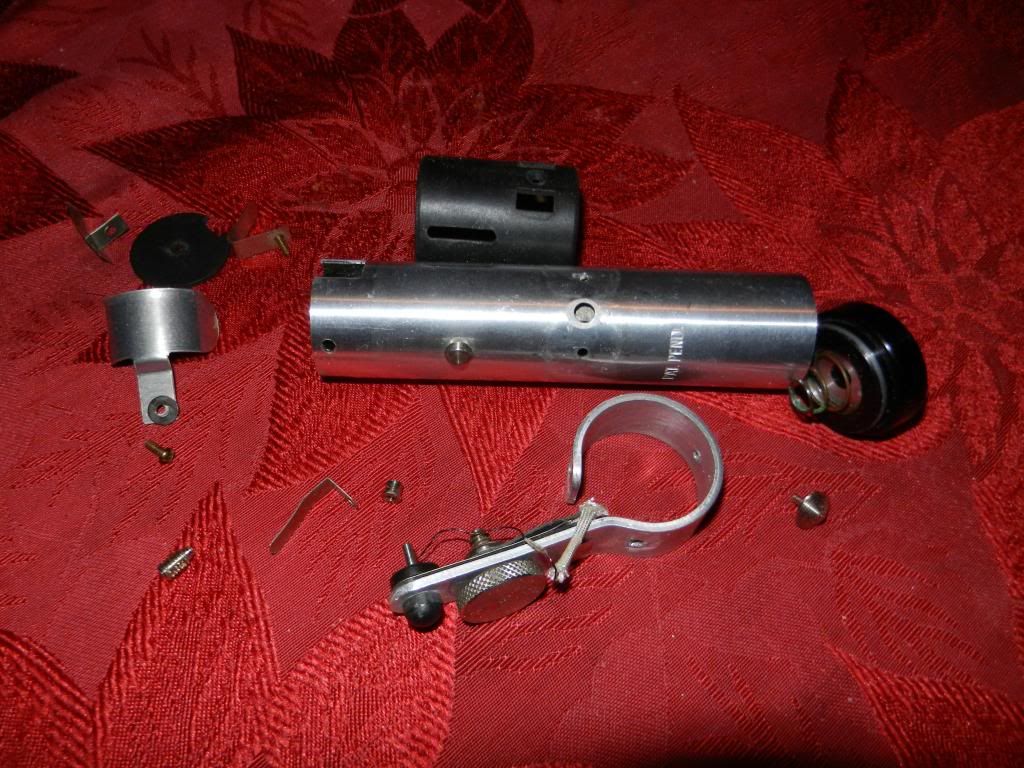
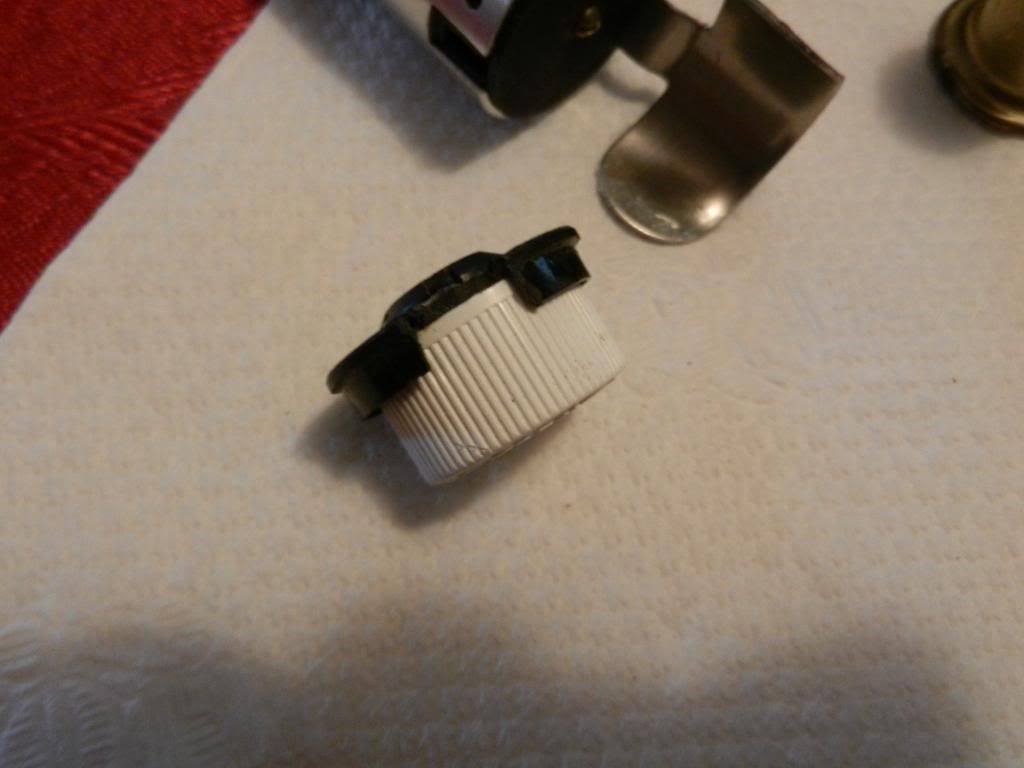
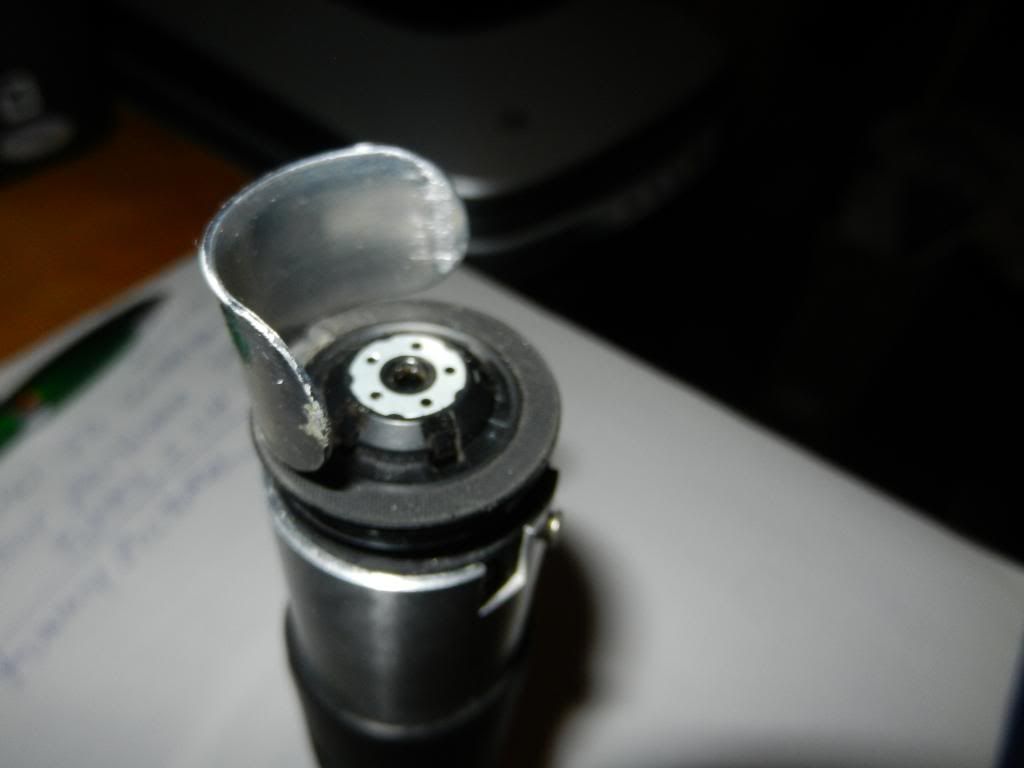
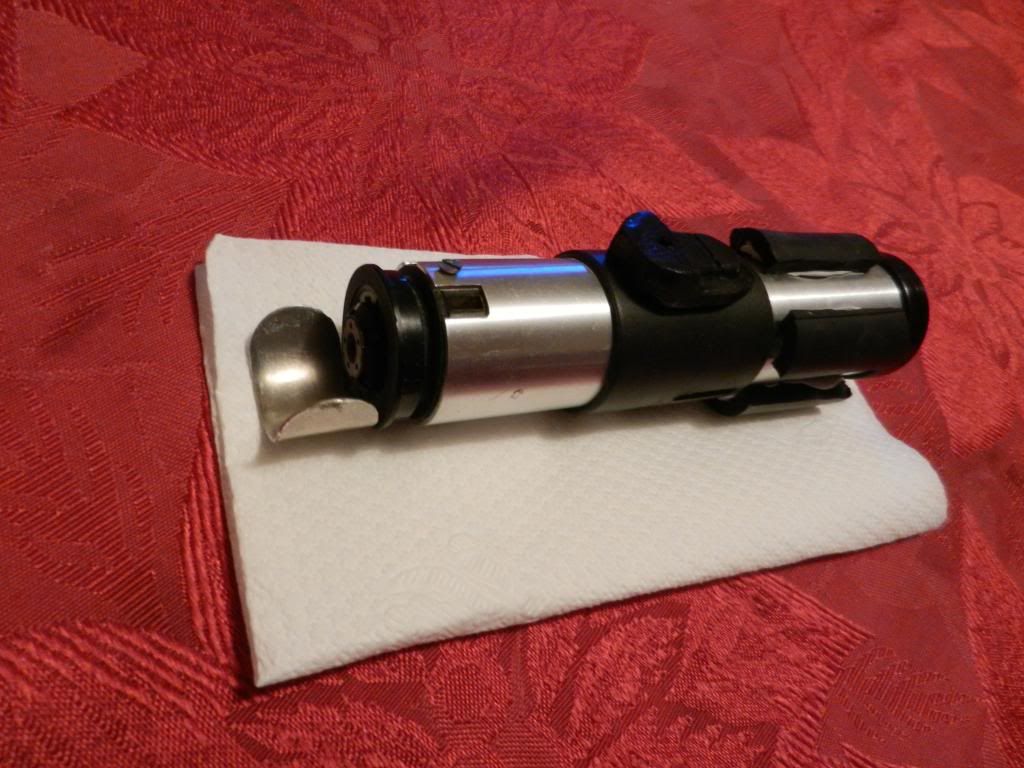
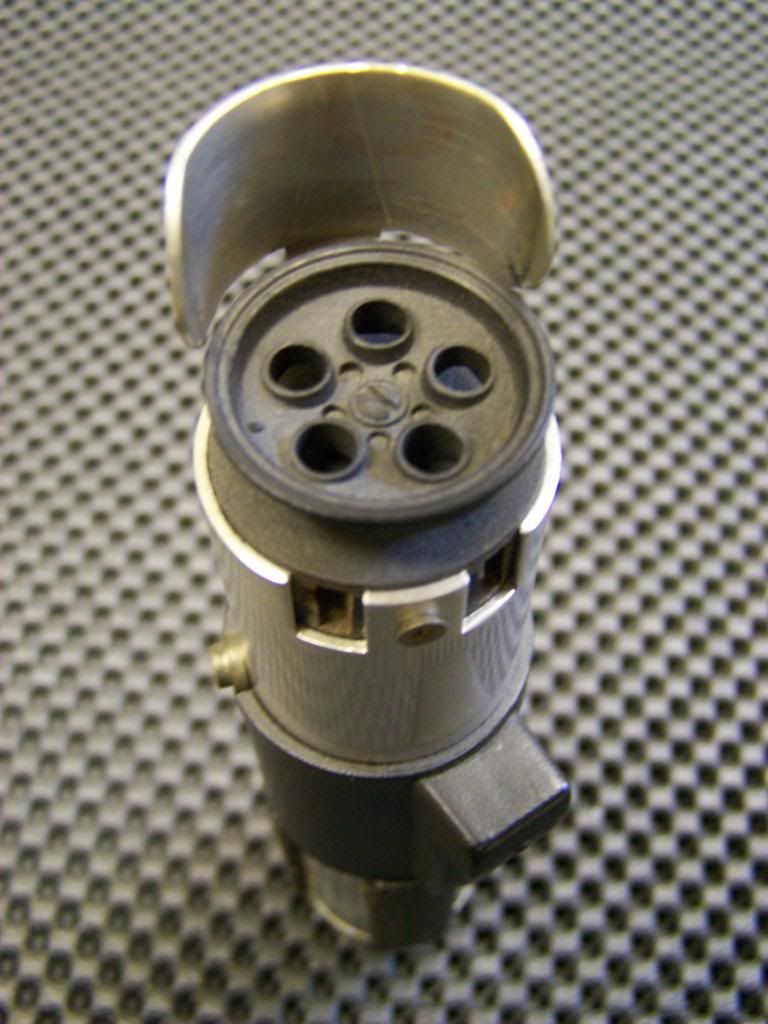
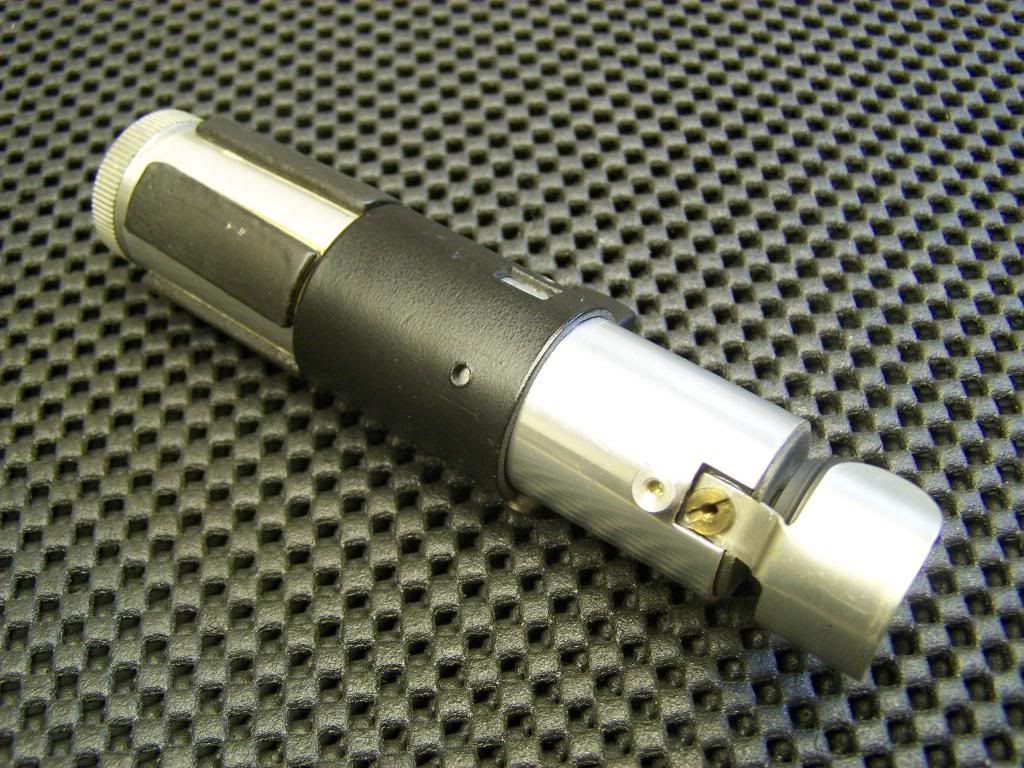
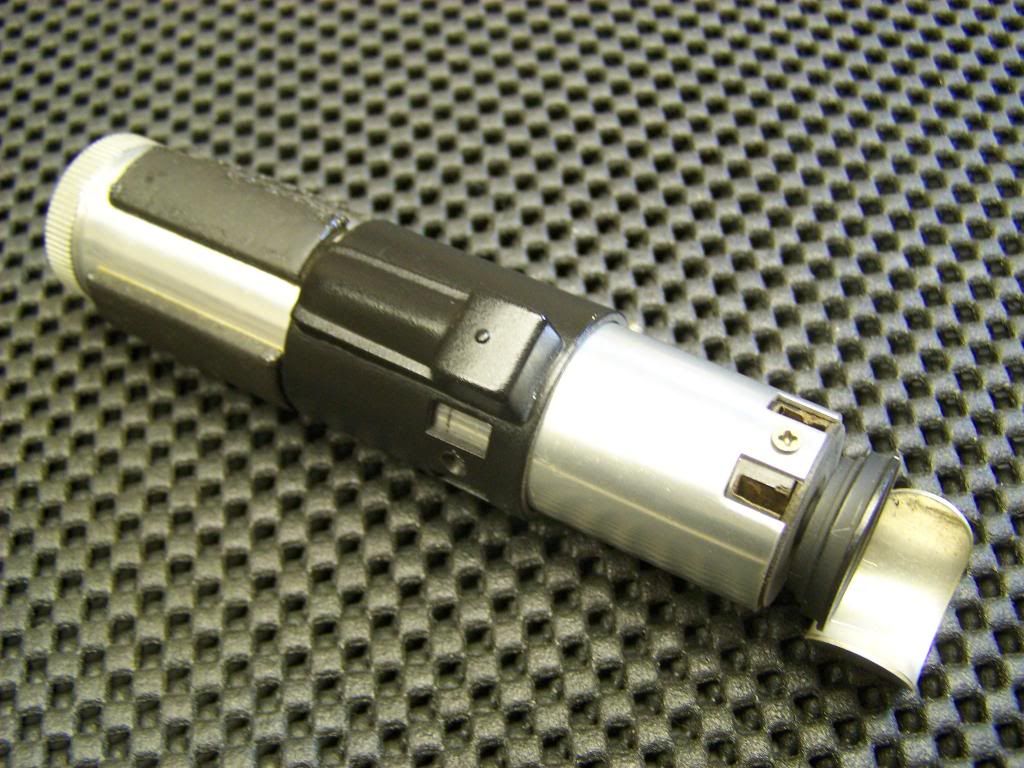
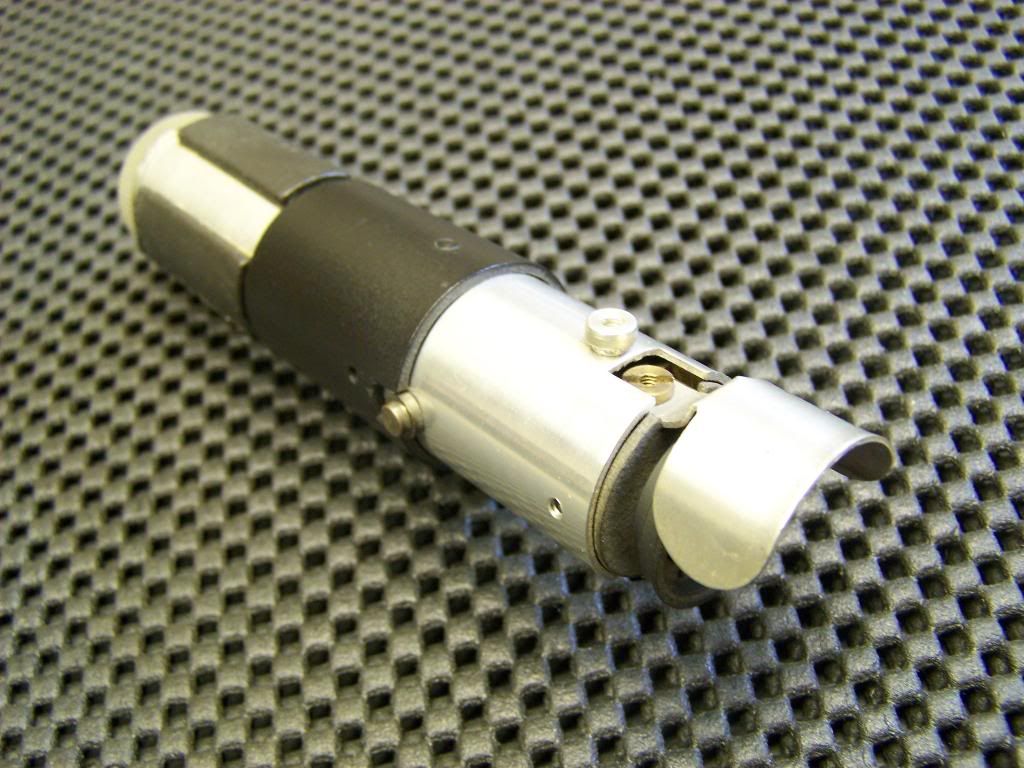
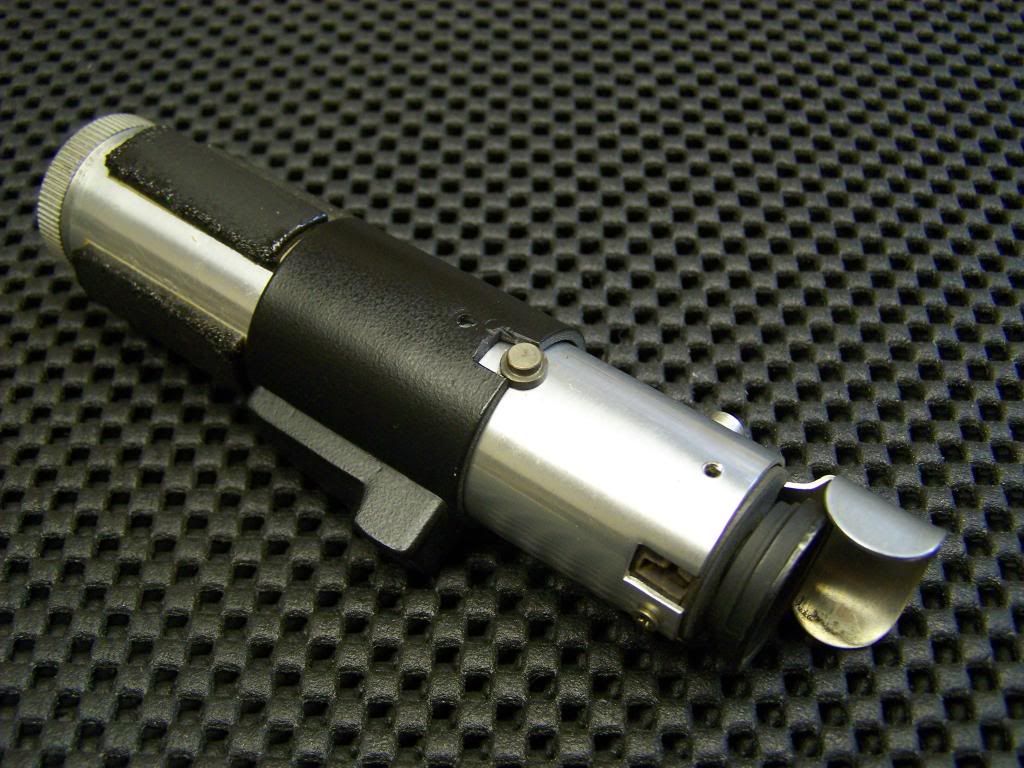
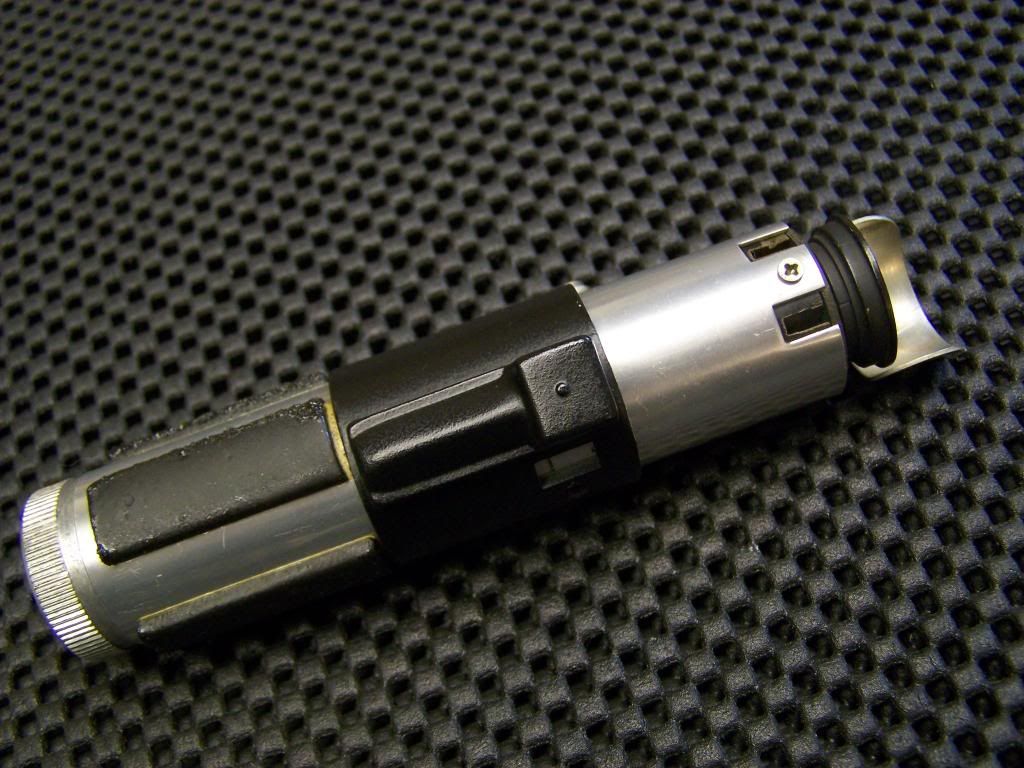
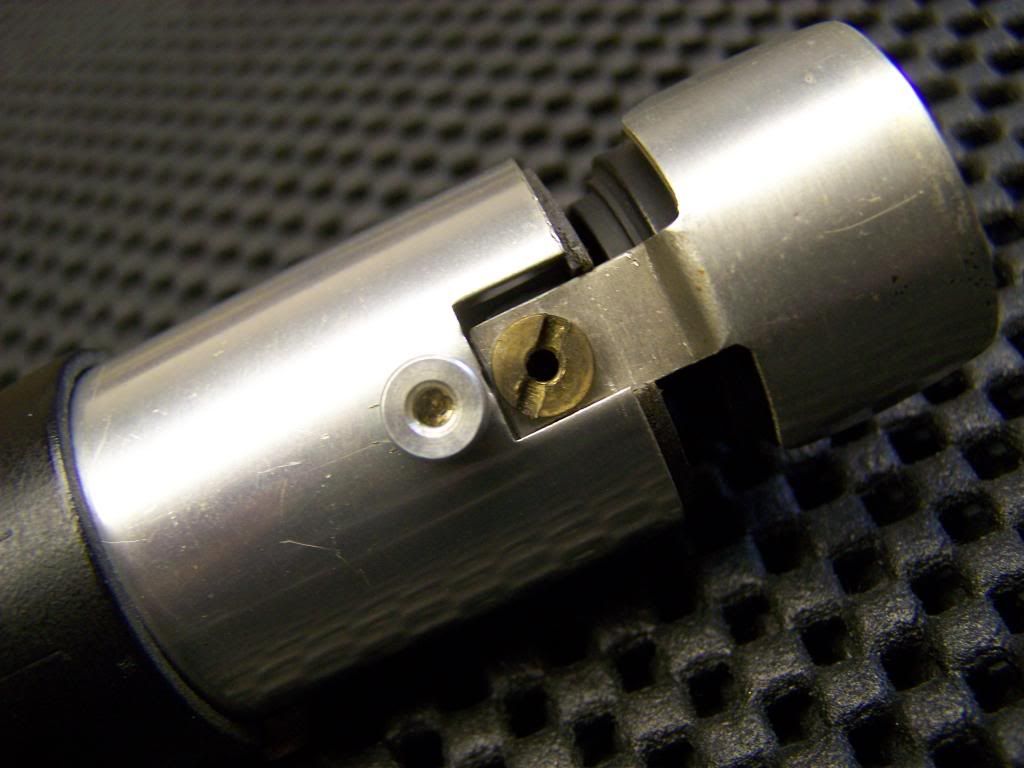
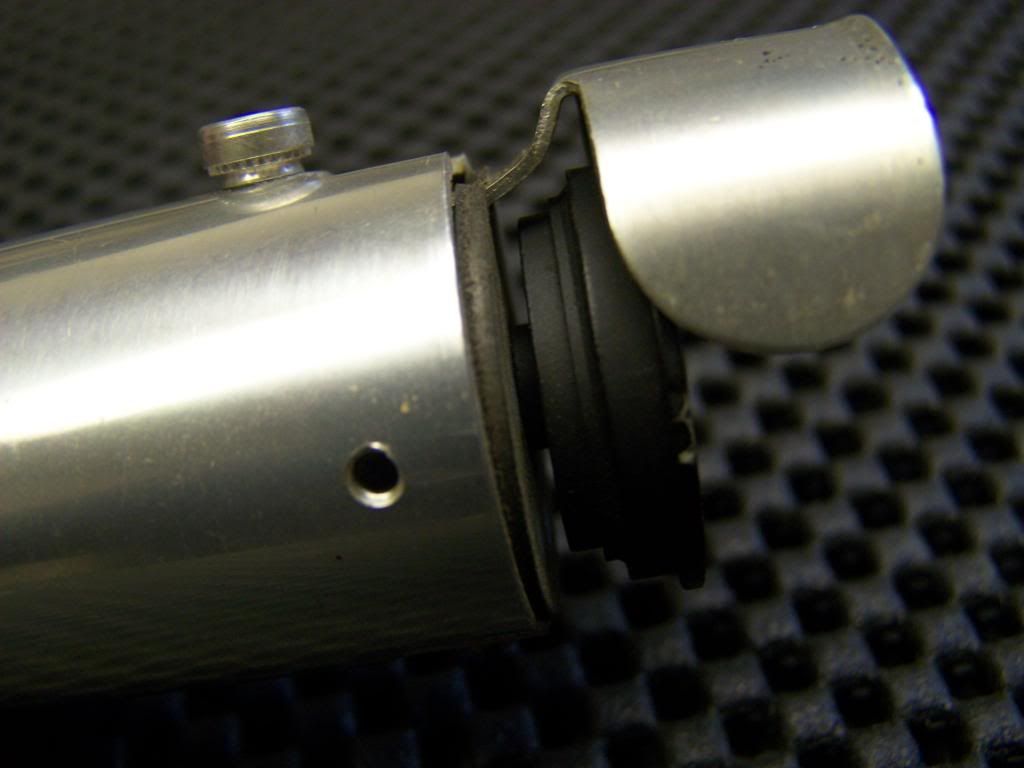
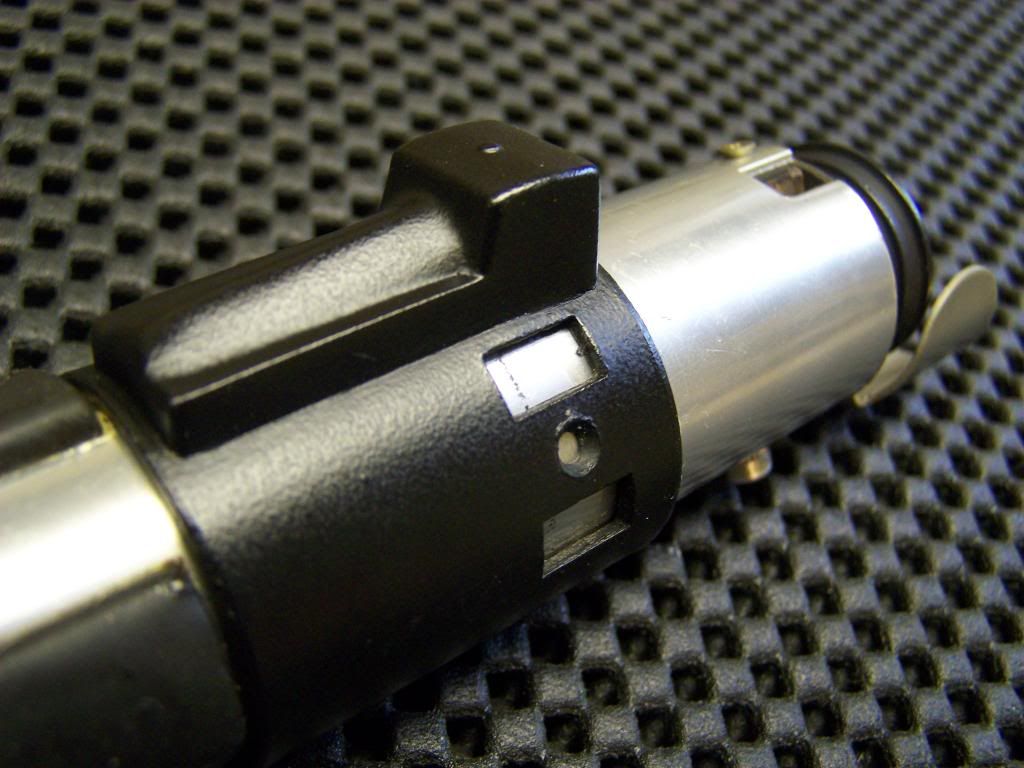
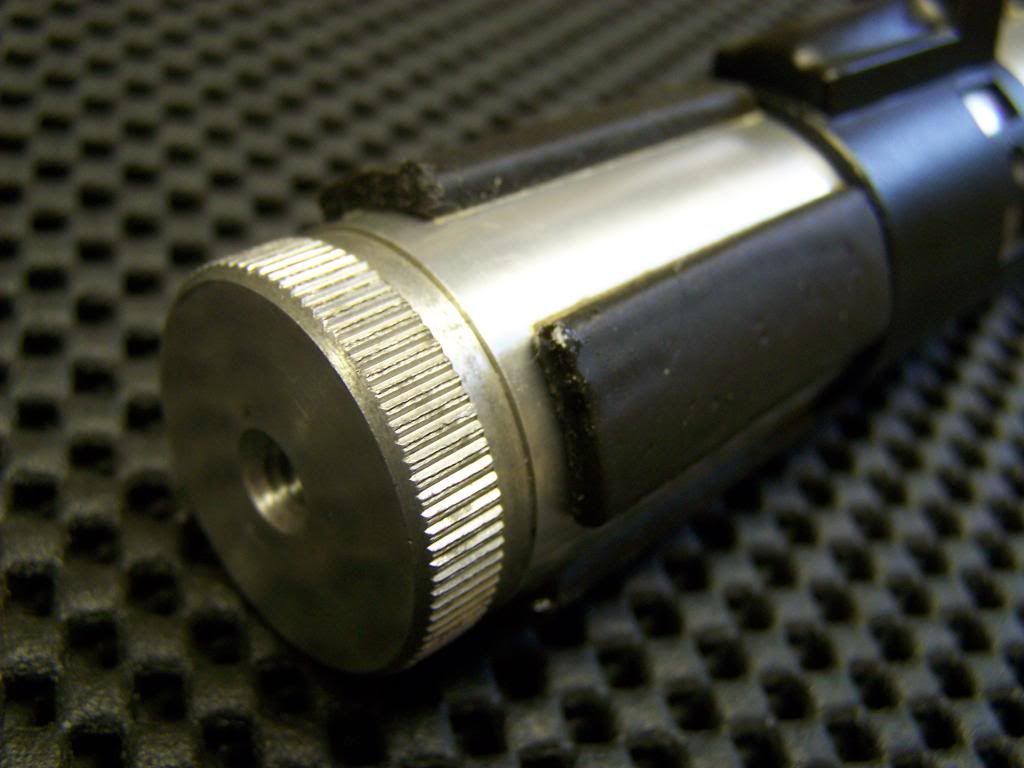
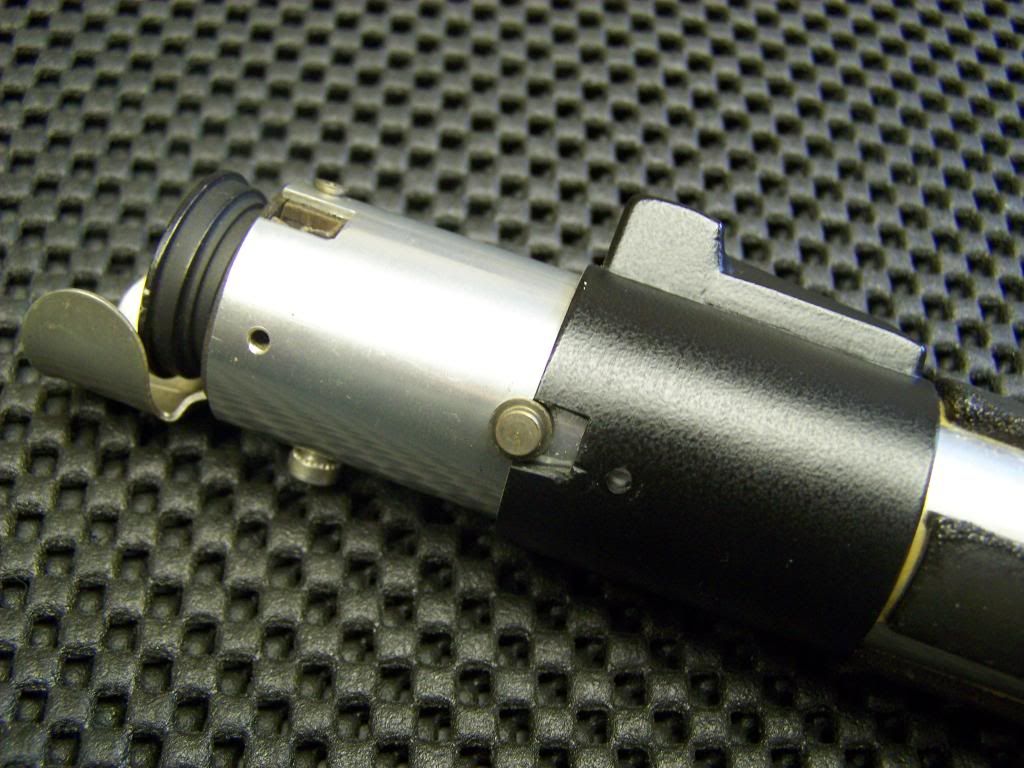
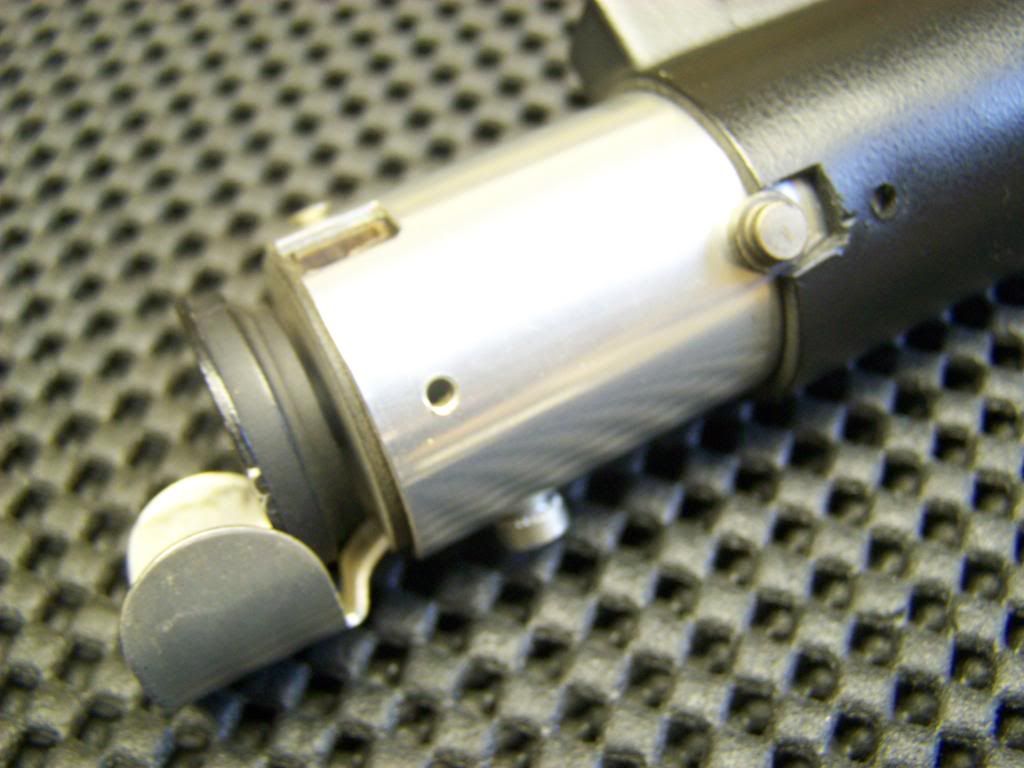
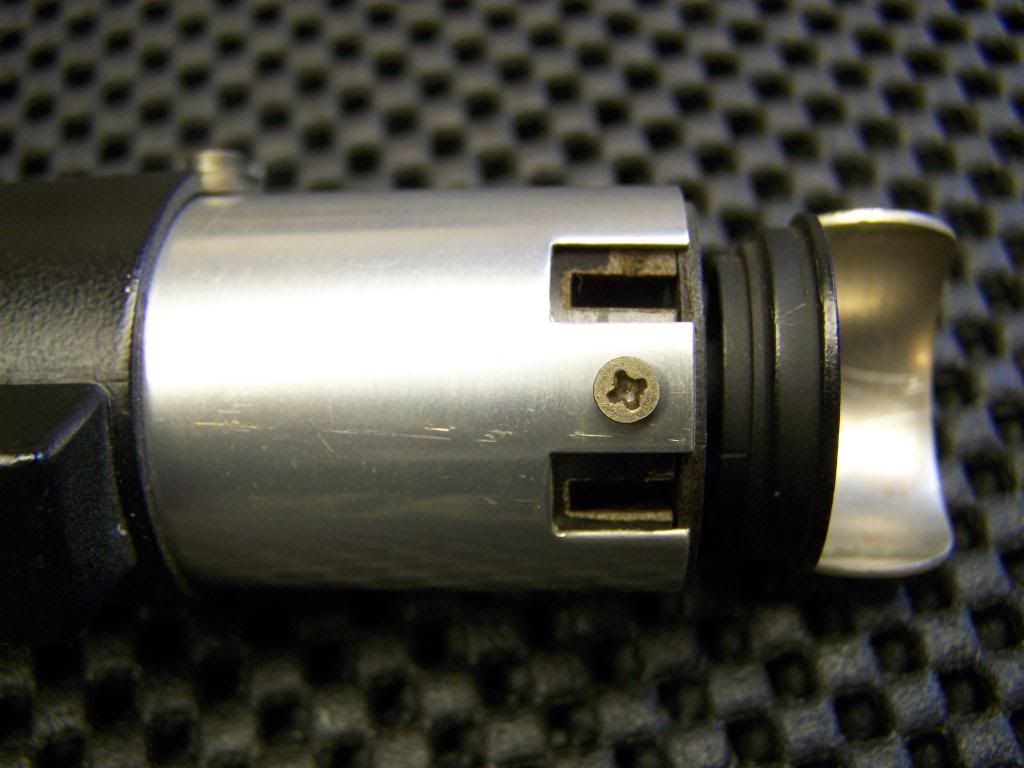
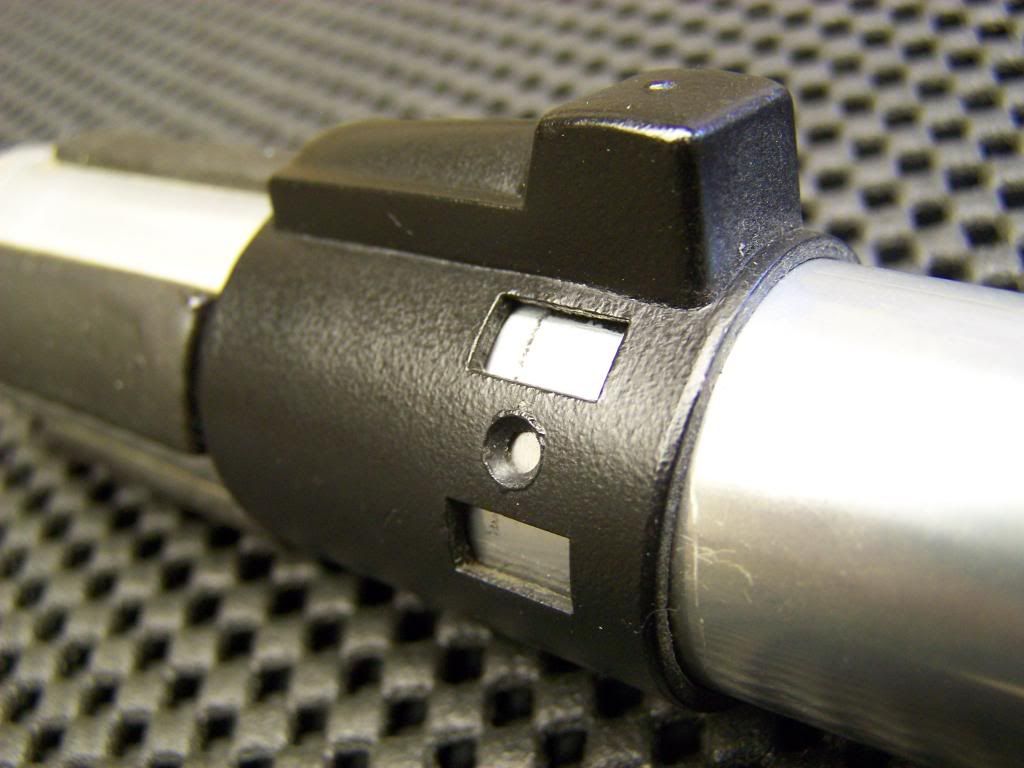
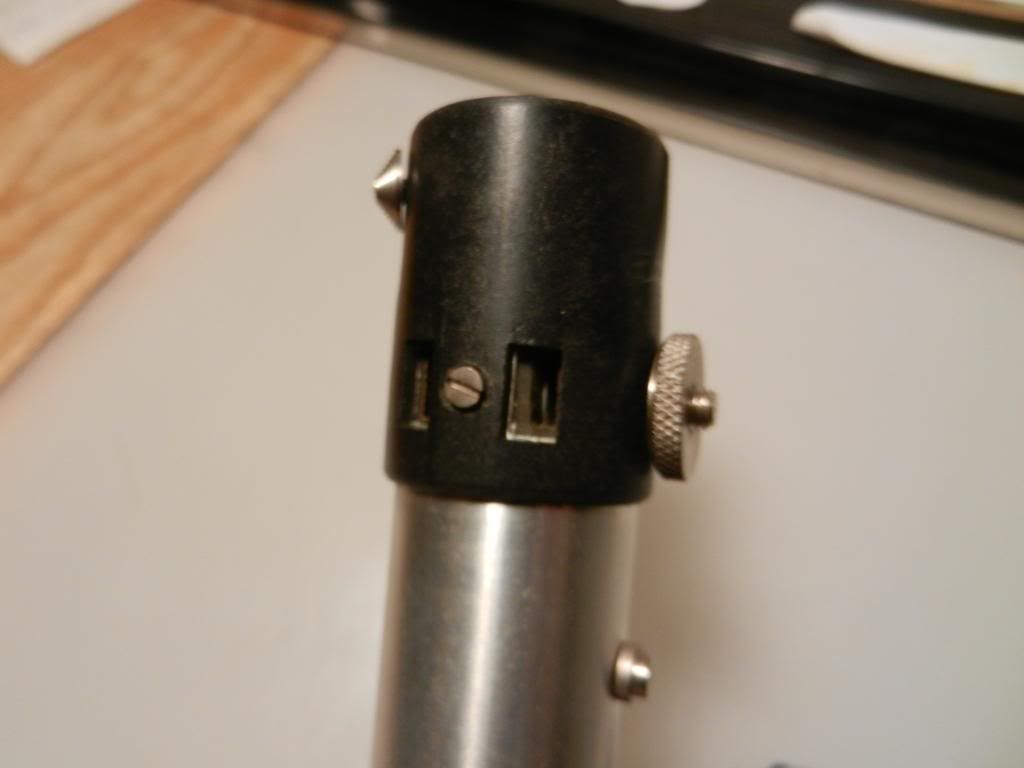
Unscrewing the screws seemed a no brainer - however the black top is still stuck on, rock solid when the screws are out. How did you get yours off, and move it down further? the clamp is also riveted to the body, I was thinking of grinding them off, is there a better way? people seem to skip this part in their build threads haha

What else will I need for this project? I most likely won't be getting model parts, so this will be from scratch. Grips too, magnets maybe?
DSCN1042_zps161d3c11.jpg

DSCN1041_zps11ffe99a.jpg

DSCN1039_zps2b484a5e.jpg
 
Okay thd9791 I'll be following this with great interest ... especially how you're going to remove that clamp ... without damaging the tube to much with unnecessary dents, dings and scratches ... unless you want to go for the used future look ... of course :D

-Chaim
 
Okay thd9791 I'll be following this with great interest ... especially how you're going to remove that clamp ... without damaging the tube to much with unnecessary dents, dings and scratches ... unless you want to go for the used future look ... of course :D

-Chaim

You're absolutely right :lol I thought i would first grind out the bottom of the rivet inside, see if that helps, I have files.

The top seems to not want to move. The large washer/screw comes off and leaves a threaded rod sticking out the side - not sure if that's part of the main tube, if I have to cut it off or not. I even took a hair dryer to it, thinking it was glued in place...

but I suppose if I could move an X wing...trust my instincts.
 
well, I broke off the threaded rod through sheer force - and ground out the hole , so now there's no physical obstruction...
 
well if i am correct a member on here actually designed and made the yoda saber.. his name is ed-209 on here ask him all the details you need!! im suprised he hasnt jumped on here
 
ed-209 good to know, thanks! So..I did it. The top came off after drilling out the threaded rod on the side (couldn't unscrew it, so I broke it off and drilled until the rest fell out) and began running the top under steaming hot water (from a faucet) for a few minutes, and a twist. There was some glue, and rust that held it in place as well. BTW, a dremel on high speed melts the plastic...

so now came the band around the middle. I cut the tops of the rivets off with a standard cut off wheel. The cut off wheel cuts about 1/8 inch grooves, much bigger than the rivets. They were so thin that I basically obliterated the rivet and the surrounding metal until I saw a smaller perfect circle. This I hammered out with a screwdriver and rubber mallet. That loosened the clamp, but they didn't fall in. I took a mini-rotary tool (so crappy it vibrated) and used a dremel cutting bit and ground/vibrated the rivets until they popped through. Voila! the fancy bit on the shroud I grabbed and twisted with a set of pliers and they popped apart. The key I found was to think of the goal (removing the shroud, removing the rivets) and think about how to do it in any way possible, get creative. If something doesn't work, even though someone said it would online, try something else, and use the goal as a reference. "technically I need the rivet to slide out..do I file the back, or cut the top? If pounding them isn't working, what's another way I could continue to push them out, driling/cutting...etc)

so here are some pictures so far - I'm trying to document this part, as there aren't any threads that do. any questions are welcome!

The picture of the inside of the shroud shows some excess plastic on the back of the holes, something that may keep it tight when trying to remove it.

The paper light disc under the screw in the top I did remove when trying to twist the top off.

DSCN1146_zps59e40955.jpg


DSCN1145_zpscc2b6c09.jpg


DSCN1143_zpsabfa1be1.jpg


DSCN1140_zps3c3b4cea.jpg


DSCN1139_zpsdaaf74a7.jpg


DSCN1134_zps19600e1f.jpg
 
well if i am correct a member on here actually designed and made the yoda saber.. his name is ed-209 on here ask him all the details you need!! im suprised he hasnt jumped on here

Hello,
Ed-209 here....Just saw the thread.
Glad to help if I can.
I still have the original and can provide you with detailed photos taken off the original Yoda Lightsaber Steve and I made for the Visual Dictionary that was later used as the guide for the film-seen version.
Ed
 
Hello,
Ed-209 here....Just saw the thread.
Glad to help if I can.
I still have the original and can provide you with detailed photos taken off the original Yoda Lightsaber Steve and I made for the Visual Dictionary that was later used as the guide for the film-seen version.
Ed

Ed,

Good to hear from you, I would greatly appreciate the reference! If you need to PM things to me, be more than welcome. I also am open to any rules as to ownership of any photos, anything you need. How did you go about slipping the black part over the tube again? this is really snug...

Everyone else, today I disassembled some old drive spinning magnet things (copper wire spindle, magnet shell) and the black plastic discs on top were almost the right size for an emitter. (I don't think I want to go looking for model parts to be honest, this is more fun right now :lol ) I think this is going to have a touch of custom to it.

Well, I cut a notch in one of them so it would fit, and found that the top of a portable advil container fit snugly beneath it, mimicking the model car wheel. I painted it black before cutting it down to size, and it's drying now, I'll post photos when I remove the excess plastic.

I was thinking about creating a mock chassis for the inside....anchoring it to the bottom cap, just for fun!
 
I would greatly appreciate the reference! If you need to PM things to me, be more than welcome. I also am open to any rules as to ownership of any photos, anything you need.


I´m pretty sure here are a lot people who would appreciate any good infos - esspecially the ones which are not interested in custom builds and prefer it as accurate as possible. :love
 
I got antsy tonight, but didn't want to try anything more until I find some more info - so I picked through my electronic waste I just got, found a bunch of electromagnet spinny things (some of which I'm using for the emitter, along with an advil cap that I'll cut down) and happened to make a very rudimentary chassis. I like it!
DSCN1152_zpscf0e5291.jpg


DSCN1156_zps66549446.jpg

DSCN1157_zps72630f58.jpg
 
So....I'm antsy this week while I'm home, so I went downstairs to see what I could do. The advil cap didn't work (Though I honed my delicate dremel skills) so I found a hard plastic or metal washer that was thin enough to sit underneath this drive magnet cap I was using. I tried many ways to re-use the screw to screw this thing down, but couldn't (and I'm trying to do this on the cheap) so I glued things down. Looks great to me haha

The mid-band...half of it was shrunk from being stuck to the top of the flashgun for years. So, I could slide half on, but that was it. I tried soap, and all it did was slick everything up to the point where I couldn't even hold the thing. So...I boiled it. Yes, I stood it up in a pot of water and boiled it. Every 30 seconds I'd take it out, cool it off and dip it back in. Eventually, the band slid right up with only a little elbow grease, a little push. The section around the metal button I cut with a used dremel wheel, so it was smaller, then folded out with pliers and snapped it off, filed it down. My little hole side and the pattern of rectangular holes were not across from one another, but next to one another. So I had to decide if I wanted to put the cut-out in the right place (above the little hole) or the rectangular pattern in the right place. I chose the former. I'm soooo happy to get this midband in place I'm smiling.

I believe the shroud is a little bent, but I'm alright with the millimeter difference

DSCN1158_zpsab41bbfd.jpg


DSCN1159_zpsec0683b5.jpg


DSCN1161_zps3d6ad64e.jpg
 
Ed where are you! :lol I used the few tools that I have to carve up a little activator button. It's a little more streamlined than I thought, but I don't carve that often. I found some rubber hose..going to cut that up and see if it'll work for grips..
 
No worries, I was kidding. PM on the way

So, I basically ran out of prop money and realistically I could leave these projects until my income gets going, or be resourceful. So, I chose the latter. I had quite a bit of epoxy putty left from an older build, and used that to attach things. First I carved my own activator button - which took quite a bit of patience.
DSCN1162_zpsc461636d.jpg


DSCN1163_zps53dad29d.jpg


DSCN1166_zpsc2178d09.jpg


Then I cut some grips with a razor blade from a piece of old rubber tubing. It was a little thicker than I liked, but the idea of shaving them thinner was not attractive. It was hard enough getting the pieces all the right size...

DSCN1167_zps7afde32a.jpg


and after some hummus, this is what it looks like now, I'm going to add a few greeblies and clean things up a s much as I can later. Thoughts? Suggestions?

DSCN1169_zps5c4a7731.jpg
 
Hi guys,
I’ve attached a series of photos of the original unit that was modified into the Yoda Lightsaber seen in “Star Wars: The Visual Dictionary” by my friend Dr. David West Reynolds.

Hopefully, this may give you a better view of the conversion that was made.

The original unit was very easily taken apart by hand so I was surprised to hear that some were having difficulty in removing the parts. There were no special tools used to disassemble it.

Anyway, I hope these reference photos help anyone attempting to duplicate the prop.
Ed

YodasLightsaber-RealProp1_zps65ed2d95.jpg

YodasLightsaber-RealProp2_zps91c0f7bb.jpg

YodasLightsaber-RealProp3_zpsaec4db52.jpg

YodasLightsaber-RealProp4_zpsdd6ef8ee.jpg

YodasLightsaber-RealProp5_zpsd2244c47.jpg

YodasLightsaber-RealProp6_zps03010294.jpg

YodasLightsaber-RealProp7_zps25717c03.jpg

YodasLightsaber-RealProp8_zps959b6d2c.jpg

YodasLightsaber-RealProp9_zpscf63441a.jpg

YodasLightsaber-RealProp10_zps8941ffd9.jpg

YodasLightsaber-RealProp11_zps3d17c8e0.jpg

YodasLightsaber-RealProp12_zps2f649273.jpg

YodasLightsaber-RealProp14_zps4a6a1634.jpg

YodasLightsaber-RealProp15_zps2bc19fed.jpg

YodasLightsaber-RealProp16_zps36c21785.jpg

YodasLightsaber-RealProp17_zpsc13b39cb.jpg

YodasLightsaber-RealProp18_zps12762551.jpg

YodasLightsaber-RealProp19_zps5434b2a4.jpg

YodasLightsaber-RealProp20_zps7f3ad2ac.jpg

YodasLightsaber-RealProp21_zps7b19ac5a.jpg
 
Thank you Ed! It looks wonderful. It's so funny that when you created this prop it all came apart so easily. I know with mine, the black shroud was warped, shrunk on the top, so I had to soften the plastic to move it. Did you cast the oil pan? It looks like the same material as the mid-band.


Haha, I didn't have a picture of the oil pan when I went downstairs, and the one I carved turned out very different. It's stuck on with loctite, so if I take it off and re-do it, it will be a serious decision. I guess it's an..artists' interpretation?
 
This thread is more than 10 years old.

Your message may be considered spam for the following reasons:

  1. This thread hasn't been active in some time. A new post in this thread might not contribute constructively to this discussion after so long.
If you wish to reply despite these issues, check the box below before replying.
Be aware that malicious compliance may result in more severe penalties.
Back
Top