Gibbtall
Well-Known Member
Re: The Hobbit - Erebor Dwarf Armour - Weapons - WIP
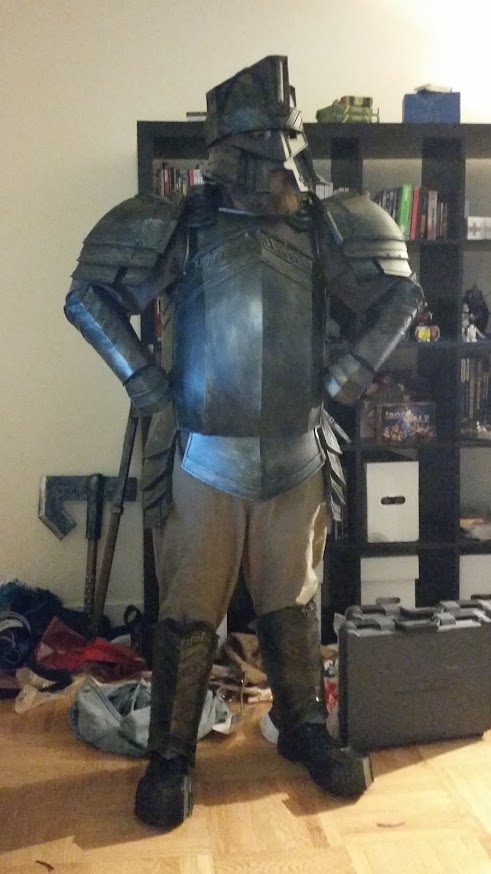
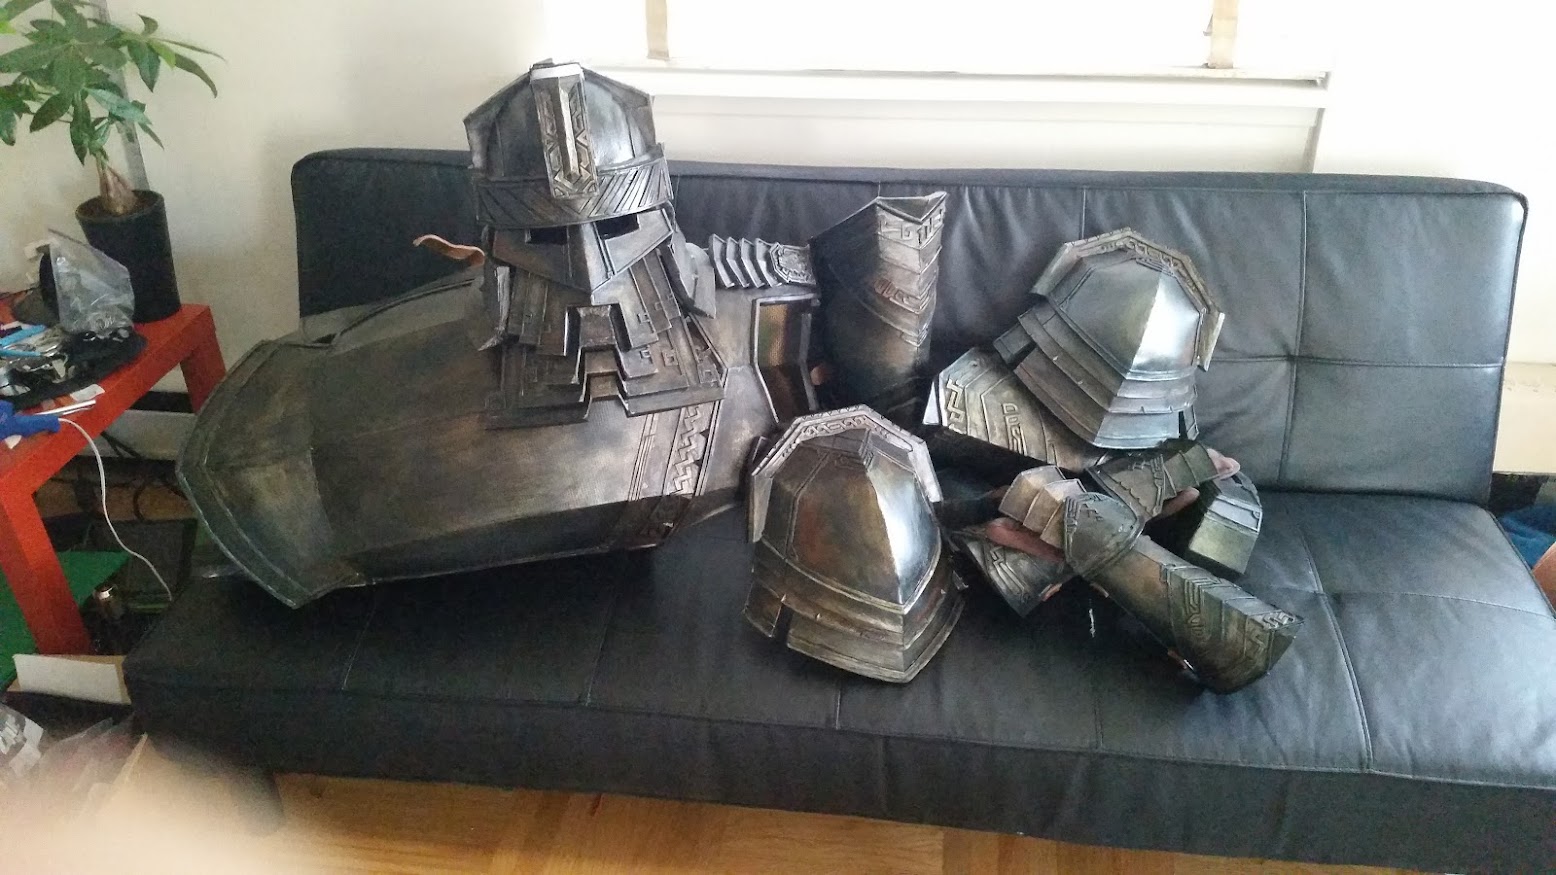
Thanks") Here are some crappy-lighting shots of some painted pieces, I've gotten them all done and will be clear-coating them and adding the leather straps tonight.
Here are some crappy-lighting shots of some painted pieces, I've gotten them all done and will be clear-coating them and adding the leather straps tonight.
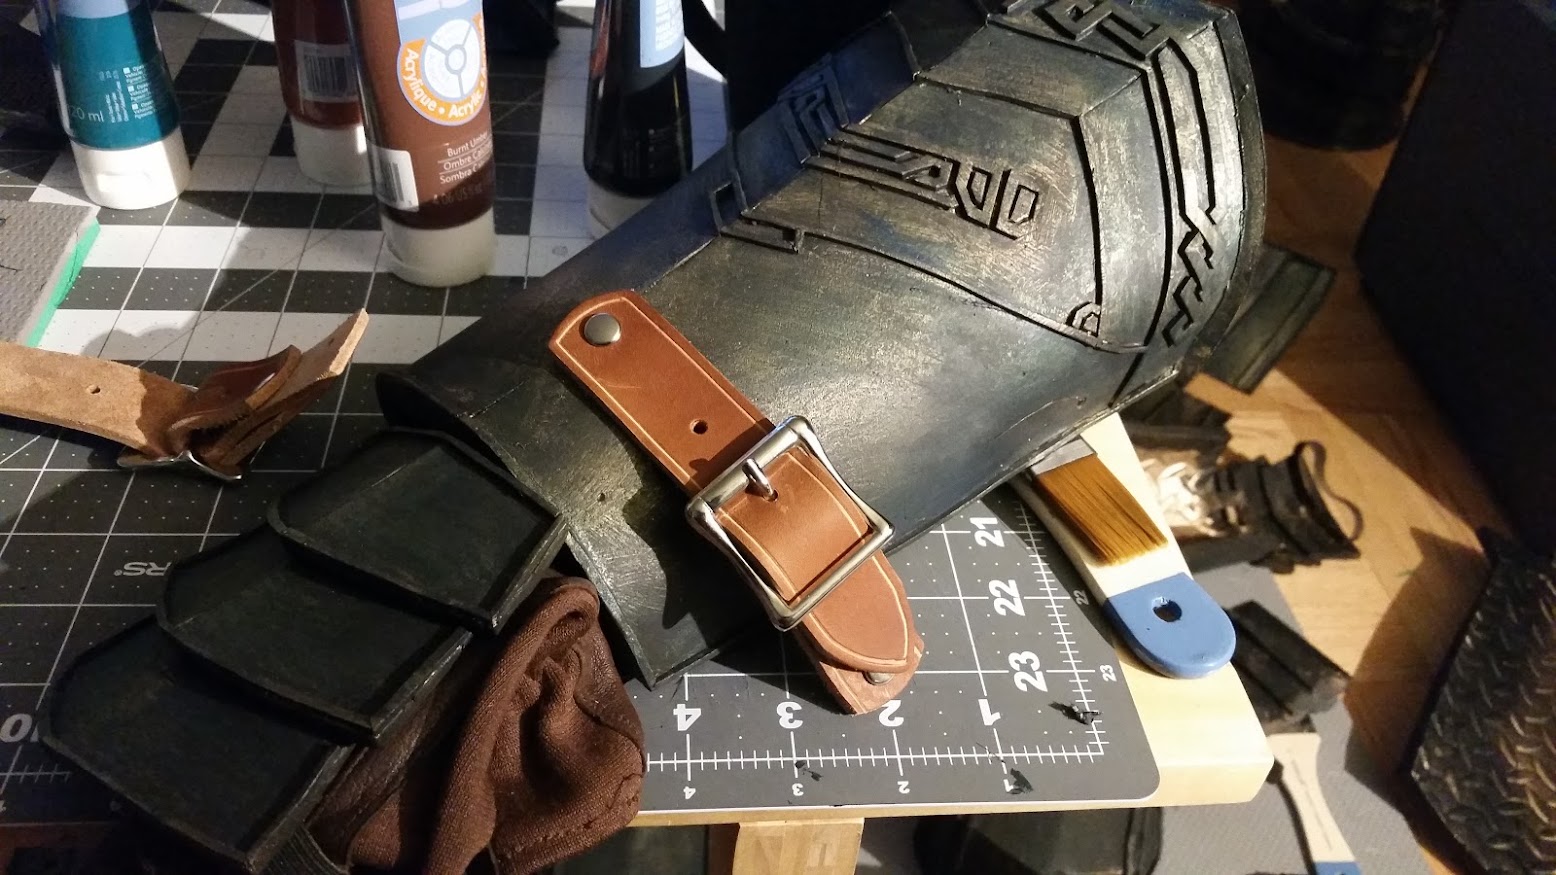
As for the painting process, this is by far not the best way to do it, but I sprayed 2-3 coats of Plastidip, 1-2 coats of Krylon Brilliant Gold then went in to manually grunge it up. The hand-painting is relatively simple, I just slap on a bunch of black mixed with a bit of Phthalo Green, Phthalo Blue, and Burnt Umber. The black is what I use the most and I randomly rotate between the other colours to give it more depth and the illusion of copper patina. After I do a sizable chunk of glopage, being sure to get it in all of the knooks and crannies of the detail, I wad up some paper towel and wipe it down, depending on how smooth the gold went on and how wet it still is, it'll pull off most of the colour on the top of the detail and flat spots, I use this time to spread the paint around on the flat areas, once the paper towel has a big painty spot it works well to smudge paint. I continue on through the piece till it's all looking about the same. Once it's had some time to dry I go back in to cover up more gold. I usually put too much blues and green on it in the first stage so I stick to black most of the time and blend it in to the "corners" pretty much anywhere that isn't the very peak of the shoulder pad of the center of the bracer, If you check the references on the first page from the movie, he's got a big polished spot on the shoulder but everything around that is dirty, that's the look I was going for. I also take that time to drybrush some black pack on to the detail that got too shiny. I ended up going at all the pieces with some Burnt Siena in random drybrushed blotches, not heavy, just enough to give a bit of colour variation and the look of rust. The final step was covering up all the edges and a bit of the inside with black, I only did one coat so there is still a bit of gold showing through, saved me having to TRY to make it look more realistic, heh.
The shot of the glove was to show how the leather was a bit too clean and bright for the armour, so my leather guy tried soaking the straps in coffee and it did the trick, the final pieces will be darker and more worn.
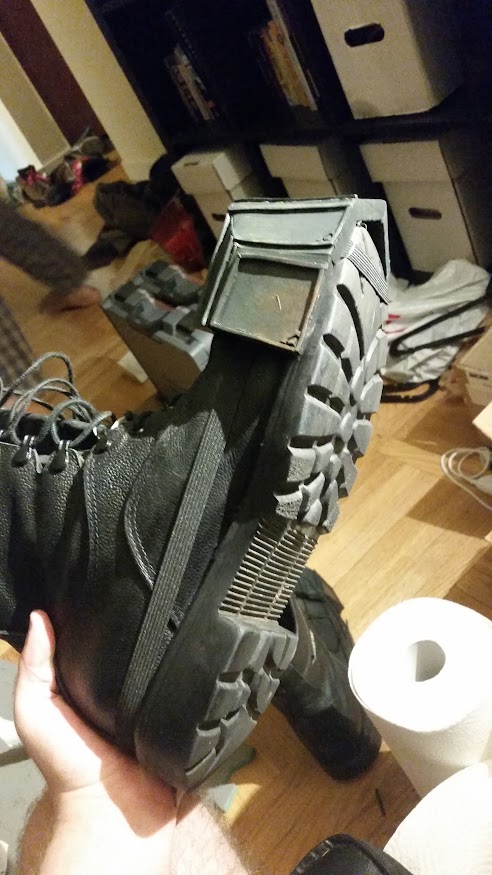
The shot of the boot is actually to show the solution I came up with for the toe caps, I added a stretchy strap around the back of the boot and under the toe, I might add a thumb tack to the sole to make sure the toe strap doesn't slip off but it's pretty sturdy and the black straps on black leather hide really well.
Could you detail or mention again your painting technique? Did you seal the foam first? Use plasti-dip? Etc? And you mentioned a dry brush technique. Your finish on the armor is great.
Thx
Thanks
Here are some crappy-lighting shots of some painted pieces, I've gotten them all done and will be clear-coating them and adding the leather straps tonight. As for the painting process, this is by far not the best way to do it, but I sprayed 2-3 coats of Plastidip, 1-2 coats of Krylon Brilliant Gold then went in to manually grunge it up. The hand-painting is relatively simple, I just slap on a bunch of black mixed with a bit of Phthalo Green, Phthalo Blue, and Burnt Umber. The black is what I use the most and I randomly rotate between the other colours to give it more depth and the illusion of copper patina. After I do a sizable chunk of glopage, being sure to get it in all of the knooks and crannies of the detail, I wad up some paper towel and wipe it down, depending on how smooth the gold went on and how wet it still is, it'll pull off most of the colour on the top of the detail and flat spots, I use this time to spread the paint around on the flat areas, once the paper towel has a big painty spot it works well to smudge paint. I continue on through the piece till it's all looking about the same. Once it's had some time to dry I go back in to cover up more gold. I usually put too much blues and green on it in the first stage so I stick to black most of the time and blend it in to the "corners" pretty much anywhere that isn't the very peak of the shoulder pad of the center of the bracer, If you check the references on the first page from the movie, he's got a big polished spot on the shoulder but everything around that is dirty, that's the look I was going for. I also take that time to drybrush some black pack on to the detail that got too shiny. I ended up going at all the pieces with some Burnt Siena in random drybrushed blotches, not heavy, just enough to give a bit of colour variation and the look of rust. The final step was covering up all the edges and a bit of the inside with black, I only did one coat so there is still a bit of gold showing through, saved me having to TRY to make it look more realistic, heh.
The shot of the glove was to show how the leather was a bit too clean and bright for the armour, so my leather guy tried soaking the straps in coffee and it did the trick, the final pieces will be darker and more worn.
The shot of the boot is actually to show the solution I came up with for the toe caps, I added a stretchy strap around the back of the boot and under the toe, I might add a thumb tack to the sole to make sure the toe strap doesn't slip off but it's pretty sturdy and the black straps on black leather hide really well.