Skyrim Steel war axe build

NeonHybrid

Member
Hey so I loved the look of the axe in game and when I had the opportunity to make one I jumped on it.

I'm a model making student so I'm lucky to have access to one of the best stocked workshops available. I've been studying for about a year and a half with very little experience in model making before hand. Anyway enough about me and onto the interesting part the pictures.

For those not familiar with Skyrim this is the axe I'm working on.


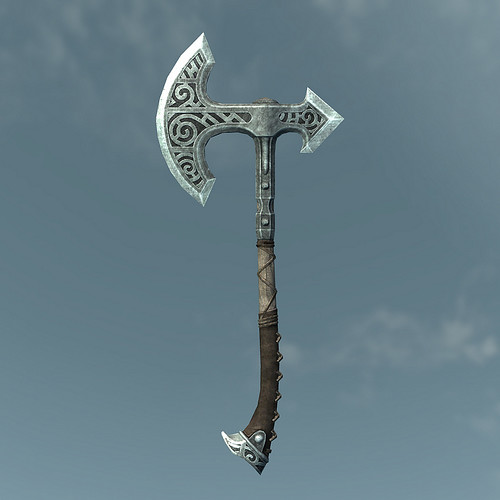
IMG_0560 by NeonHybrid, on Flickr

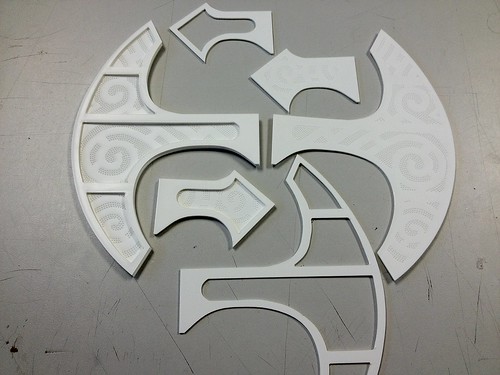
I started with drawing out a design in auto cad so that I could pull it apart and use it for laser cutting.


IMG_0569 by NeonHybrid, on Flickr

The laser cut styrene was a bit tricky to get right as it tends to melt if you use to high a power level on the laser. To get around this and to avoid cutting to wide a channel in the styrene I used a low power and cut a bout 3 times for the 1.5mm and about 5 for any 0.5mm


IMG_0571 by NeonHybrid, on Flickr

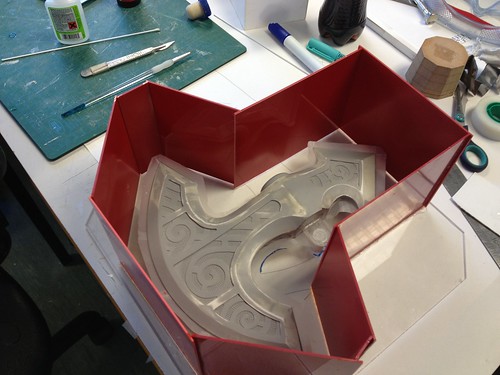
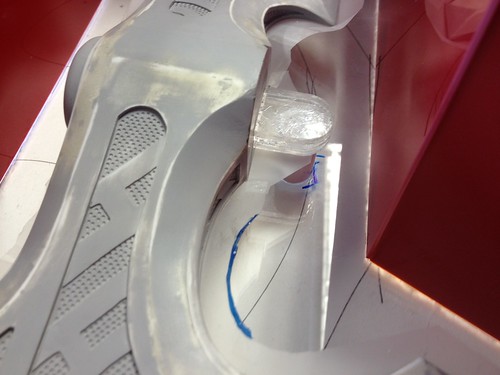
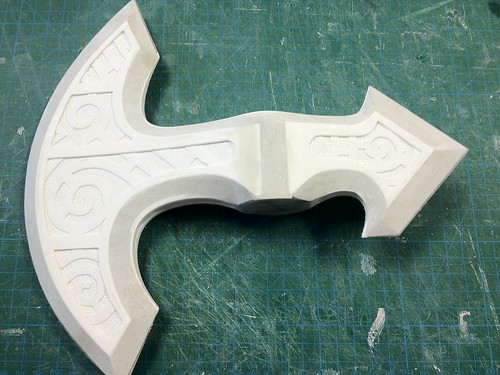
In case any one cares there are about 1300 dots on each side of the head which took about 4 hours to draw in auto cad thankfully it took minutes to etch them with the laser.:)


IMG_0585 by NeonHybrid, on Flickr

Now with body filler.


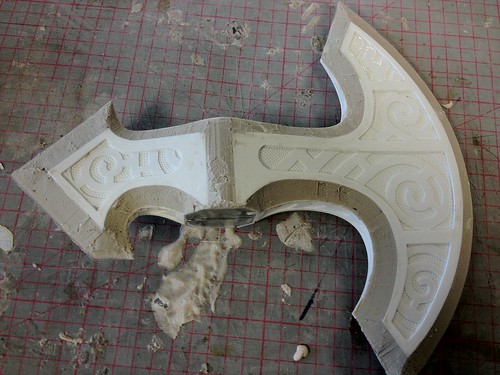
IMG_0586 by NeonHybrid, on Flickr

And after some cleaning up


IMG_0587 by NeonHybrid, on Flickr

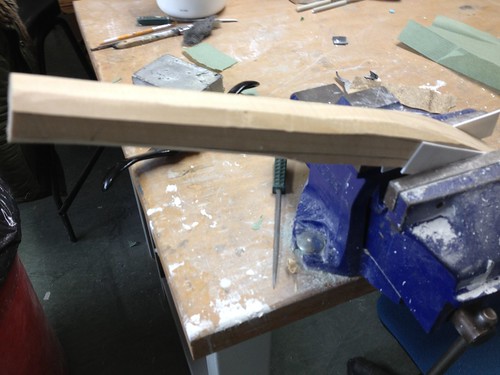
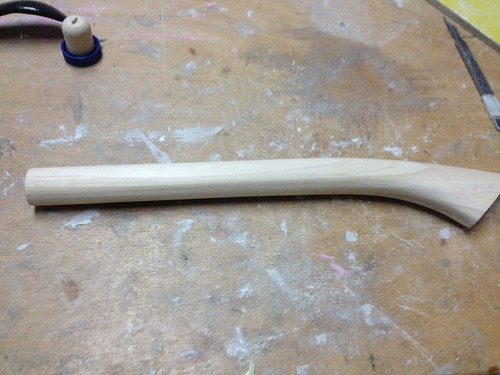
The neck before my tutor looked at it and said wouldn't it look better if the styrene flared out at the top like in the design.


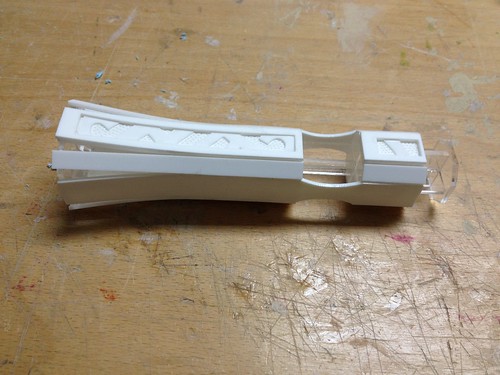
IMG_0592 by NeonHybrid, on Flickr

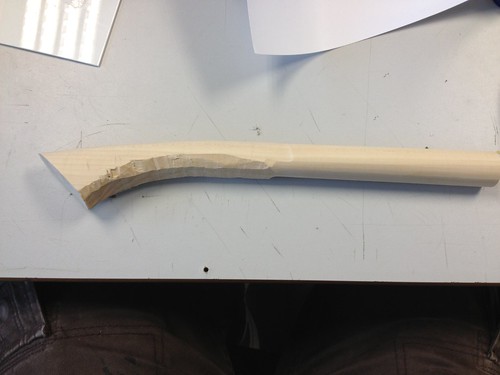
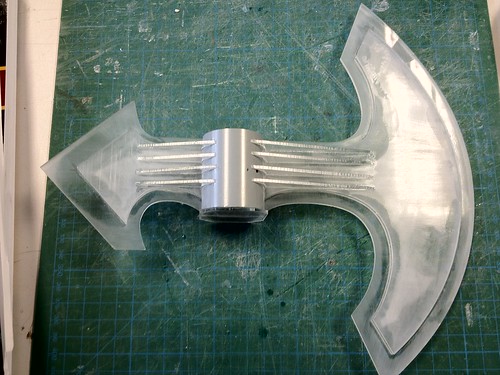
And after I tore all the styrene off and cursed his name. :lol The core is made up of acrylic plates held apart with a cross made of acrylic. when I got home at the end of the day I thought of a much better way to do it but it worked out in the end so hey.


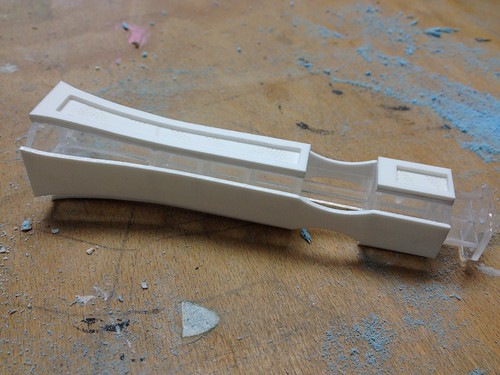
IMG_0596 by NeonHybrid, on Flickr

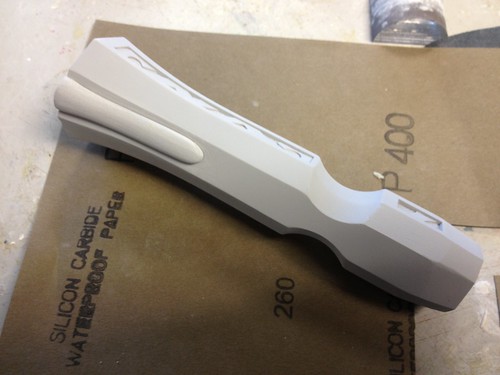
A little body filler and some sanding and I have this.


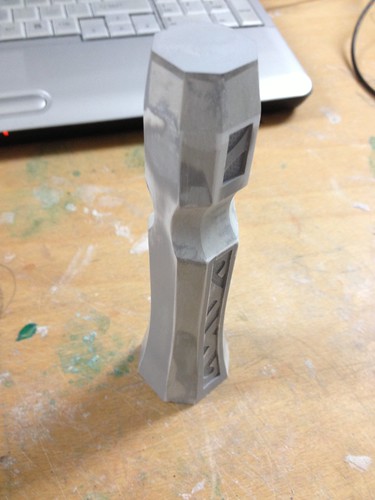
IMG_0600 by NeonHybrid, on Flickr

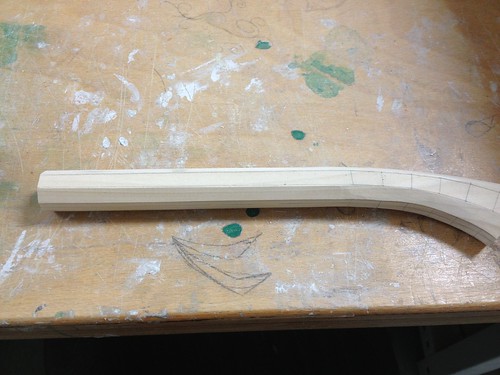
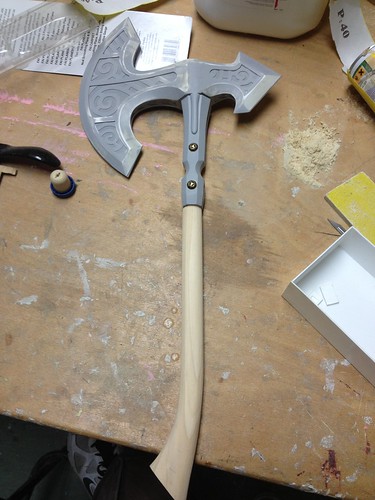
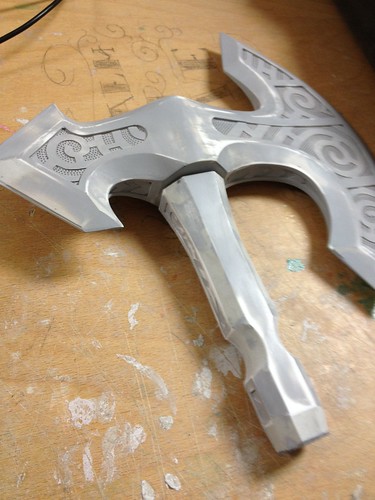
And finally my progress so far.


IMG_0603 by NeonHybrid, on Flickr

I have about 2 weeks to finish this project so hopefully I can provide progress pictures regularly.

What do you all think.
 
I have been flowing volpins blog for a long time now. His stuff is crazy awesome. I used a similar method to him for my axe head although I tried to improve upon it which took a lot of work.
 
A quick update. I only had time to make and add the small bevels to the sides of the neck today. They were laser cut from tooling block which is essentially a hight density foam. They were then sanded to shape and glued into place.


IMG_0610 by NeonHybrid, on Flickr

The last step on this part is to attach the nail heads on each side.

I should be carving the handle on Monday so I will have more updates then.
 
Last edited:
So today was a bit of a learning experience. I started on the wooden handle. I used a block of lime wood as it has been sitting on a shelf in the workshop for years. I cut it roughly to shape with a band saw and then shaved the sides down to an octagon with a spokeshave. I then used a sanding wheel to smooth it down to a round shape. Unfortunately I managed to ruin the first two I made by sanding the corner off one of them when the wood kicked up on the sanding wheel and the second by gouging a chunk out of the centre of it.

This was the second one about half way through the carving process. The first attempt was pretty good but I forgot to get any pictures.


IMG_0611 by NeonHybrid, on Flickr


IMG_0612 by NeonHybrid, on Flickr

I'm going to try and be a little less enthusiastic with the sanding wheel tomorrow and finish it by hand to avoid damaging it.
 
Today went better than I expected. I took a different approach to carving the handle and it came out almost perfect.


IMG_0617 by NeonHybrid, on Flickr


IMG_0620 by NeonHybrid, on Flickr

It's not easy to see as the wood is rather light and the grain makes it look a weird shape but it's perfectly rounded and symmetrical.

Here is all the parts I have done so far layed out so I could get a sense of how the final prop was going to look. I already knew how big it would be but it's nice to have something to show how far I have come.


IMG_0621 by NeonHybrid, on Flickr

After this I have the top part that sticks out the head and the bottom of the handle and I will be ready to make a mould for cold casting the components.

I also wanted to say thank you for the comments. It's nice to get home from collage to see there are people who take notice of my work. :)
 
A small update this time. Lots of little bits and pieces.


IMG_0623 by NeonHybrid, on Flickr

From left to right plates for holding the pommel to the handle. The ring that surrounds the section of handle that comes out the top of the head. And finally the start of the pommel


IMG_0626 by NeonHybrid, on Flickr

The pommel after the layers of styrene have been applied. I had some trouble with the back section splitting across the etched section. After two breaking I used a heat gun to gently heat bend a curve into the back.

I will be finalising the shape and filling any gaps on Monday as well as adding the oval that sits on top of the pommel. Then it's just onto making the mould and cold casting the aluminium parts for my Wednesday deadline.
 
Big update this time. I made all the mould boxes and poured the silicon in all but one as I was a little short.


IMG_0634 by NeonHybrid, on Flickr


I went with a one piece mould using tape to find the parting line. This is probably not an approach that many are familiar with. The part was supported from legs on all the high points that might trap air to act as vents when casting. I then added a pour spout that comes out the large flat side of the mould next to the vents.


IMG_0635 by NeonHybrid, on Flickr


IMG_0640 by NeonHybrid, on Flickr

Once I had poured the silicon I degassed it once while level then place a block of wood under one end and degassed it again to pull out any bubbles that were trapped underneath and then did the same at the other end.


IMG_0644 by NeonHybrid, on Flickr

Once it has set I will cut a wavy pattern into the sides to create a key for the two halves. Once I reach the tape the parting line separates without any problems with mould lines. The tape doesn't cerate flash either as it is so thin and There is only about a 1/4mm on the head it's self so it can be sanded easily.


IMG_0646 by NeonHybrid, on Flickr

The aftermath of todays mould making. The tall one is the handle which still needs to be filled with silicon later in the week.

The tape method of mould making was interesting to learn as it should help a lot in future with one piece moulds and avoiding mould lines.
 
hmmmm.. never seen the tape method. but i like how it looks. please take some good close ups when you open it up. im really interested in how this will work.

so did you stick half of the tape on the underside of the blade and the the other half acts as your flange/separator?
 
Unfortunately I don't have any more photos of the tape method I used but I will do my best to describe how it works.

So the basics of one part moulds start with attaching your part to a stable base by a pour spout such as a short length of pipe. I used a section of acrylic for this mould with 2mm styrene for the walls. Once the part is attached in a position that will avoid any air becoming trapped. I used a few styrene rods to create vents for air. When the walls are in place ensuring extra space at the top for degassing the silicon and placing some masking tape or a mark on the inside so you can tell when to stop pouring silicon.

To remove the master from the mould start by cutting a wavy line down the side of the mould but not all the way through to the master. Once this is in place pull the sides apart and cheerfully cut along the section you want the parting line to follow. On my moulds I leave some of the sides uncut. This is to help the mould fit back together.

The big difference with the tape method is you apply a strip of tape along an angled edge all the way around the part. Next trim it so that there is as little on the master as possible and about 10mm hanging off the edge. This helps when you are cutting the parting line. All you have to do is find the tape and cut along it's outer edge and you get a nice clean line along the edge of the part that shouldn't show up when cast. The tape gap should close up it's self and won't cause any flash as it is so thin.

I hope this helps.
 
Build looks amazing so far, and I too am intrigued by this tape idea.

Can't wait to see mold and casting pics!

Chris
 
interesting....(tape method) I'll ask again, Please take some good close up shots of the mold halves showing the tape line.. your method seems like it would create a really nice and thin seam, or should i say seamless prop.
 
This thread is more than 9 years old.

Your message may be considered spam for the following reasons:

  1. This thread hasn't been active in some time. A new post in this thread might not contribute constructively to this discussion after so long.
If you wish to reply despite these issues, check the box below before replying.
Be aware that malicious compliance may result in more severe penalties.
Back
Top